


Description
Recommended Equipment
- sharp knife
- cutting board
- small pan
- small bowl
Ingredients
Units Scale
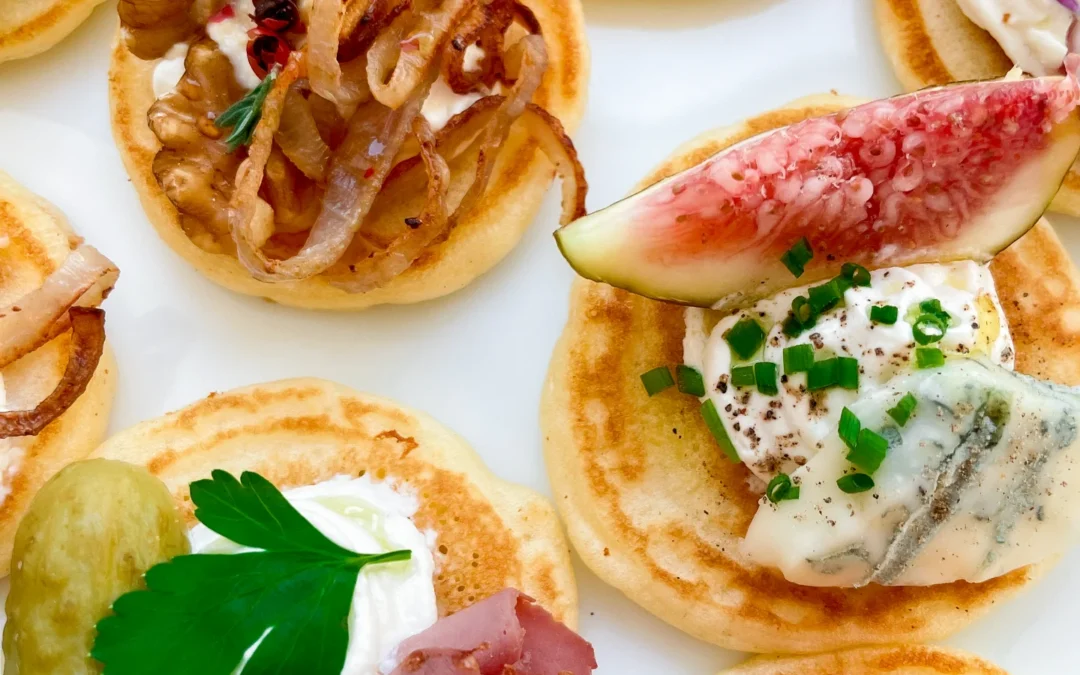
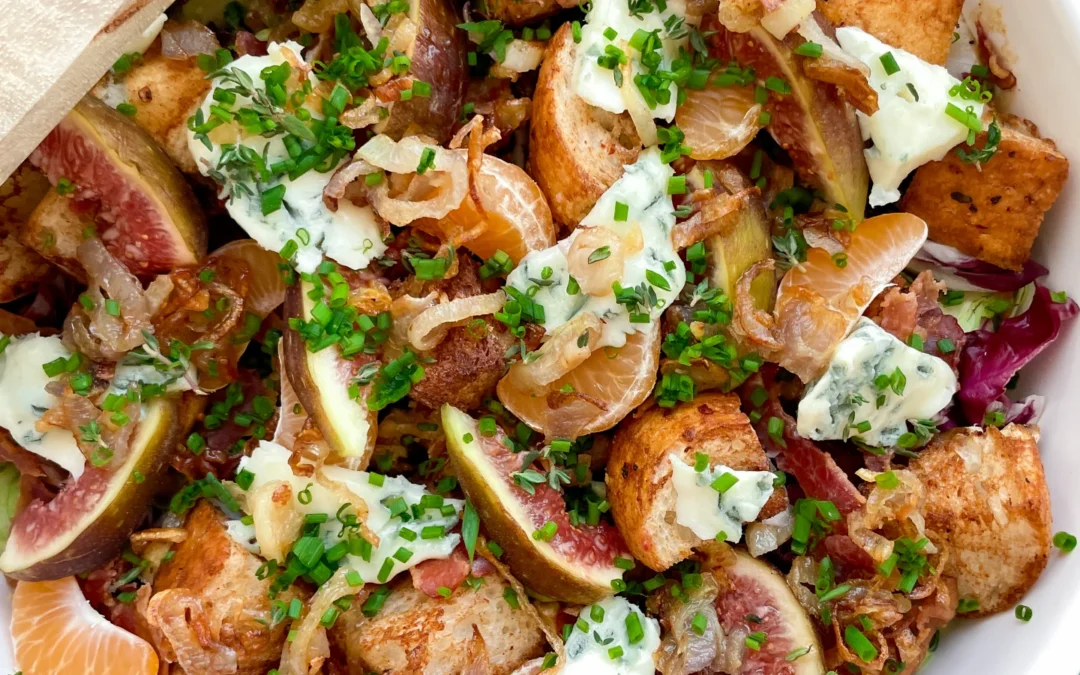
SALAD
- 200 grams brussels sprout
- 150 grams red radicchio
- 1 shallot
- 1 tsp butter
- 2 mandarins
- 2 fresh figs
- 8 bacon strips
- 50 grams gorgonzola
- 50 grams walnuts
- 6 slices baguette
- 1/2 tsp chili flakes
- 1/2 tsp cinnamon
- 1 tbsp butter
- 4 tbsp mulled wine oil
- 1-2 tbsp red wine vinegar
- 1 tsp date syrup
- 1 tsp dijon mustard
- salt & pepper to taste
- fresh thyme
- fresh chives