


Description
GOOD TO HAVE ON HAND
- large pan
- sharp knife
- cutting board
- garlic press
Ingredients
Units Scale
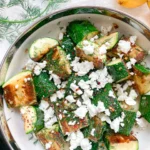
ZUCCHINIS
- 2 zucchinis
- 2 tbsp olive oil
- 3 garlic cloves
- 1/4 tsp to 1/2 tsp chili flakes (depending on your preferences)
- 2 tsp honey
- 100 grams feta cheese
- 2 tbsp fresh dill
- salt & pepper to taste
Instructions
PREPARATIONS
- Peel the garlic cloves and finely chop them or use a garlic press.
- Roughly chop the dill set aside.
INSTRUCTIONS
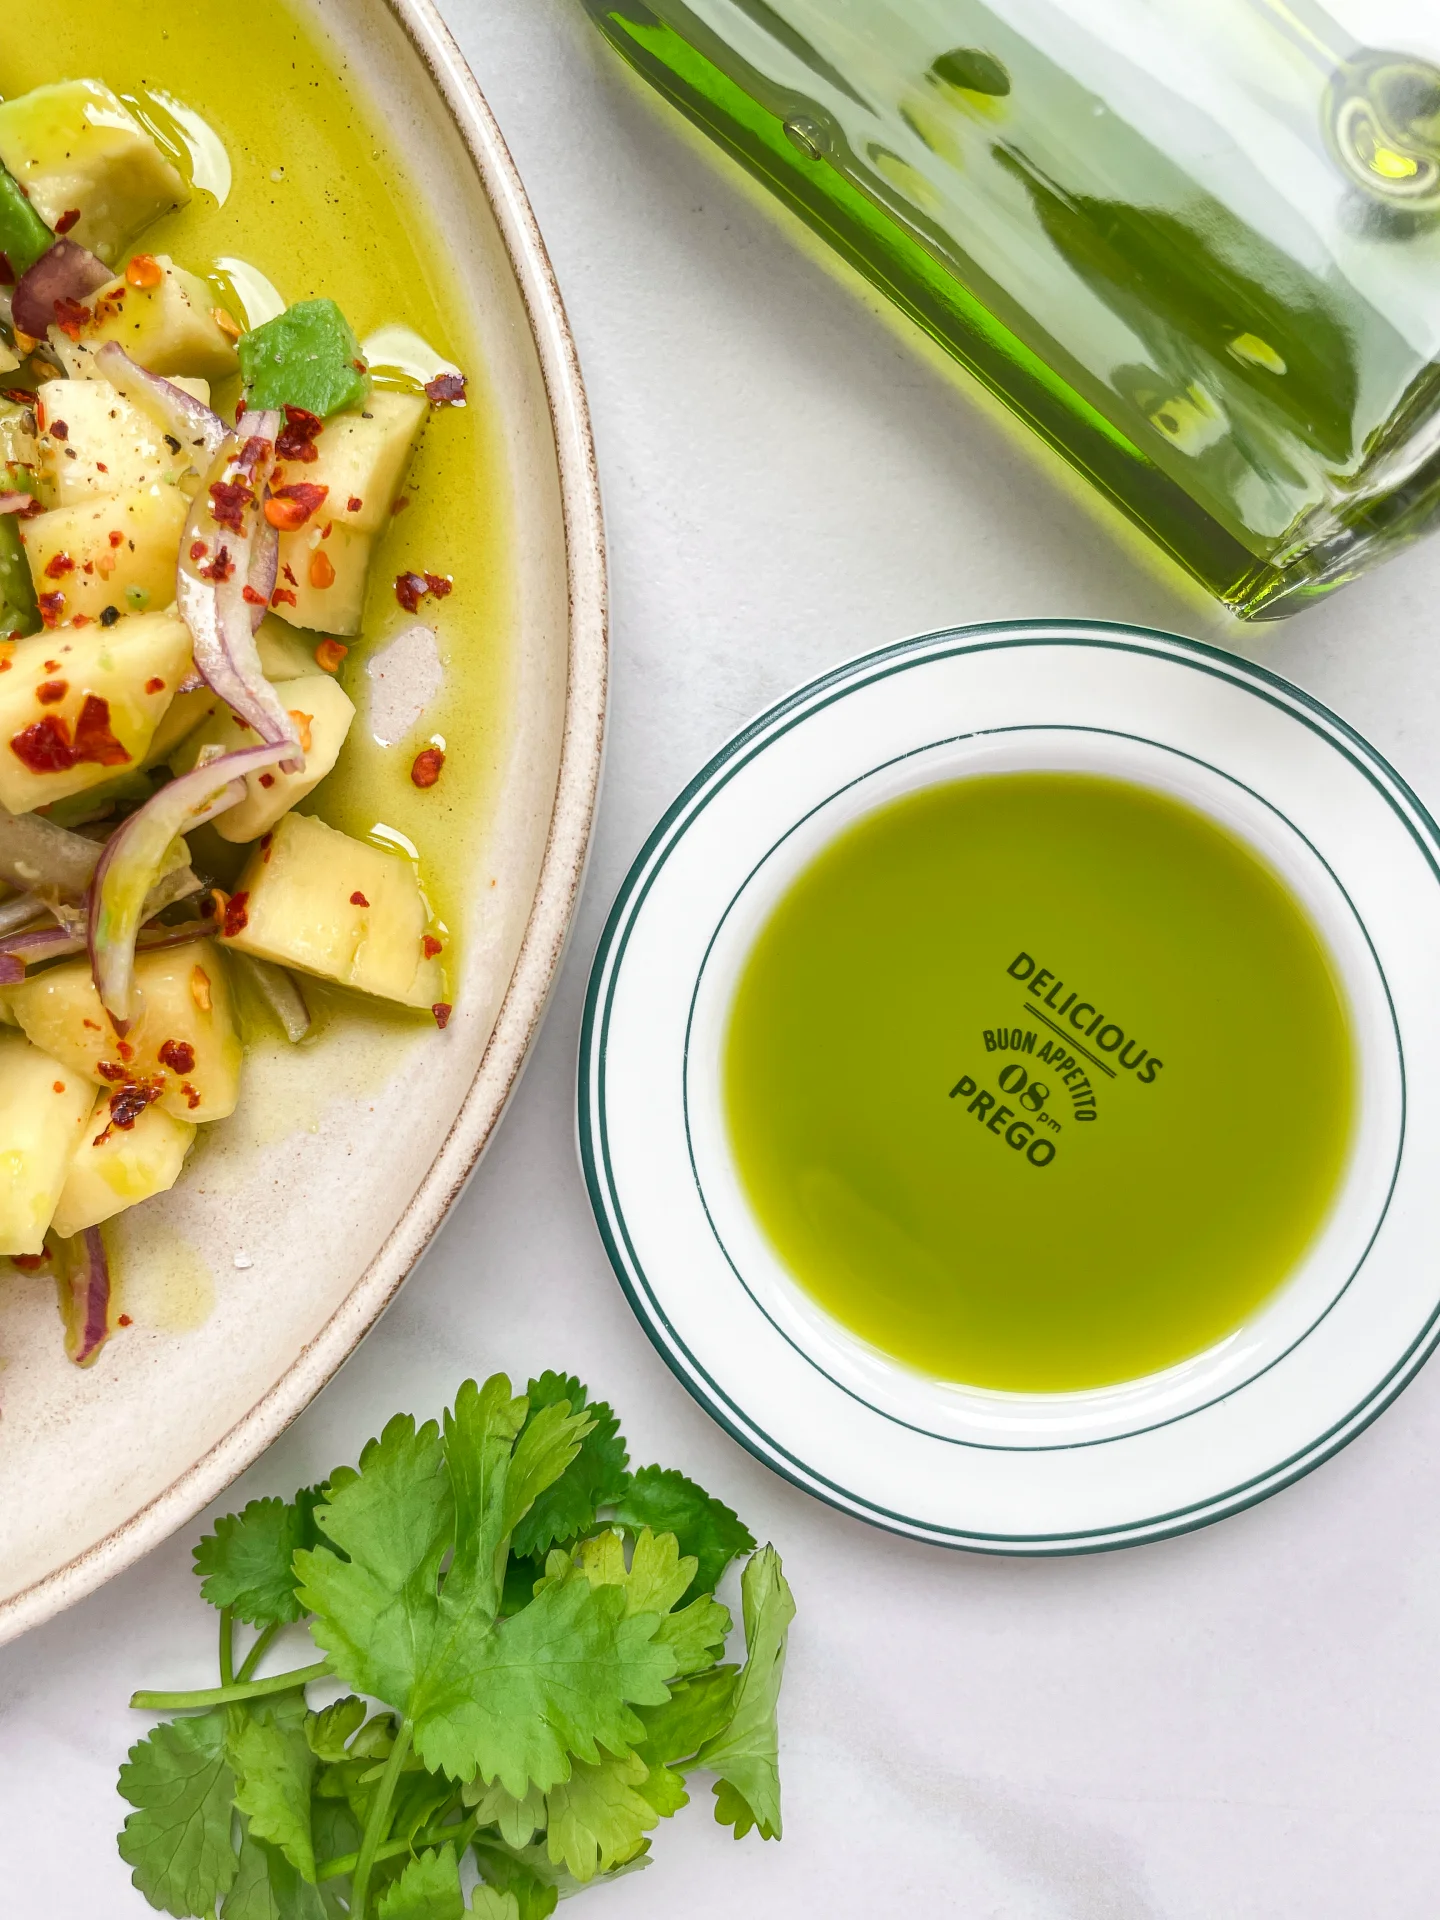
- Wash the zucchini and trim the ends. Then, halve the zucchini lengthwise and cut them into large chunks.
- Heat some olive oil in a pan over medium heat. Place the zucchini pieces cut side down in the pan and sauté for a few minutes until they are crispy and golden brown. Once they’re ready, add the garlic and chili flakes. Stir everything together and let it roast for 1-2 minutes.
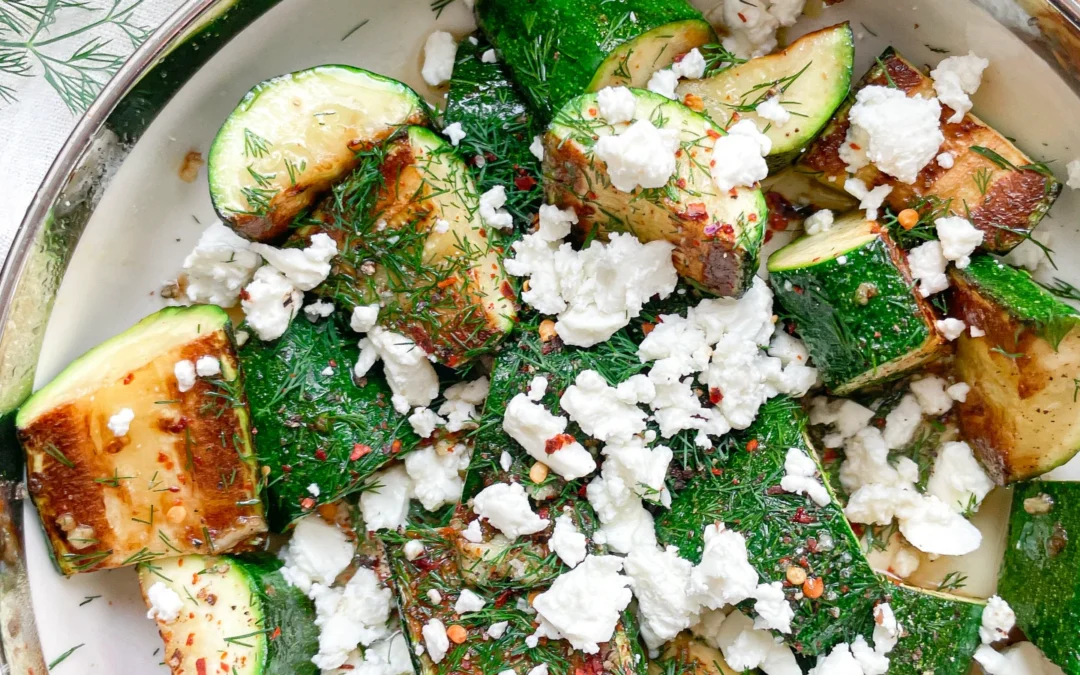
- Transfer the zucchini to a bowl and drizzle with honey, then season with salt, pepper, dill, and sprinkle feta cheese on top. Serve immediately and enjoy this piece of happiness 🙂
Notes
The calorie information may vary depending on the product used, country and region.
- Prep Time: 3 min
- Cook Time: 10 min
- Category: VEGETABLES