Tomato Chili Garlic Oil

Tomato Chili Garlic Oil

Tomato Chili Garlic Oil

Tomato Chili Garlic Oil

November 25, 2024 by Kimberly

Transform your meals with this rich, spicy oil infused with, bold tomatoes, roasted garlic and fiery chili. A drizzle adds warmth, depth, and a kick to anything from pasta to bread.

65 MINUTES

ADVANCED

VEGAN

INT.

40 PER TSP

SPICY
UMAMI

MICHELIN

OIL

ALL YEAR

INTRODUCTION

ABOUT THE RECIPE

Ready to elevate your meals with a fiery twist? This rich, aromatic oil infused with bold tomatoes, roasted garlic and spicy chili brings an irresistible warmth and depth to every bite. Perfect for drizzling over pasta or pizza, dipping crusty bread, or adding a spicy edge to your pizza. It’s not just a topping – it’s a mood. Think cozy, flavorful dinners with that extra kick of spice – effortless but unforgettable. Warning: one drizzle, and you’ll be hooked.

How to serve
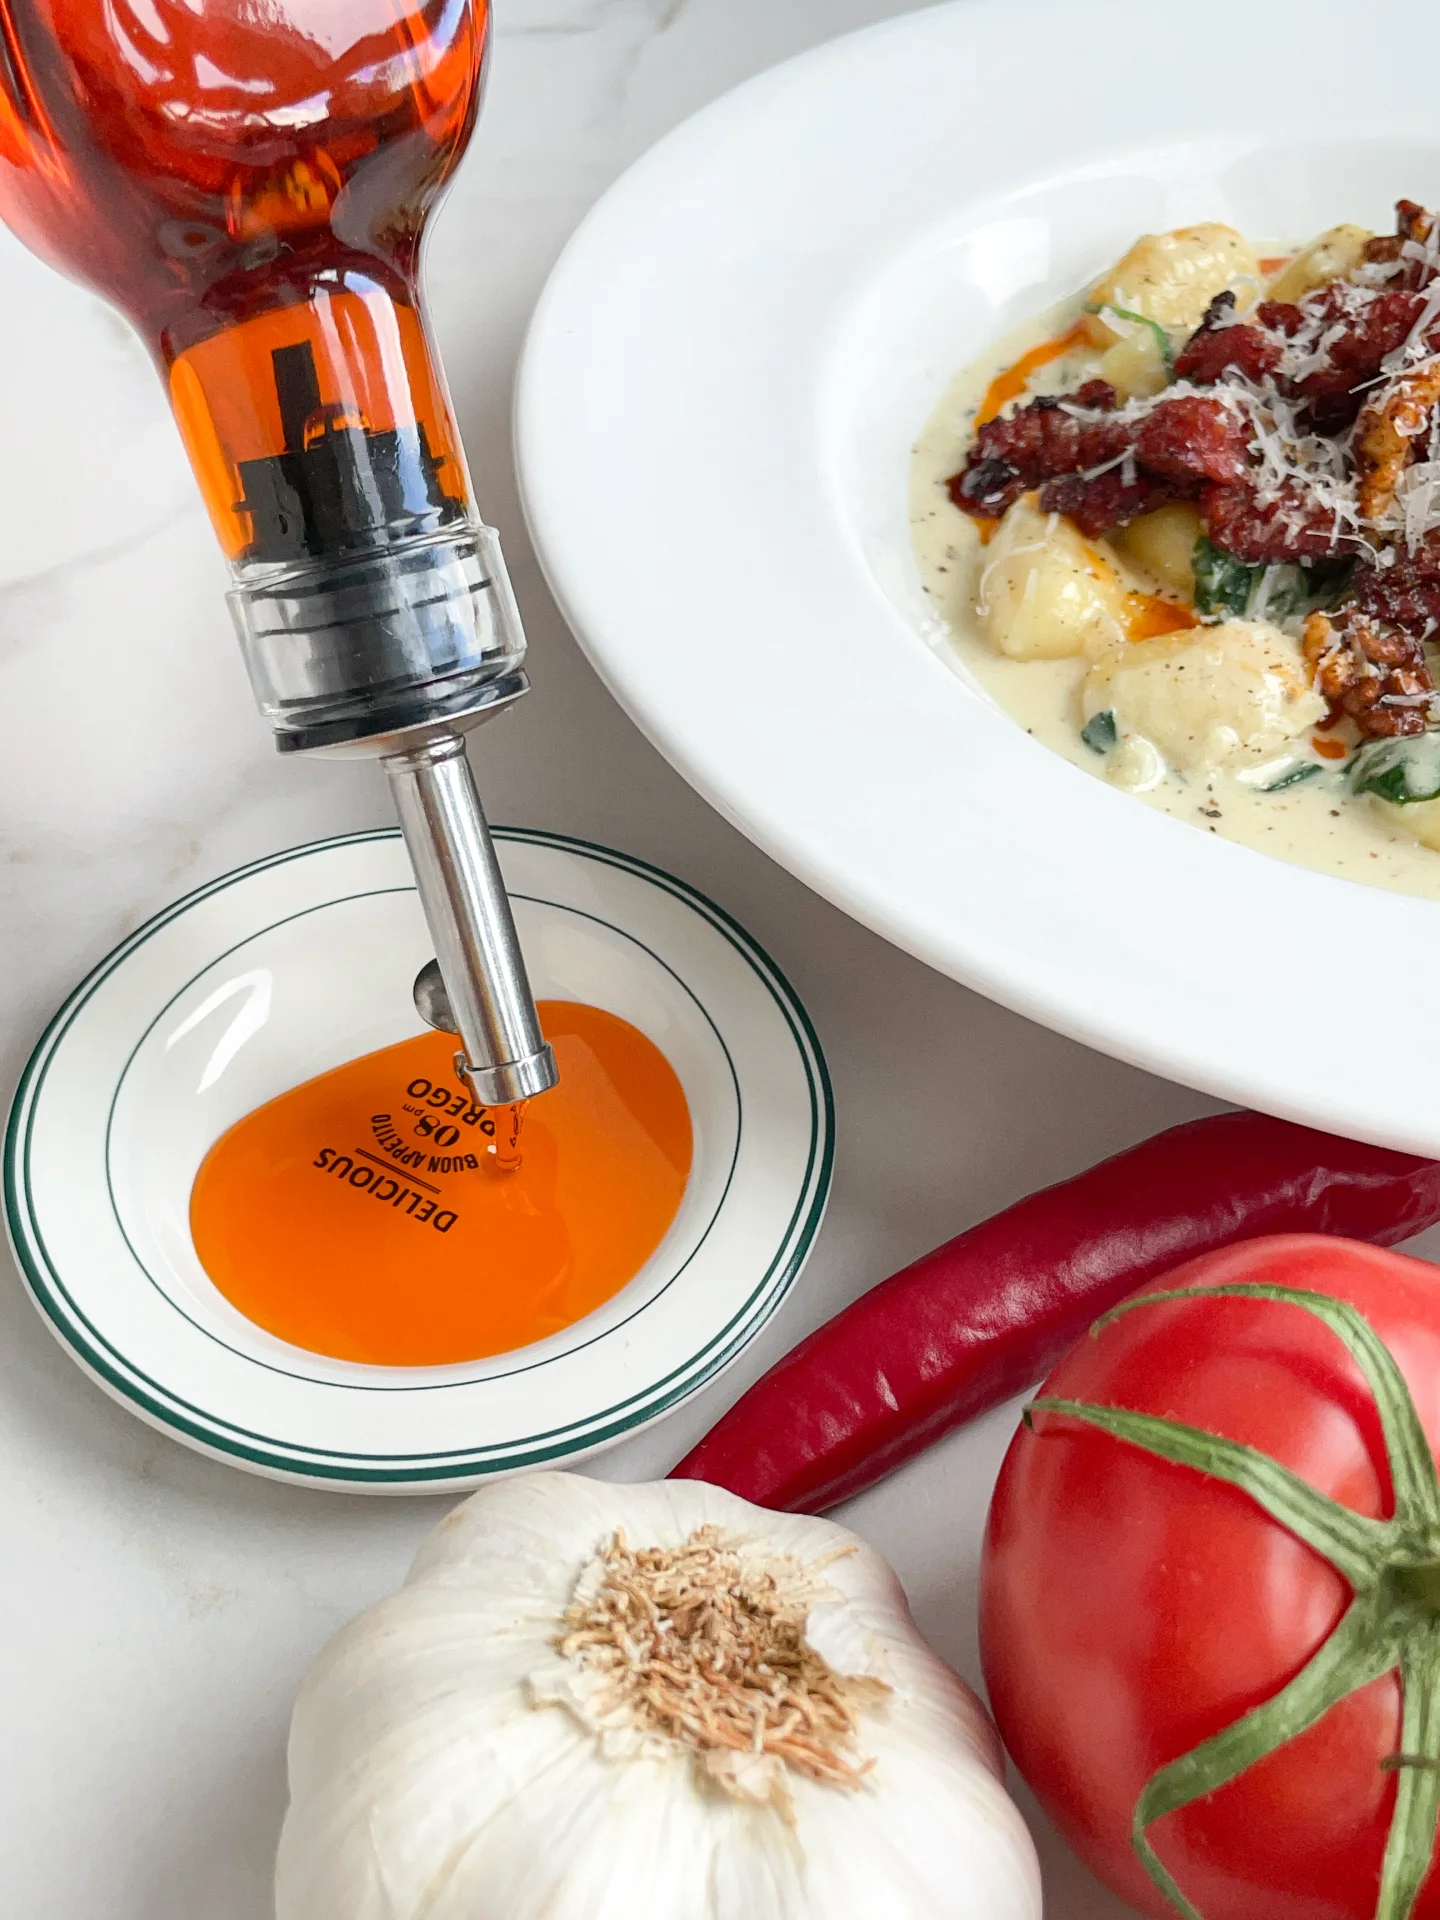
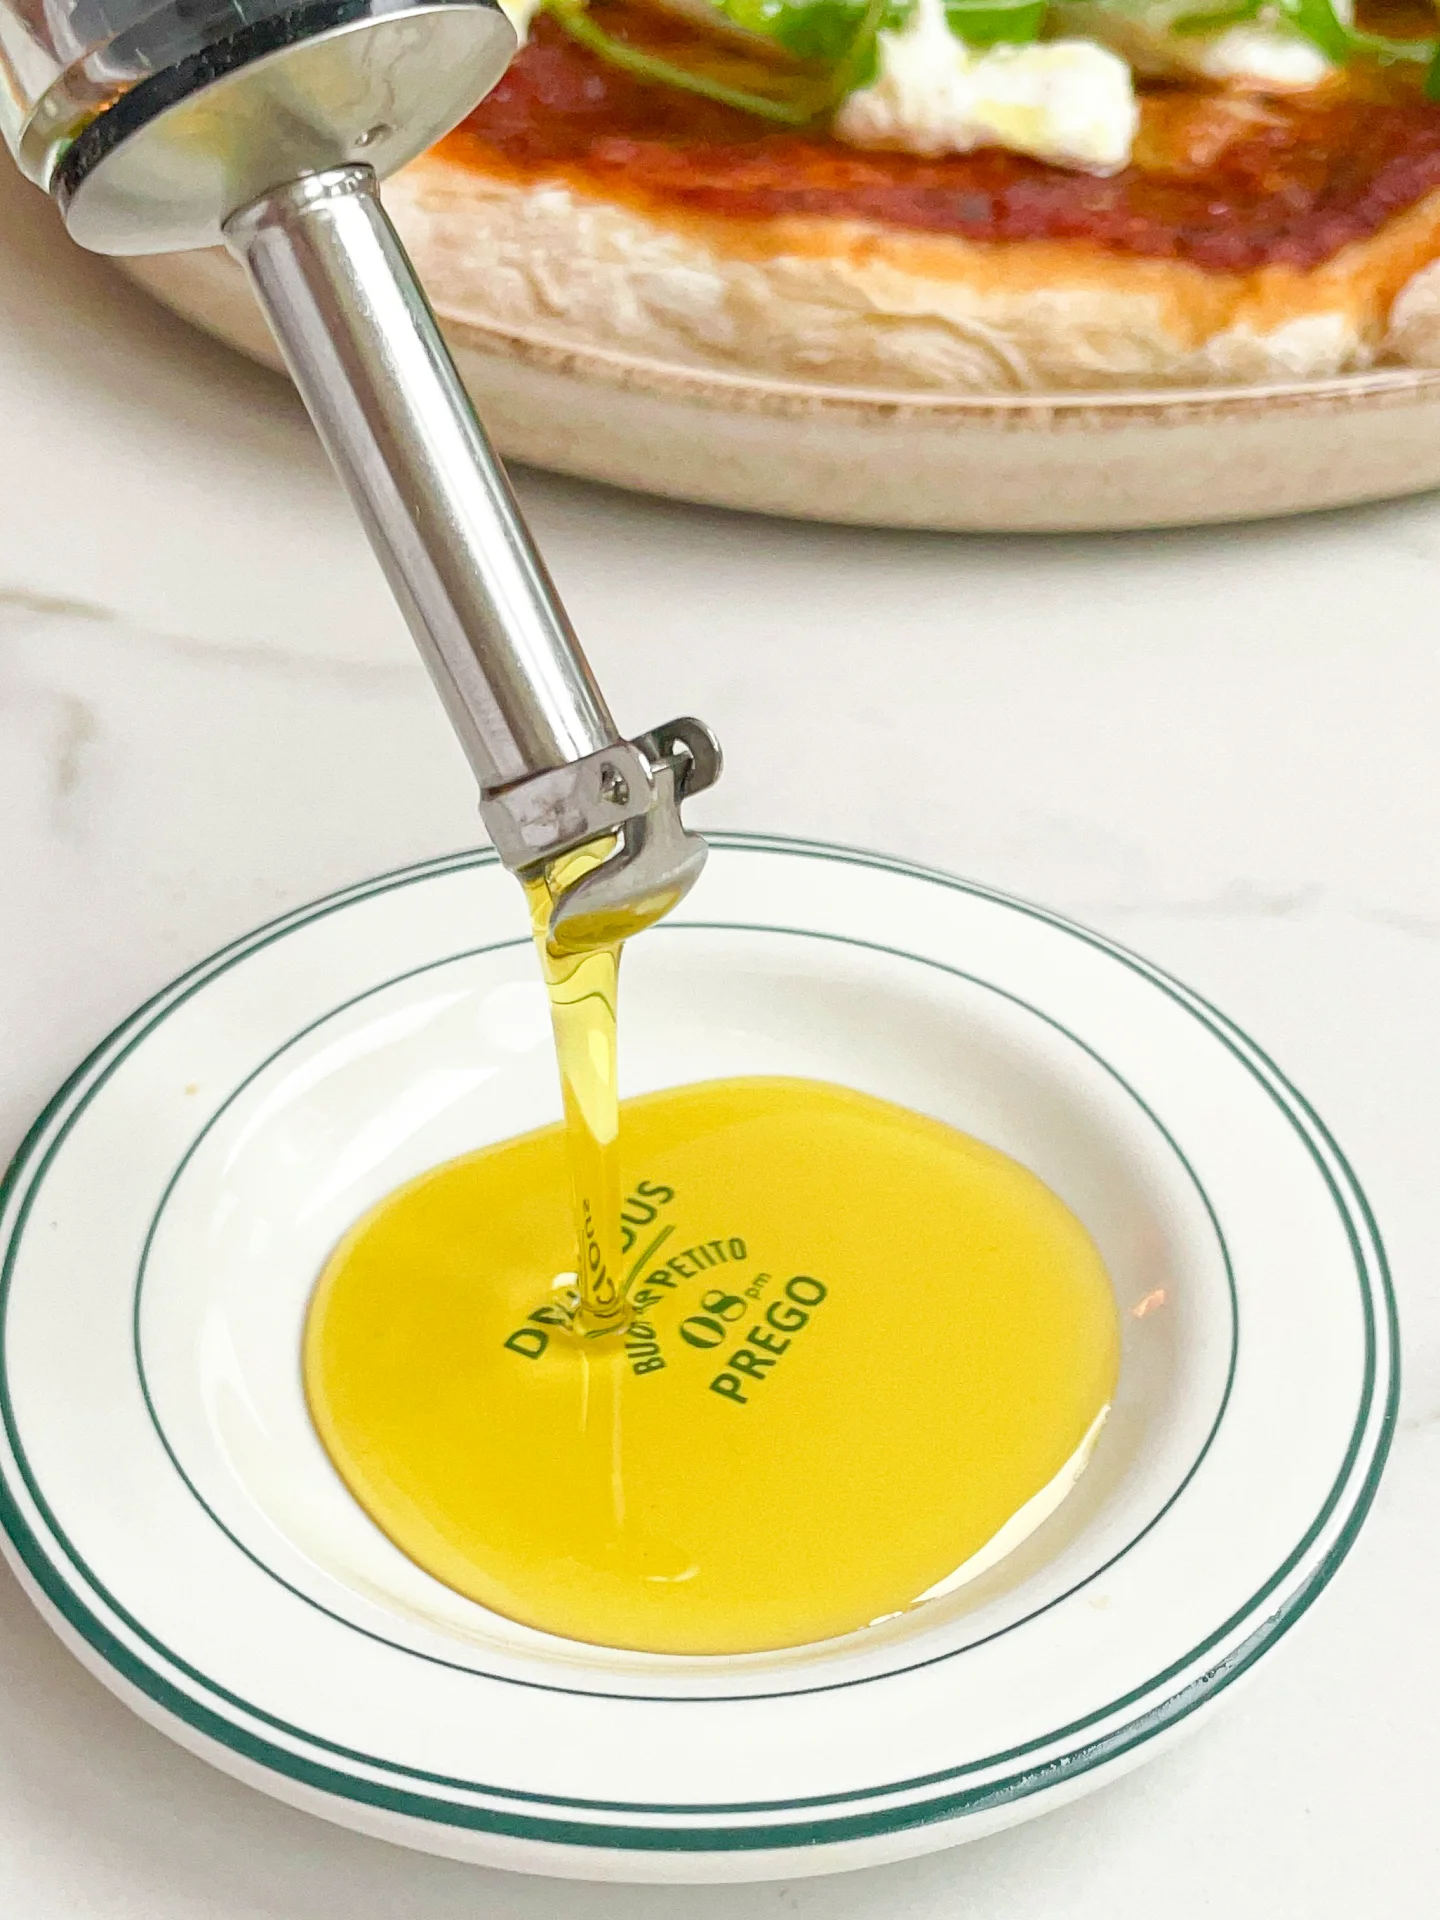
This oil shines when drizzled over freshly cooked pasta, adding an instant depth of flavor. It’s also the perfect pairing for warm, crusty bread – just pour it into a small dish and dip away! Try it on pizza to give each slice a bold kick, or even as a finishing touch on roasted vegetables for a gourmet vibe. Honestly, it’s your go-to for making any meal feel a little extra without the extra effort.

How to store
Store your infused oil in a clean, airtight glass jar or bottle. Keep it in a cool, dark spot, like a pantry or cupboard, for up to one week.

Hi, I'm Kimberly!

Hi, I'm Kimberly.

A passionate food lover who believes in the magic of homemade deliciousness that spreads love and warmth. Join me on this culinary adventure as I prepare wonderful dishes and let’s spread some happiness together!

Kimberly the Zett Signature

If you want to get to know me better, click here!


Tomato Chili Garlic Oil
„Let’s make a piece of happiness“
Print
clock clock iconcutlery cutlery iconflag flag iconfolder folder iconinstagram instagram iconpinterest pinterest iconfacebook facebook iconprint print iconsquares squares iconheart heart iconheart solid heart solid icon
Tomato Chili Garlic Oil

Tomato Chili Garlic Oil


5 Stars 4 Stars 3 Stars 2 Stars 1 Star

No reviews

  • Author: Kimberly
  • Total Time: 65 min
  • Yield: 1 cup / 250 ml 1x

Description

RECOMMENDED EQUIPMENT

  • blender
  • medium-sized saucepan
  • whisk
  • a bowl which the medium saucepan fits into
  • 2 medium-sized bowls
  • 2 fine sieves
  • sealable container (oil bottle)
  • ice cubes
  • coffee filter

Ingredients

Units Scale
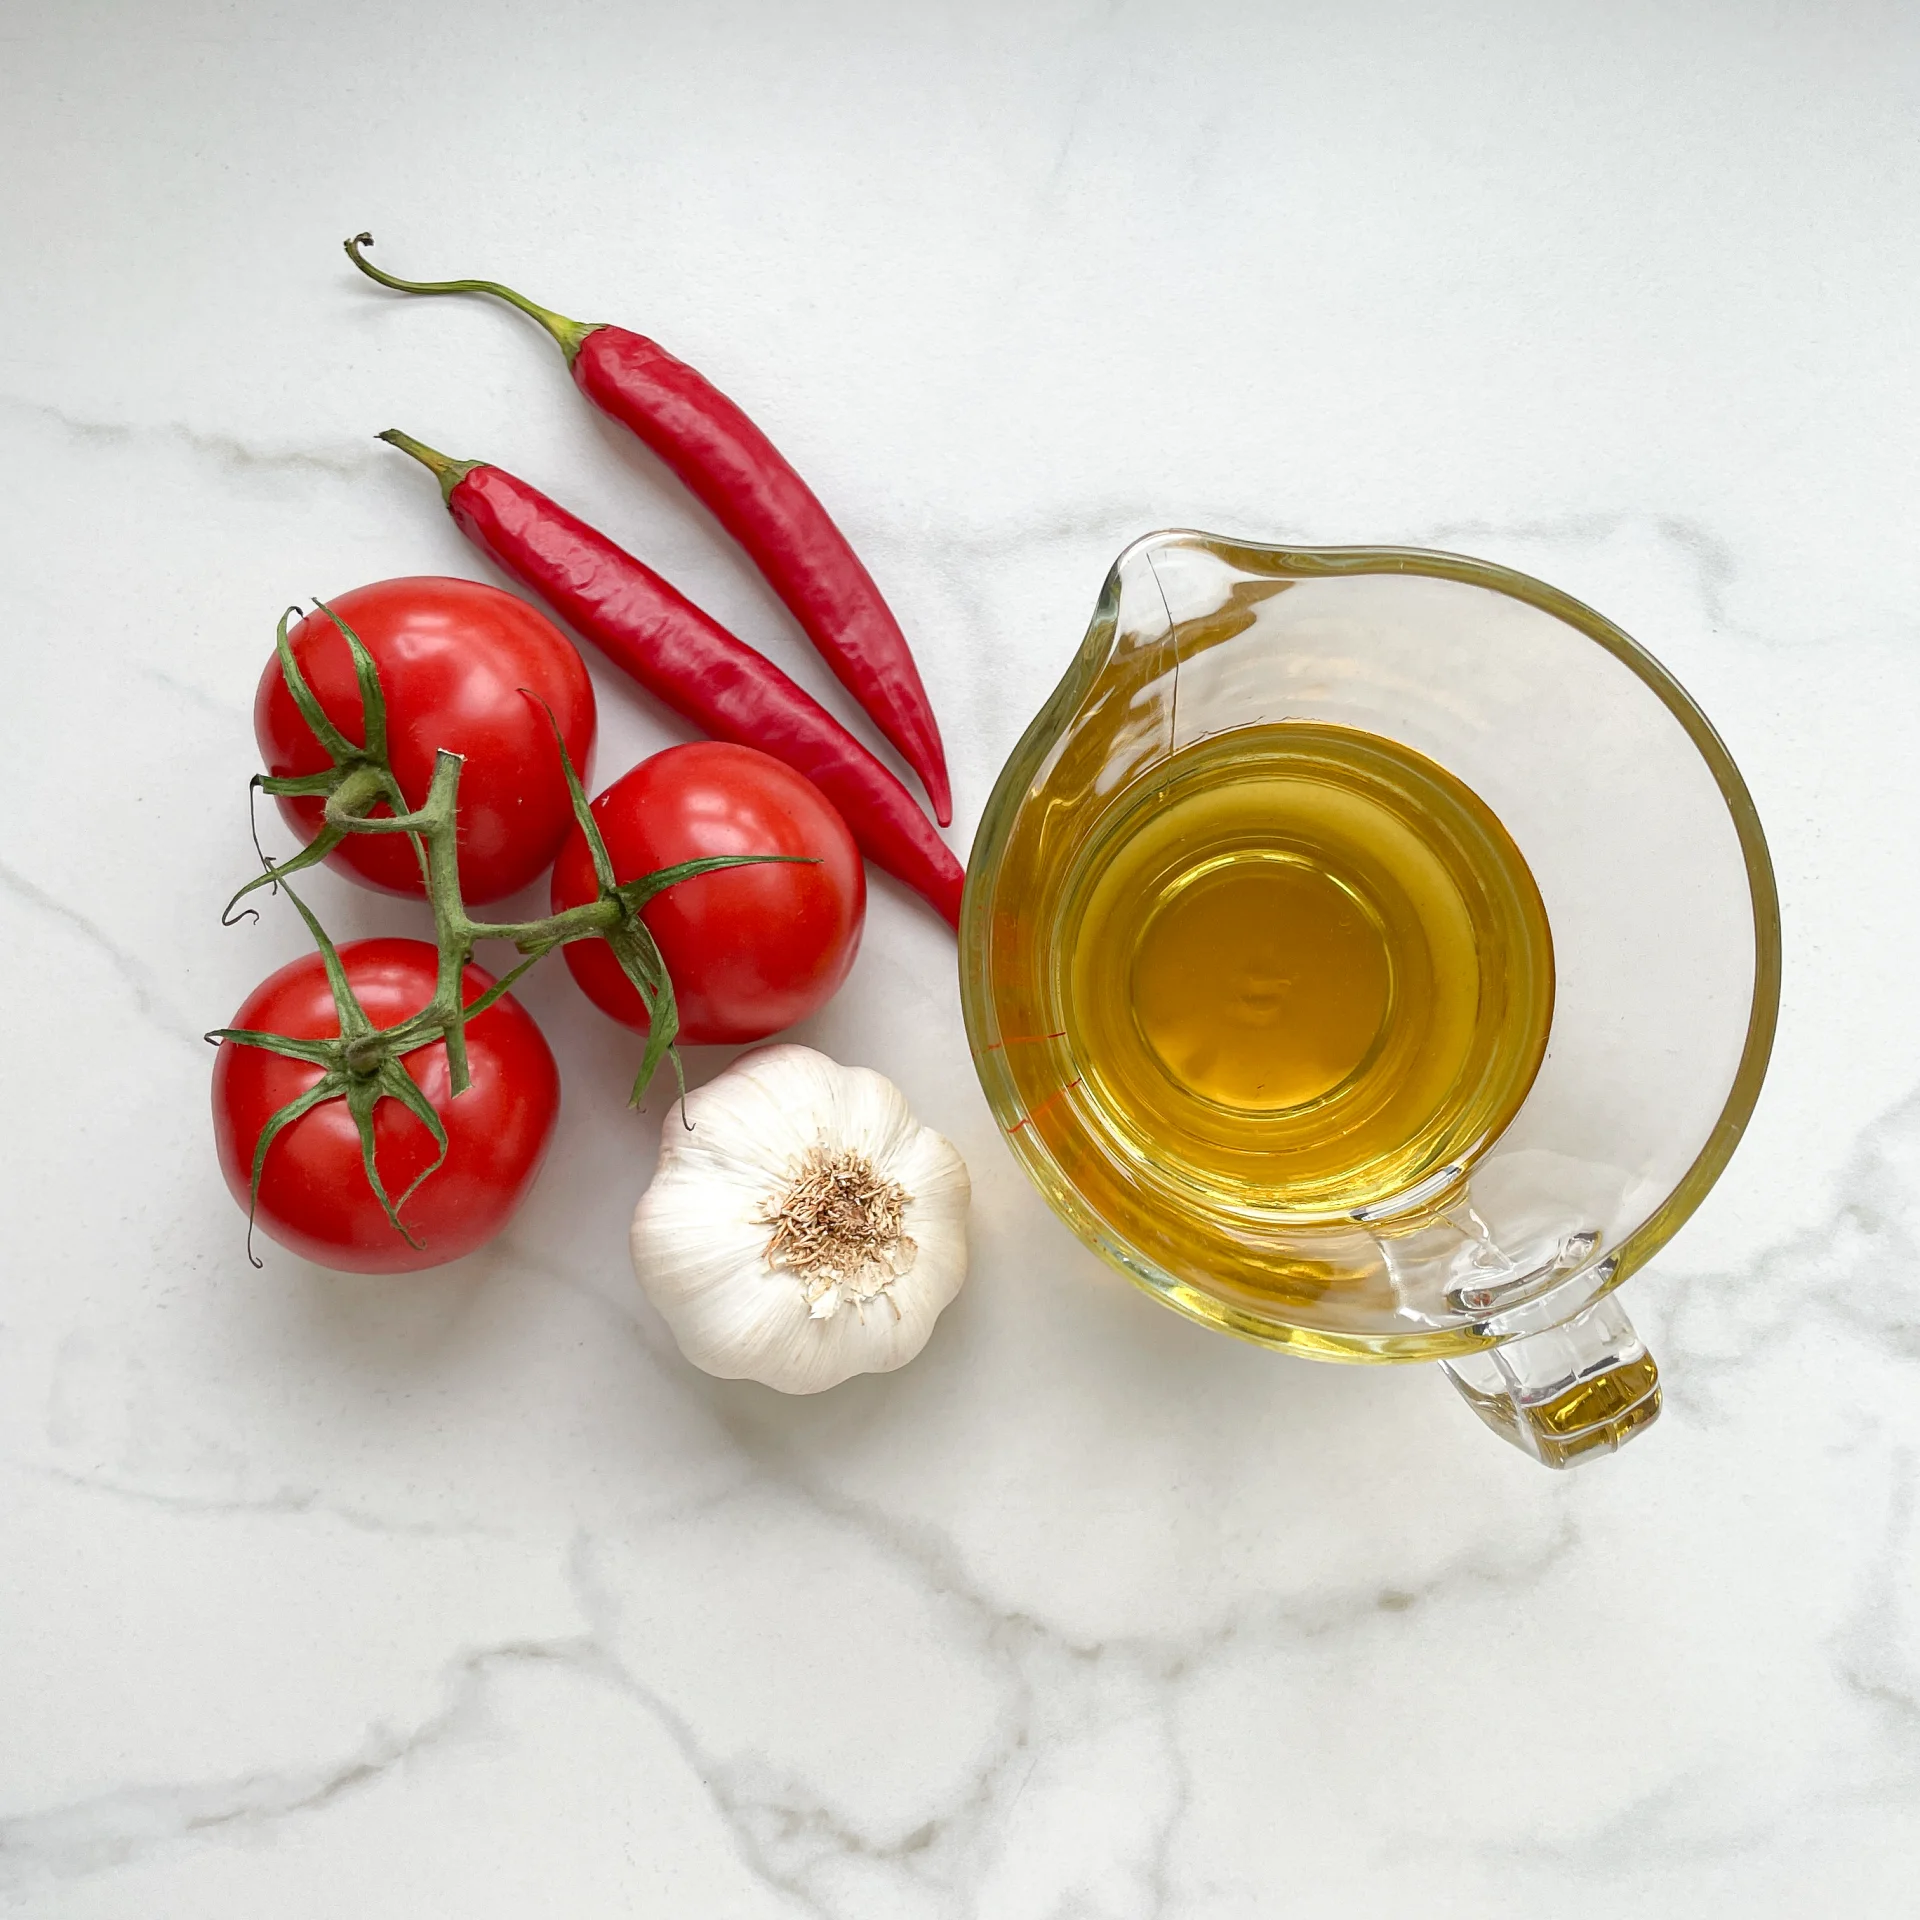
  • 200 grams tomato
  • 6 garlic cloves
  • 1 fresh chili pepper
  • 250 milliliter avocado oil

Instructions

  1. Wash the tomatoes and chili, peel the garlic, and trim the green stem off the chili. Toss everything into the blender.
  2. Pour the mixture from the blender into a medium-sized pot and heat it over medium heat to a temperature of about 101°-104°C (213°-219°F), and maintain this temperature for the next 30 minutes. Stir occasionally, making sure the temperature remains steady and nothing gets burned.
  3. Prepare a bowl large enough to fit a medium-sized pot, and fill it with cold water and a handful of ice cubes. Also, hang a fine sieve strainer over one medium-sized bowl and another fine sieve strainer, with a coffee filter inside it, over another medium-sized bowl.
  4. Now, place the pot in the ice water and stir to cool the oil quickly. Once the oil is almost cold, remove the pot from the water and pour the oil into the prepared fine sieve to catch the coarse particles.
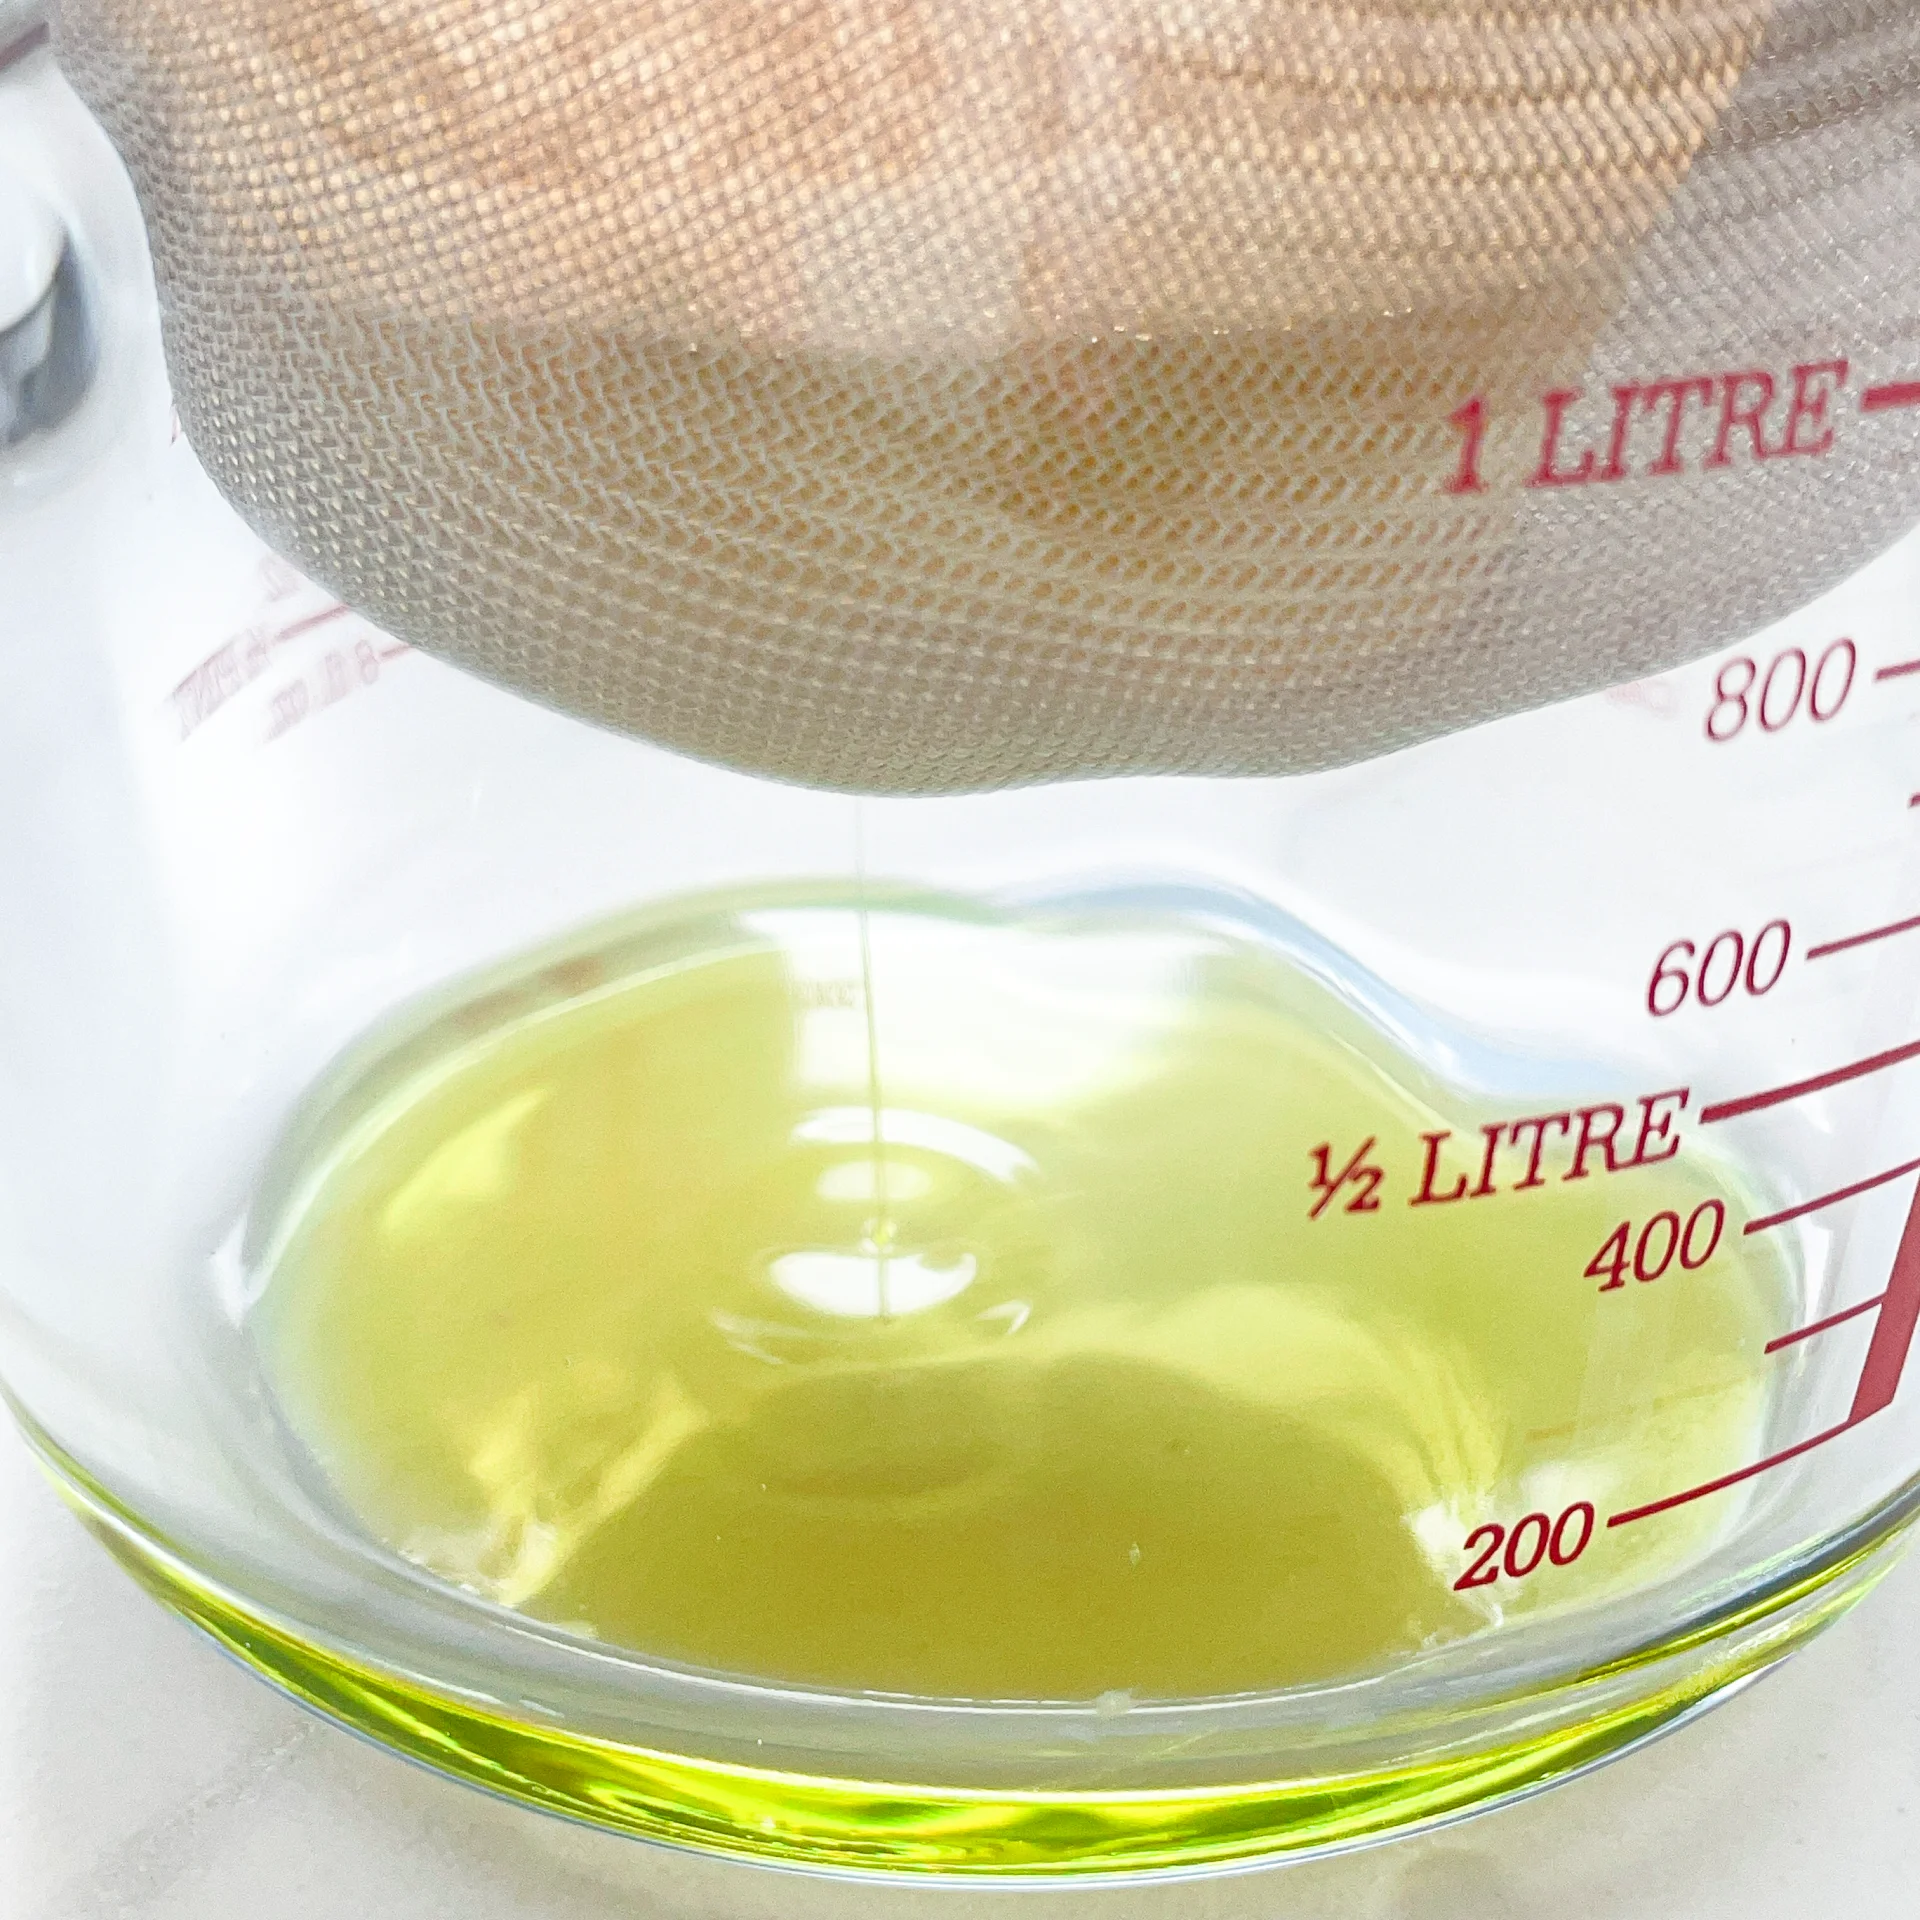
  5. Then, pour the oil into the second sieve, which is equipped with a coffee filter, to catch the remaining finer particles.
  6. Allow the oil to drip through for about 20 minutes or maybe less depending on how many remaining particles are in the coffee filter. Once all the oil has passed through the coffee filter, transfer the collected amount of oil into a sealable container or directly into an oil bottle. Store in the refrigerator for up to one week.
  • Prep Time: 5 min
  • Passive Time: 30 min
  • Cook Time: 30 min
Pasta al Pomodoro

Pasta al Pomodoro

Pasta al Pomodoro

Pasta al Pomodoro

November 5, 2024 by Kimberly

Imagine al dente pasta coated in a fresh, rich garlic basil tomato sauce – each bite bursting with Mediterranean sunshine, cozy comfort, and pure bliss. This dish tastes like home, every single time.

20 MINUTES

EASY

VEGAN

ITALIAN

589 PER PORTION

COMFORT FOOD

WEEKNIGHT

DINNER

ALL YEAR

INTRODUCTION

ABOUT THE RECIPE

Get ready to taste sunshine on a plate! This recipe brings you straight to an Italian summer with every bite – simple, cozy, and irresistibly delicious. This dish is all about fresh tomatoes simmered into a rich, velvety sauce that clings to each pasta strand, making it the ultimate comfort food. Perfect for weeknight dinners or when you crave a warm, feel-good meal, it’s easy to make but feels like pure indulgence.

How to serve
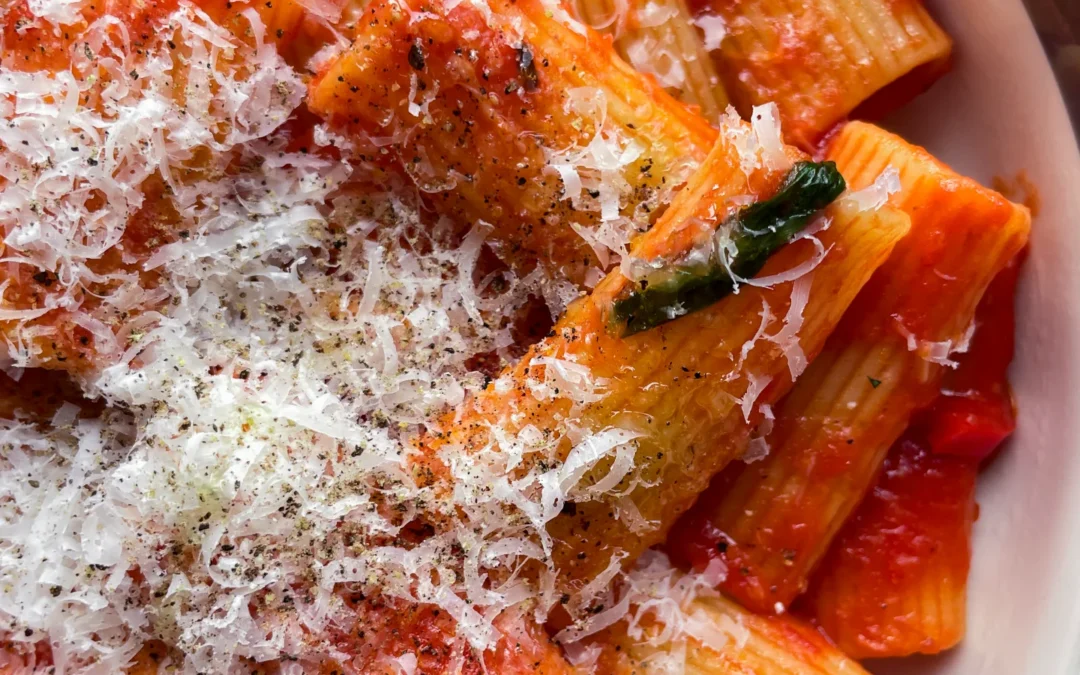
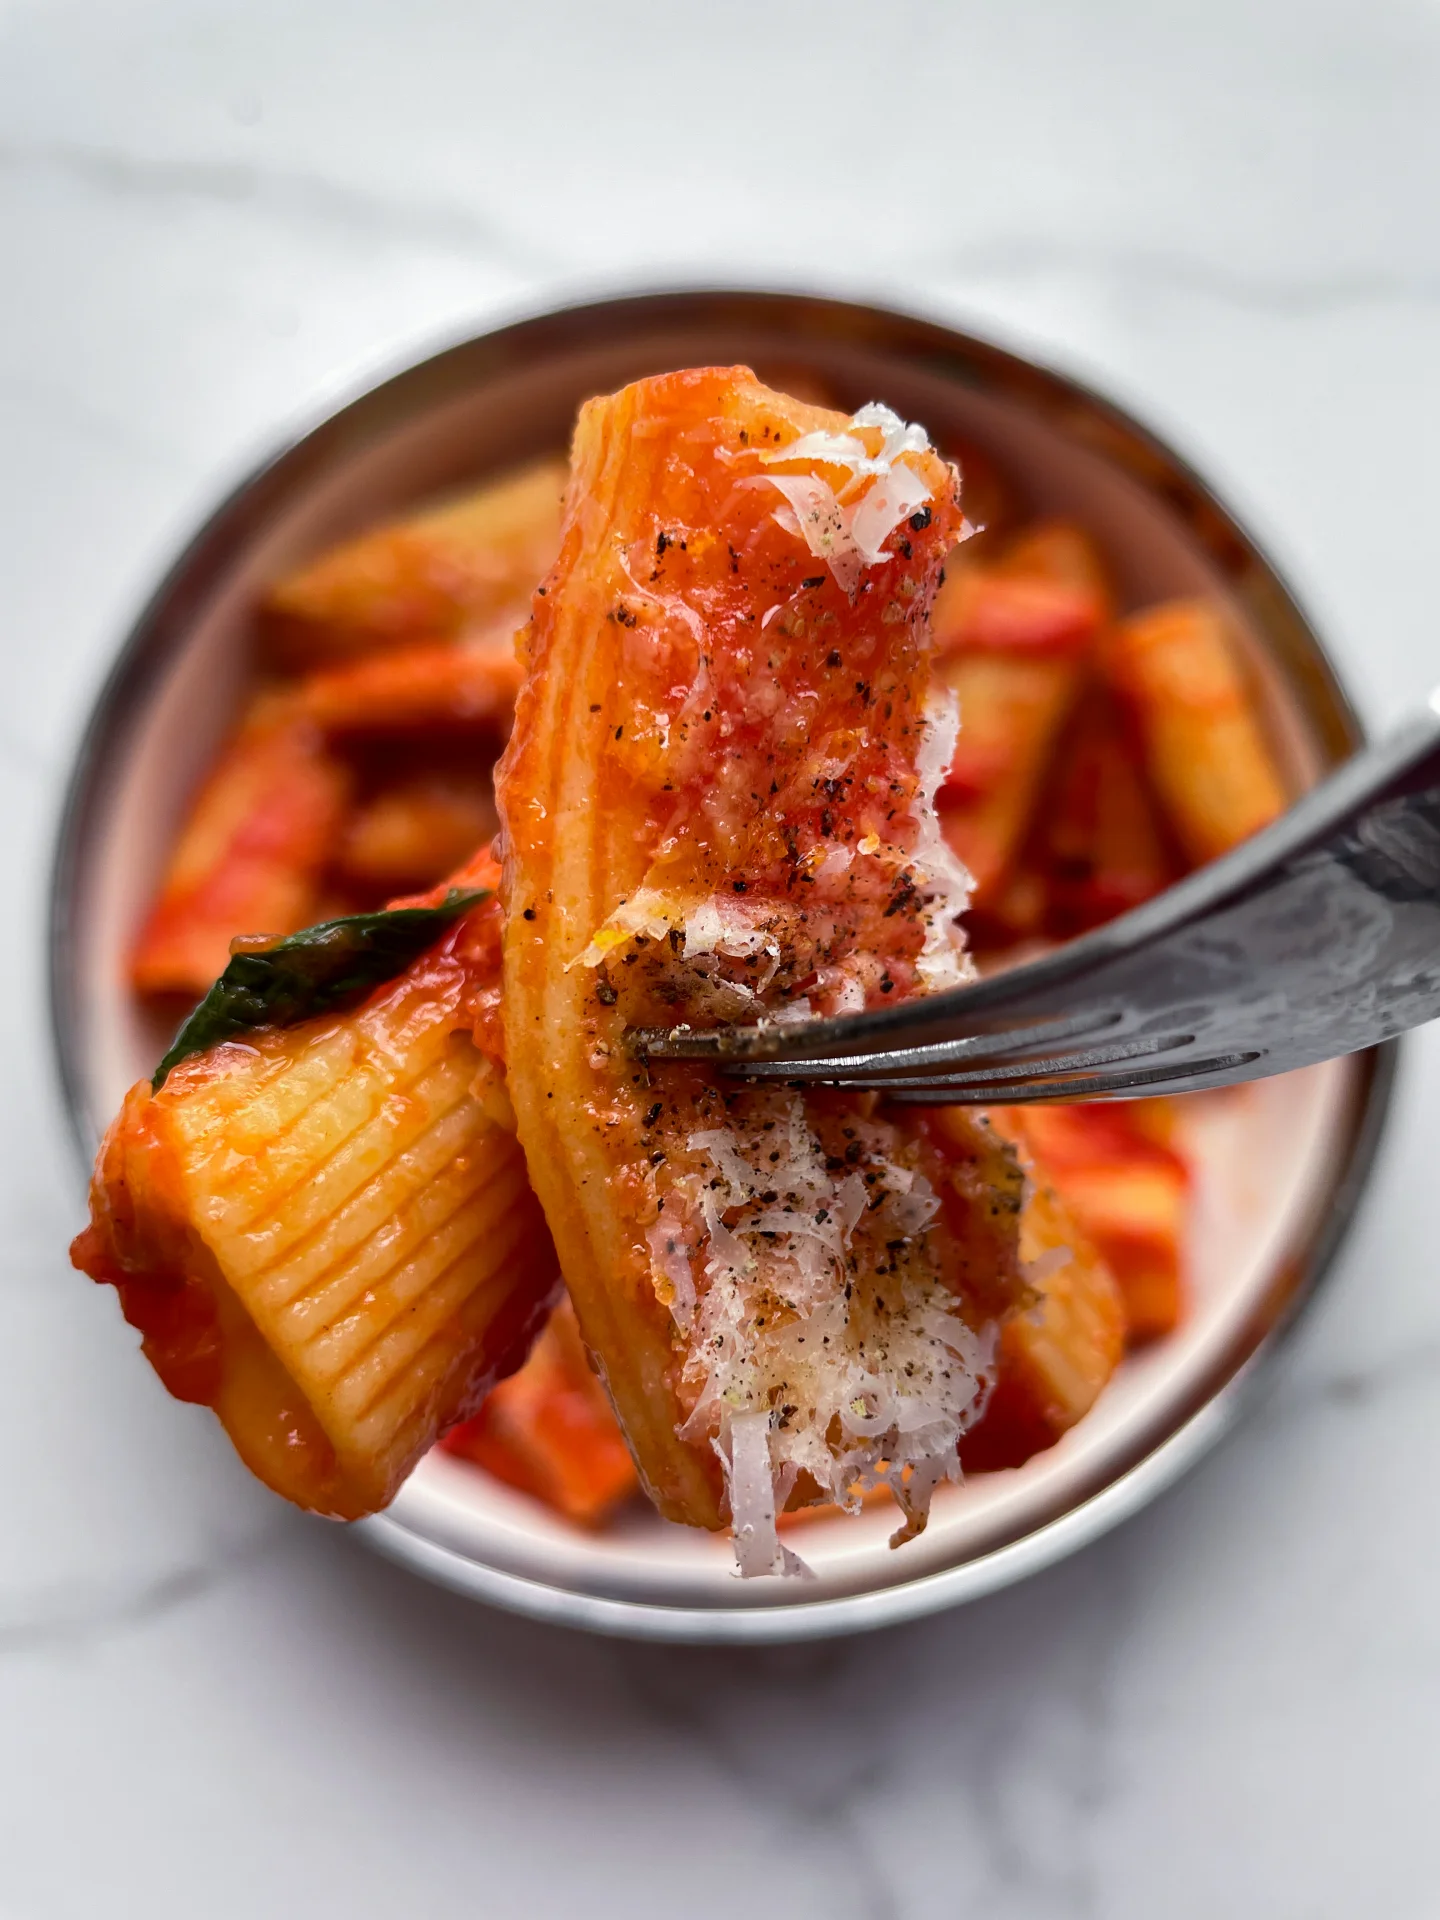
To make it unforgettable, serve this pasta with fresh basil and a dusting of Parmesan. A side of crusty garlic bread or a light salad with arugula and lemon vinaigrette balances the richness, adding that final touch. For a real treat, drizzle a bit of high-quality olive oil over the top just before serving. It’s simple but adds incredible depth and brings the dish to life, making it feel like a restaurant meal in the comfort of your home.

How to store
Store any leftovers in an airtight container in the fridge for up to 3 days. Reheat gently on the stovetop, adding a splash of water or olive oil to keep the sauce creamy. This way, you can enjoy it as good as fresh!

Hi, I'm Kimberly!

Hi, I'm Kimberly.

A passionate food lover who believes in the magic of homemade deliciousness that spreads love and warmth. Join me on this culinary adventure as I prepare wonderful dishes and let’s spread some happiness together!

Kimberly the Zett Signature

If you want to get to know me better, click here!


Pasta al Pomodoro
Pasta al Pomodoro
Pasta al Pomodoro
Pasta al Pomodoro
Pasta al Pomodoro
„Let’s make a piece of happiness“
Print
clock clock iconcutlery cutlery iconflag flag iconfolder folder iconinstagram instagram iconpinterest pinterest iconfacebook facebook iconprint print iconsquares squares iconheart heart iconheart solid heart solid icon
Pasta al Pomodoro

Pasta al Pomodoro


  • Author: Kimberly
  • Total Time: 20 min
  • Yield: 4 1x

Description

Recommended Equipment

  • large frying pan
  • sharp knife
  • cutting board
  • large pot

Ingredients

Units Scale
  • 4 tbsp olive oil
  • 4 garlic cloves
  • 1 fresh chili
  • 500 grams strained tomatoes
  • 10 grams fresh basil
  • 500 grams pasta of your choice (I used Rigatoni)
  • Parmesan
  • Salt & pepper to taste

Instructions

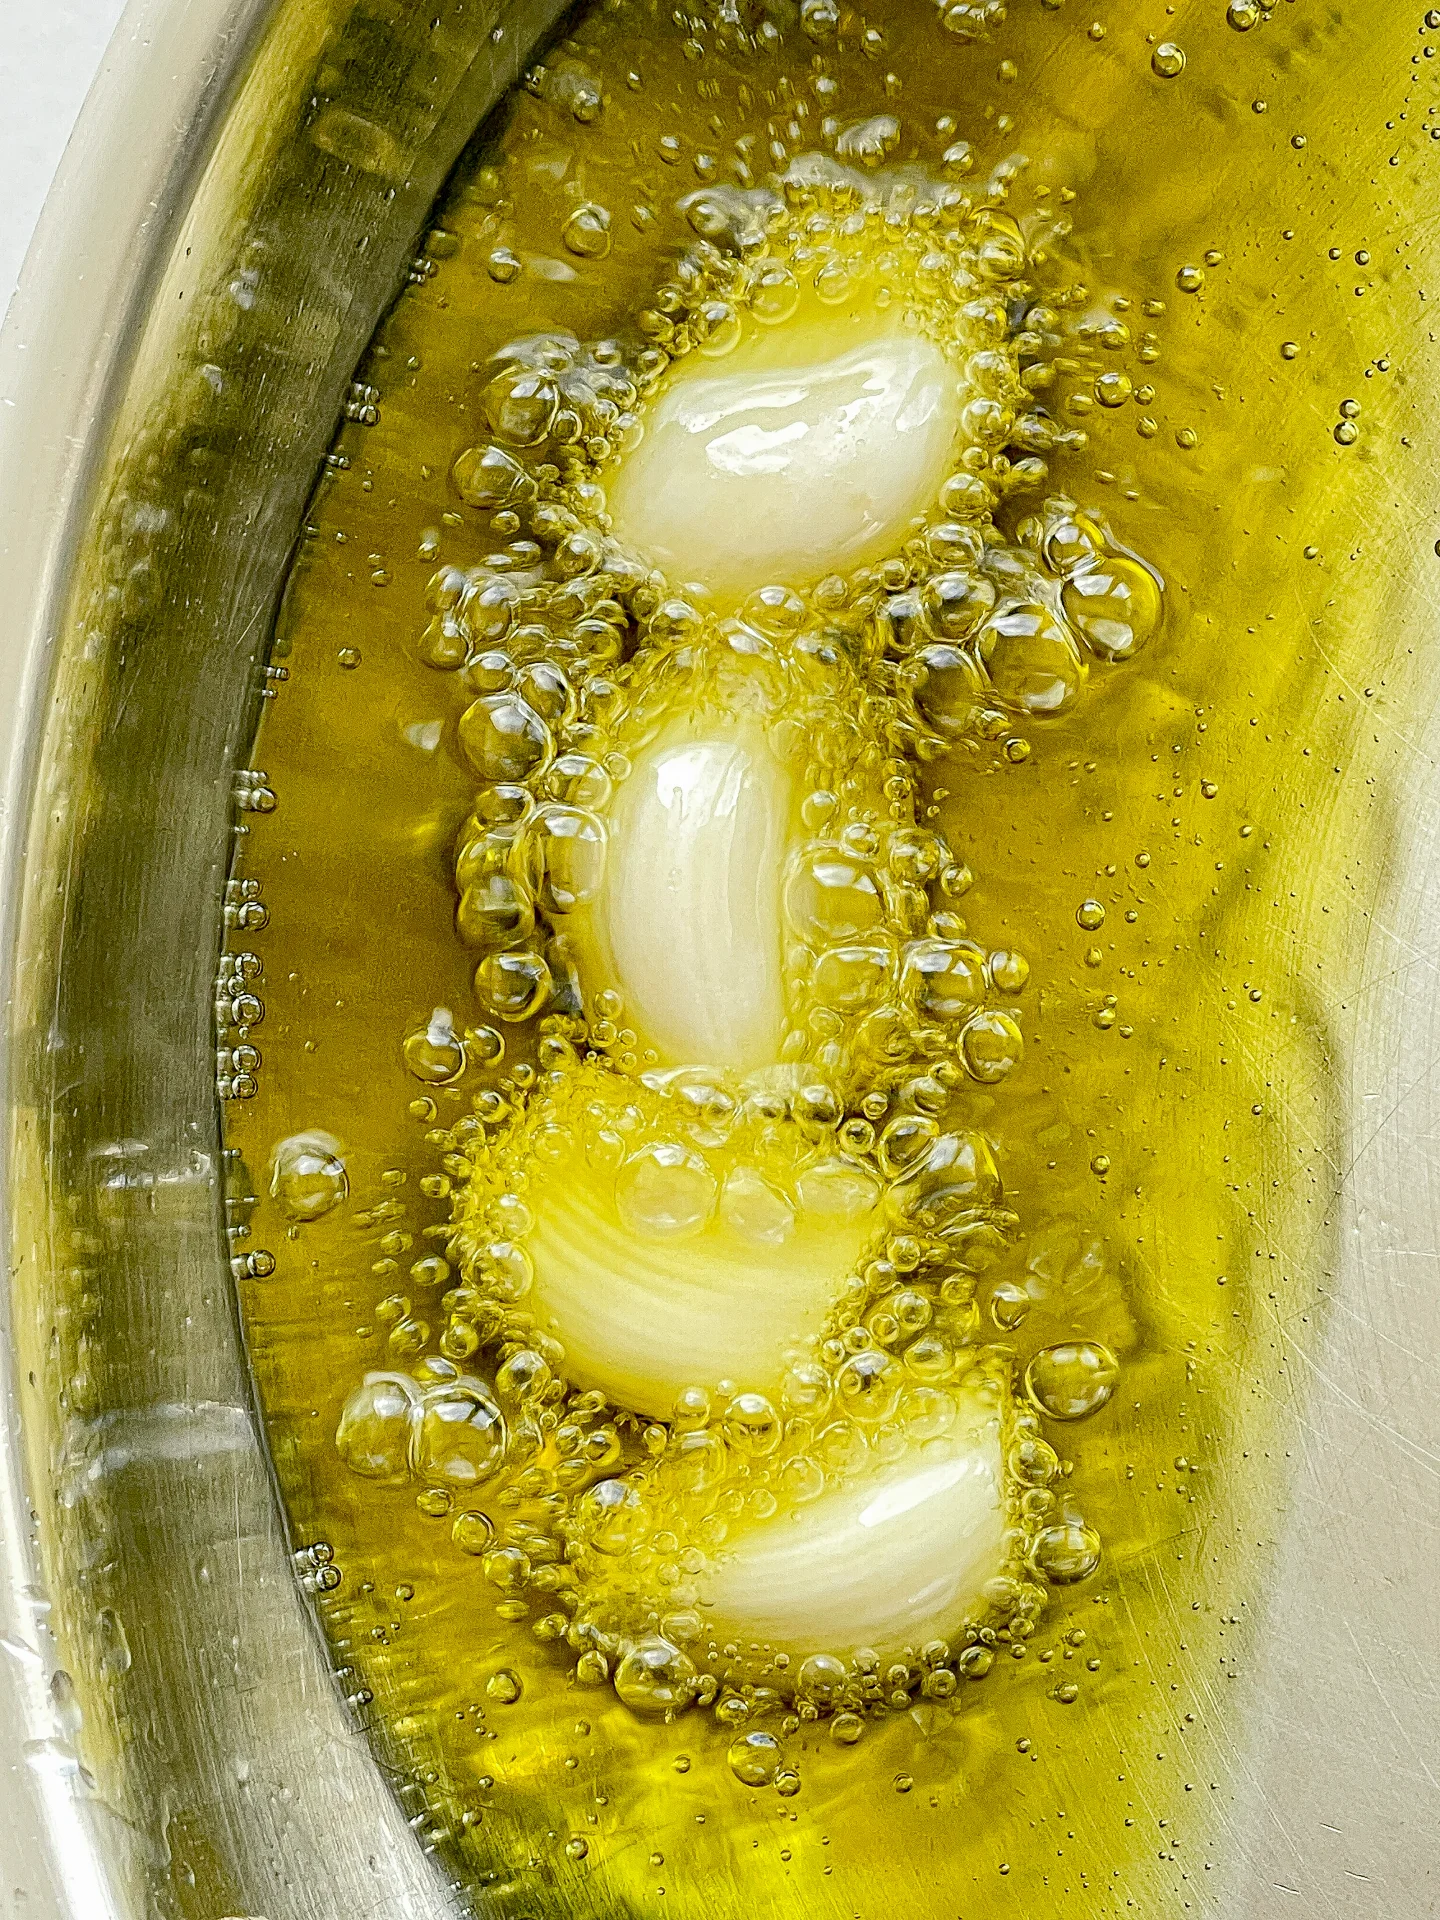
  1. Warm up 4 tbsp of olive oil over medium heat in a large frying pan. Meanwhile, peel the garlic cloves but leave them whole. Once the oil is warm, add the garlic cloves and let them roast until golden brown. It helps to tilt the pan so the oil pools in one spot, letting the garlic cloves fully submerge.
  2. When the garlic is golden brown, remove it from the pan and set it aside on a cutting board to cool slightly. Meanwhile, get a large pot of water ready for cooking your pasta, place it on the stove, and bring it to a rolling boil.
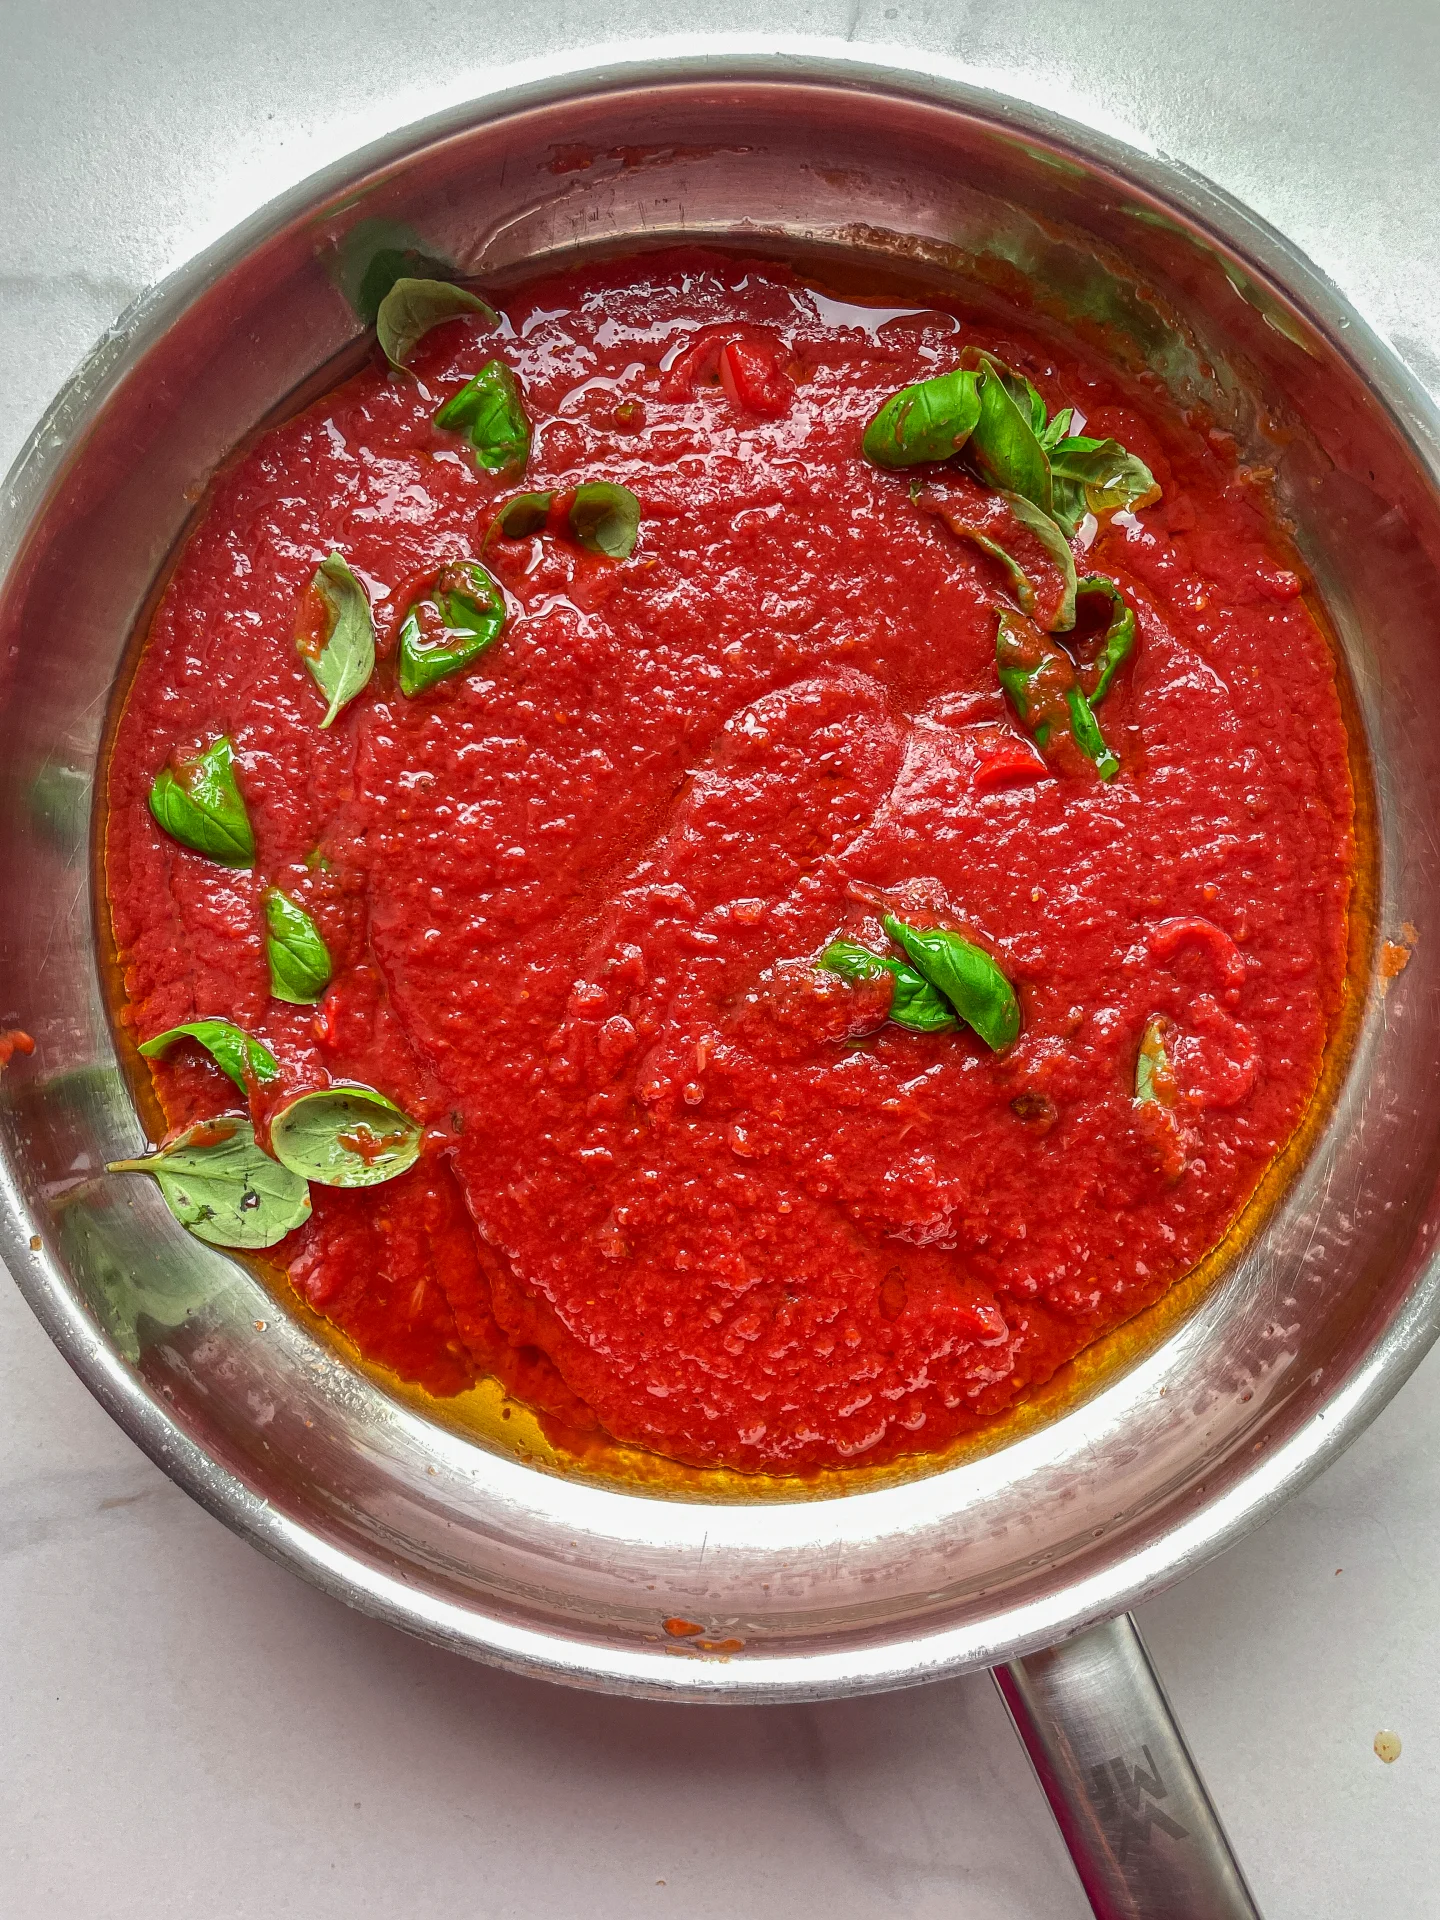
  3. Now mash the garlic into a paste with a bit of salt using the flat side of your knife on the cutting board – the salt helps break it down. Add this garlic paste back into the olive oil in the pan. Finely chop a fresh chili and add it to the pan as well. Warm everything over medium heat. Meanwhile, wash, dry, and thinly slice the basil leaves. Add the strained tomatoes and basil to the pan, stirring everything well, and let it simmer on low heat.
  4. Add the pasta and a bit of salt to the boiling water, cooking it until al dente. Season the tomato sauce with salt and pepper to taste.
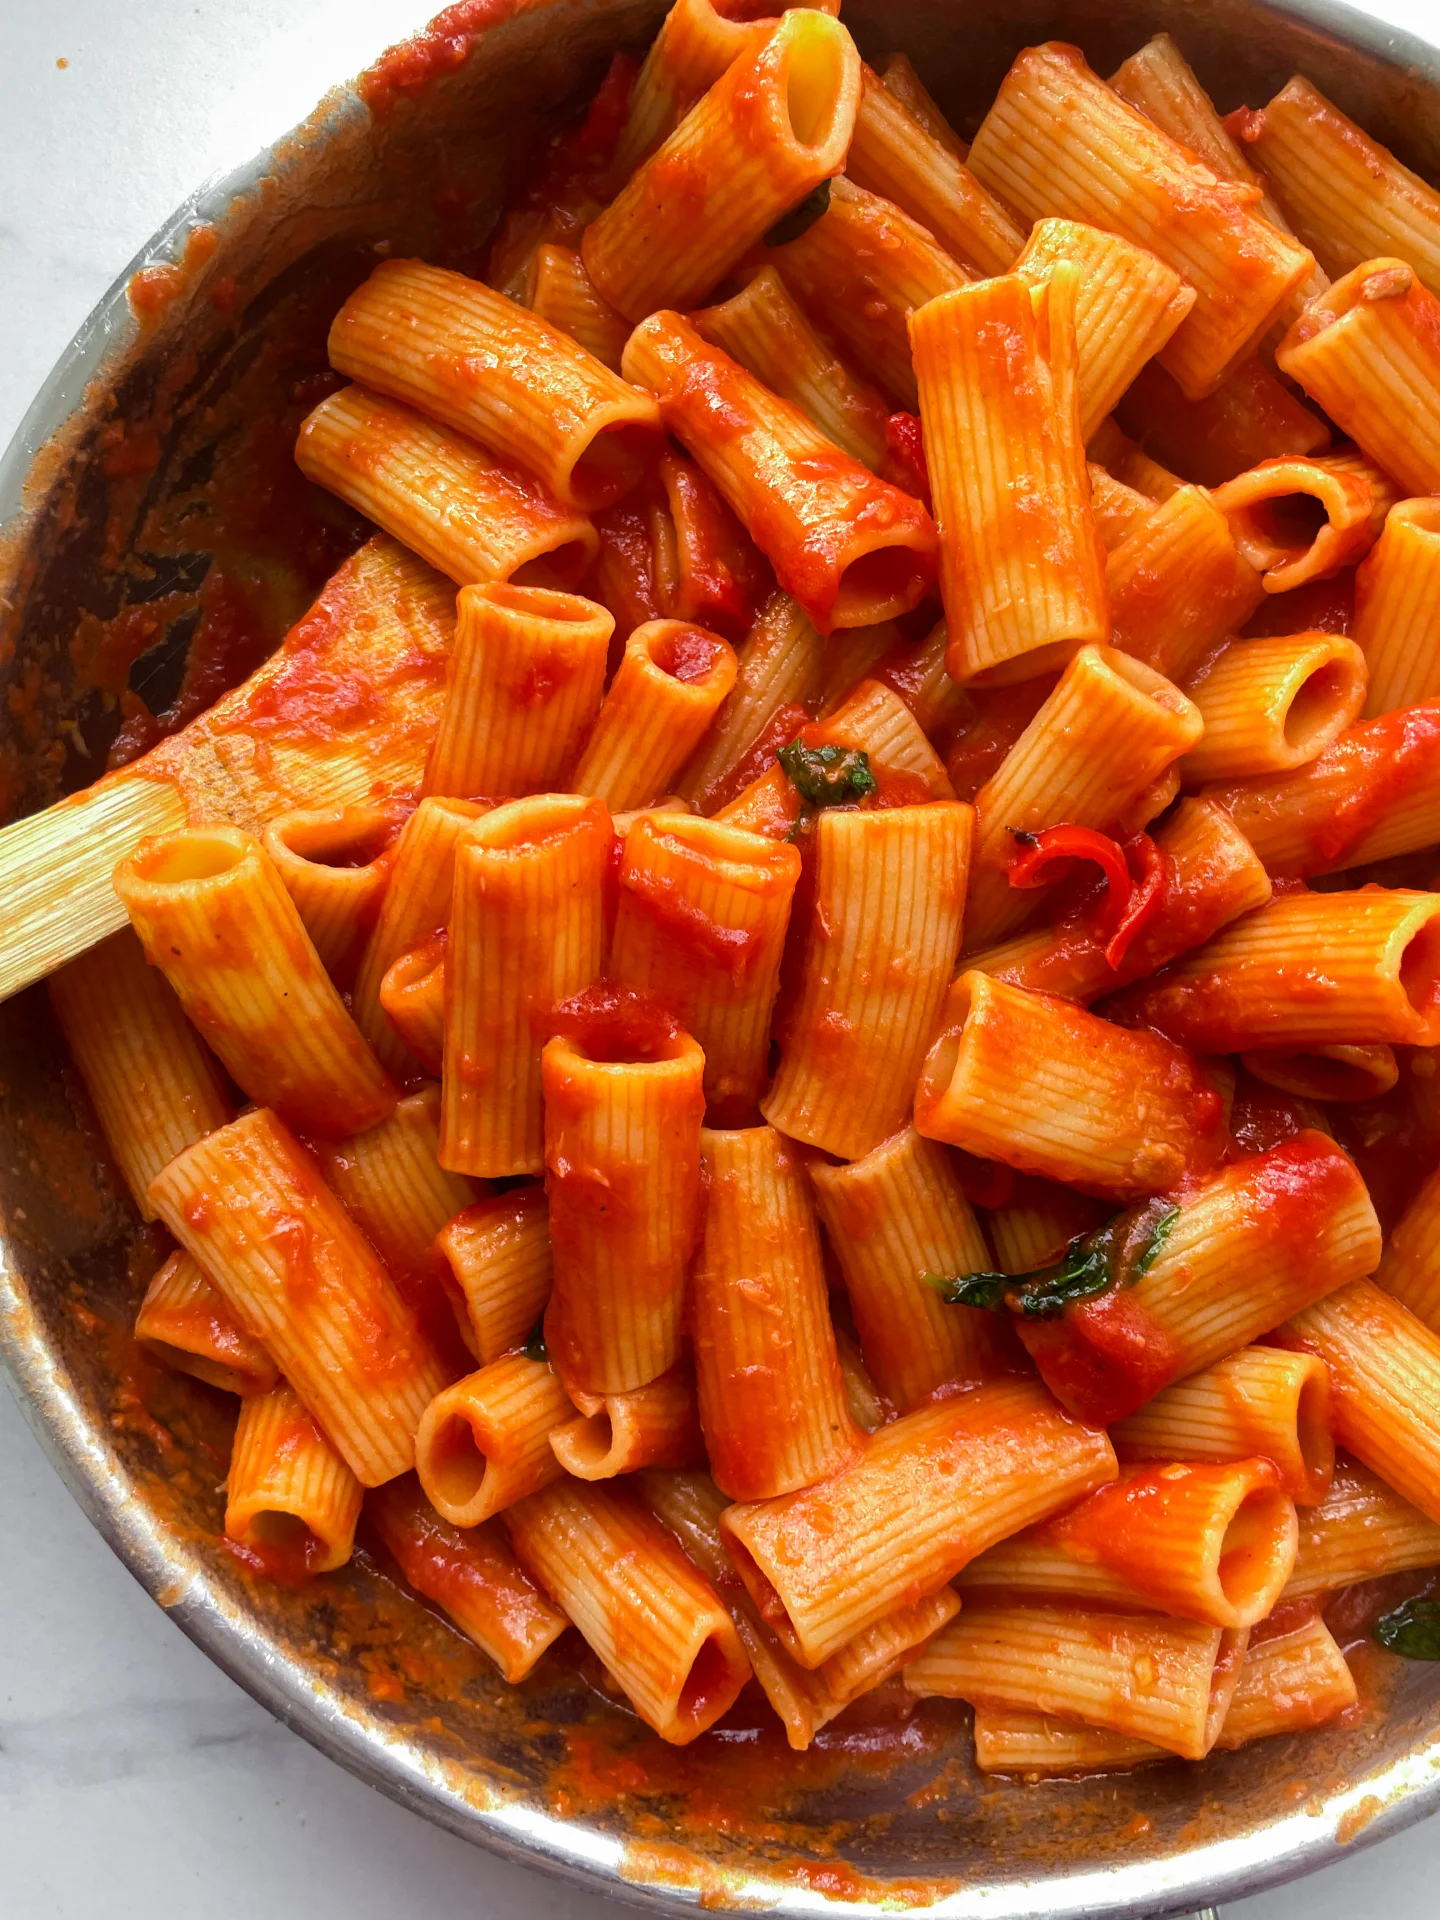
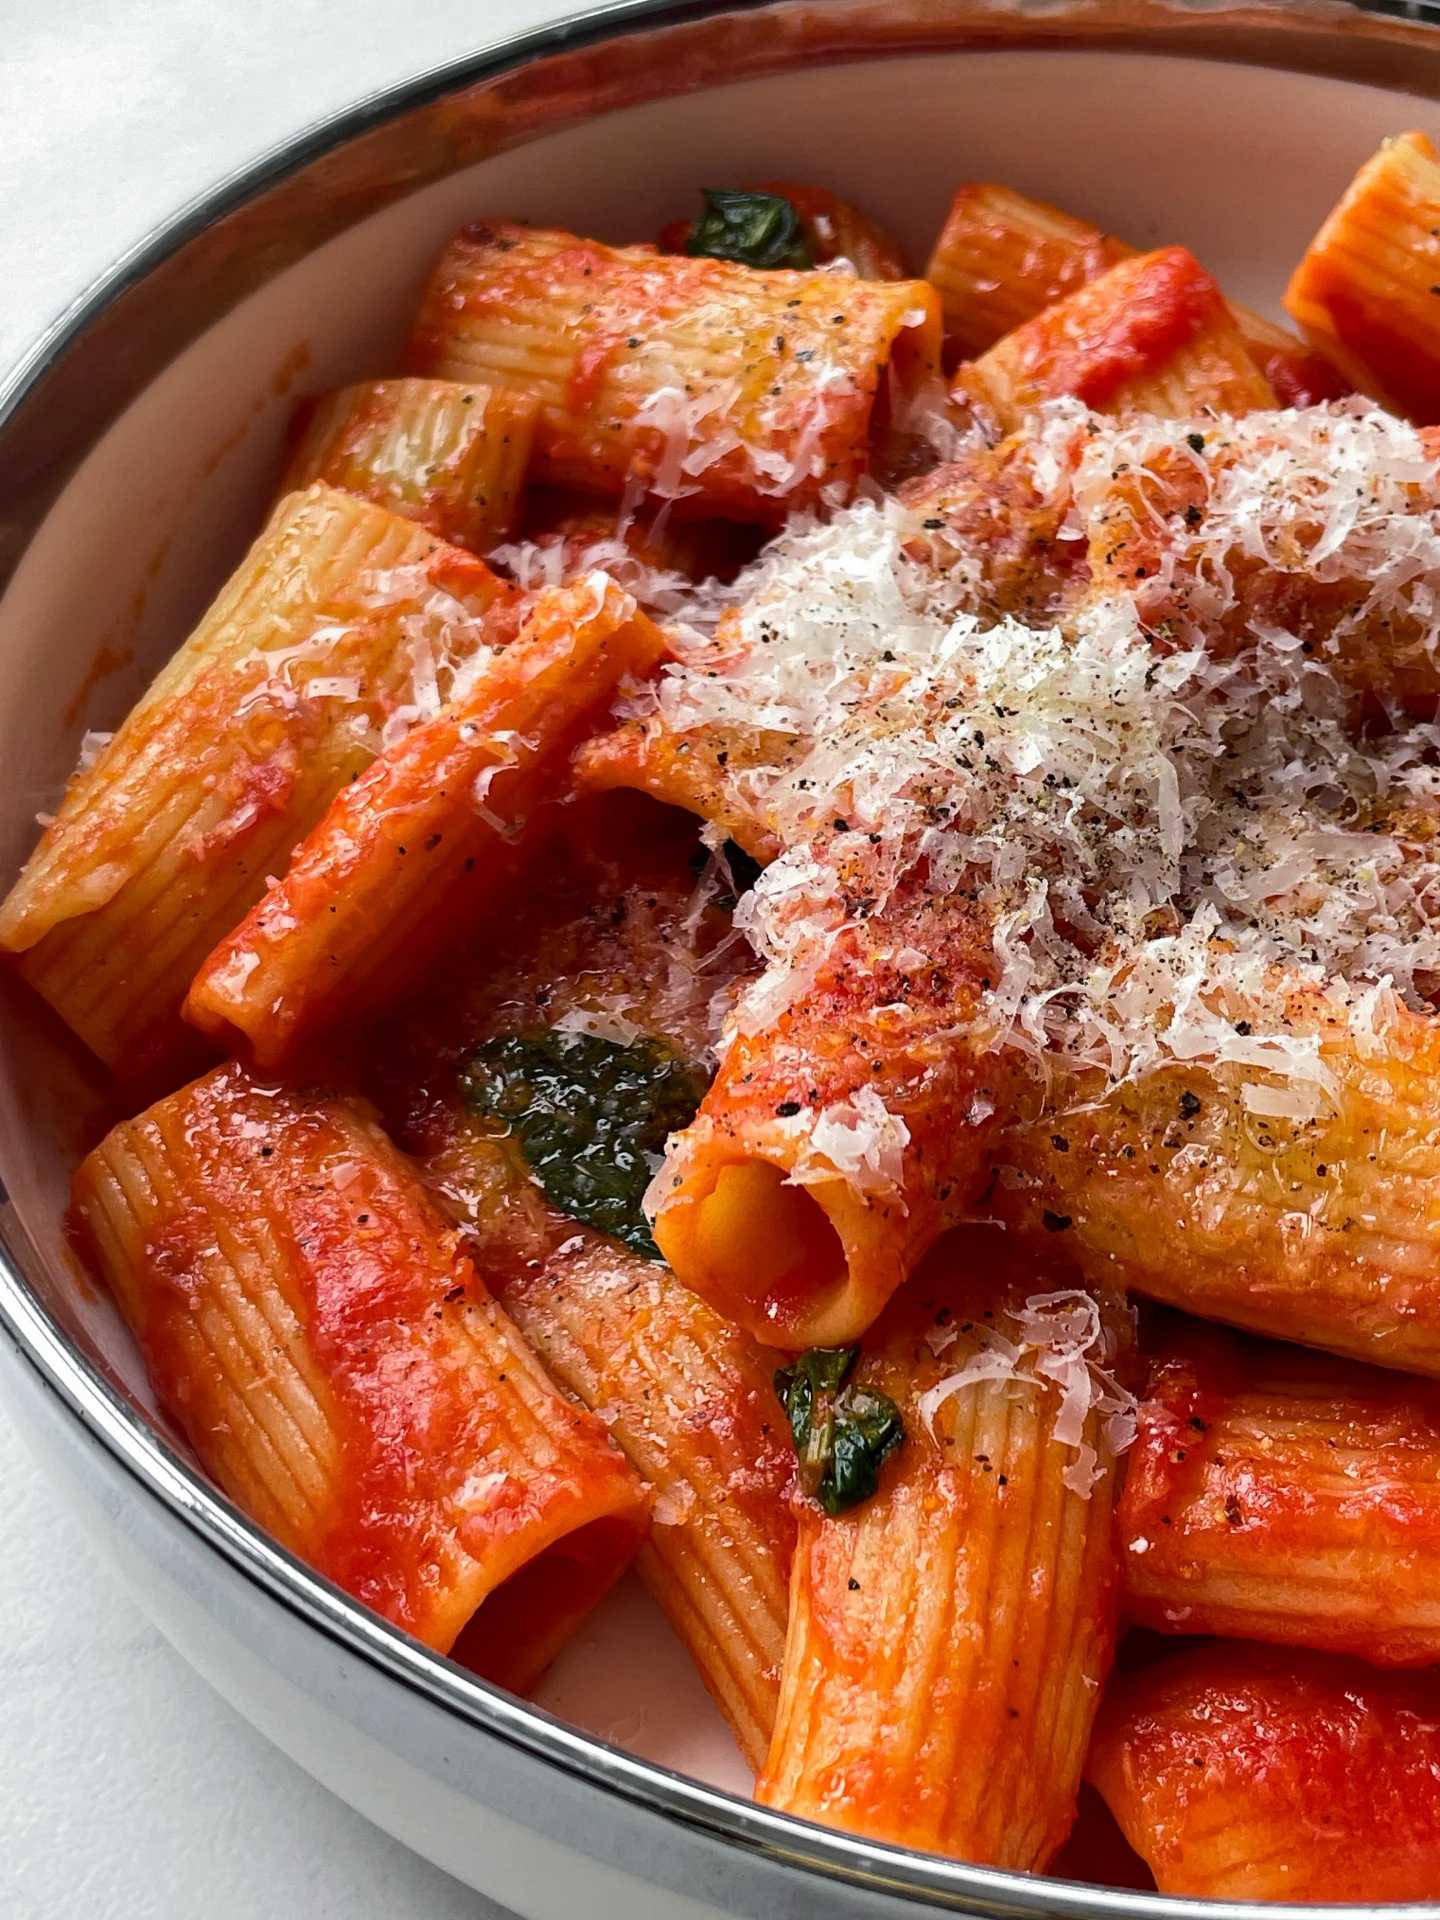
  5. Transfer the pasta to the tomato sauce, add a bit of the pasta water, and stir until the noodles are fully coated in the sauce. Serve the pasta on deep plates, topped with freshly grated Parmesan and a sprinkle of pepper.
  • Cook Time: 20 min

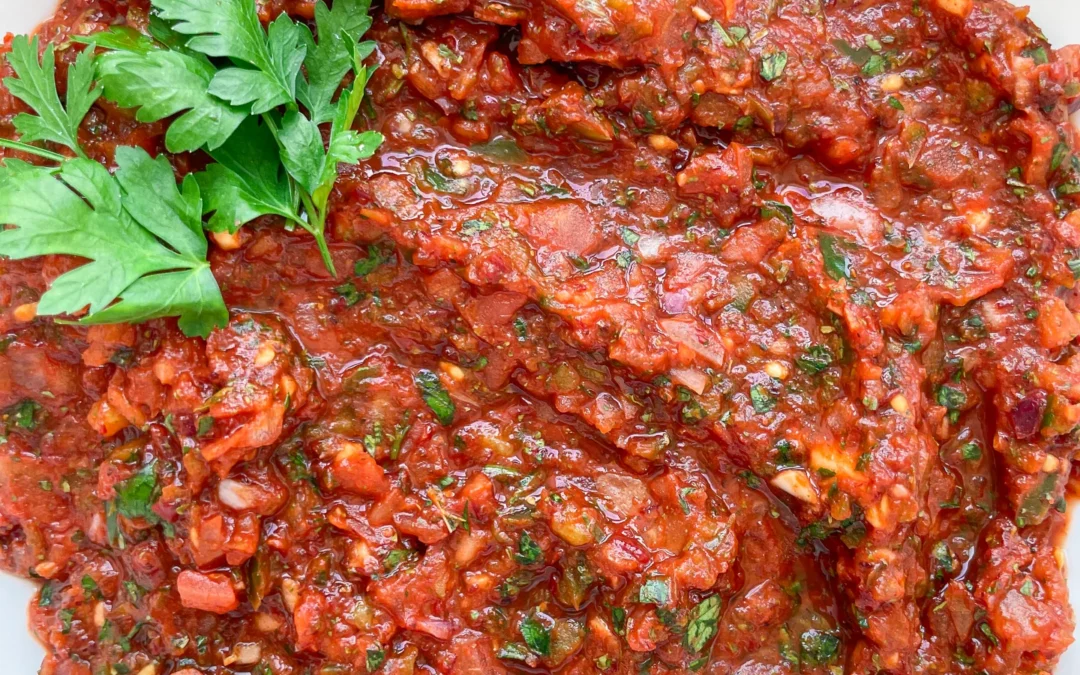
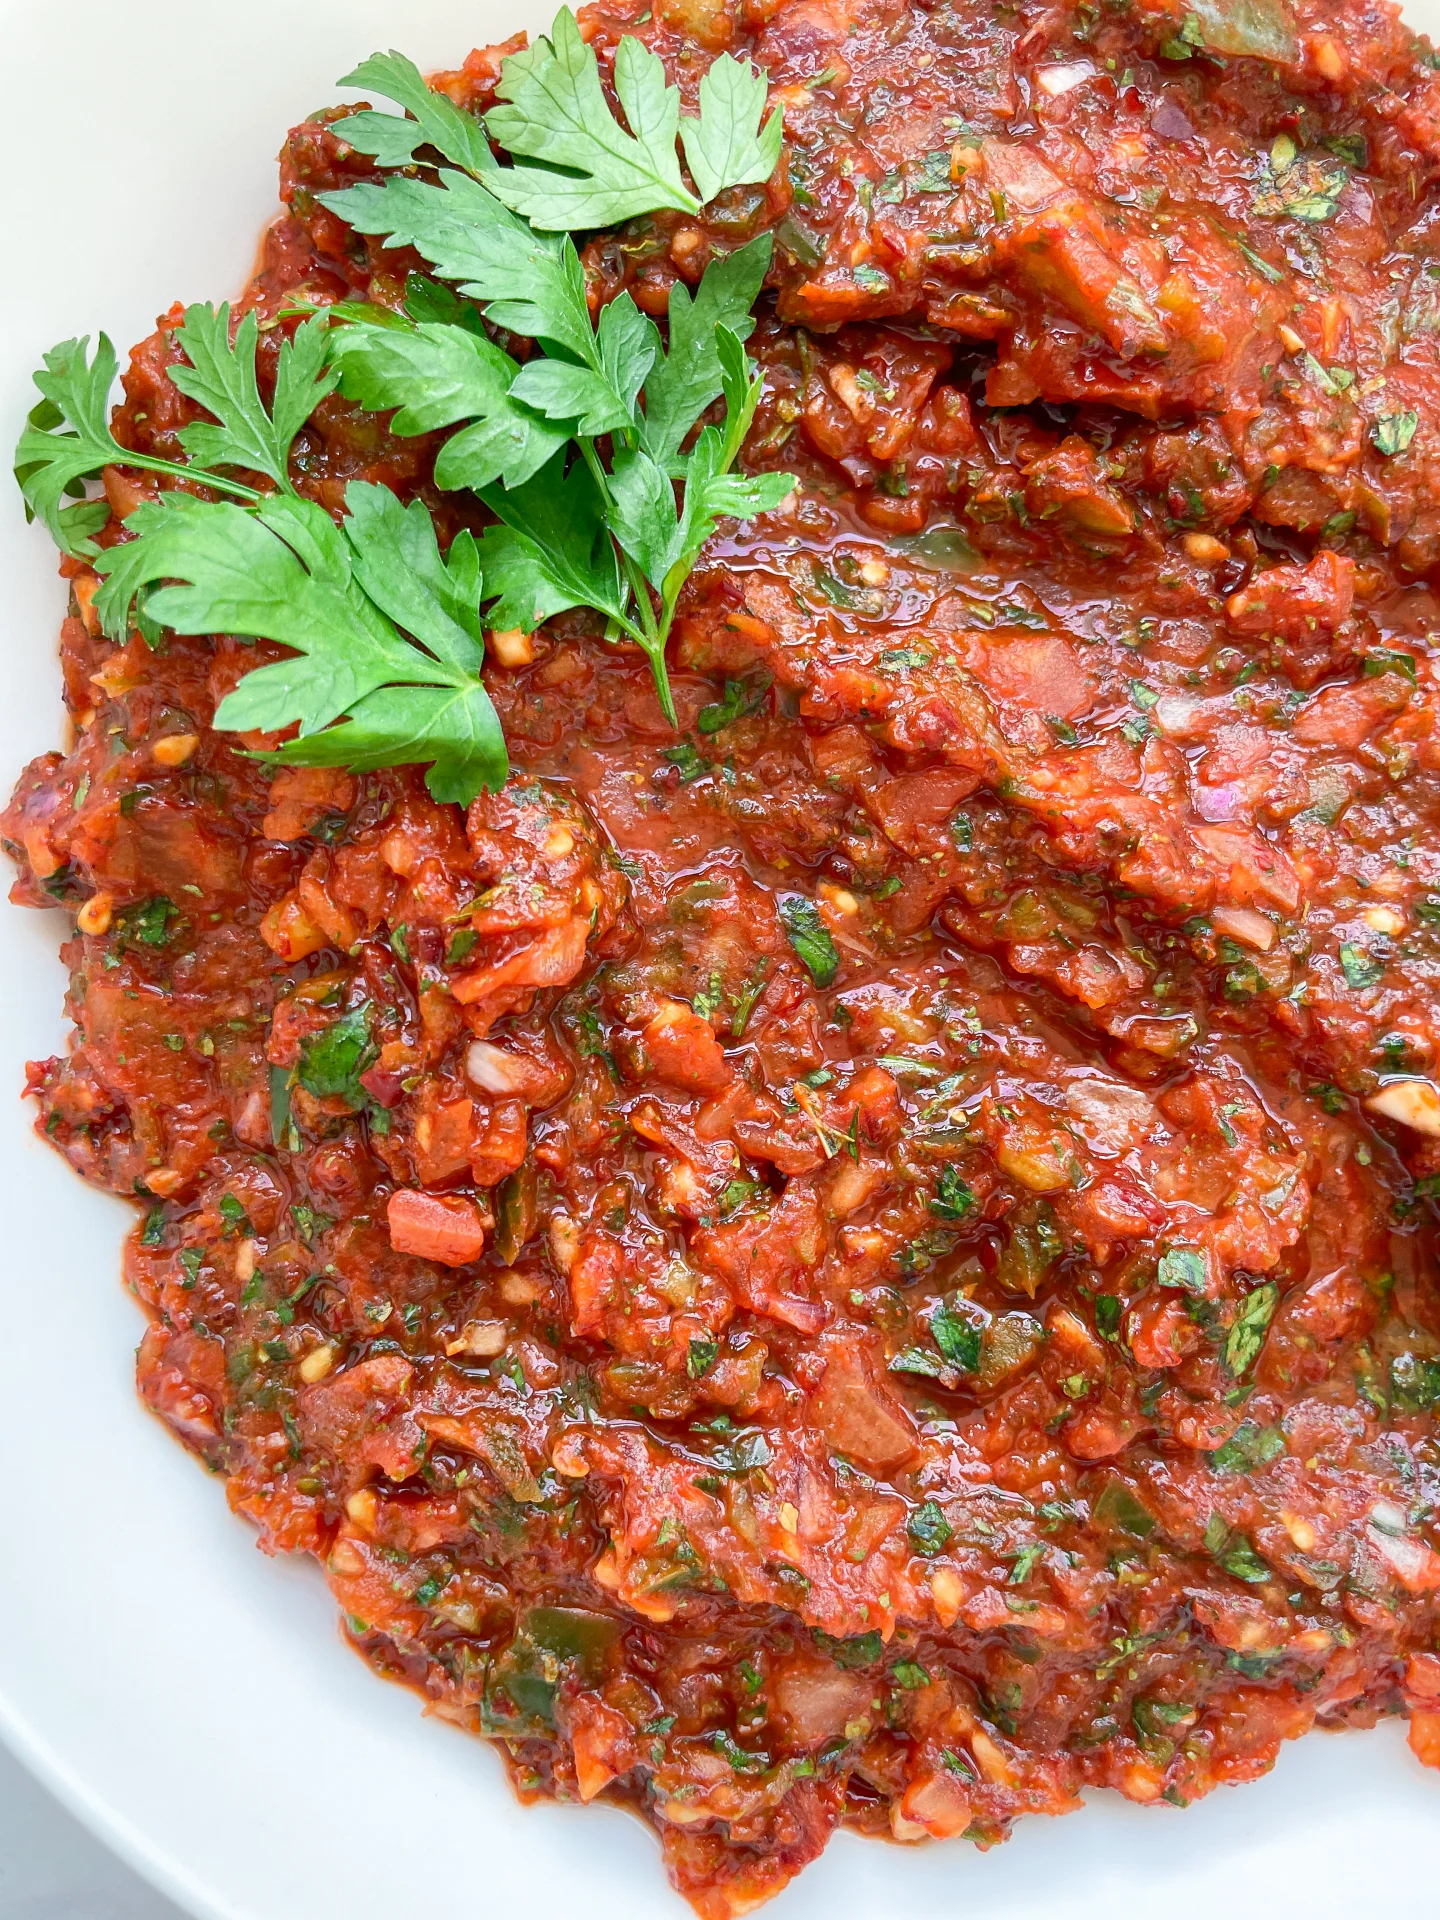
Spicy Turkish Vegetable Spread (Ezme)

Spicy Turkish Vegetable Spread (Ezme)

Spicy Turkish Vegetable Spread (Ezme)

Spicy Turkish Vegetable Spread (Ezme)

August 20, 2024 by Kimberly

Experience a burst of flavors with this spicy Turkish veggie spread! Fresh, zesty, and vibrant – it’s the perfect addition to your meals, bringing a touch of excitement and warmth.

20 MINUTES

EASY

VEGAN

TURKISH

65 PER PORTION

SPICY

EVERYDAY

DIPS & SPREADS

ALL YEAR

INTRODUCTION

ABOUT THE RECIPE

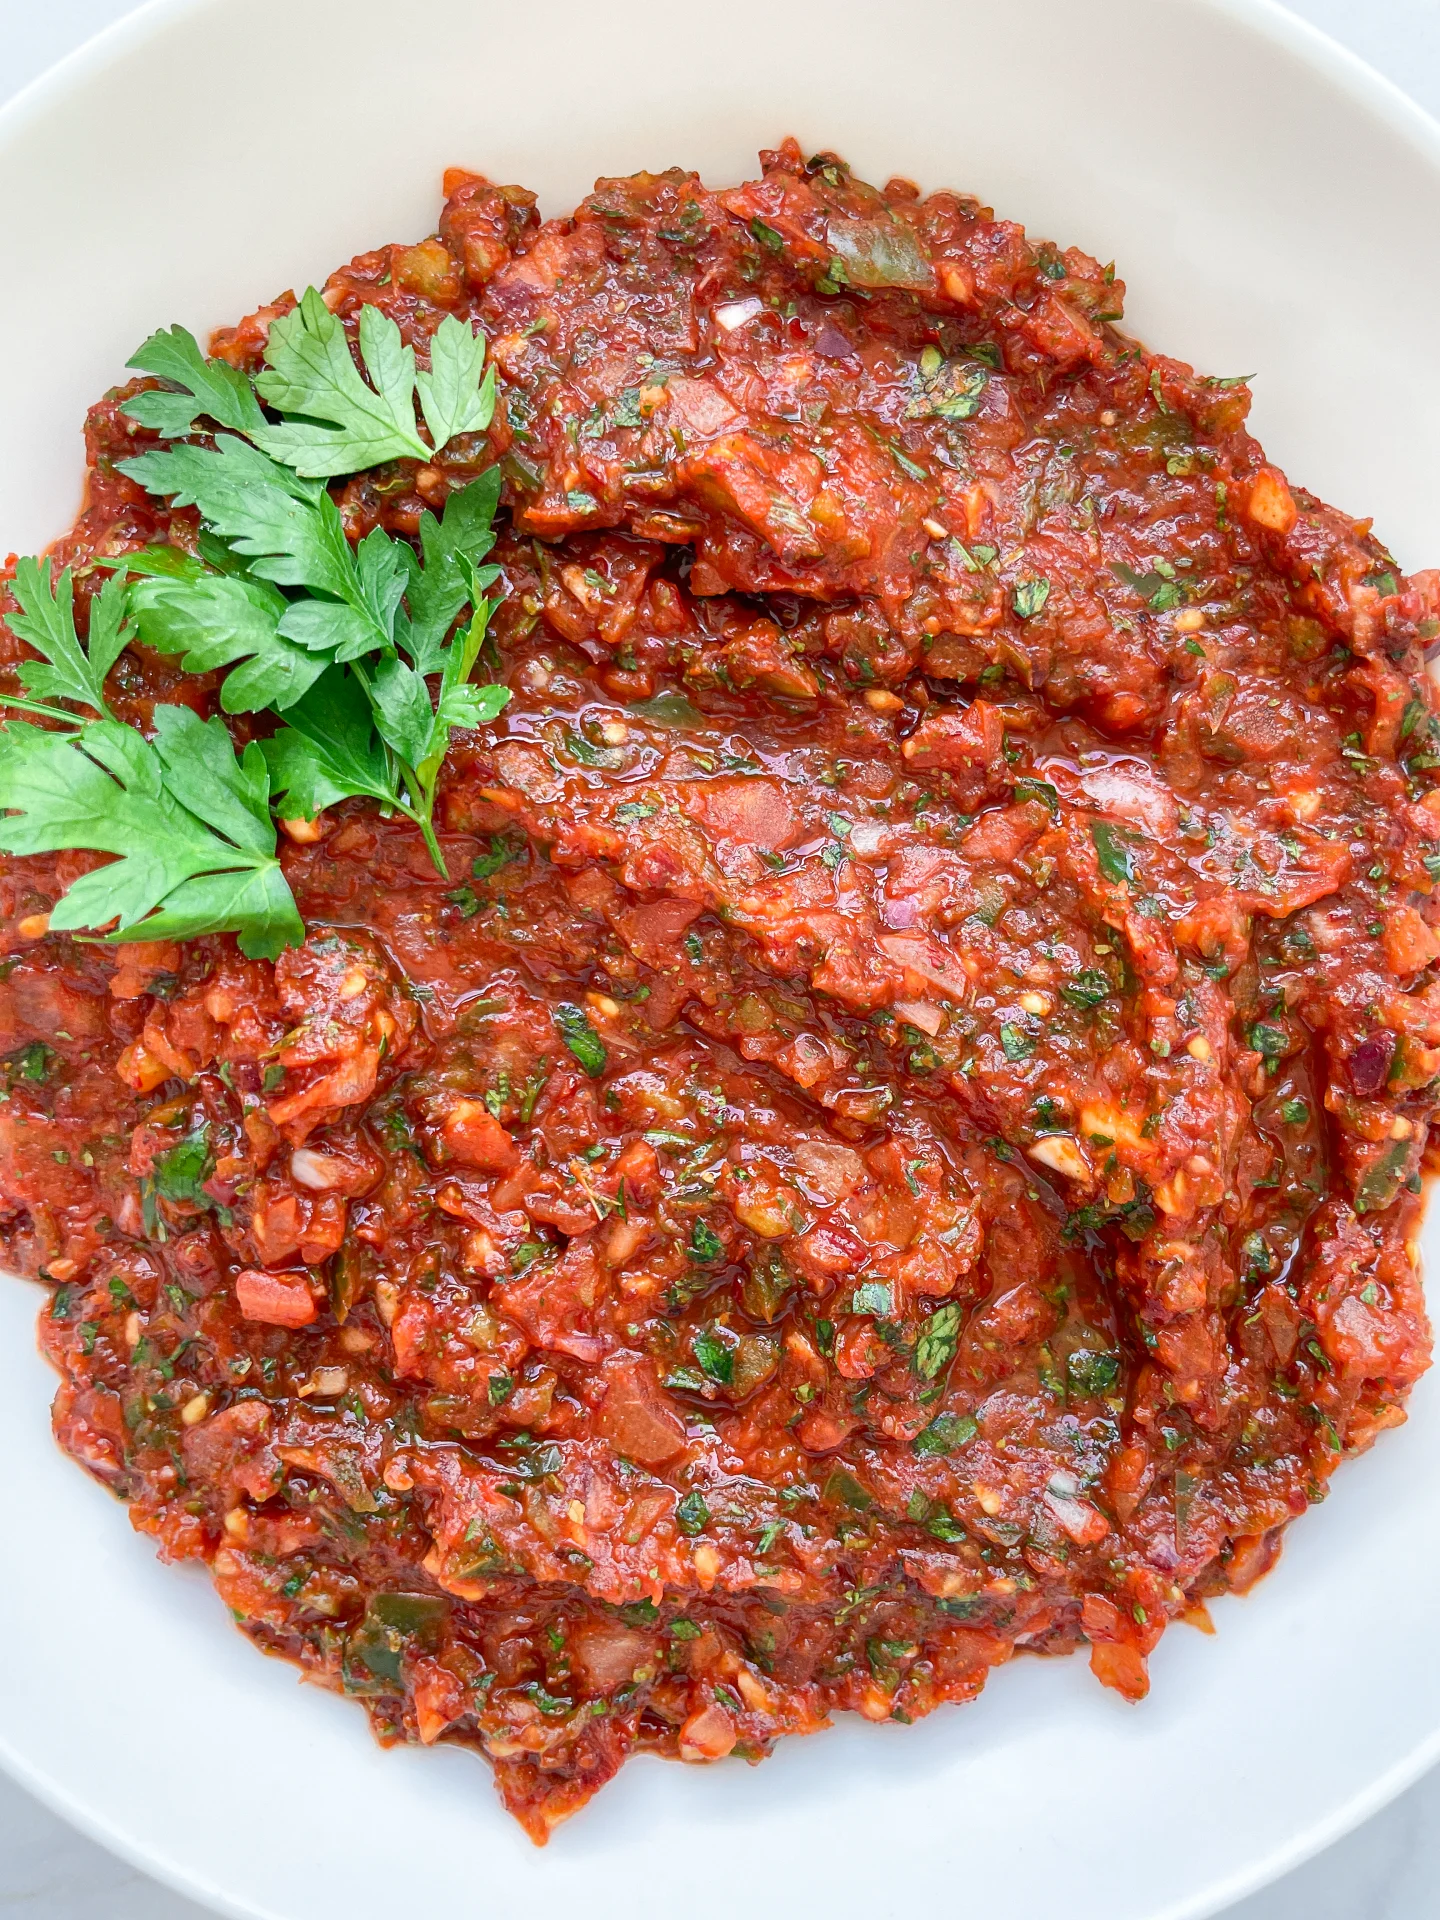
Ready to spice up your snack game? Meet Ezme, a fiery and flavorful Turkish vegetable spread that’s about to become your new favorite. Packed with fresh ingredients and a spicy kick, this spread is perfect for those who love a bit of heat in their meals. Easy to make and bursting with vibrant flavors, Ezme is not just a dish – it’s an experience. Let’s dive into this exciting world of Turkish cuisine together!

How to serve
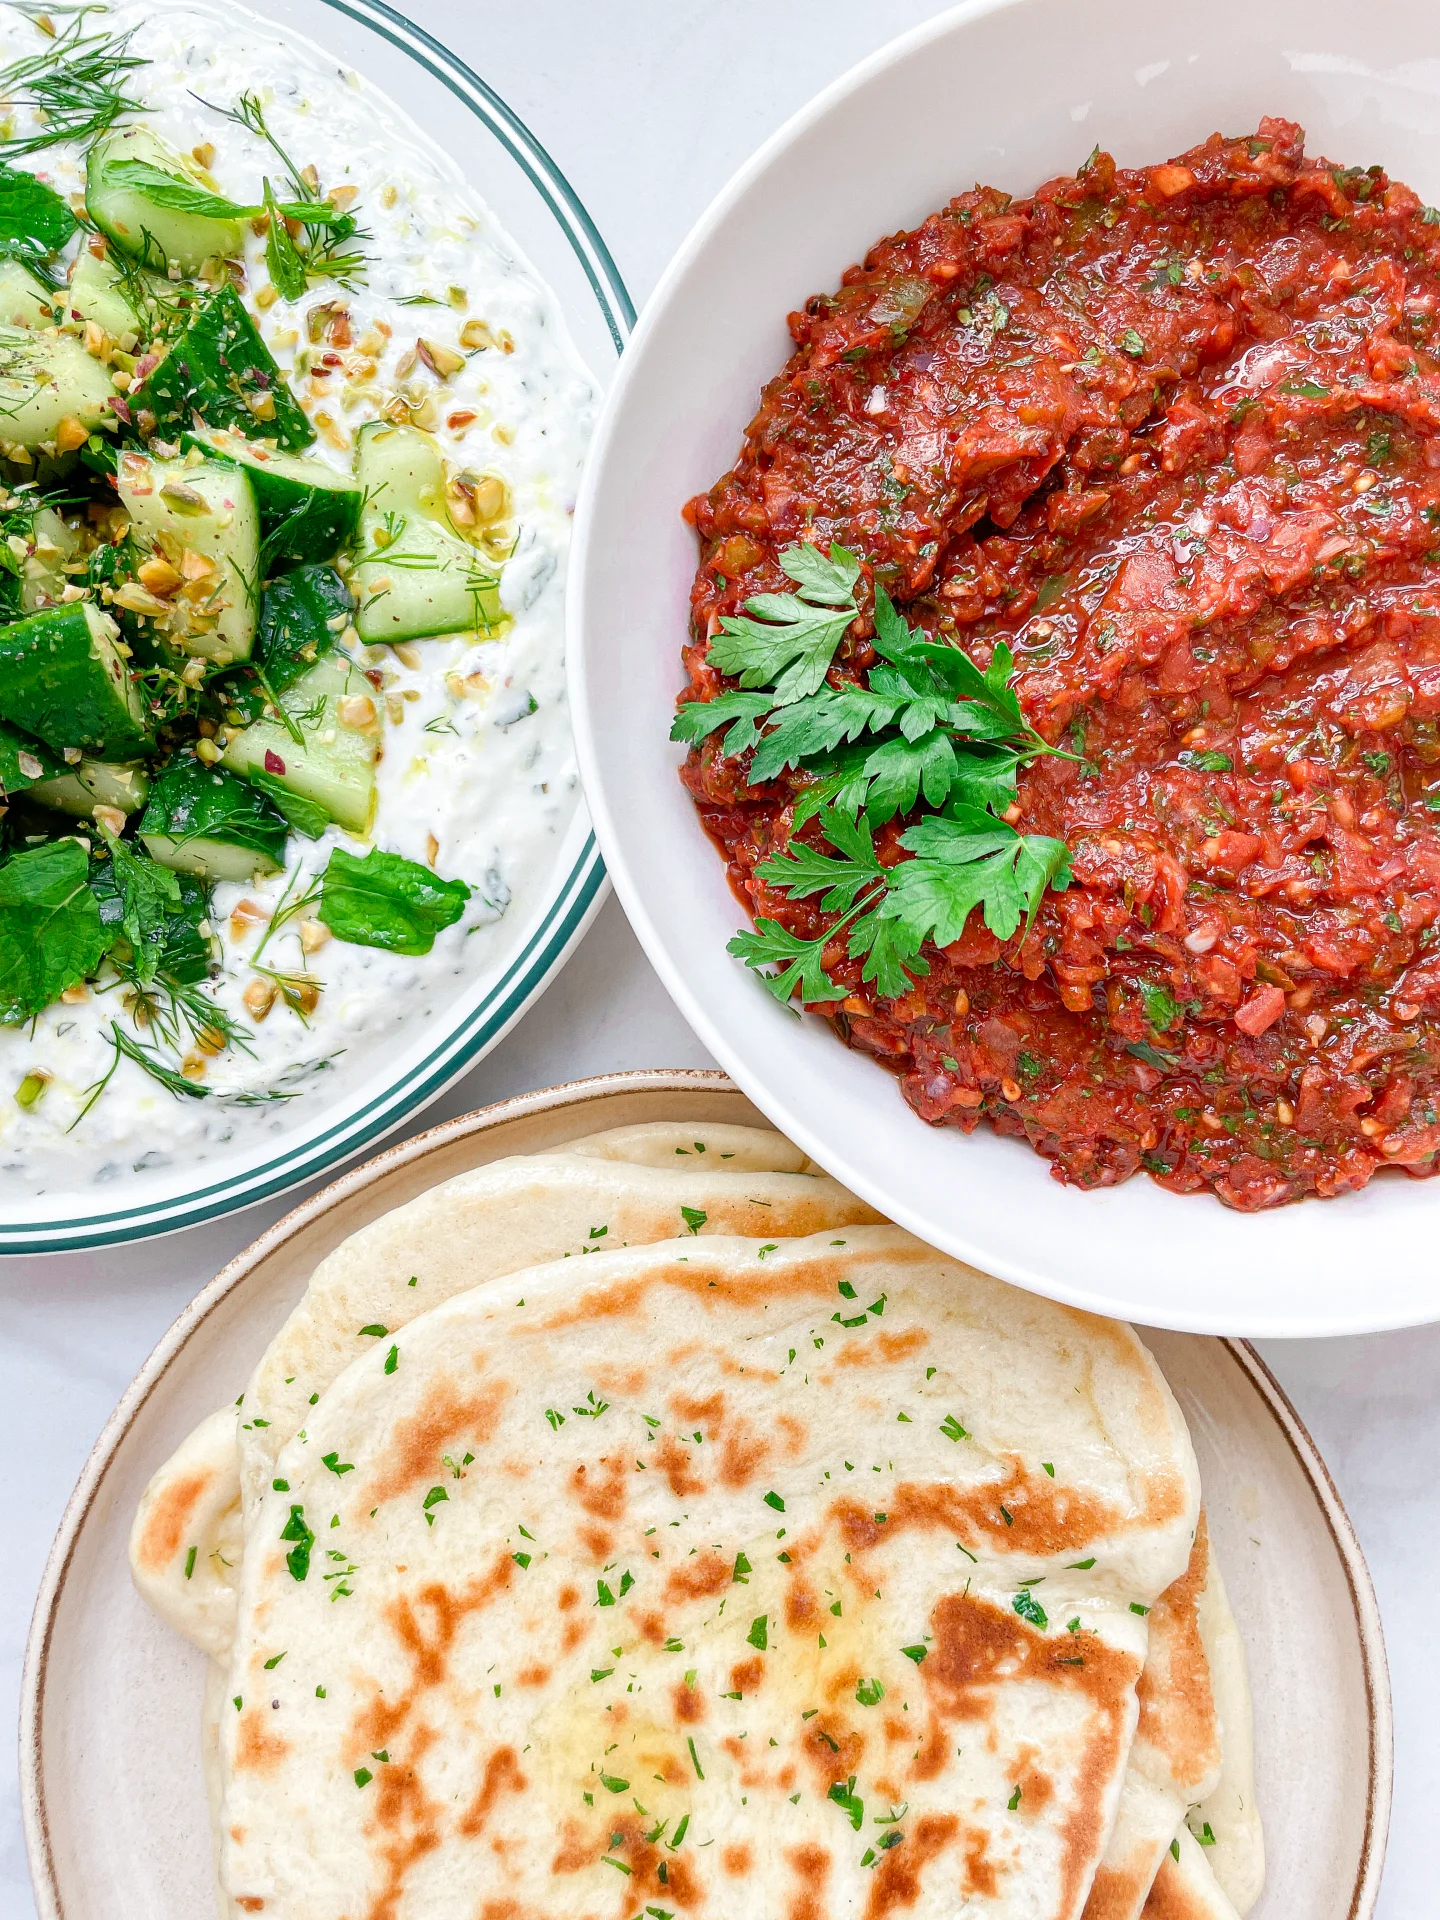
It’s an excellent companion to warm, crusty bread or pita. For a traditional touch, pair it with other mezze like hummus, baba ganoush, or tzatziki. It also makes a fantastic topping for grilled meats or veggies, adding a zesty punch to your meals. For a quick snack, spread it on toast or use it as a dip for fresh veggies. The spicy, tangy flavors will elevate any dish you serve it with. I like to serve it with this Turkish Flatbread (Bazlama) and Mint Yogurt & Cucumber Dill Salad (Cacik inspired) as a Meze variation.

How to store
Place it in an airtight container and keep it in the fridge. It stays fresh for up to 5 days, allowing you to enjoy its spicy goodness throughout the week. If you’re planning to make a big batch, you can freeze portions for up to a month. Just thaw it in the fridge overnight, and it’s ready to bring that burst of flavor back to your table.

Hi, I'm Kimberly!

Hi, I'm Kimberly.

A passionate food lover who believes in the magic of homemade deliciousness that spreads love and warmth. Join me on this culinary adventure as I prepare wonderful dishes and let’s spread some happiness together!

Kimberly the Zett Signature

If you want to get to know me better, click here!


Spicy Turkish Vegetable Spread (Ezme)
„Let’s make a piece of happiness“
Print
clock clock iconcutlery cutlery iconflag flag iconfolder folder iconinstagram instagram iconpinterest pinterest iconfacebook facebook iconprint print iconsquares squares iconheart heart iconheart solid heart solid icon
Spicy Turkish Vegetable Spread (Ezme)

Spicy Turkish Vegetable Spread (Ezme)


  • Author: Kimberly
  • Total Time: 20 min
  • Yield: 4-6 1x

Description

Recommended Equipment

  • sharp knife
  • cutting board
  • food processor
  • sieve
  • bowl
  • medium bowl

Ingredients

Units Scale

SALAD

  • 2 tomatoes
  • 1 red onion
  • 1 green bell pepper
  • 2 garlic cloves
  • 15 grams parsley

DRESSING

  • 2 tbsp pepper paste
  • 1 tbsp tomato paste
  • 2 tbsp pomegranate molasses
  • 1 tbsp lemon juice
  • 1 tbsp olive oil
  • 1 tsp sumach
  • 1 tsp dried mint
  • 1/2 tsp salt
  • 1/2 tsp paprika powder

Instructions

  1. Wash and thoroughly dry the tomatoes, bell pepper, and parsley. Quarter the tomatoes, deseed the bell pepper and cut into large pieces. Peel and quarter the red onion, peel the garlic cloves, and roughly remove the thick stems from the parsley. Place everything in a food processor and pulse until everything is finely chopped but still recognizable. We don’t want a paste!
  2. Transfer the mixture to a fine sieve over a bowl and press it with a spoon to extract as much liquid as possible. Let the mixture continue to drain in the sieve and set aside.
  3. In a bowl, mix the dressing ingredients: hot paprika paste, tomato paste, olive oil, sumac, dried mint, salt, pomegranate syrup, and lemon juice until it forms a creamy consistency.
  4. Place the vegetable mixture into a larger bowl and add the dressing. Stir well until it becomes a creamy, firm, dark red mixture. Taste and adjust seasoning if needed. You can serve it immediately or refrigerate it for a few hours to enhance the flavors.
  • Cook Time: 20 min

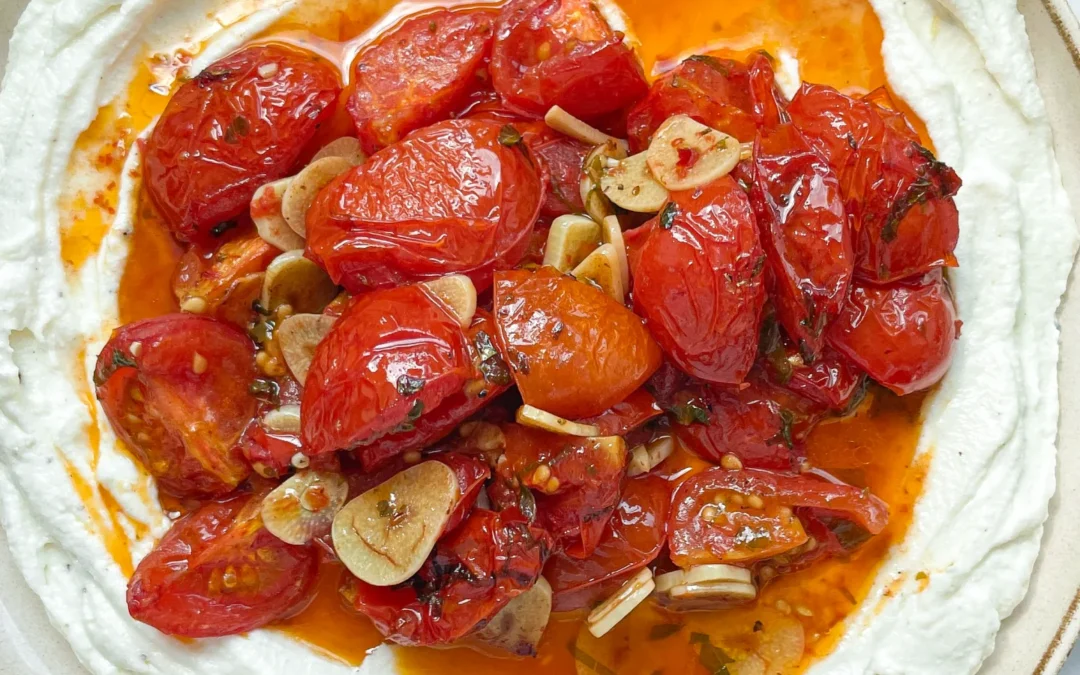
Whipped Ricotta & Tomato Confit

Whipped Ricotta & Tomato Confit

Whipped Ricotta & Tomato Confit

Whipped Ricotta & Tomato Confit

July 15, 2024 by Kimberly

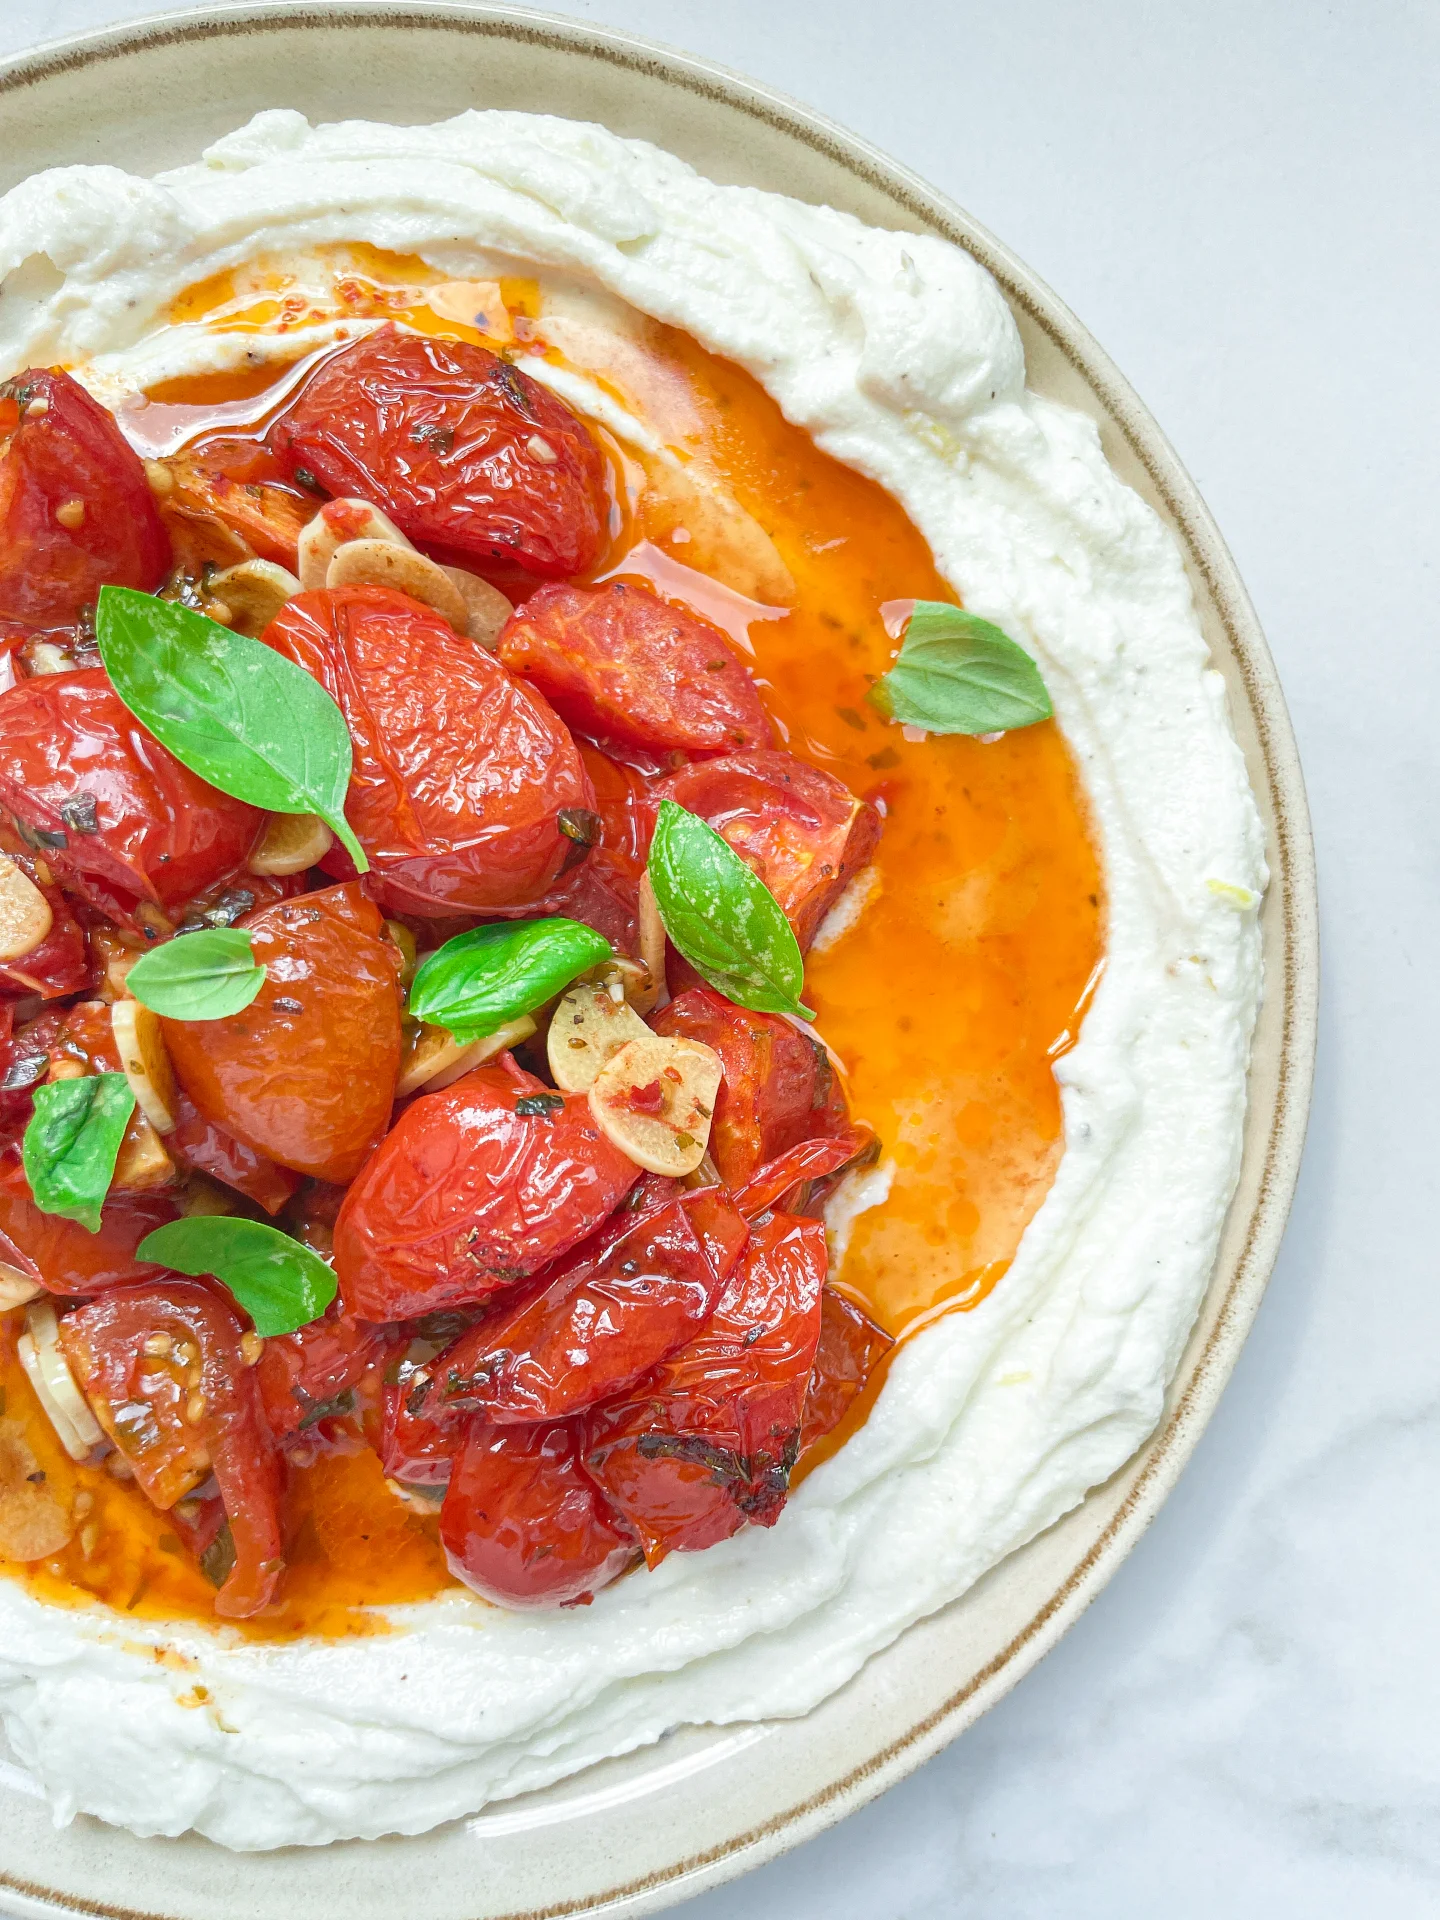
Discover the creamy magic of whipped ricotta paired with sweet tomato confit. An easy, delightful dish that brings a touch of gourmet to your everyday meals!

45 MINUTES

EASY

VEGETARIAN

ITALIAN

387 PER PORTION

CREAMY
UMAMI

EVERYDAY

DIPS & SPREADS

SUMMER

INTRODUCTION

ABOUT THE RECIPE

Bring a little gourmet to your table with this simple whipped ricotta and sweet tomato confit. It’s the perfect combination of creamy and rich flavors to elevate any meal!

How to serve
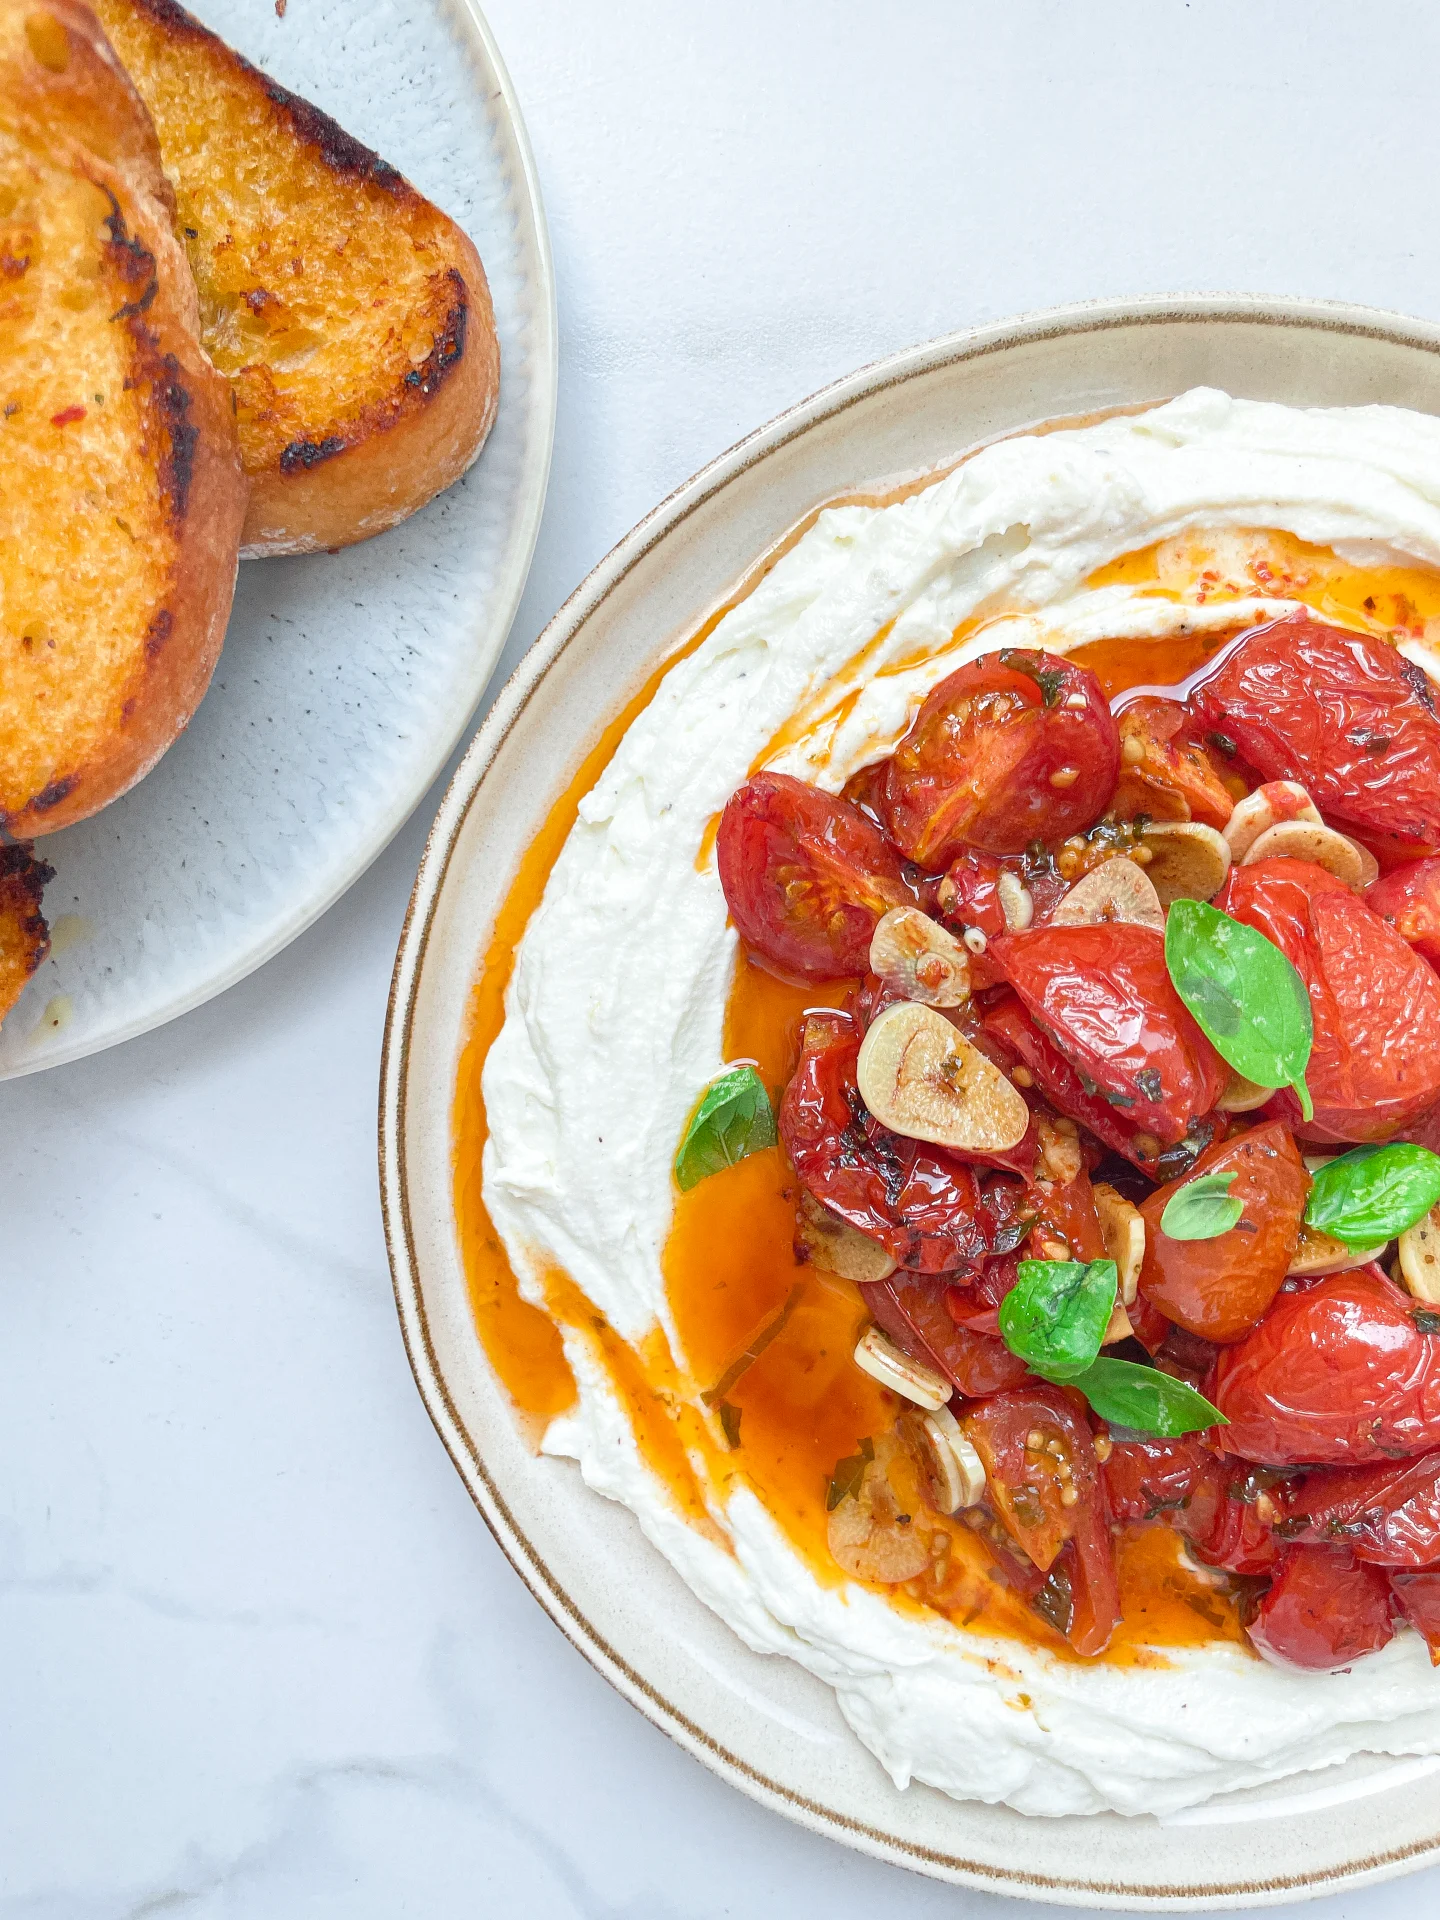
Serve this creamy ricotta on a rustic slice of toasted bread or as a dip with crispy crackers. It’s perfect for impressing guests during a summer evening or adding a fancy touch to your family dinner. The sweet tomato confit complements the smooth ricotta beautifully, making each bite a delightful experience.

How to store
Keep leftover whipped ricotta and tomato confit in separate airtight containers in the fridge. They’ll stay fresh and tasty for up to two days.

Hi, I'm Kimberly!

Hi, I'm Kimberly.

A passionate food lover who believes in the magic of homemade deliciousness that spreads love and warmth. Join me on this culinary adventure as I prepare wonderful dishes and let’s spread some happiness together!

Kimberly the Zett Signature

If you want to get to know me better, click here!


Whipped Ricotta & Tomato Confit
„Let’s make a piece of happiness“
Print
clock clock iconcutlery cutlery iconflag flag iconfolder folder iconinstagram instagram iconpinterest pinterest iconfacebook facebook iconprint print iconsquares squares iconheart heart iconheart solid heart solid icon
Whipped Ricotta & Tomato Confit

Whipped Ricotta & Tomato Confit


  • Author: Kimberly
  • Total Time: 45 min
  • Yield: 4 1x

Description

Recommended Equipment

  • sharp knife
  • cutting board
  • baking dish
  • food processor
  • frying pan

Ingredients

Units Scale
  • a few slices of your favorite baguette or ciabatta

WHIPPED RICOTTA

  • 250 grams ricotta
  • 1 tbsp olive oil
  • zest of half a lemon
  • 1 tbsp lemon juice

TOMATO CONFIT

  • 500 grams cocktail tomatoes
  • 50 milliliters olive oil
  • 8 garlic cloves
  • 1 tbsp balsamic vinegar
  • 1/4 tsp oregano
  • 1/4 tsp chili flakes
  • a few basil leaves
  • salt & pepper to taste


Instructions

  1. Preheat the oven to 175°C / 347°F.
  2. Wash the tomatoes, quarter them, and place them in an oven-safe dish. Peel and slice the garlic, and add it to the tomatoes. Cut the basil into fine strips and add it to the tomatoes as well. Next, add olive oil, balsamic vinegar, oregano, chili, salt, and pepper, stir well, and bake in the oven for 45 minutes.
  3. Meanwhile, prepare the ricotta cream. For this, blend the ricotta with lemon zest, lemon juice, 1 tablespoon of olive oil, salt, and pepper in a food processor until smooth. Spread the mixture on a flat plate and store in the refrigerator until further use.
  4. Slice the baguette and lightly butter each piece. Toast the slices in a pan on both sides until crispy. Tip: I also like to use the liquid that forms in the dish with the tomatoes. Dip one side of the bread into it and then toast it in the pan. Set the baguette aside until further use.
  5. Take the tomatoes out of the oven, let them cool slightly, and get the ricotta from the refrigerator. Place the tomatoes and their juice on the ricotta, and optionally drizzle with some honey. Serve with the baguette and enjoy 🙂
  • Passive Time: 20 min
  • Cook Time: 25 min

Garlic Oil

Garlic Oil

Garlic Oil

Garlic Oil

May 14, 2024 by Kimberly

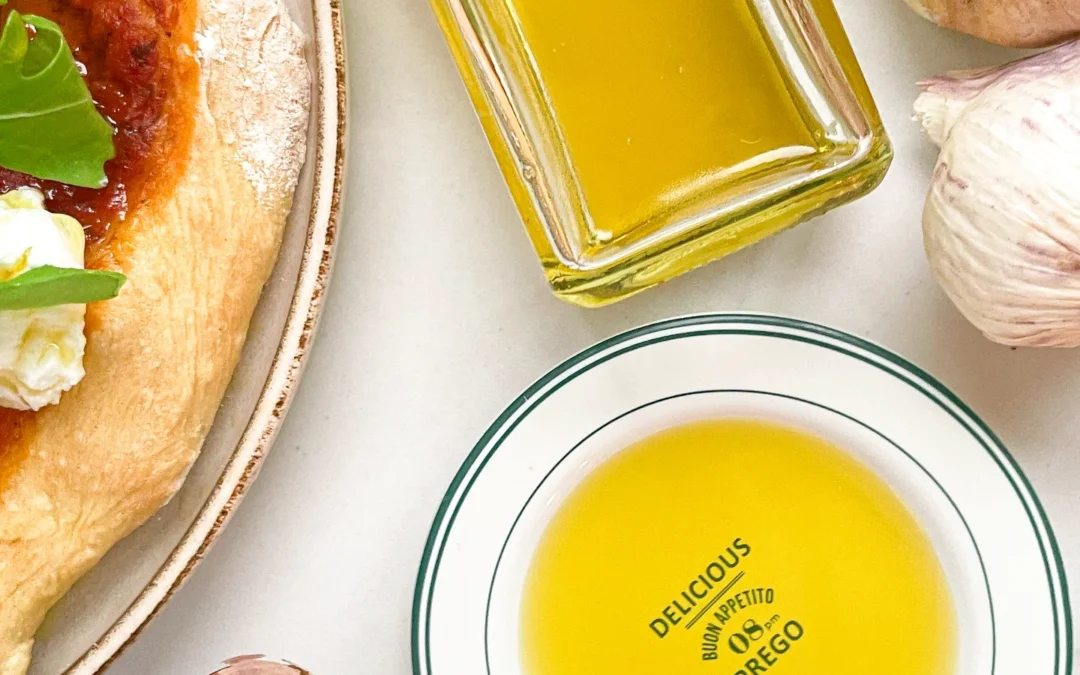
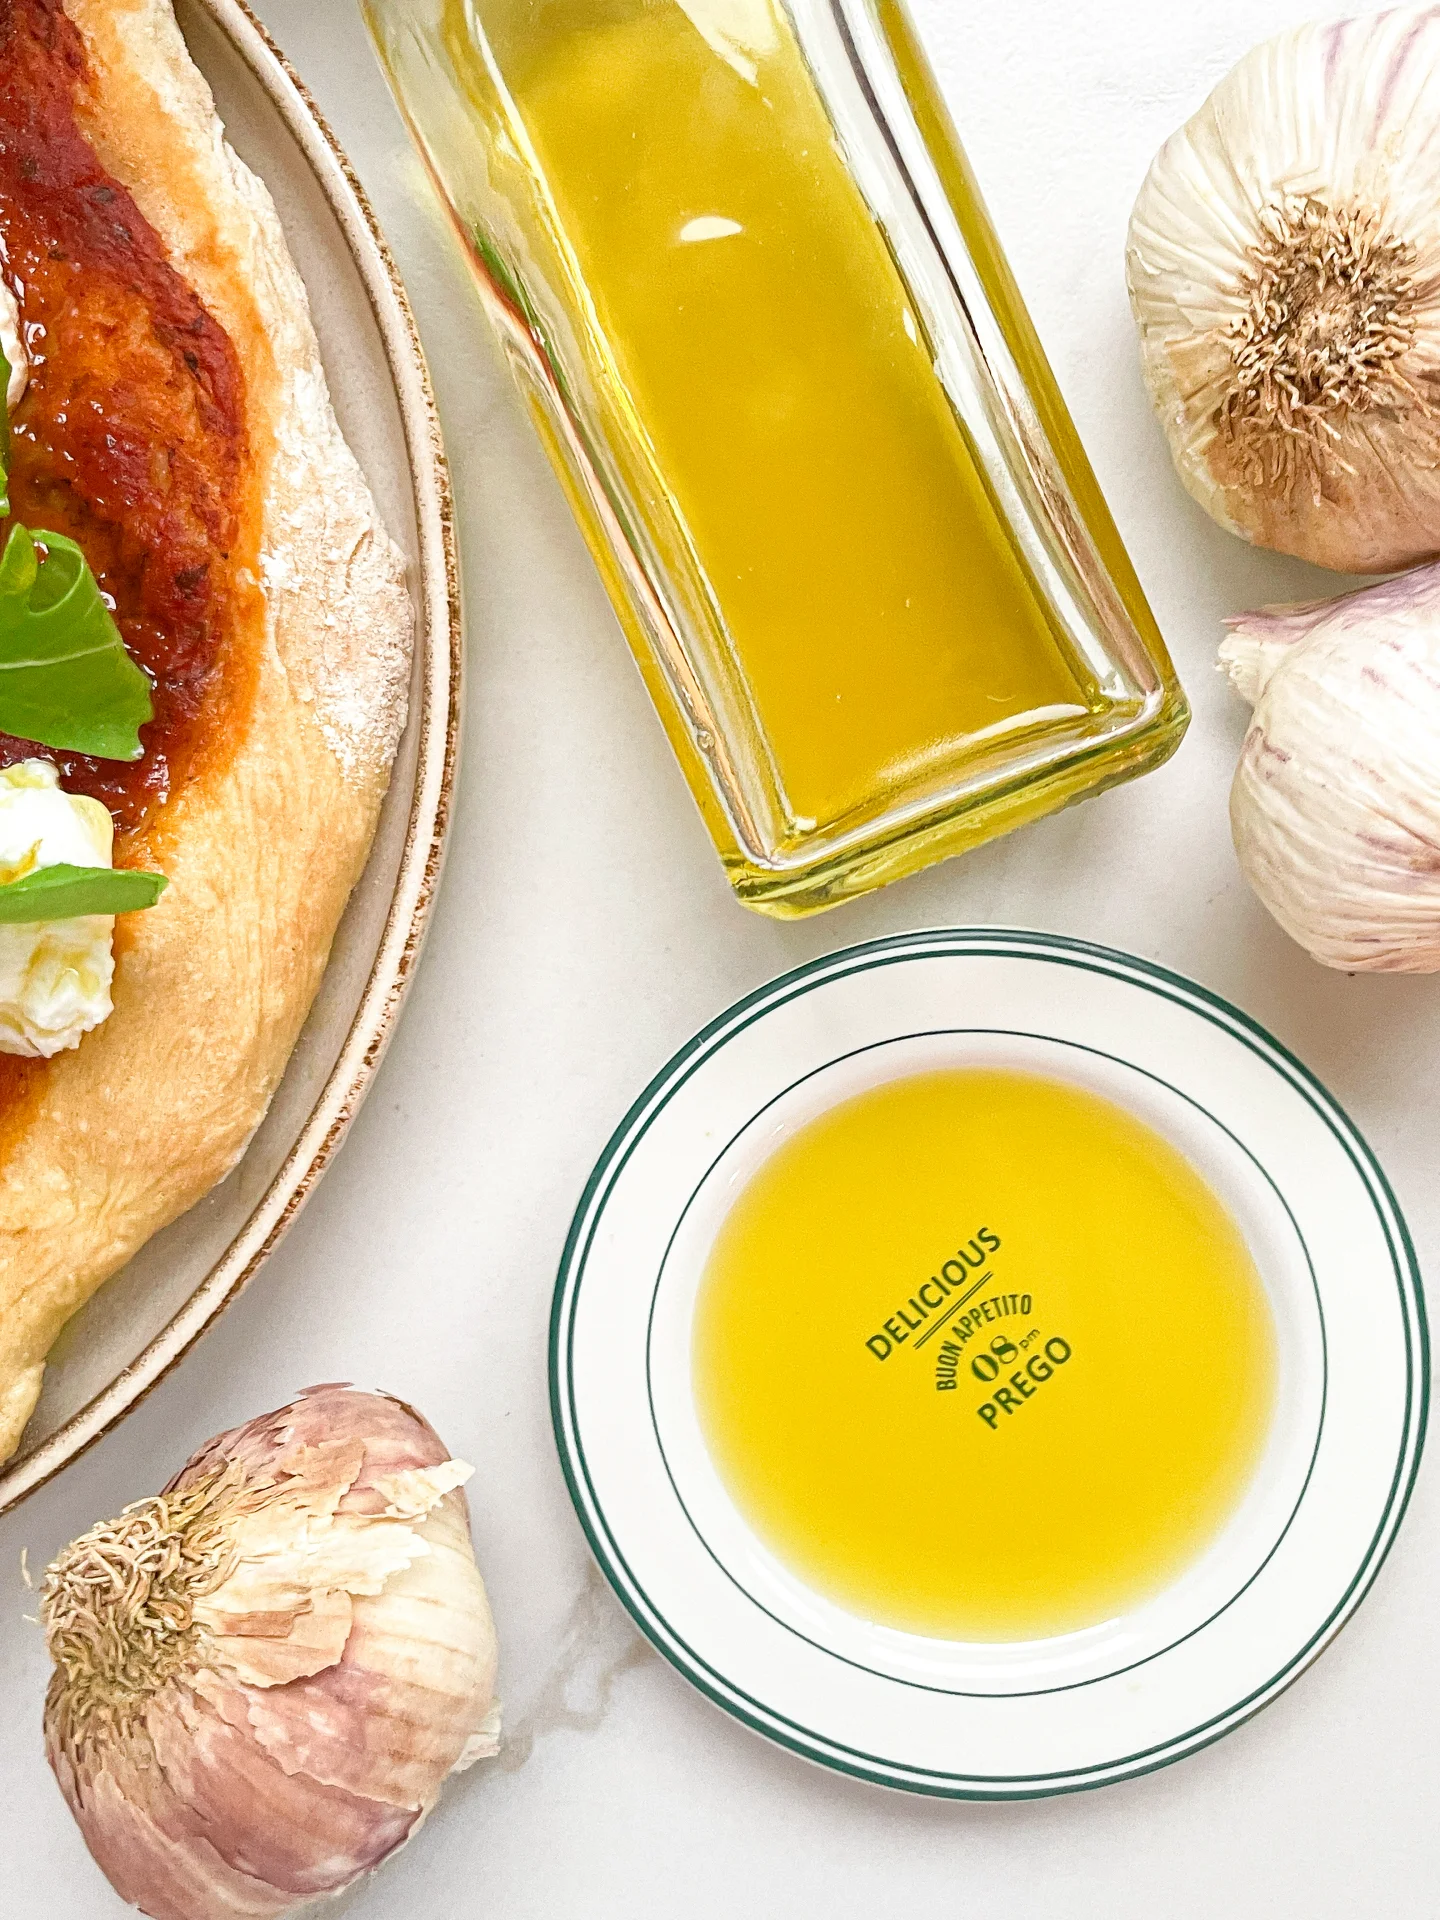
Unleash the aromatic power of homemade Garlic Oil! Perfect for drizzling over dishes to add a burst of flavor. Simple, versatile, and absolutely irresistible.

2 HOURS

ADVANCED

VEGAN

INT.

40 PER TSP

SPICY

MICHELIN

OIL

ALL YEAR

INTRODUCTION

ABOUT THE RECIPE

Discover the magic of homemade Garlic Oil, an easy addition to your culinary arsenal that brings a robust flavor to any dish. It’s simple to make and wonderfully versatile.

How to serve
Garlic Oil is a fantastic way to elevate your cooking. Drizzle it over pizza, stir into pasta, or use it as a flavorful dressing for salads. It adds a delicious garlic punch to bread, steaks, and even roasted vegetables, making it a must-have in your kitchen for an instant flavor upgrade.

How to store
Store your Garlic Oil in an oil bottle in the fridge. It keeps well for up to two to three weeks, ensuring you have this flavorful enhancer ready whenever needed.

Hi, I'm Kimberly!

Hi, I'm Kimberly.

A passionate food lover who believes in the magic of homemade deliciousness that spreads love and warmth. Join me on this culinary adventure as I prepare wonderful dishes and let’s spread some happiness together!

Kimberly the Zett Signature

If you want to get to know me better, click here!


Garlic Oil
Garlic Oil
Garlic Oil
„Let’s make a piece of happiness“
Print
clock clock iconcutlery cutlery iconflag flag iconfolder folder iconinstagram instagram iconpinterest pinterest iconfacebook facebook iconprint print iconsquares squares iconheart heart iconheart solid heart solid icon
Garlic Oil

Garlic Oil


  • Author: Kimberly
  • Total Time: 2 hrs
  • Yield: 250 ml / 1 cup 1x

Description

RECOMMENDED EQUIPMENT

  • blender
  • medium-sized saucepan
  • whisk
  • a bowl which the medium saucepan fits into
  • 2 medium-sized bowls
  • 2 fine sieves
  • sealable container (oil bottle)
  • ice cubes
  • coffee filter

Ingredients

Units Scale
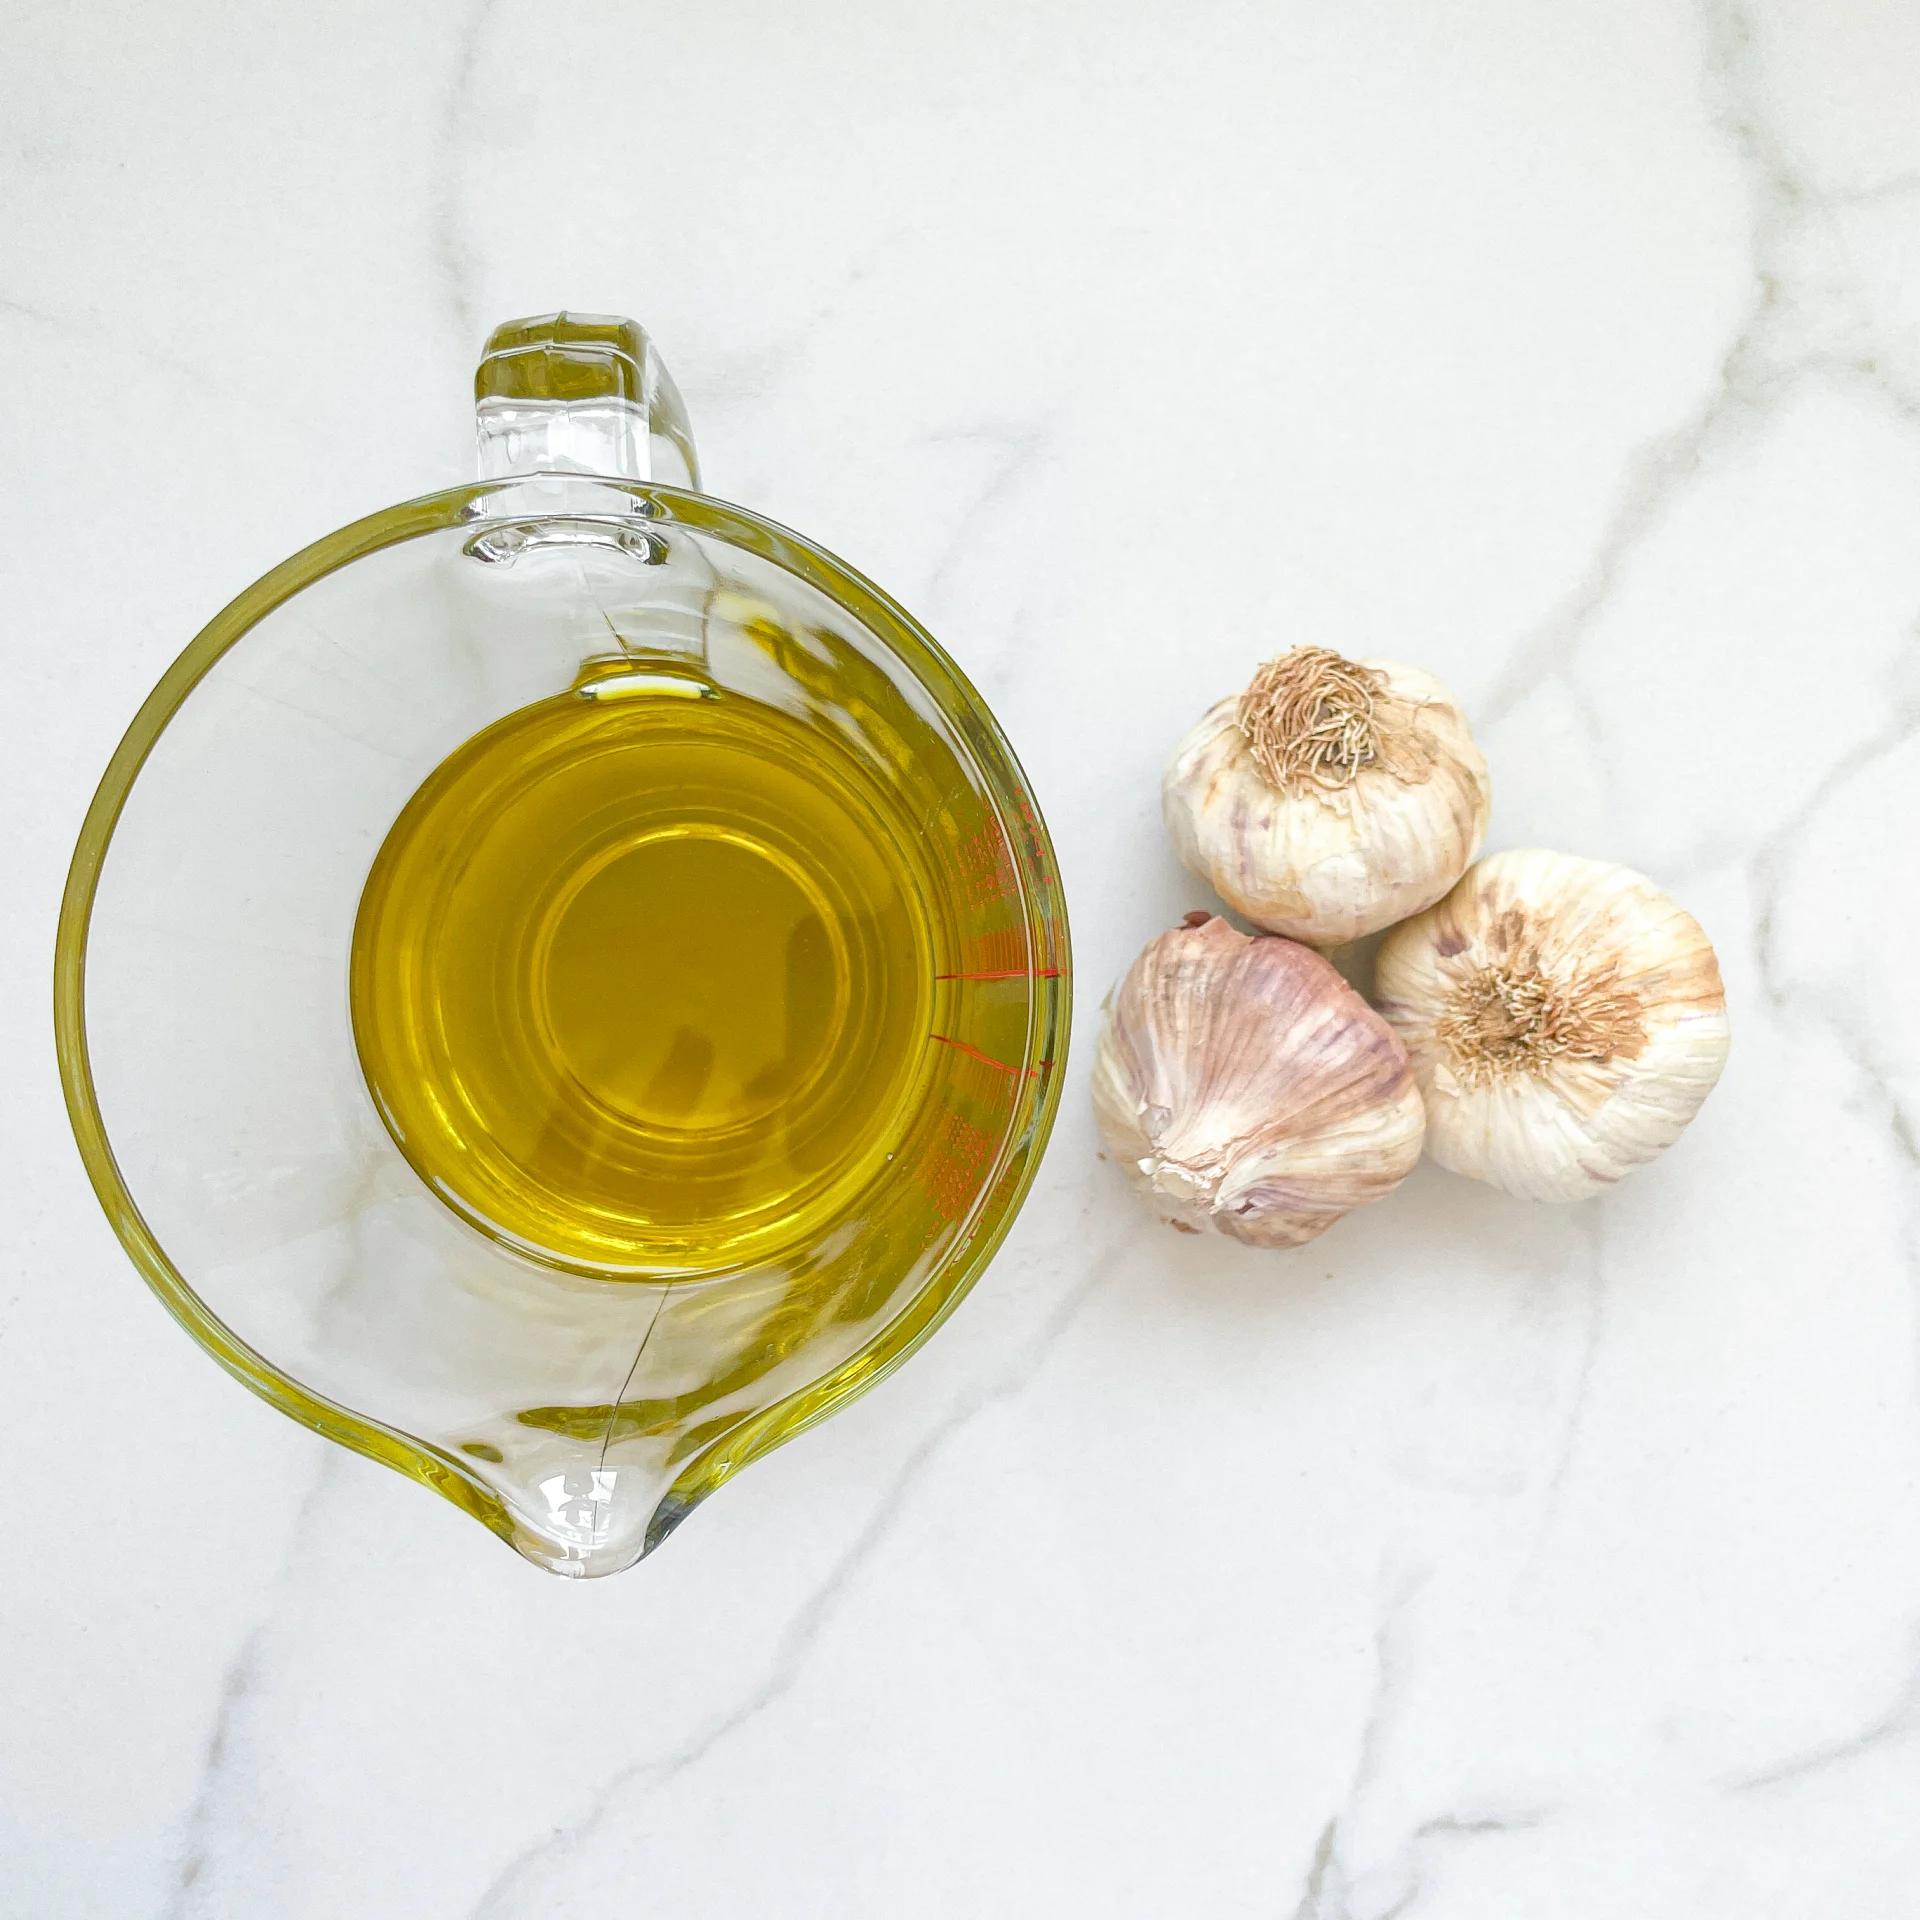
  • 3 garlic bulbs
  • 250 milliliters extra virgin olive oil

Instructions

  1. Peel all garlic cloves and put them into the blender. Pour in the oil. Blend on the highest setting until there are only tiny pieces of the garlic left.
  2. Pour the mixture from the blender into a medium-sized pot and heat it over medium heat to a temperature of about 108°-110°C (226°-230°F), and maintain this temperature for the next 15 minutes. Stir occasionally, making sure the temperature remains steady and nothing gets burned.
  3. Prepare a bowl large enough to fit a medium-sized pot, and fill it with cold water and a handful of ice cubes. Also, hang a fine sieve strainer over one medium-sized bowl and another fine sieve strainer, with a coffee filter inside it, over another medium-sized bowl.
  4. Now, place the pot in the ice water and stir to cool the oil quickly. Once the oil is almost cold, remove the pot from the water and let it sit for about 20 minutes so that the oil gets more infused.
  5. After the 20 minutes, pour the oil into the prepared fine sieve to catch the coarse particles.
  6. Then, pour the oil into the second sieve, which is equipped with a coffee filter, to catch the remaining finer particles.
  7. Allow the oil to drip through for about 1 hour or maybe more depending on how many remaining particles are in the coffee filter. Once all the oil has passed through the coffee filter, transfer the collected amount of oil into a sealable container or directly into an oil bottle. Store in the refrigerator for up to a few days.

Notes

The calorie information may vary depending on the product used, country and region.

  • Passive Time: 90 min
  • Cook Time: 25 min

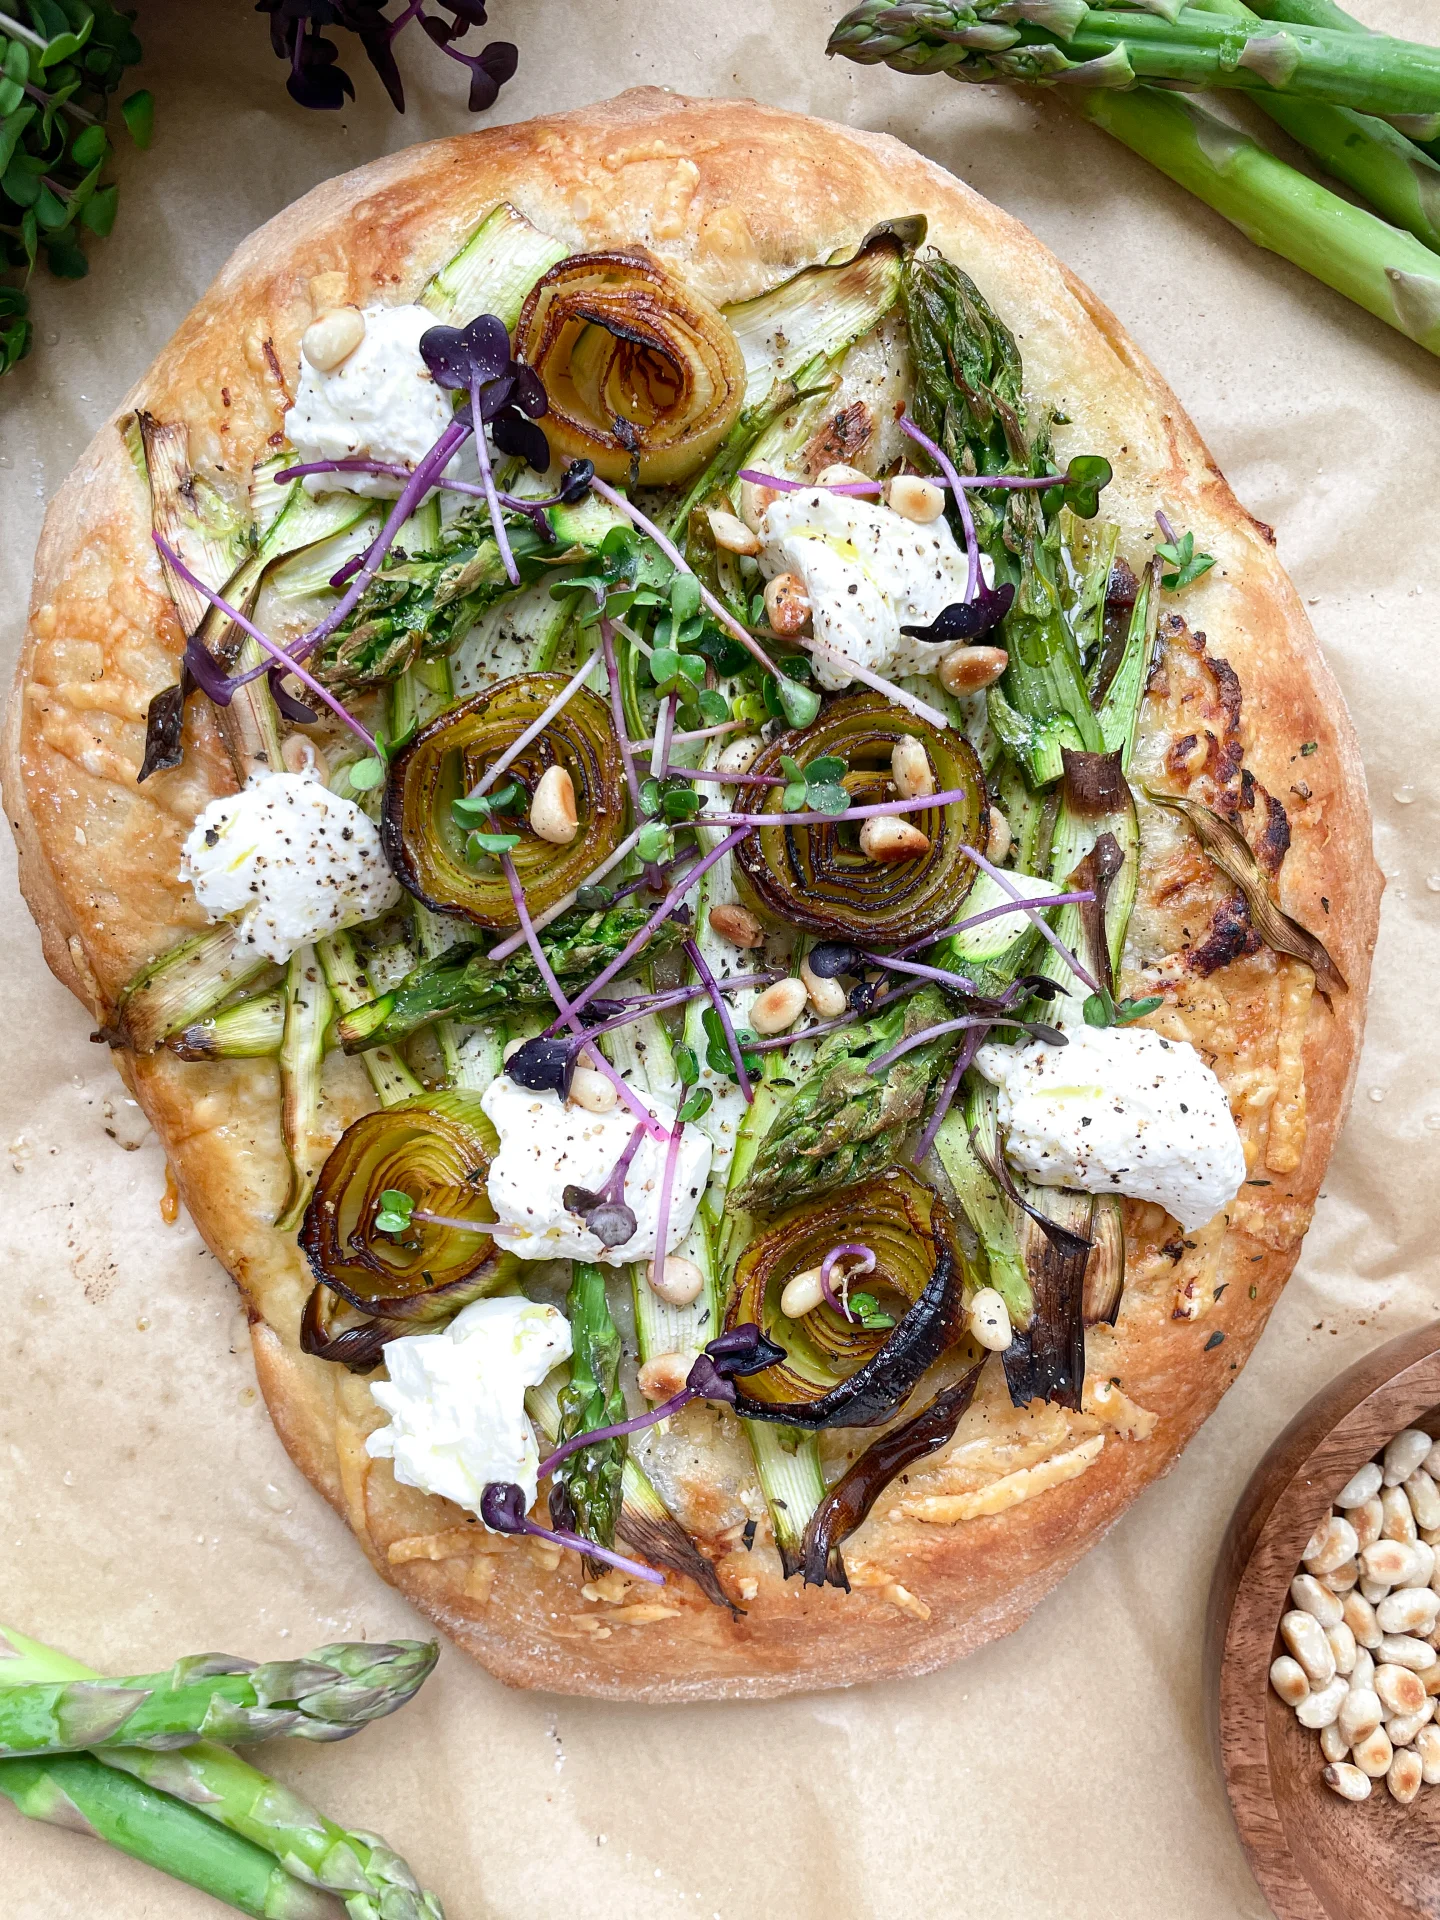
Asparagus Caramalized Leeks Flatbread with Parmesan & Ricotta

Asparagus Caramalized Leeks Flatbread with Parmesan & Ricotta

Asparagus Caramalized Leeks Pizza with Parmesan & Ricotta

Asparagus Caramalized Leeks Flatbread with Parmesan & Ricotta

April 12, 2024 by Kimberly

Crispy dough, creamy cheese, buttery leeks, and shaved asparagus. This one’s giving farmers market fantasy meets lazy dinner. It tastes like you definitely own linen napkins, even if you don’t.

2.5 HOURS

INTERMEDIATE

VEGETARIAN

INT.

4 FLATBREADS

CRISPY

DINNER PARTY

DINNER

SPRING

INTRODUCTION

ABOUT THE RECIPE

Ready to transform your pizza night? This Asparagus Caramelized Leeks Flatbread with Parmesan & Ricotta is a game-changer! It combines the earthy sweetness of caramelized leeks with the fresh, green crunch of asparagus, all beautifully balanced with the richness of Ricotta and Parmesan. Perfect for those who love adding a sophisticated twist to their homemade pizzas, this recipe is sure to impress your taste buds and guests alike.

How to serve:
This flatbread shines brightest when served fresh out of the oven. Slice it up for a cozy family dinner, or cut it into smaller pieces for a classy appetizer at your next gathering. Pair it with a crisp white wine or a light beer to complement its gourmet toppings. Don’t forget to garnish with some fresh micro greens or arugula for that extra pop of flavor and color!

How to store:
Leftovers can be stored in the refrigerator for up to three days. Reheat in a preheated oven at 190°C/375°F for about 10 minutes or until heated through.

Hi, I'm Kimberly!

Hi, I'm Kimberly.

A passionate food lover who believes in the magic of homemade deliciousness that spreads love and warmth. Join me on this culinary adventure as I prepare wonderful dishes and let’s spread some happiness together!

Kimberly the Zett Signature

If you want to get to know me better, click here!


Asparagus Caramalized Leeks Pizza with Parmesan & Ricotta
„Let’s make a piece of happiness“
Print
clock clock iconcutlery cutlery iconflag flag iconfolder folder iconinstagram instagram iconpinterest pinterest iconfacebook facebook iconprint print iconsquares squares iconheart heart iconheart solid heart solid icon
Asparagus Caramalized Leeks Pizza with Parmesan & Ricotta

Asparagus Caramalized Leeks Flatbread with Parmesan & Ricotta – Rezeptkarte


  • Author: Kimberly
  • Total Time: 165 min
  • Yield: 4 1x

Description

RECOMMENDED EQUIPMENT

  • sharp knife
  • cutting board
  • peeler
  • cheese grater
  • big bowl
  • oven-safe dish with a lid (or aluminum foil)
  • small pan
  • oven
  • cling film

Ingredients

Units Scale

PIZZA DOUGH

  • 600 grams pizza flour (or type 00)
  • 400 milliliters lukewarm water
  • 2 tsp salt
  • 7 grams active instant dry yeast

BAKED GARLIC

  • 1 garlic bulb
  • 1/4 tsp chili flakes
  • 1/4 tsp salt
  • 3 tbsp olive oil

CARAMALIZED LEEKS

  • 1 leek
  • 2 tsp butter
  • pinch of salt

BAKED TOPPINGS

  • 500 grams green asparagus
  • 80 grams parmesan
  • 2 tsp fresh thyme

OTHER TOPPINGS AFTER BAKING

  • ricotta cheese
  • cress
  • pine nuts
  • fresh lemon juice
  • olive oil
  • black pepper

Instructions

  1. In a large bowl, mix flour, salt, and yeast. Make a well in the center, pour in lukewarm water, and stir everything together with a wooden spoon until everything just came together and you get a sticky dough. Cover the bowl tightly with cling film and let the dough rest for 10 minutes.

  2. Now remove the cling film and do a round of stretch and folds: grab the dough from all four sides, lift each section, and fold it into the center. Wet your hand with lukewarm water each time to keep things from sticking. Cover the bowl again, rest for another 10 minutes, and repeat the stretch and fold. Cover once more and let the dough rise at room temp for 1 hour. Do one last round of stretch and folds after that hour, cover again, and let it rest for another hour.

  3. Meanwhile, slice off the top of the bulb to expose the cloves. Place in an oven-safe dish, drizzle with 3 tbsp olive oil, sprinkle with ¼ tsp chili flakes and ¼ tsp salt. Cover and bake at 250°C / 482°F for 45 minutes.

  4. Now wash the asparagus and snap off the woody ends. Use a peeler to shave thin ribbons from the stalks, leaving the heads intact. Set both aside. Wash the leek and slice it into thick rings, try to keep the rings whole. Set aside. Grate the Parmesan, finely chop the thyme, and halve the lemon.

  5. Next toast pine nuts in a dry pan over medium heat until golden. Transfer to a bowl and set aside. Wipe out the pan, add 2 tsp butter, and melt over low-medium heat. Gently place in the leek rings and cook for 10–15 minutes until the bottom is golden and the leeks are soft. Flip carefully and cook another 5 minutes. Set aside.

  6. Once the garlic is cool, squeeze the cloves out into the oil, mash it all together into a paste, and set aside. Preheat your oven to 230°C / 446°F (fan).

  7. Lightly flour a piece of parchment paper. Divide your dough into 4 pieces. Take one, place it on the parchment, dust the top with flour, and gently press it out with your fingers until it resists stretching (about 1.5 cm / ½″ thick). Drizzle olive oil over the dough. Top with grated Parmesan, a bit of garlic paste, asparagus shavings + heads, and a few caramelized leek rings. Sprinkle with thyme. Bake for 20 minutes until golden and crispy.

  8. Fresh out of the oven, finish with dollops of ricotta, toasted pine nuts, microgreens, cracked pepper, a squeeze of lemon, and (optional) a final drizzle of olive oil. Slice and serve!

  • Passive Time: 120 min
  • Cook Time: 45 min