


Description
GOOD TO HAVE ON HAND
- sharp knife
- cutting board
- medium-sized bowl
- sealable jar
- cheese grater
- small pot
Ingredients
Units Scale
EGGPLANT
- 2 eggplants
- 4 tbsp olive oil
- 1 tsp oregano
- 1/4 tsp chili flakes
- 1/8 tsp salt
- 1/8 tsp pepper
- 2 tbsp olive oil
- 1 tsp white wine vinegar
- 50 milliliters vegetable stock (5 tbsp)
- 1 tsp honey
- 1 tsp dijon mustard
- 1 garlic clove
- 2 tbsp creme fraiche
- 2 tbsp grated parmesan
- 1/8 tsp salt
- 1/8 tsp pepper
- 2 tbsp olive oil
- 4 anchovie filets
- parsley
- freshly grated pepper
Instructions
- Wash the eggplants thoroughly and cut into chunks and finely grate the Parmesan.
- Place the eggplant chunks in a medium bowl and mix with 4 tbsp olive oil, 1 tsp dried oregano, 1/4 tsp chili flakes, 1/8 tsp salt and 1/8 tsp ground pepper. Place the eggplant pieces on baking paper, spread evenly and bake in the oven at 230°C (450°F) for 15-20 minutes until crispy.
- In the meantime, stir together the Parmesan vinaigrette. To do this, place the following ingredients in a sealable jar and shake well: 1 crushed garlic clove, 1 tsp white wine vinegar, 1 tsp Dijon mustard, 2 tbsp creme fraiche, vegetable stock, 2 tbsp olive oil, 2 tbsp grated Parmesan, 1 tsp honey, 1/8 tsp salt and 1/8 tsp ground pepper. Set aside.
- Heat 2 tbsp olive oil in a small pan over a medium heat. Add the anchovy fillets and stir until the anchovies have dissolved in the oil.
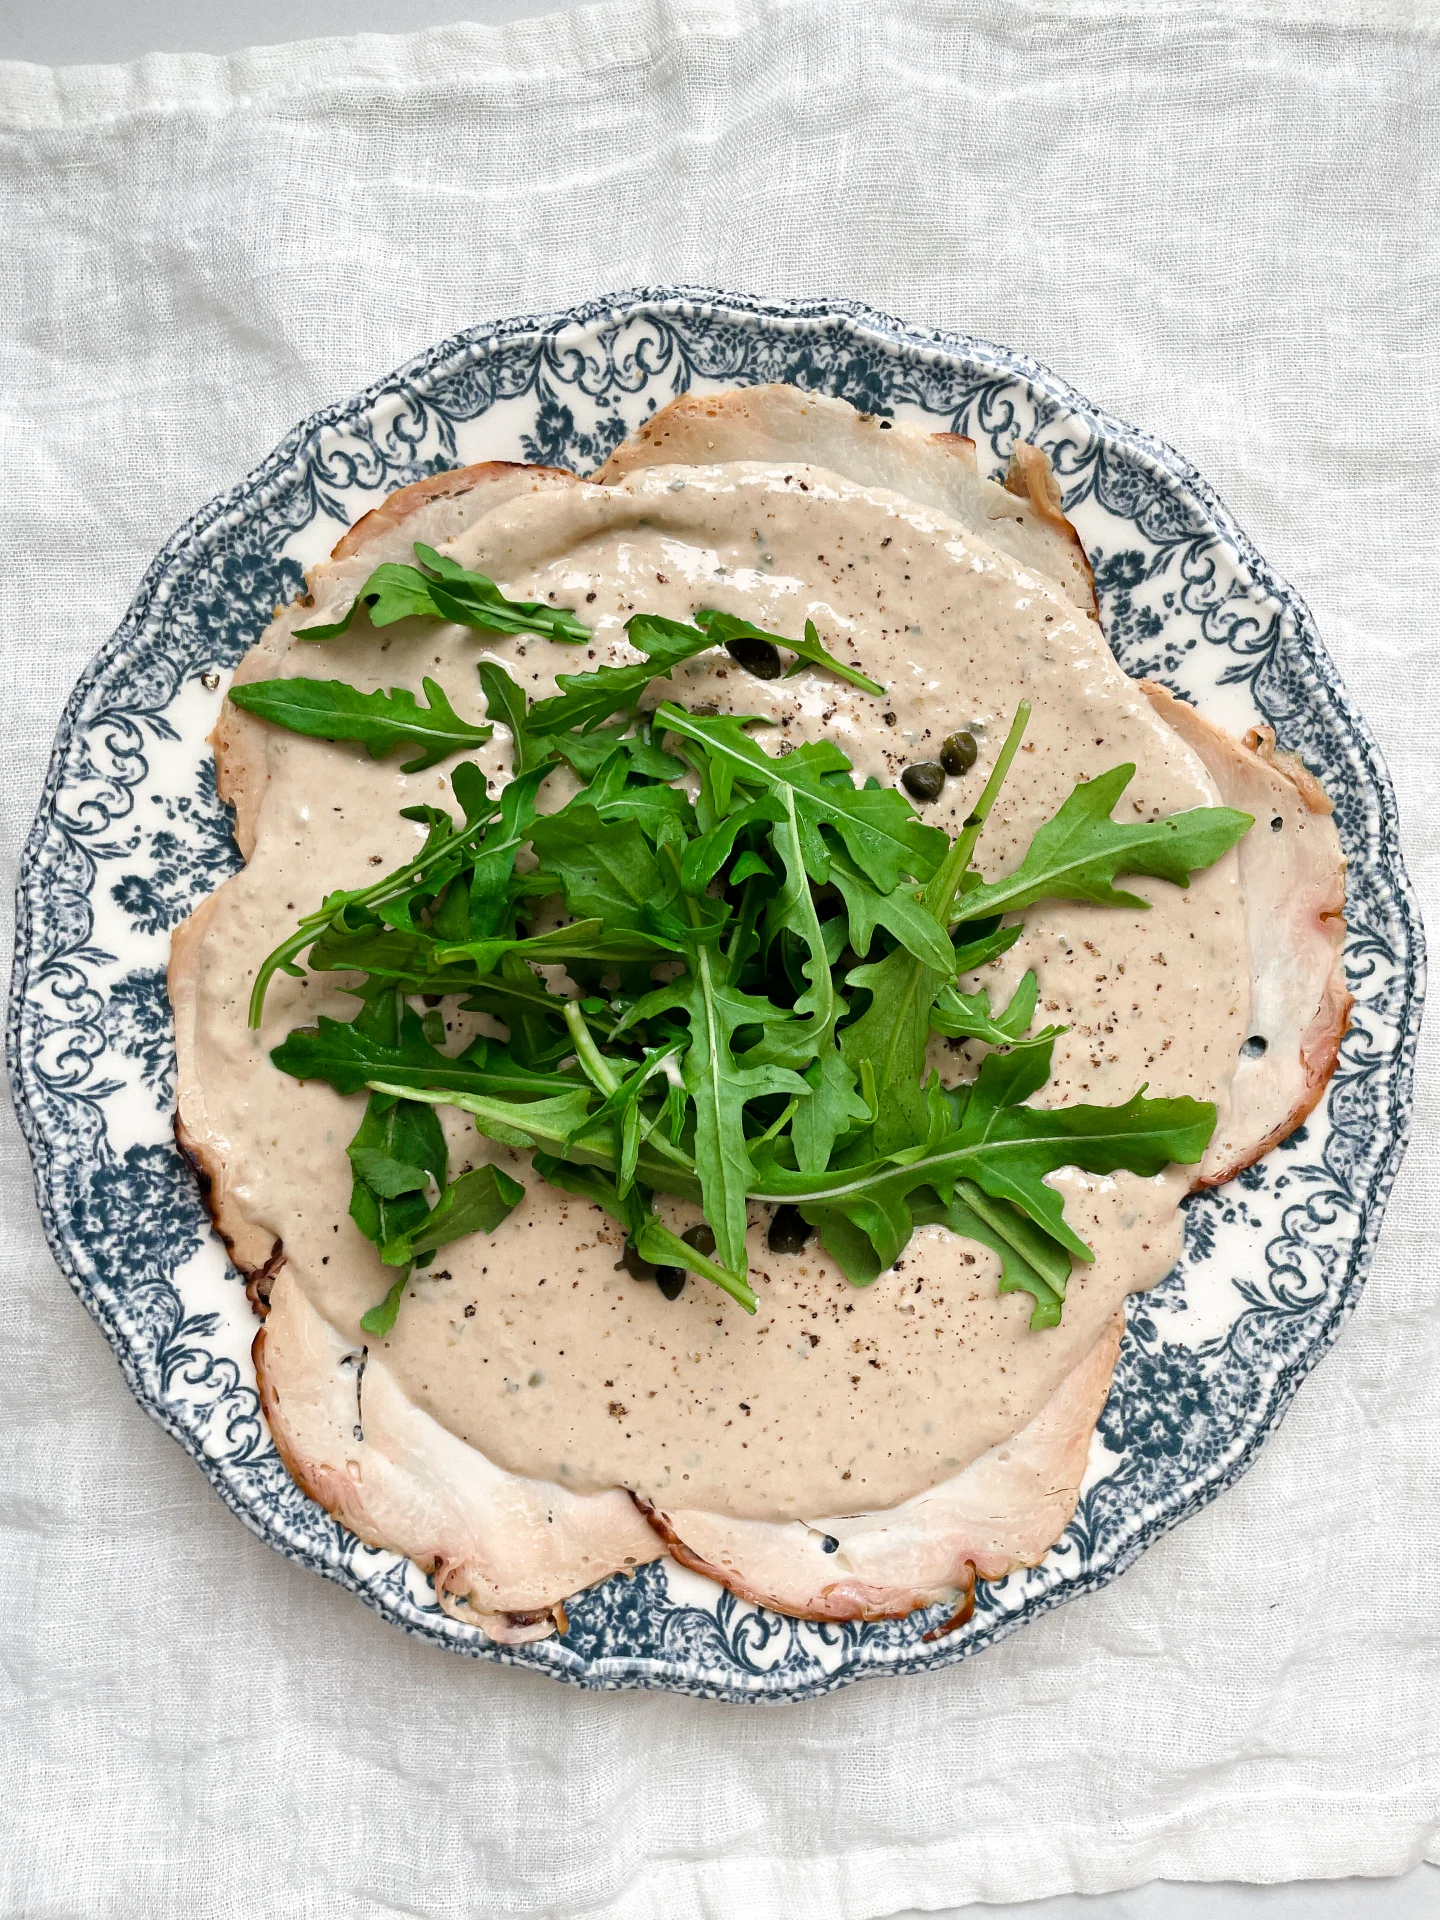
- Remove the eggplants from the oven and arrange on plates. Spread the vinaigrette over the eggplants and top with anchovy oil, parsley and freshly ground pepper.
- Cook Time: 25 min