


Description
RECOMMENDED EQUIPMENT
- medium pot with lid
- grater
- food processor
- large bowl
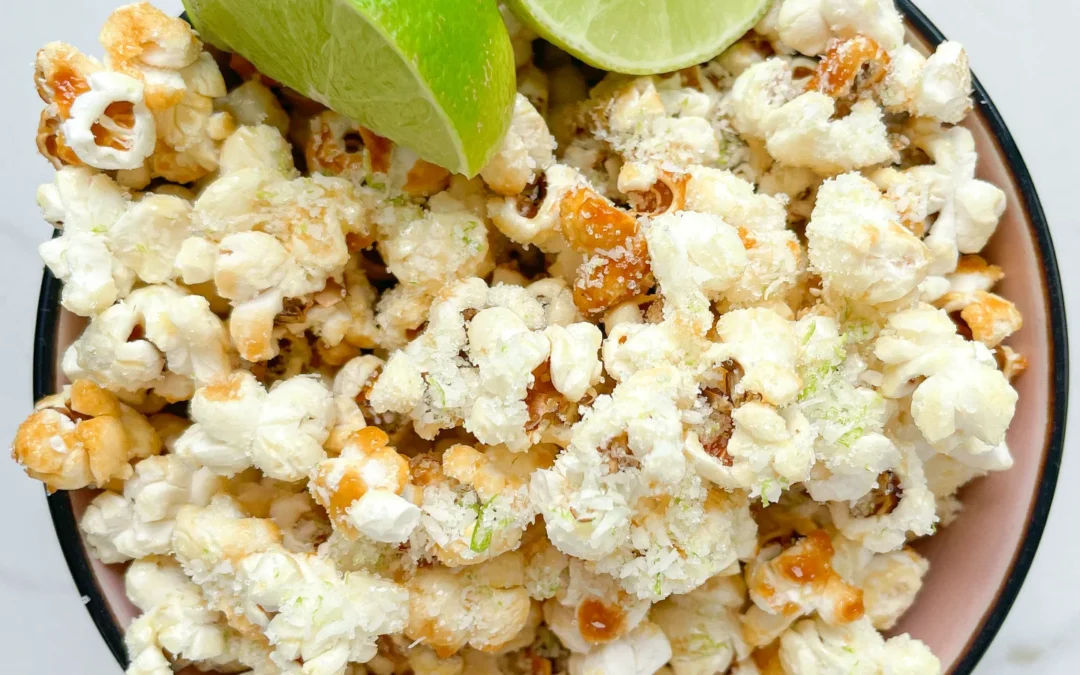
Ingredients
Units Scale
- 60 grams popcorn kernels
- 30 grams lime coconut oil
- 60 grams white sugar
TOPPING
- zest from one lime
- 1 tbsp shredded coconut
- 1 tbsp white sugar
Instructions
PREPARATIONS
- Here you can find the recipe for the lime coconut oil. You need 30g / 1 oz of the oil.
- In a medium pot, combine lime-coconut oil, sugar, and popcorn kernels, ensuring all kernels are coated with sugar and oil.
- Place the pot on the stove with the lid on and set to medium heat. Wait until the first kernel pops.
- While waiting, zest a lime and place the zest in a food processor. Add 1 tablespoon of sugar and 1 tablespoon of shredded coconut. Pulse a few times until the mixture is fragrant. Set aside.
- As the kernels start to pop, occasionally shake and gently swirl the pot to ensure even heating. After about 3-5 minutes, all kernels should be popped, and the sugar should have turned a light amber color.
- Carefully open the lid and pour the popcorn into a large bowl.
- Immediately sprinkle the topping over the popcorn and mix well to coat the popcorn evenly. Divide the popcorn into two bowls and enjoy!
- Passive Time: 10 min
- Cook Time: 10 min
")
")
")


")
")
")