")


")
")

Description
Making Shichimi Togarashi at home sounds more complicated than it actually is, because in reality, it comes together in no time. This Japanese seven-spice blend combines chili, sesame, nori, and orange peel into a flavor that’s not just spicy, but also fresh, nutty, and lightly citrusy. Just a pinch is enough to turn everyday dishes into something instantly more exciting. Sprinkle it over dumplings, avocado toast, or ramen, and suddenly it tastes like an evening at a Tokyo street market. That’s the magic of Shichimi Togarashi. A little adventure in your everyday cooking.
GOOD TO HAVE ON HAND
- mortar & pestle
- sealable jar
Ingredients
- 1 tbsp chili flakes
- 1 tsp orange zest
- 1/2 tsp Szechuan pepper corns
- 1/2 tsp white sesame seeds
- 1/2 tsp black sesame seeds
- 1/4 nori sheet
- 1/4 tsp ginger powder
Instructions
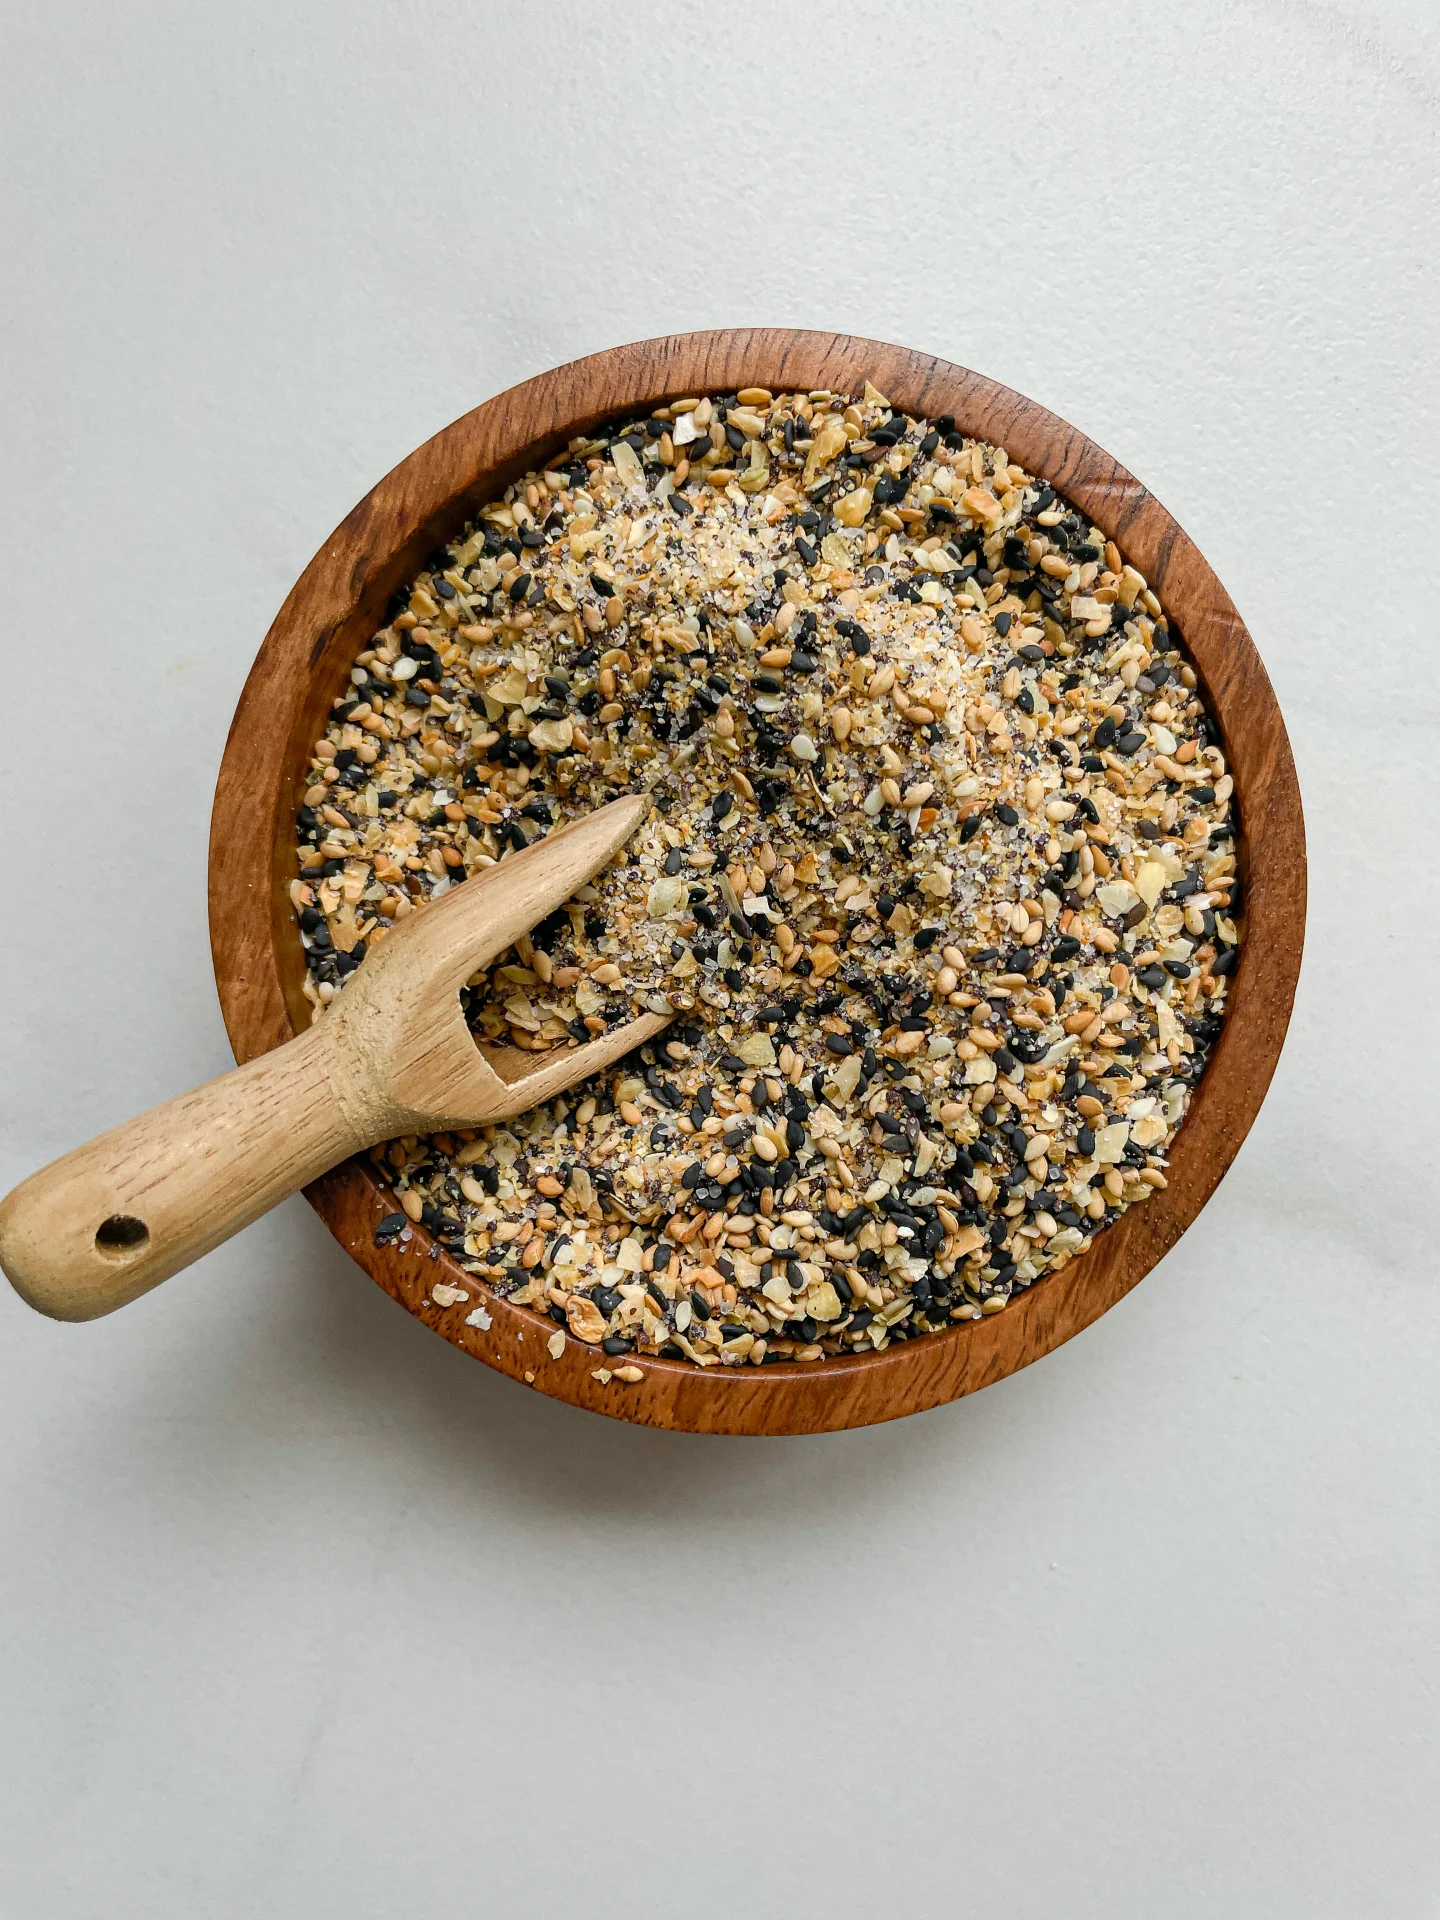
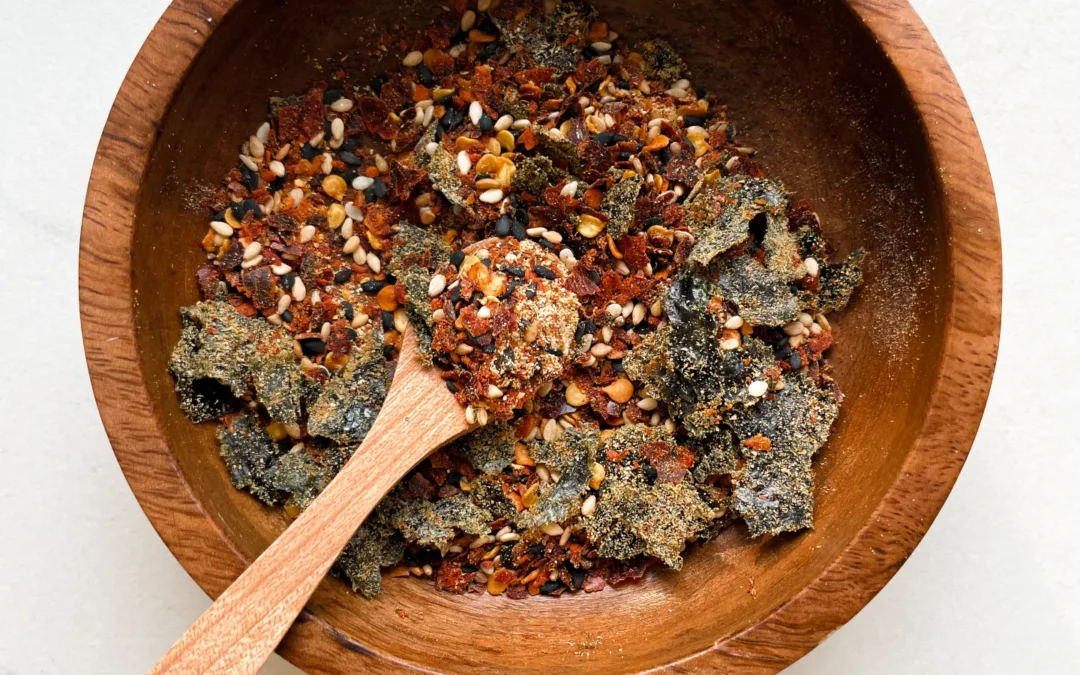
- Toast ½ tsp white sesame seeds and ½ tsp black sesame seeds in a dry pan over medium heat until golden and fragrant.
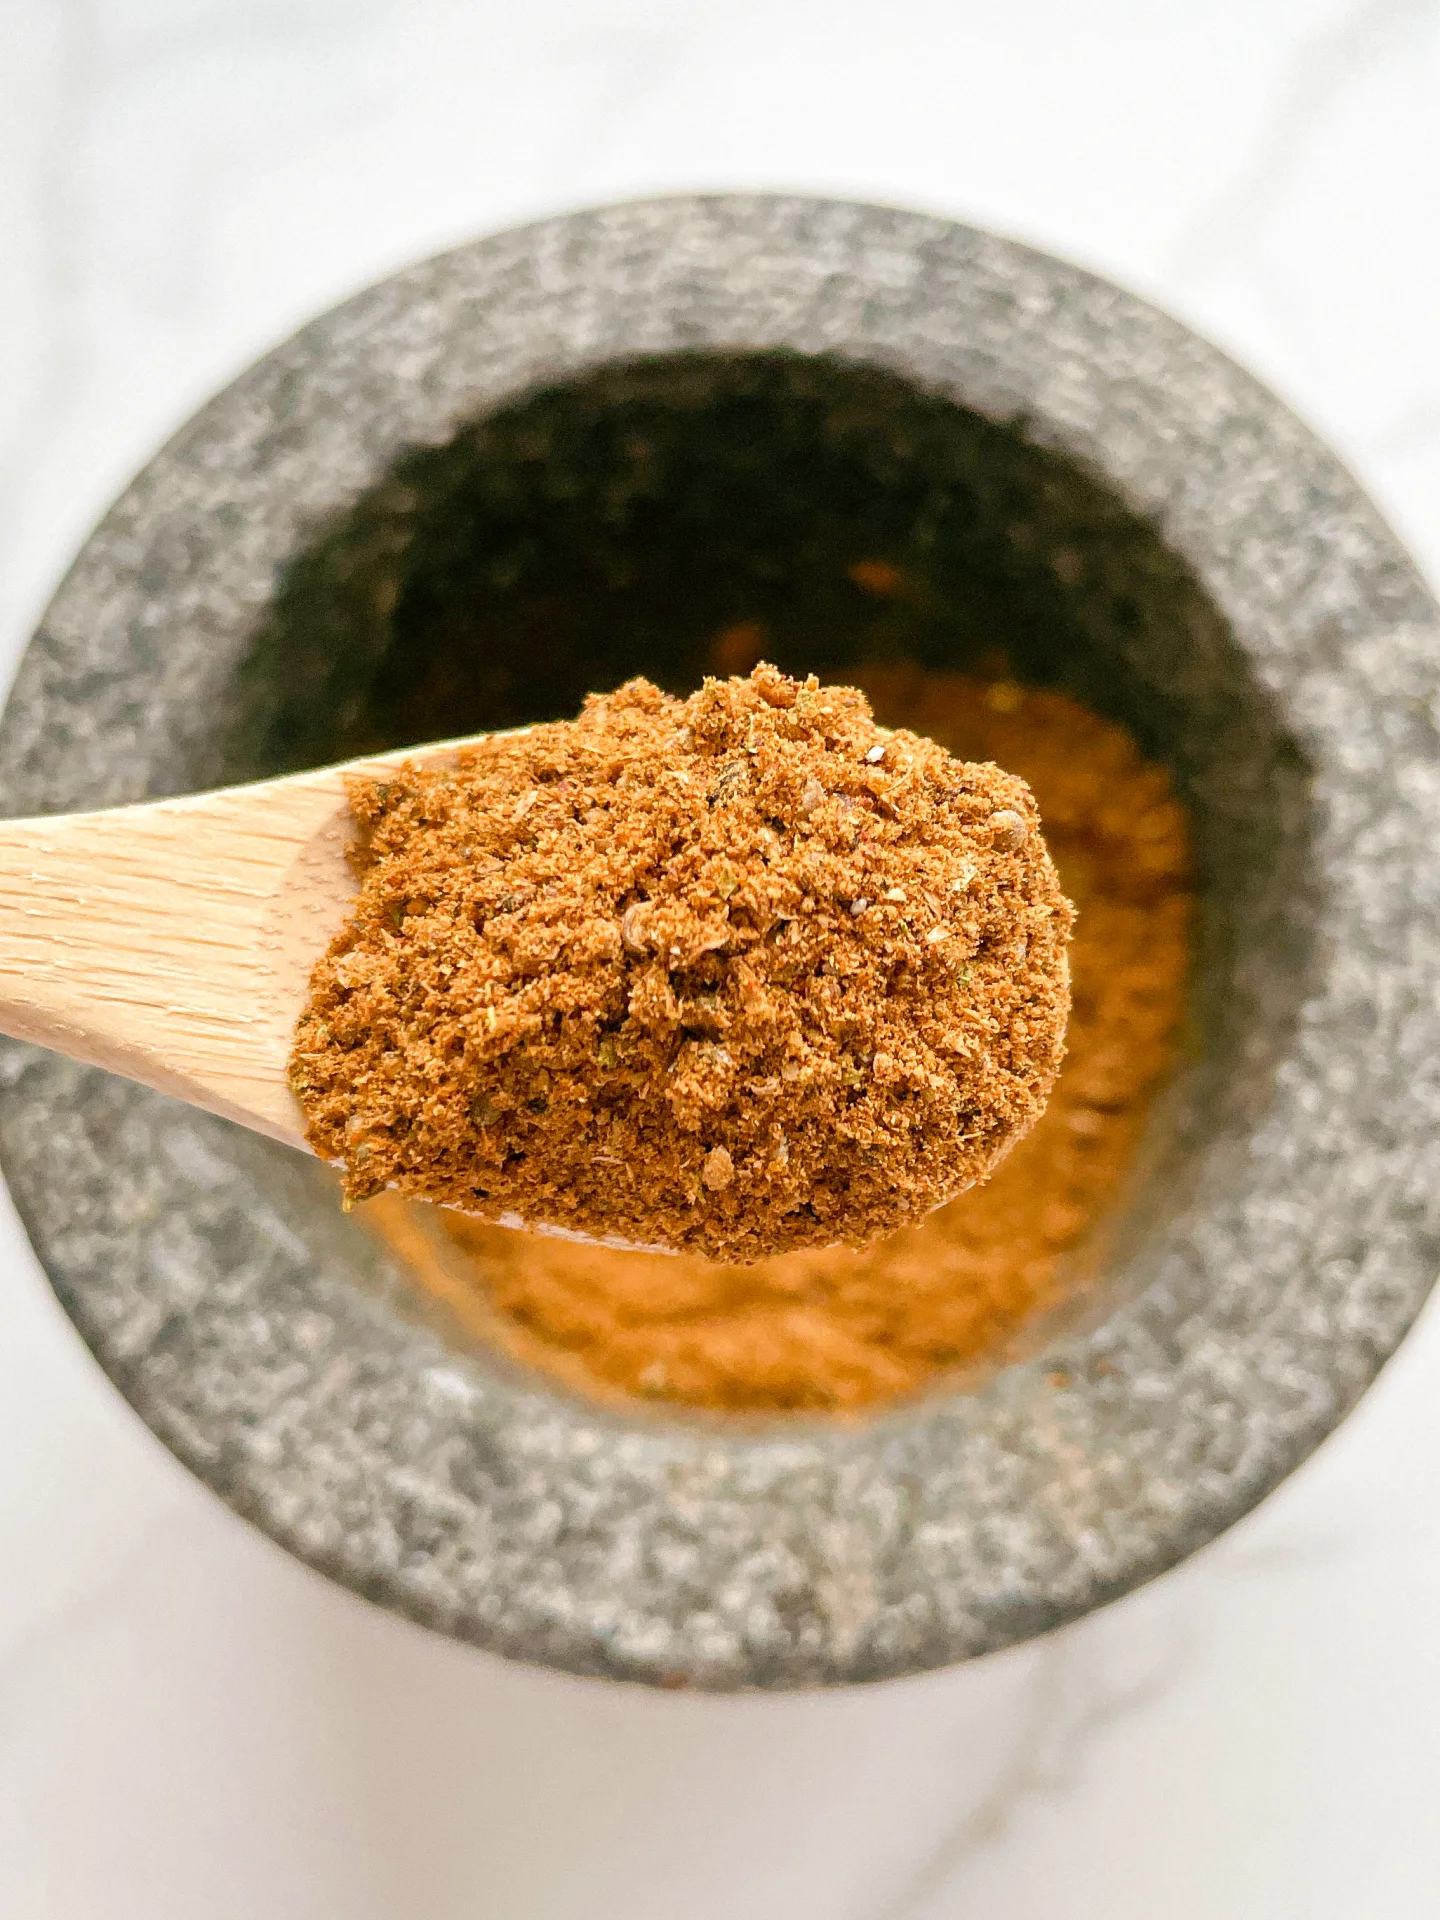
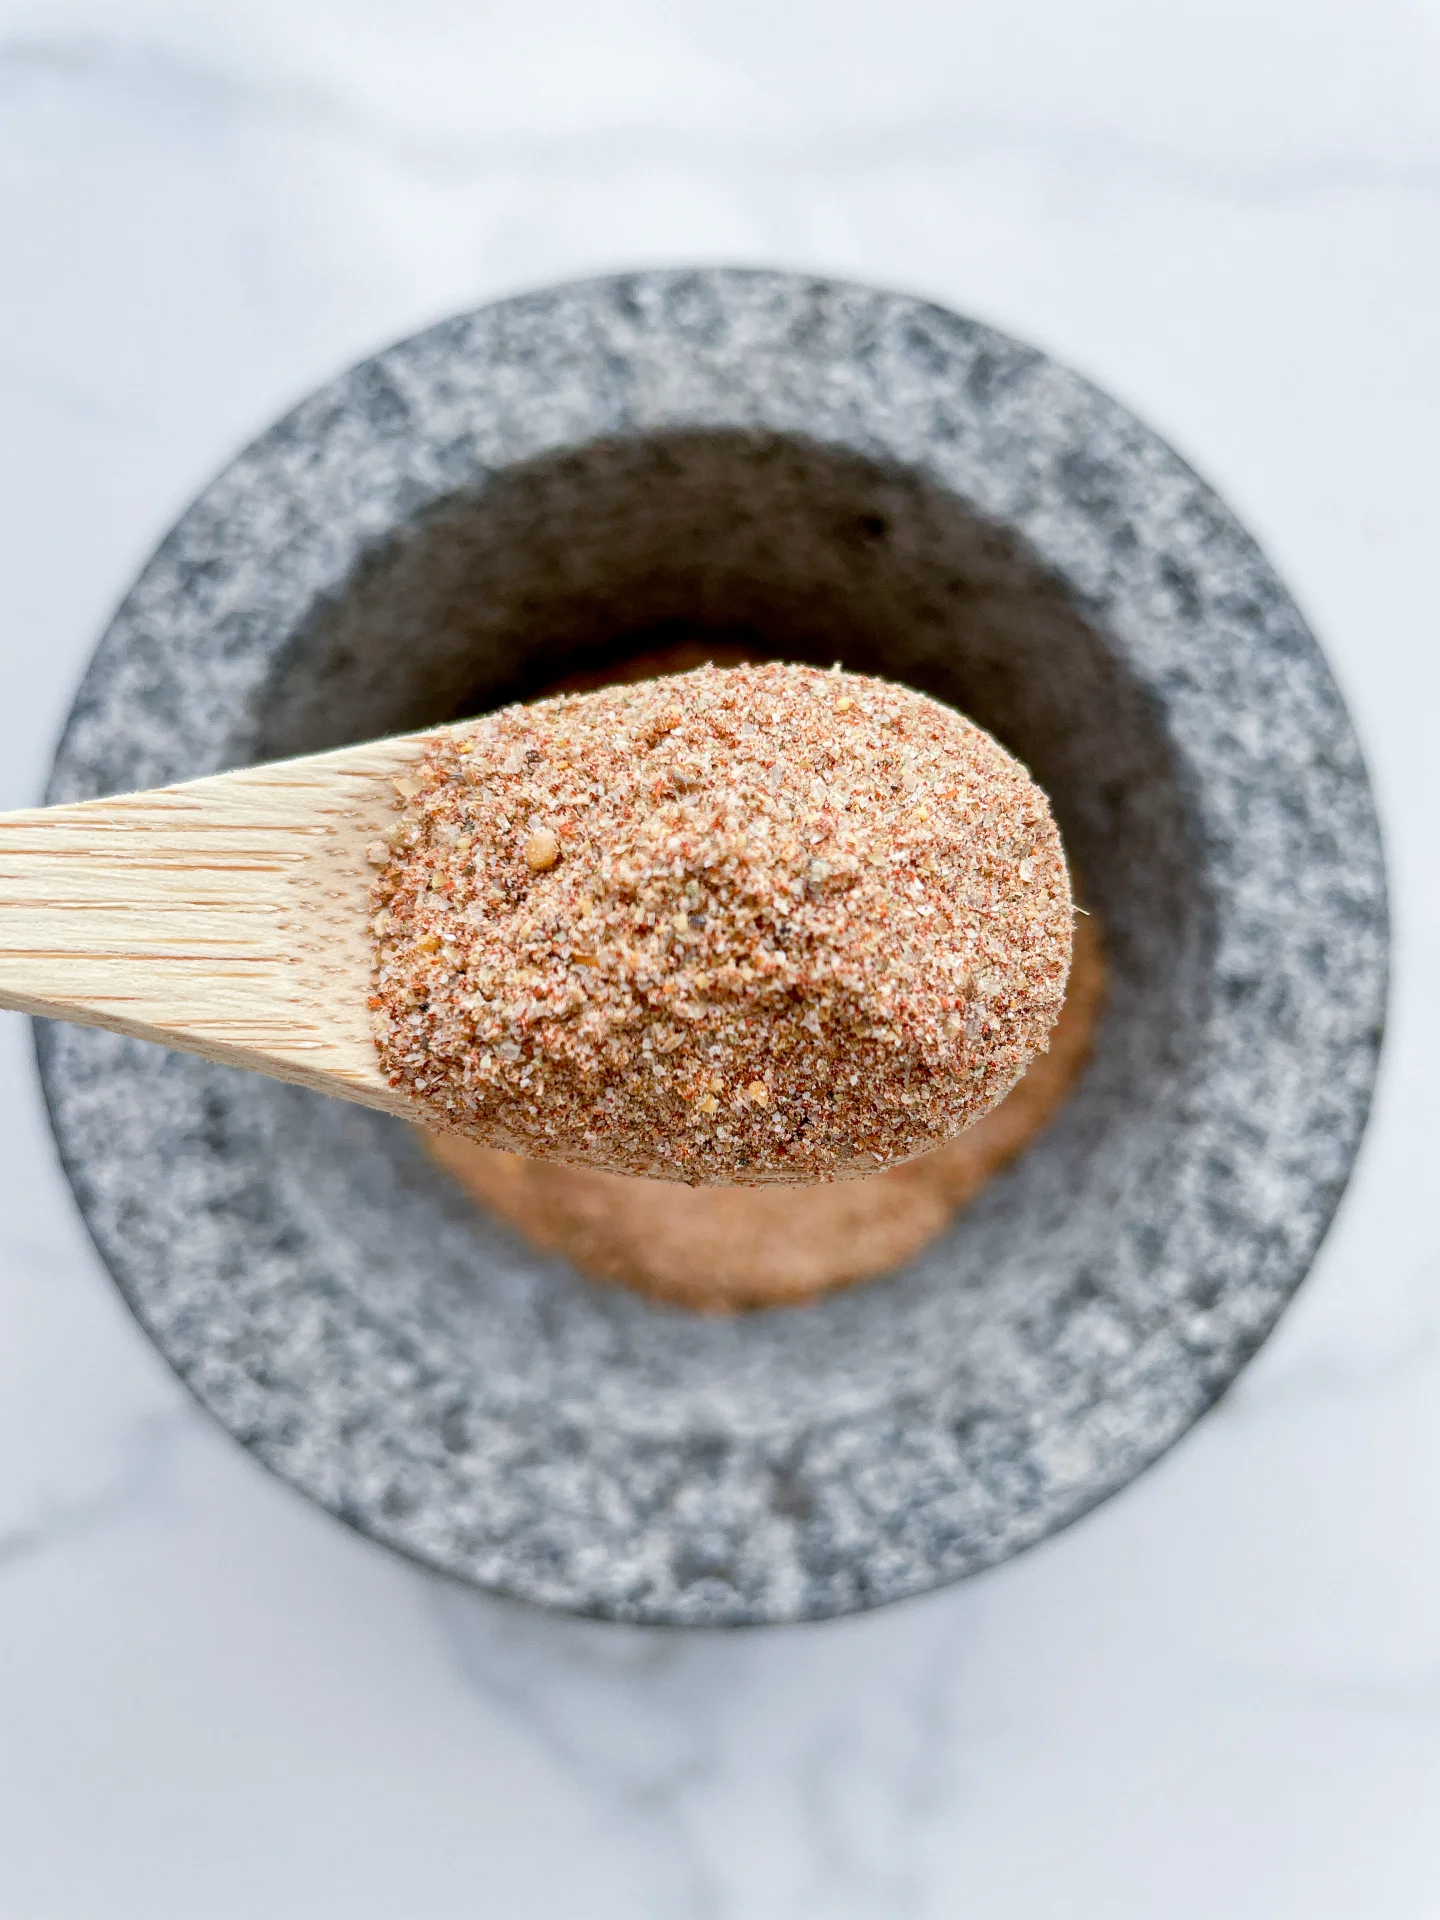
- Add ½ tsp Szechuan peppercorns and ¼ nori sheet (torn into small pieces) to a mortar and grind them finely, or use a spice grinder if you prefer.
- Combine the ground spices with 1 tbsp chili flakes, 1 tsp orange zest, and ¼ tsp ginger powder in a sealable jar. Give it a good shake to mix everything together.
- Prep Time: 10 min