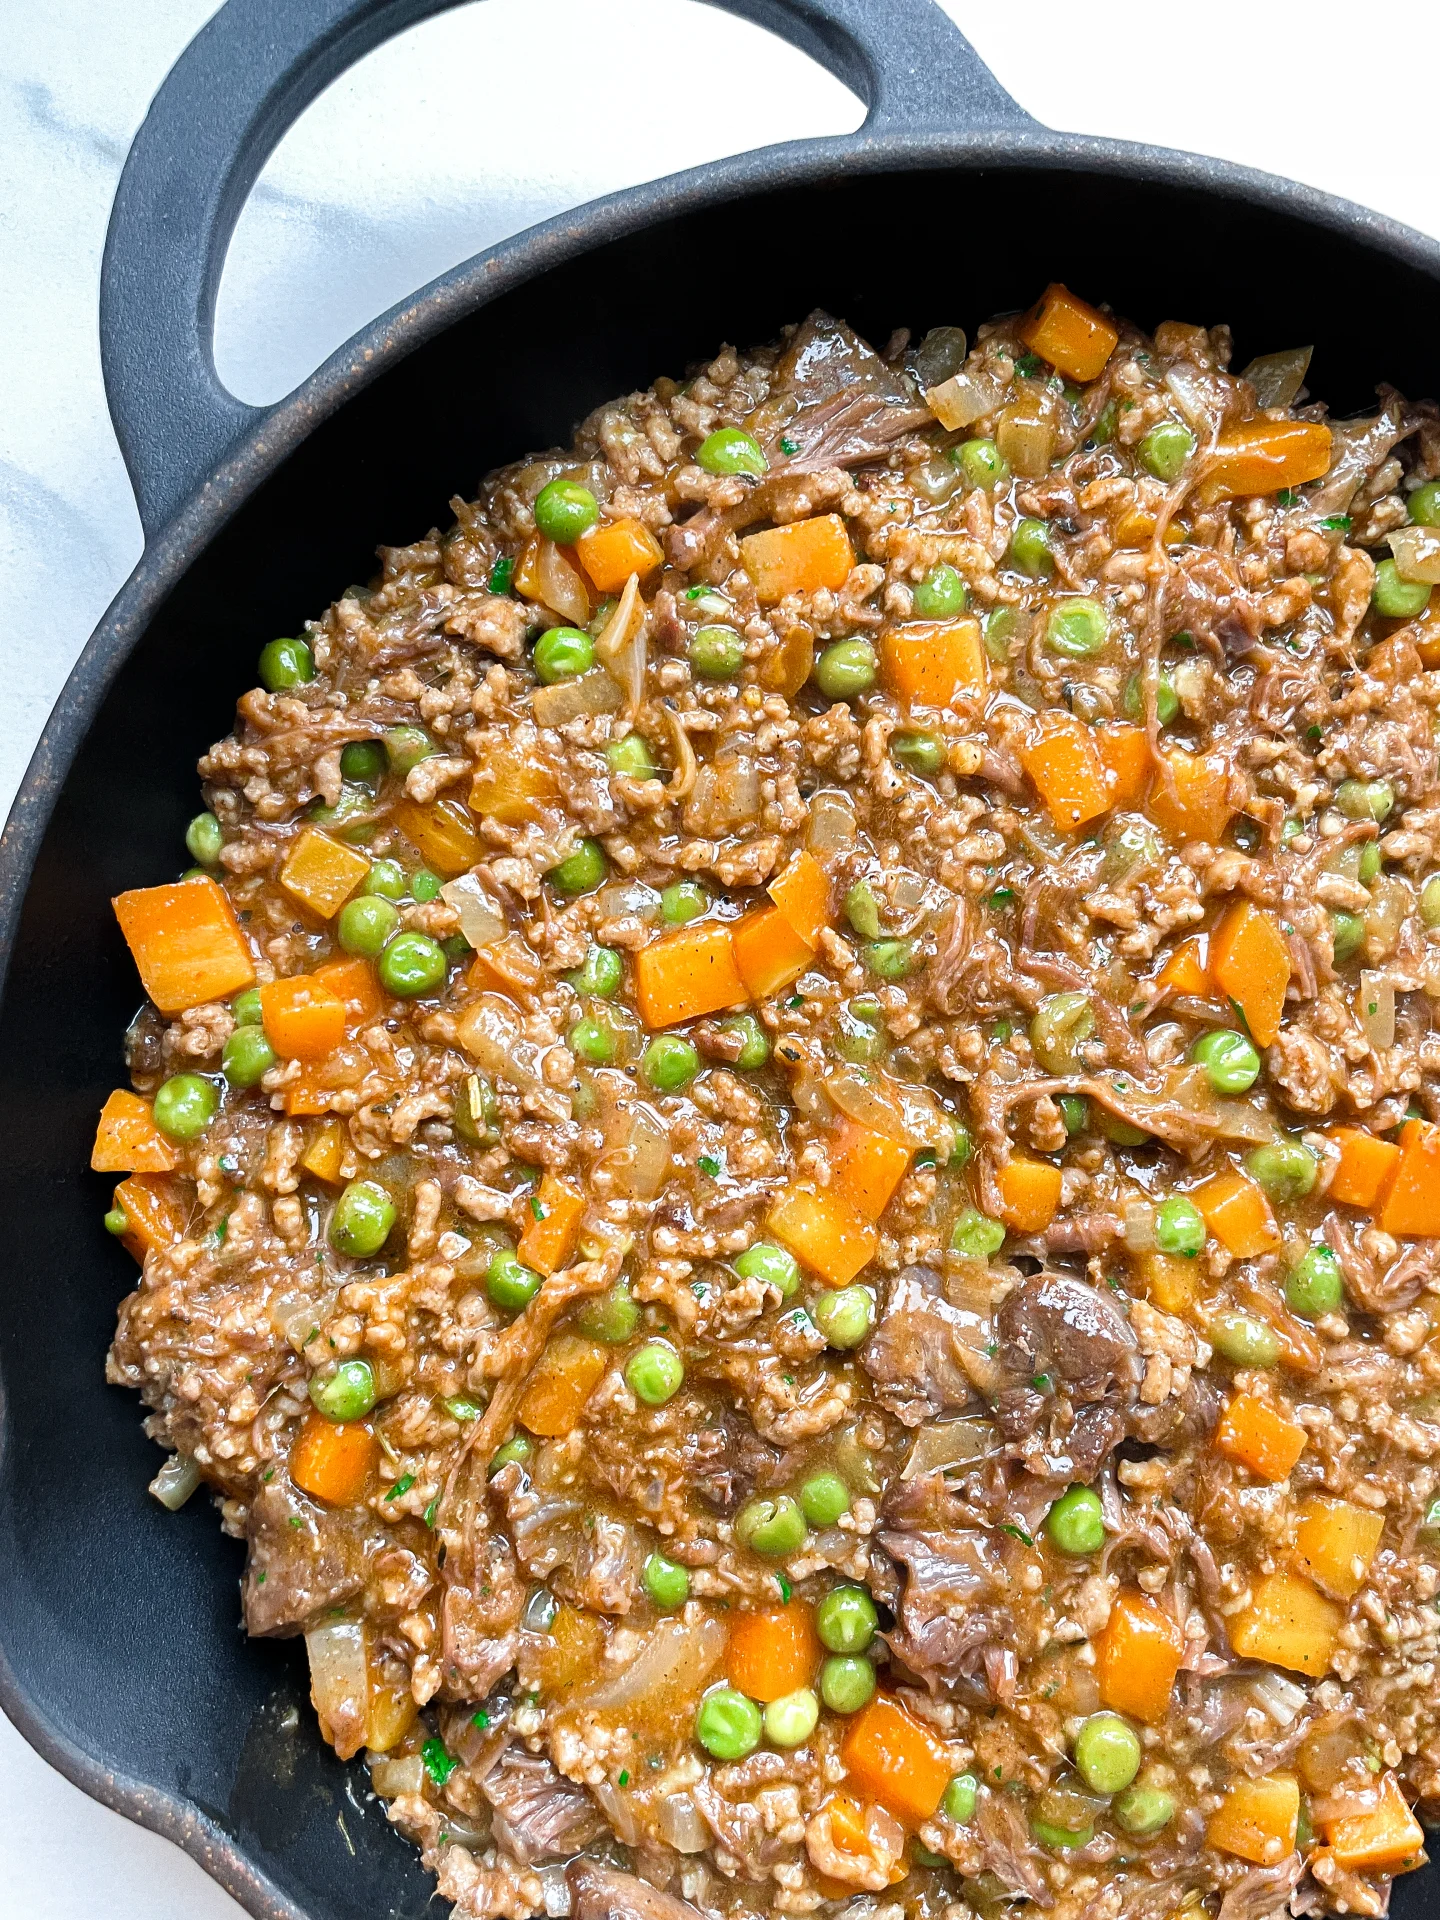
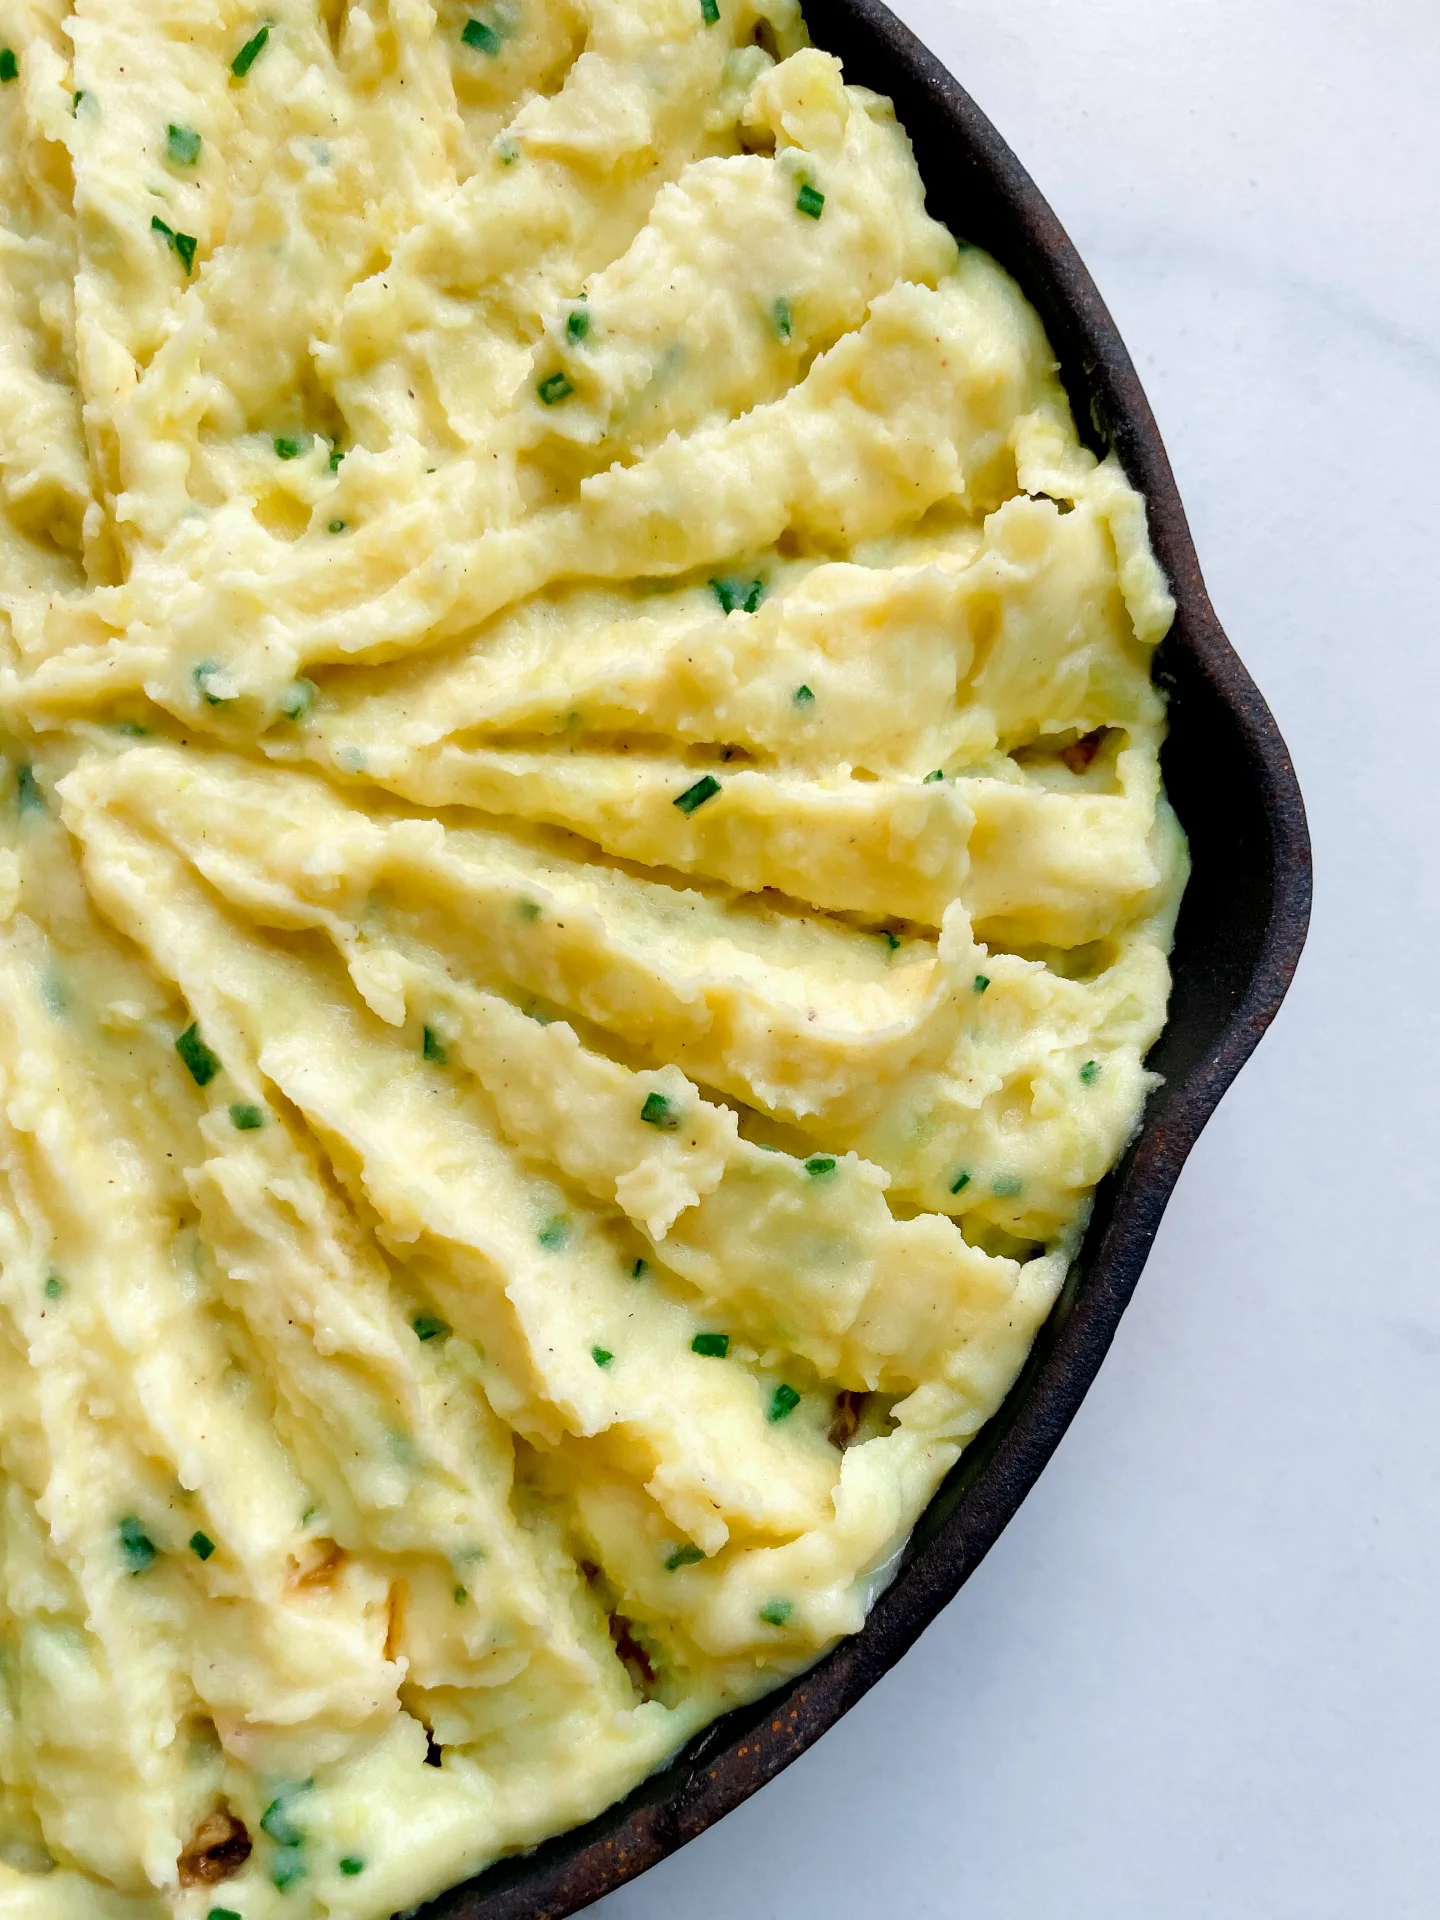
Cottage Pie

Cottage Pie

Cottage Pie

Cottage Pie

December 23, 2024 by Kimberly

Rich, slow-cooked beef with a creamy, cheesy potato topping. This cozy classic feels like home but leveled up – every bite is hearty, comforting, and completely irresistible. Perfect for chilly nights!

4 HOURS

INTERMEDIATE

OMNIVORE

ENGLISH

710 PER PORTION

COMFORT FOOD

EVERYDAY

DINNER

AUTUMN
WINTER

INTRODUCTION

ABOUT THE RECIPE

Imagine tender, slow-cooked beef paired with a golden, cheesy mashed potato topping – this is comfort food on a whole new level. Combining ground beef and flavorful slow-cooked shank meat, this dish delivers a rich, savory filling that melts in your mouth. The creamy Parmesan and cream cheese mashed potatoes bring the perfect finishing touch, creating a meal that’s hearty, satisfying, and unforgettable. Whether it’s a family dinner or meal-prep hero, this pie is your go-to cozy classic.

How to serve
Serve this dish fresh from the oven with a crisp salad for balance. For extra flair, sprinkle some fresh herbs like parsley or thyme on top before serving. This dish is perfect for casual family dinners or even a dinner party – it’s the kind of meal that gets everyone asking for seconds. Pair it with a glass of red wine or a comforting cup of tea, and you’re all set.

How to store
Store any leftovers in an airtight container in the fridge for up to 3 days. Reheat in the oven or microwave until piping hot. For freezing, wrap the dish tightly and freeze for up to a month. Defrost in the fridge overnight before reheating.

Hi, I'm Kimberly!

Hi, I'm Kimberly.

A passionate food lover who believes in the magic of homemade deliciousness that spreads love and warmth. Join me on this culinary adventure as I prepare wonderful dishes and let’s spread some happiness together!

Kimberly the Zett Signature

If you want to get to know me better, click here!


Cottage Pie
Cottage Pie
Cottage Pie
Cottage Pie
„Let’s make a piece of happiness“
Print
clock clock iconcutlery cutlery iconflag flag iconfolder folder iconinstagram instagram iconpinterest pinterest iconfacebook facebook iconprint print iconsquares squares iconheart heart iconheart solid heart solid icon
Cottage Pie

Cottage Pie


5 Stars 4 Stars 3 Stars 2 Stars 1 Star

No reviews

  • Author: Kimberly
  • Total Time: 4 hrs
  • Yield: 6 1x

Description

Recommended Equipment

  • medium pot
  • sharp knife
  • cutting board
  • large pot with lid
  • vegetable peeler
  • medium pot with lid
  • small pot
  • cheese grater
  • potato masher
  • ovenproof pan

Ingredients

Units Scale

SHANK MEAT & STOCK

  • 800 grams beef shanks
  • 500 grams beef marrow bones
  • 1 liter water
  • 1 white onion
  • 3 carrots
  • 3 celery sticks
  • 1 tbsp olive oil
  • 1 tbsp tomato paste
  • 2 bay leaves
  • 1 tsp black pepper corns
  • 1 tsp coriander seeds

MASHED POTATOES

  • 1 kilogram russet potatoes
  • 300 milliliter full-fat cow milk
  • 100 grams butter
  • 100 grams cream cheese
  • 50 grams parmesan
  • 2 tbsp chives
  • salt, pepper & nutmeg to taste

MEAT FILLING

  • 2 tbsp oil
  • 500 grams minced beef
  • 300 grams shank meat (prepared earlier from the shanks)
  • 1 white onion
  • 6 garlic cloves
  • 2 carrots
  • 150 grams frozen peas
  • 600 milliliter beef stock (prepared earlier from the shanks & bones)
  • 2 tbsp tomato paste
  • 12 tbsp all-purpose flour
  • 1 tbsp Worcestershire sauce
  • 2 bay leaves
  • 1 tsp dried thyme
  • 1/2 tsp dried rosemary
  • 1 tsp paprika powder
  • 1/4 tsp cinnamon
  • 1/4 tsp brown sugar
  • 1/8 tsp nutmeg
  • salt & pepper to taste
  • 2 tbsp fresh parsley

Instructions

PREPARATIONS

  • Place the beef shanks on a rack over a drip tray or a deep baking sheet lined with parchment paper. Roast in the oven at 250°C on the grill setting for about 25 minutes, until browned and starting to render fat.
  • Meanwhile, cut carrots, onions, and celery into large chunks. Sauté the veggies with crushed coriander seeds and peppercorns in a large pot with a bit of olive oil. Stir in tomato paste and cook for another 1–2 minutes.
  • Add water to the pot and toss in bay leaves.
  • Remove the beef shanks and bones from the oven and add them to the pot. Cover with the lid and simmer for about 2 hours.
  • Once the cooking time is up, strain the broth through a sieve into a measuring cup. Discard the vegetables and bones, and set the meat aside in a bowl. If you want to go the extra mile, strain the broth through a cheesecloth, though it’s not essential for this recipe. You’ll need 600 milliliters of broth and all the meat for this cottage pie.

INSTRUCTIONS

  1. Peel and halve the potatoes, then place them in a medium pot with cold water. Bring to a boil and cook until soft, about 20 minutes.
  2. Meanwhile, gently heat milk and butter in a small pot until the butter melts. Grate Parmesan and slice chives into fine rings—set both aside. Finely dice the onion, peel the garlic, and dice the carrots into small cubes. Weigh the peas and set everything aside.
  3. Once the potatoes are soft, drain the water. Add the warm milk-butter mixture and mash the potatoes. Stir in cream cheese and Parmesan, then season with nutmeg, salt, and pepper. Finally, fold in the chives. Cover and set the pot aside.
  4. Heat olive oil in a large pot or ovenproof pan. Sear the ground beef, remove it, and set aside.
  5. Add the onions and carrots to the pan and sauté briefly. Press or finely grate the garlic, sauté for a moment, then stir in tomato paste and cook briefly as well.
  6. Dust with flour and stir well. Add the ground beef and beef shank meat, then deglaze with the beef broth. Stir in Worcestershire sauce, bay leaves, thyme, rosemary, paprika, cinnamon, brown sugar, nutmeg, salt, and pepper. Simmer for about 20 minutes or until the carrots are soft. While it simmers, finely chop the parsley.
  7. Once the carrots are soft, stir in the peas and parsley. Preheat the oven to 180°C. Spread the meat mixture evenly into an ovenproof dish. Smooth it out, then spread the mashed potatoes on top, smoothing and optionally decorating the surface.
  8. Bake for 15–20 minutes, until the edges are bubbling. Switch to the grill setting and cook for 5–7 minutes until the mashed potato topping turns golden brown. Let the cottage pie rest briefly before serving.
  • Prep Time: 2 hrs + 30 min
  • Passive Time: 45 min
  • Cook Time: 45 min

Cherry Bakewell Oil

Cherry Bakewell Oil

Cherry Bakewell Oil

Cherry Bakewell Oil

December 22, 2024 by Kimberly

This Cherry Bakewell Oil was meant to be sweet, nutty, and elegant – but let’s just say it didn’t live up to the dream. Honest reviews and lessons learned inside!

40 MINUTES

ADVANCED

VEGAN

ENGLISH

40 PER TSP

MICHELIN

OIL

WINTER

INTRODUCTION

ABOUT THE RECIPE

Let’s get real: not every recipe turns out as dreamy as planned. This Cherry Bakewell Oil, infused with candied cherries and almonds, had all the right ideas but didn’t deliver on flavor. Instead of the sweet, nutty depth I envisioned, the result was underwhelming and lacked the vibrant punch I hoped for. But hey, it’s all part of the journey, and I’m here to share the lessons I learned from this kitchen experiment.

How to serve
Honestly, this oil didn’t bring the wow factor. The sweetness from the candied cherries didn’t infuse at all, and the almond flavor got lost in translation. If you do give it a try, maybe use it as a light drizzle over mild salads or simple desserts where subtlety is welcome. But don’t expect it to steal the show – it’s more of a whisper than a statement. But if you’re still craving cherry and almond, you should definitely try these Cherry Almond Marzipan Oats!


How to store
Keep the infused oil in an airtight container for up to a week at room temperature. Be sure to shake it before using, as the ingredients can settle at the bottom.

Hi, I'm Kimberly!

Hi, I'm Kimberly.

A passionate food lover who believes in the magic of homemade deliciousness that spreads love and warmth. Join me on this culinary adventure as I prepare wonderful dishes and let’s spread some happiness together!

Kimberly the Zett Signature

If you want to get to know me better, click here!


Cherry Bakewell Oil
Cherry Bakewell Oil
Cherry Bakewell Oil
„Let’s make a piece of happiness“
Print
clock clock iconcutlery cutlery iconflag flag iconfolder folder iconinstagram instagram iconpinterest pinterest iconfacebook facebook iconprint print iconsquares squares iconheart heart iconheart solid heart solid icon
Cherry Bakewell Oil

Cherry Bakewell Oil


  • Author: Kimberly
  • Total Time: 40 min
  • Yield: 1 cup / 250 ml 1x

Description

RECOMMENDED EQUIPMENT

  • blender
  • medium-sized saucepan
  • whisk
  • a bowl which the medium saucepan fits into
  • 2 medium-sized bowls
  • 2 fine mesh strainers
  • oil bottle
  • ice cubes
  • coffee filter

Ingredients

Units Scale
  • 50 grams raw almonds
  • 50 grams candied cherries
  • 250 milliliter rapeseed oil

Instructions

  1. Put the almonds and candied cherries into the blender. Pour in the oil. Blend on the highest setting until it no coarse pieces are longer visible.
  2. Pour the mixture from the blender into a medium-sized pot and heat it over medium heat, constantly stirring, to a temperature of about 102°-103°C (215°-217°F). Then, let the oil simmer with the lid partially on for the next 10 minutes. Stir only occasionally, making sure the temperature remains steady and nothing gets burned.
  3. At the end of the cooking process, prepare a bowl large enough to fit the medium-sized pot, filled with cold water and a handful of ice cubes. Also, hang a fine mesh sieve strainer over a medium-sized bowl.
  4. Now, place the pot in the ice water and stir to stop the cooking process. Once the oil is almost cold, remove the pot from the water and pour the oil into the first fine mesh sieve to catch the coarse particle.
  5. Then, pour the oil into the second fine mesh sieve, which you before equipped with a coffee filter, to catch the remaining finer particles.
  6. Allow the oil to drip through for about 30 minutes or maybe less depending on how many remaining particles are in the coffee filter. Once all the oil has passed through the coffee filter, transfer the collected amount of oil into an oil bottle. Store in the refrigerator for up to 1 week.
  • Passive Time: 30 min
  • Cook Time: 10 min

Chocolate Mint Oil

Chocolate Mint Oil

Chocolate Mint Oil

Chocolate Mint Oil

December 20, 2024 by Kimberly

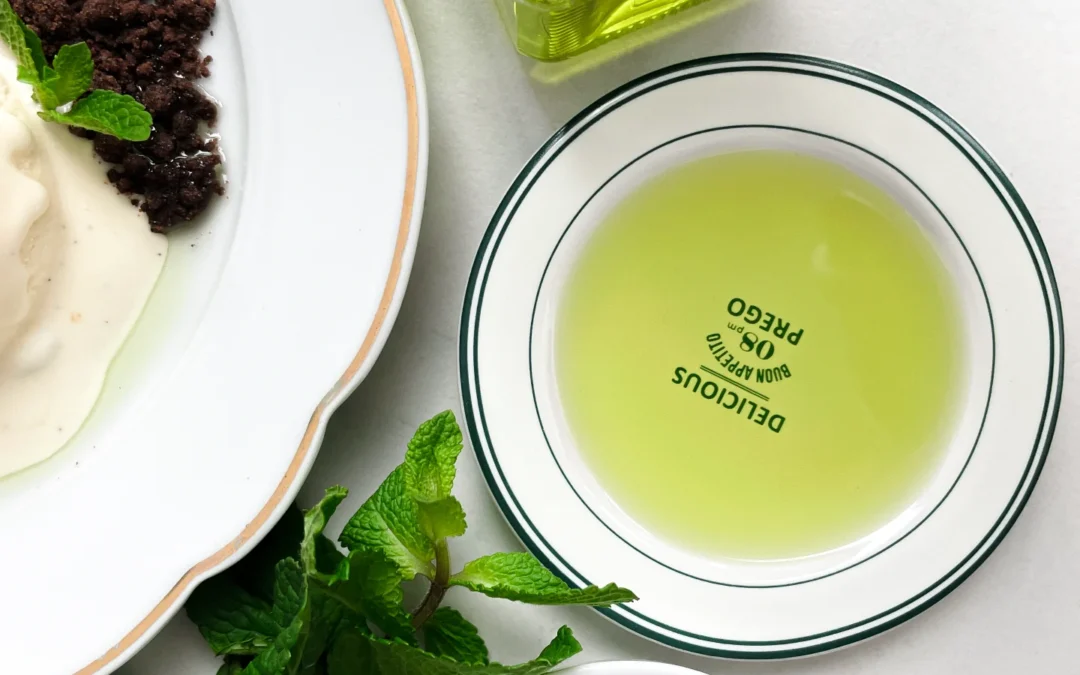
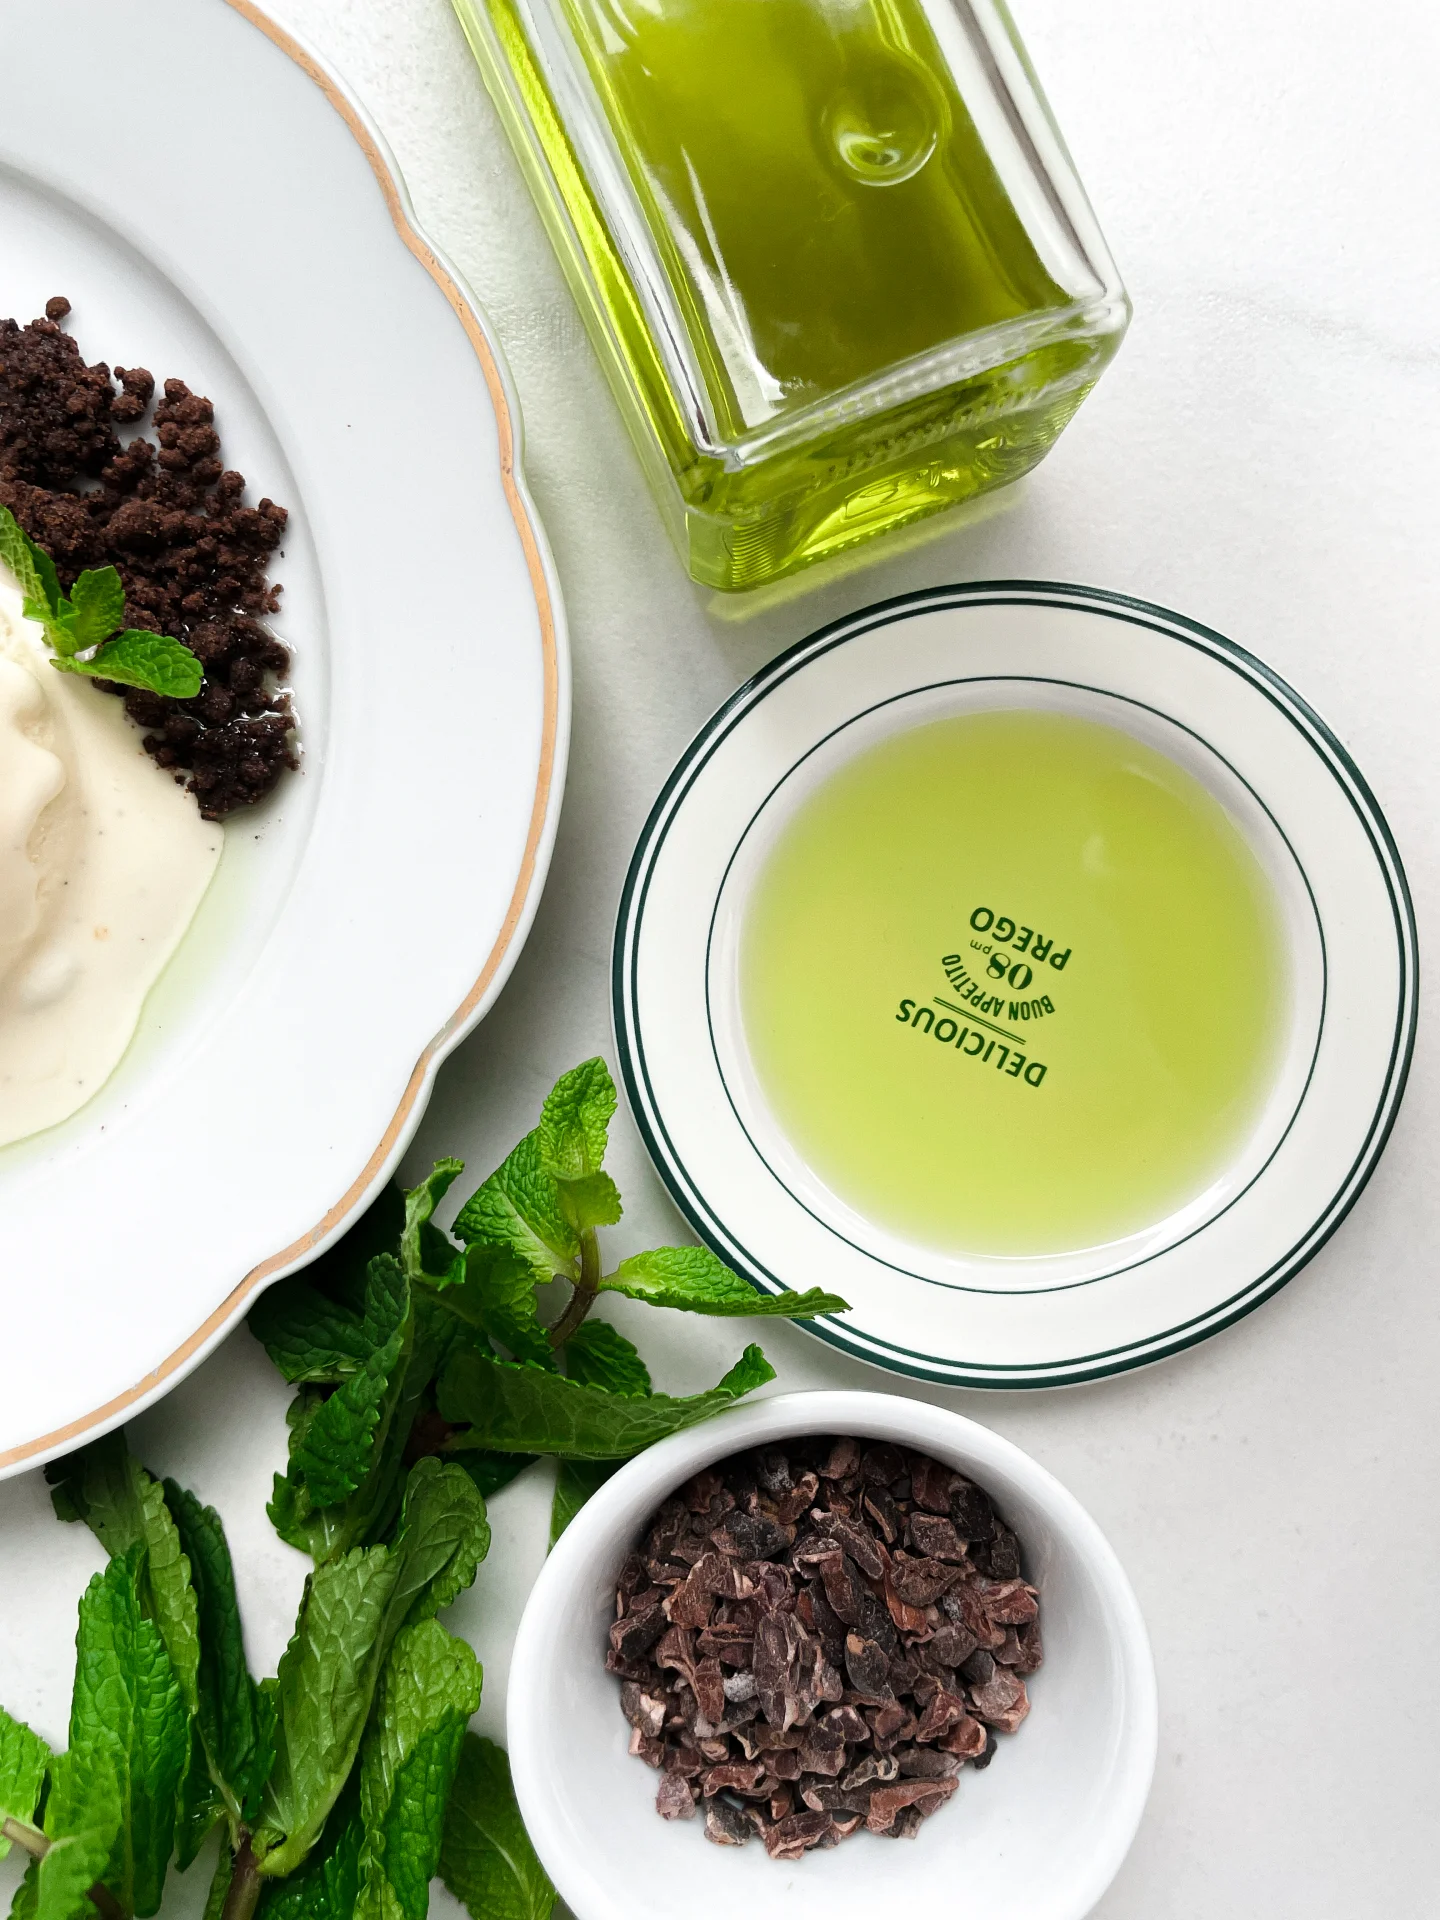
This infused oil is minty-fresh and oh-so-delicious, even if the chocolate vibes didn’t show up. Perfect for drizzling on salads or desserts – it’s a happy accident you’ll love.

40 MINUTES

ADVANCED

VEGAN

ENGLISH

40 PER TSP

REFRESHING

MICHELIN

OIL

ALL YEAR

INTRODUCTION

ABOUT THE RECIPE

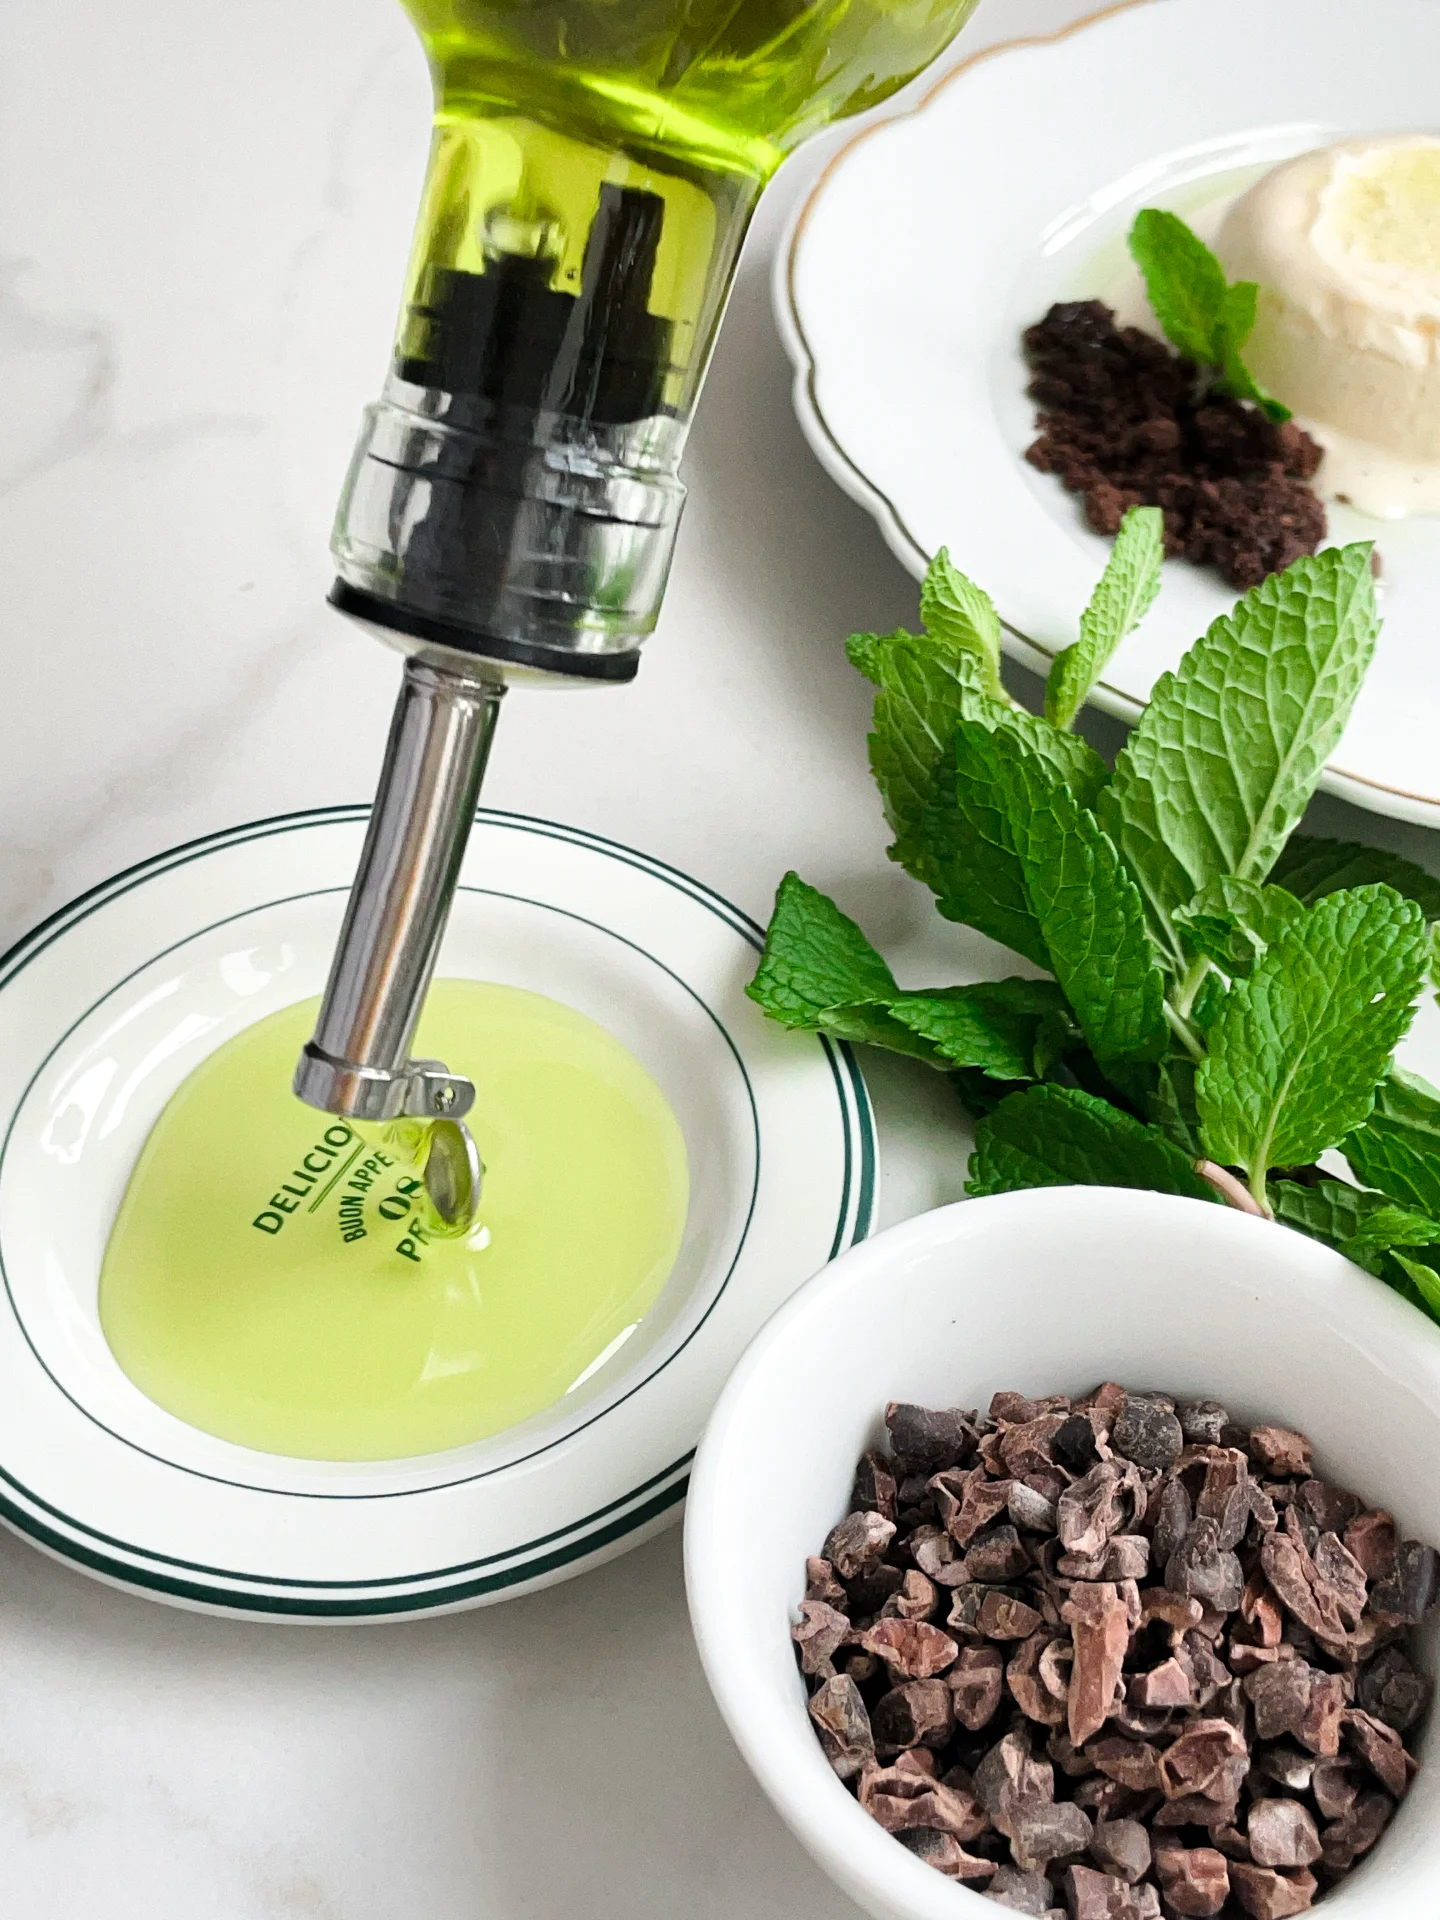
Not every recipe turns out as expected, but sometimes the result is even better! This Chocolate Mint Oil was supposed to capture both chocolate and mint flavors, but only the fresh, vibrant mint transferred – and honestly? It’s absolutely delicious. The cocoa nibs didn’t quite make the impact I hoped for, but the minty finish is so versatile and refreshing. Perfect for sweet and savory dishes, this oil still deserves a spot in your kitchen.

How to serve
Drizzle this minty oil over fresh salads for a herby twist or use it to finish a dessert like brownies, ice cream, or fruit salads. It also works as a light drizzle over roasted vegetables, adding a subtle mint freshness to balance the flavors. For an unexpected yet delicious pairing, try it with lamb or feta cheese for a Mediterranean-inspired vibe. Versatile and fresh, it’s a little experiment gone right. For an extravagant dessert with a wow factor, you absolutely have to try this oil on my Vanilla Parfait with Chocolate Soil!

How to store
Store this infused oil in a clean, airtight bottle in the fridge for up to one week.

Hi, I'm Kimberly!

Hi, I'm Kimberly.

A passionate food lover who believes in the magic of homemade deliciousness that spreads love and warmth. Join me on this culinary adventure as I prepare wonderful dishes and let’s spread some happiness together!

Kimberly the Zett Signature

If you want to get to know me better, click here!


Chocolate Mint Oil
Chocolate Mint Oil
Chocolate Mint Oil
„Let’s make a piece of happiness“
Print
clock clock iconcutlery cutlery iconflag flag iconfolder folder iconinstagram instagram iconpinterest pinterest iconfacebook facebook iconprint print iconsquares squares iconheart heart iconheart solid heart solid icon
Chocolate Mint Oil

Chocolate Mint Oil


  • Author: Kimberly
  • Total Time: 40 min
  • Yield: 1 cup / 250 ml 1x

Description

RECOMMENDED EQUIPMENT

  • blender
  • medium-sized saucepan
  • whisk
  • a bowl which the medium saucepan fits into
  • 2 medium-sized bowls
  • 2 fine mesh strainers
  • oil bottle
  • ice cubes
  • coffee filter

Ingredients

Units Scale
  • 15 grams cocoa nibs
  • 15 grams fresh mint
  • 250 milliliter rapeseed oil

Instructions

  1. Put cocoa nibs and leaves of the mint into the blender. Pour in the oil. Blend on the highest setting until it no coarse pieces are longer visible.
  2. Pour the mixture from the blender into a medium-sized pot and heat it over medium heat, constantly stirring, to a temperature of about 102°-103°C (215°-217°F). Then, let the oil simmer with the lid partially on for the next 10 minutes. Stir only occasionally, making sure the temperature remains steady and nothing gets burned.
  3. At the end of the cooking process, prepare a bowl large enough to fit the medium-sized pot, filled with cold water and a handful of ice cubes. Also, hang a fine mesh sieve strainer over a medium-sized bowl.
  4. Now, place the pot in the ice water and stir to stop the cooking process. Once the oil is almost cold, remove the pot from the water and pour the oil into the first fine mesh sieve to catch the coarse particle.
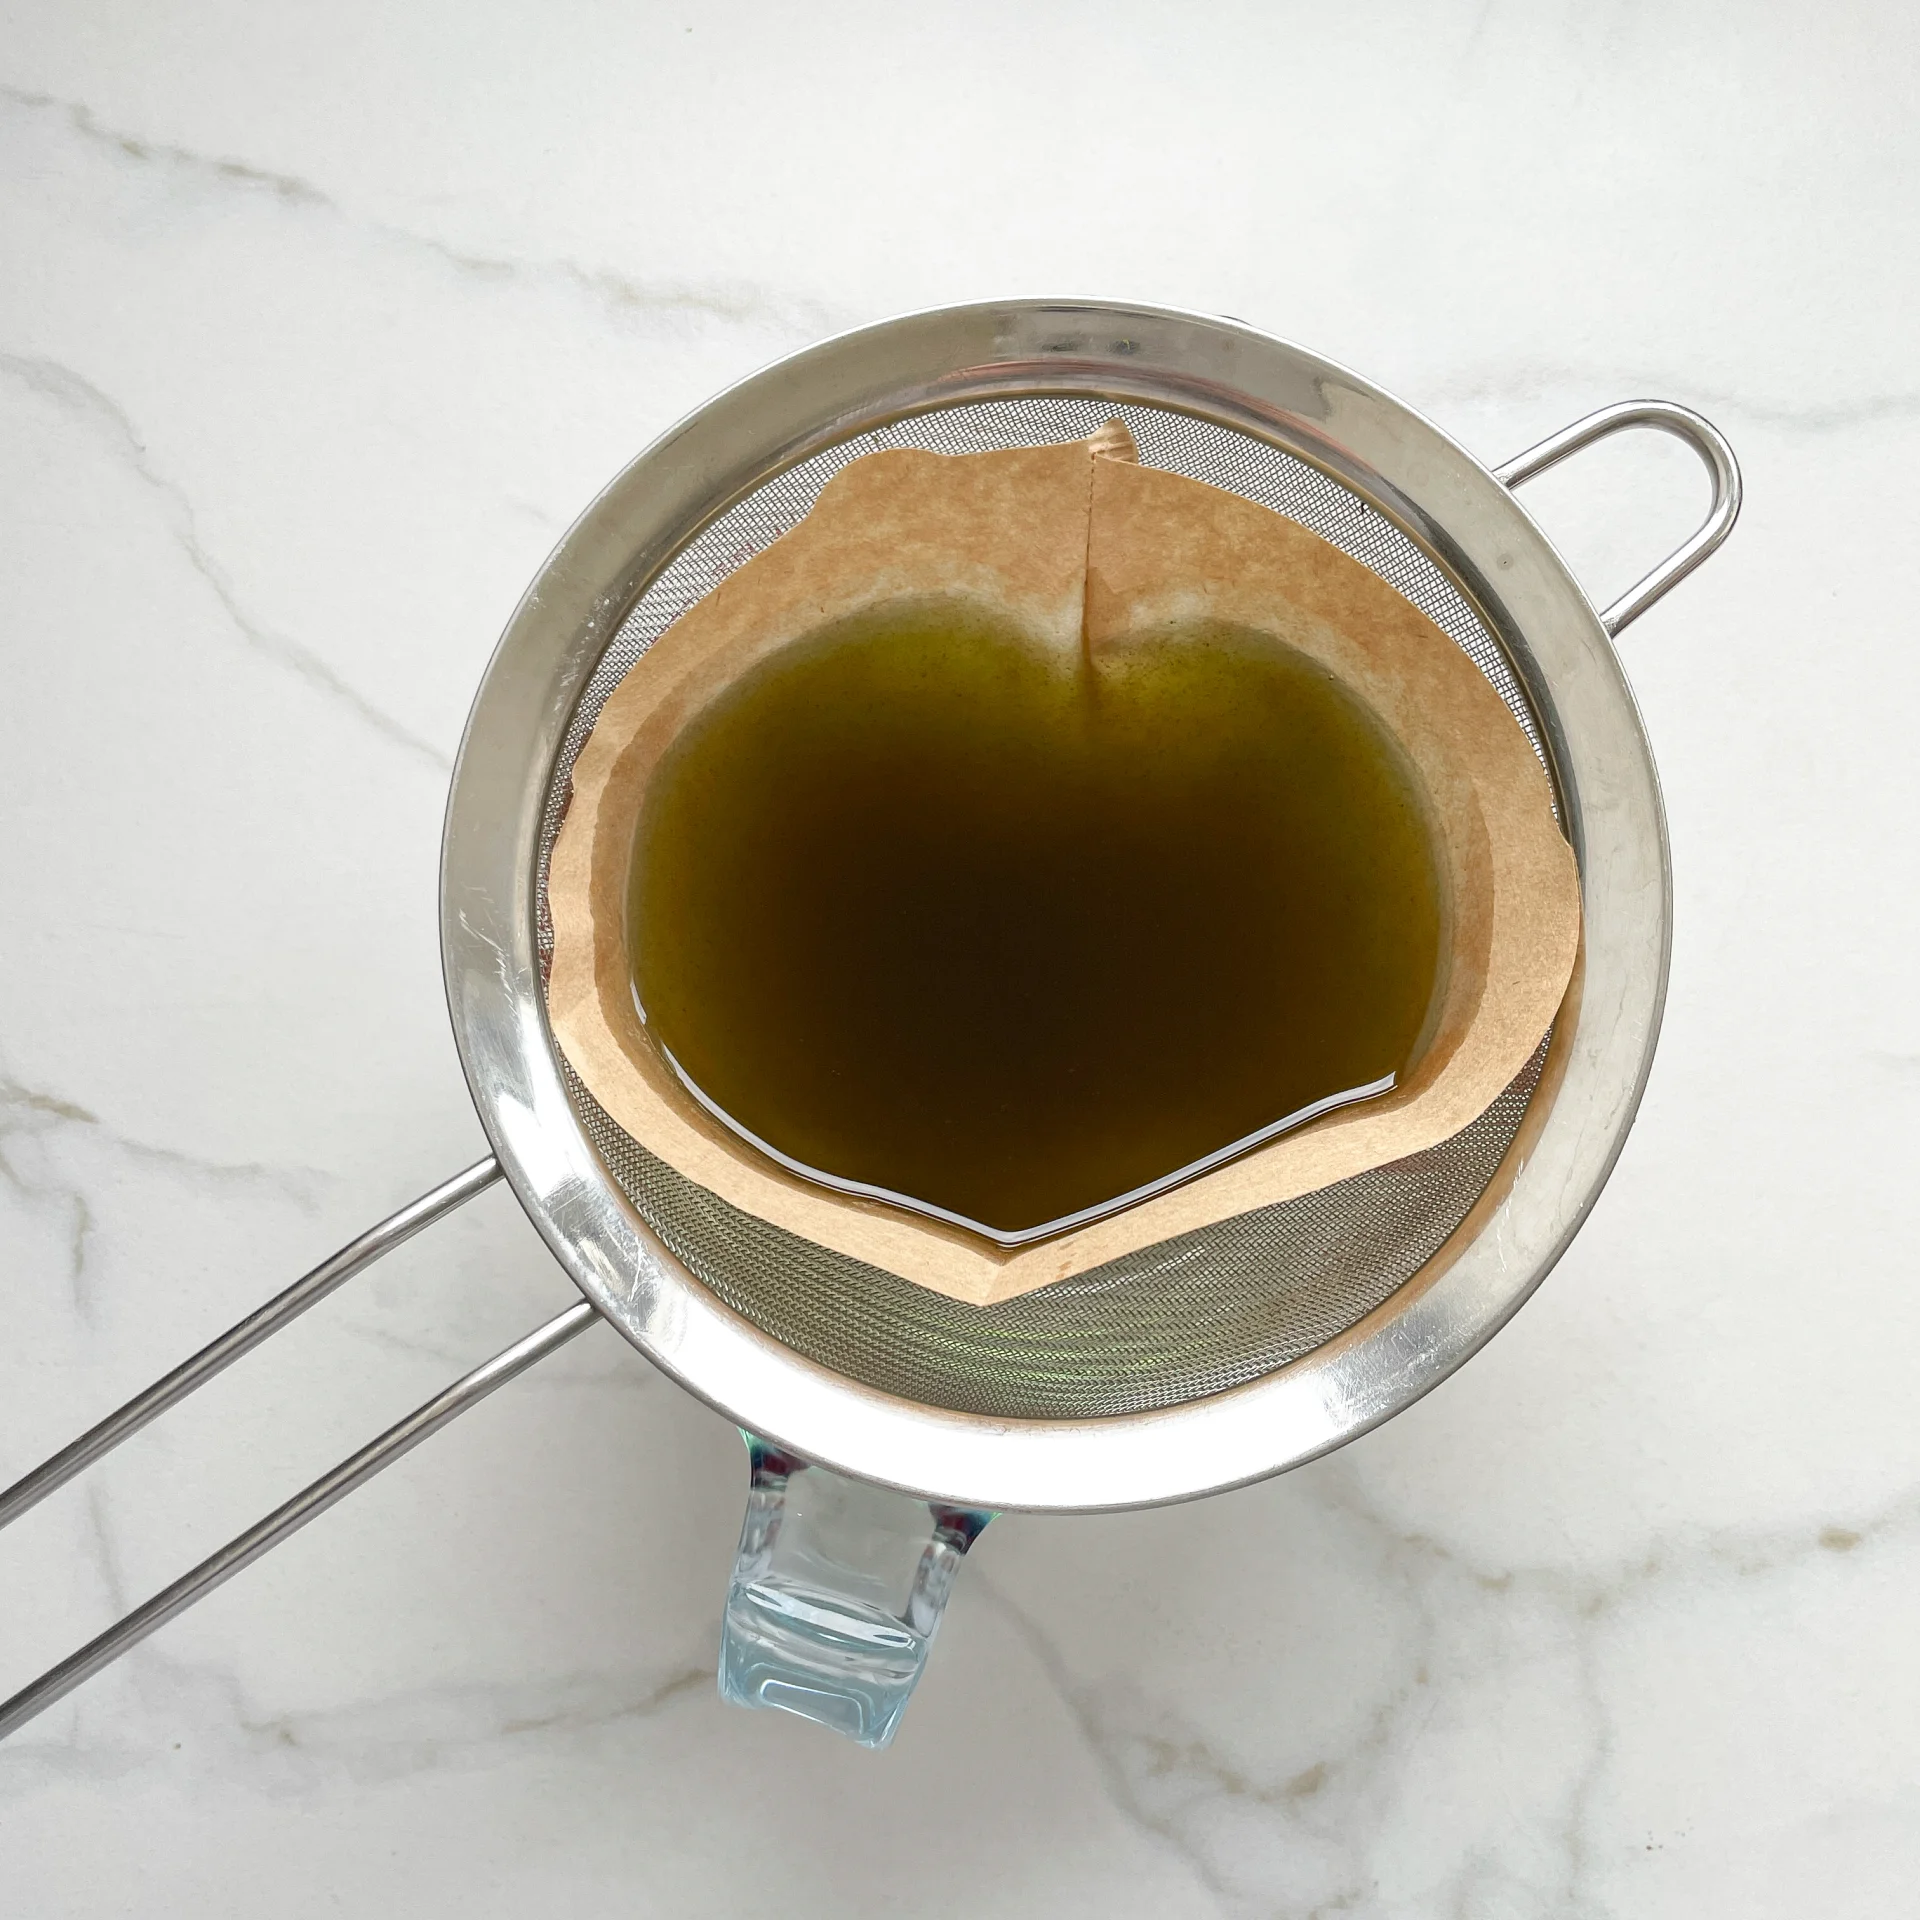
  5. Then, pour the oil into the second fine mesh sieve, which you before equipped with a coffee filter, to catch the remaining finer particles.
  6. Allow the oil to drip through for about 30 minutes or maybe less depending on how many remaining particles are in the coffee filter. Once all the oil has passed through the coffee filter, transfer the collected amount of oil into an oil bottle. Store in the refrigerator for up to 1 week.
  • Passive Time: 30 min
  • Cook Time: 10 min

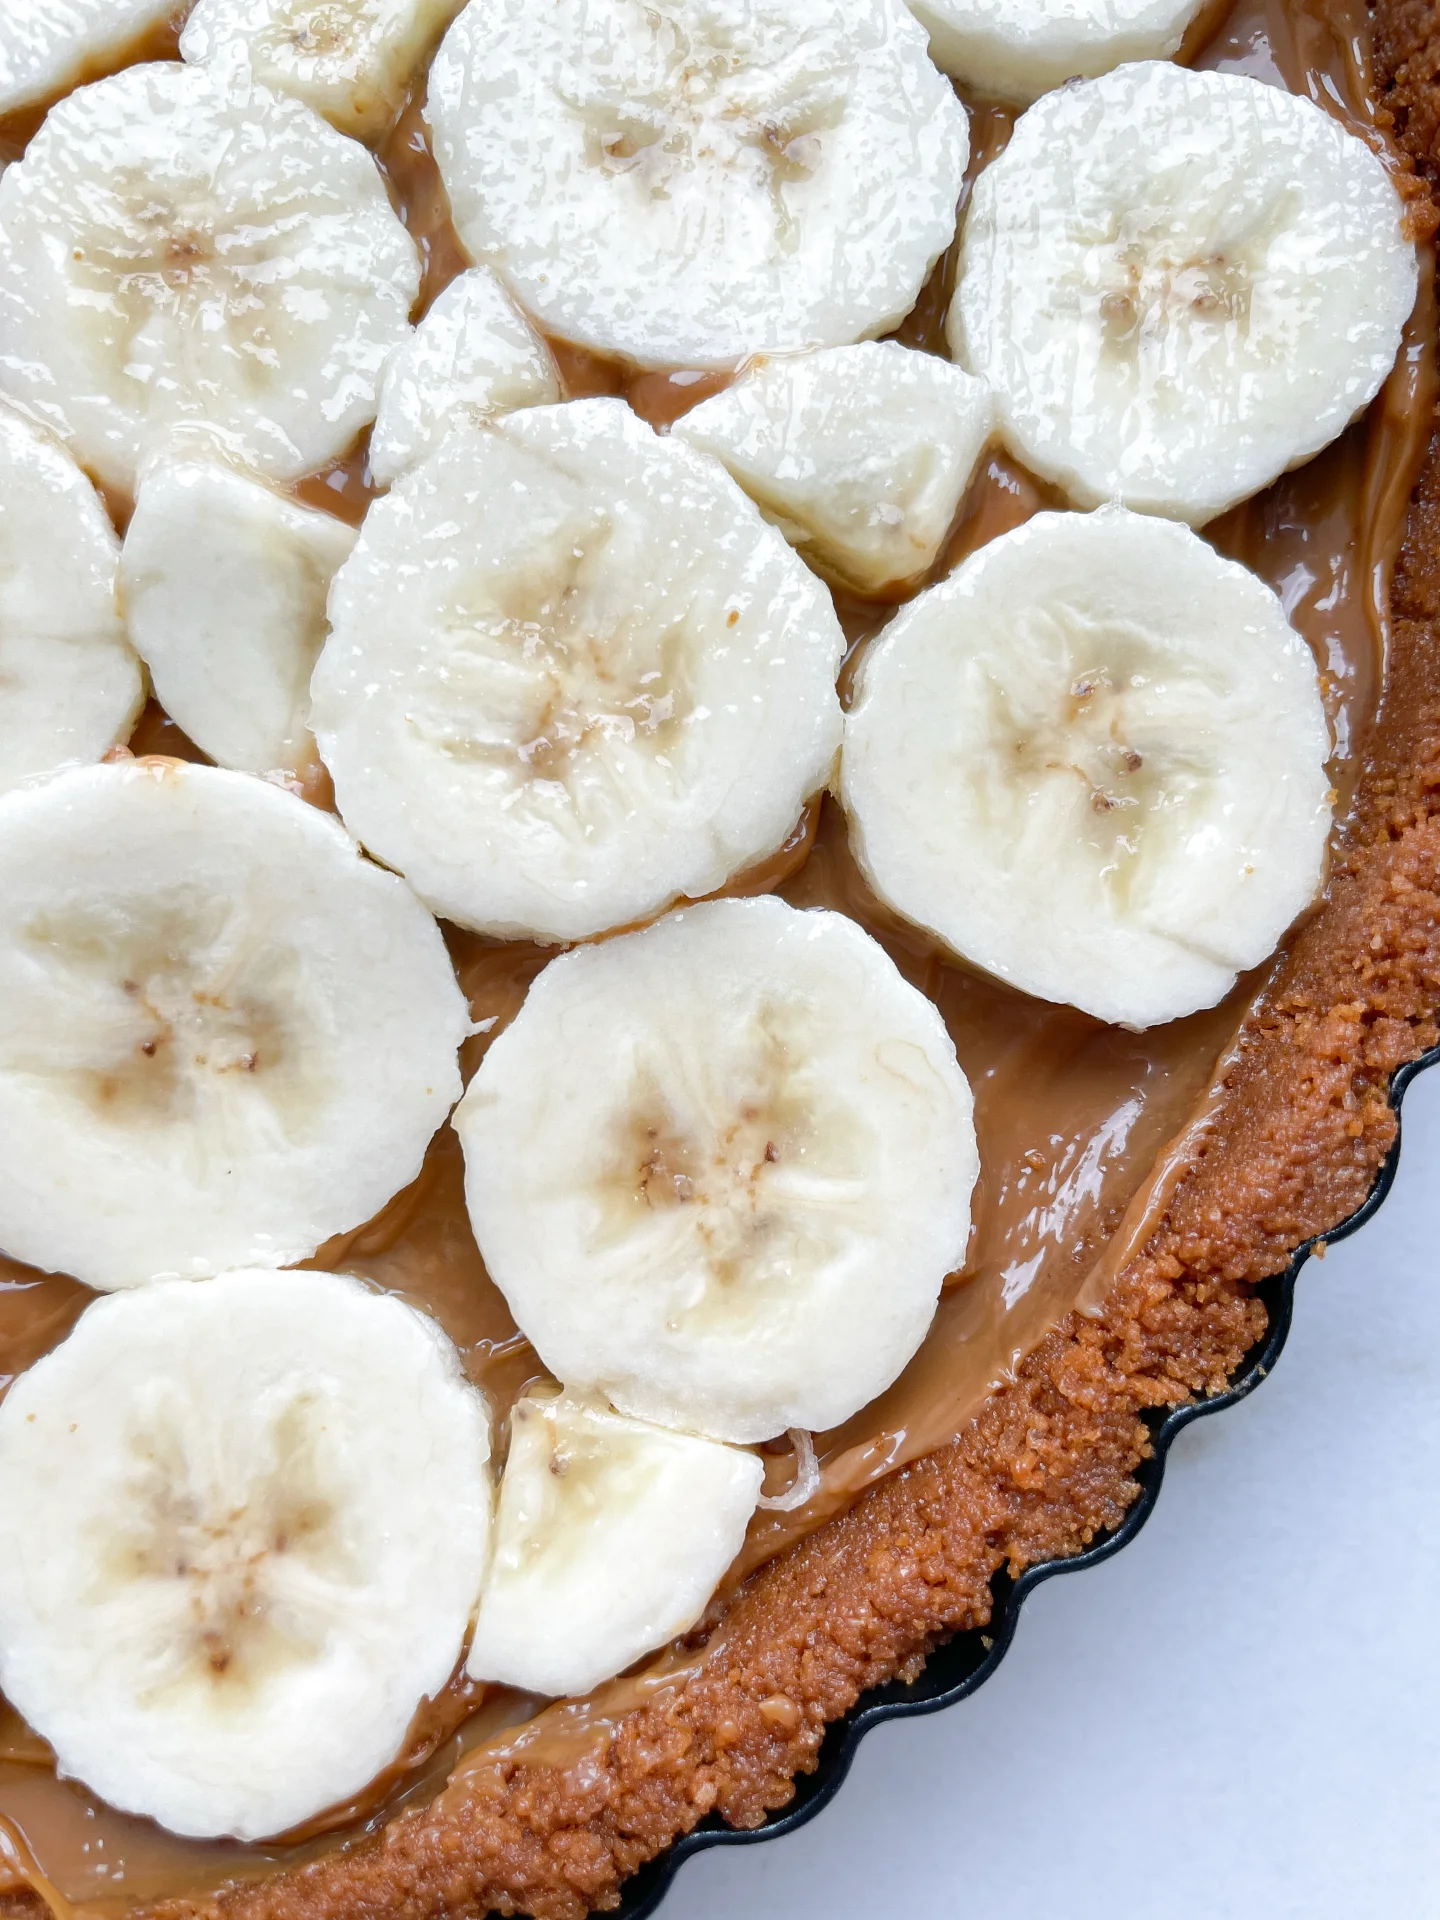
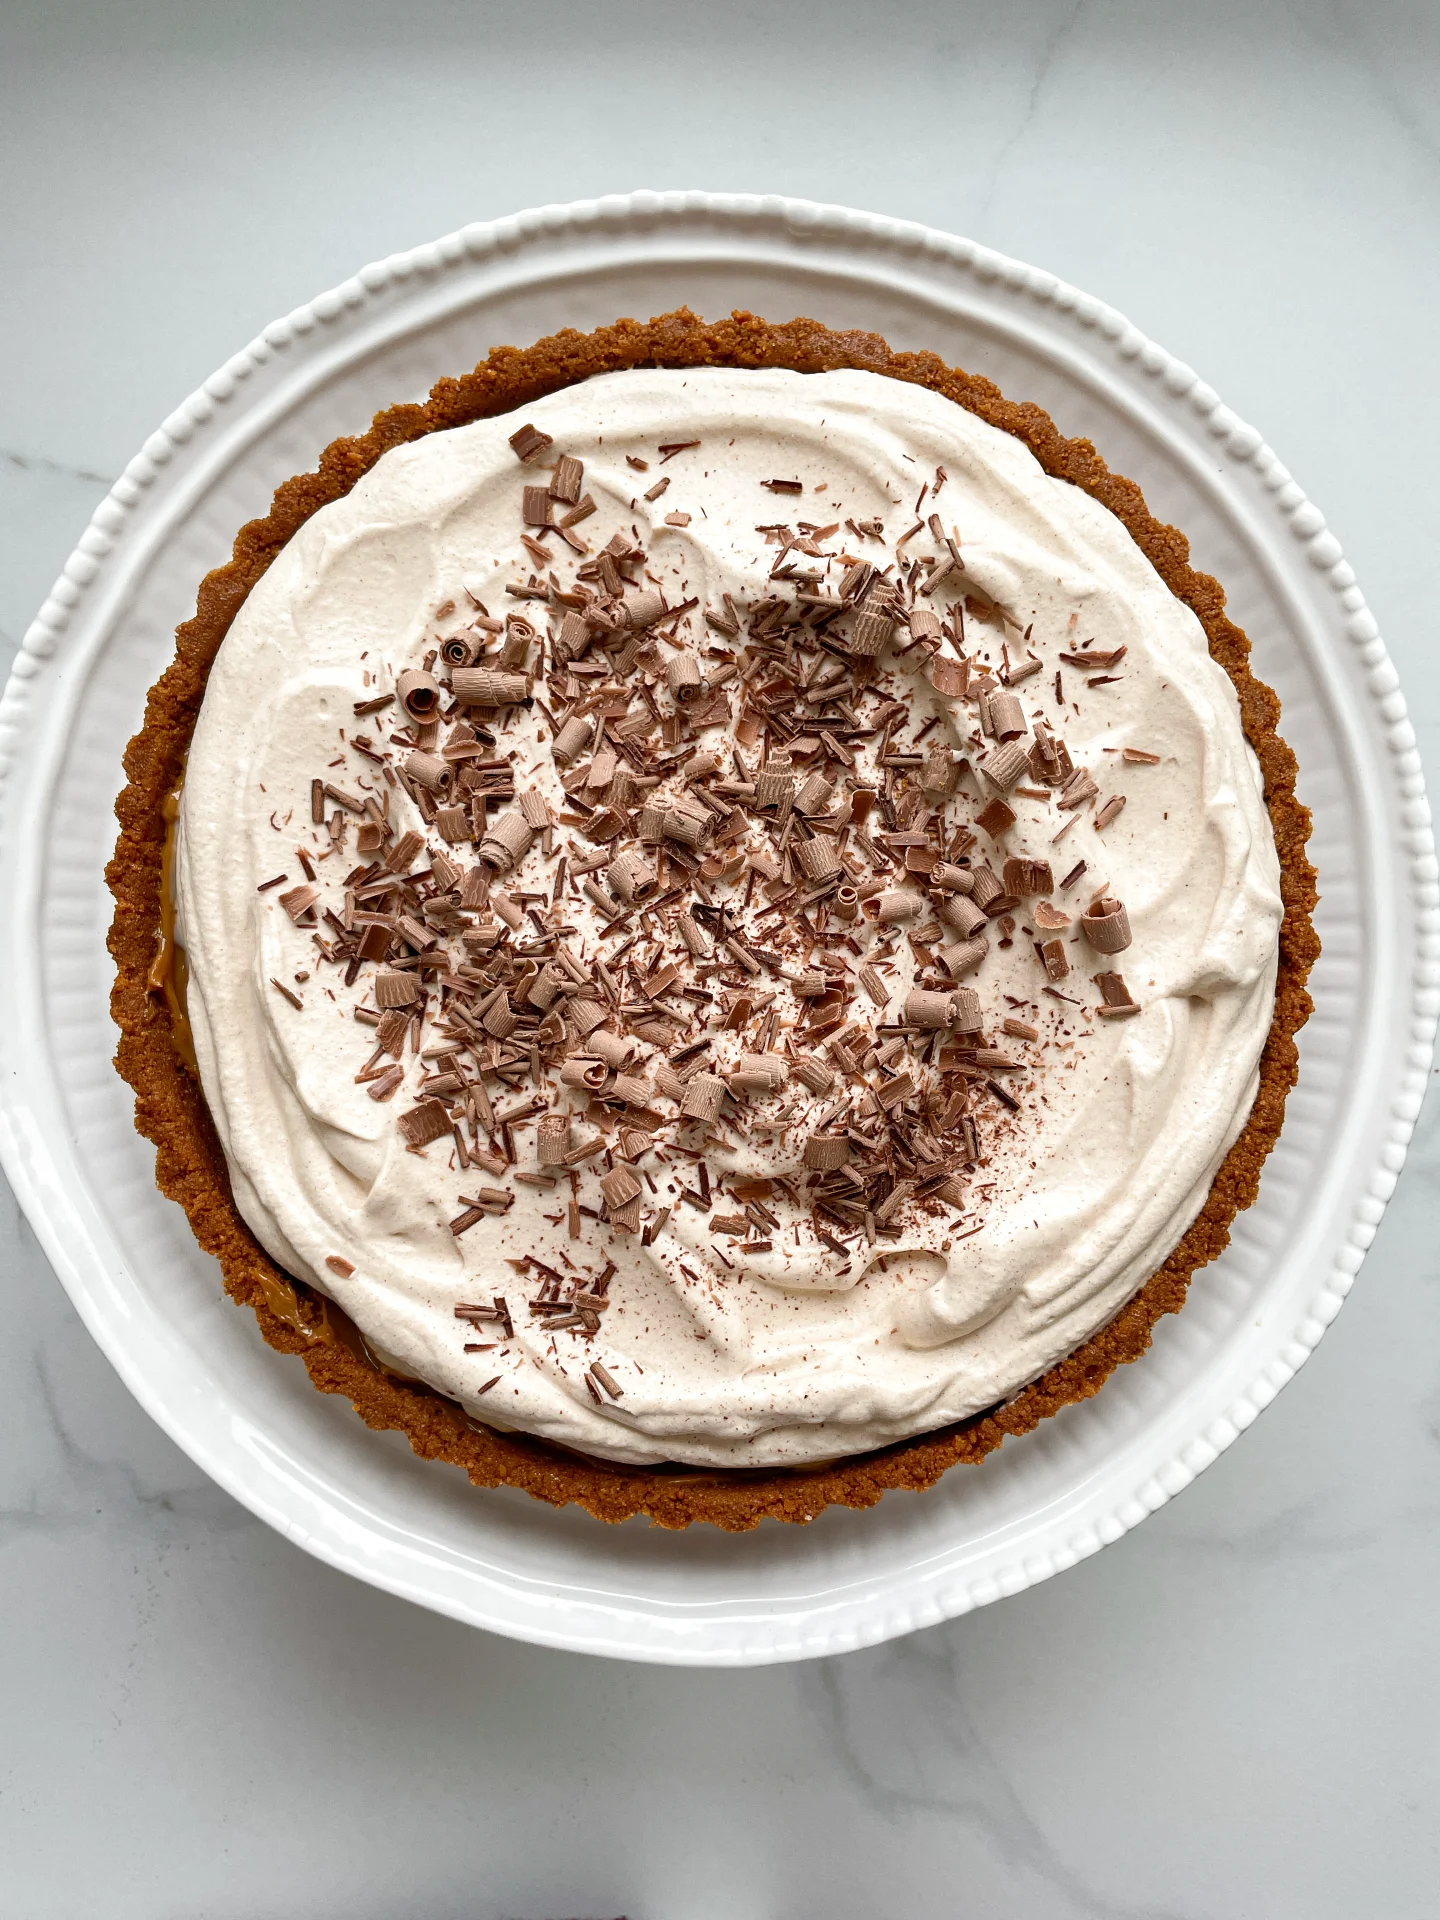
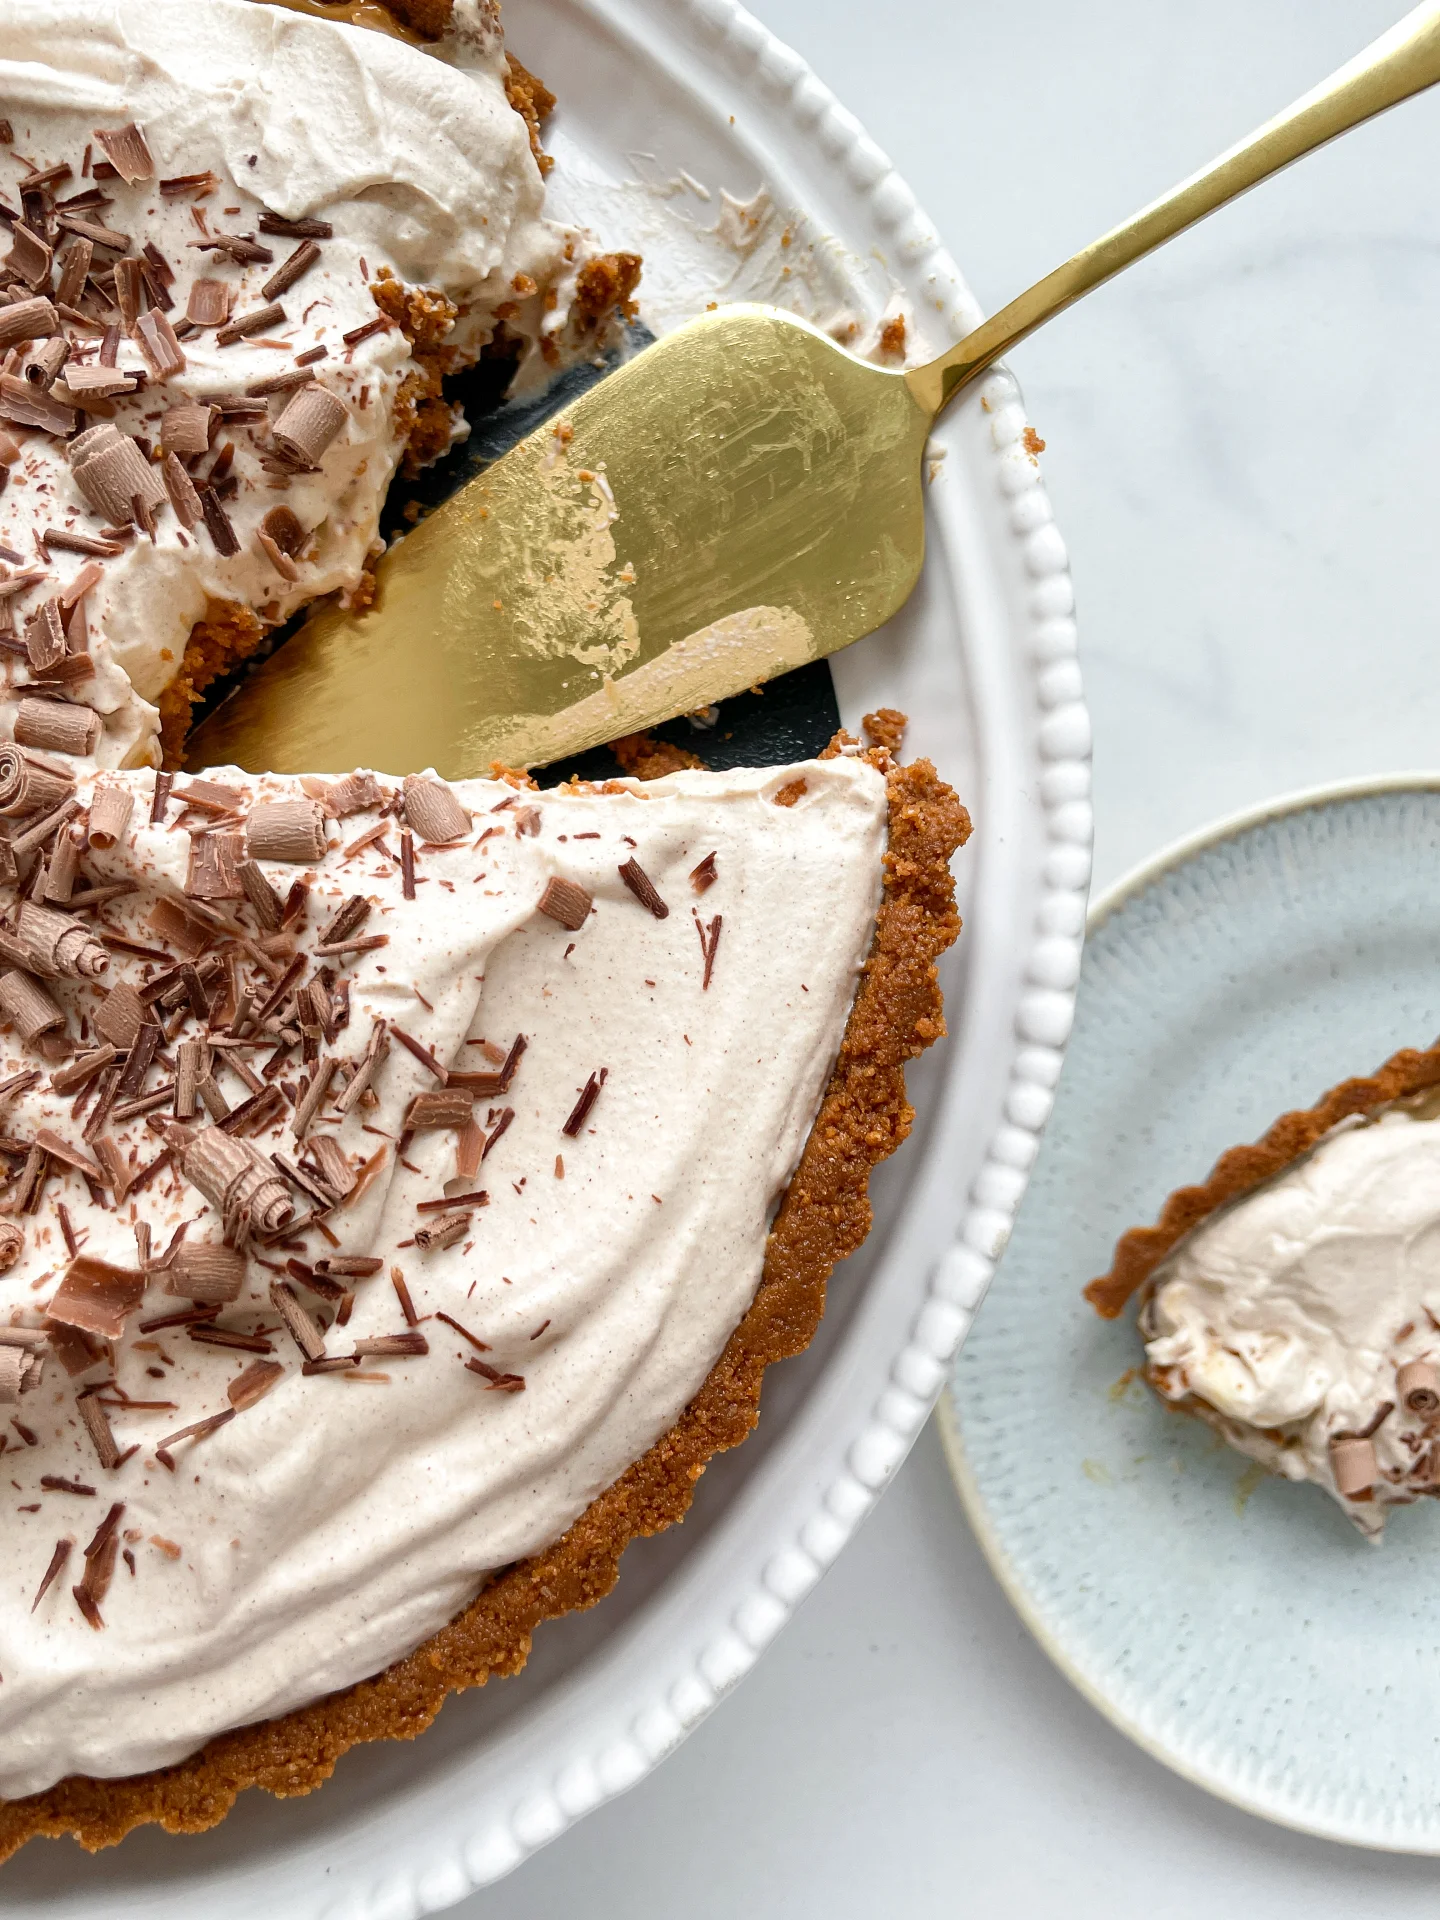
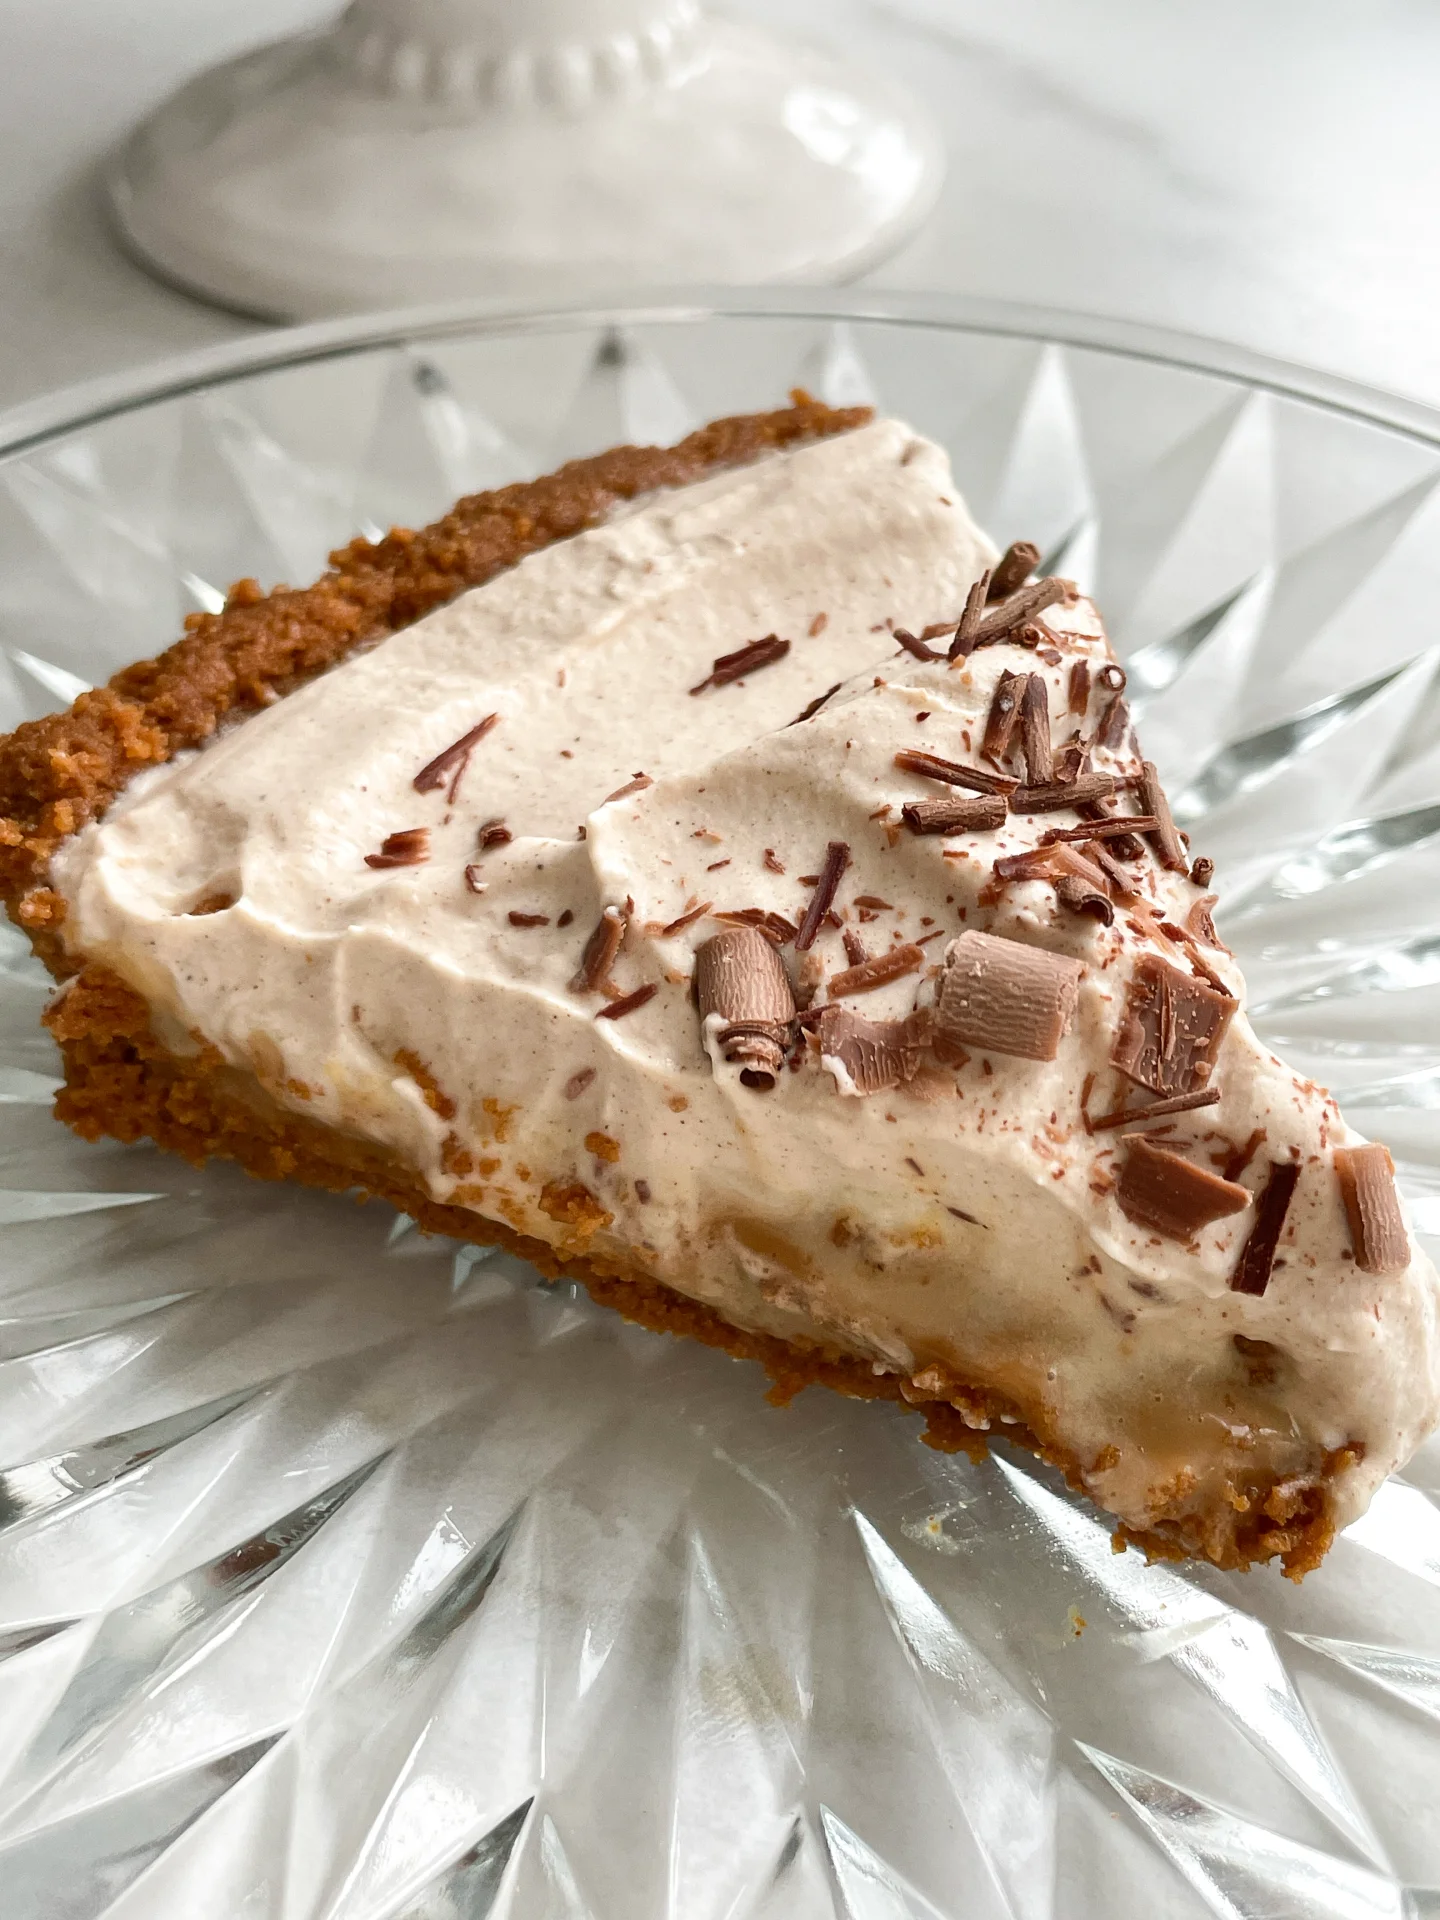
Biscoff Cinnamon Banoffee Pie

Biscoff Cinnamon Banoffee Pie

Biscoff Cinnamon Banoffee Pie

Biscoff Cinnamon Banoffee Pie

November 19, 2024 by Kimberly

Dreamy layers of creamy dulce de leche, fresh banana slices, and cinnamon whipped cream, all on a buttery Biscoff cookie crust. This no-bake treat is pure, cozy dessert bliss in every bite!

40 MINUTES

EASY

VEGETARIAN

ENGLISH

311 PER SLICE

CREAMY

THANKSGIVING

DESSERT & SWEETS

AUTUMN
WINTER

INTRODUCTION

ABOUT THE RECIPE

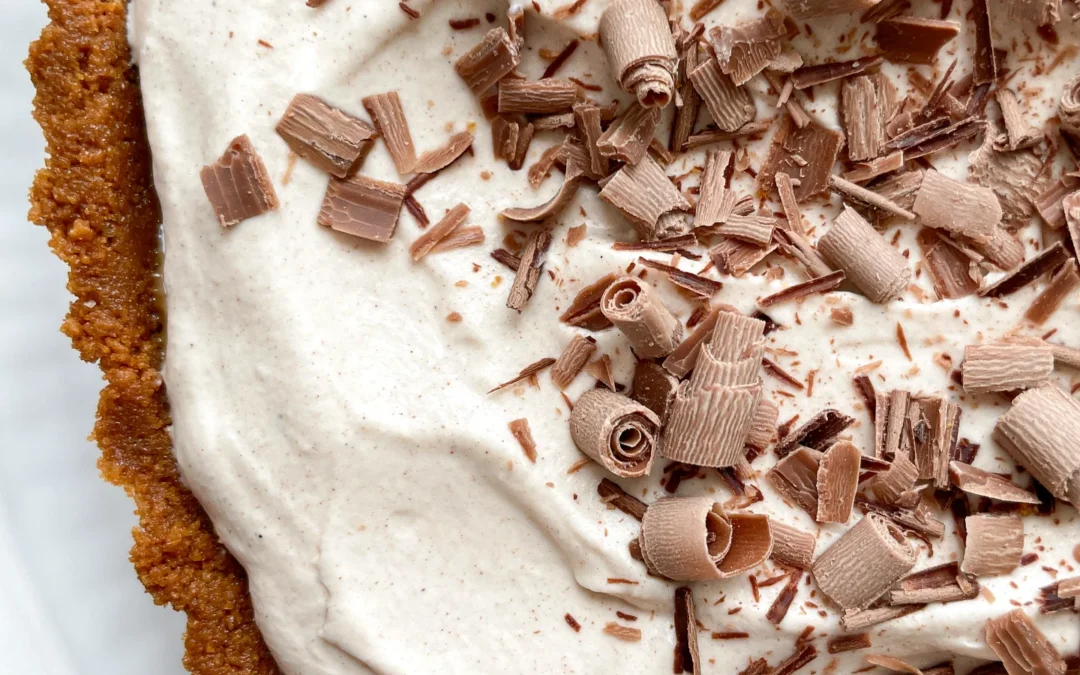
This no-bake delight layers all the cozy flavors: a buttery Biscoff cookie crust, homemade dulce de leche, fresh banana slices, and a whipped cinnamon topping. It’s creamy, sweet, and has that dreamy, melt-in-your-mouth quality that’ll make you reach for seconds. No baking needed – just a quick assembly for a dessert that’s equally impressive and easy. It’s the perfect treat when you want a little something special without turning on the oven.

How to serve
Serve this pie chilled and straight from the fridge to get the best creamy texture and hold. For a little extra flair, sprinkle the top with crushed Biscoff cookies or some shavings of your favorite chocolate. Pair it with a warm coffee or your favorite cozy drink – the caramel-like dulce de leche and cinnamon cream make this pie the ultimate comfort dessert. It’s also a crowd-pleaser, so bring it along to your next gathering!

How to store
Store any leftovers in the fridge, covered, for up to 3 days. The whipped cream topping stays nicely set, and the crust holds well. This pie is best served cold, straight from the fridge, for that perfect creamy bite.

Hi, I'm Kimberly!

Hi, I'm Kimberly.

A passionate food lover who believes in the magic of homemade deliciousness that spreads love and warmth. Join me on this culinary adventure as I prepare wonderful dishes and let’s spread some happiness together!

Kimberly the Zett Signature

If you want to get to know me better, click here!


Biscoff Cinnamon Banoffee Pie

„Let’s make a piece of happiness“

Print
clock clock iconcutlery cutlery iconflag flag iconfolder folder iconinstagram instagram iconpinterest pinterest iconfacebook facebook iconprint print iconsquares squares iconheart heart iconheart solid heart solid icon
Biscoff Cinnamon Banoffee Pie

Biscoff Cinnamon Banoffee Pie


  • Author: Kimberly
  • Total Time: 3 hrs + 15 min

  • Yield: 8-16 1x

Description

Recommended Equipment

  • small pot with lid
  • food processor
  • pie dish
  • sharp knife
  • cutting board
  • electric mixer
  • tall container
  • vegetable peeler
  • can opener

Ingredients

Units Scale
  • 300 grams biscoff cookies
  • 140 grams butter, room temperature
  • 400 grams sweetened condensed milk
  • 2 bananas
  • 1 tbsp lemon juice
  • 250 grams heavy cream
  • 30 grams powdered sugar
  • 1 tsp vanilla
  • 1 tsp cinnamon

Instructions

PREPARATIONS

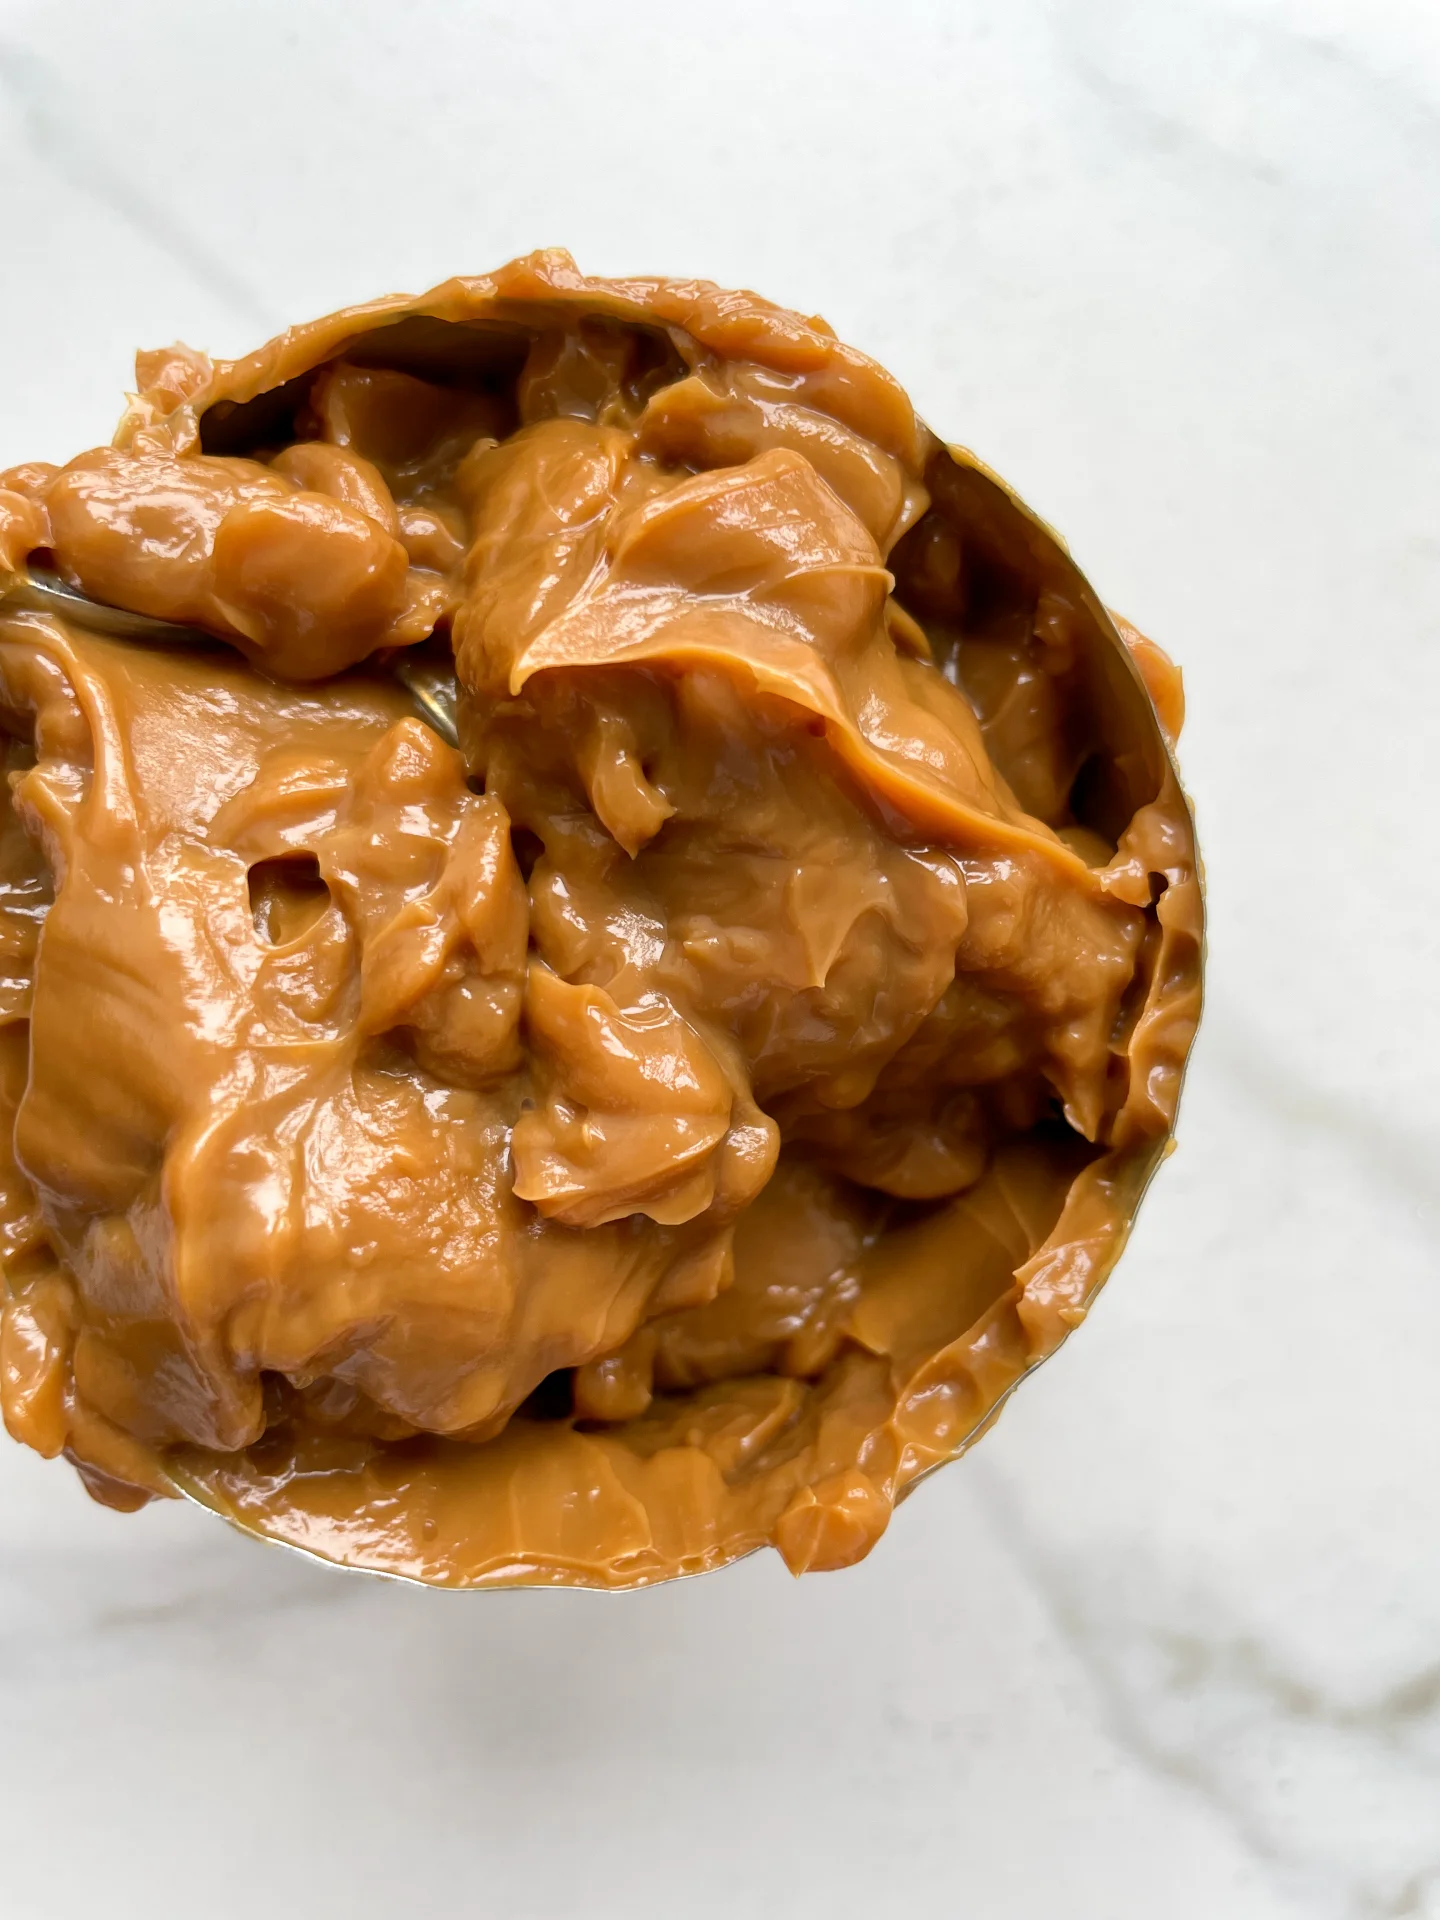
  • You can buy ready-made dulce de leche or order it online, but it’s also easy to make at home ahead of time. Just grab a 400g can of sweetened condensed milk, remove the label, and place the can in a pot. Fill with enough water to completely cover the can, then bring the water to a boil. Reduce the heat to low, cover the pot, and let it simmer for about 2 hours and 30 minutes. Be sure to keep the can covered with water the entire time – if the water evaporates, just add more. After the 2.5 hours, pour off the water and let the can cool completely before using the dulce de leche inside.

INSTRUCTIONS

  1. Use a food processor to blend the Biscoff cookies and softened butter until they’re crumbly. Press the mixture evenly into a pie dish, covering the bottom and sides completely. Chill the crust in the fridge for 20 minutes.
  2. Meanwhile, slice the bananas evenly and sprinkle with a little lemon juice to keep them from browning. Place the banana slices in the fridge until you’re ready to use them. Next, pour the cold cream into a tall container, add powdered sugar, vanilla extract, and cinnamon, and whip until stiff peaks form. Chill the whipped cream in the fridge until needed. Prepare the chocolate shavings by running a vegetable peeler along the narrow edge of a chocolate bar. Set the shavings aside.
  3. Open the can of dulce de leche and take the crust out of the fridge. Spread the entire can of dulce de leche evenly over the crust.
  4. Take the banana slices out of the fridge and arrange them over the dulce de leche so that the entire surface is covered.
  5. Now, take the whipped cream and spread it evenly over the bananas. Finally, sprinkle the chocolate shavings on top for decoration.
  6. Serve the pie immediately or keep it in the fridge until you’re ready to serve.
  • Passive Time: 2 hrs + 35 min
  • Cook Time: 40 min

English Muffins

English Muffins

English Muffins

English Muffins

September 16, 2024 by Kimberly

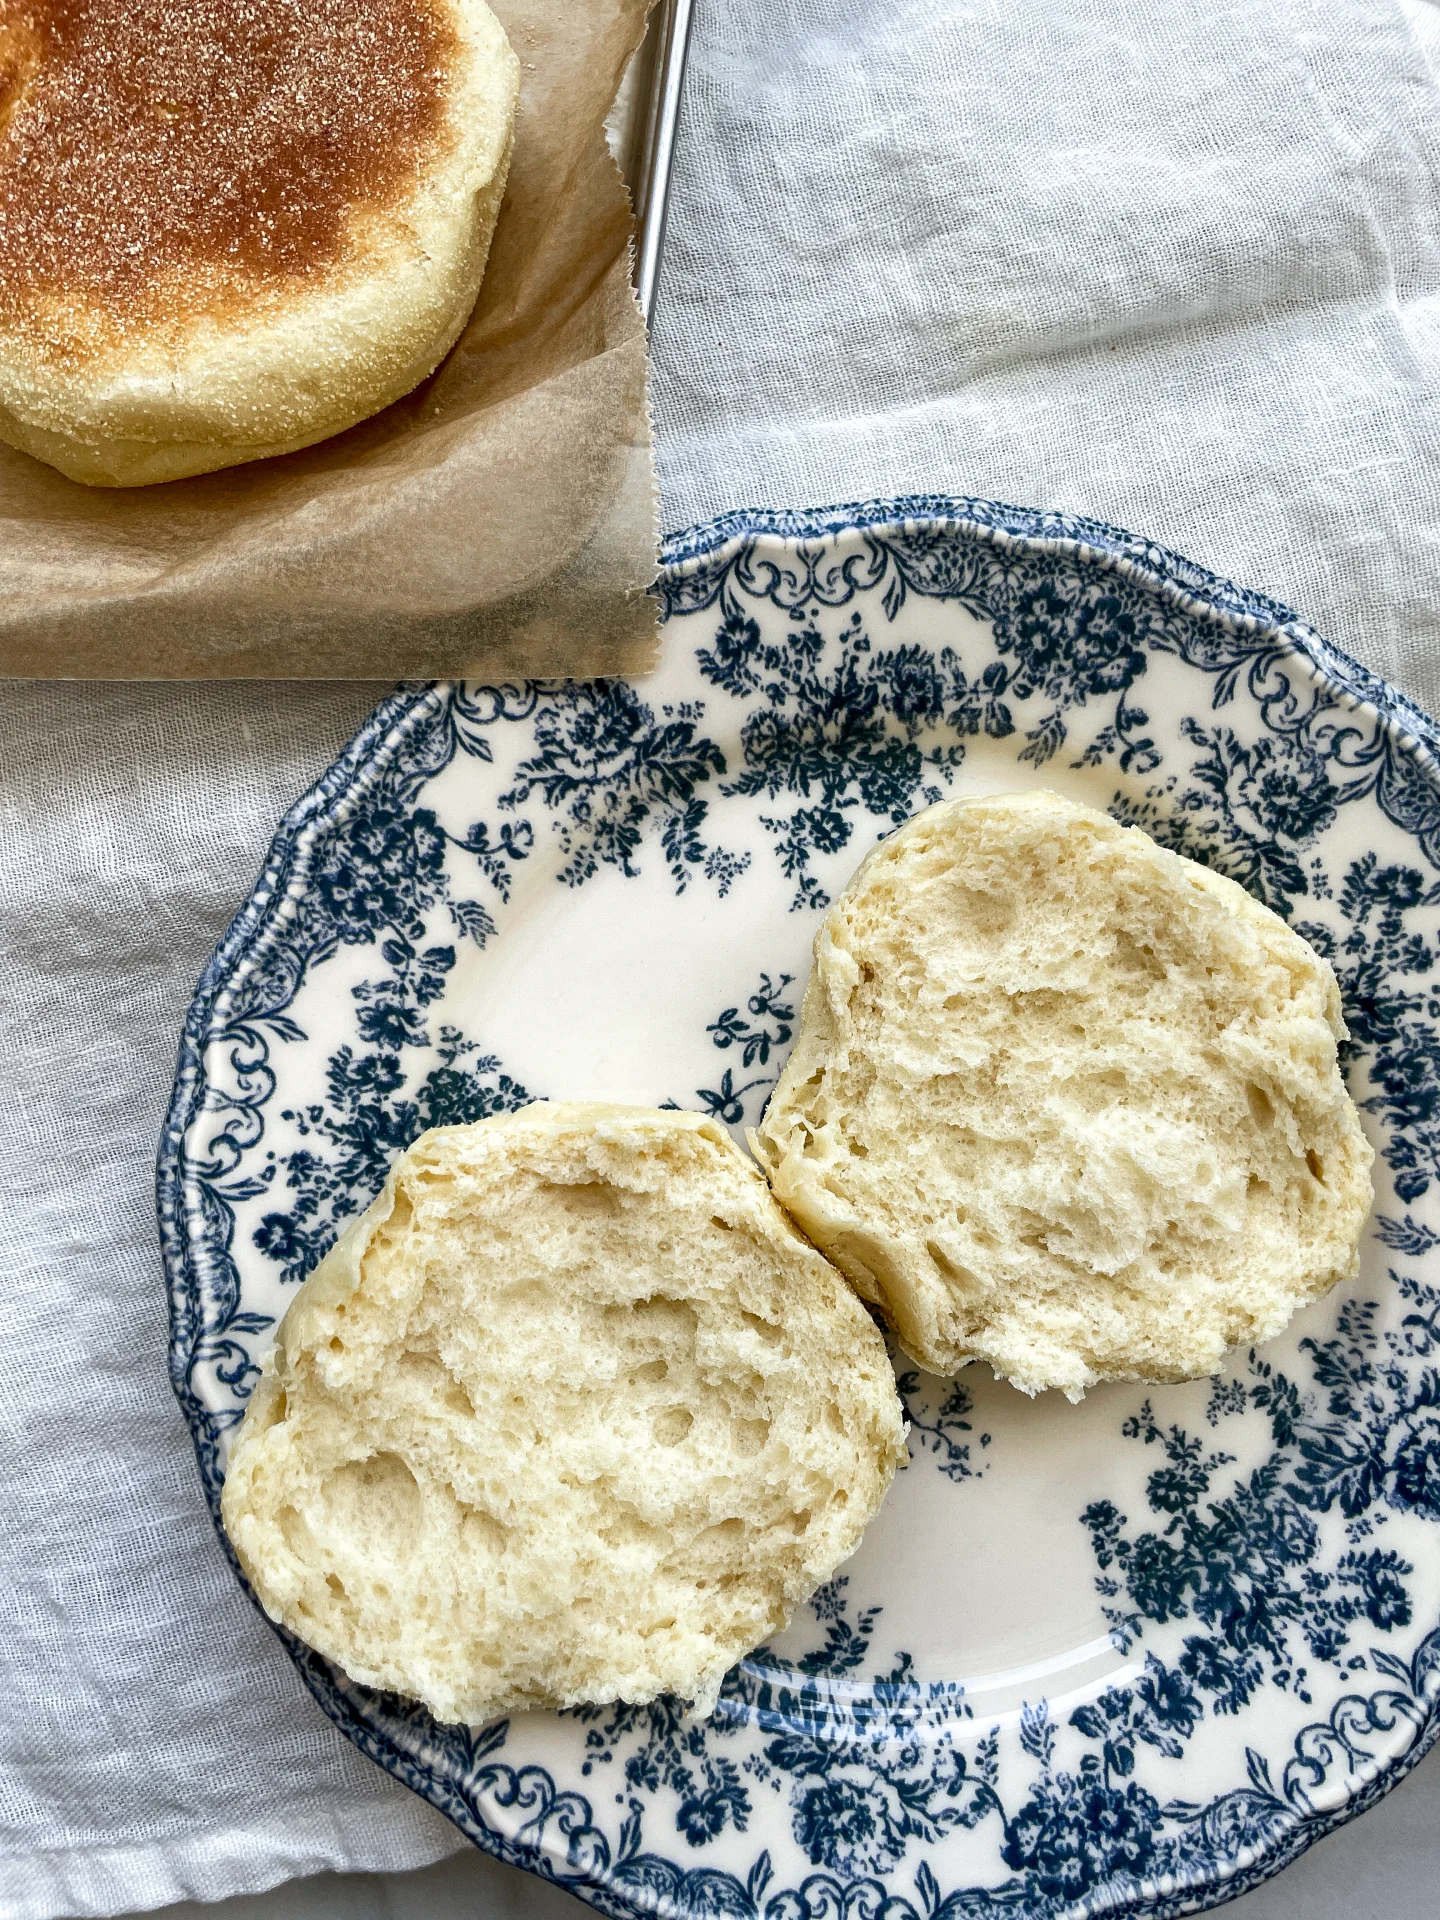
Soft, fluffy, and perfectly golden – these warm homemade breakfast bites are pure comfort. Ideal for lazy mornings or a cozy brunch, they’ll instantly make you feel like a pro in the kitchen.
1 HOUR
50 MINUTES

EASY

VEGETARIAN

ENGLISH

212 PER MUFFIN

FLUFFY

BRUNCH

BREAKFAST

ALL YEAR

INTRODUCTION

ABOUT THE RECIPE

There’s nothing like the feeling of biting into a soft, warm, homemade breakfast muffin, fresh from the pan. They’re golden, fluffy, and absolutely perfect for cozy mornings or a weekend brunch. Whether you’re topping them with butter, jam, or using them as the base for a breakfast sandwich, these little bites of comfort will brighten up any meal. Plus, making them from scratch is way easier than you might think – and the result? Total kitchen hero vibes.

How to serve
You can slice them open and spread them with butter or a dollop of your favorite jam. Or, level up your brunch game by turning them into breakfast sandwiches. Load them up with eggs, cheese, bacon, or avocado. Whether it’s a simple snack or a fully loaded breakfast, these muffins are ready for anything!

How to store
To keep them fresh, store your muffins in an airtight container at room temperature for up to three days. If you want to keep them longer, just pop them in the freezer!

Hi, I'm Kimberly!

Hi, I'm Kimberly.

A passionate food lover who believes in the magic of homemade deliciousness that spreads love and warmth. Join me on this culinary adventure as I prepare wonderful dishes and let’s spread some happiness together!

Kimberly the Zett Signature

If you want to get to know me better, click here!


English Muffins
English Muffins
English Muffins
„Let’s make a piece of happiness“
Print
clock clock iconcutlery cutlery iconflag flag iconfolder folder iconinstagram instagram iconpinterest pinterest iconfacebook facebook iconprint print iconsquares squares iconheart heart iconheart solid heart solid icon
English Muffins

English Muffins


  • Author: Kimberly
  • Total Time: 1 hr + 50 min
  • Yield: 12 1x

Description

Recommended Equipment

  • large bowl
  • spatula
  • plastic wrap
  • round cookie cutter
  • parchment paper
  • large pan

Ingredients

Units Scale
  • 7 grams drive-active yeast
  • 25 grams white sugar
  • 200 milliliters full-fat cow milk
  • 100 milliliters water
  • 1 egg
  • 40 grams butter
  • 1.5 tsp salt
  • 550 grams bread flour (in Germany Type 550)
  • semolina

Instructions

  1. Stir together the yeast, warm milk, warm water, and sugar in a large bowl and let it sit for 10 minutes. The milk and water should be between 32°-36°C / 90°-97°F.
  2. Add the egg to the melted butter, mix well, and pour it into the bowl with the yeast mixture. Then add the flour and salt, and mix everything with a spatula until the dough is smooth and sticky. Keep kneading by hand until the dough no longer sticks to your fingers. This should take about 10 minutes. Put the dough back in the bowl and cover it with plastic wrap. Let it rest for about 45 minutes.
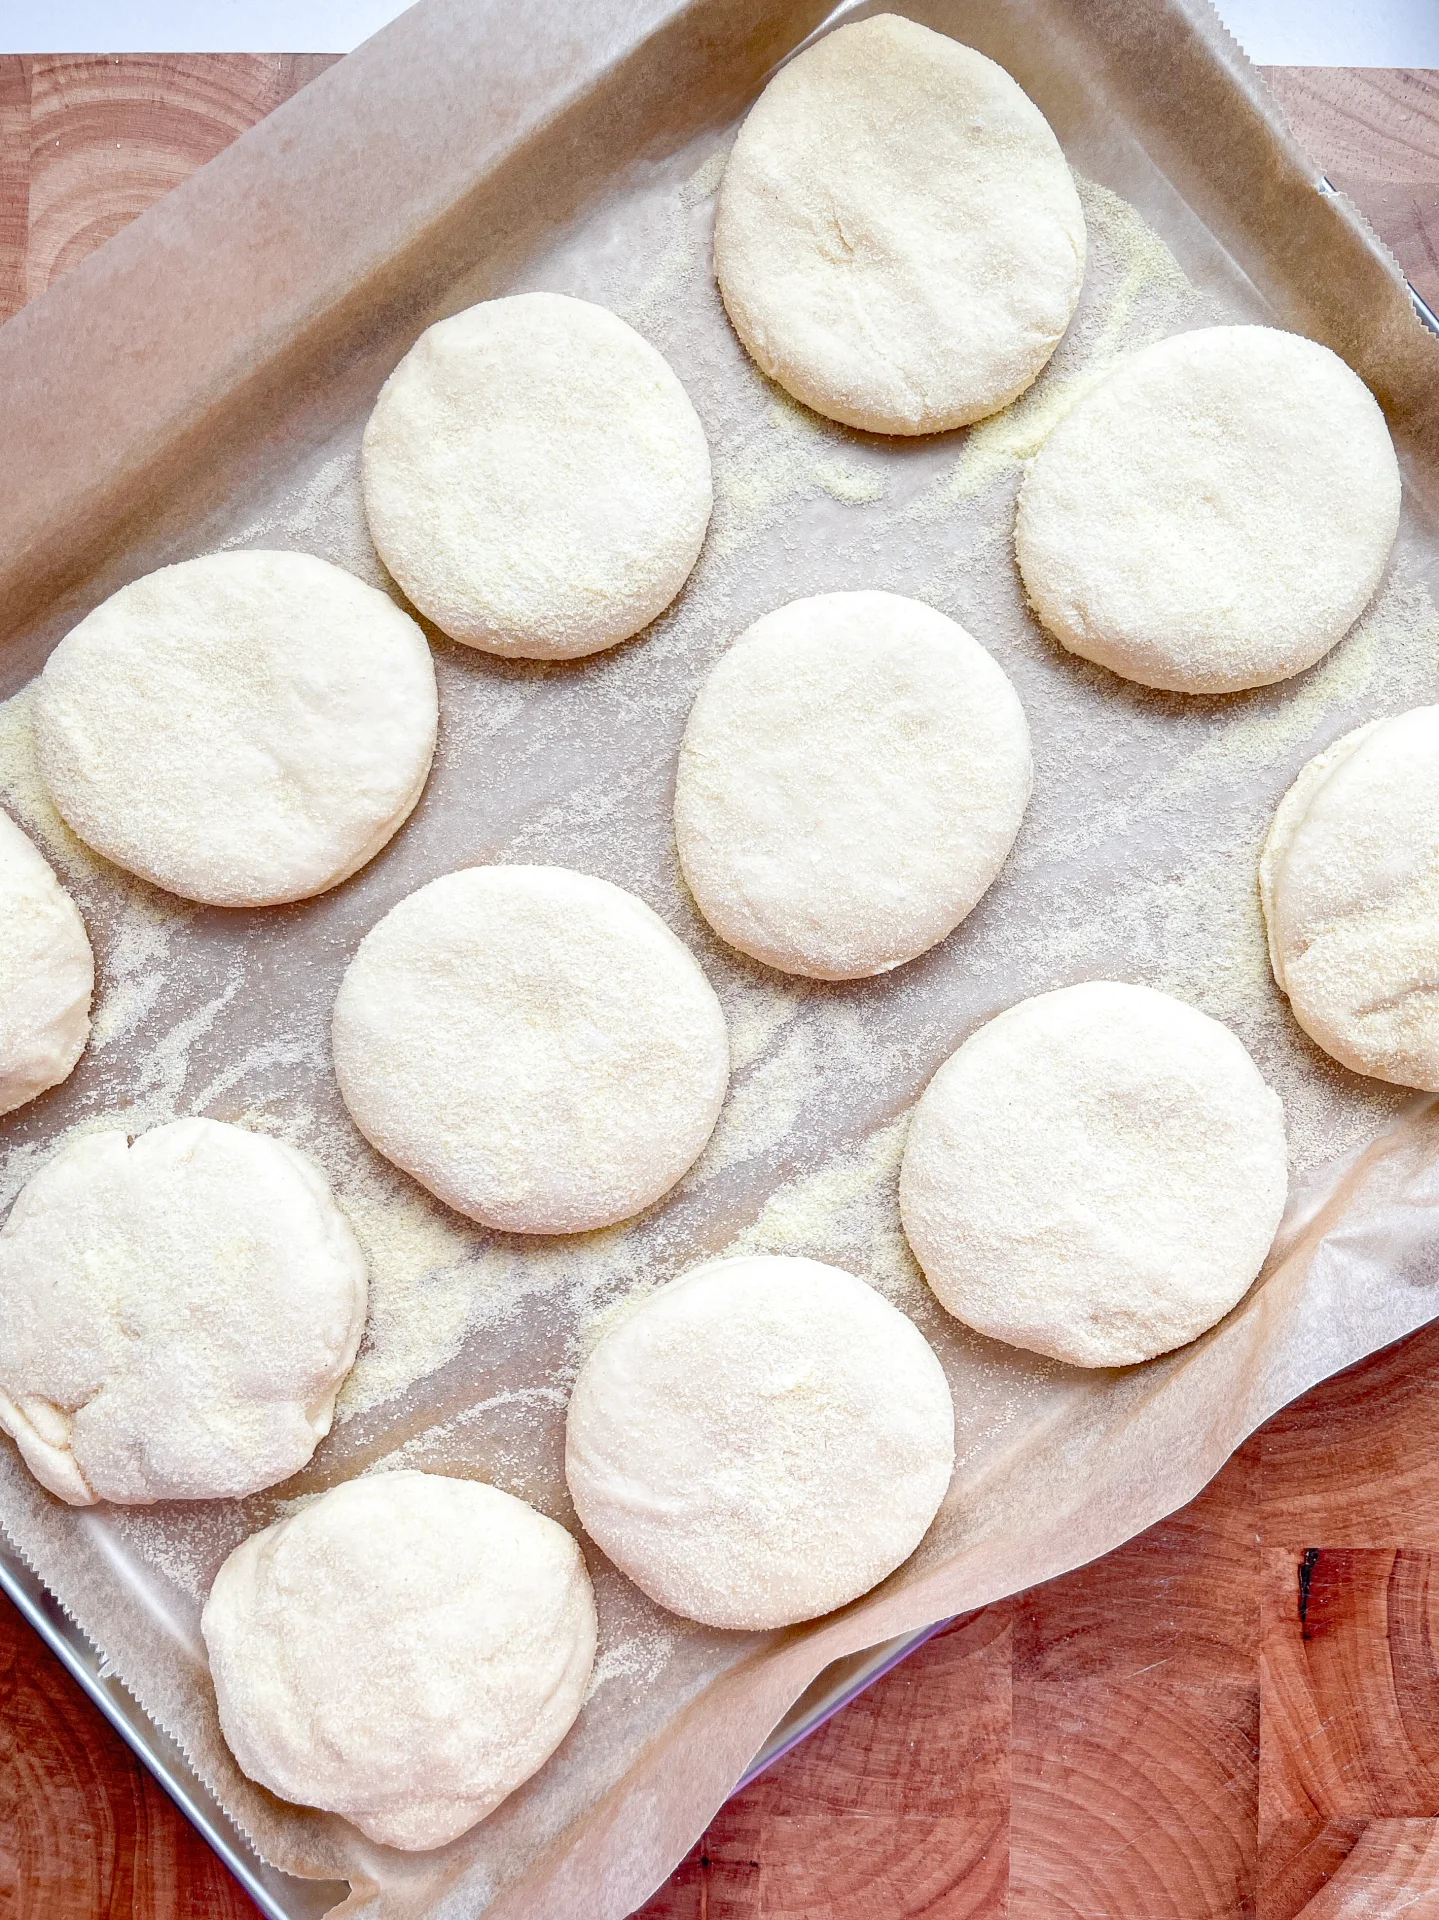
  3. Sprinkle some semolina on your work surface, place the dough on it, and flatten it to about 2-3 cm thick. Sprinkle a bit of semolina on top of the dough as well. Use a round cutter to cut out circles, place them on parchment paper, and cover them with a damp cloth to rest for 15 minutes.
  4. Heat a pan and once it’s warm (you should feel the heat when your hand is close to it), place the dough circles in the pan. Cook them on low heat for 5-7 minutes on each side until they are crispy and golden brown on the outside, and soft and fluffy on the inside. Keep the finished English muffins warm in a bread basket with a towel, and enjoy! 🙂
  • Passive Time: 70 min
  • Cook Time: 40 min

Classic Scones

Classic Scones

Classic Scones

Classic Scones

May 26, 2024 by Kimberly

Indulge in the simple pleasure of classic scones – tender, buttery delights perfect for any tea time or breakfast. Bake a batch today and experience homemade comfort!

40 MINUTES

EASY

VEGETARIAN

ENGLISH

204 PER SCONE

BUTTERY

TEA TIME

BREAKFAST
BRUNCH

ALL YEAR

INTRODUCTION

ABOUT THE RECIPE

Dive into the delightful world of classic scones, a quintessential British treat beloved across the globe. These buttery, flaky delights are the perfect companion to your afternoon tea or a cozy morning breakfast. With just a few simple steps, you can bring the taste of authentic English tea time into your home, impressing guests and treating yourself to a timeless culinary tradition.

How to serve
Serve these classic scones fresh and warm, straight from the oven. Split them open and slather with clotted cream and strawberry jam for a traditional experience. Alternatively, enjoy them plain with a hot cup of tea or coffee. These versatile treats can also be customized with add-ins like raisins or chocolate chips, making each batch uniquely delicious and perfectly suited to your taste preferences.

How to store
Store leftover scones in an airtight container at room temperature for up to two days. For longer storage, wrap them tightly and freeze for up to three months. Simply reheat to regain that freshly baked warmth and texture.

Hi, I'm Kimberly!

Hi, I'm Kimberly.

A passionate food lover who believes in the magic of homemade deliciousness that spreads love and warmth. Join me on this culinary adventure as I prepare wonderful dishes and let’s spread some happiness together!

Kimberly the Zett Signature

If you want to get to know me better, click here!


Classic Scones
Classic Scones
Classic Scones
„Let’s make a piece of happiness“
Print
clock clock iconcutlery cutlery iconflag flag iconfolder folder iconinstagram instagram iconpinterest pinterest iconfacebook facebook iconprint print iconsquares squares iconheart heart iconheart solid heart solid icon
Classic Scones

Classic Scones


  • Author: Kimberly
  • Total Time: 40 min
  • Yield: 10 1x

Description

RECOMMENDED EQUIPMENT

  • box grater
  • medium-sized bowl
  • glass or small bowl
  • dough scraper / spatula
  • round cutter
  • pastry brush

Ingredients

Units Scale
  • 300 grams all-purpose flour
  • 35 grams white sugar
  • 4 tsp baking powder
  • 1/4 tsp salt
  • 90 grams butter
  • 1 egg
  • 160 milliliters milk
  • 2 tbsp milk for brushing

Instructions

PREPARATIONS

  • Place the butter in the freezer for 15 minutes.
  • Line a baking sheet with parchment paper.
  • Preheat the oven to 200°C/392°F.

INSTRUCTIONS

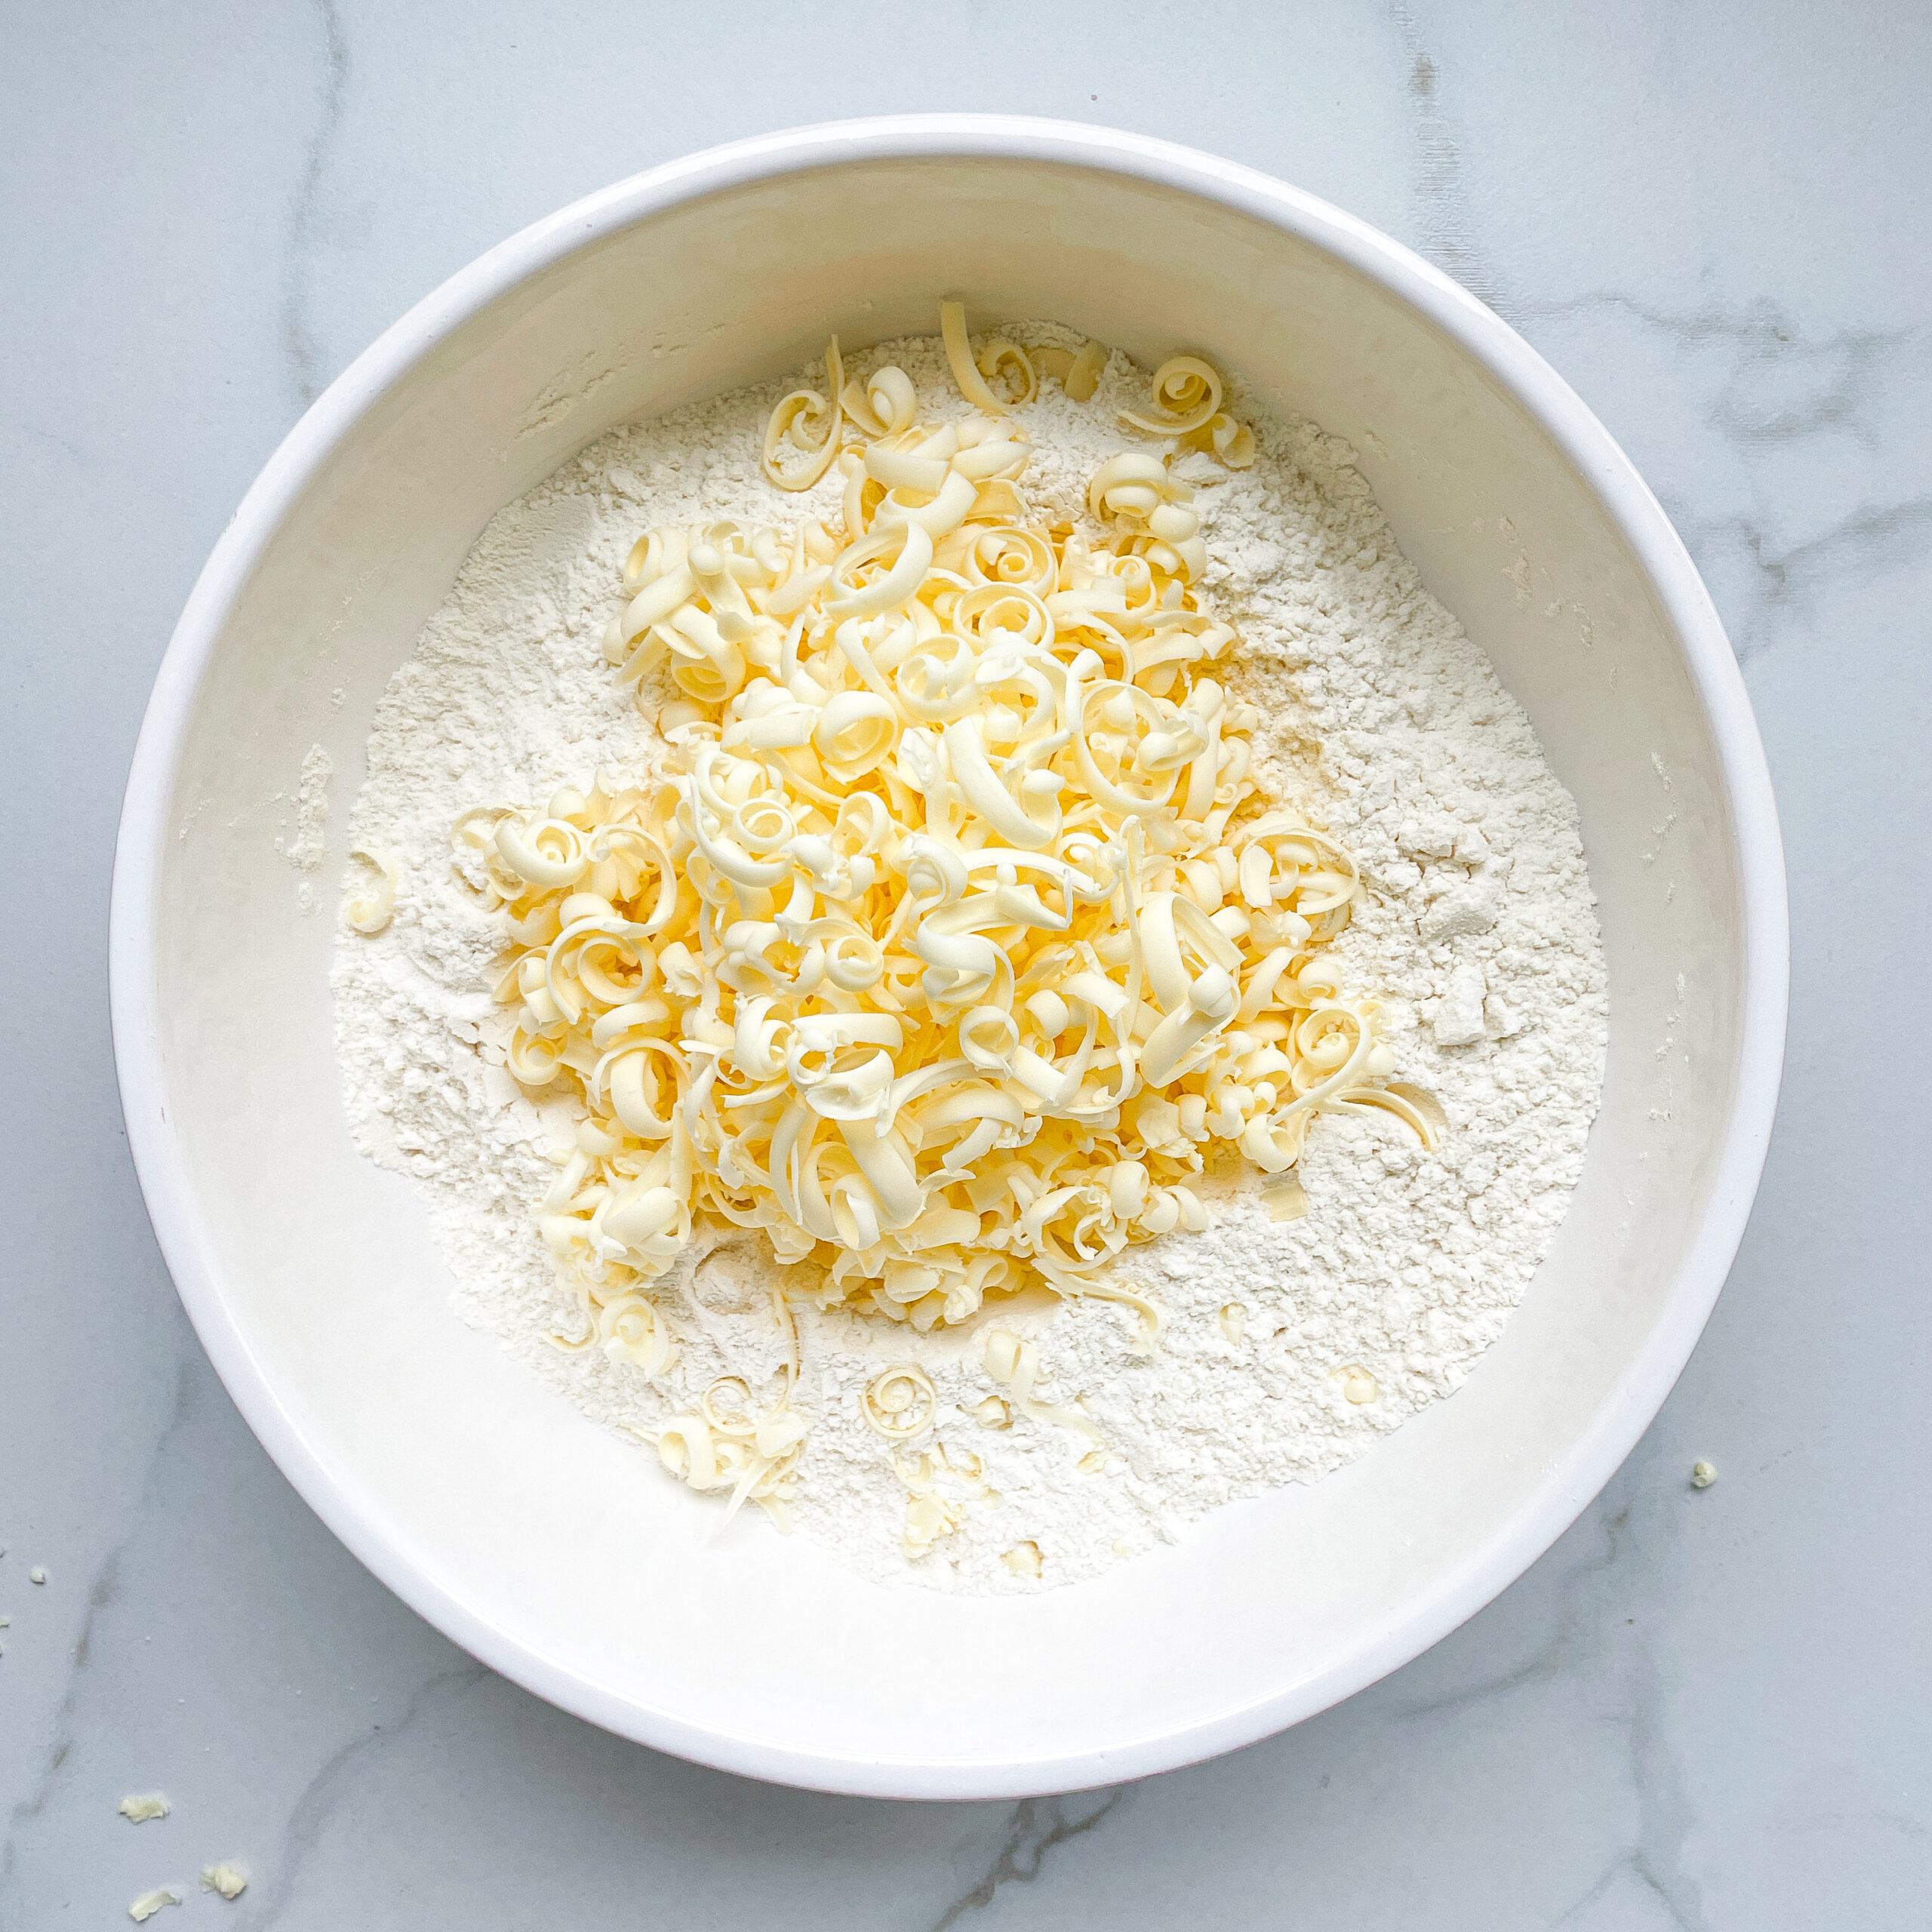
  1. In a medium-sized bowl, mix flour, sugar, baking powder, and salt. Grate the cold butter into the dry ingredients using a box grater.
  2. In a glass, whisk together the milk and egg and add to the other ingredients. Stir with a spoon until the mixture just comes together. Then, place the dough onto a clean work surface and fold it a few times with a dough scraper or a spatula, so that the dough comes together. It’s important not to use your hands for this, as the butter will soften too much, causing the dough to spread out during baking.
  3. Roll the dough into a rectangle about 30×20 cm and cut as many scones as possible using a round cutter. Fold the dough again and continue cutting out scones until all the dough is used. If you don’t have a cutter, you can also cut the dough into triangles. This amount of dough makes about 10 scones.
  4. Place the scones on the prepared baking sheet, spaced a little apart. Pour 2 tablespoons of milk into the glass and use the brush to spread it over the scones.
  5. Bake the scones in the oven for about 12 minutes. Then remove from the oven and enjoy immediately or let cool.

Notes

The calorie information may vary depending on the product used, country and region.

  • Prep Time: 2 min
  • Passive Time: 27 min
  • Cook Time: 10 min