


Description
Recommended Equipment
- small saucepan
- medium-sized bowl
- sharp knife
- cutting board
Ingredients
Units Scale
- 4 eggs
- 50 grams mayonnaise
- 1–2 tsp white wine vinegar
- 1/2–1 tsp Dijon mustard
- chives
- salt & pepper to taste
Instructions
- Boil the eggs for about 7-8 minutes until hard-boiled. If you’re not so confident with cooking eggs yet, read on for a full guide and get the best tips for achieving the perfect boiled egg.
- Meanwhile, finely chop the chives and place them in a bowl. Add the mayonnaise, white wine vinegar, Dijon mustard, salt, and pepper, and set aside for now.
- Once the eggs are cooked, place them in a bowl with cold water to cool for about 5 minutes. Peel the eggs, carefully score the egg whites, and gently separate them so the yolks remain whole. Separate all the eggs into whites and yolks, adding the yolks to the other ingredients in the bowl.
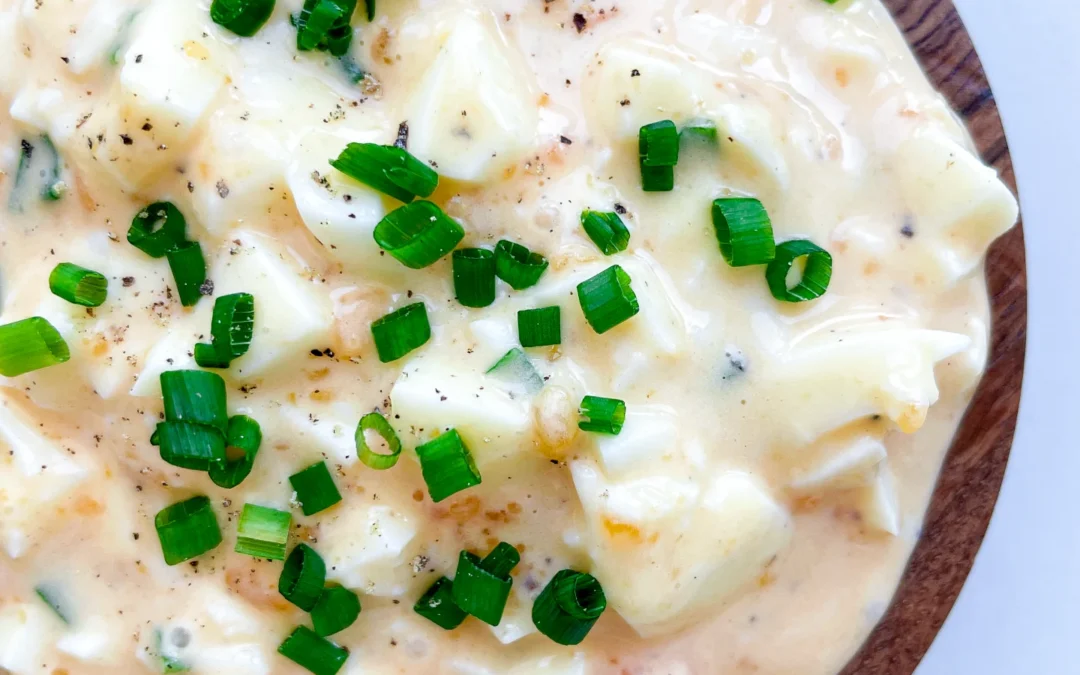
- Mash the yolks with the other ingredients until you get a smooth, light orange mixture.
- Cut the egg whites into small pieces and add them to the bowl with the other ingredients. Mix everything well and serve.
- Passive Time: 5 min
- Cook Time: 10 min