Tuna Melt

Tuna Melt

Tuna Melt

Tuna Melt

April 29, 2024 by Kimberly

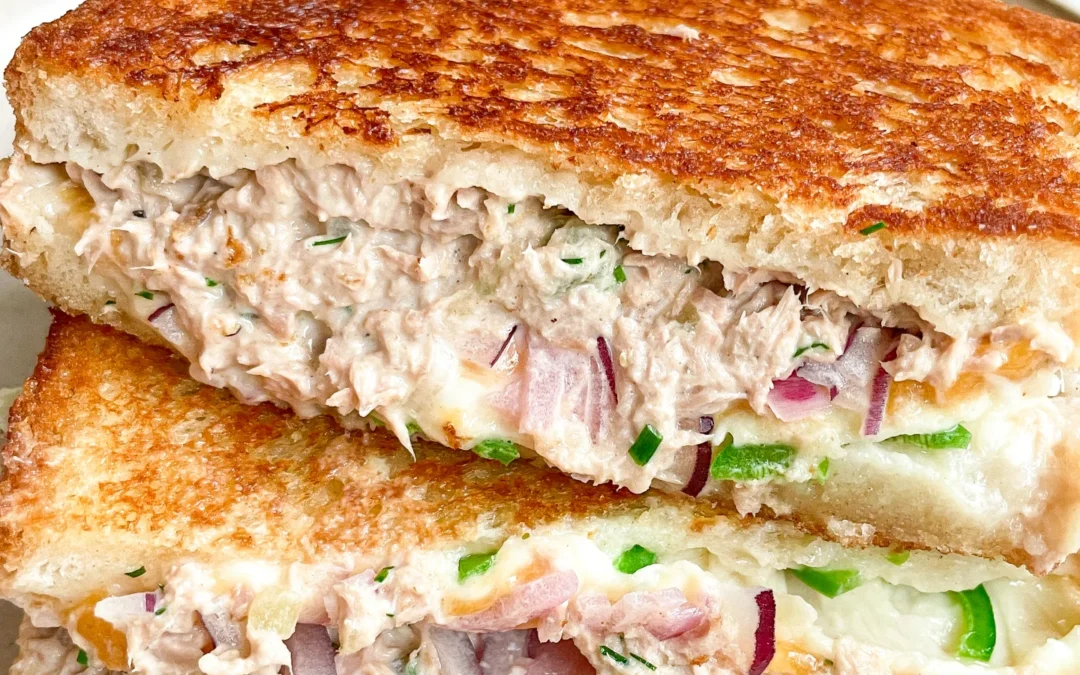
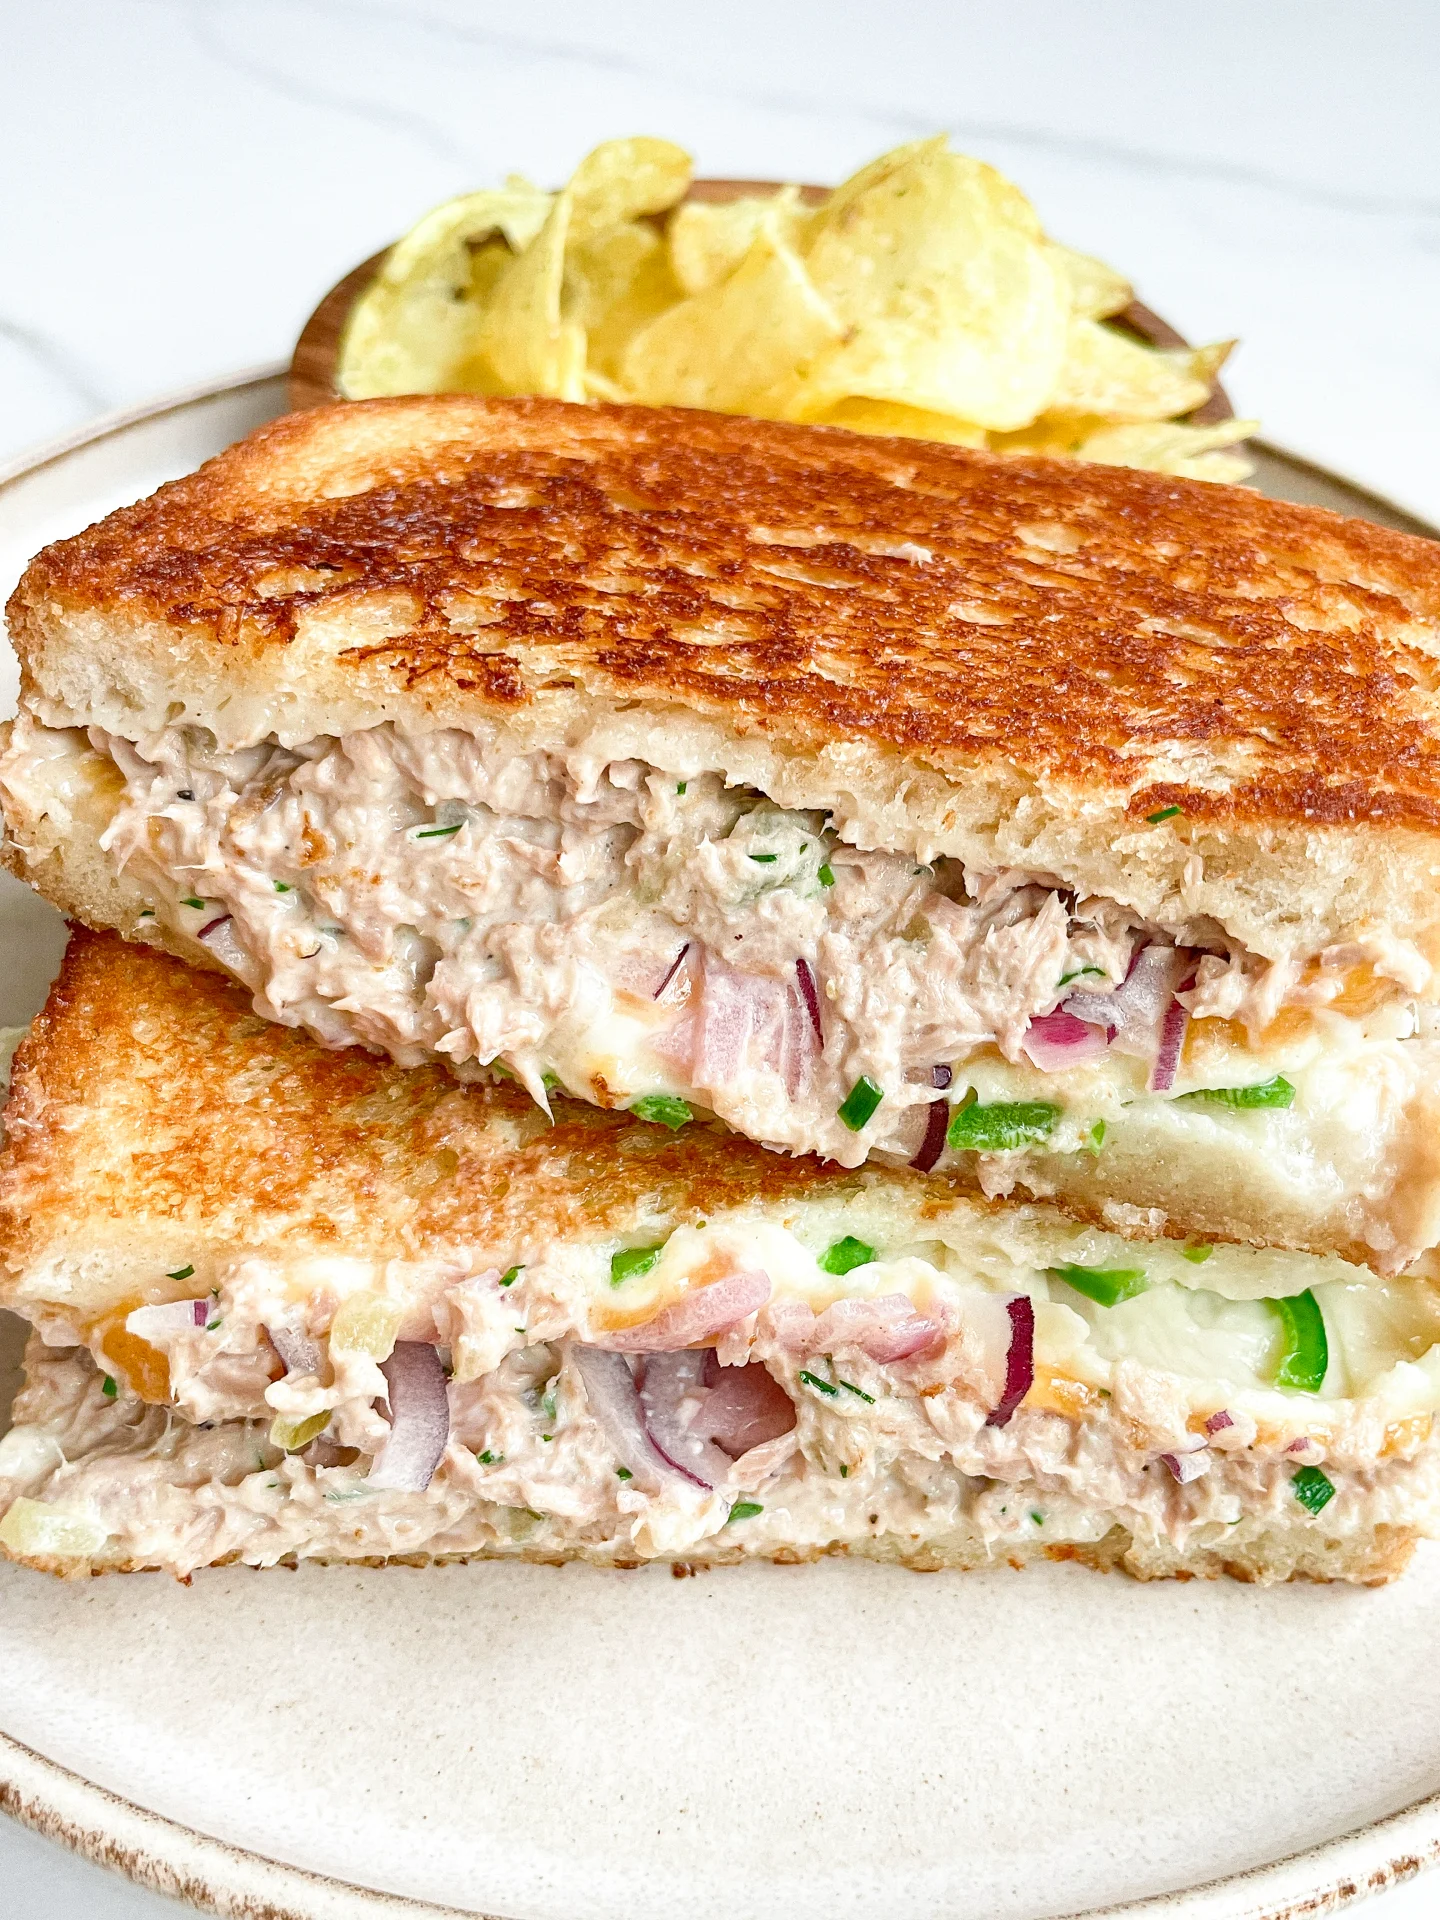
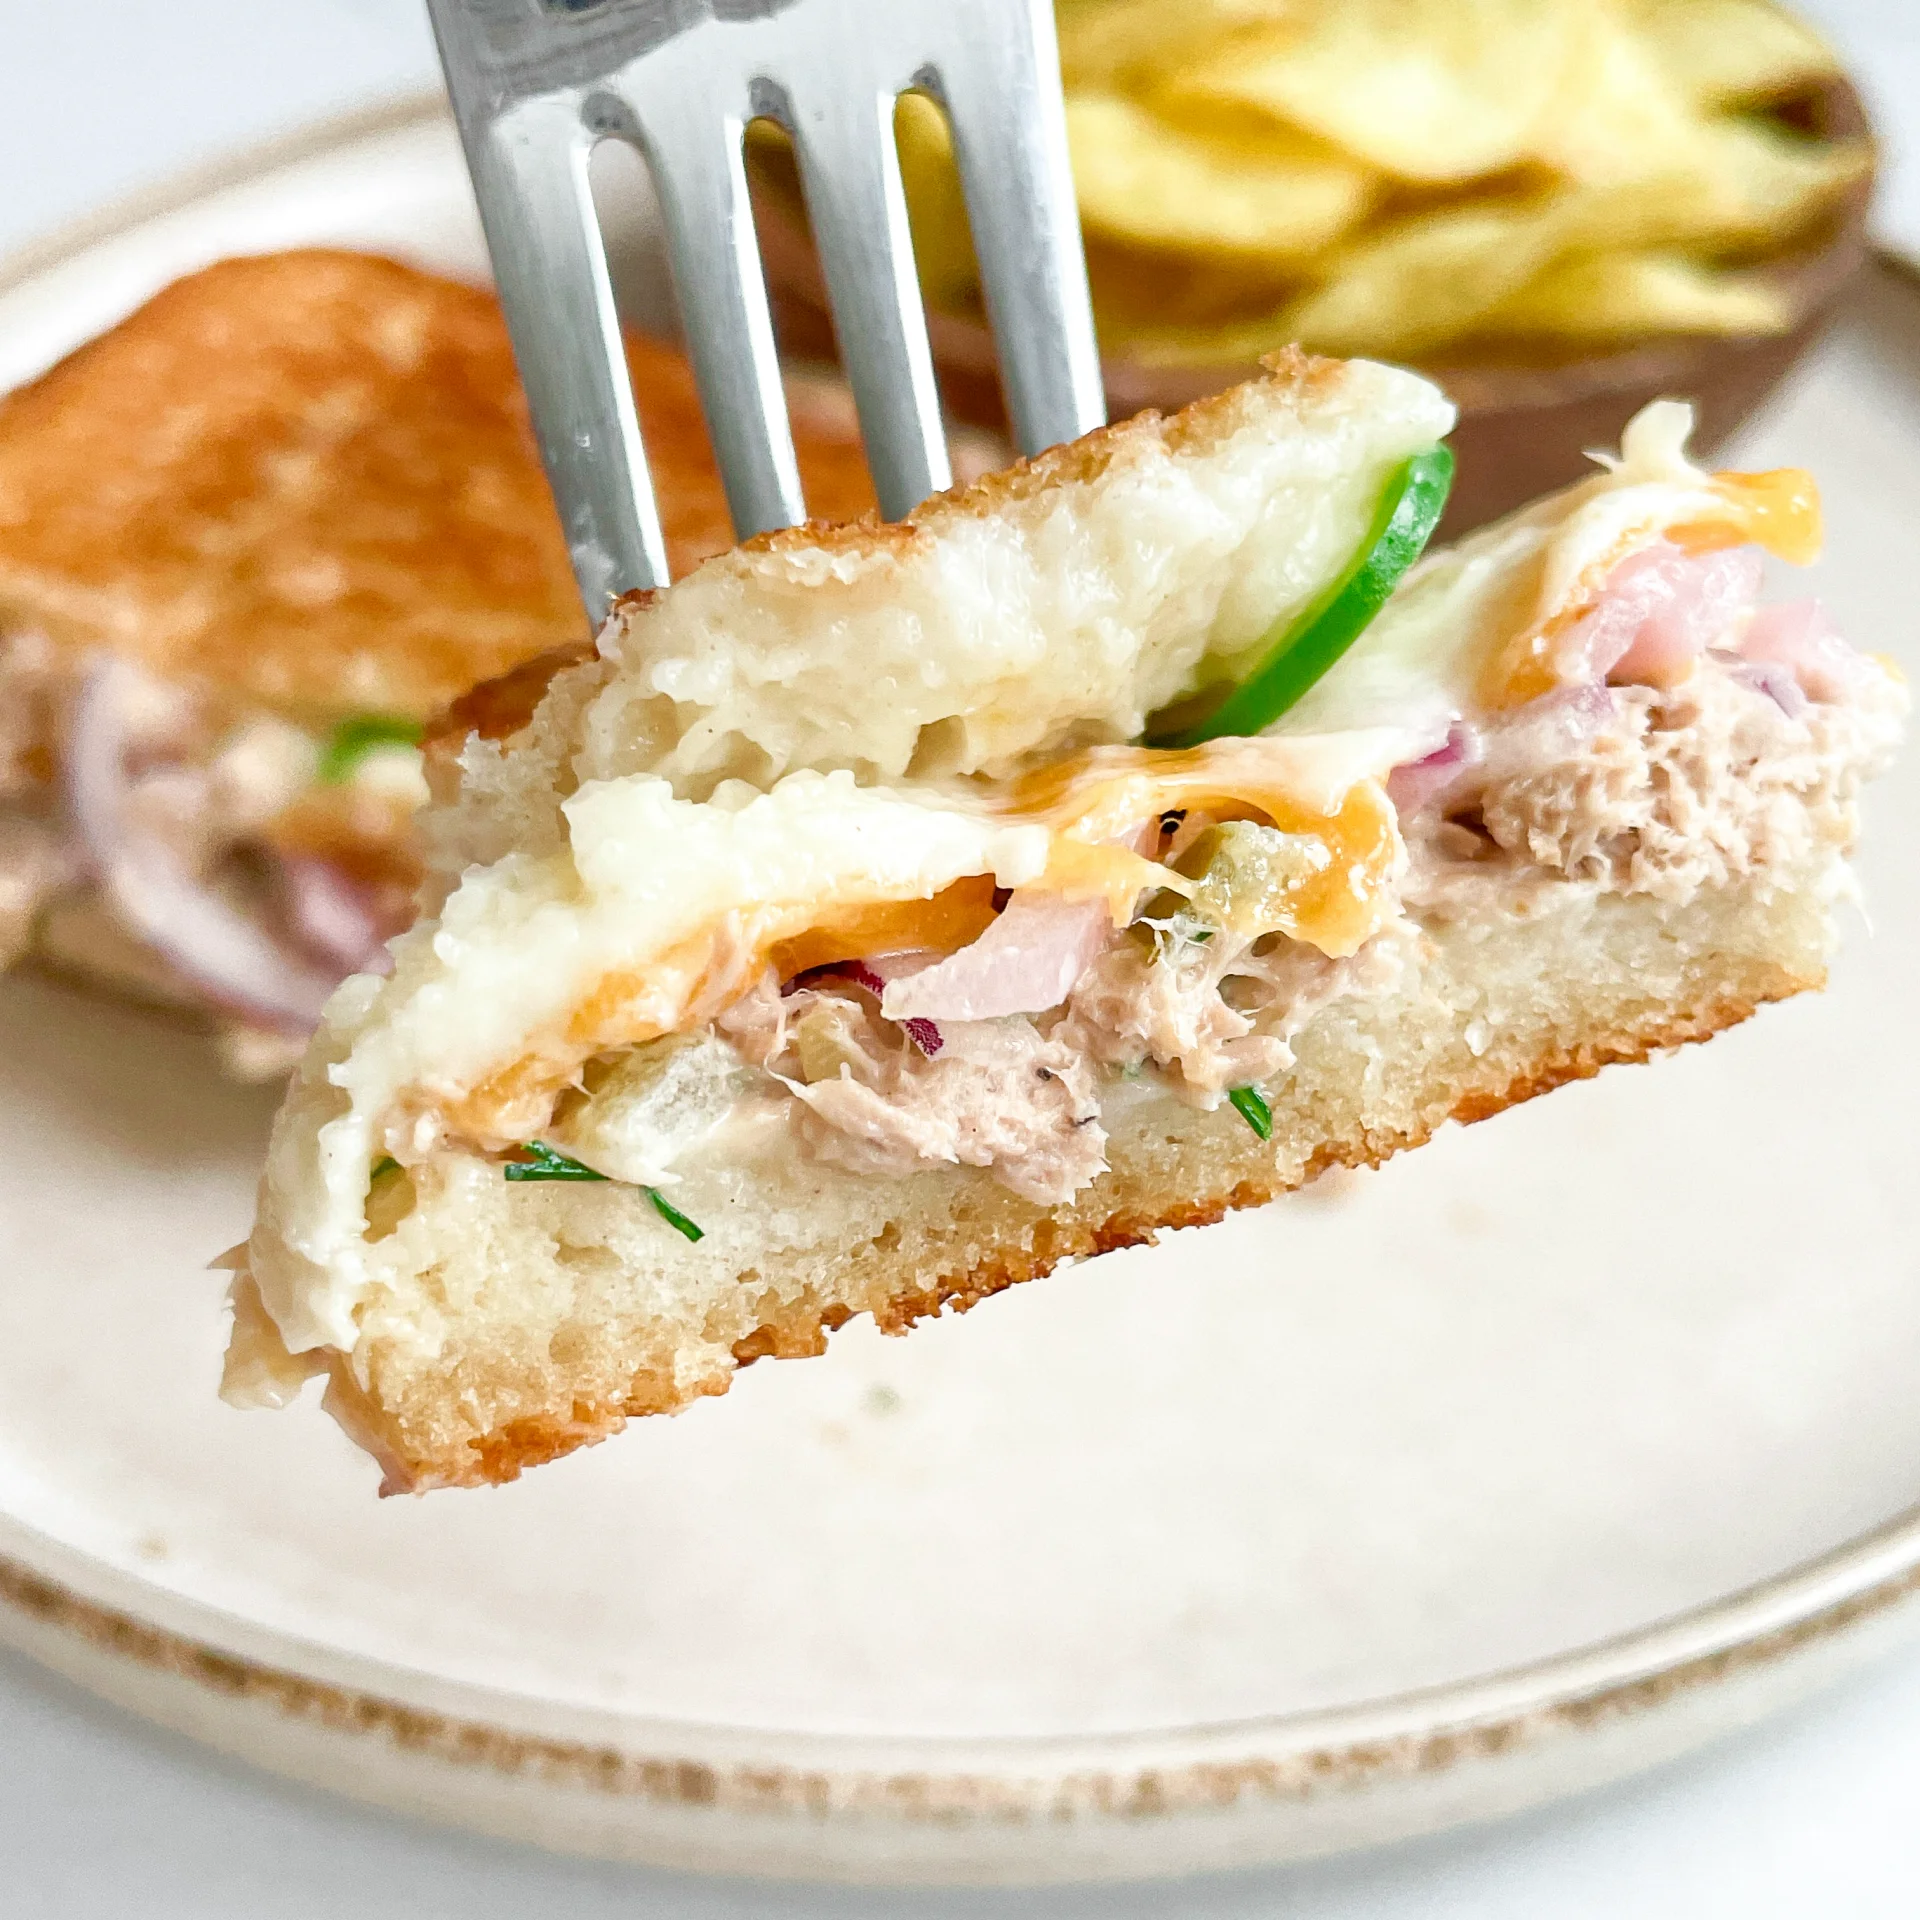
Experience the ultimate comfort with this tuna melt – crispy bread, creamy tuna salad, melted cheese, and a little heat combine for a mouthwatering lunch you can’t resist!

20 MINUTES

EASY

OMNIVORE

US AMERICAN

617 PER SANDWICH

CRISPY
CHEESY
CREAMY

EVERYDAY

SANDWICH
LUNCH

ALL YEAR

INTRODUCTION

ABOUT THE RECIPE

Craving a quick and satisfying meal? Look no further than the classic Tuna Melt with a twist! It’s the perfect blend of creamy tuna, gooey melted cheese, and toasted bread – a true comfort food staple.

HOW TO SERVE
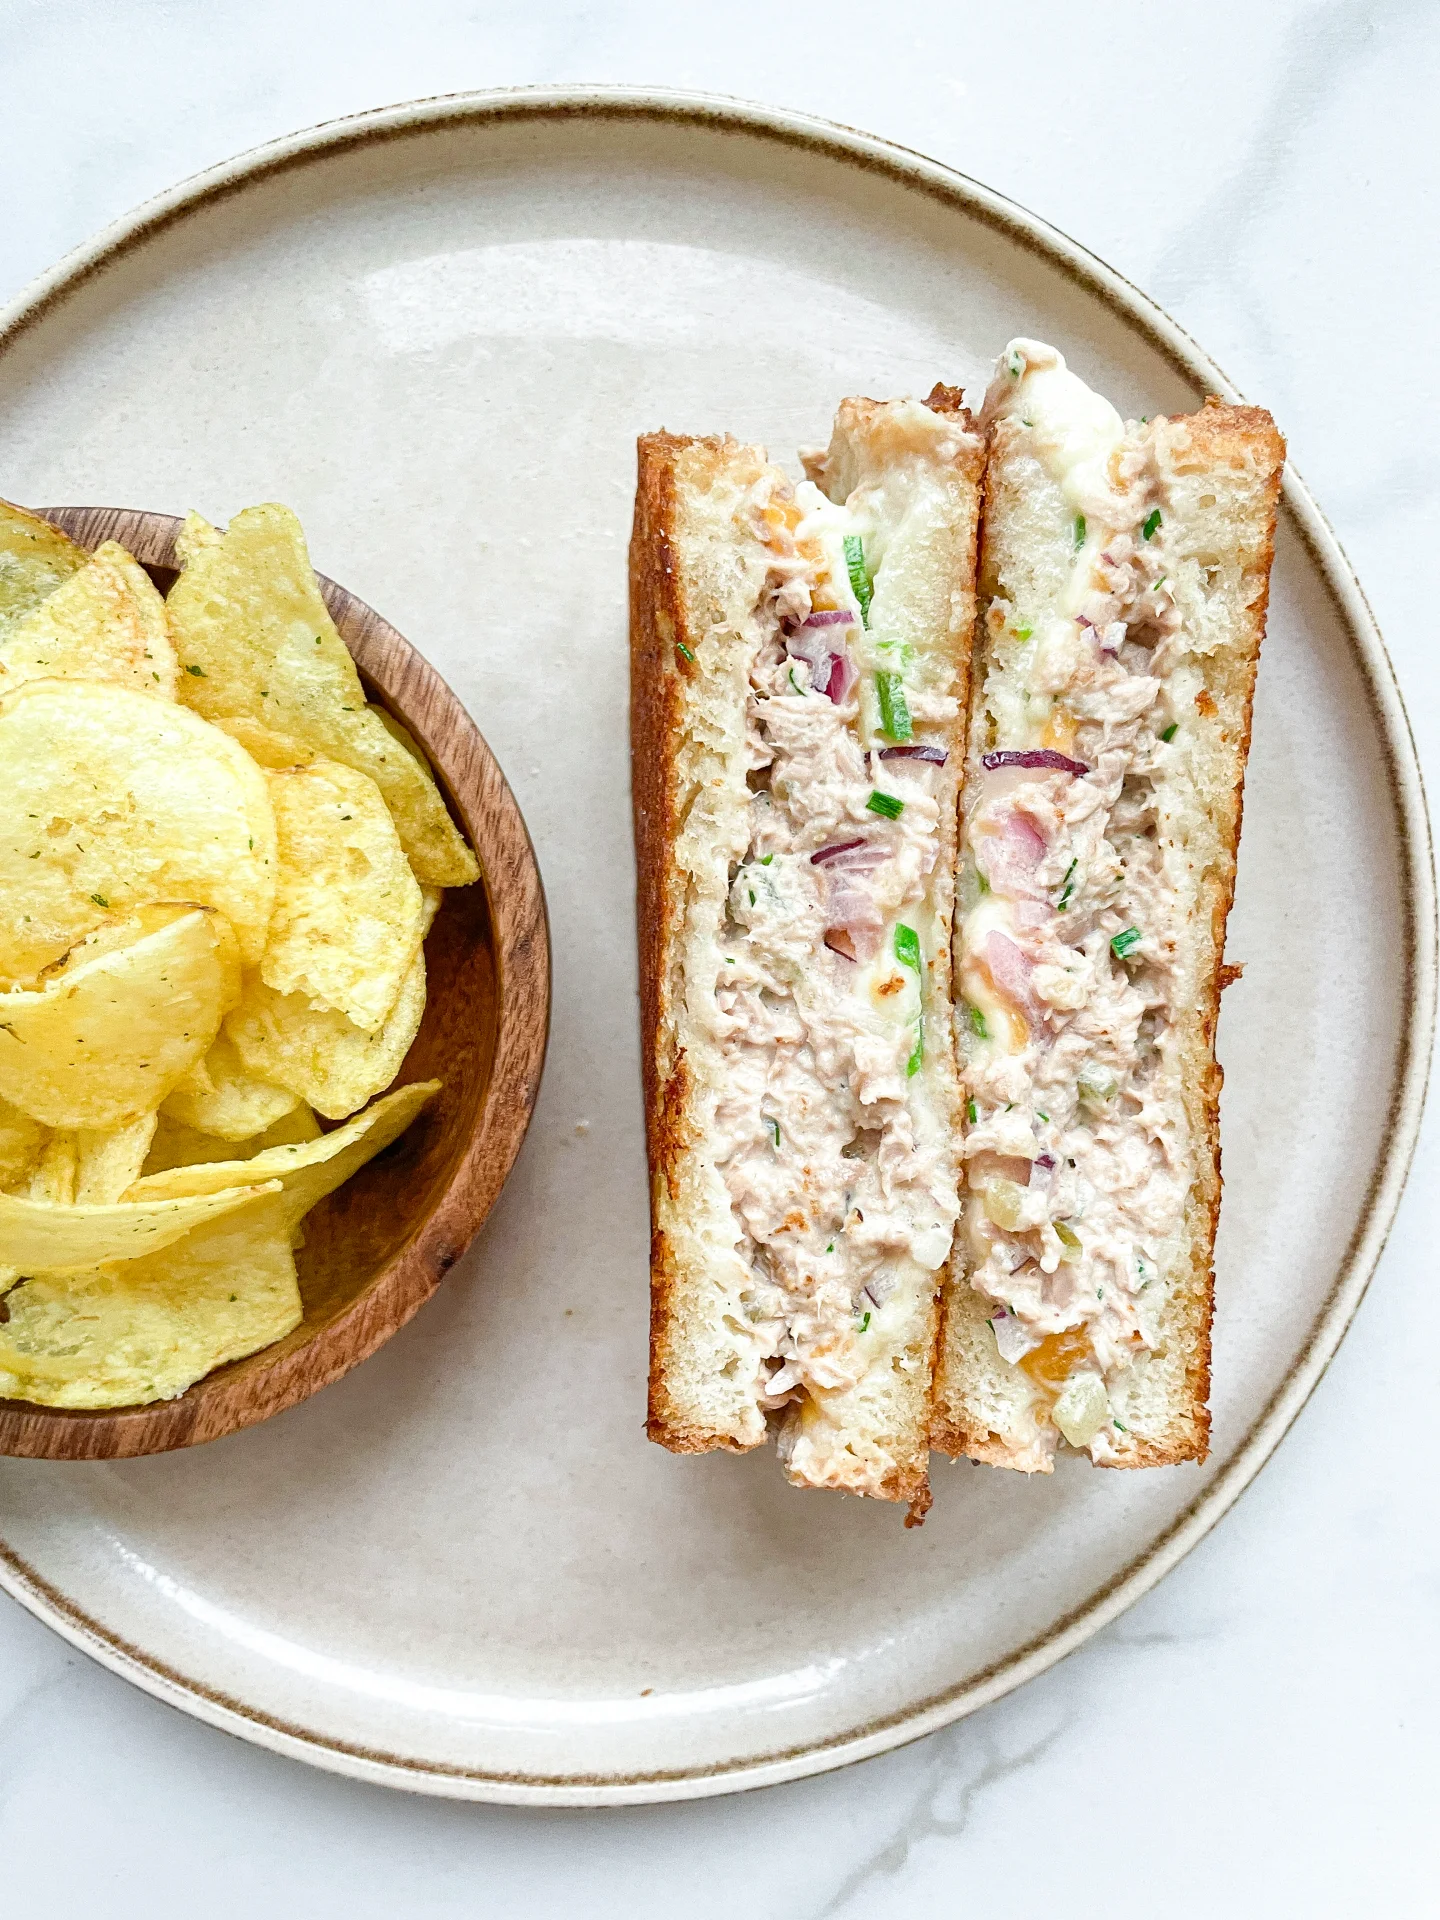
The best way to enjoy a Tuna Melt is freshly made and hot off the pan. Serve with a side of crispy potato chips or a light salad for a balanced meal. It’s ideal for a quick lunch or a casual dinner, guaranteed to please both kids and adults alike!

HOW TO STORE
For best results, consume your Tuna Melt fresh. However, if you need to store it, keep the unassembled tuna salad in the refrigerator in an airtight container for up to two days, and assemble before reheating to maintain the best quality.

Hi, I'm Kimberly!

Hi, I'm Kimberly.

A passionate food lover who believes in the magic of homemade deliciousness that spreads love and warmth. Join me on this culinary adventure as I prepare wonderful dishes and let’s spread some happiness together!

Kimberly the Zett Signature

If you want to get to know me better, click here!


Tuna Melt
Tuna Melt
Tuna Melt
„Let’s make a piece of happiness“
Print
clock clock iconcutlery cutlery iconflag flag iconfolder folder iconinstagram instagram iconpinterest pinterest iconfacebook facebook iconprint print iconsquares squares iconheart heart iconheart solid heart solid icon
Tuna Melt

Tuna Melt


5 Stars 4 Stars 3 Stars 2 Stars 1 Star

No reviews

  • Author: Kimberly
  • Total Time: 20 min
  • Yield: 2 sandwiches 1x

Description

RECOMMENDED EQUIPMENT

  • sharp knife
  • cutting board
  • medium-sized bowl
  • medium-sized frying pan
  • spatula

Ingredients

Units Scale

TUNA CREME

  • 150 grams canned tuna in water (drained)
  • 50 grams mayonnaise
  • 1 pickled cucumber
  • 1 tsp lemon juice
  • 1 garlic clove
  • 1/2 tsp dijon mustard
  • dill
  • chives
  • salt & pepper to taste

OTHER INGREDIENTS

  • 1/2 red onion
  • 4 slices bread of your choice
  • 2 slices cheddar cheese
  • 80 grams mozzarella cheese
  • 1 jalapeno
  • butter
  • Tabasco (optional)

Instructions

PREPARATIONS

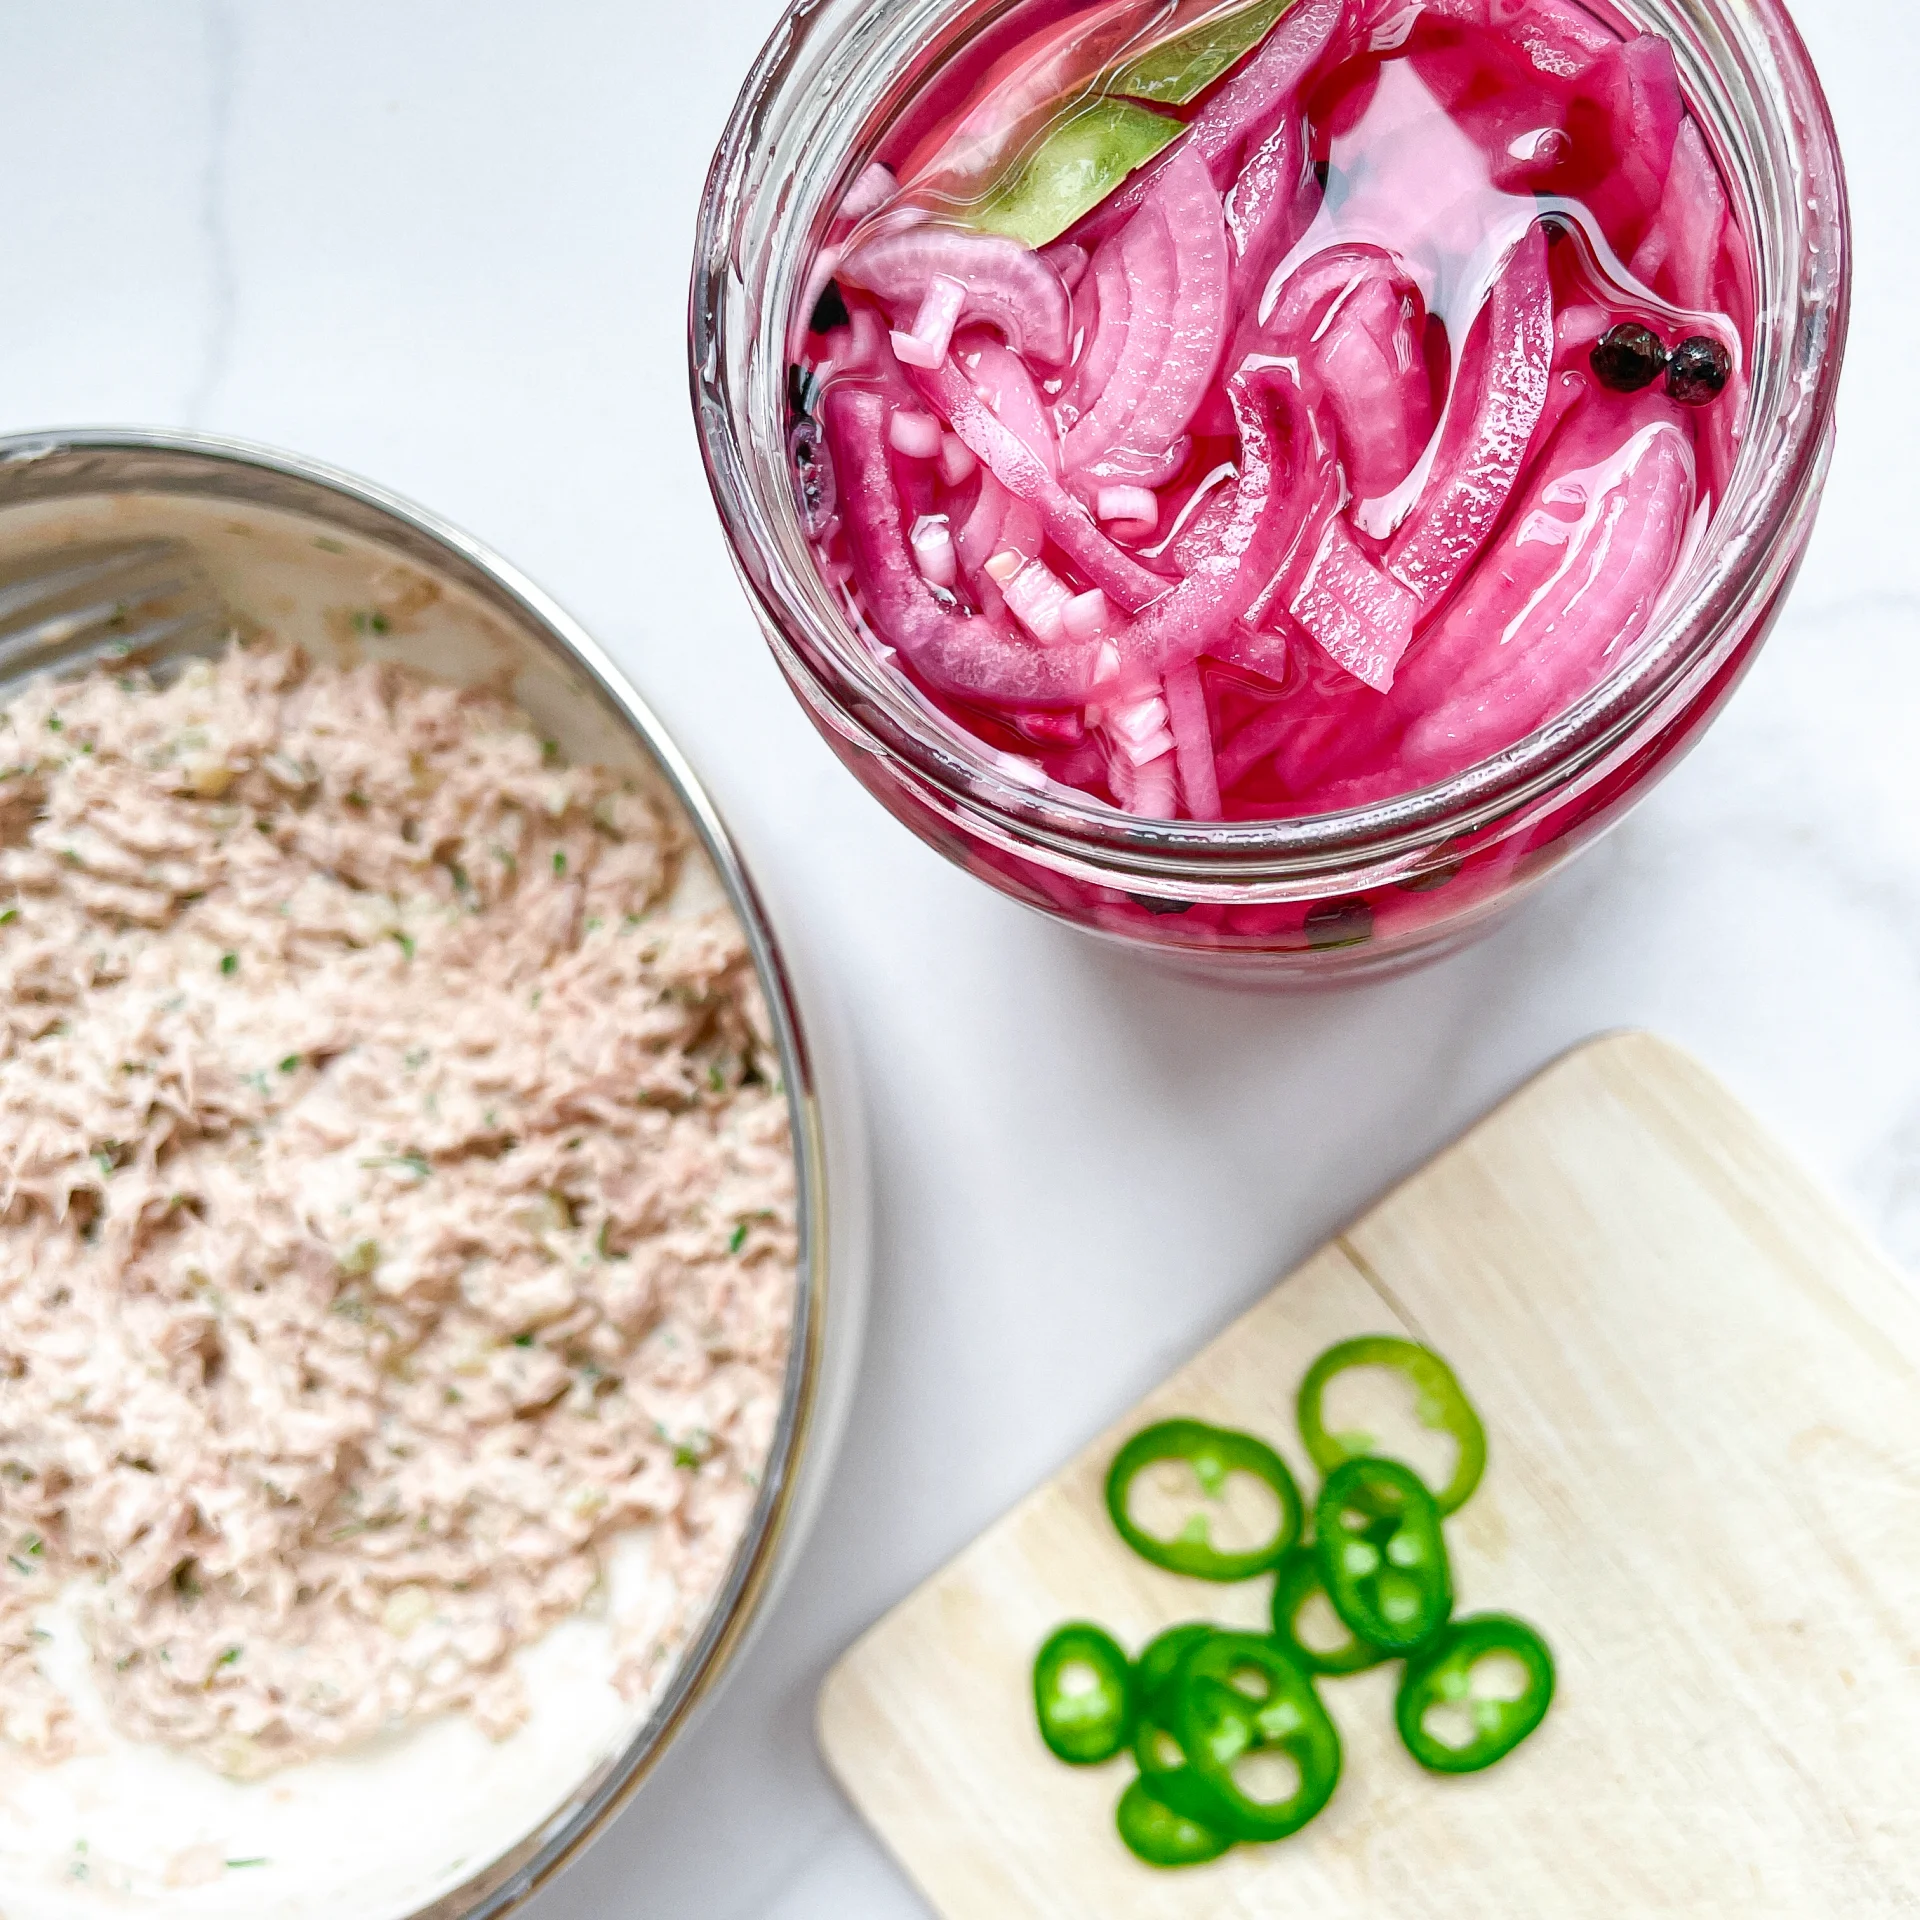
  1. Peel the onion, halve it, and slice it into fine half circles. Set aside.
  2. Wash the jalapeño and slice it into thin rings. Set aside.
  3. Squeeze the mozzarella in paper towels to remove as much moisture as possible, then slice it thinly. Set aside.

COOKING

  1. For the tuna cream: Drain the can of tuna so there’s no water left. Place the tuna in a medium-sized bowl. Mix it with mayonnaise, lemon juice, Dijon mustard, salt, and pepper. Now chop the pickle into small pieces and add it to the bowl. Finely chop the dill and chives and add them to the bowl as well. Peel and finely chop the garlic clove, or press it into the bowl. Mix everything together. Season to taste and set aside.
  2. Heat a pan over medium heat without adding any additional fat. Meanwhile, spread a little butter on two slices of bread. Place the bread slices in the pan, buttered side down. Spread each with half of the tuna cream, then top with the red onions. Add half of the mozzarella and a slice of cheddar cheese to each. Top with the jalapeño slices. Let it all cook for a few minutes on low to medium heat.
  3. Meanwhile butter the other two bread slices. Once the bottom of the bread in the pan is golden brown and crispy, place the other bread slices, buttered side up, on top of the sandwiches in the pan. Use a spatula to lift the sandwich and quickly flip it, so it can brown on the other side.
  4. Let everything cook for another 5-8 minutes on low heat, allowing the cheese to melt and the bread slice to become crispy.
  5. Remove from the pan and cut in half. Serve immediately, drizzle with Tabasco to taste and enjoy your pieces of happiness.

Notes

The calorie information may vary depending on the product used, country and region.

  • Prep Time: 5 min
  • Cook Time: 15 min
Honey Mustard Pretzel Bites

Honey Mustard Pretzel Bites

Honey Mustard Pretzel Bites

Honey Mustard Pretzel Bites

April 5, 2024 by Kimberly

Indulge in Honey Mustard Pretzel Bites – a sweet, tangy, and utterly addictive snack! Perfect for parties or snacking.

25 MINUTES

EASY

VEGETARIAN

US AMERICAN

151 PER PORTION

CRUNCHY

EVERYDAY

SNACK

ALL YEAR

INTRODUCTION

ABOUT THE RECIPE

Welcome to the irresistible world of Honey Mustard Pretzel Bites, your new favorite snack. These bite-sized delights are the perfect combination of crunchy pretzel goodness and the sweet tang of honey mustard. They’re so easy to make and even easier to devour!

How to serve:
Serve them in a big bowl for a casual gathering. They’re the perfect companion to your favorite craft beer or a crisp, refreshing soda. Whether it’s game day, movie night, or just a regular Tuesday, these pretzel bites will be the star of the show.

How to store:
Keep any leftovers (if there are any!) in an airtight container at room temperature. They’ll stay fresh and crunchy for up to a week, ready to satisfy those snack cravings anytime.

Hi, I'm Kimberly!

Hi, I'm Kimberly.

A passionate food lover who believes in the magic of homemade deliciousness that spreads love and warmth. Join me on this culinary adventure as I prepare wonderful dishes and let’s spread some happiness together!

Kimberly the Zett Signature

If you want to get to know me better, click here!


Honey Mustard Pretzel Bites
„Let’s make a piece of happiness“

INGREDIENTS

FOR 4 PORTIONS

BITES

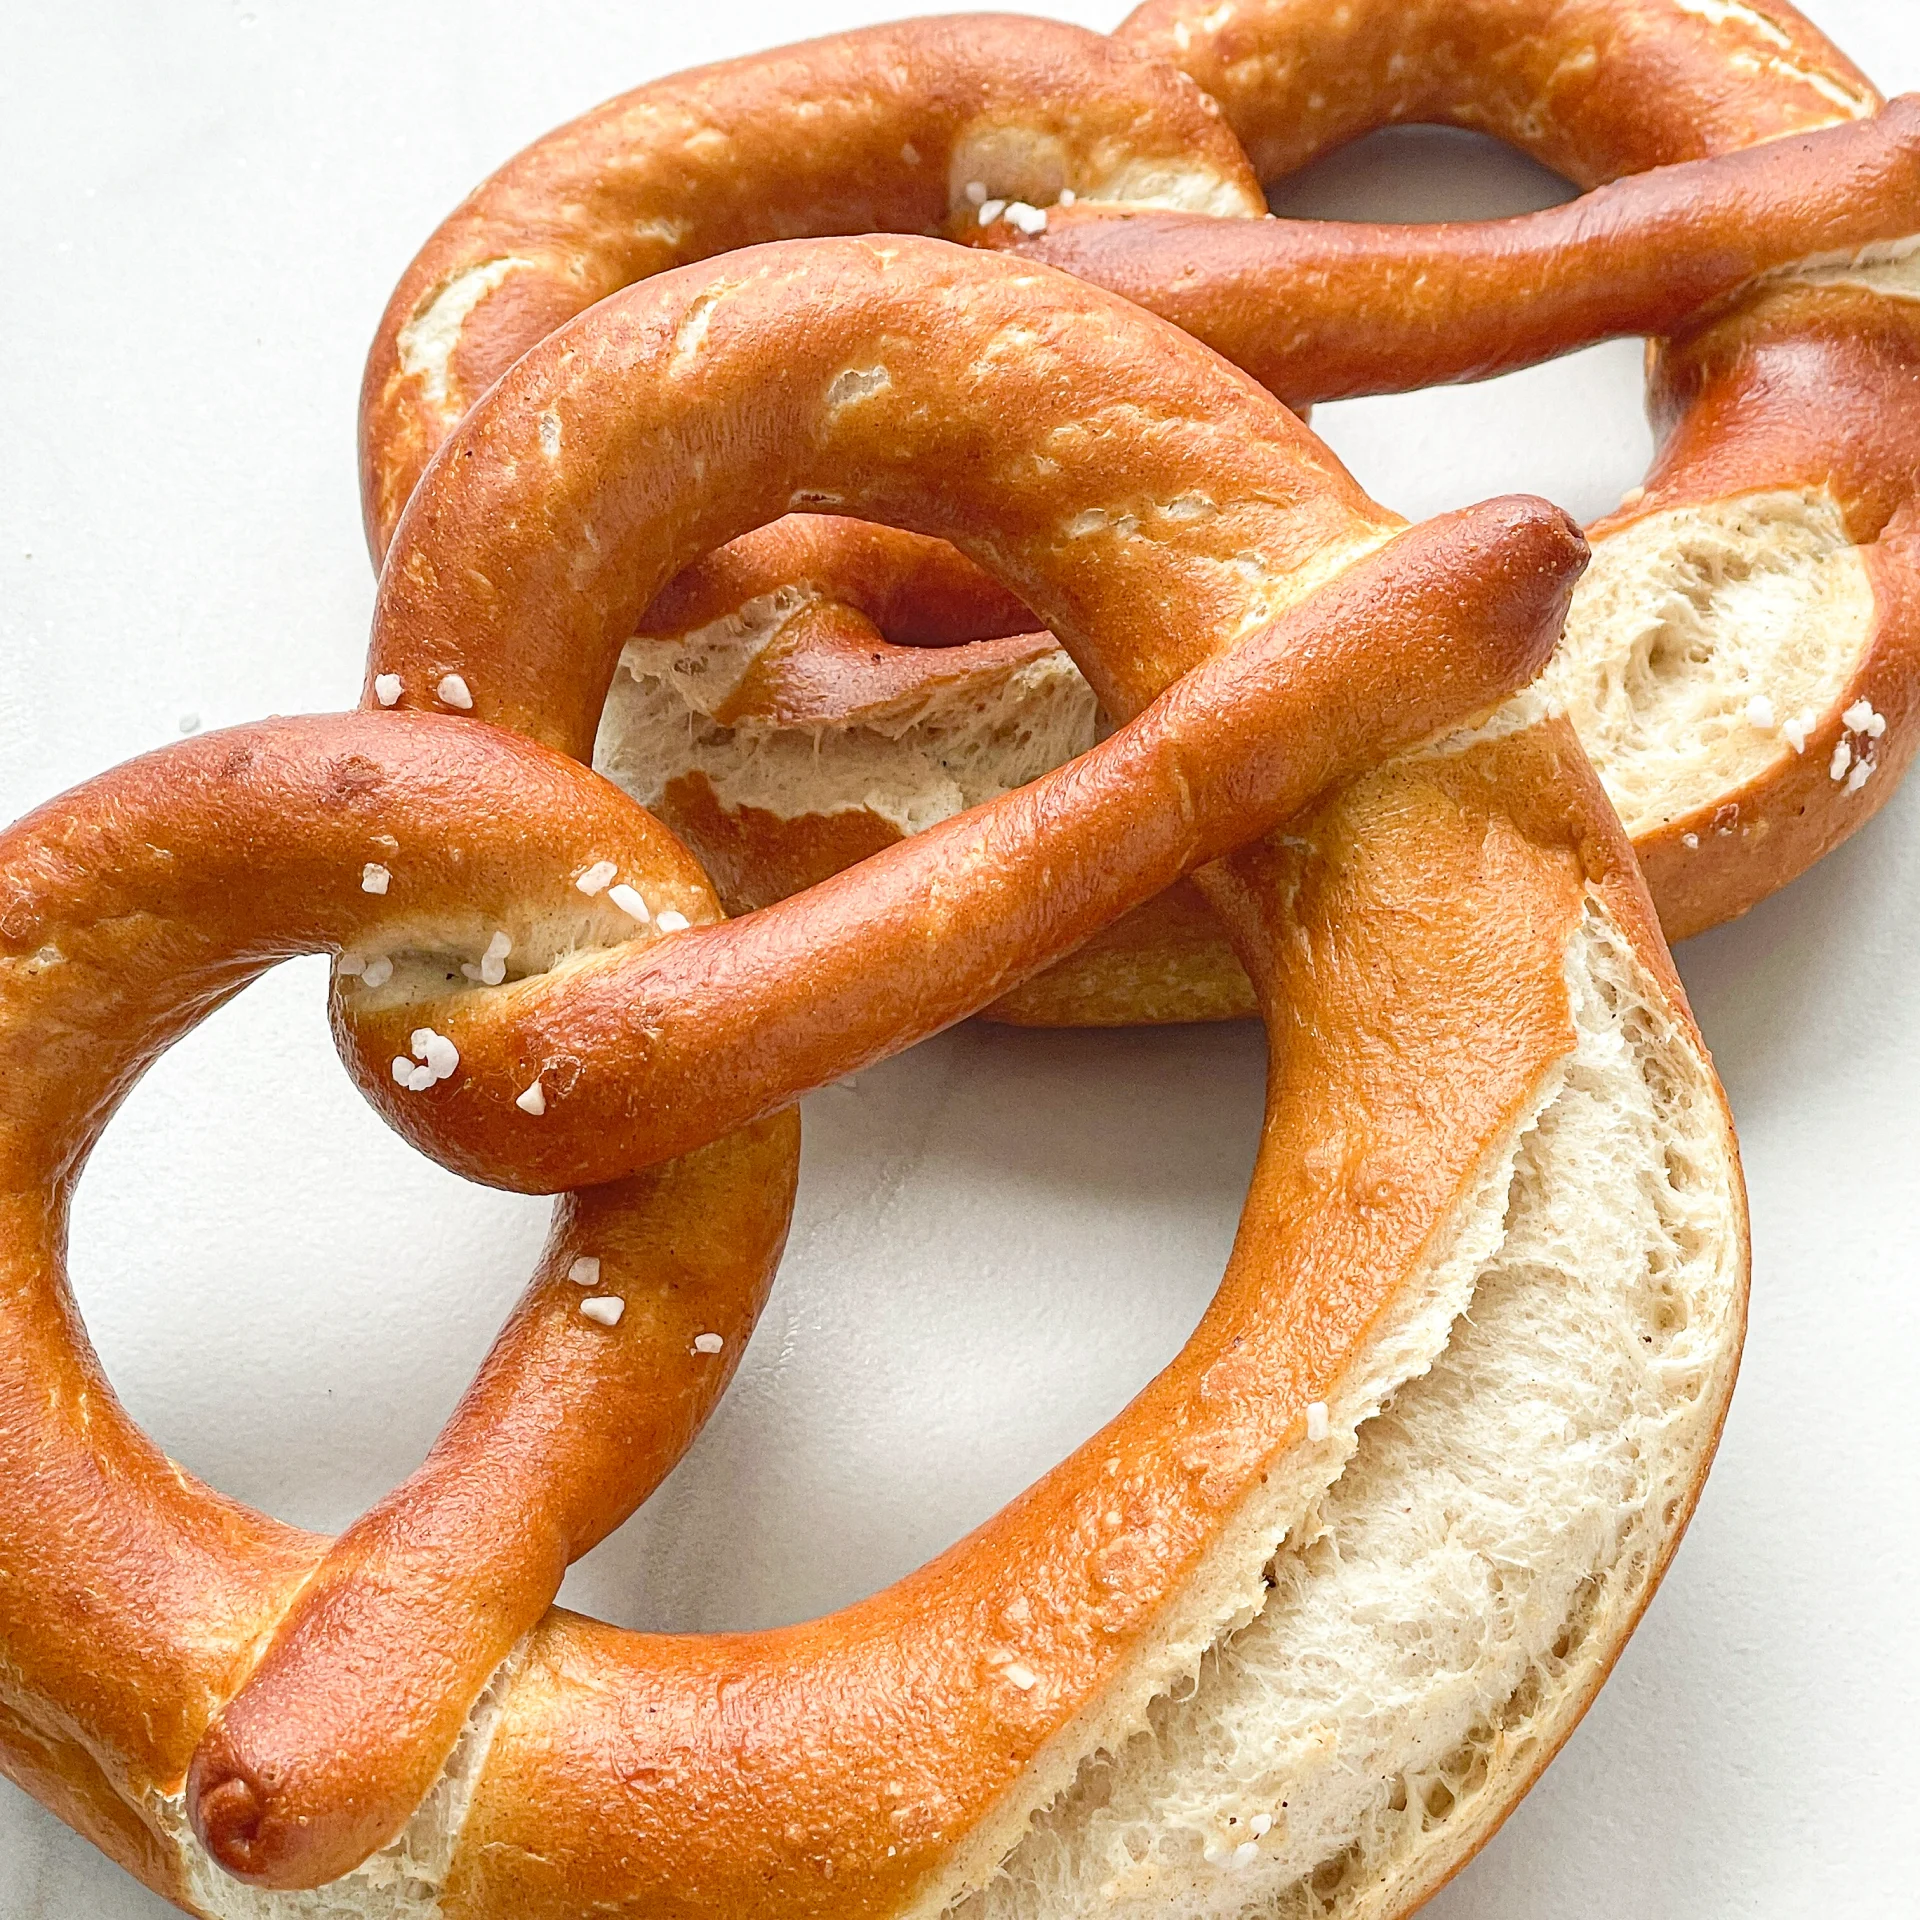
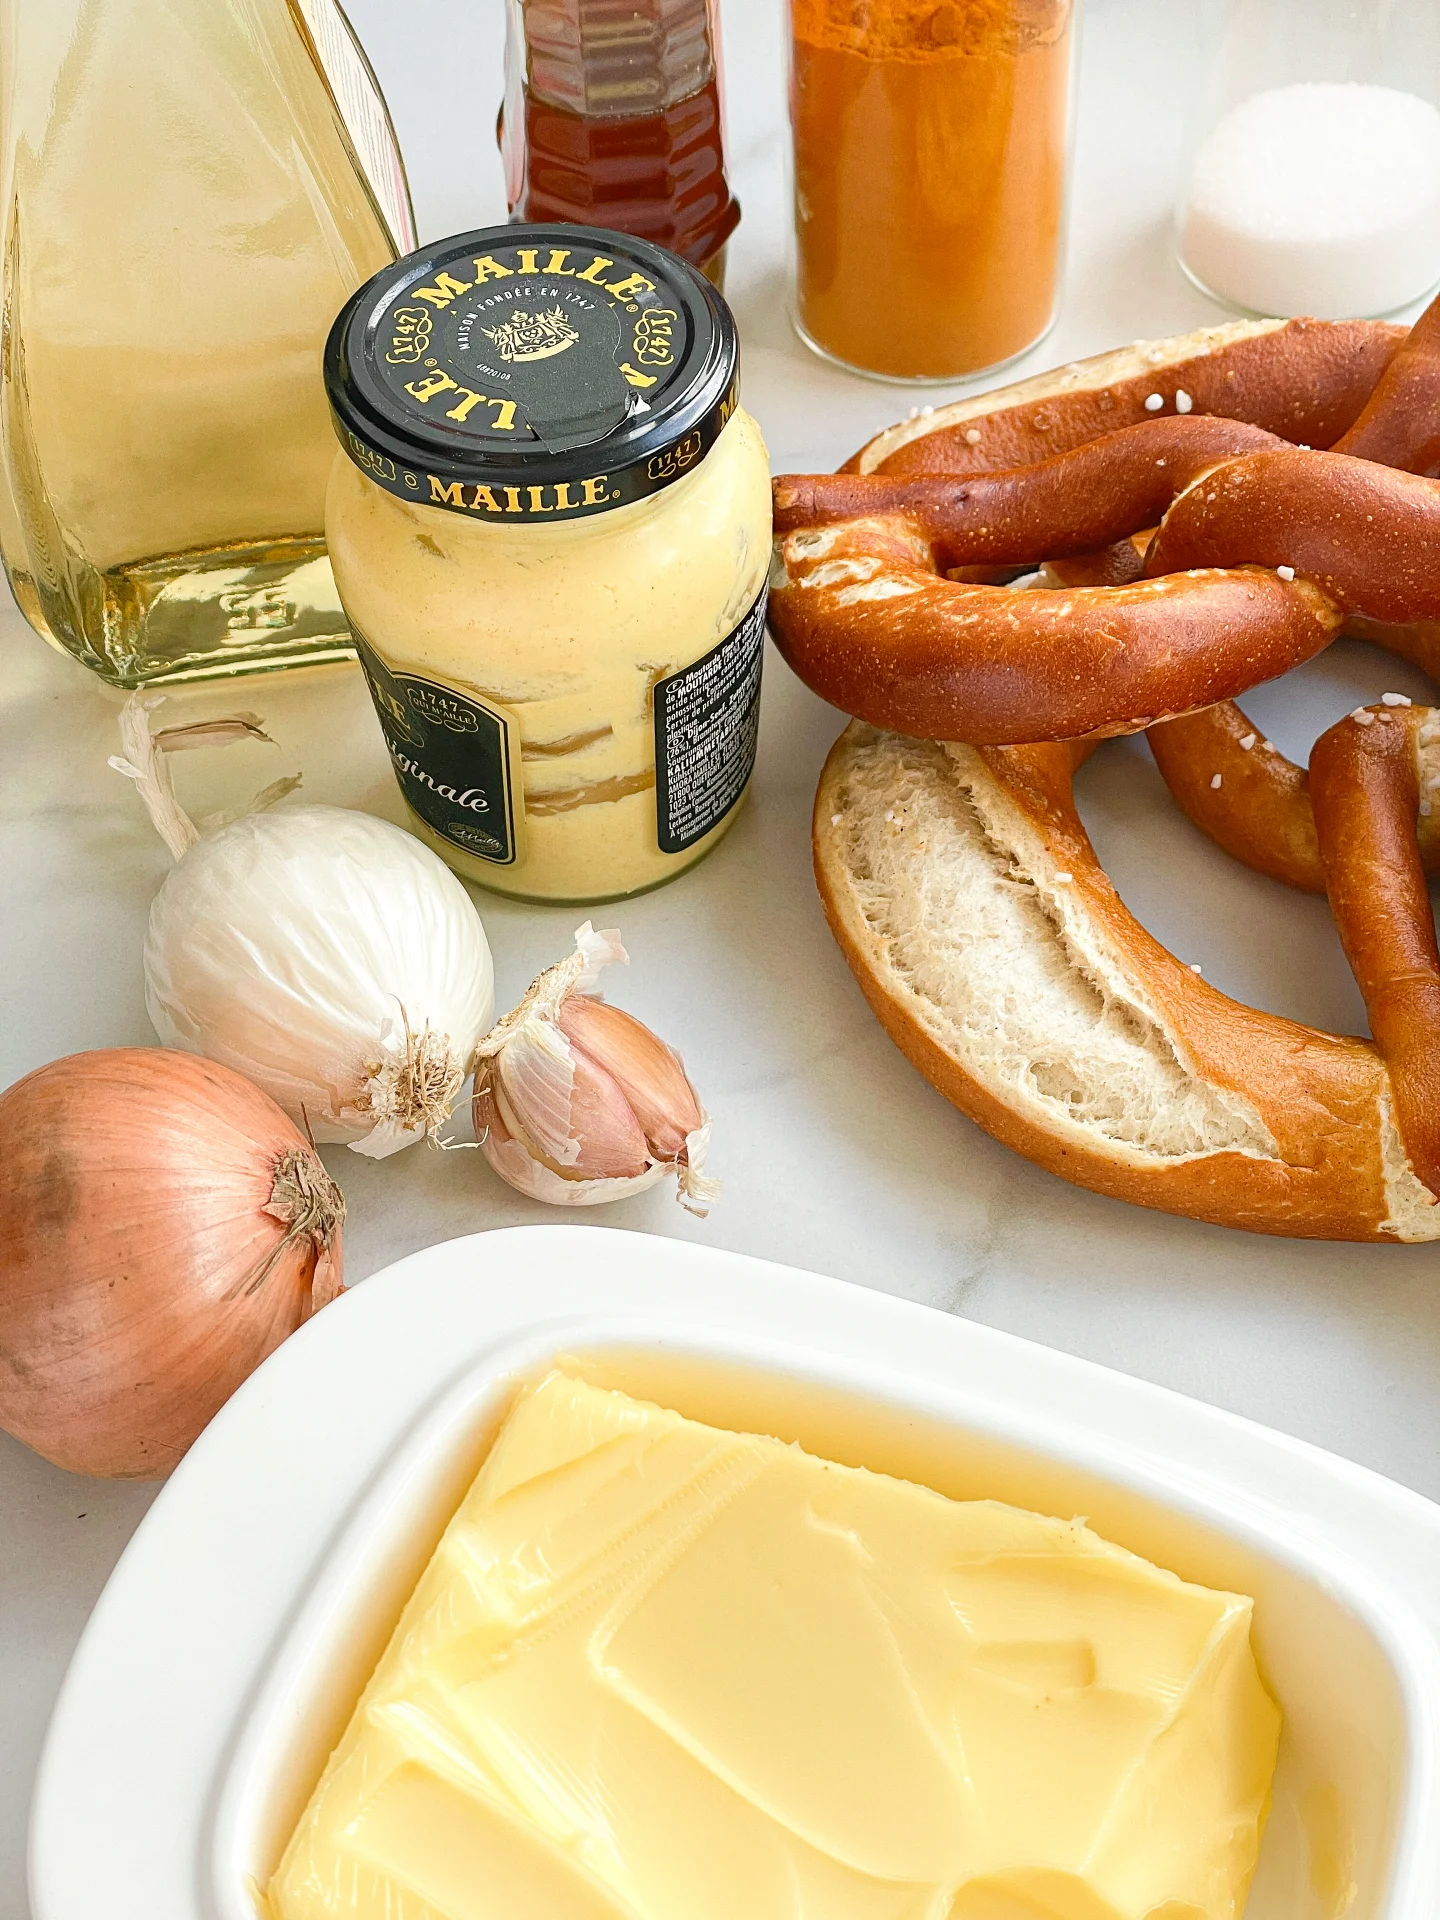
  • 2 soft pretzels (9 oz)
  • 1 tbsp butter
  • 1 tbsp honey
  • 1 onion
  • 2 garlic cloves
  • 1.5 tbsp dijon mustard
  • 1 tbsp white wine vinegar
  • 1/2 tsp turmeric
  • 1 tsp salt
Honey Mustard Pretzel Bites
}

ACTIVE: 5 min

PASSIVE: –

PREPARATIONS

Recommended Equipment
  • sharp knife
  • cutting board
  • medium-sized pot
  • Cut the pretzels into small pieces and set them aside.
  • Peel the garlic cloves.
  • Just cut off the „top“ of the onion and then peel it, so it stays whole.
}

ACTIVE: 5 min

PASSIVE: 15 min
COOKING

1. Now grate the onion and garlic cloves directly into the pot using a grater.

2. Also add the following ingredients to the pot: 1 tablespoon of butter, 1 tablespoon of honey, 1 tablespoon of white wine vinegar, 1.5 tablespoons of Dijon mustard, 1 teaspoon of salt, and 1/2 teaspoon of turmeric.

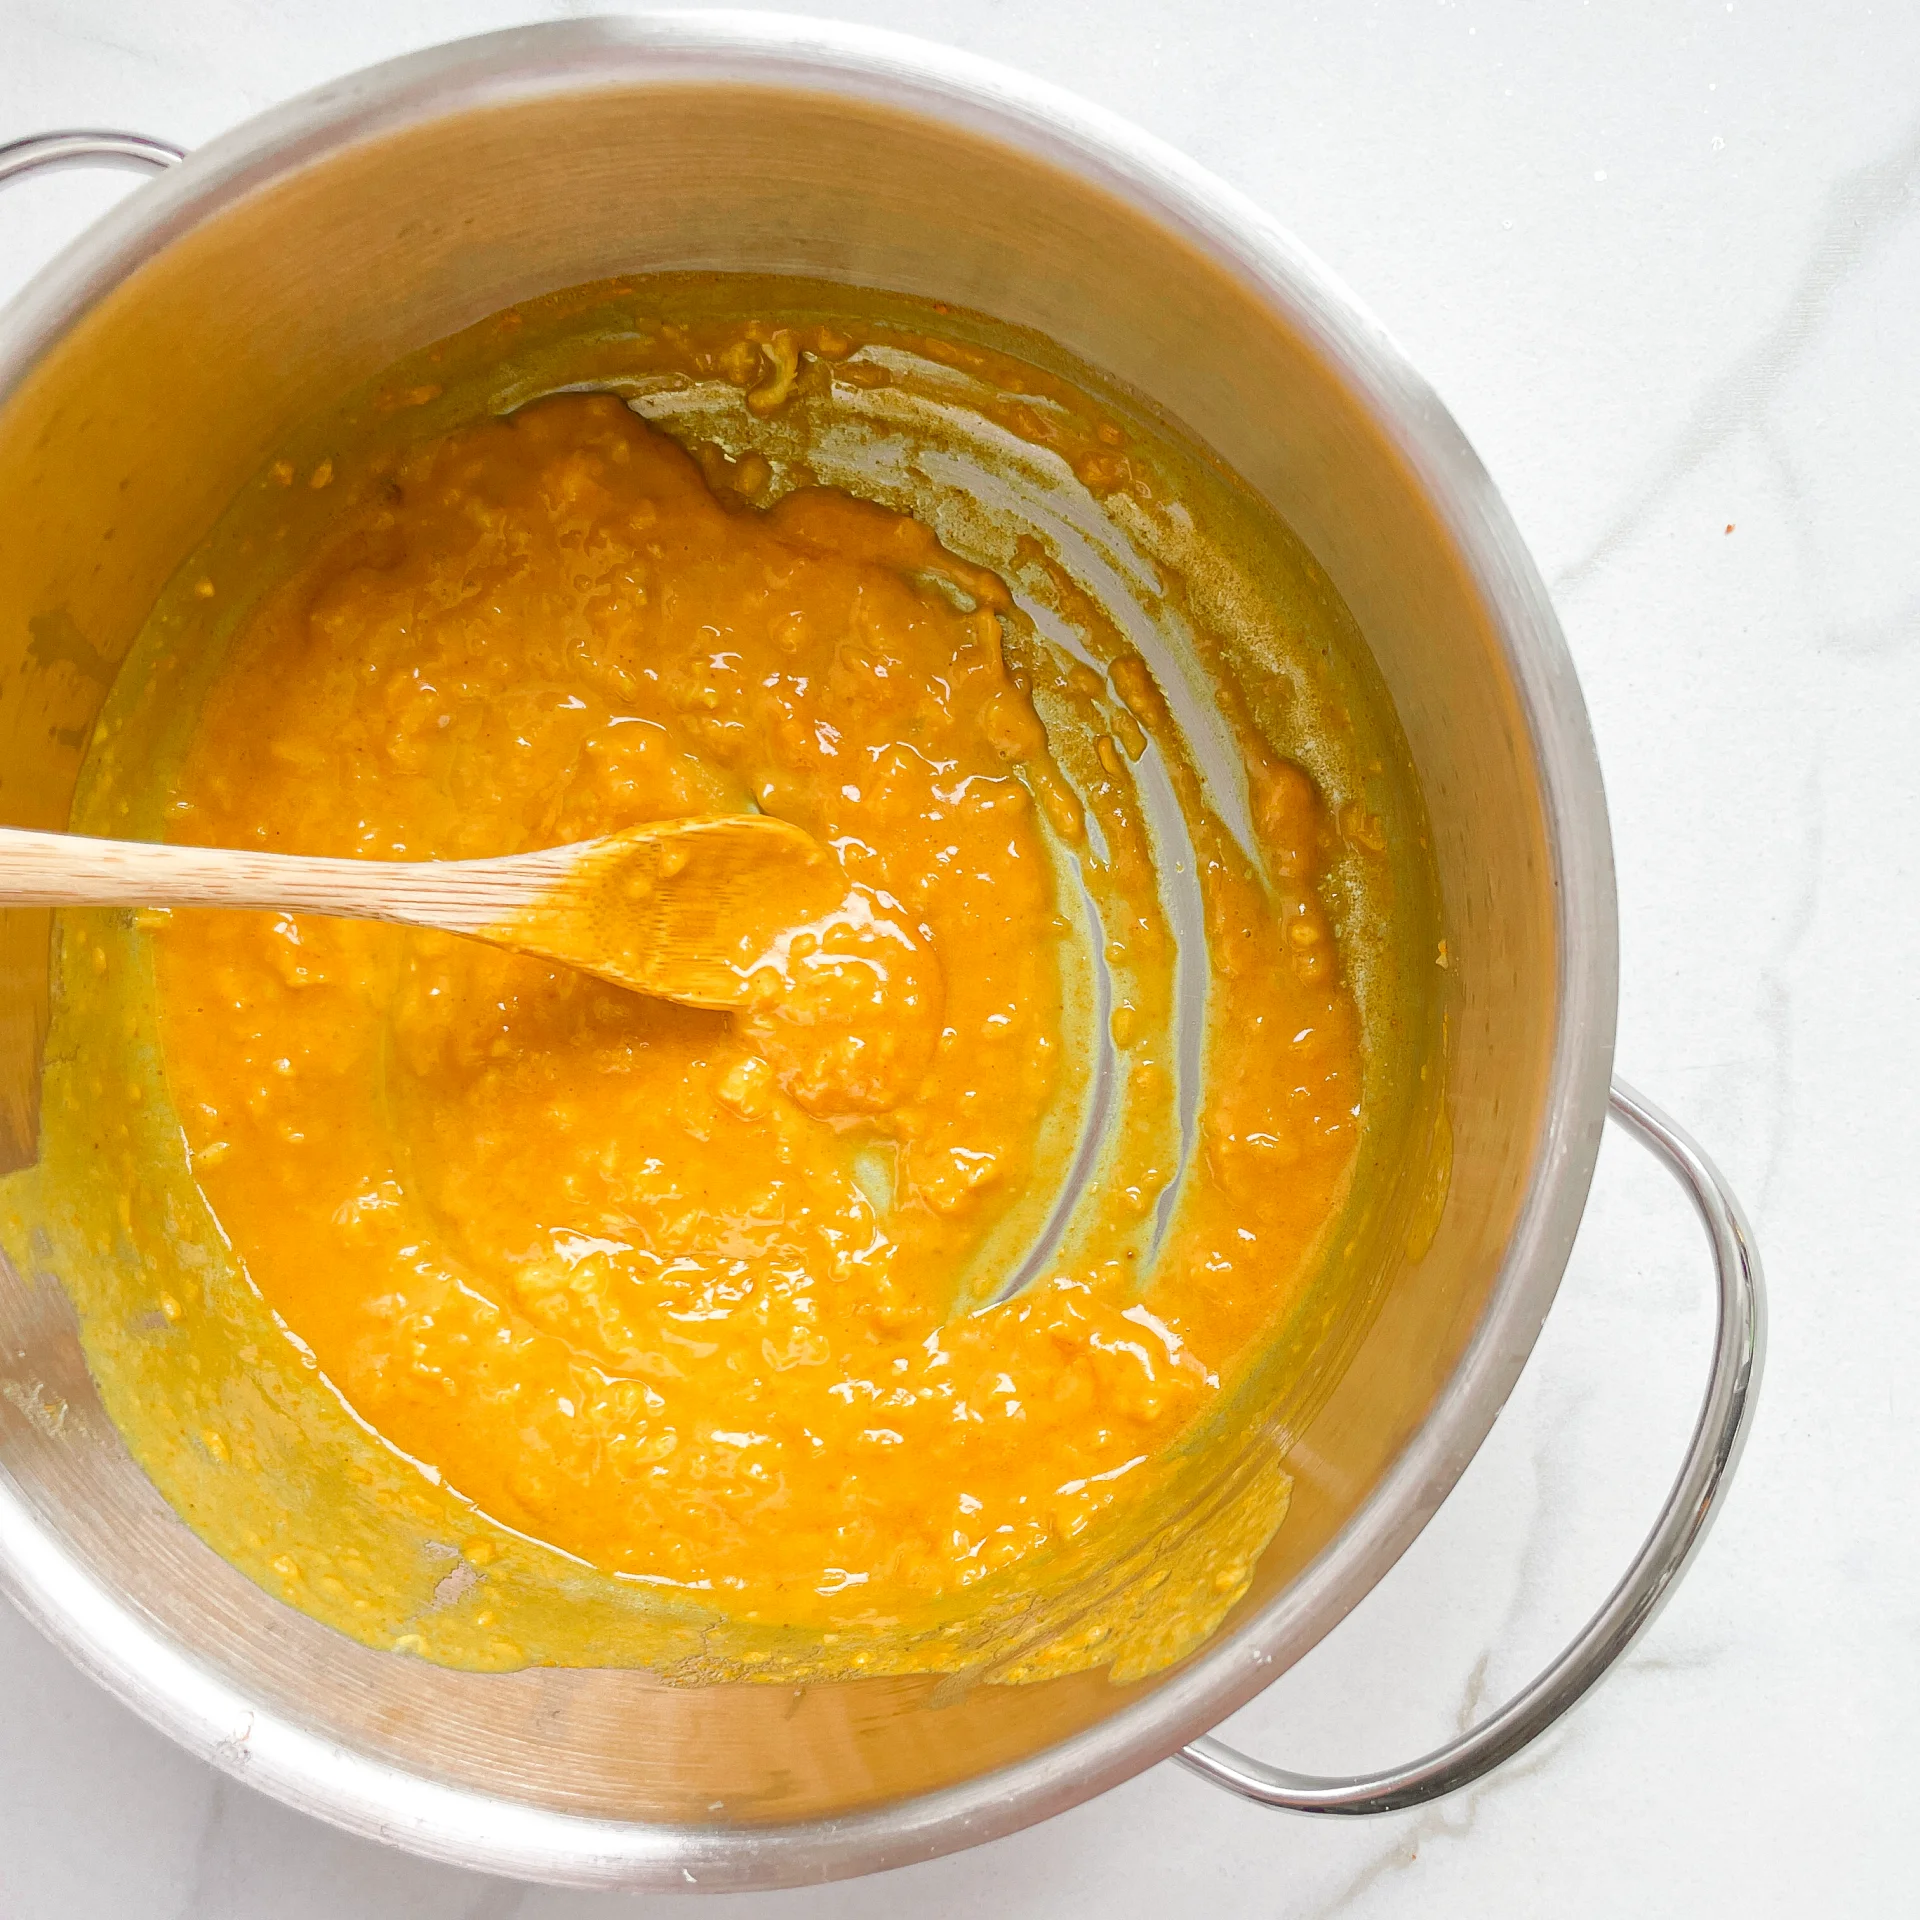
3. Stir everything together and heat on medium until the butter has melted and a yellow mixture has formed. Then add the pretzel pieces to the pot and stir until all the pieces are coated with the sauce.

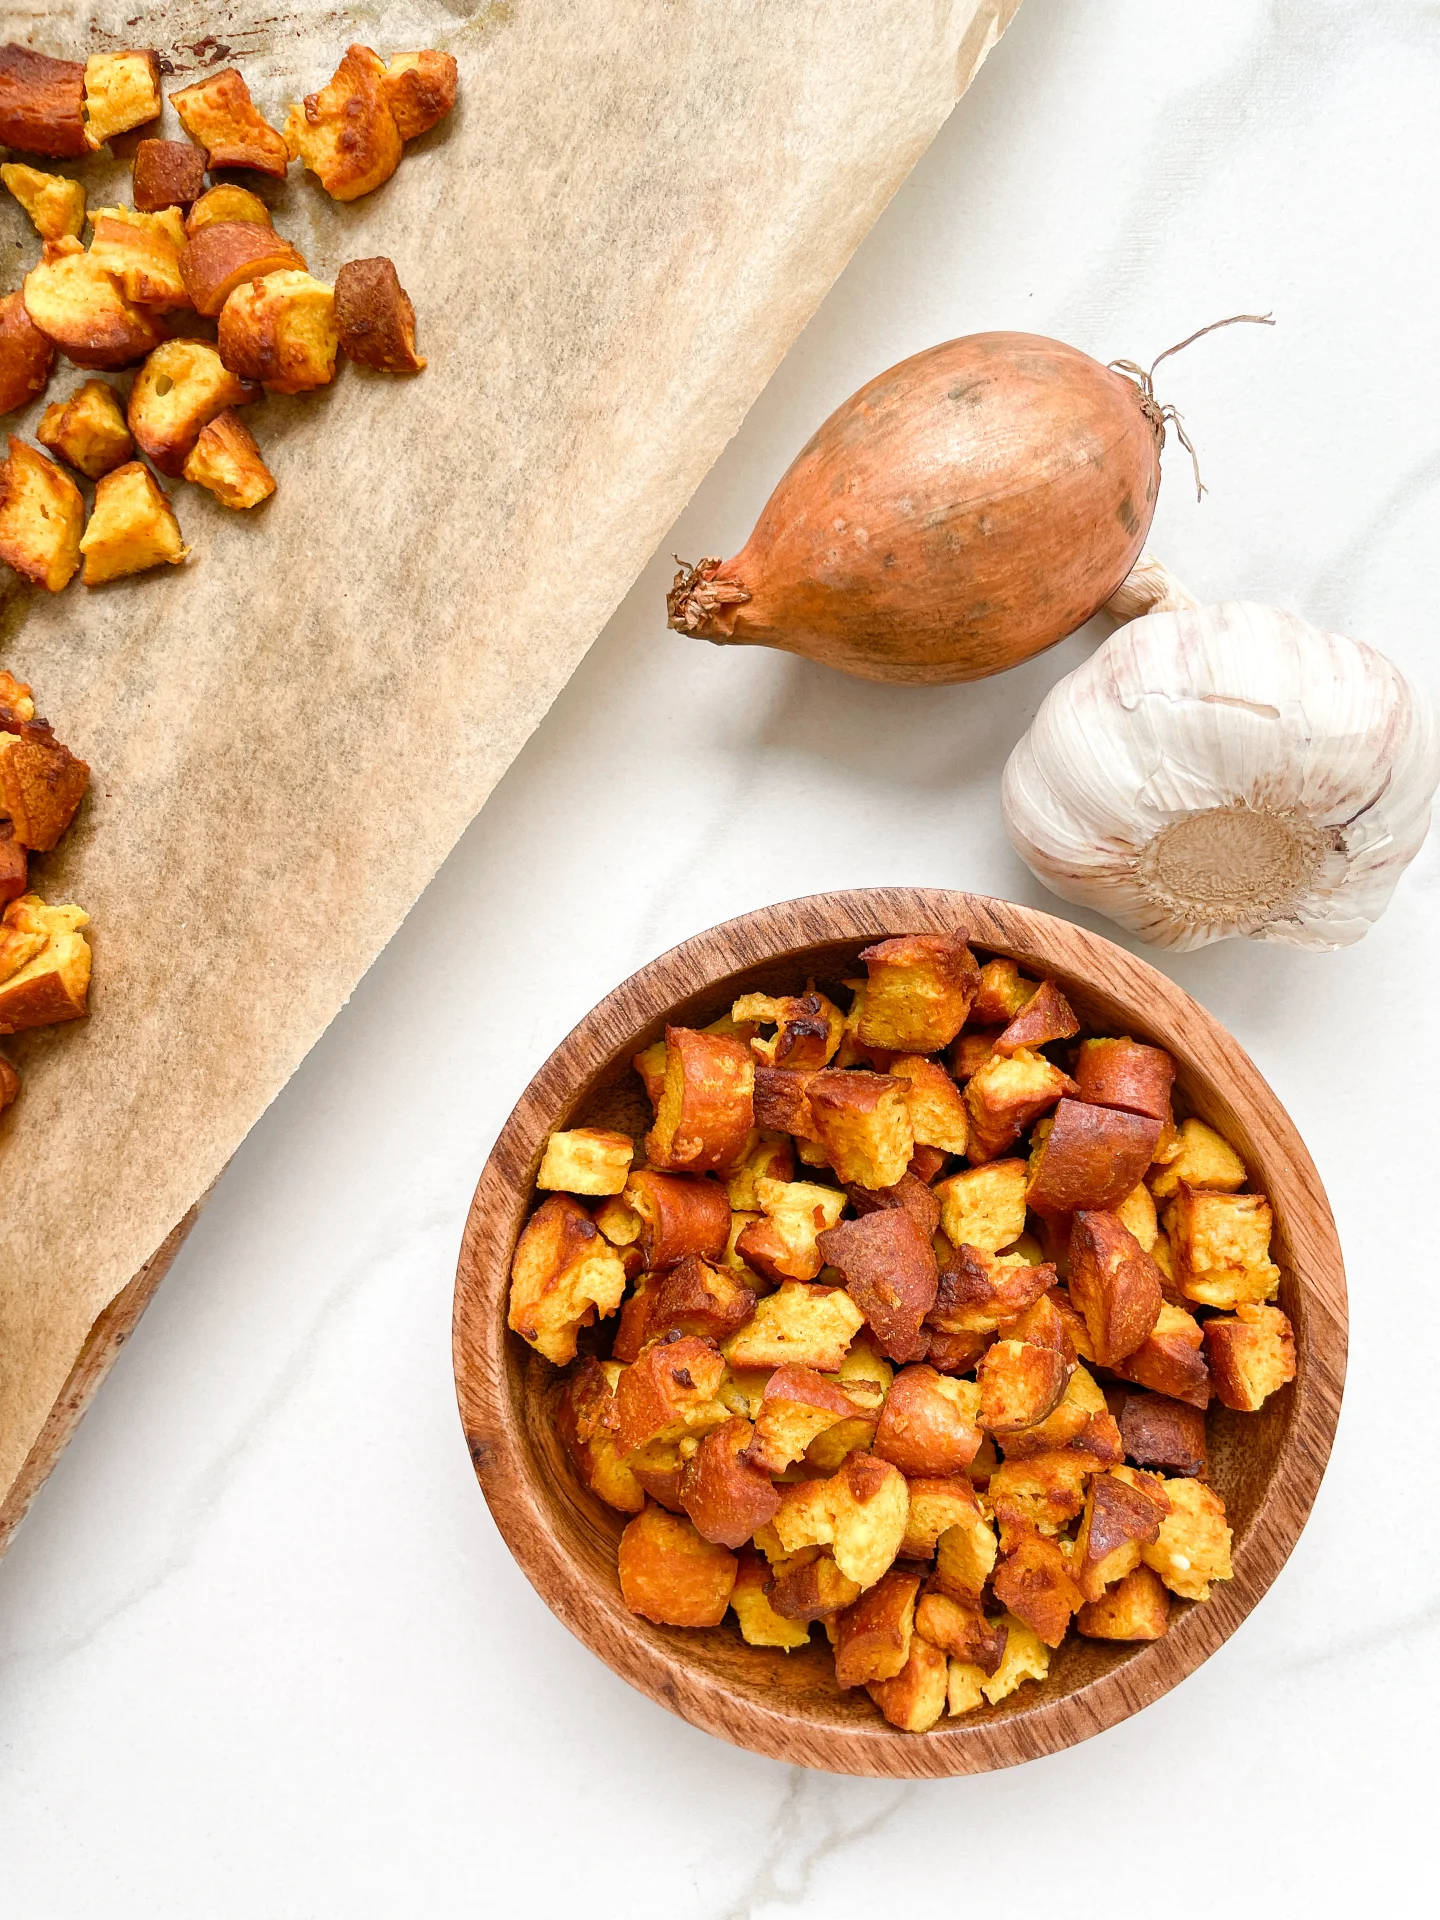
4. Place the pretzel pieces on a baking sheet lined with parchment paper and bake at 180°C (360°F) for about 15-18 minutes until crispy.

5. Remove the baking sheet from the oven, let the pretzel pieces cool down, and enjoy.

NOTE: The calorie information may vary depending on the product used, country and region.

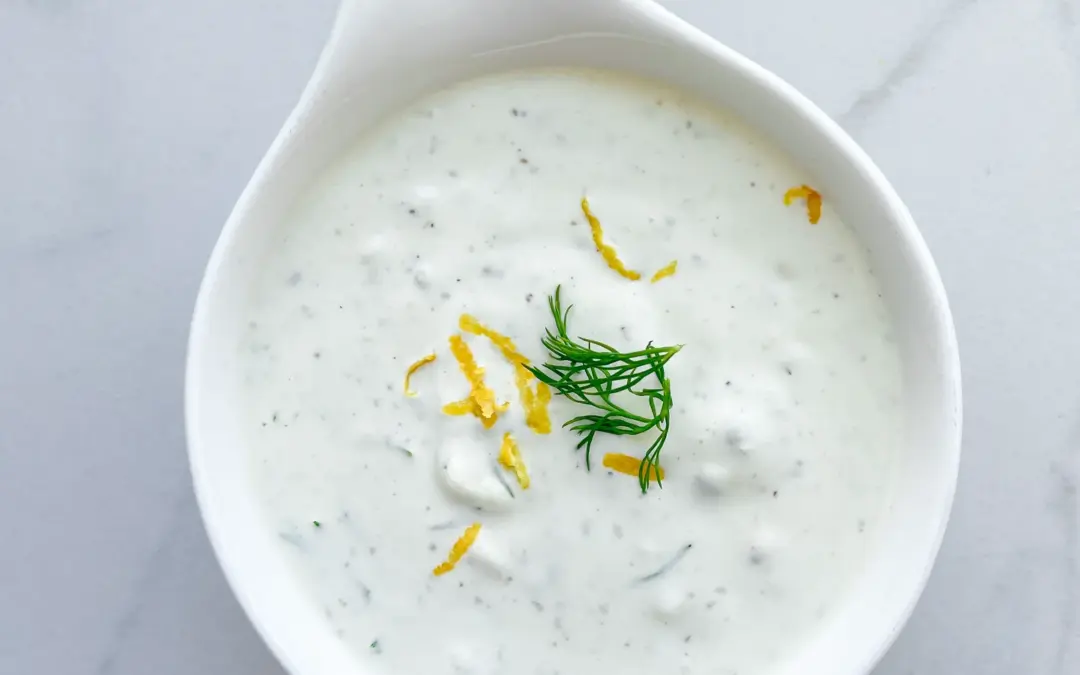
Lemon Blue Cheese Dip

Lemon Blue Cheese Dip

Blue Cheese Dip

Lemon Blue Cheese Dip

March 23, 2024 by Kimberly

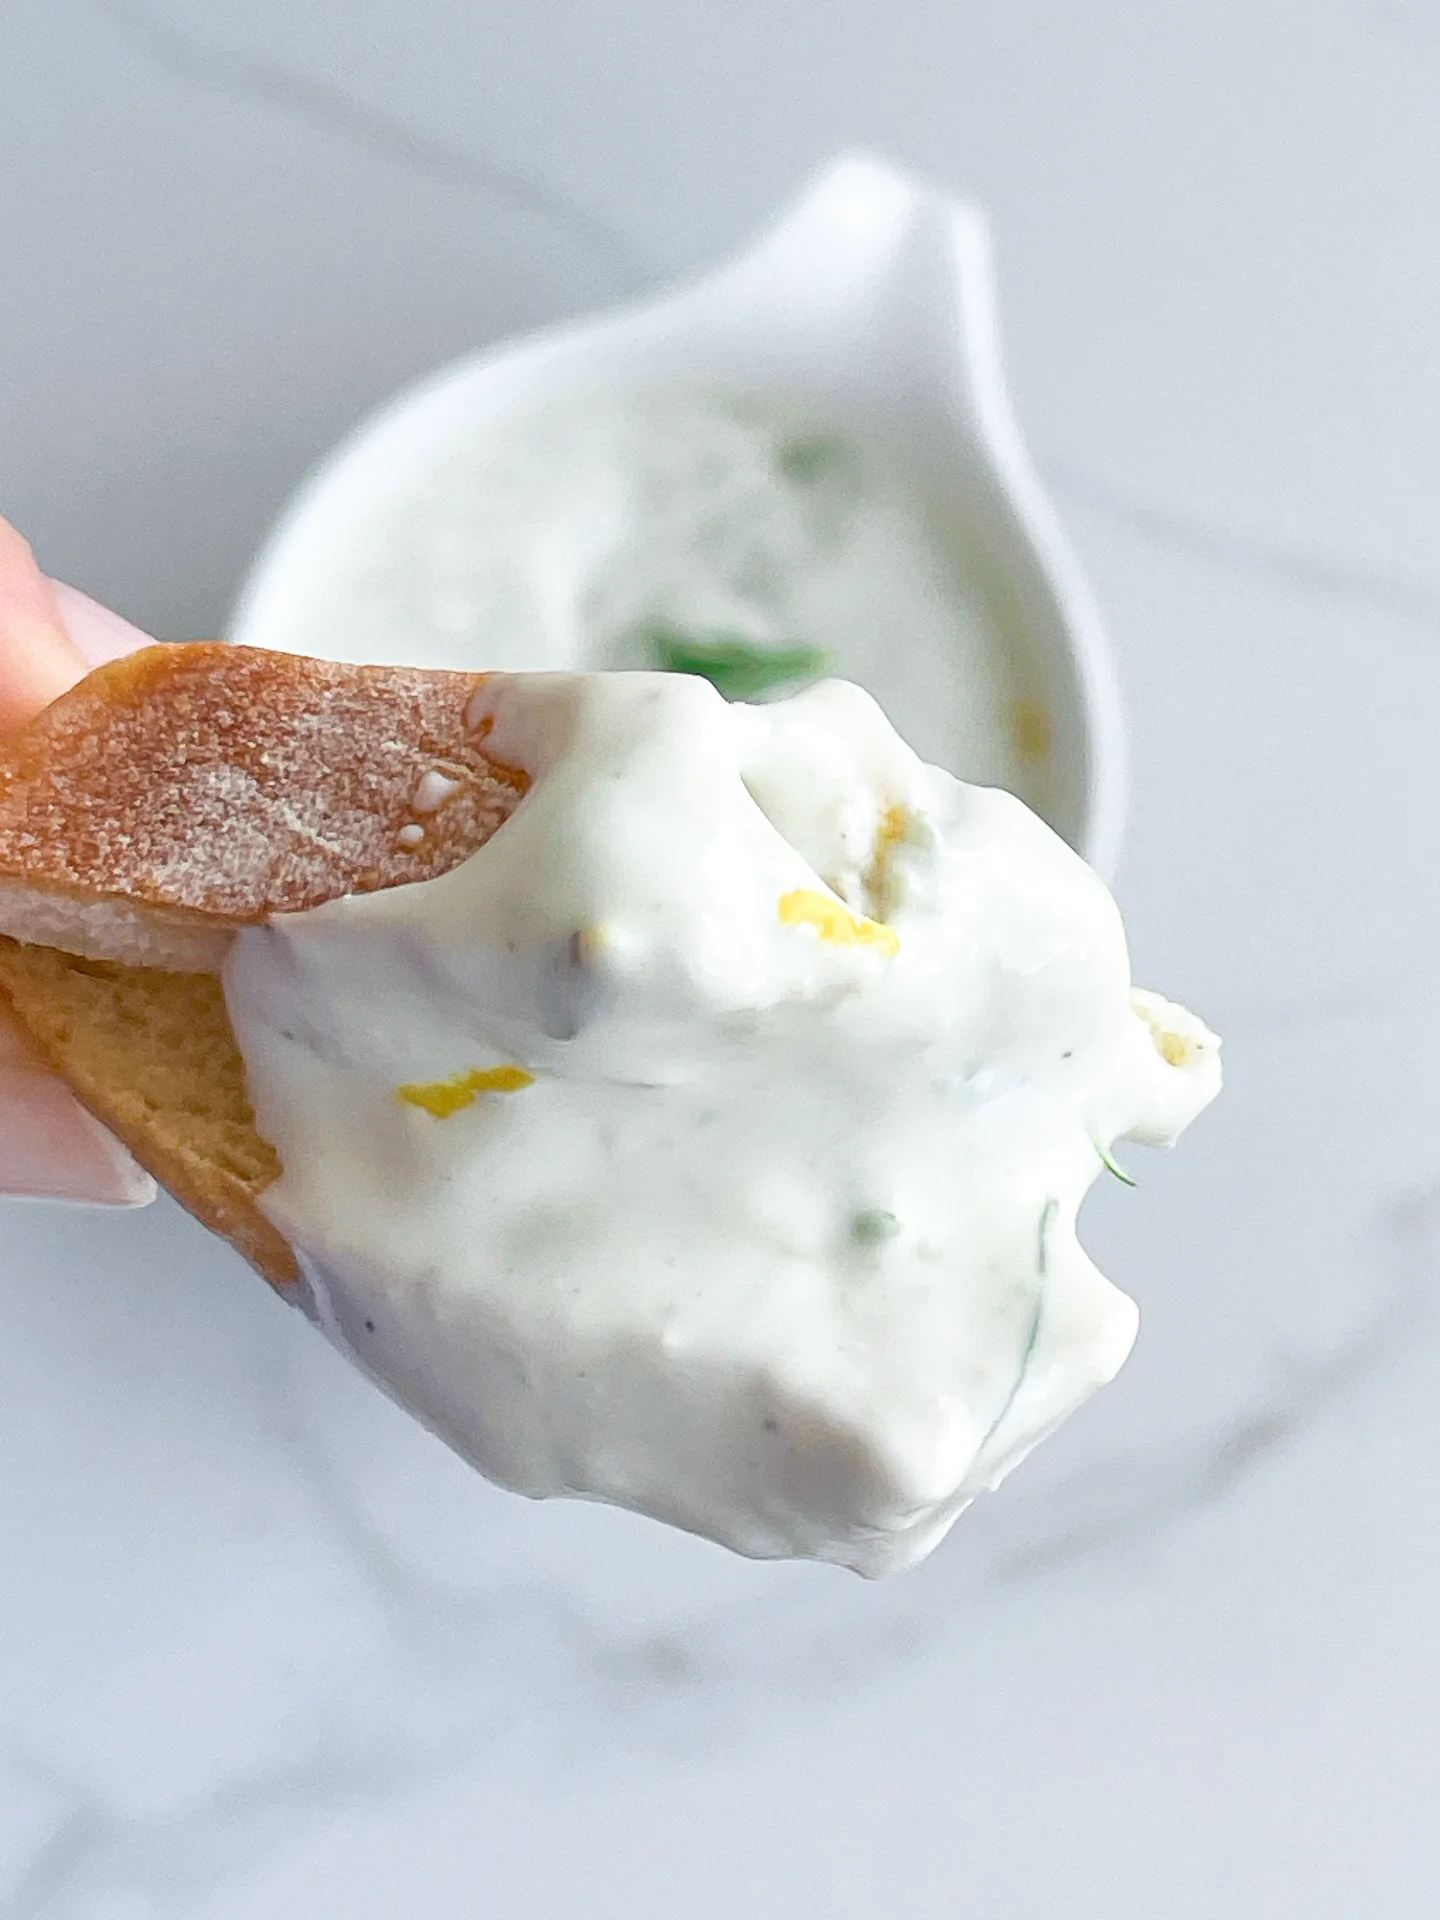
Indulge in the creamy, tangy bliss of Blue Cheese Dip! Perfect for game nights or elegant appetizers, this dip transforms any snack into a gourmet delight.

10 MINUTES

EASY

VEGETARIAN

US AMERICAN

224 PER PORTION

CREAMY / ZESTY

EVERYDAY

DIPS & SPREADS

ALL YEAR

INTRODUCTION

ABOUT THE RECIPE

Dive into the irresistible creaminess of Blue Cheese Dip, a must-have for any gathering or quiet night in. This dip combines the rich, tangy flavors of blue cheese with a smooth, spreadable texture that’s simply unmatched. Whether you’re hosting a party or just treating yourself, this dip is a game-changer.

How to serve:
Blue Cheese Dip is versatile, perfect alongside crispy veggies, as a bold wing accompaniment, or as a unique burger topping. Its robust flavor elevates simple crackers to gourmet status and transforms potato chips into a delicacy. Experiment with it as a spread for a zesty twist on sandwiches.

How to store:
Keep your Blue Cheese Dip fresh and flavorful by storing it in an airtight container in the fridge. It stays perfect for up to 3 days, making it a great make-ahead option for effortless entertaining or snacking.

Hi, I'm Kimberly!

Hi, I'm Kimberly.

A passionate food lover who believes in the magic of homemade deliciousness that spreads love and warmth. Join me on this culinary adventure as I prepare wonderful dishes and let’s spread some happiness together!

Kimberly the Zett Signature

If you want to get to know me better, click here!


Blue Cheese Dip
Blue Cheese Dip
Blue Cheese Dip
„Let’s make a piece of happiness“

INGREDIENTS

FOR 4 PORTIONS

DIP

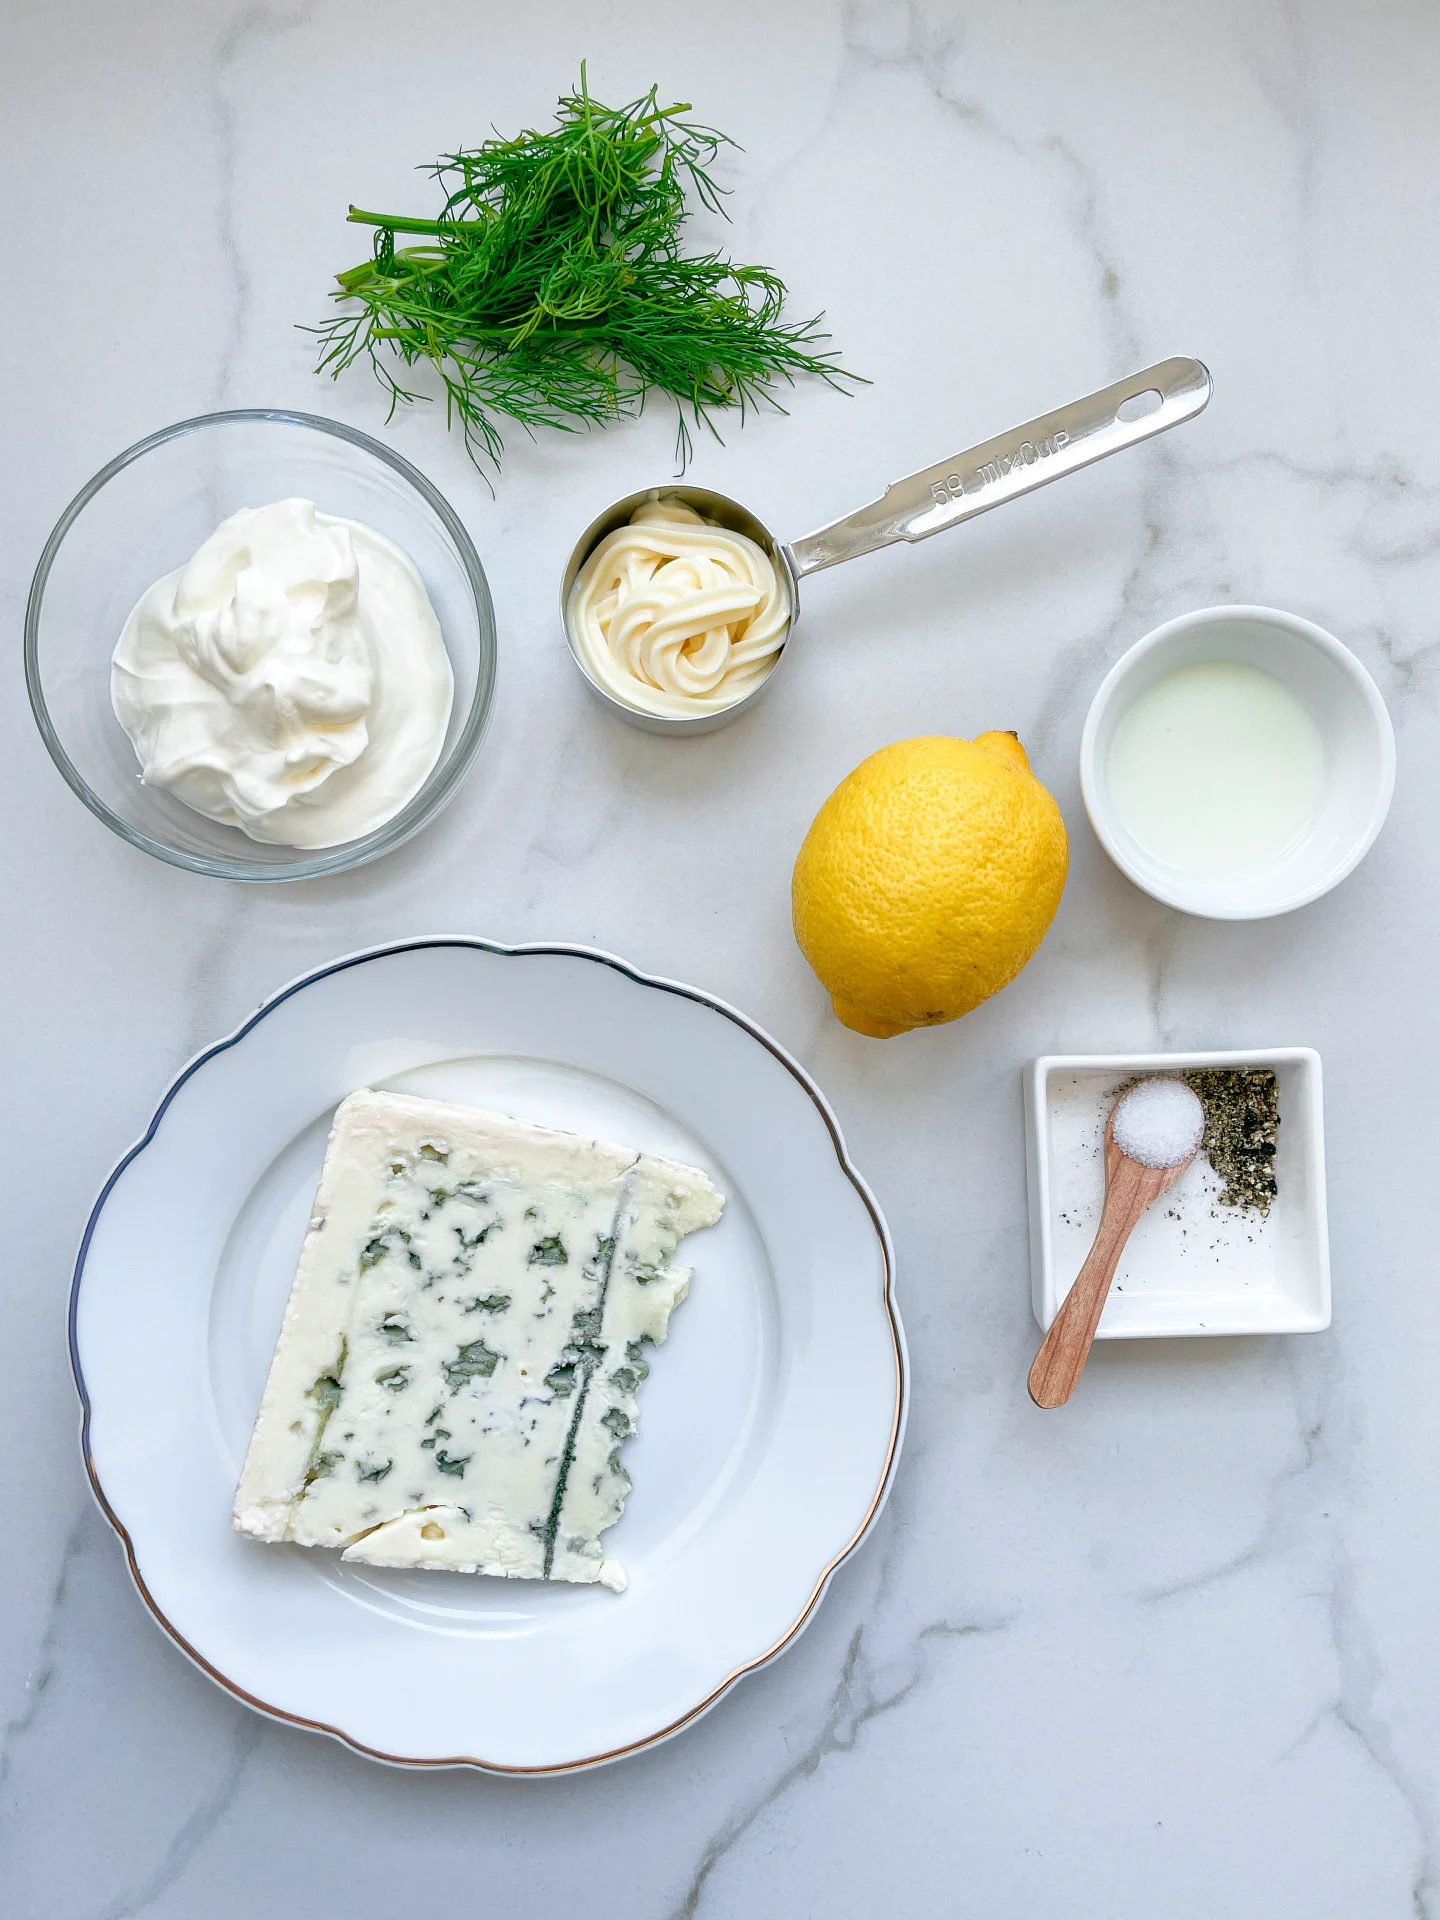
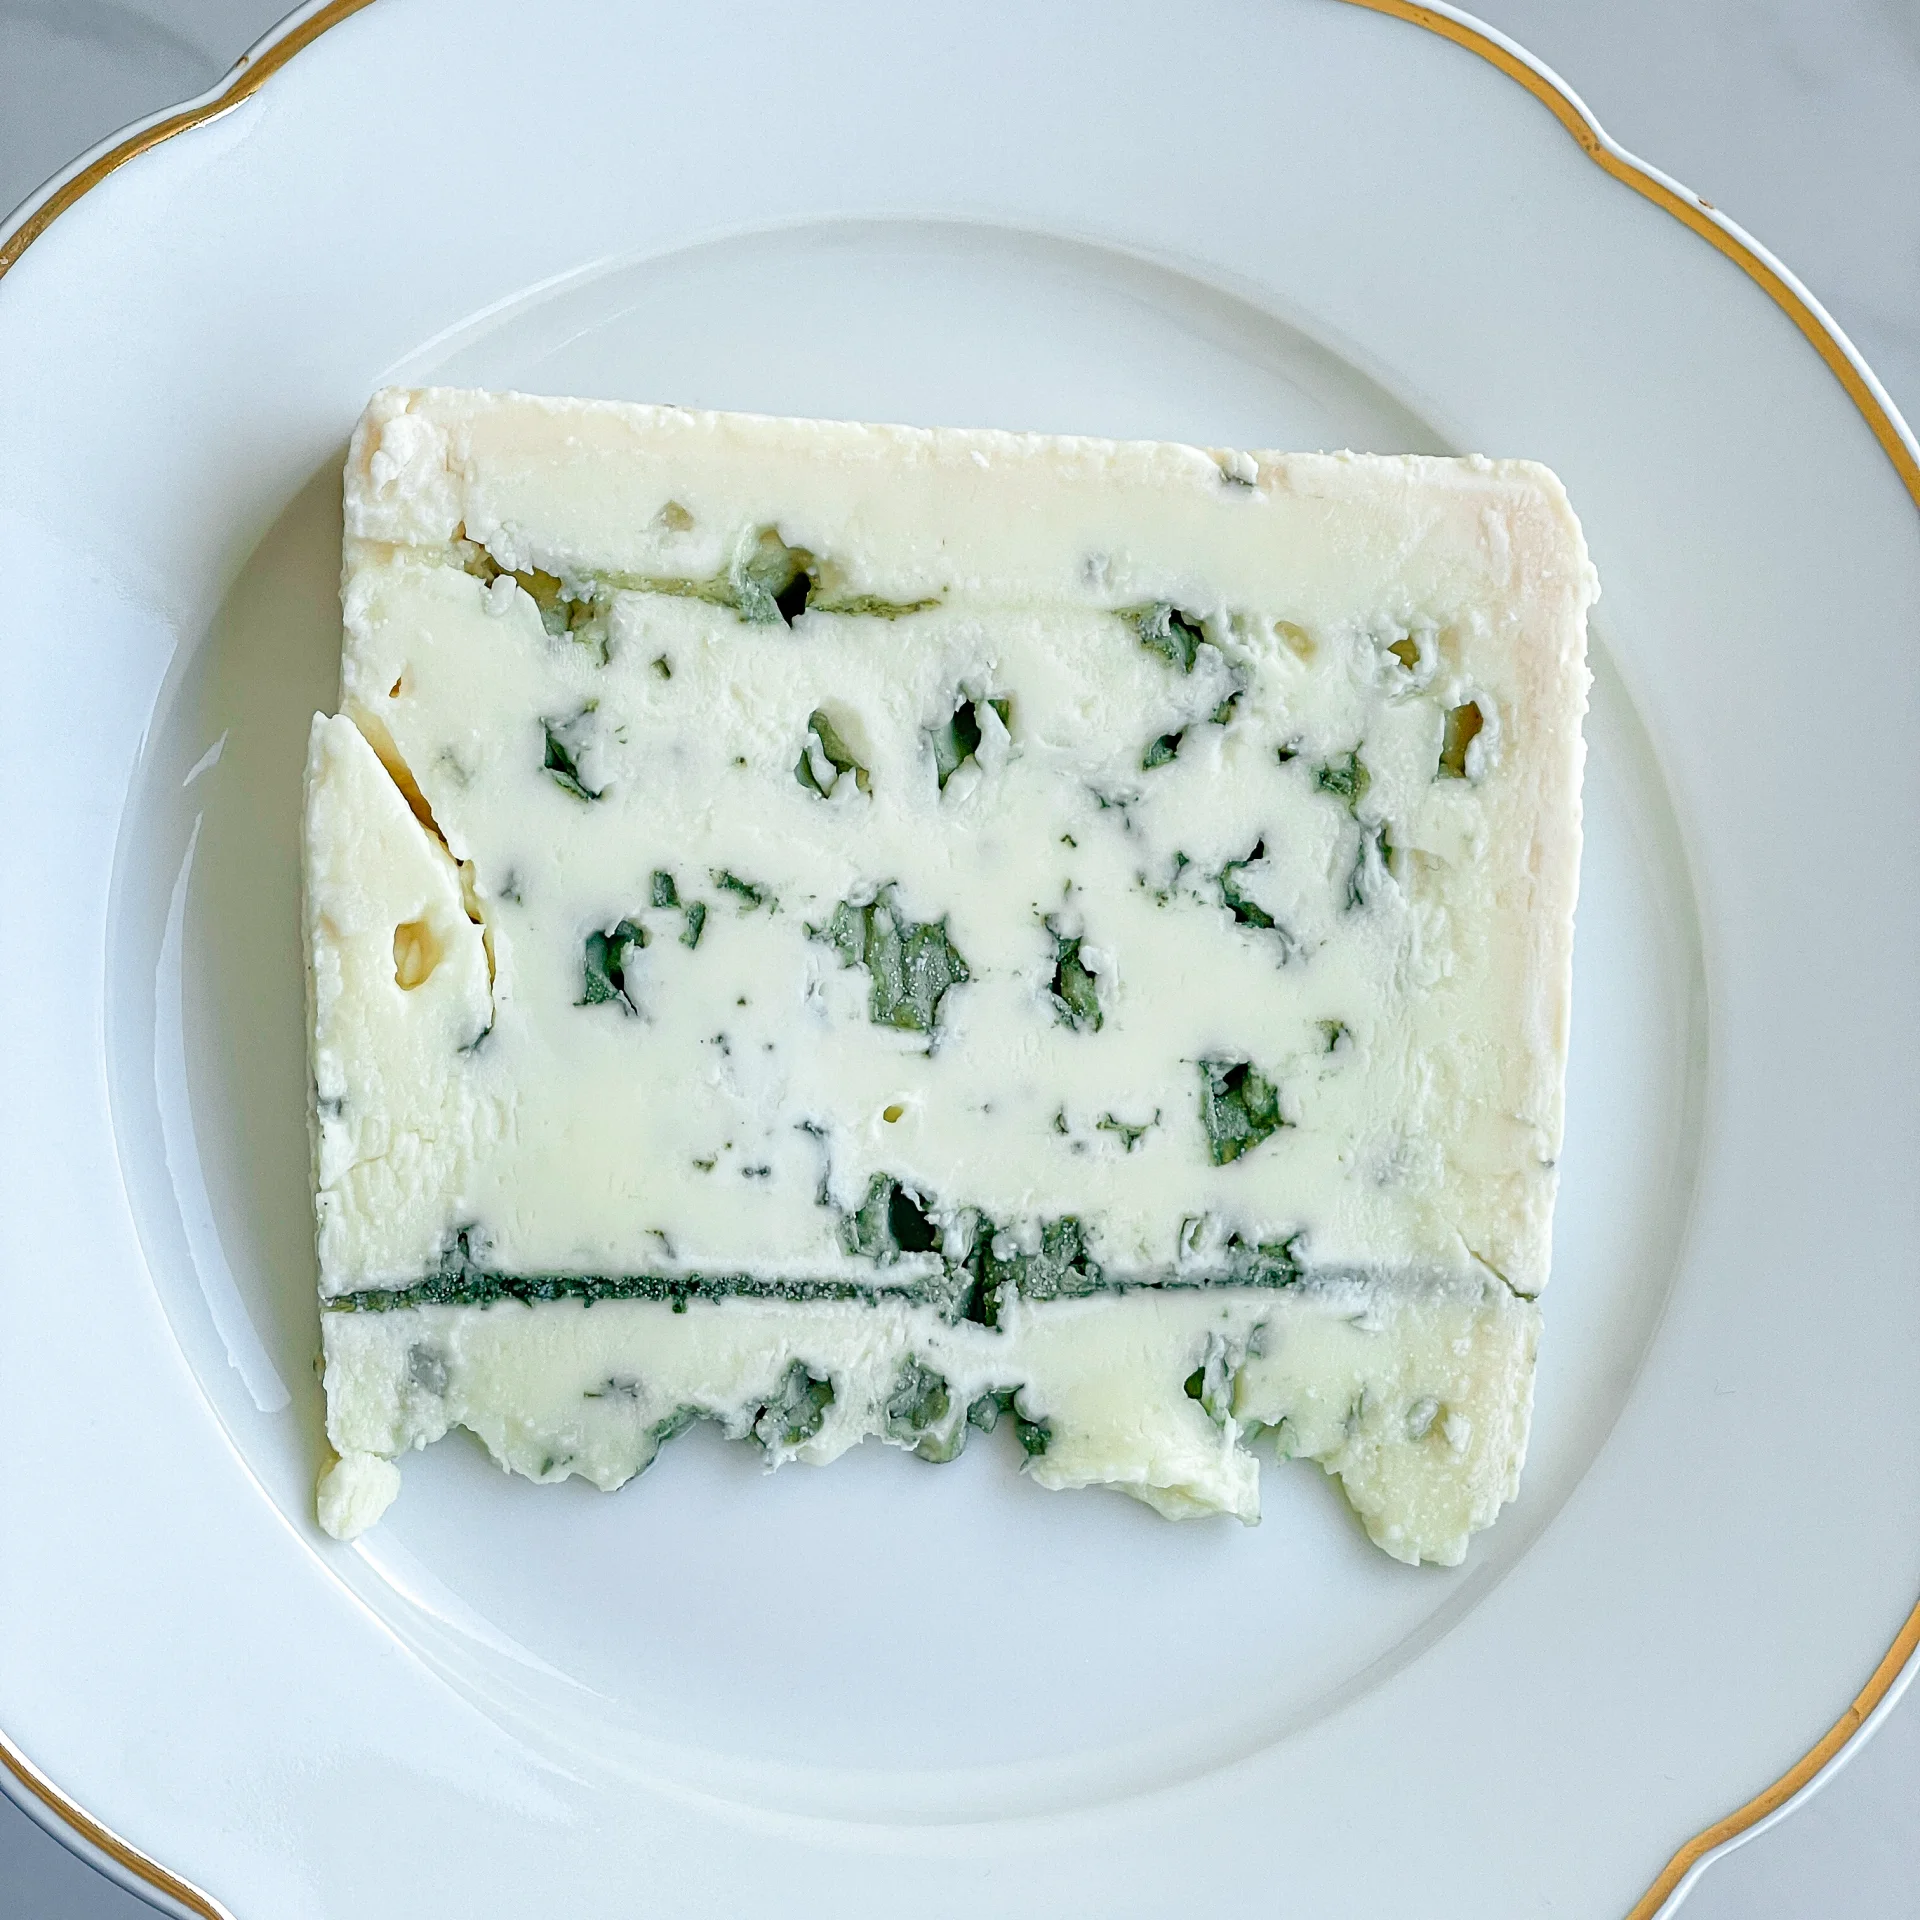
  • 100g blue cheese – I used Roquefort (3.5 oz)
  • 35g mayonnaise (1/4 cup)
  • 100g creme fraiche (1/2 cup)
  • 1-2 tbsp buttermilk
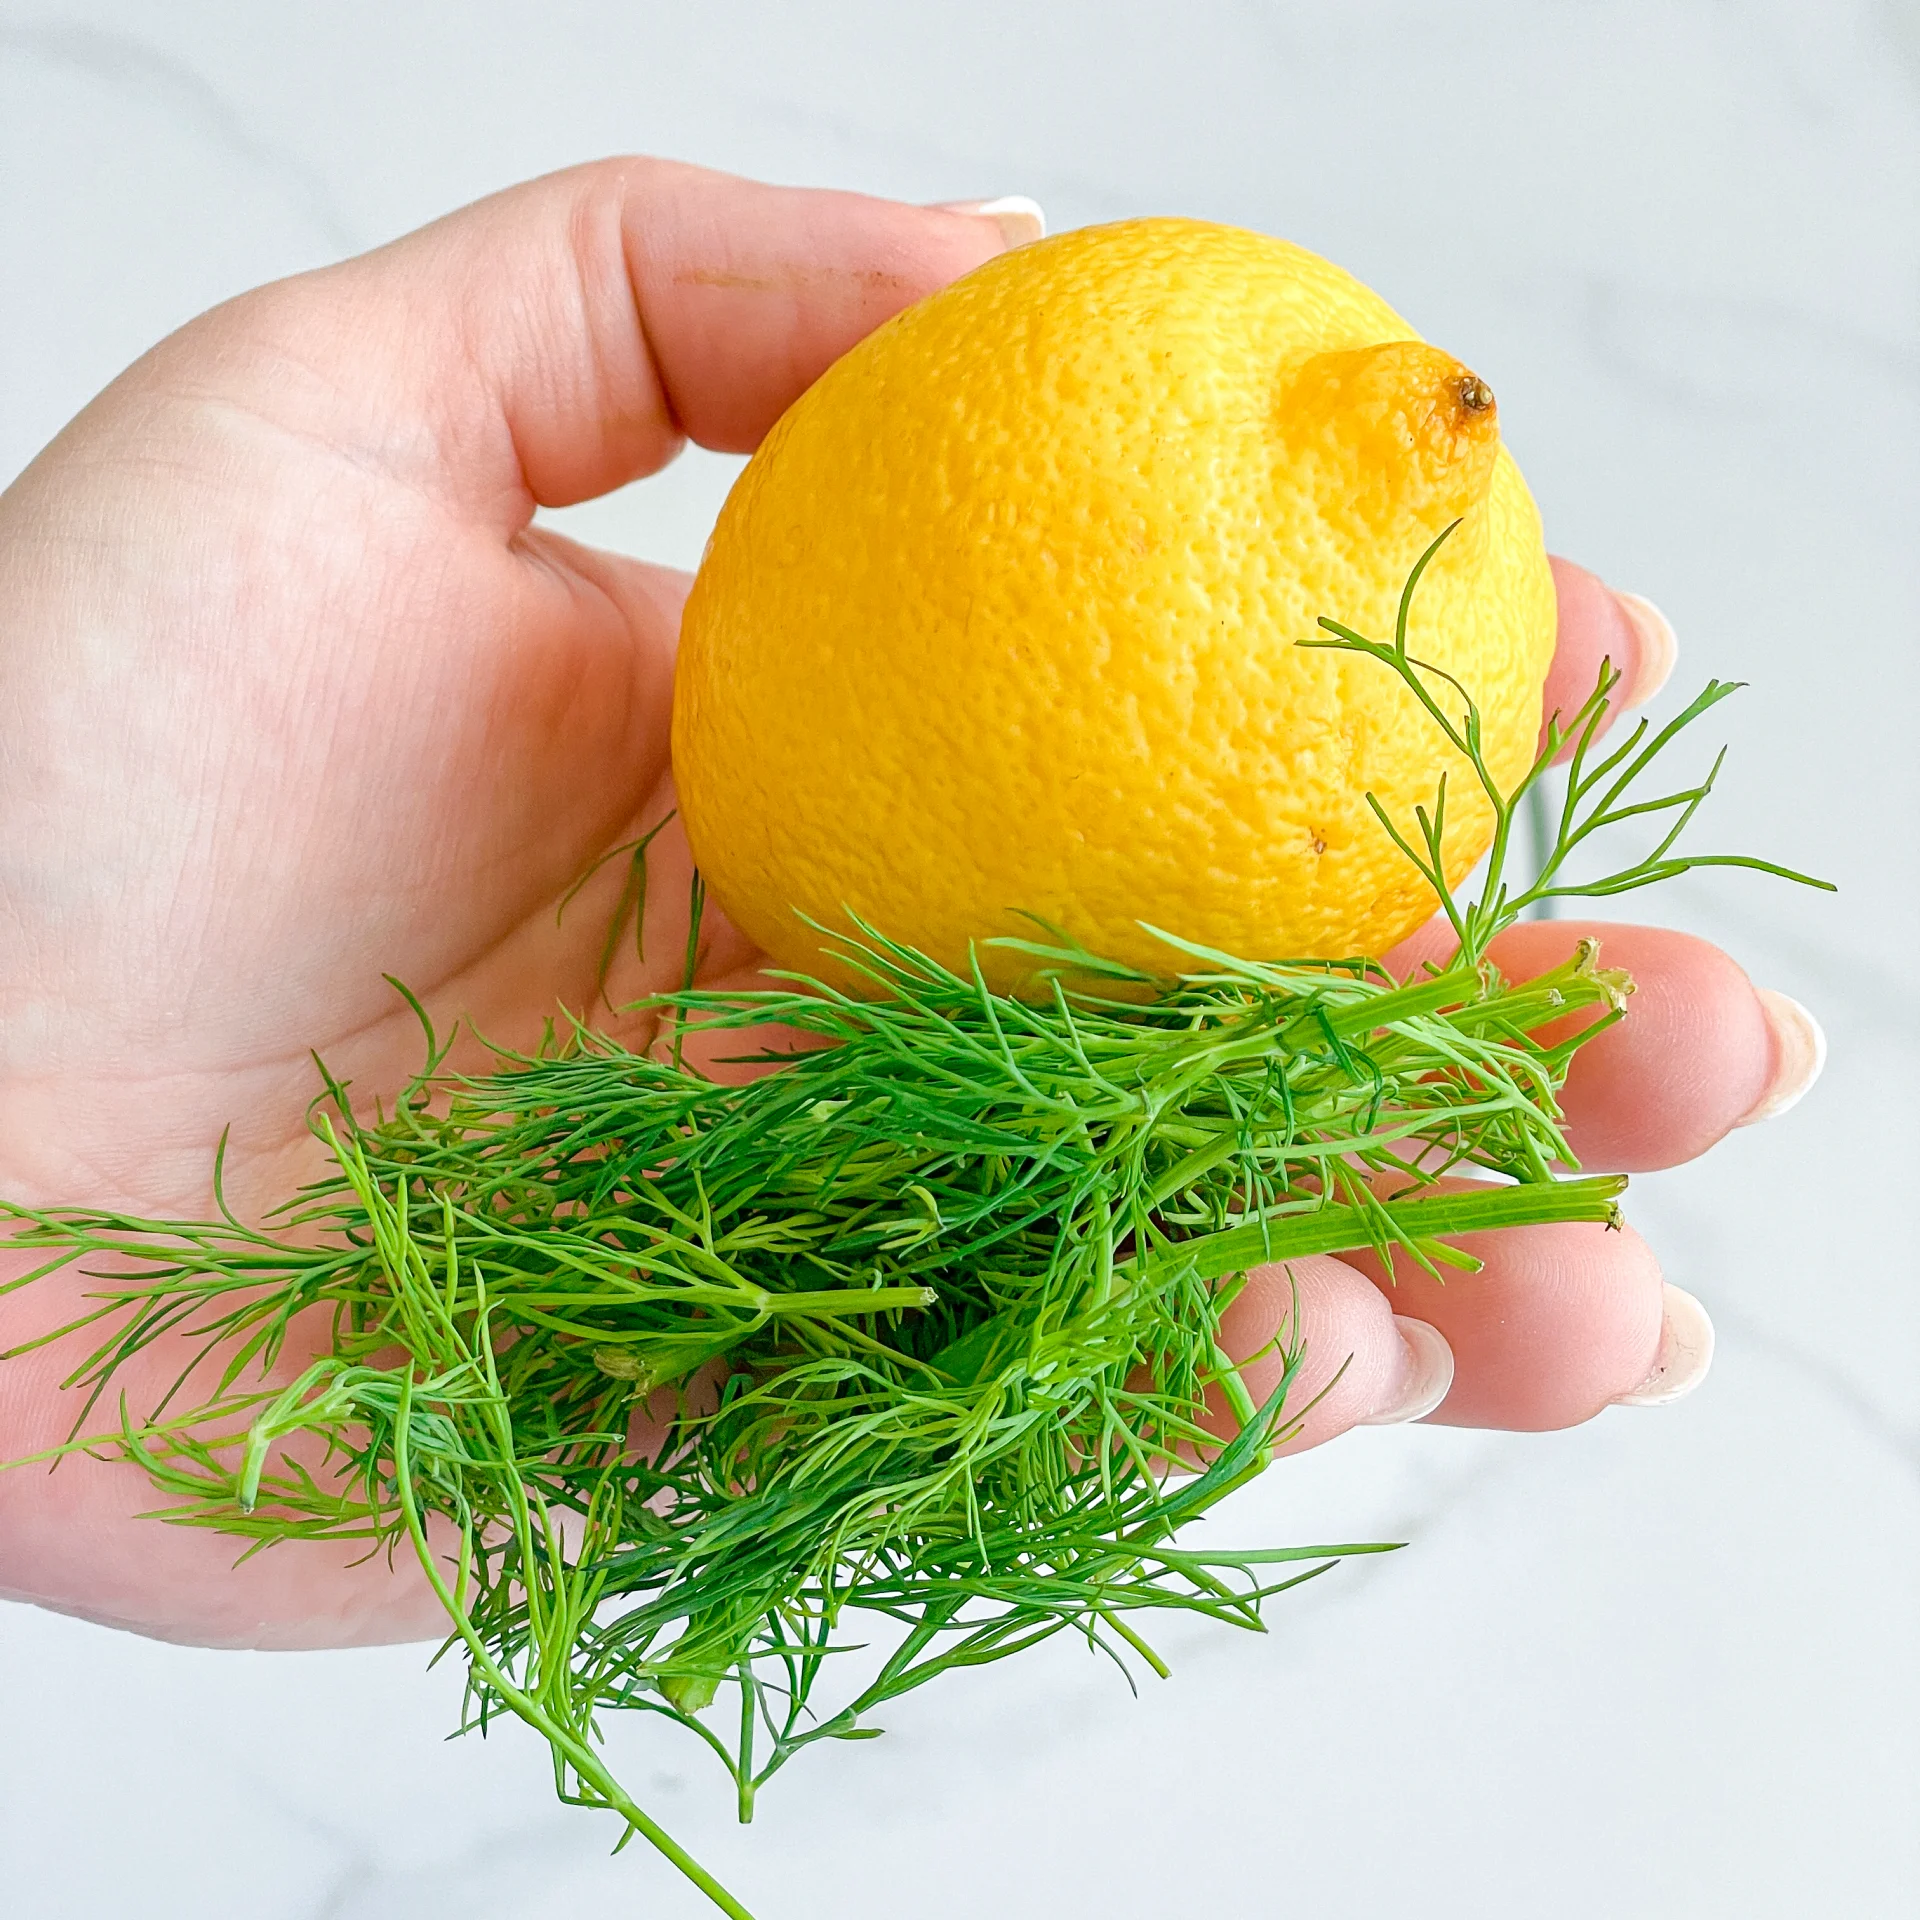
  • 1 tbsp lemon juice
  • dill, salt & pepper to taste
Blue Cheese Dip
}

ACTIVE: –

PASSIVE: –

PREPARATIONS

Recommended Equipment
  • medium-sized bowl
  • none
}

ACTIVE: 10 min

PASSIVE: –

COOKING

1. In a medium-sized bowl, mix crème fraîche, mayonnaise, and buttermilk. Now add the blue cheese in small chunks and mix thoroughly until there are no big lumps of cheese visible.

2. Then season the mixture with lemon juice, salt, pepper, and fresh dill to taste.

3. For an especially intense flavor, the dip can be prepared in advance and should be stored in the fridge before serving.

NOTE: The calorie information may vary depending on the product used, country and region.

Chocolate Chip Cookies

Chocolate Chip Cookies

Chocolate Chip Cookies

Chocolate Chip Cookies

March 13, 2024 by Kimberly

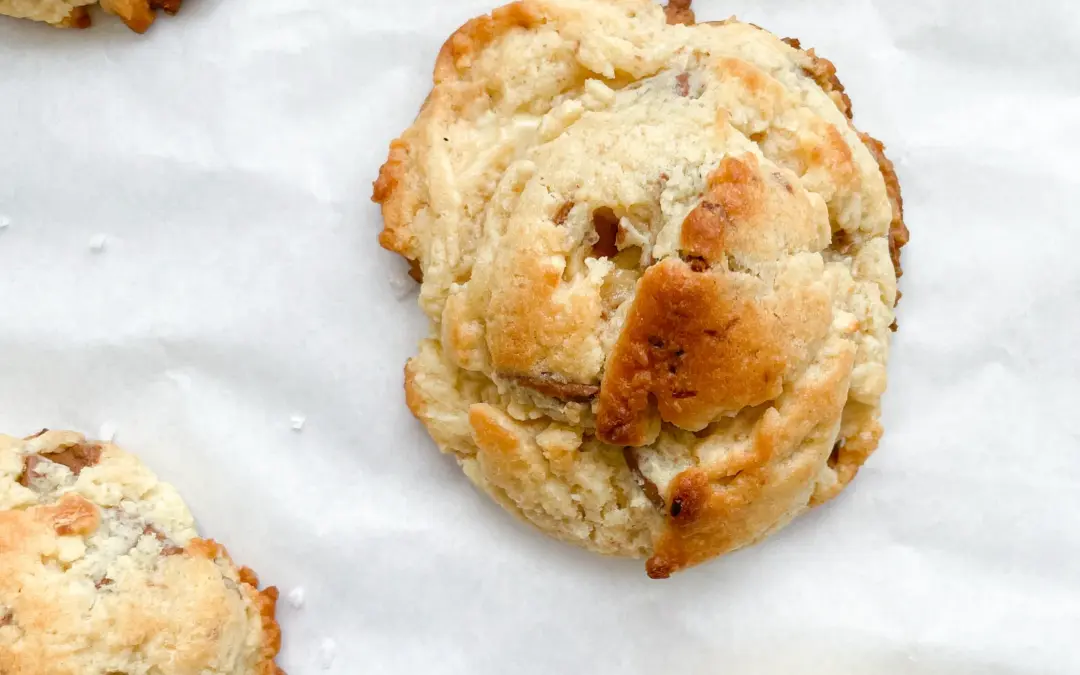
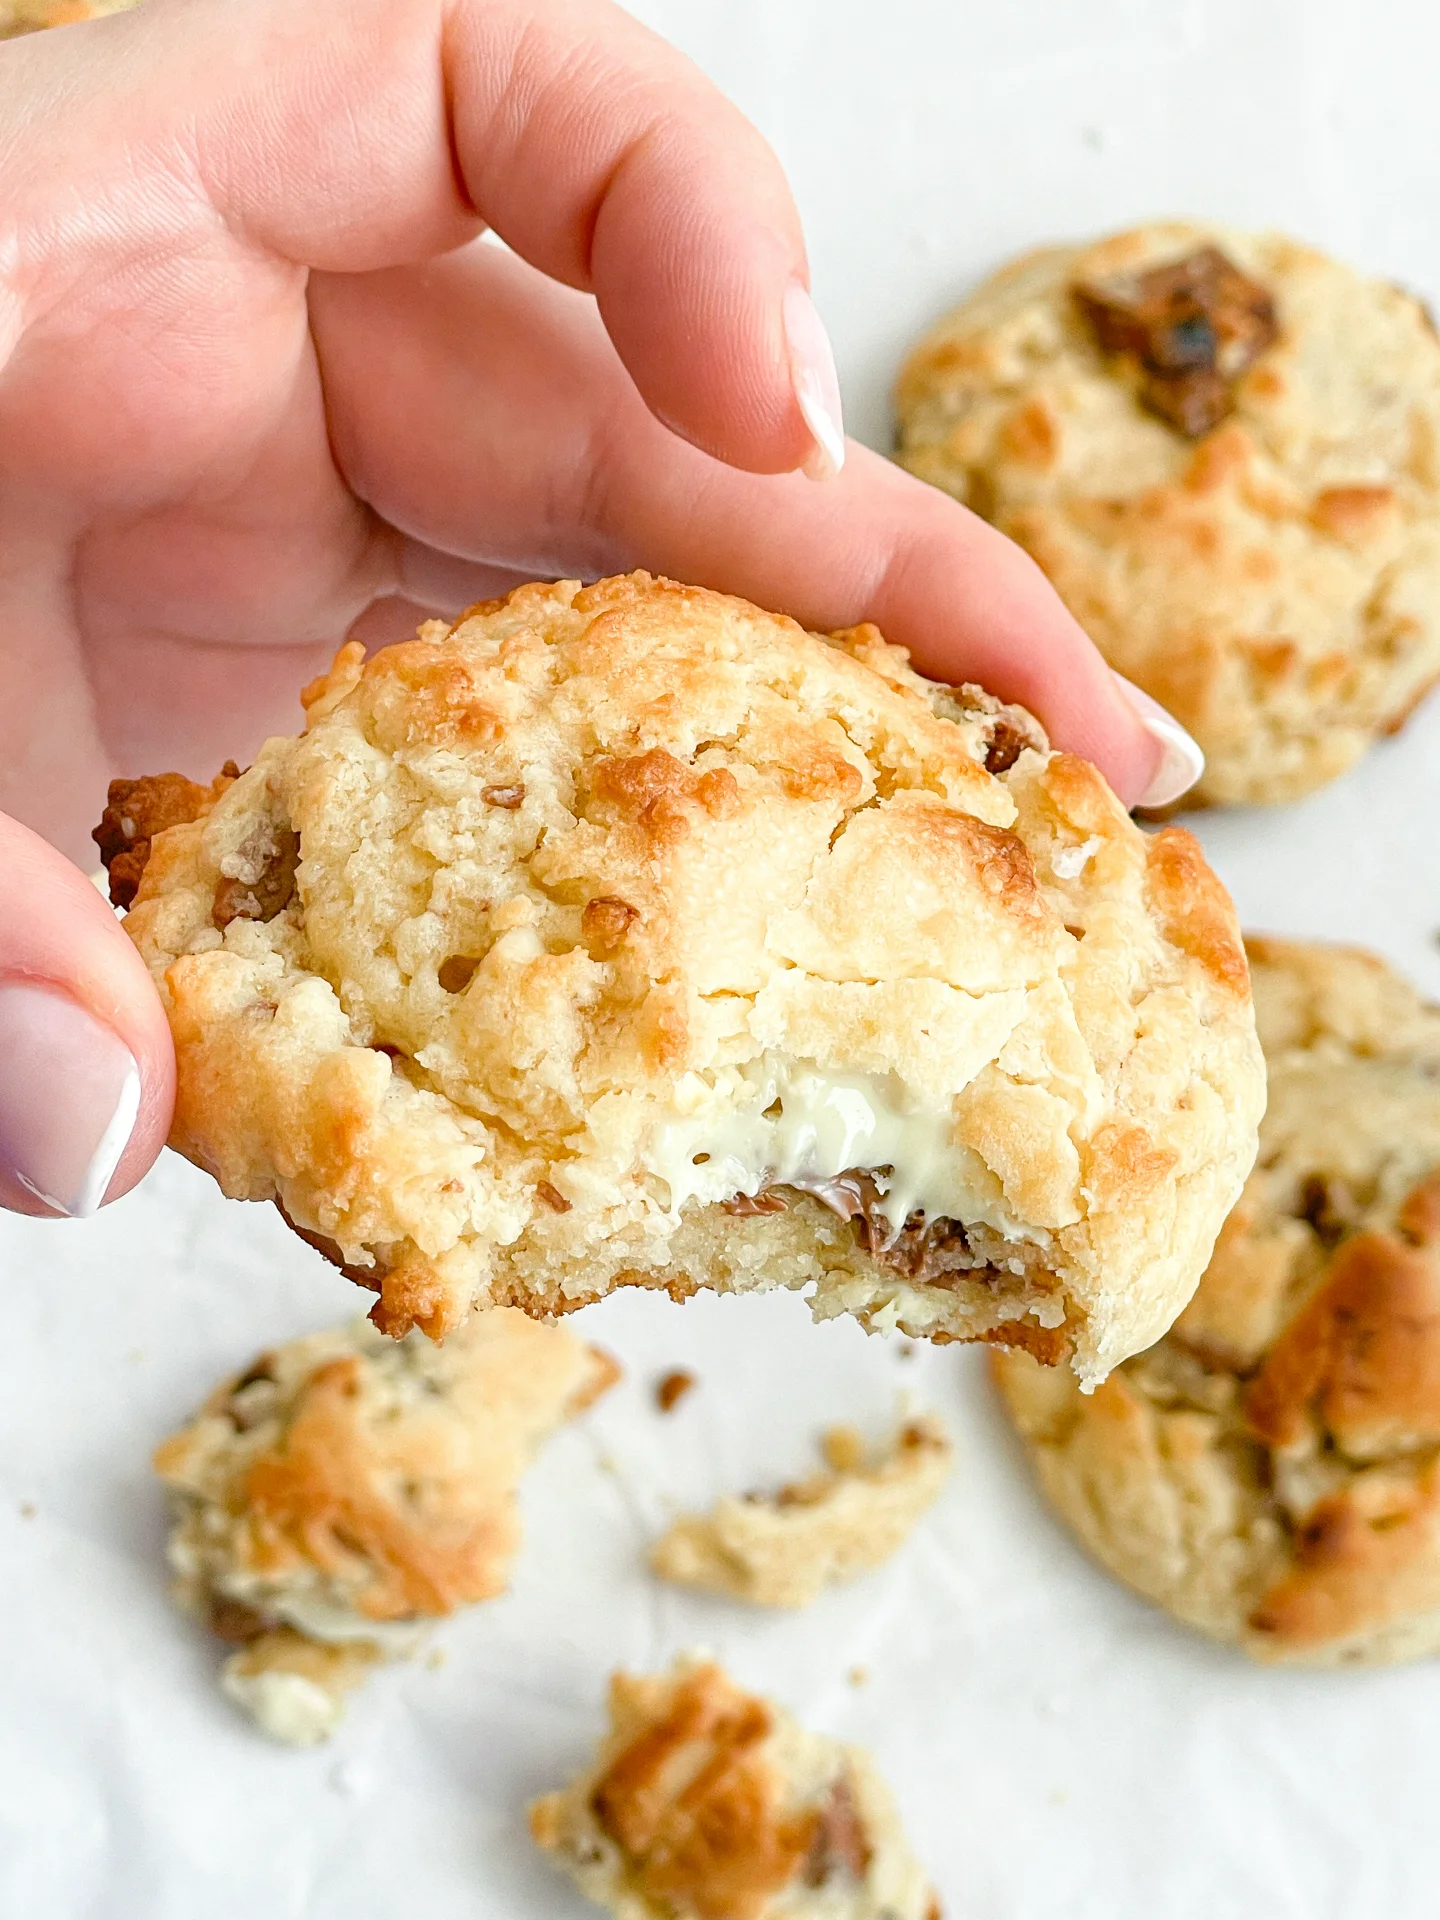
Look no further for the ultimate chocolate chip cookies. Dive into this rich, double chocolate chip cookie recipe, featuring a generous amount of dough and massive chocolate chunks!

2 HRS &
50 MINUTES

EASY

VEGETARIAN

US AMERICAN

434 PER COOKIE

CRUNCHY / GOOEY / SWEET

EVERYDAY

DESSERT / SNACK

ALL YEAR

INTRODUCTION

ABOUT THE RECIPE

Get ready to fill your kitchen with the mouthwatering aroma of freshly baked Chocolate Chip Cookies! This recipe combines the perfect blend of sweet, gooey, and chocolaty in every bite. Ideal for any occasion, from family gatherings to a personal treat, these homemade cookies promise to be your new favorite. Let’s dive into the simple steps to create these delightful treats that everyone loves!

How to serve:
Serve these delicious Chocolate Chip Cookies fresh out of the oven for the ultimate gooey experience, or let them cool to achieve a delightful crunch. Pair with a glass of cold milk or your favorite coffee for a classic combo. They’re perfect for parties, as a sweet snack, or as a thoughtful homemade gift. Remember, warm cookies and cold milk are a match made in heaven for any cookie lover!

How to store:
Store your Chocolate Chip Cookies in an airtight container to keep them fresh and chewy. They’ll last for up to a week at room temperature or can be frozen for longer enjoyment. Perfect for having a sweet treat on hand anytime!

Hi, I'm Kimberly!

Hi, I'm Kimberly.

A passionate food lover who believes in the magic of homemade deliciousness that spreads love and warmth. Join me on this culinary adventure as I prepare wonderful dishes and let’s spread some happiness together!

Kimberly the Zett Signature

If you want to get to know me better, click here!


Chocolate Chip Cookies
„Let’s make a piece of happiness“

INGREDIENTS

FOR 9 COOKIES

COOKIES

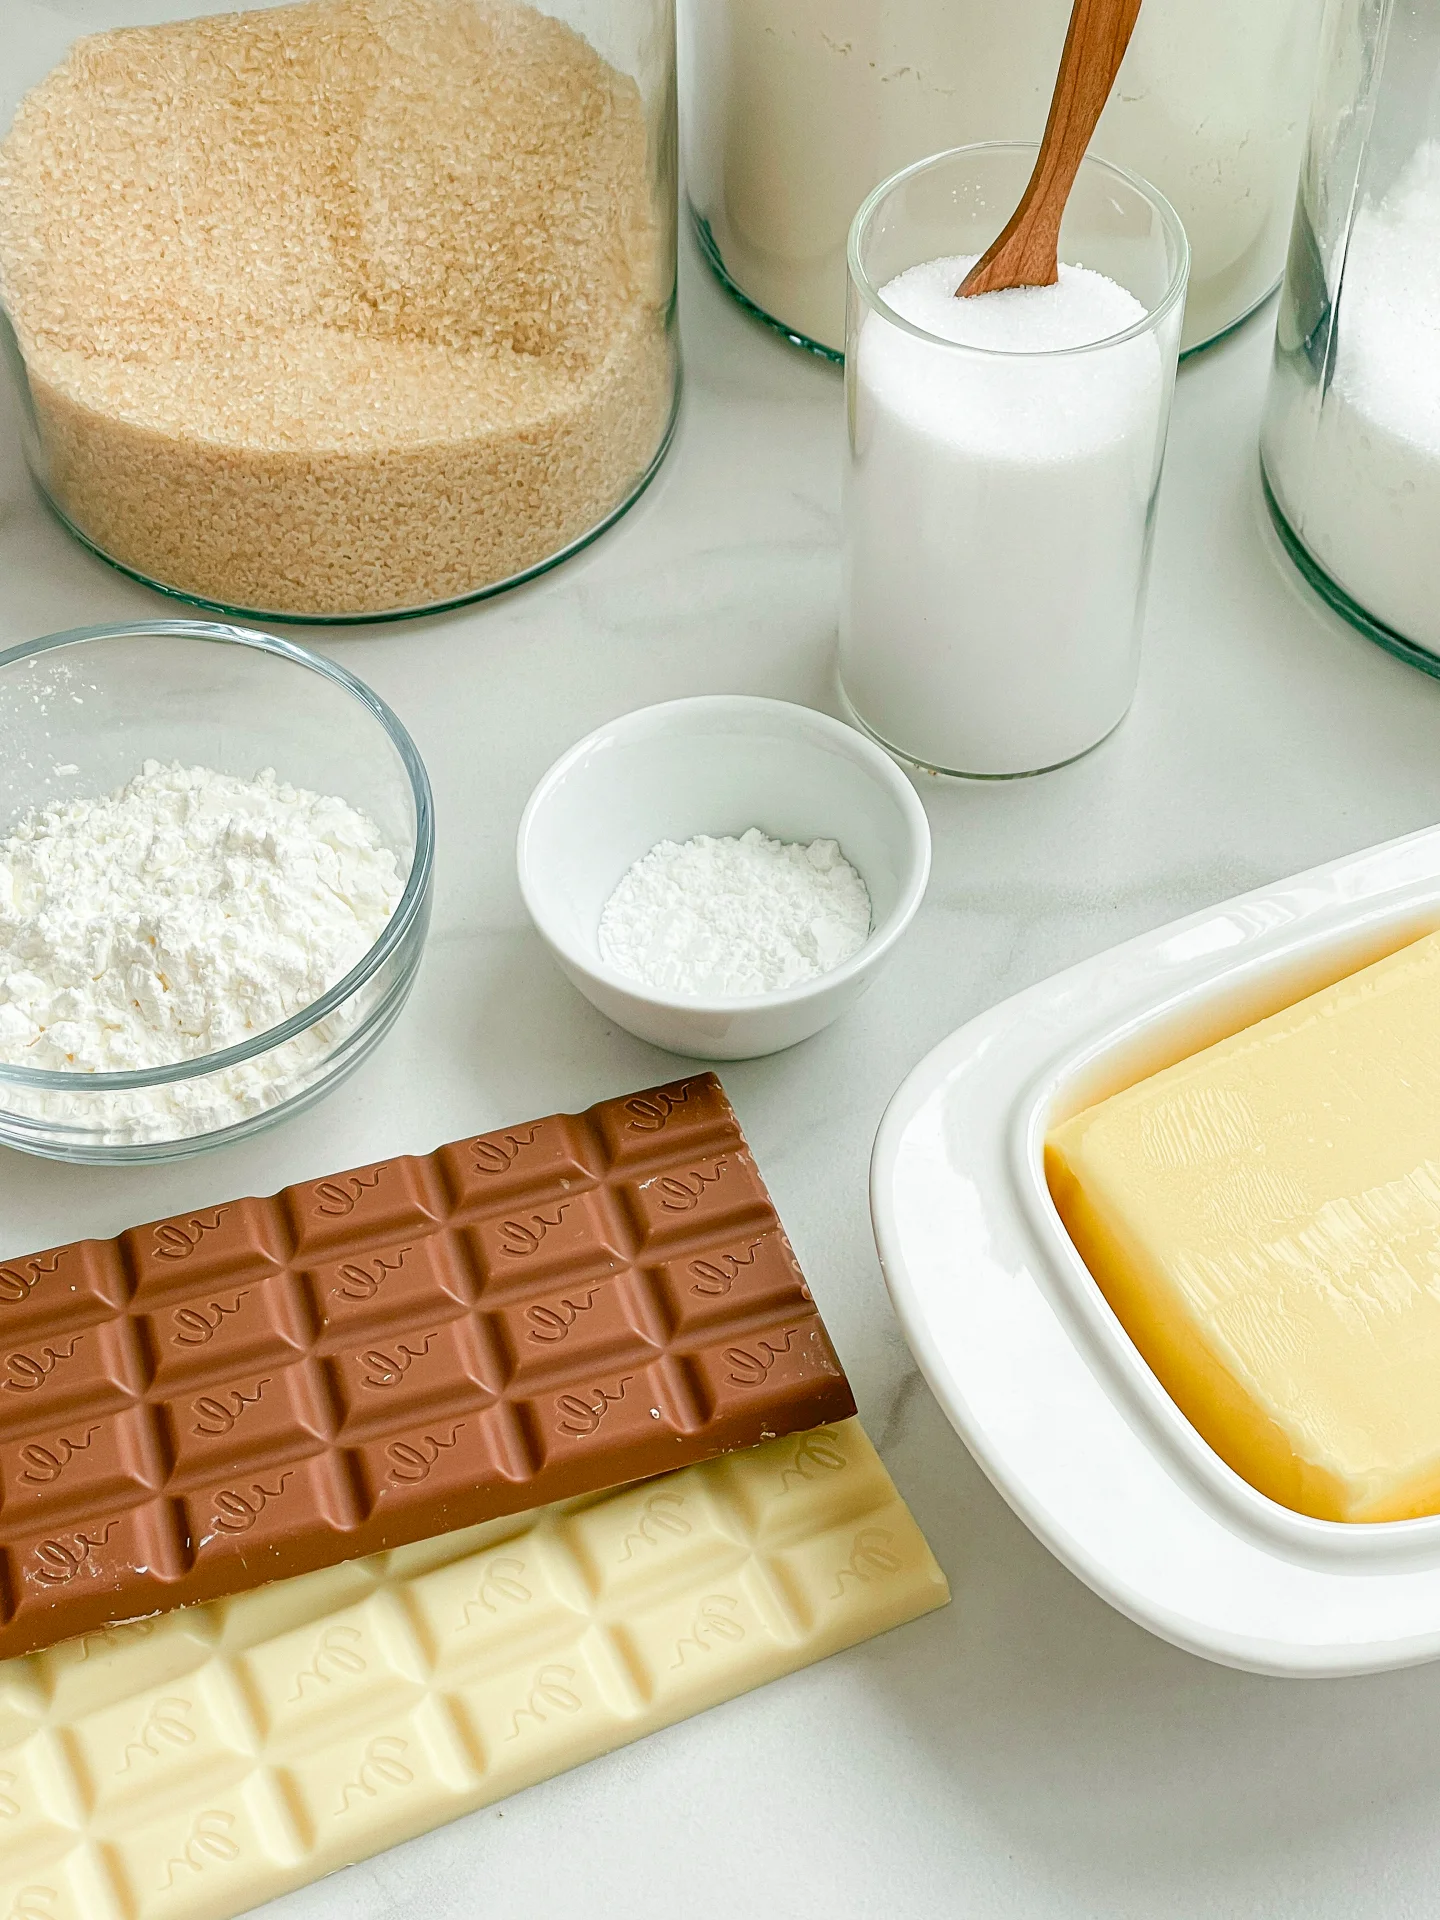
  • 200g all-purpose flour (1.5 cups)
  • 35g cornstarch (1/4 cup)
  • 140g butter (2/3 cup)
  • 150g brown sugar (2/3 cup)
  • 50g white sugar (1/4 cup)
  • 100g semi-sweet chocolate (1/2 cup)
  • 100g white chocolate (1/2 cup)
  • 1 egg
  • 1 egg yolk
  • 1 tsp baking powder
  • 3/4 tsp salt
Chocolate Chip Cookies
}

ACTIVE: 5 min

PASSIVE: –

PREPARATIONS

Recommended Equipment
  • sharp knife
  • cutting board
  • small bowl
  • small pot (or microwave)
  • two medium-sized bowls
  • whisk
  • spatula
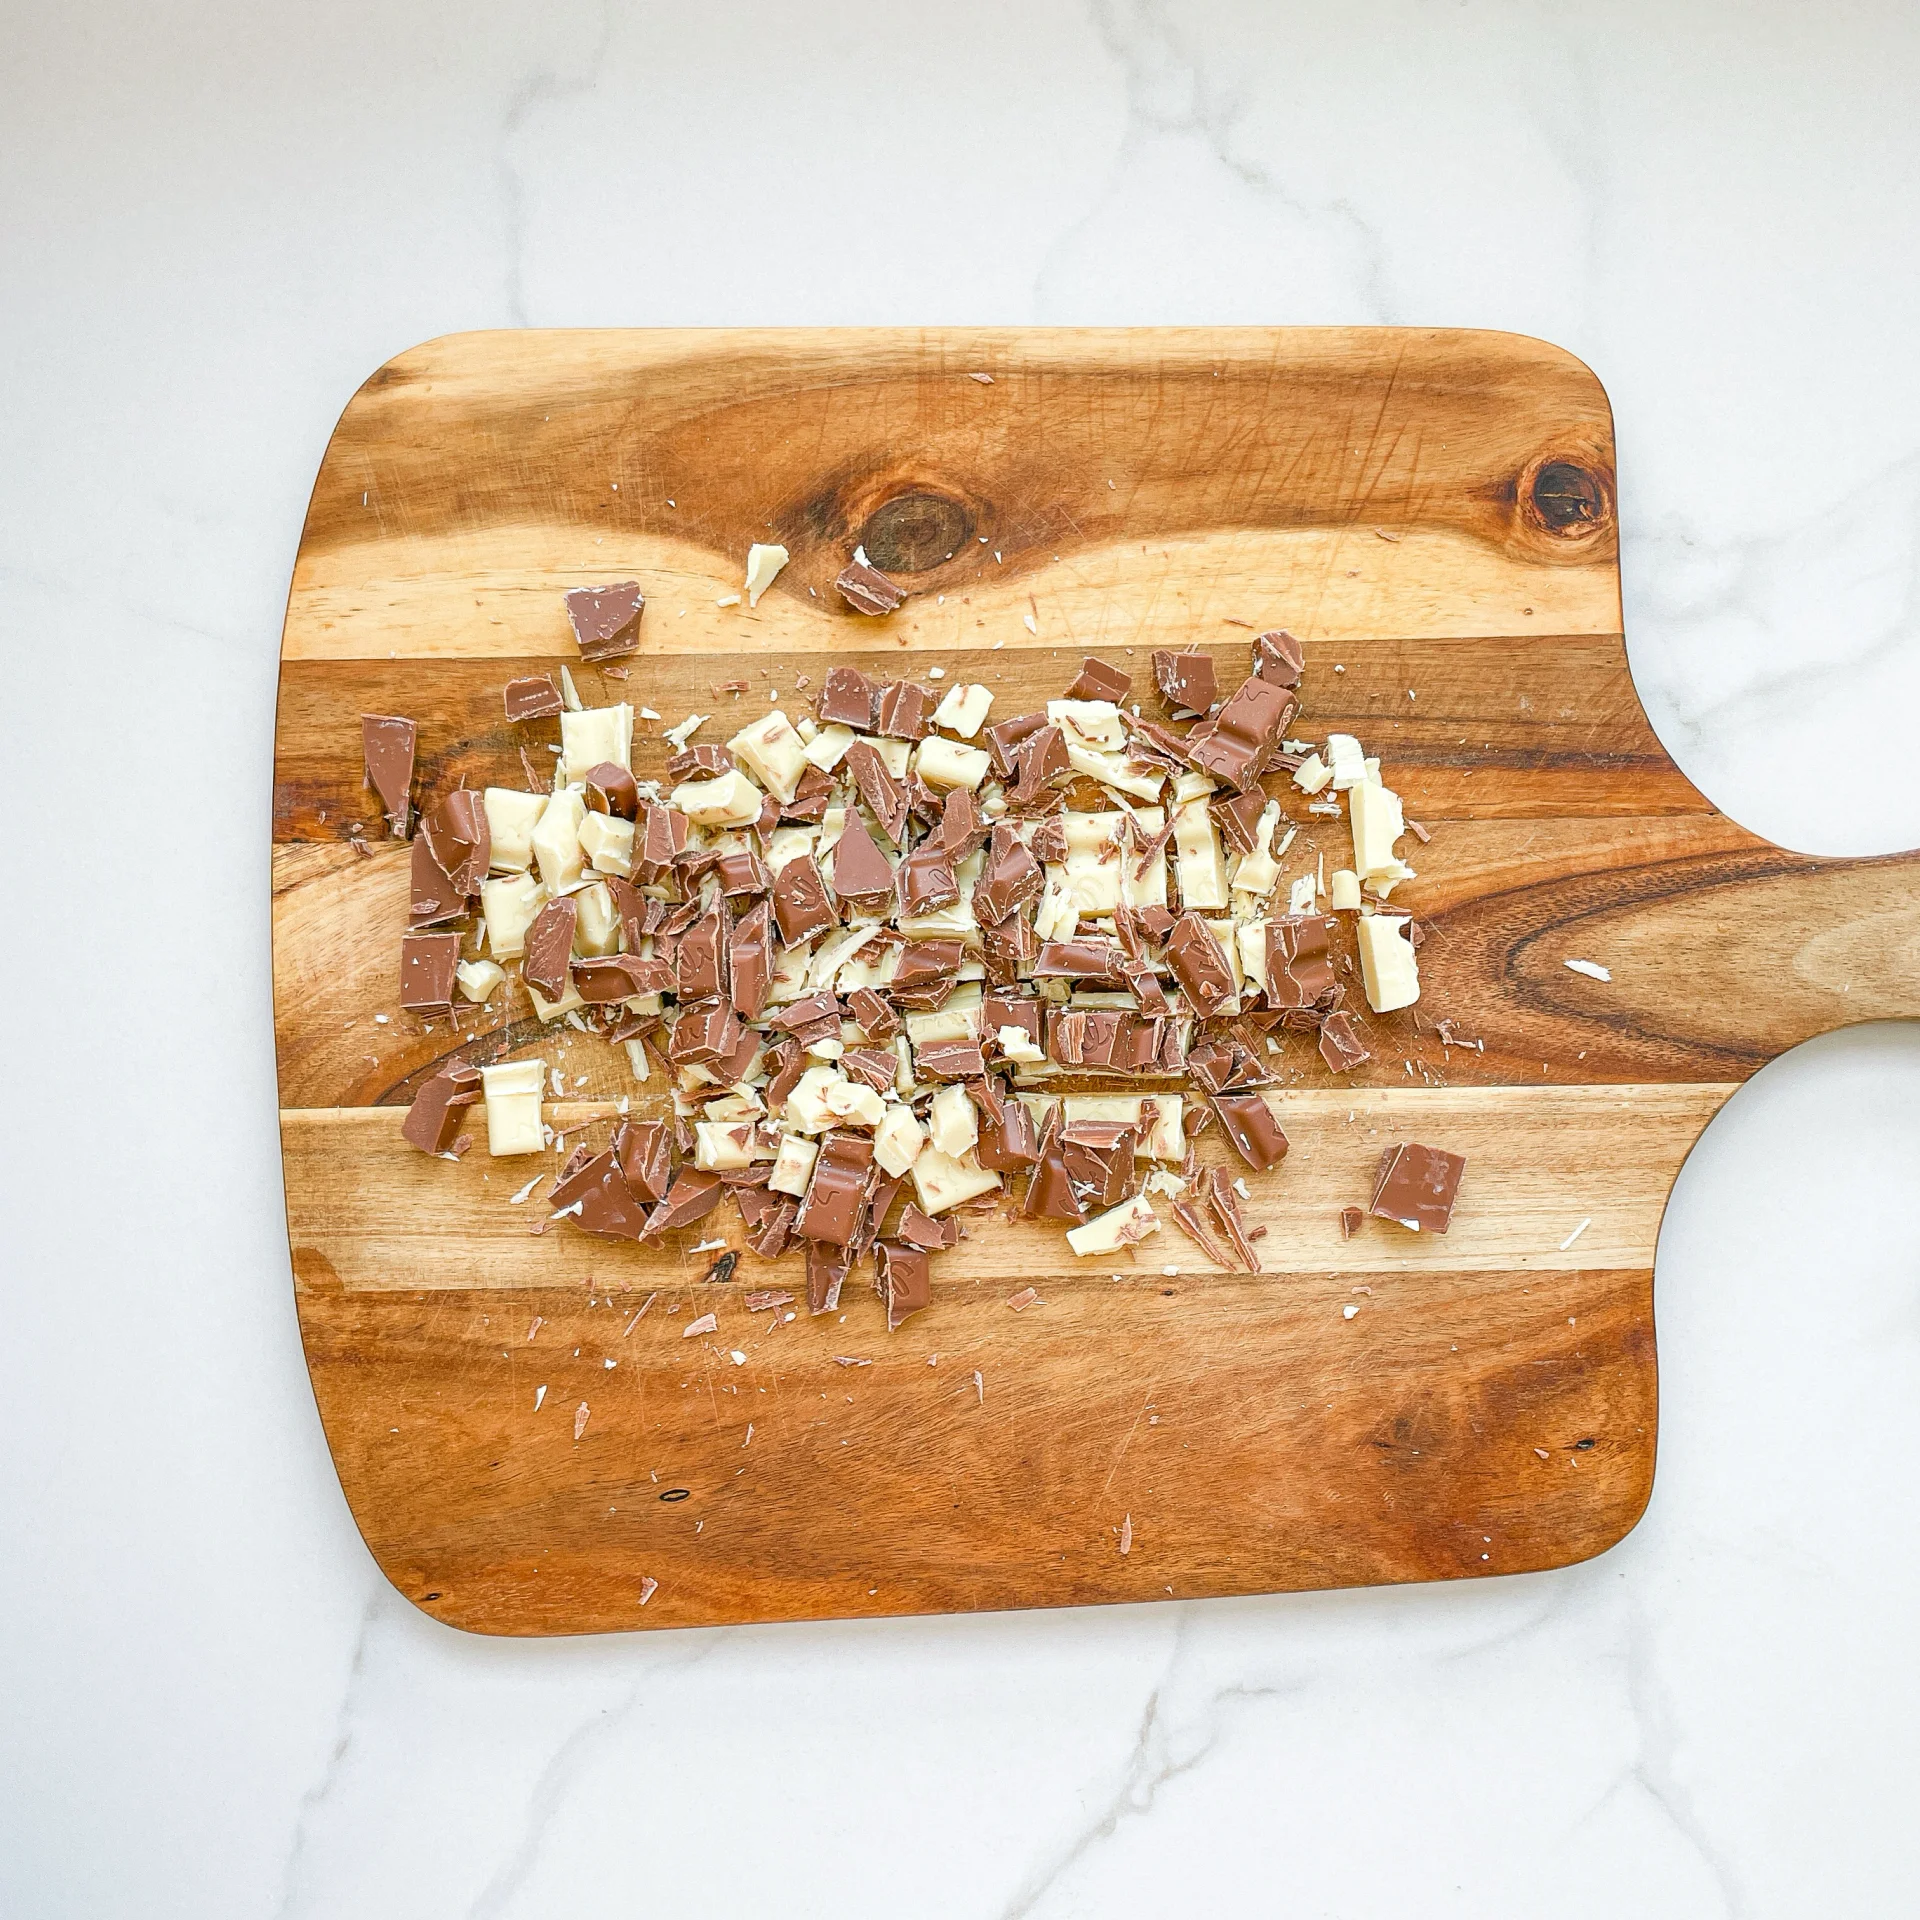
  • Chop the chocolate into big chunks.
  • Melt the butter in a pot or in the microwave.
}

ACTIVE: 20 min

PASSIVE: 2 hrs + 25 min

COOKING

1. In a medium-sized bowl, mix the flour, starch, and salt. Set aside.

2. In another medium-sized bowl, mix the brown and white sugar. Add the melted butter with a whisk and beat the mixture until it becomes kind of creamy.

3. Now add one whole egg and one egg yolk and beat until the mixture becomes thicker.

4. Next, add the dry ingredients from the other bowl and stir a little, then add the chocolate and mix everything until no more flour is visible and stop stirring to avoid overmixing the dough.

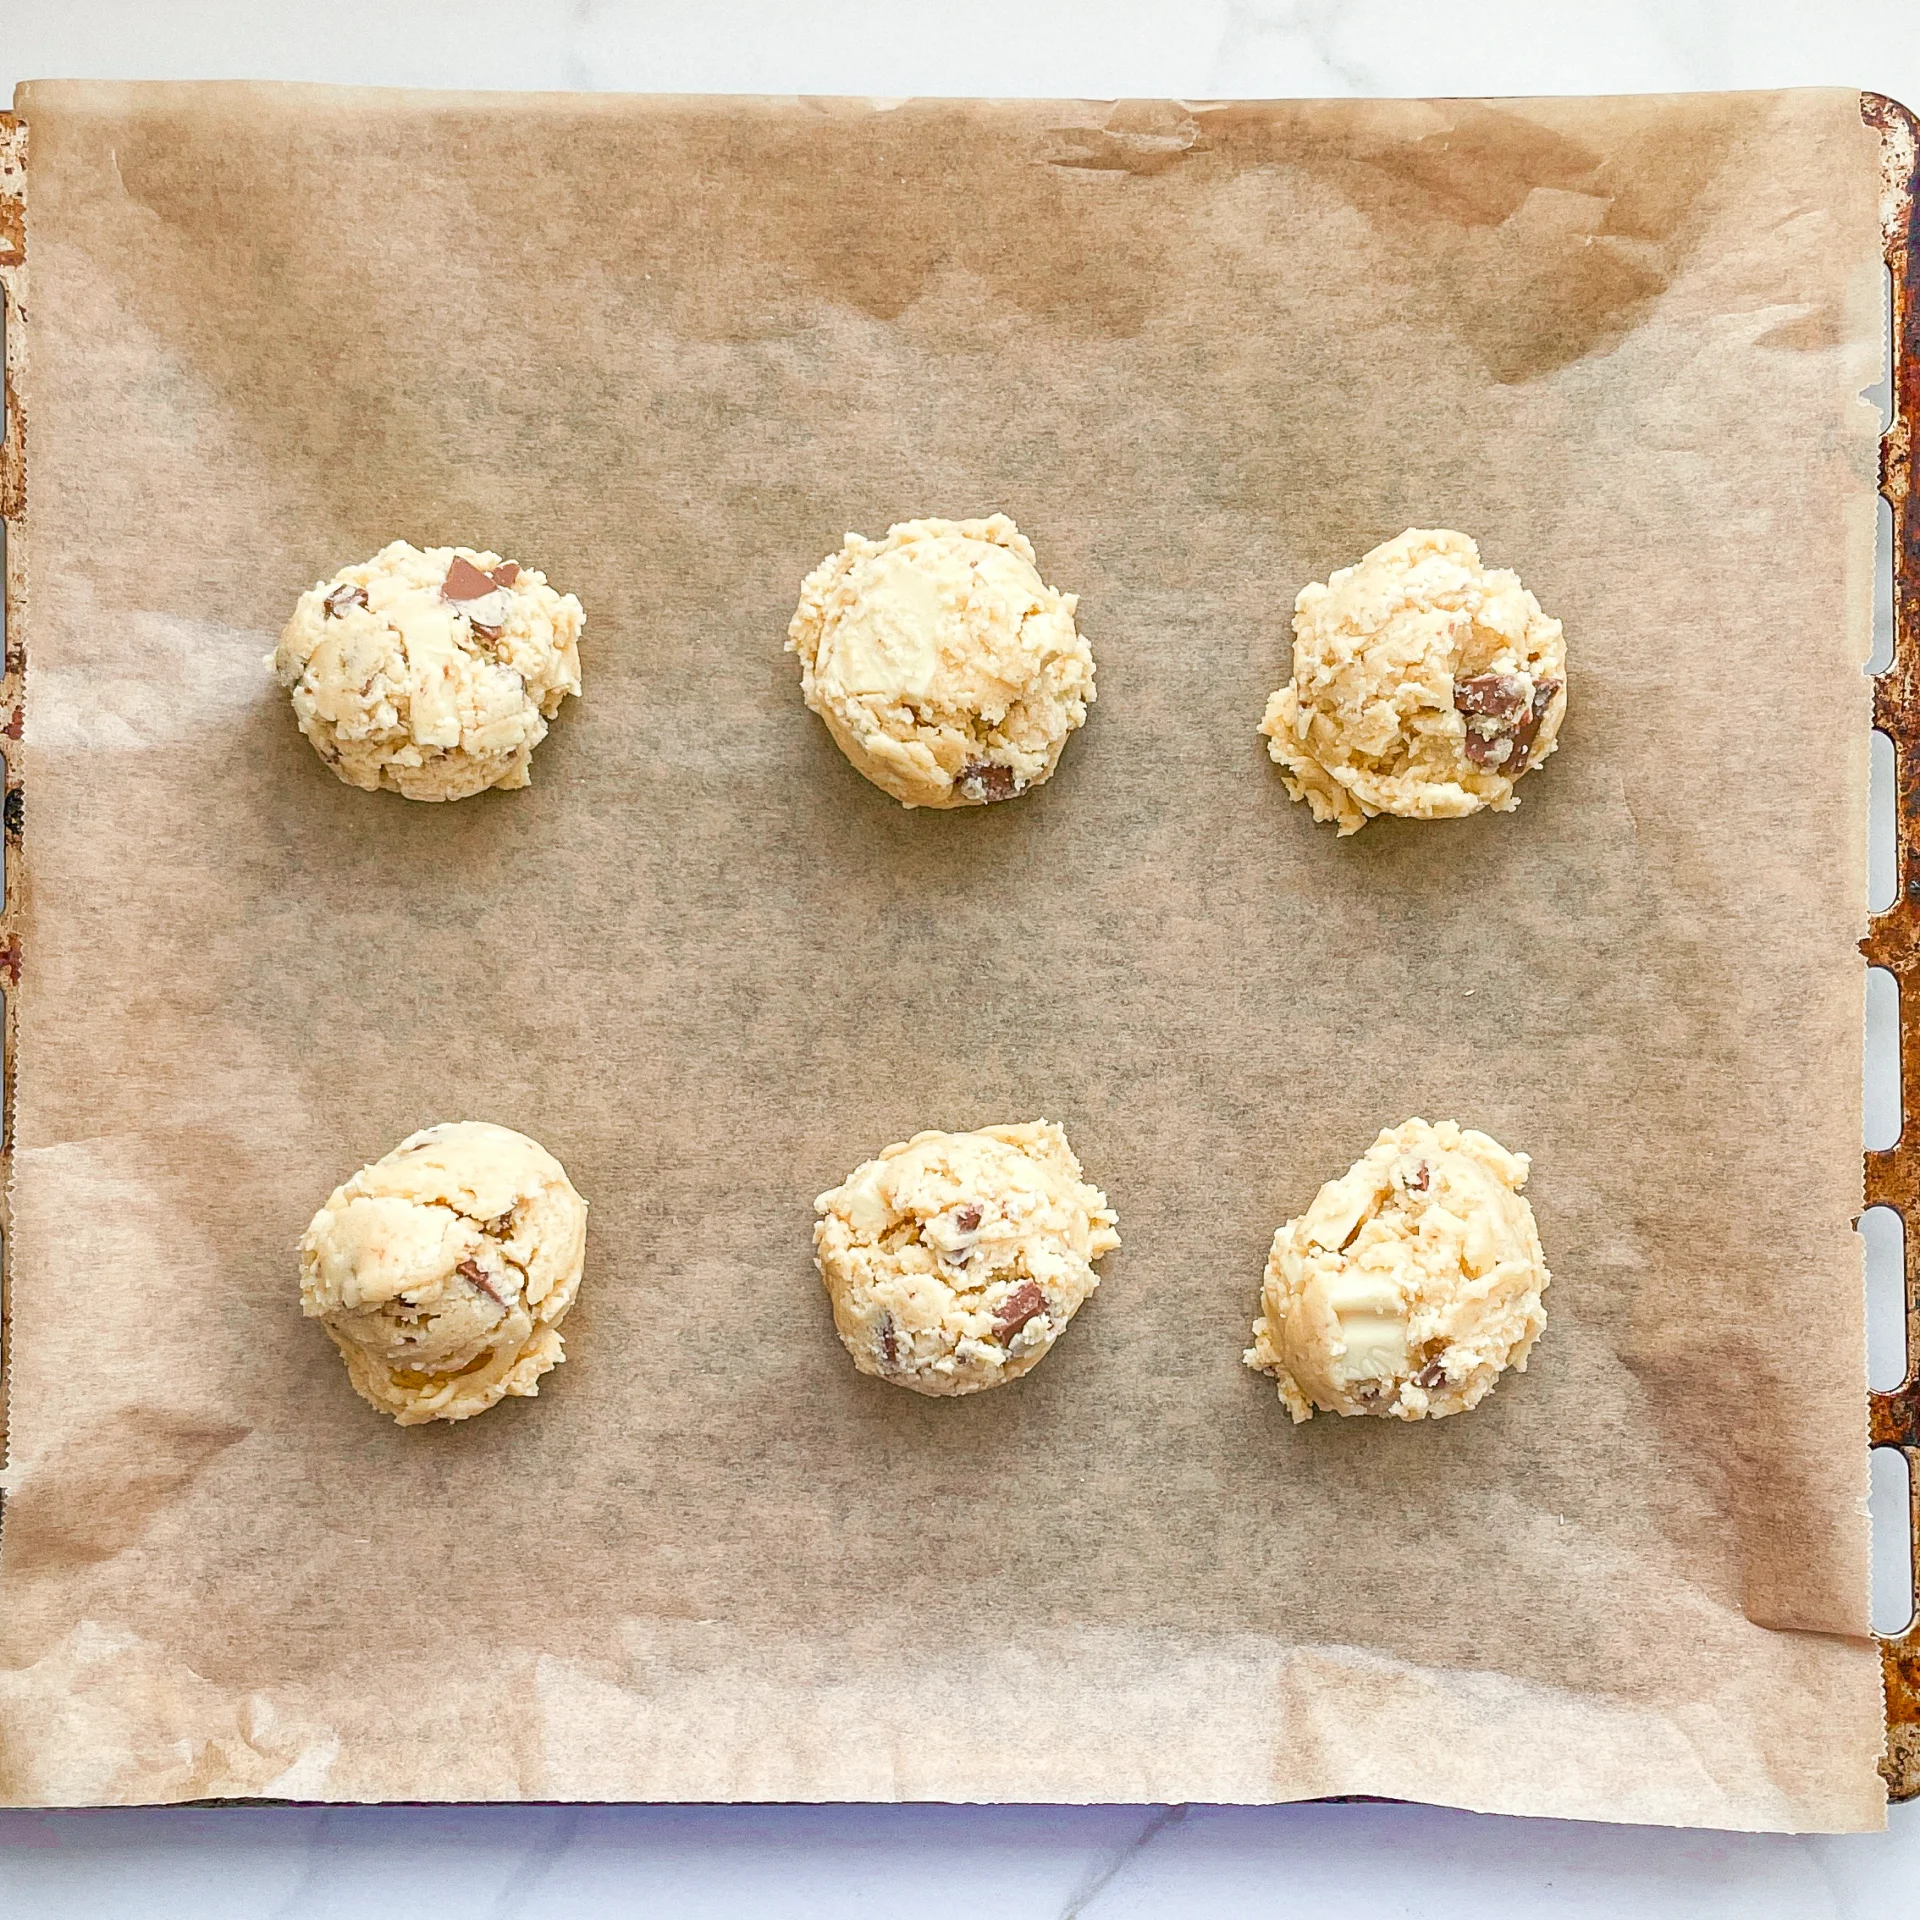
5. Form the dough into 9 equal-sized balls and place them in a container that fits in the fridge. Place the cookie balls in the refrigerator for at least 2 hours – if you want to prepare the dough in advance, you can leave it in the fridge for up to 48 hours.

6. Preheat the oven to 220°C (425°F). Once the oven is hot, place the cookies on a baking sheet lined with parchment paper and bake for 8-10 minutes.

7. Remove the tray with the cookies from the oven and let them cool for 15 minutes. I know it’s hard, but it’s worth the wait 😉

NOTE: The calorie information may vary depending on the product used, country and region.

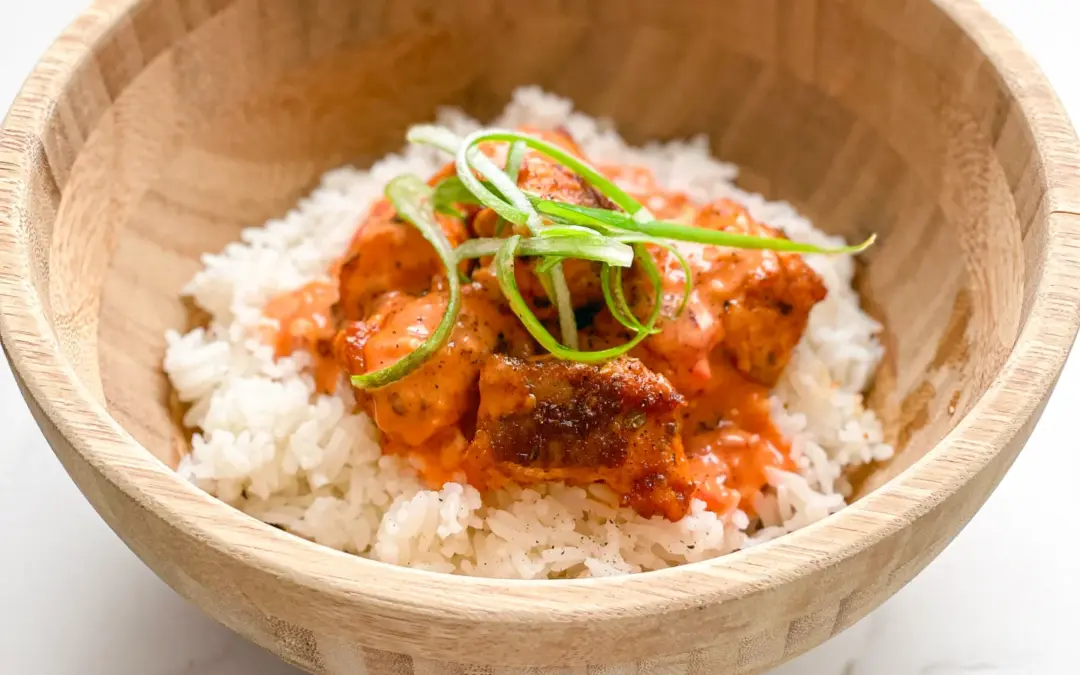
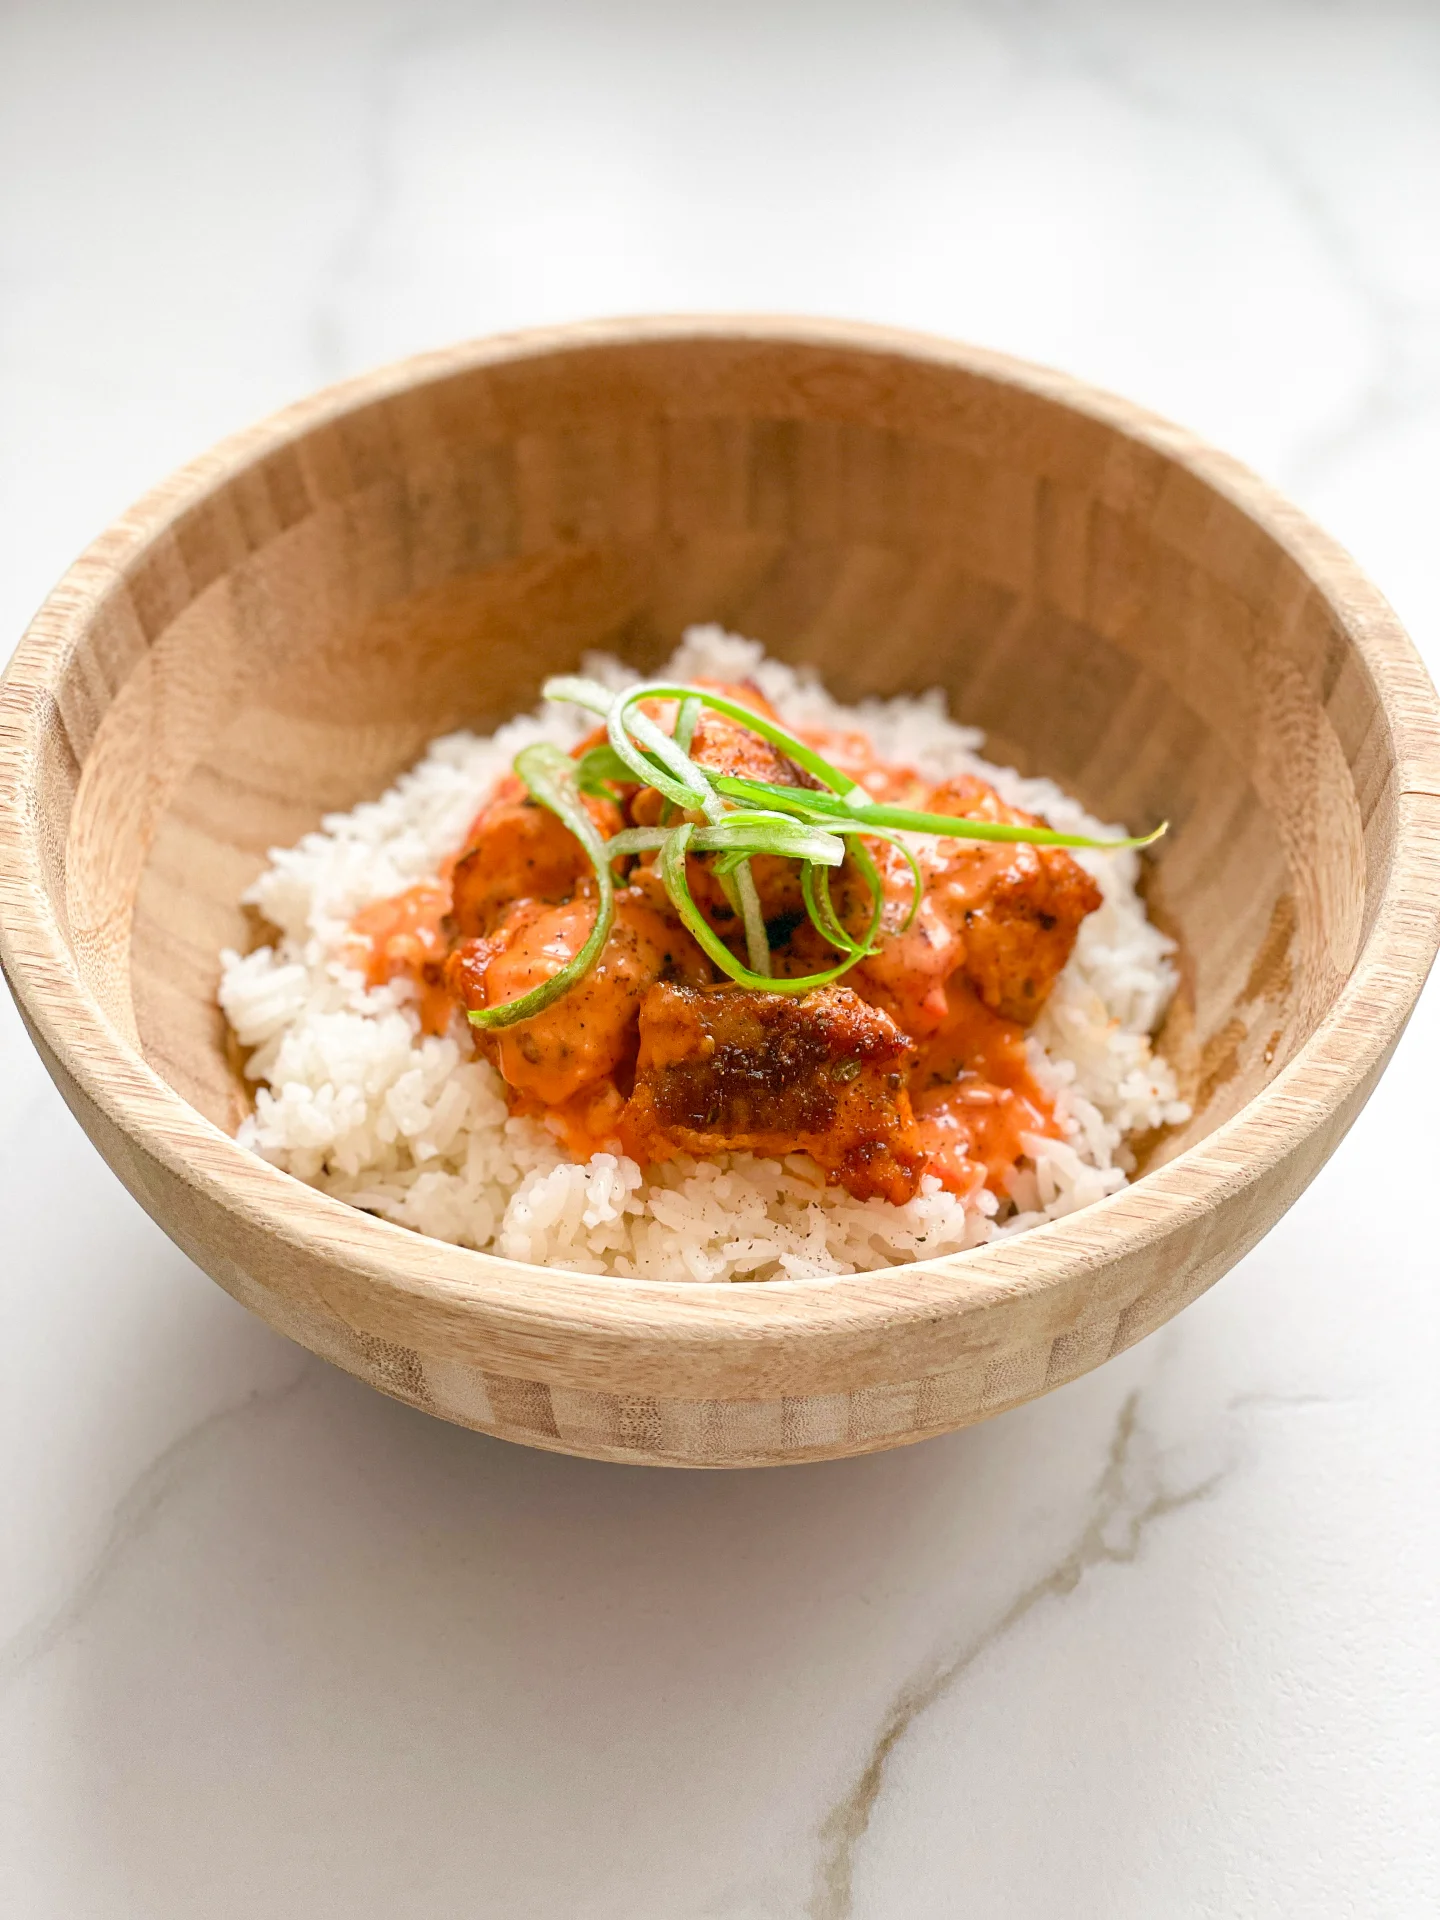
Cajun Bang Bang Salmon Rice Bowl

Cajun Bang Bang Salmon Rice Bowl

Cajun Bang Bang Salmon Rice Bowl

Cajun Bang Bang Salmon Rice Bowl

February 7, 2024 by Kimberly

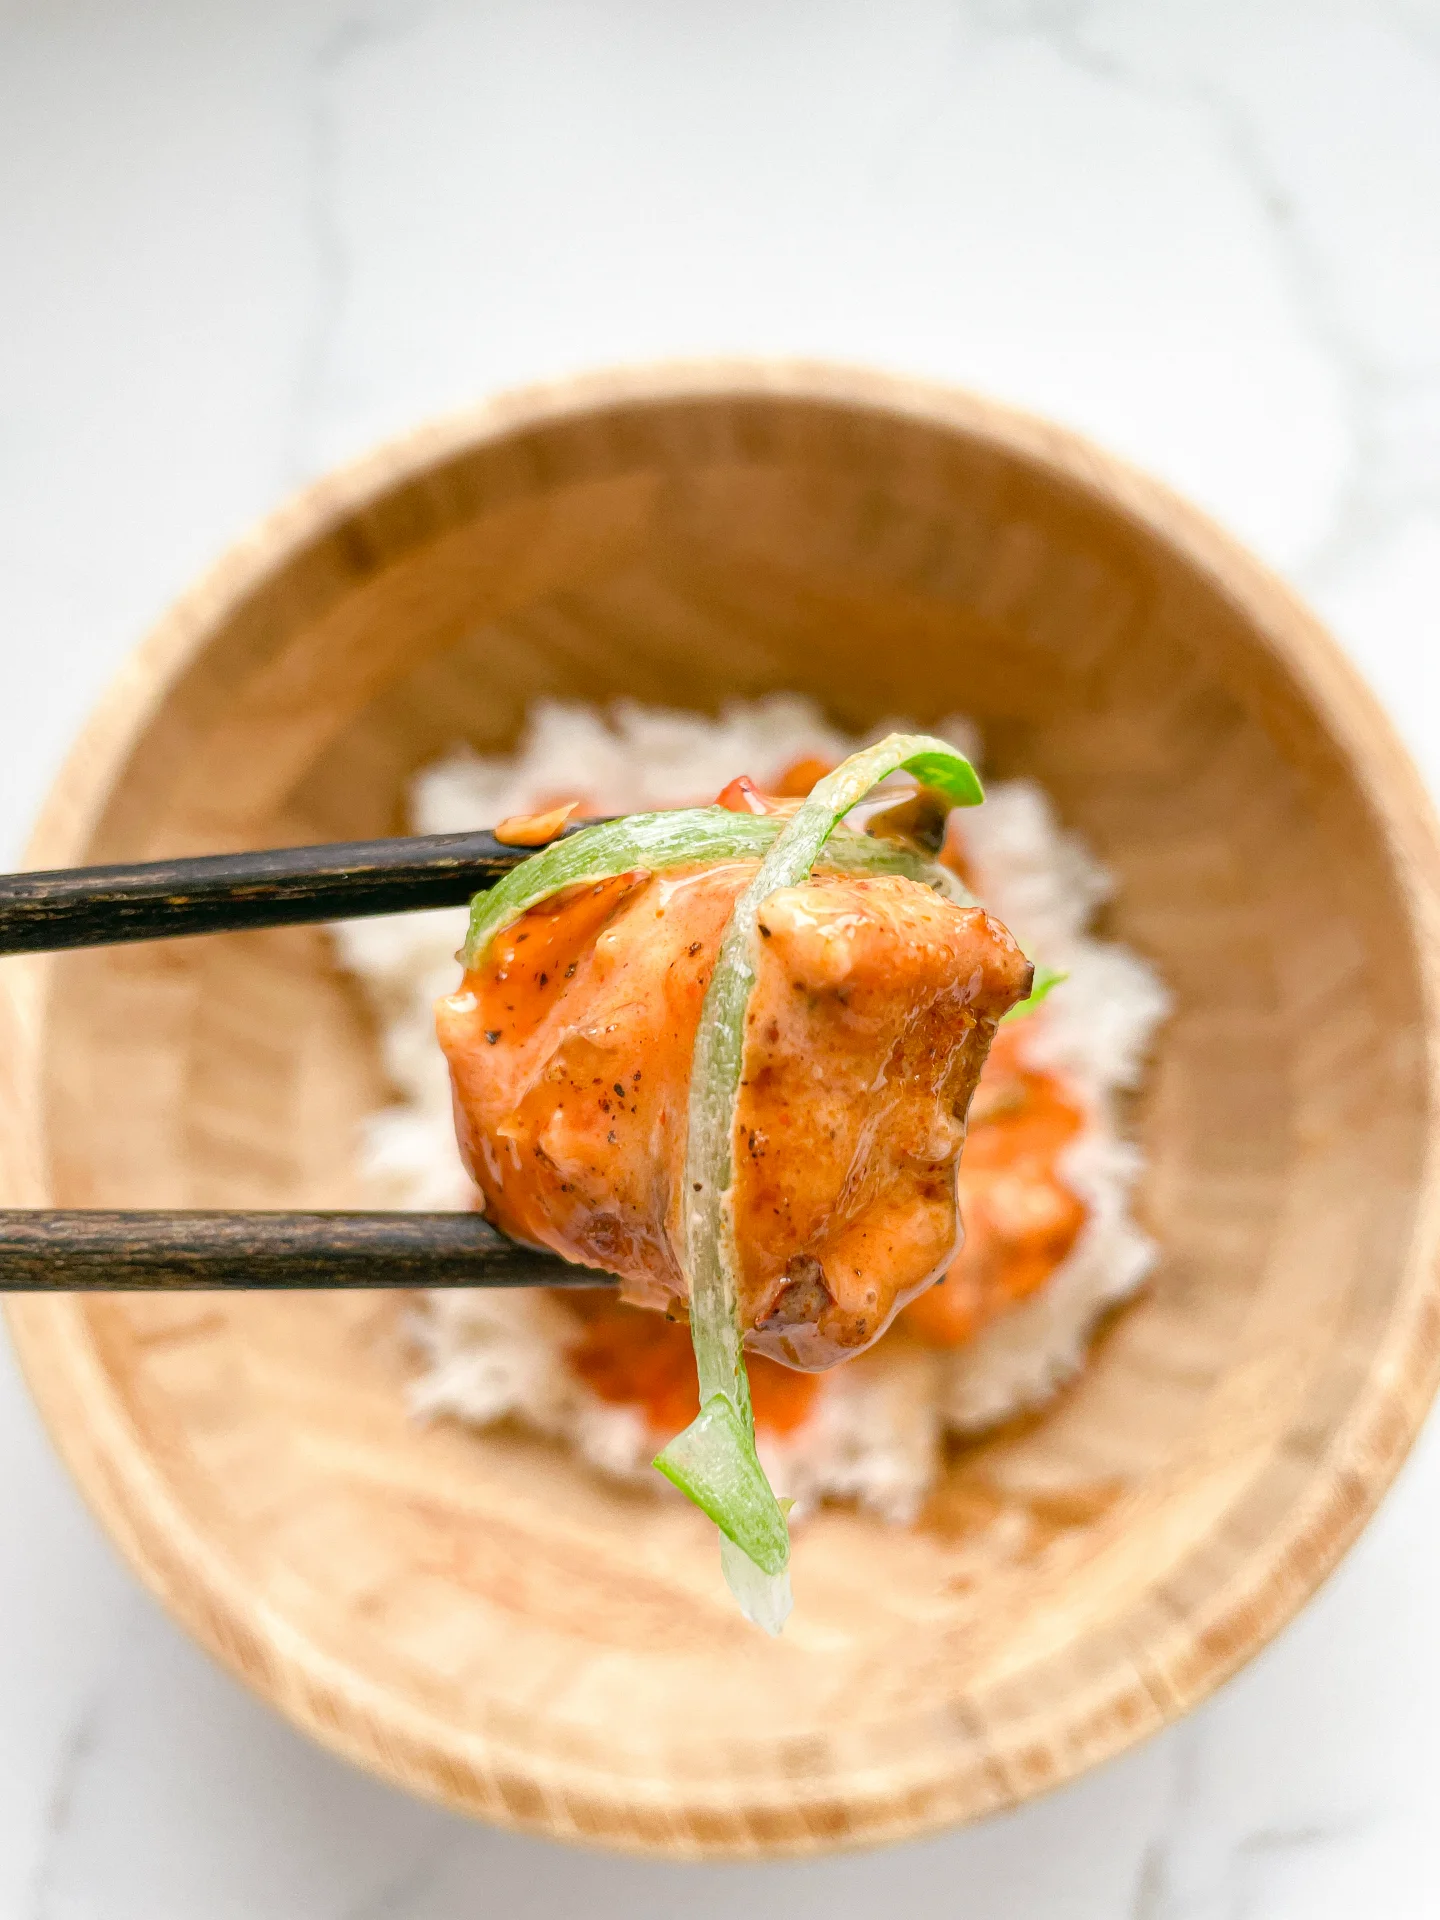
Discover the taste of Cajun-spiced Salmon Bites, paired with fluffy rice for a quick, savory meal. Perfect for an easy, delightful seafood experience!

25 MINUTES

EASY

OMNIVORE

US AMERICAN

763 PER PORTION

SPICY

EVERYDAY

DINNER

ALL YEAR

INTRODUCTION

ABOUT THE RECIPE

Dive into the vibrant world of Cajun cuisine with my Cajun Salmon Recipe, a perfect blend of bold flavors and nutritious ingredients. These Spicy Salmon Bites offer a tantalizing experience, bringing the essence of Southern cooking right to your plate. Ideal for those who love Easy Seafood Meals, this dish combines the simplicity of cooking with an explosion of taste, making it a must-try for seafood enthusiasts.

How to serve:
The salmon bites, with their perfect Cajun seasoning, are best paired with fluffy, light rice, enhancing the rich flavors of the fish. This pairing makes for an irresistible combination and lands this dish among the top quick salmon dishes. Whether you’re hosting a dinner party or looking for a simple yet flavorful seafood recipe for your family, these Cajun Salmon Bites will not disappoint. Their versatility also makes them a great option for a healthy salmon idea, fitting into various meal plans.

How to store:
Keep any leftovers in an airtight container in the refrigerator, ensuring they stay fresh. Make sure to store each ingredient in a separate container. They can be easily reheated for a quick meal, maintaining their delicious taste and texture.

Hi, I'm Kimberly!

Hi, I'm Kimberly.

A passionate food lover who believes in the magic of homemade deliciousness that spreads love and warmth. Join me on this culinary adventure as I prepare wonderful dishes and let’s spread some happiness together!

Kimberly the Zett Signature

If you want to get to know me better, click here!


Cajun Bang Bang Salmon Rice Bowl

„Let’s make a piece of happiness“

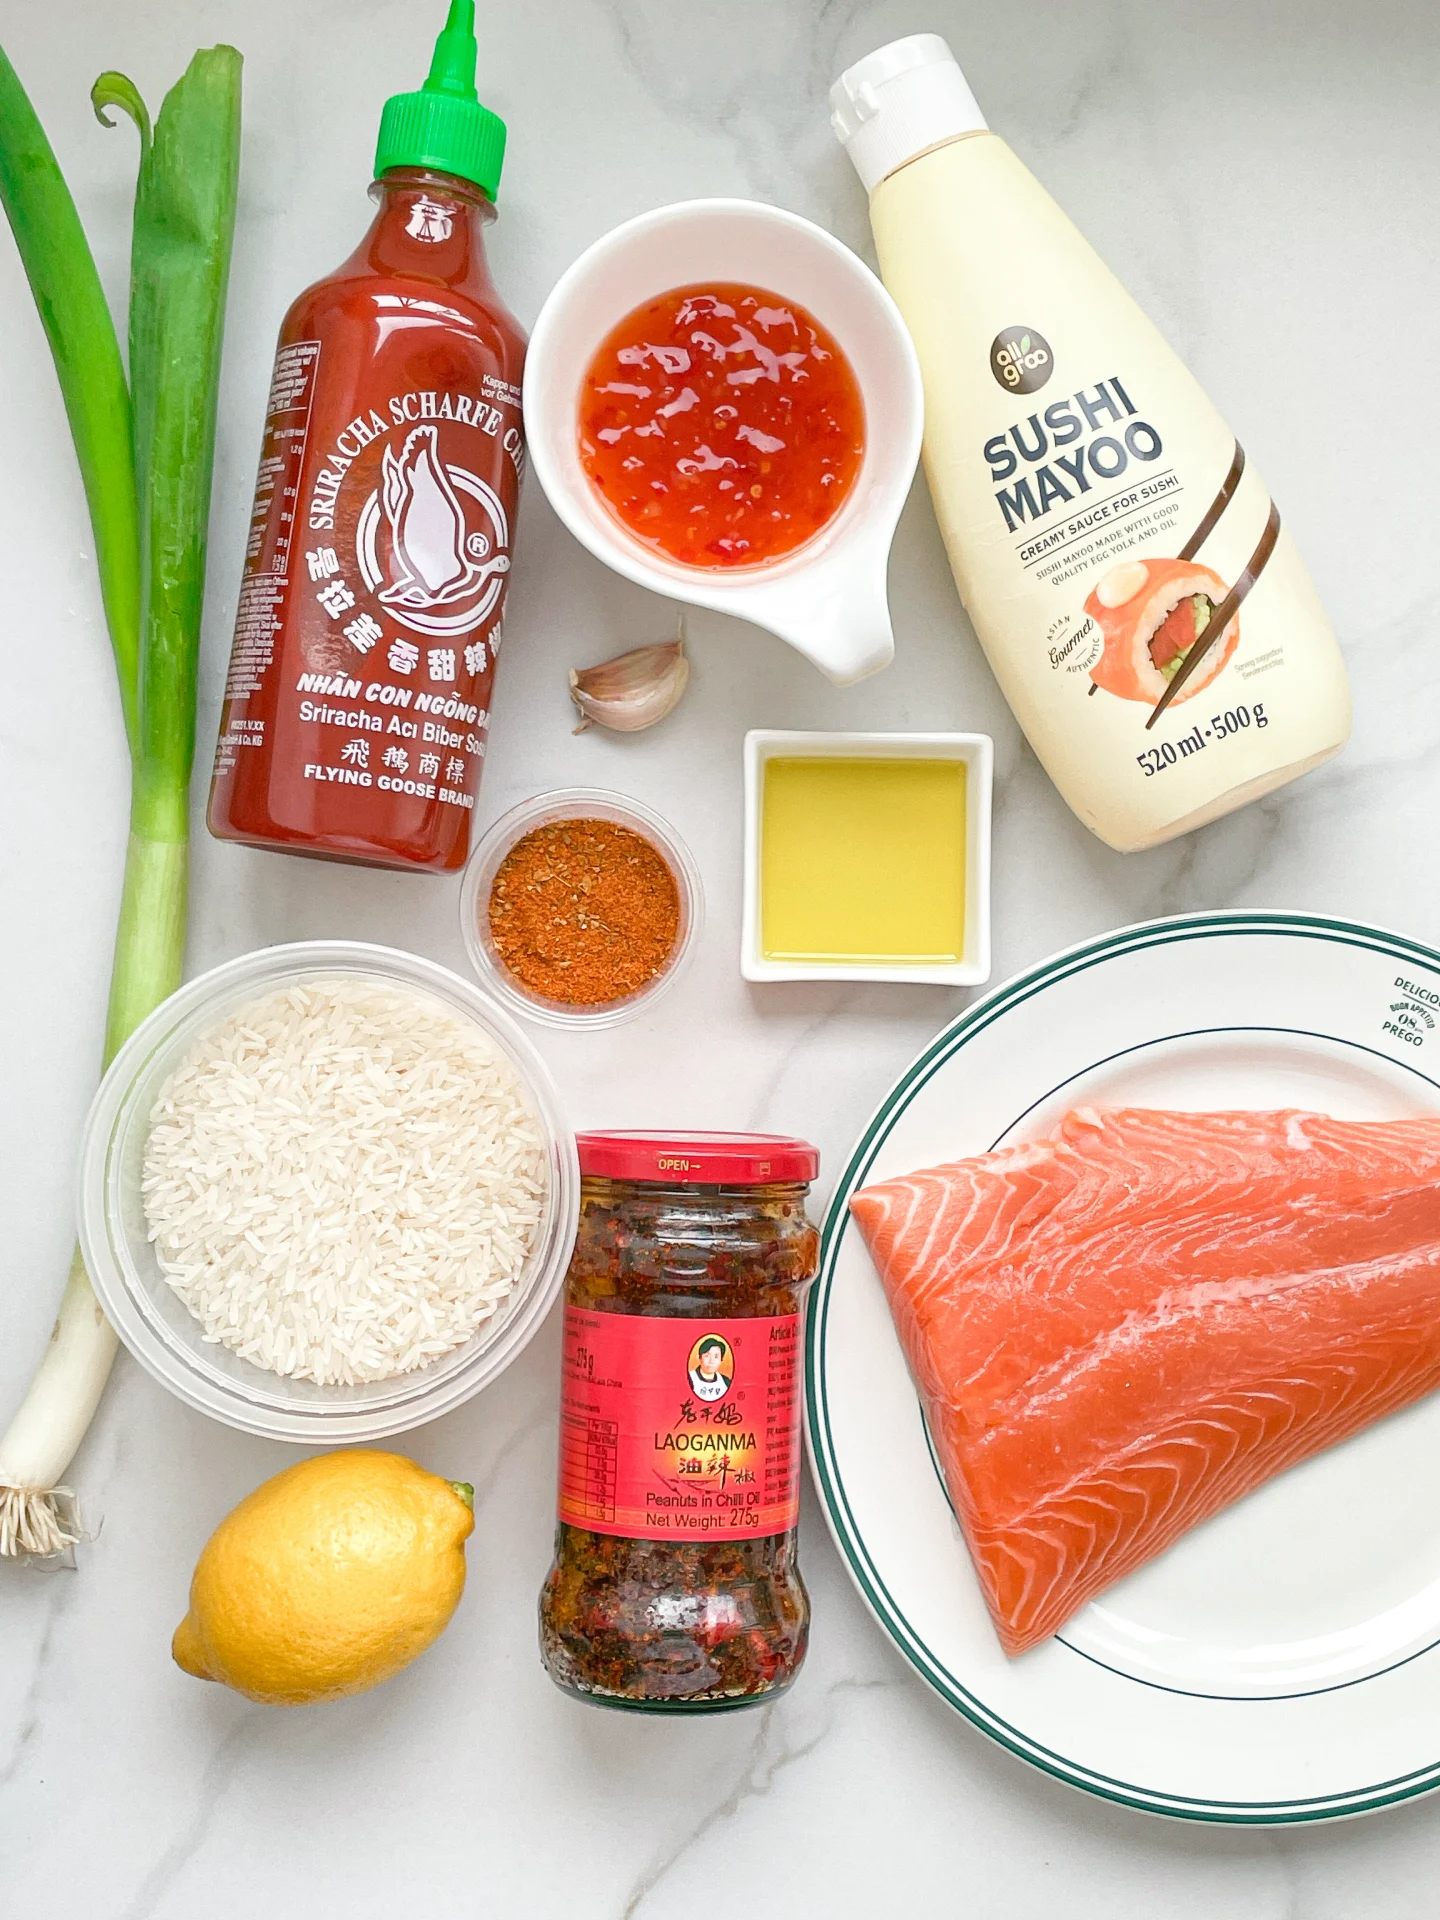
INGREDIENTS

FOR 2 PORTIONS

SALMON


SAUCE

  • 50g mayonnaise (1/4 cup)
  • 50g sweet & sour sauce (1/4 cup)
  • 1 tbsp sriracha sauce
  • 1 tbsp lemon juice
  • 1 tsp crispy chili oil
  • 1 garlic clove

RICE

  • 300g jasmine rice (1.5 cups)
  • 400ml water (1 + 3/4 cups)

TOPPING

  • spring onions
Cajun Bang Bang Salmon Rice Bowl
}

ACTIVE: 10 min

PASSIVE: –

PREPARATIONS

Recommended Equipment
  • sharp knife
  • cutting board
  • medium bowl
  • small bowl
  • rice cooker (or pot with lid)
  • Preheat the oven to 180°C (350°F)
  • Cut the spring onions into thin strips.
  • Cut the lemon in half.
  • Peel the garlic clove.
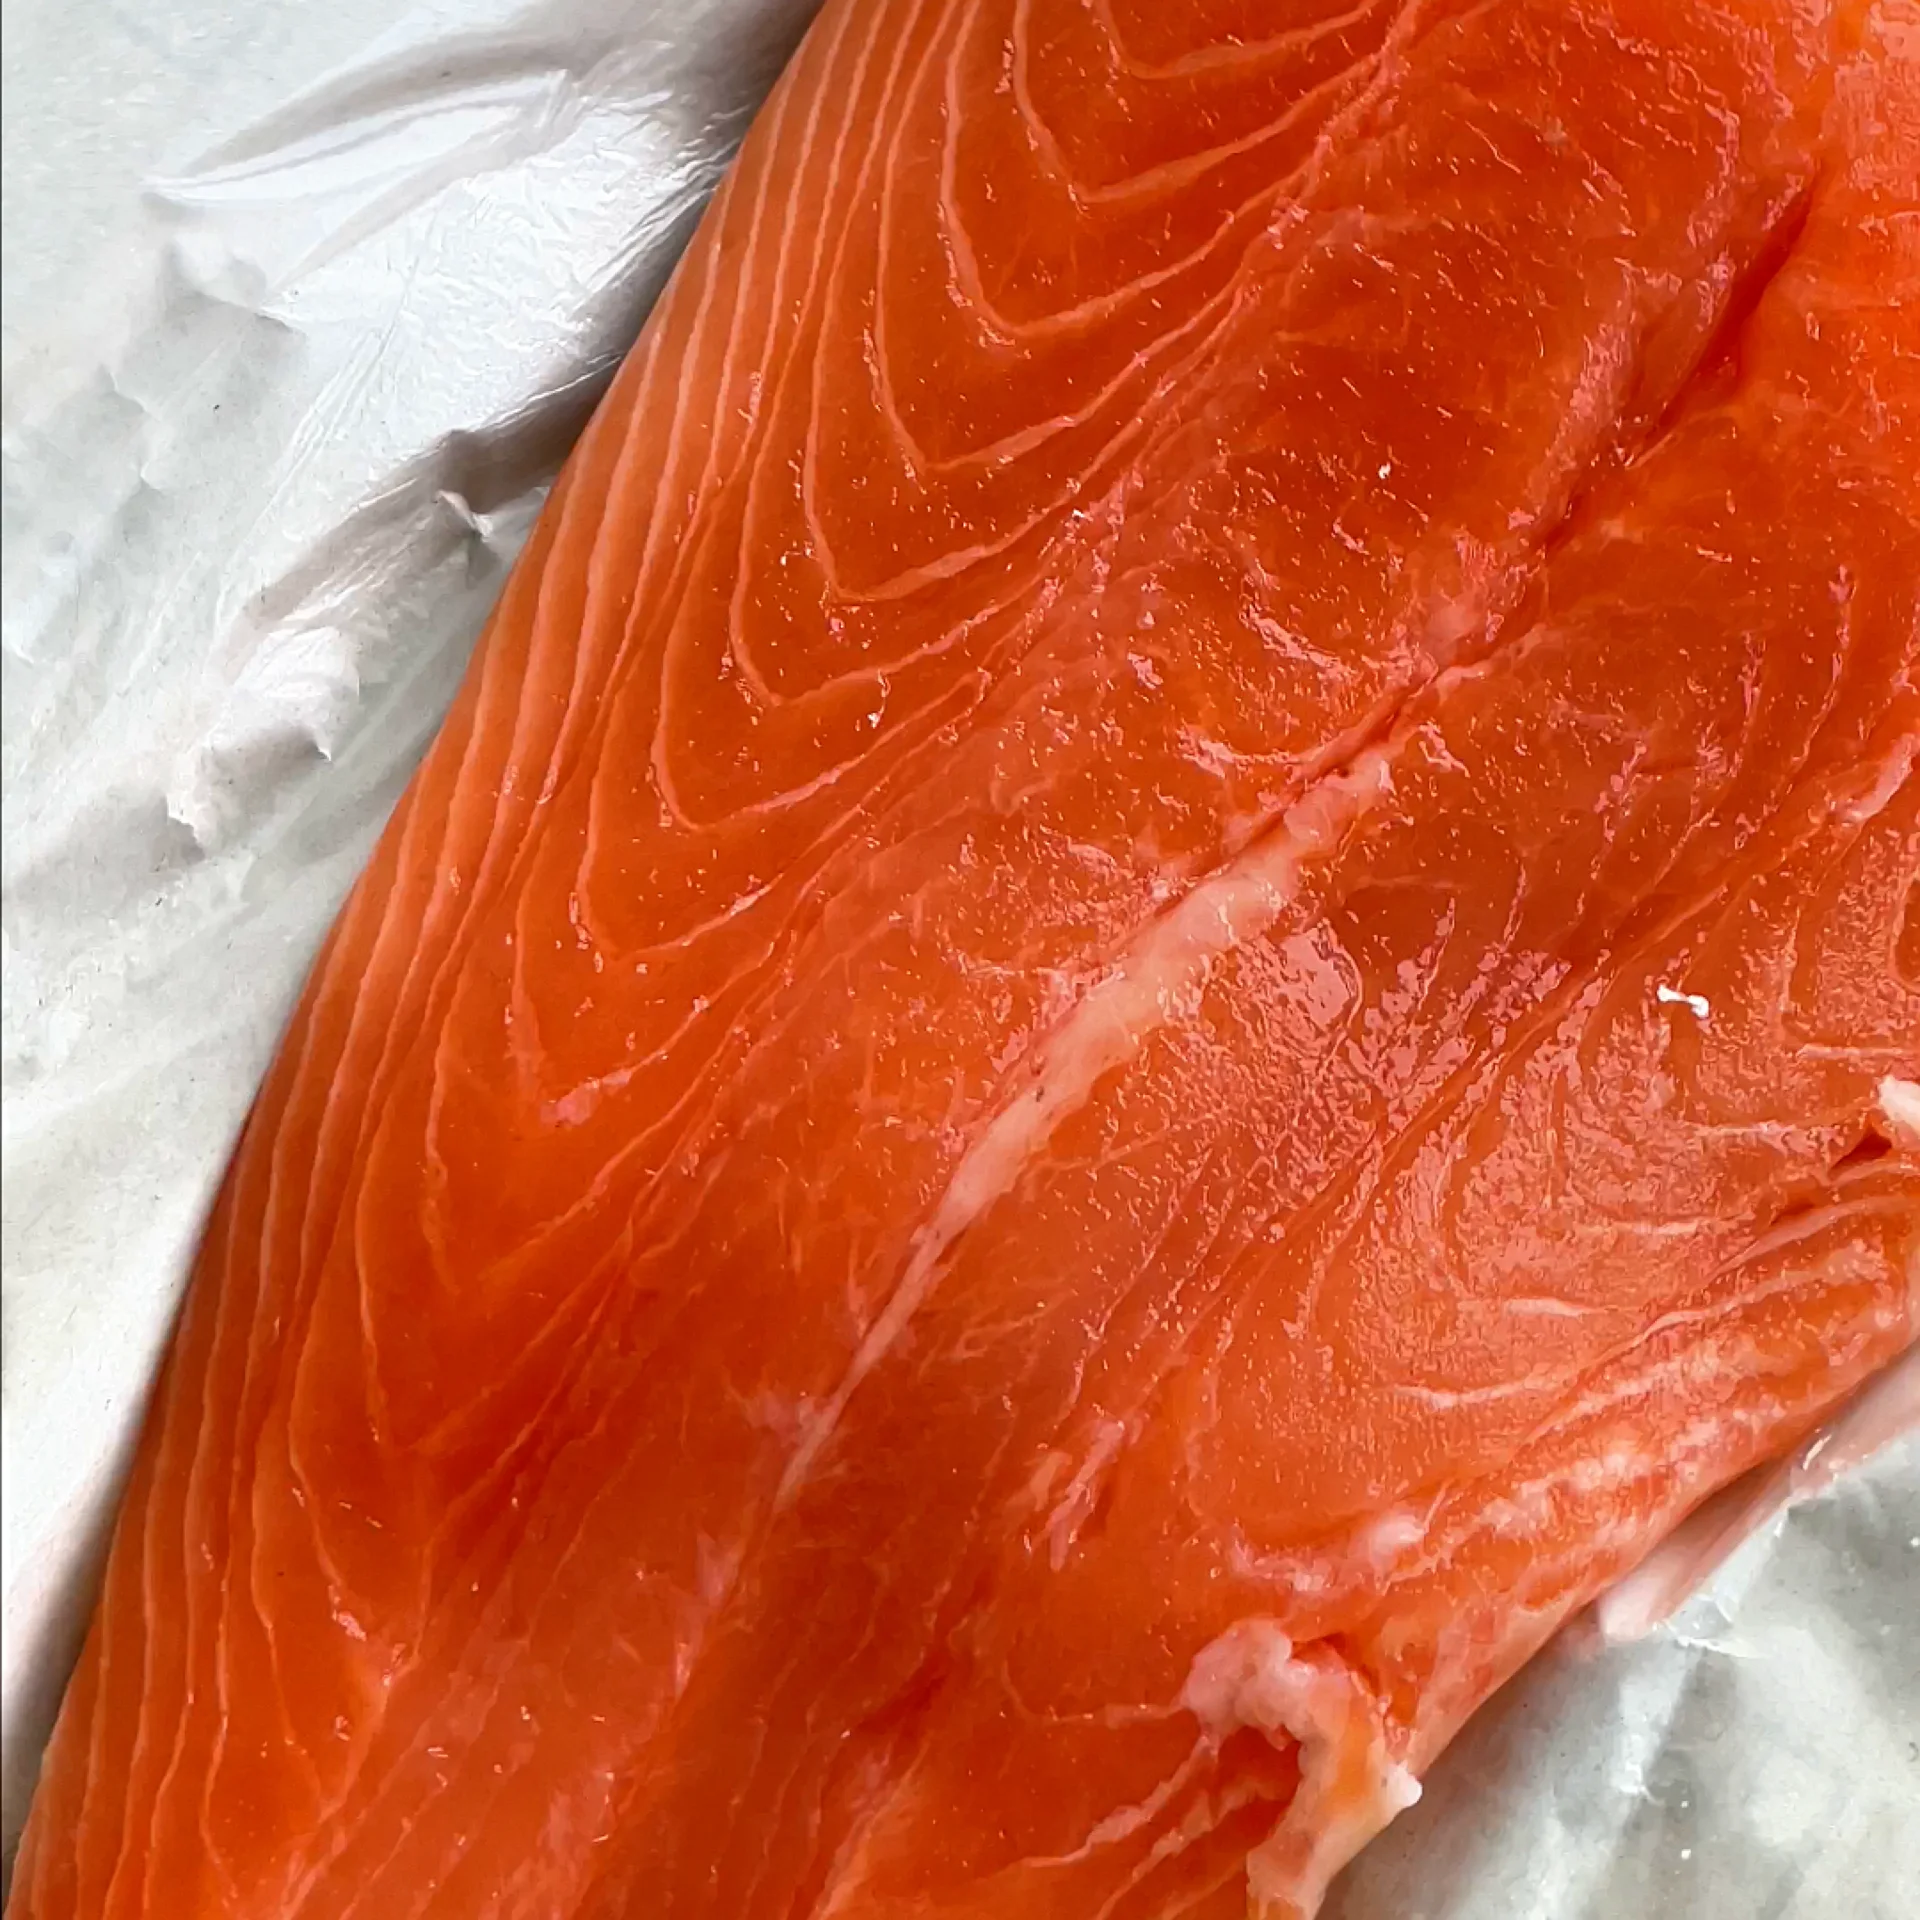
  • Pat the salmon dry and cut into large pieces.
    }

    ACTIVE: 15 min
    PASSIVE: –

    COOKING

    1. Wash the rice until the water runs clear. Then cook the rice with 400ml (1 3/4 cups) of fresh water in the rice cooker. If you don’t have a rice cooker, you can cook the rice in a pot with a lid. To do so bring to a boil and then finish cooking on the lowest setting with the lid on.

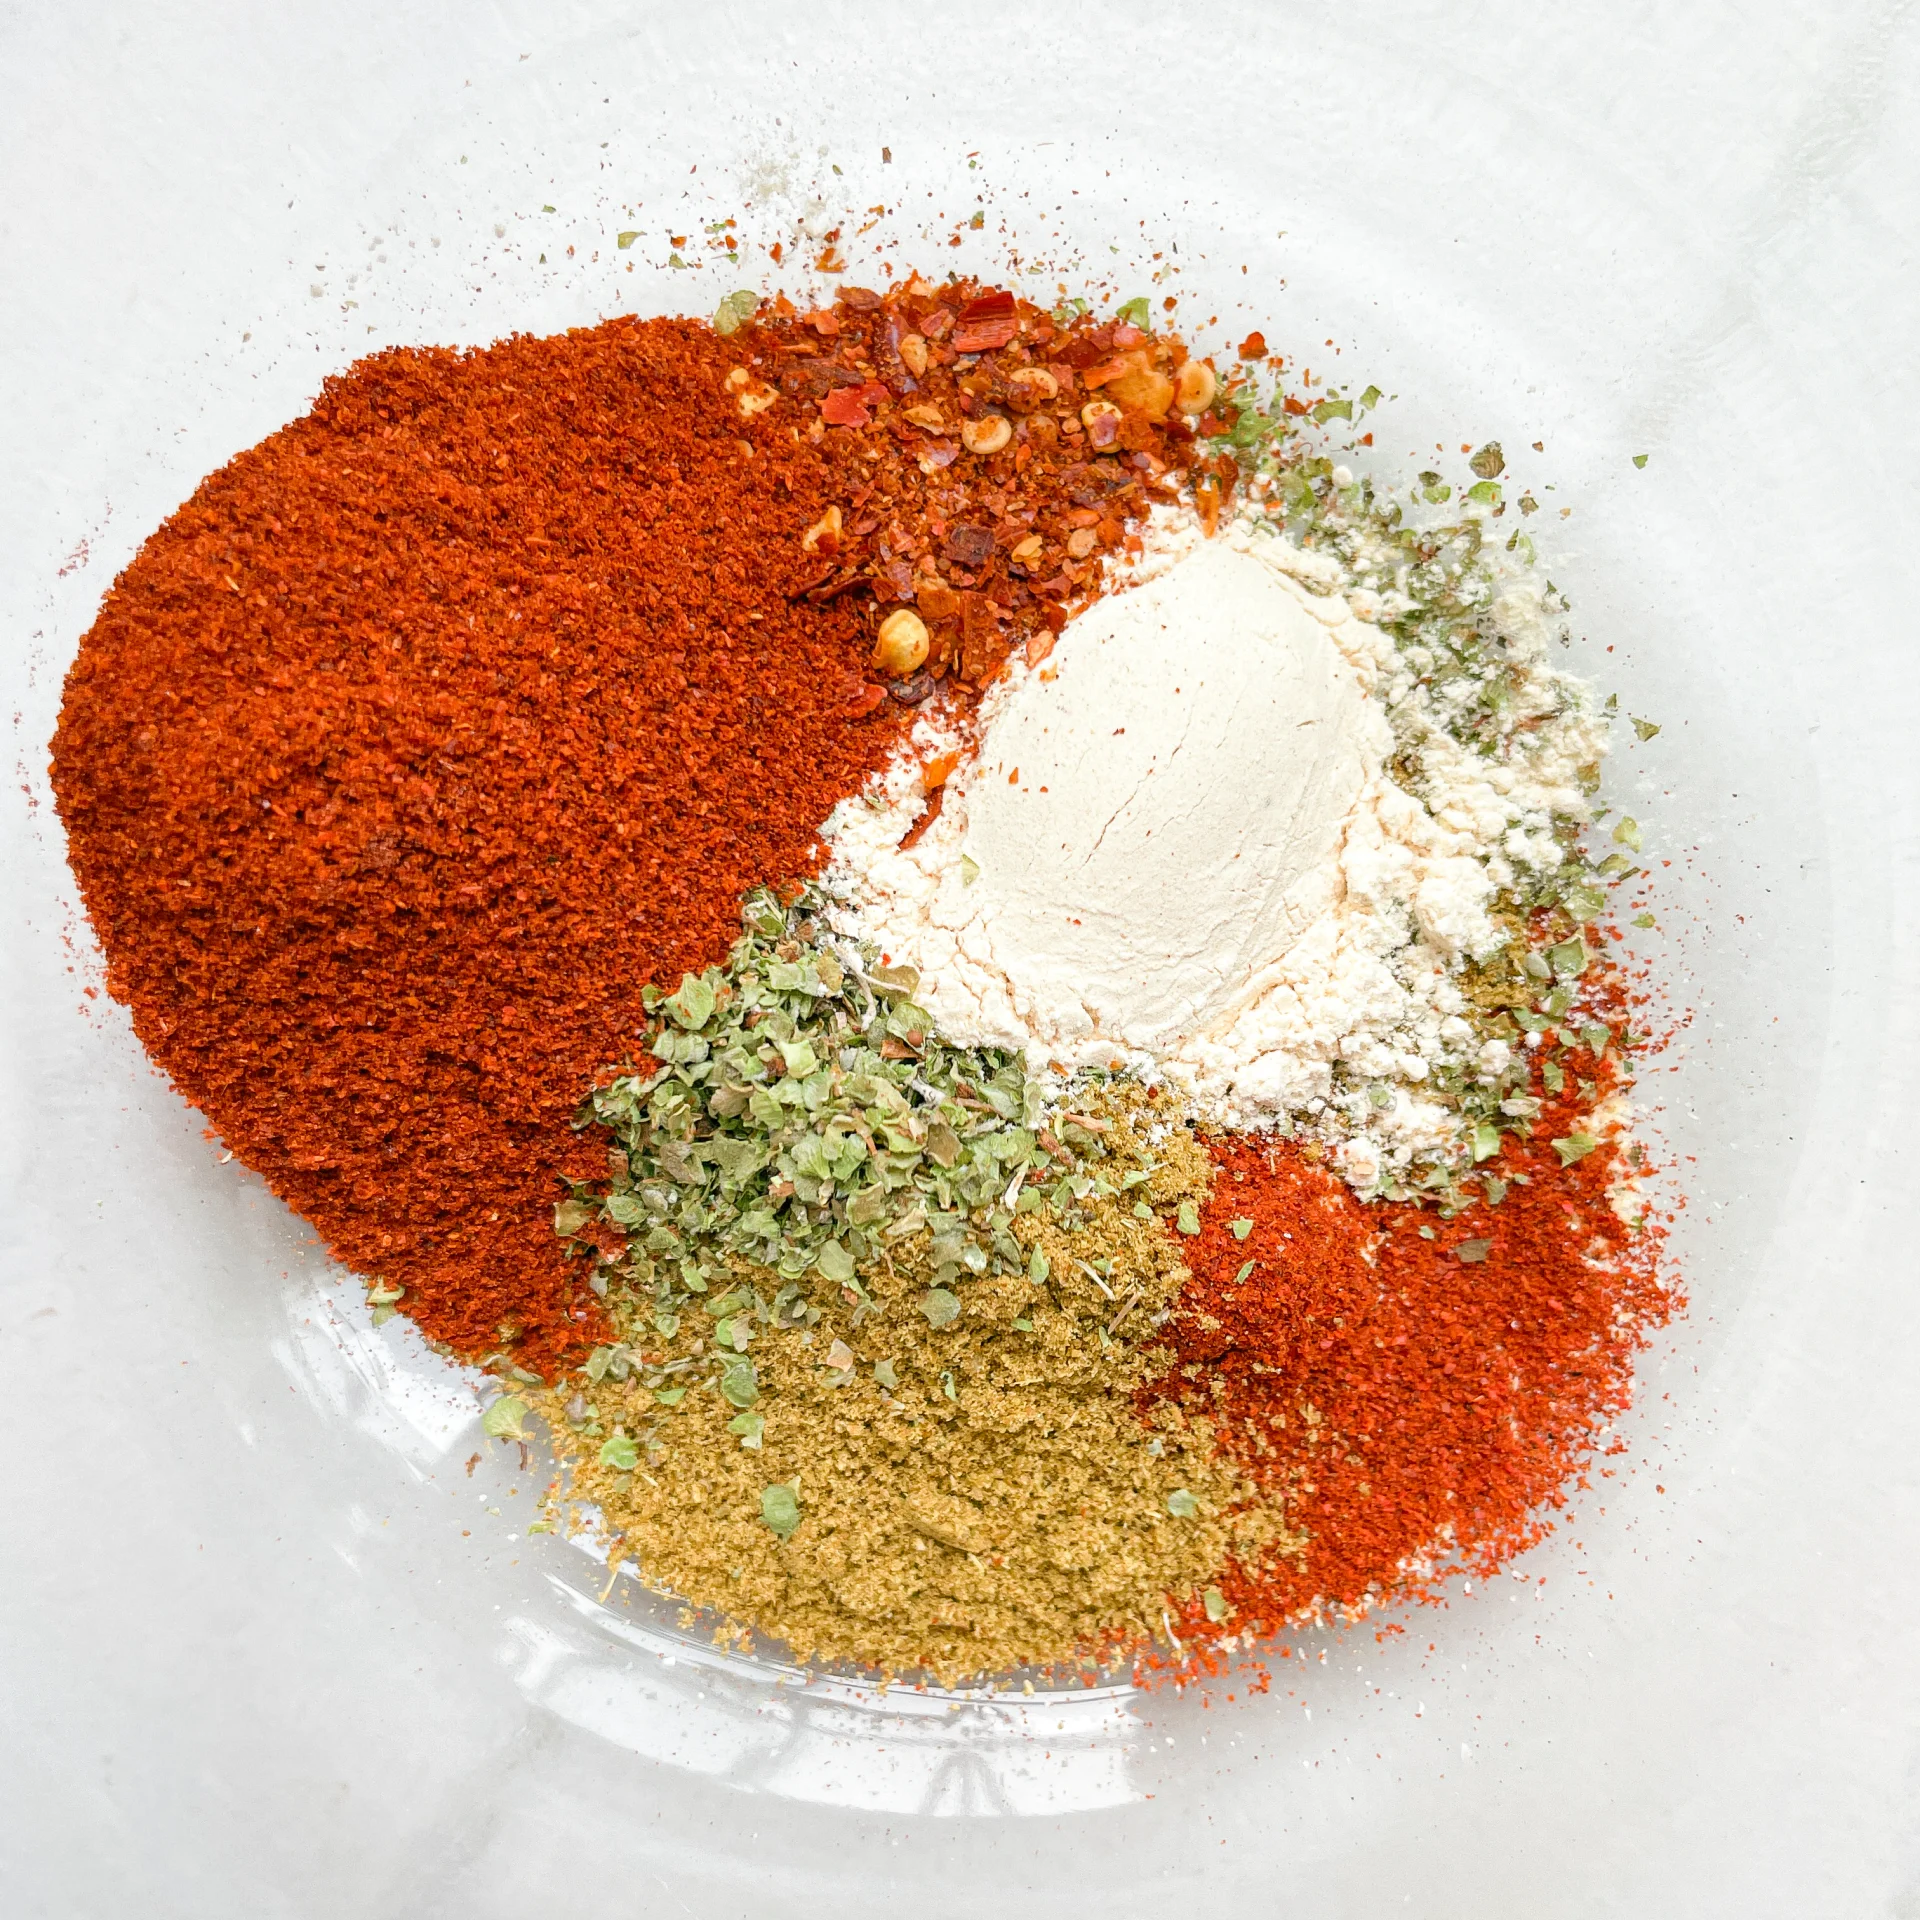
    2. In a medium-sized bowl, mix together the marinade for the salmon. Stir together the olive oil and Cajun seasoning and add the salmon bites. Stir everything well and then place the salmon pieces on a baking tray lined with baking paper.

    3. Meanwhile, prepare the sauce. In a small bowl, mix together the mayonnaise, sweet and sour sauce, Sriracha, lemon juice, crispy chili oil and crushed garlic.

    4. Remove the salmon from the oven after 5-7 minutes. Now divide the rice into two bowls, place the salmon bites on top and spread the sauce over them. Finally, top with spring onions.

    NOTE: The calorie information may vary depending on the product used, country and region.

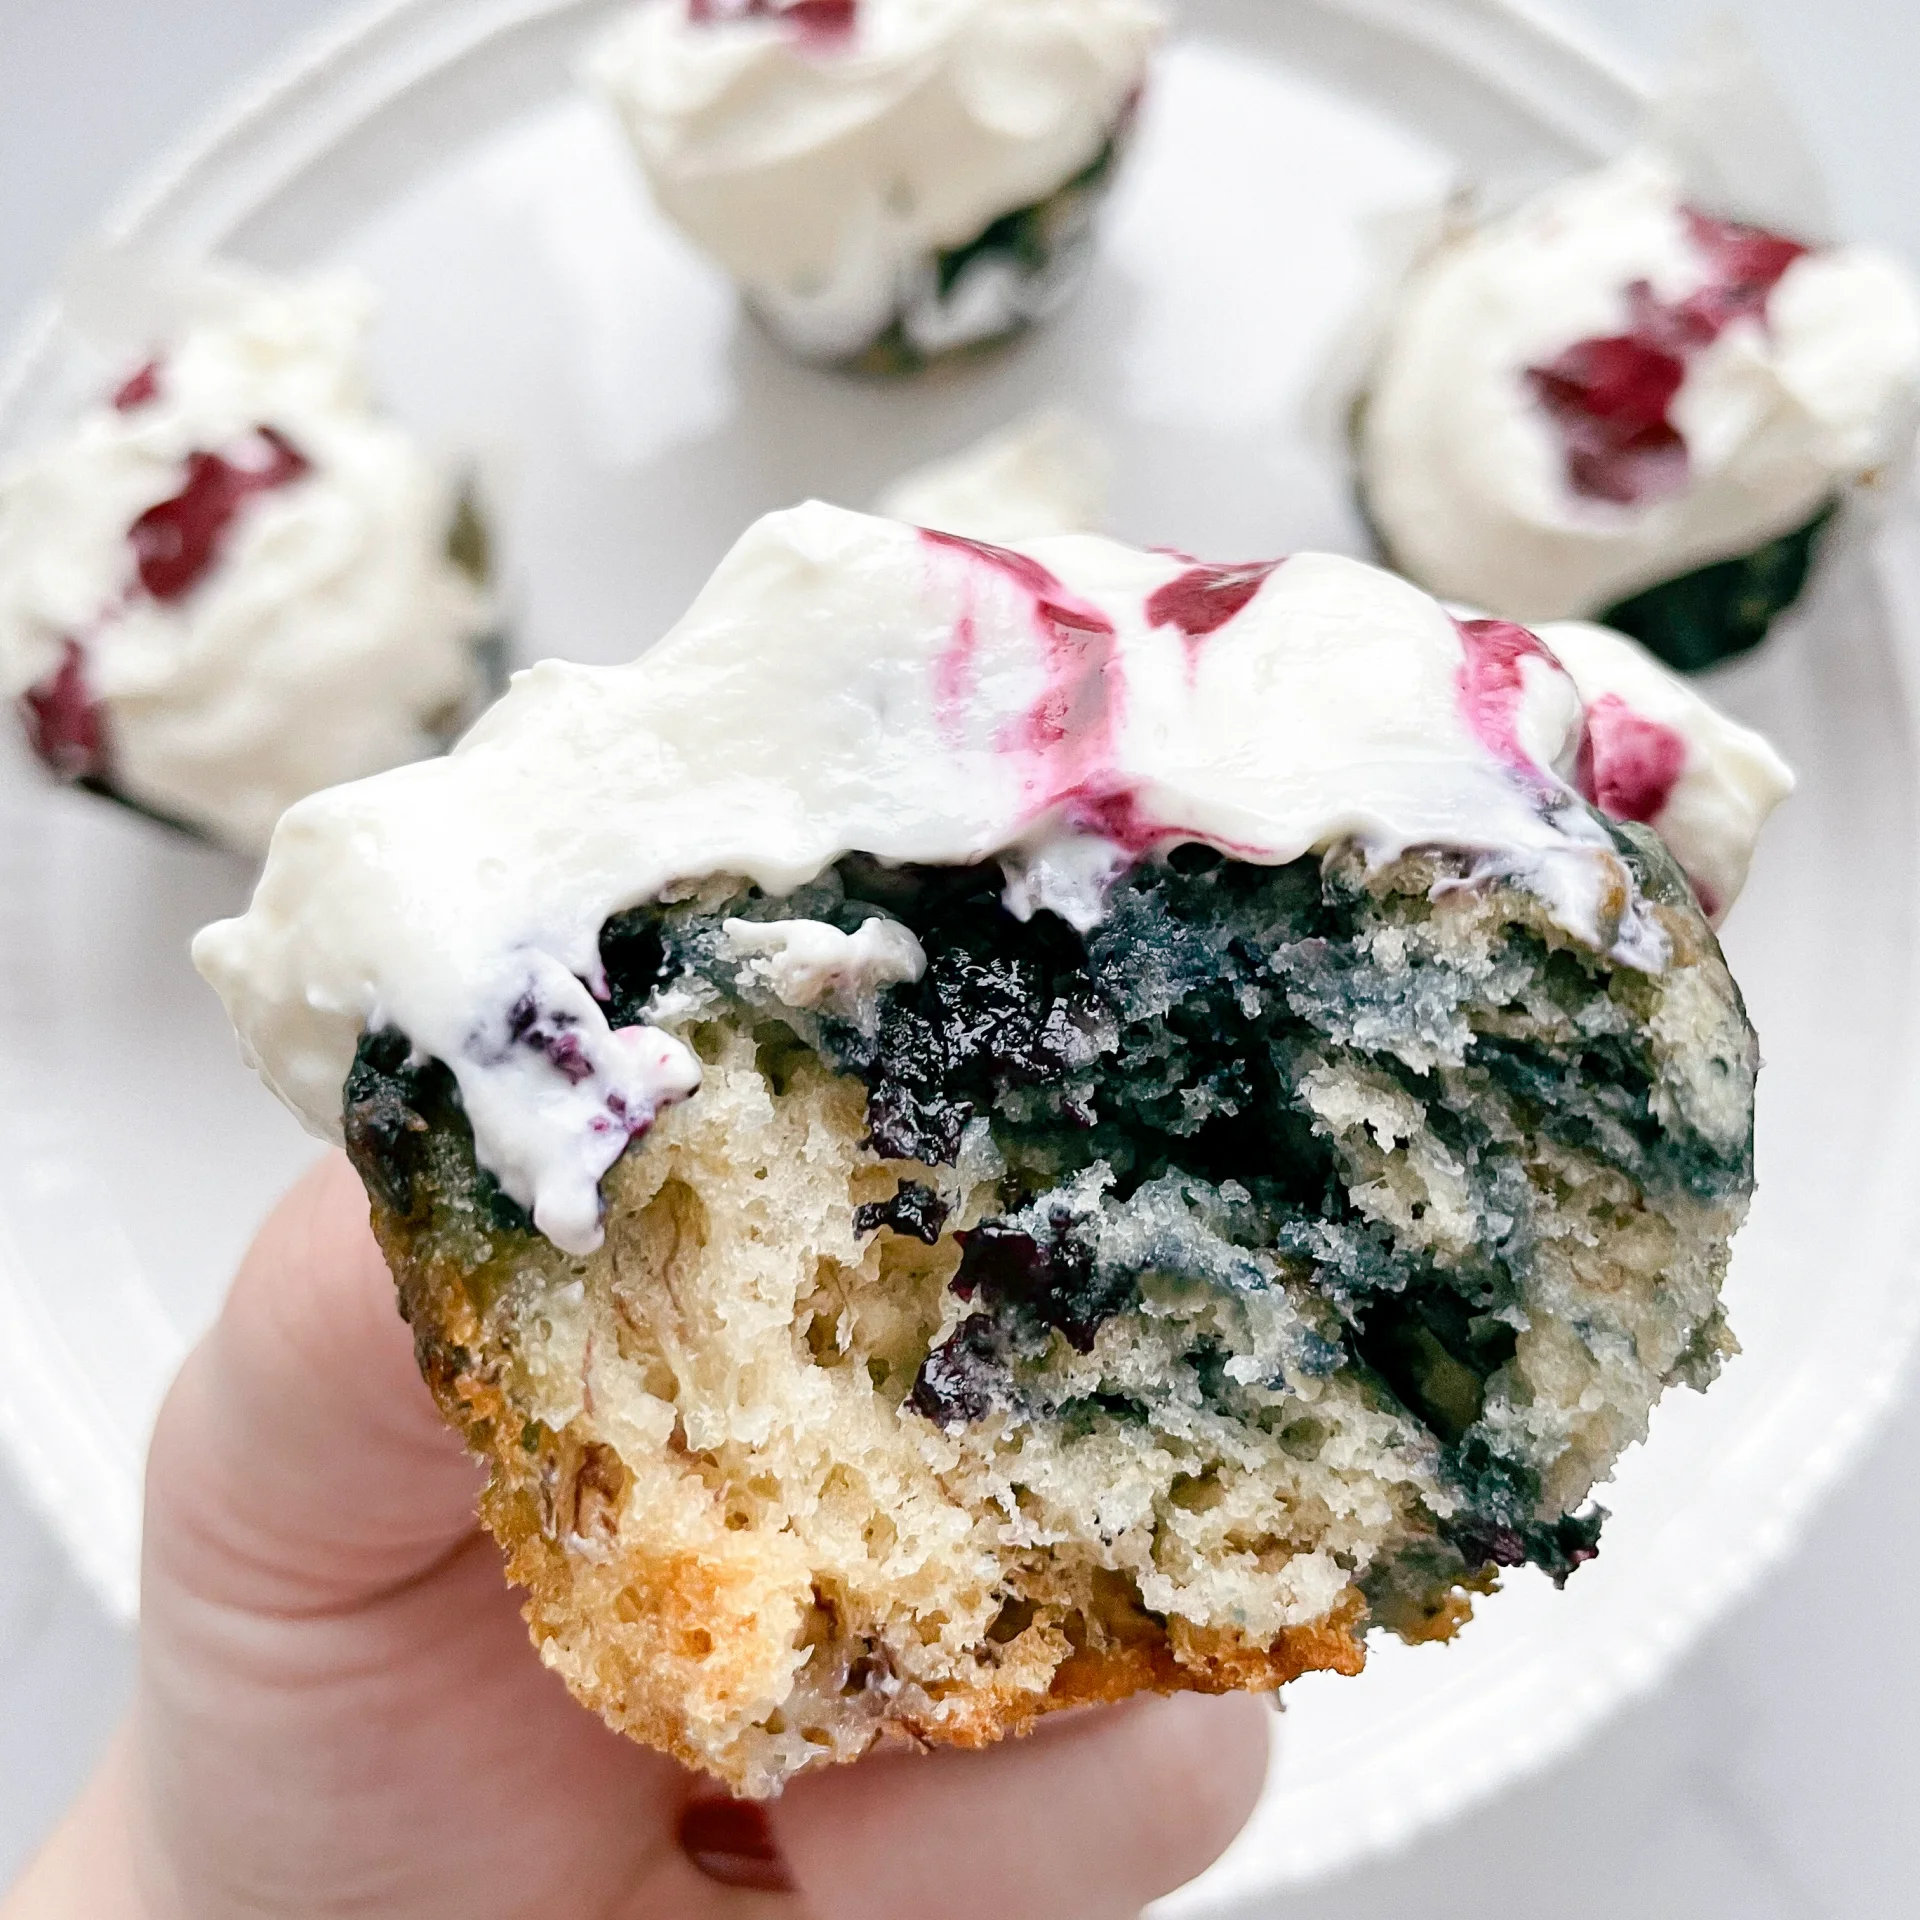
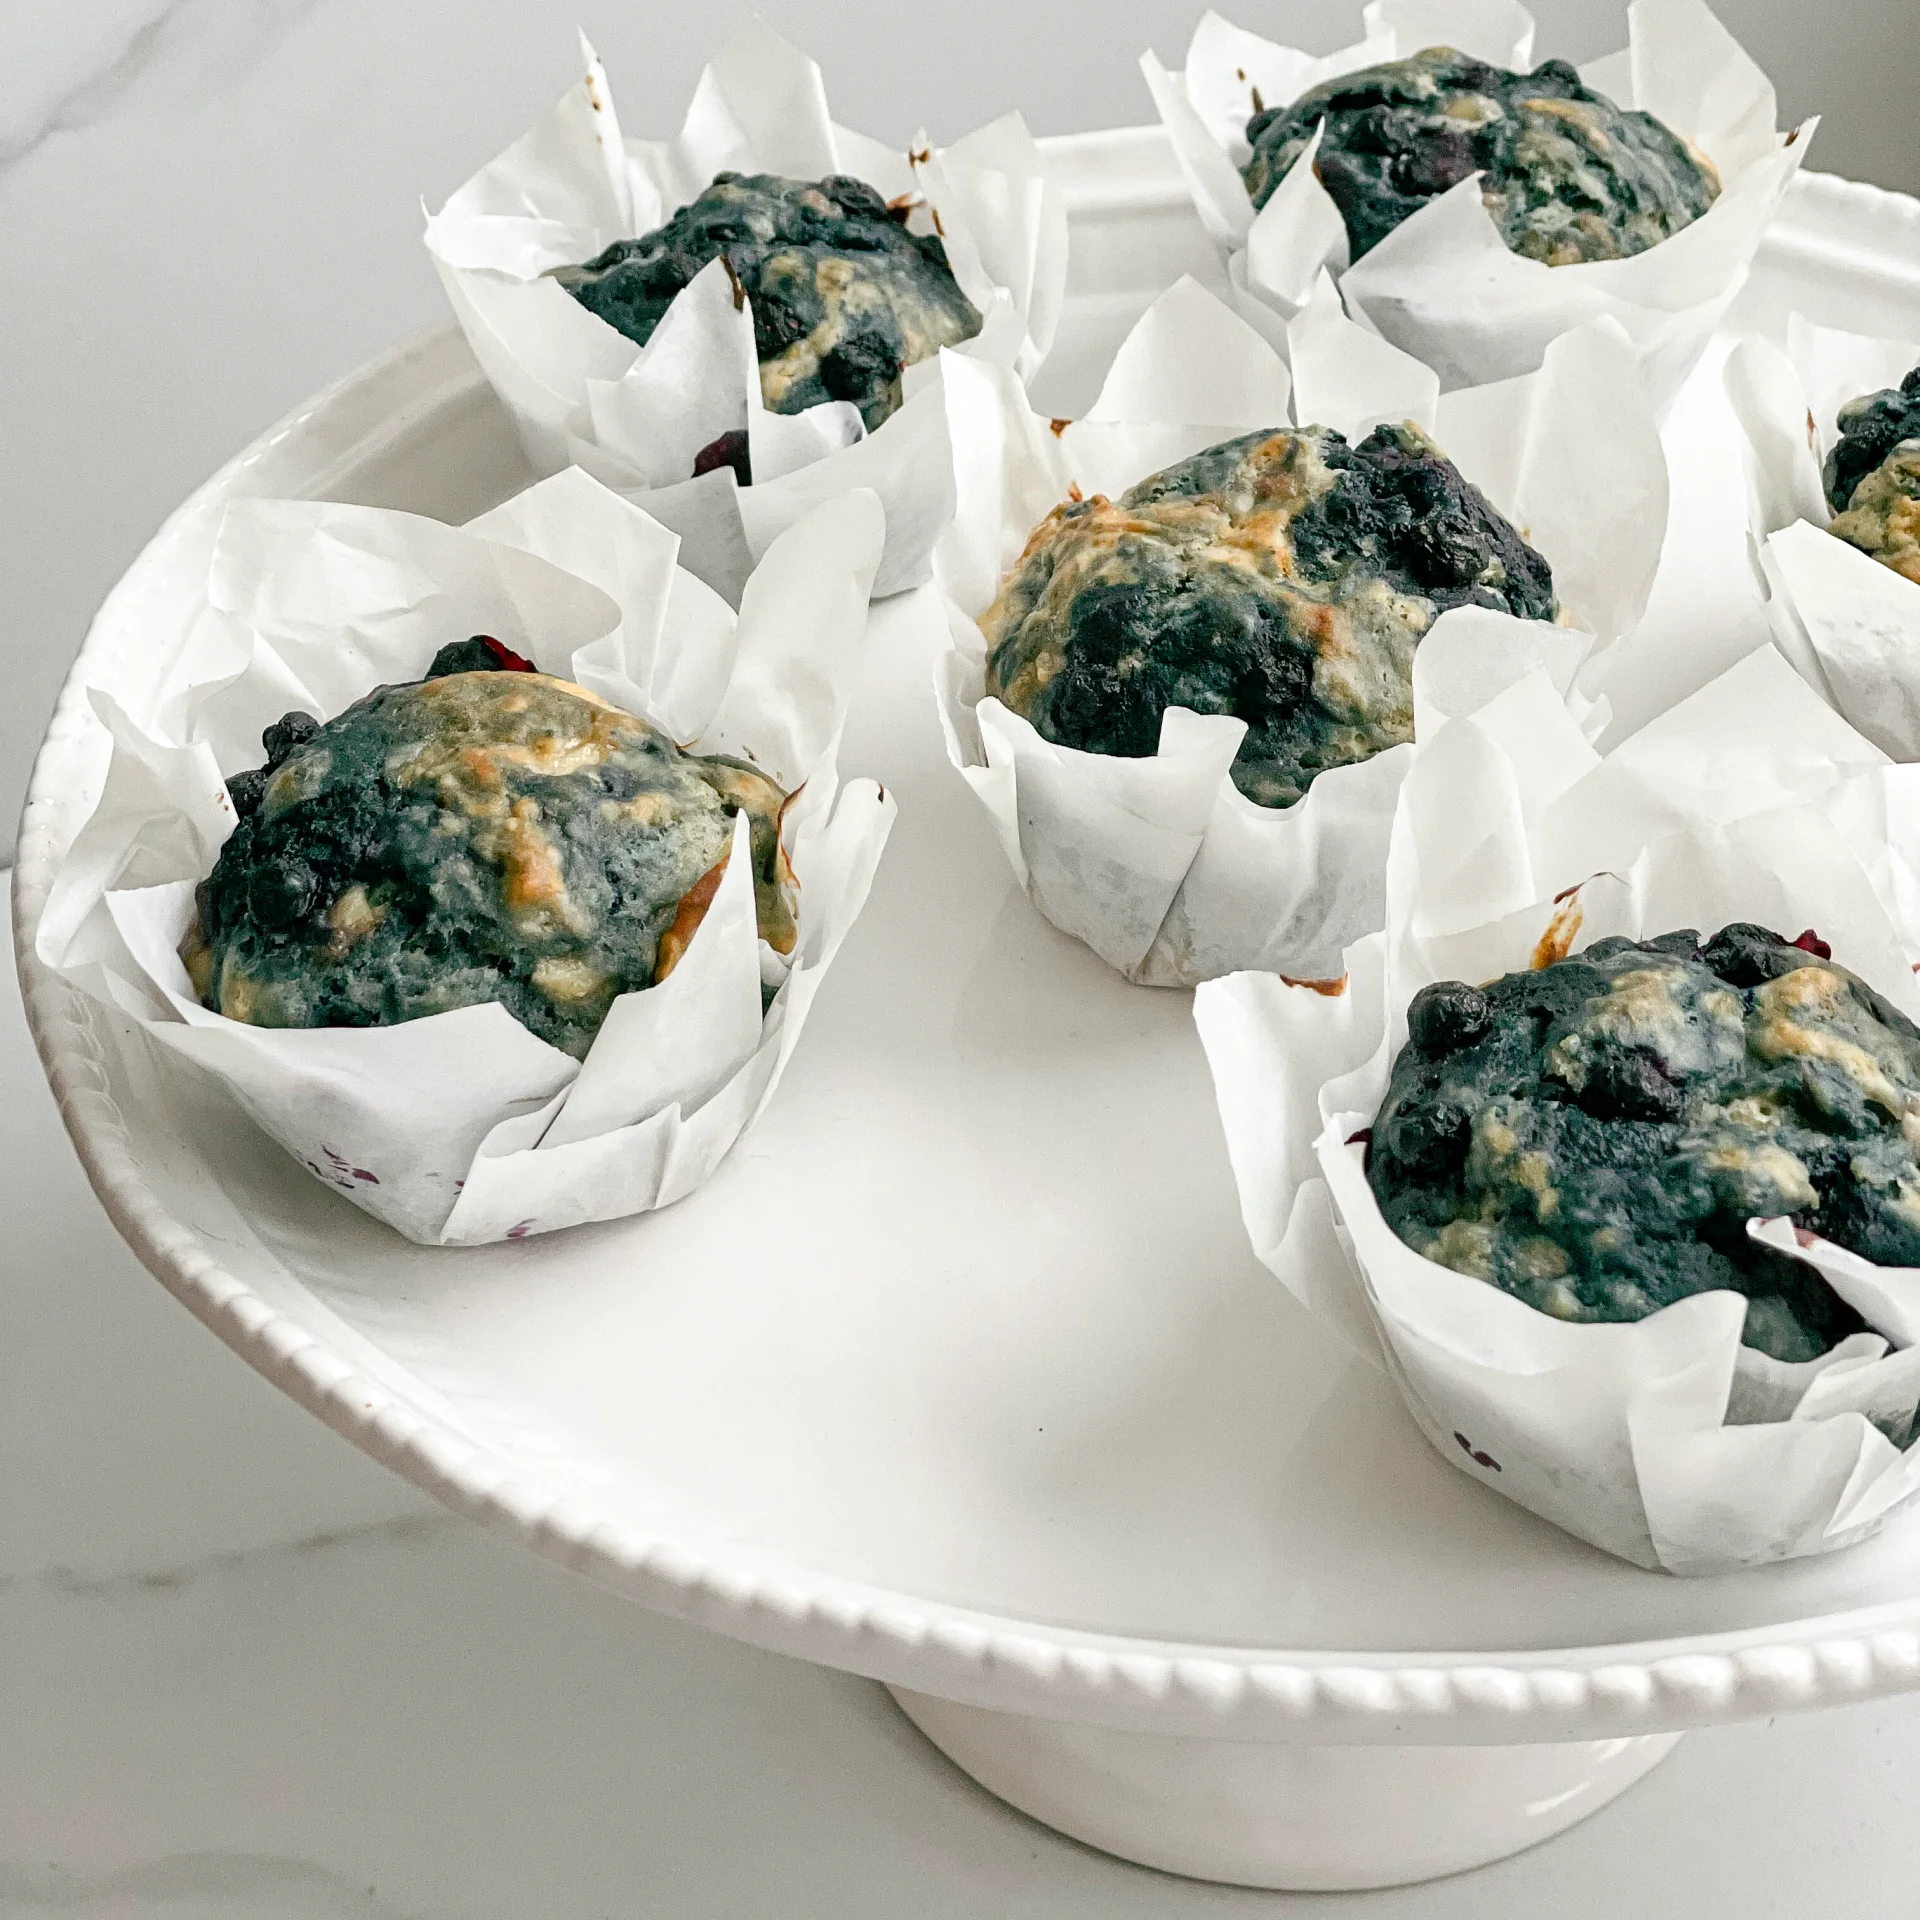
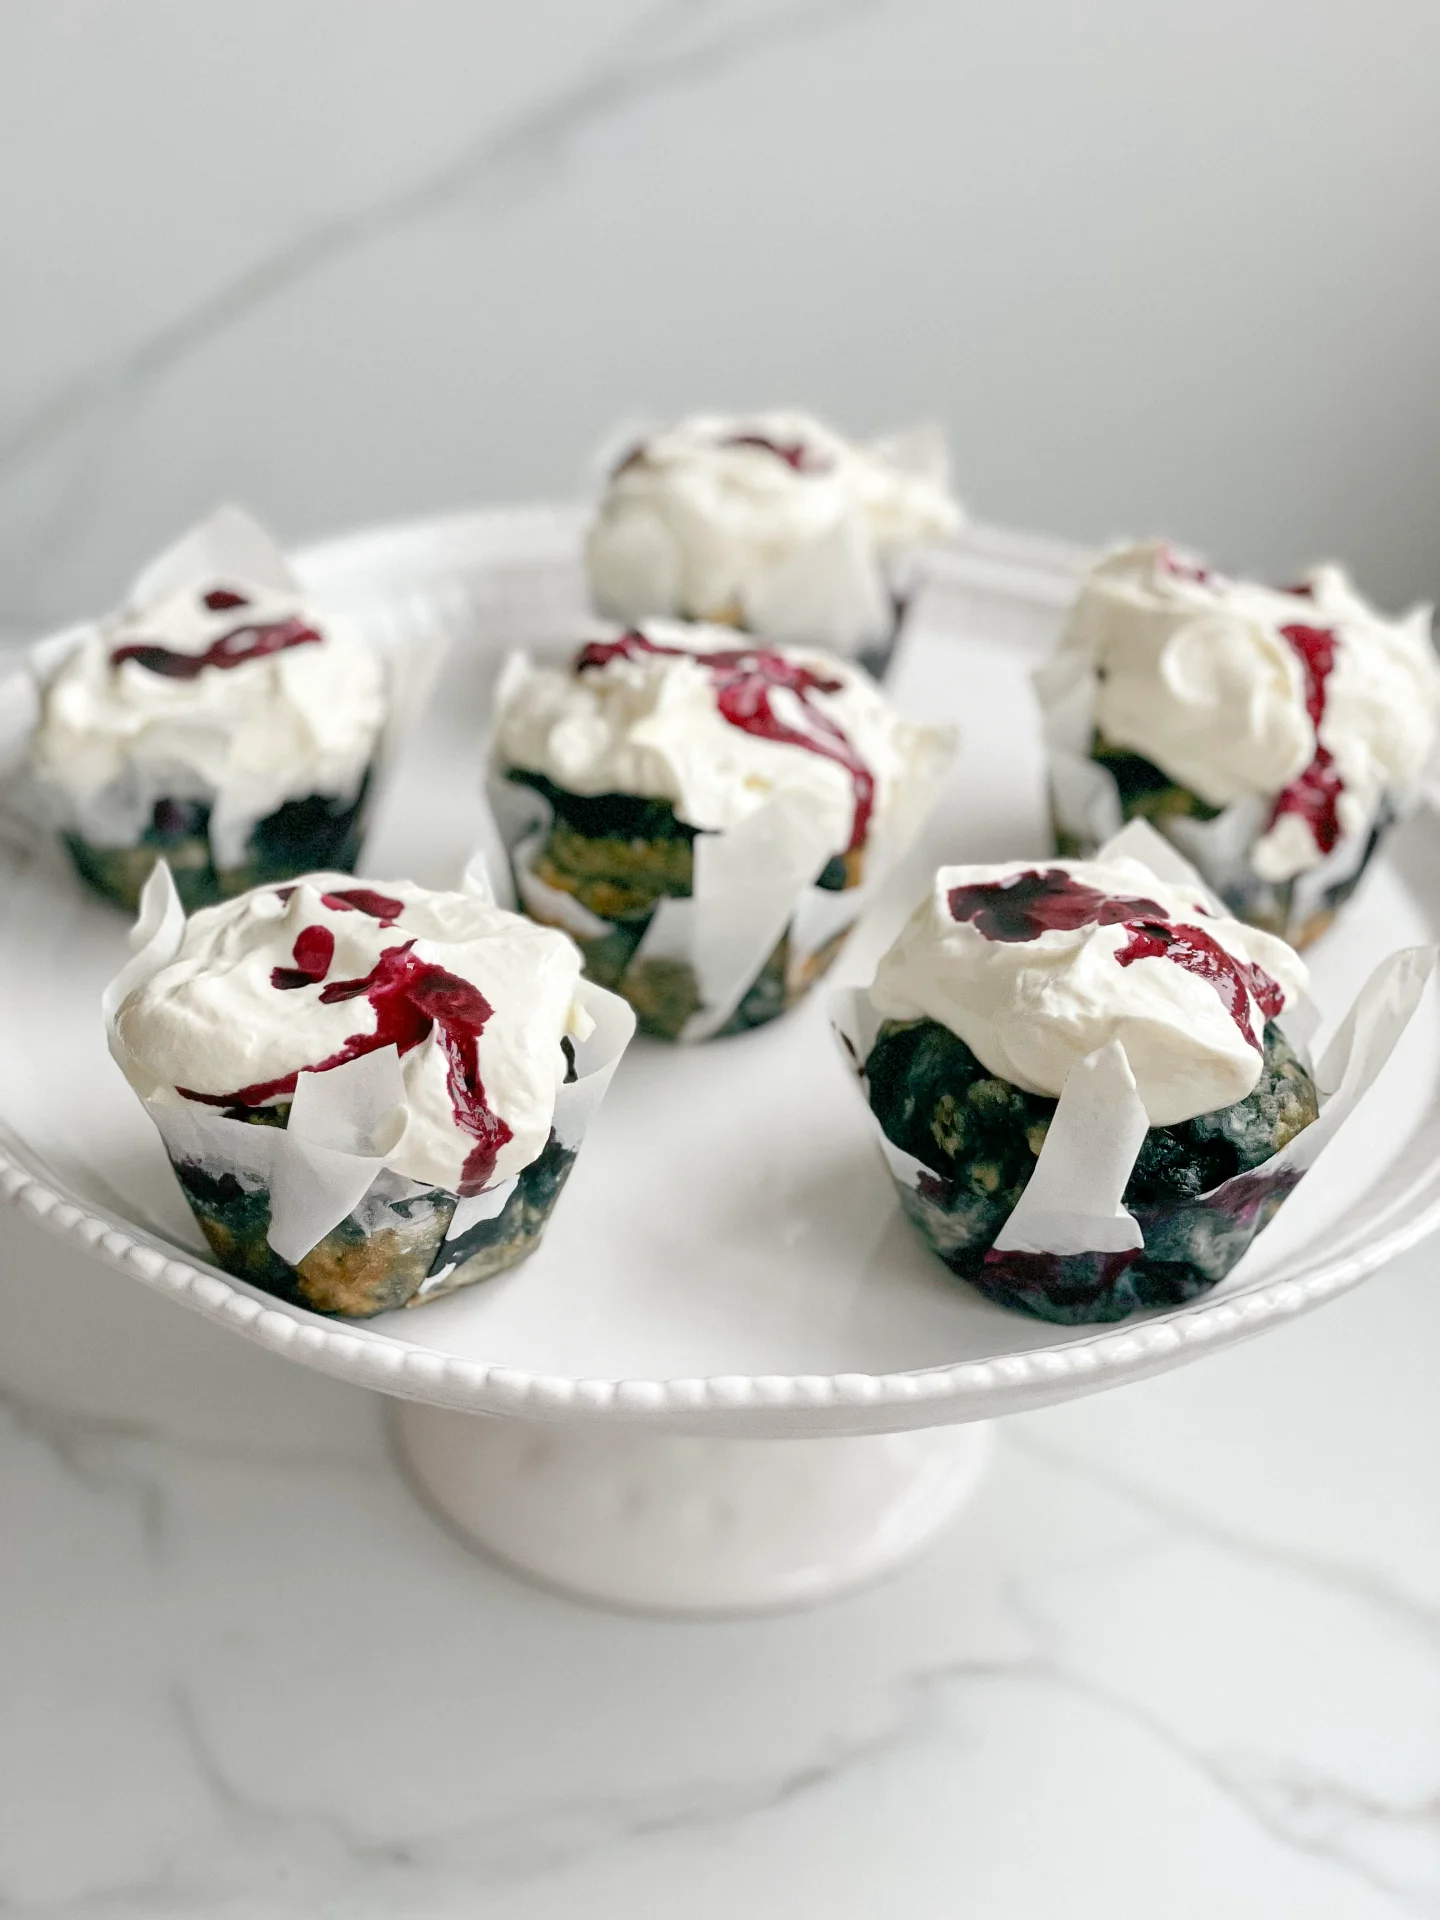
    Light & Flavorful Blueberry Banana Cupcakes with Cream Cheese Frosting

    Light & Flavorful Blueberry Banana Cupcakes with Cream Cheese Frosting

    Light & Flavorful Blueberry Banana Cupcakes with Cream Cheese Frosting

    Light & Flavorful Blueberry Banana Cupcakes with Cream Cheese Frosting

    January 6, 2024 by Kimberly

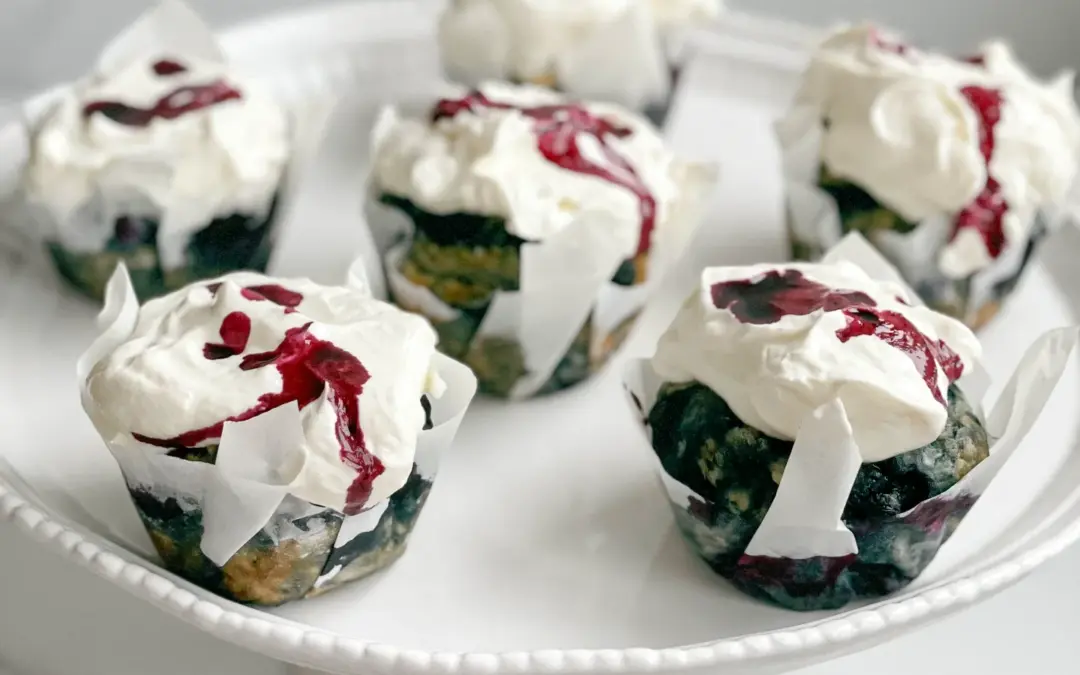
    Enjoy our Blueberry Banana Cupcakes, a refined sugar-free recipe, topped with creamy cheese frosting for a light, sweet delight blending natural fruitiness with rich smoothness.

    25 MINUTES

    EASY

    VEGETARIAN

    US AMERICAN

    236 PER PORTION

    SWEET / CREAMY / FLUFFY

    EVERYDAY

    DESSERT / SNACK

    ALL YEAR

    INTRODUCTION

    ABOUT THE RECIPE

    Discover the joy of baking with our Light & Flavorful Blueberry Banana Cupcakes, a delightful twist on a classic treat. This unique recipe, free from refined sugar, combines the natural sweetness of bananas and blueberries with a luscious cream cheese frosting, creating a lighter but indulgently tasty delight. These cupcakes are perfect for those who enjoy the sweetness of life without the heaviness of traditional desserts.

    How to serve:
    Serve these charming cupcakes as a delightful dessert or a special treat with afternoon tea. The fusion of blueberries and banana offers a refreshing taste, while the cream cheese frosting adds a luxurious touch. For an extra flair, garnish with fresh blueberries or banana slices just before serving. They pair wonderfully with a cup of coffee or a glass of cold milk.

    How to store:
    Keep any leftover cupcakes in an airtight container in the refrigerator for up to 3 days. The cream cheese frosting requires refrigeration to maintain freshness and texture. For the best experience, let them reach room temperature before serving.

    Hi, I'm Kimberly!

    Hi, I'm Kimberly.

    A passionate food lover who believes in the magic of homemade deliciousness that spreads love and warmth. Join me on this culinary adventure as I prepare wonderful dishes and let’s spread some happiness together!

    Kimberly the Zett Signature

    If you want to get to know me better, click here!


    Light & Flavorful Blueberry Banana Cupcakes with Cream Cheese Frosting
    Light & Flavorful Blueberry Banana Cupcakes with Cream Cheese Frosting
    Light & Flavorful Blueberry Banana Cupcakes with Cream Cheese Frosting

    „Let’s make a piece of happiness“

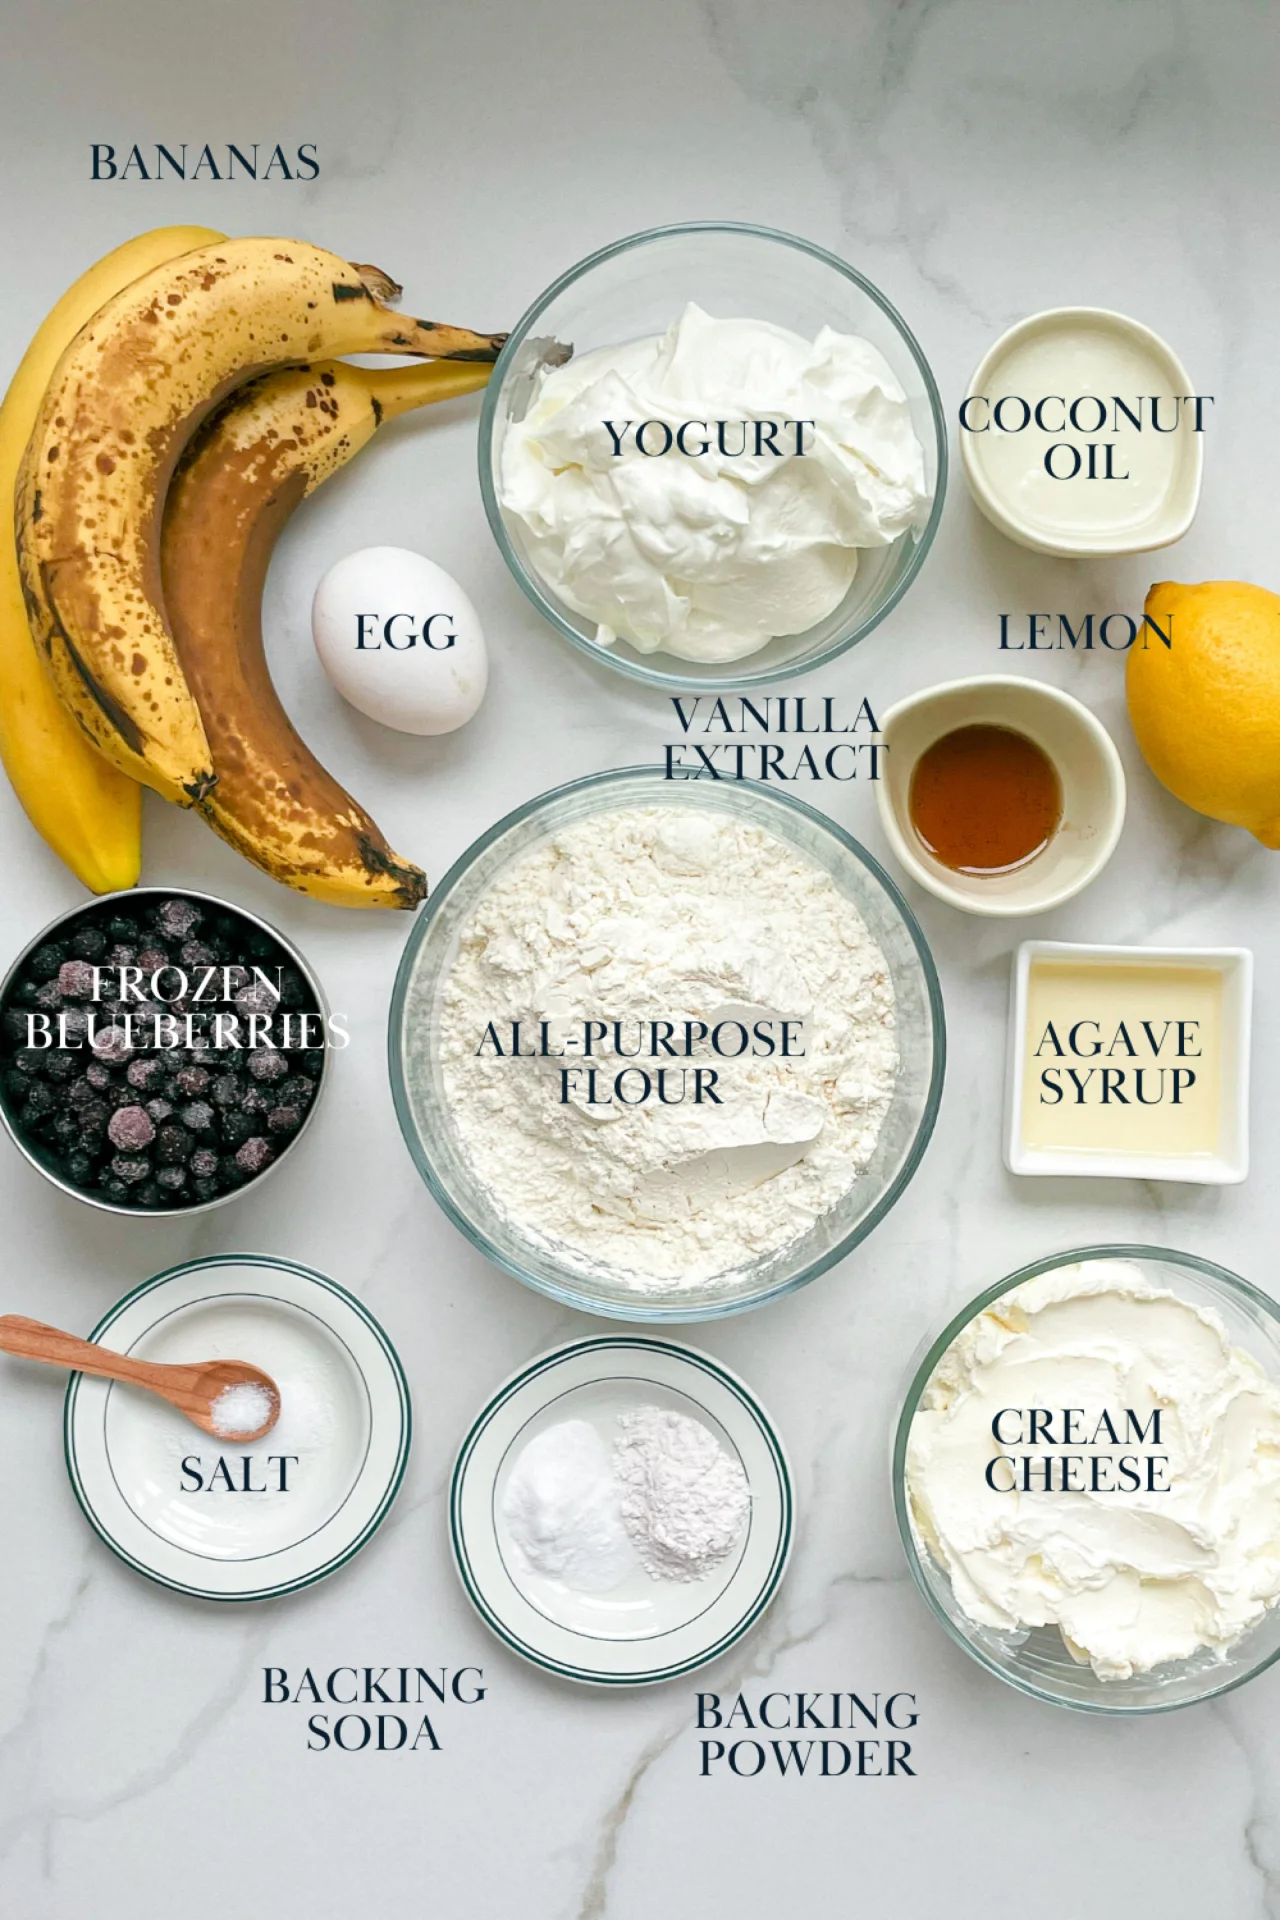
    INGREDIENTS

    FOR 12 CUPCAKES

    CUPCAKES

    • 3 ripe bananas
    • 50ml coconut oil (1/4 cup)
    • 80g agave syrup (1/4 cup)
    • 1 egg
    • 1 tsp vanilla extract
    • 180g all-purpose flour (1.5 cups)
    • 1 tsp baking soda
    • 1 tsp baking powder
    • 1/2 tsp salt
    • 160g frozen blueberries (1 cup)

    FROSTING

    • 230g cream cheese (1 cup)
    • 250g yogurt (1 cup)
    • 50ml agave syrup (1/4 cup)
    • 1 tsp lemon juice
    • 1/2 tsp vanilla extract
    Light & Flavorful Blueberry Banana Cupcakes with Cream Cheese Frosting
    }

    ACTIVE: 5 min
    PASSIVE: 0 min
    PREPARATIONS

    Recommended Equipment
    • cupcake tin
    • baking paper
    • large bowl
    • medium bowl
    • hand mixer
    • Preheat the oven to 180°C (350°F)
    • Line a 12-cup cupcake tin with baking paper and set aside.
      }

      ACTIVE: 10 min
      PASSIVE: 10 min
      COOKING

      1. In a large bowl, mash the bananas with a fork to a mash. Mix in the coconut oil, agave syrup, egg and vanilla.
      2. Now add the flour, baking soda, baking powder and salt to the bowl and mix everything together until a creamy dough forms – do not overmix. Fold in the blueberries but set aside about 1 tablespoon of them for later.

      3. Fill the cupcake tins about 2/3 full. Now bake for 16 minutes. I bake them in two batches of 6 so that the cupcakes have more room to rise.

      4. Meanwhile, prepare the cream cheese frosting. Place the cream cheese, yoghurt, agave syrup, vanilla extract and lemon juice in a mixing bowl and beat with a hand mixer until stiff peaks form and a firm cream has formed,

      5. Take the cupcakes out of the oven and leave to cool on a wire rack.

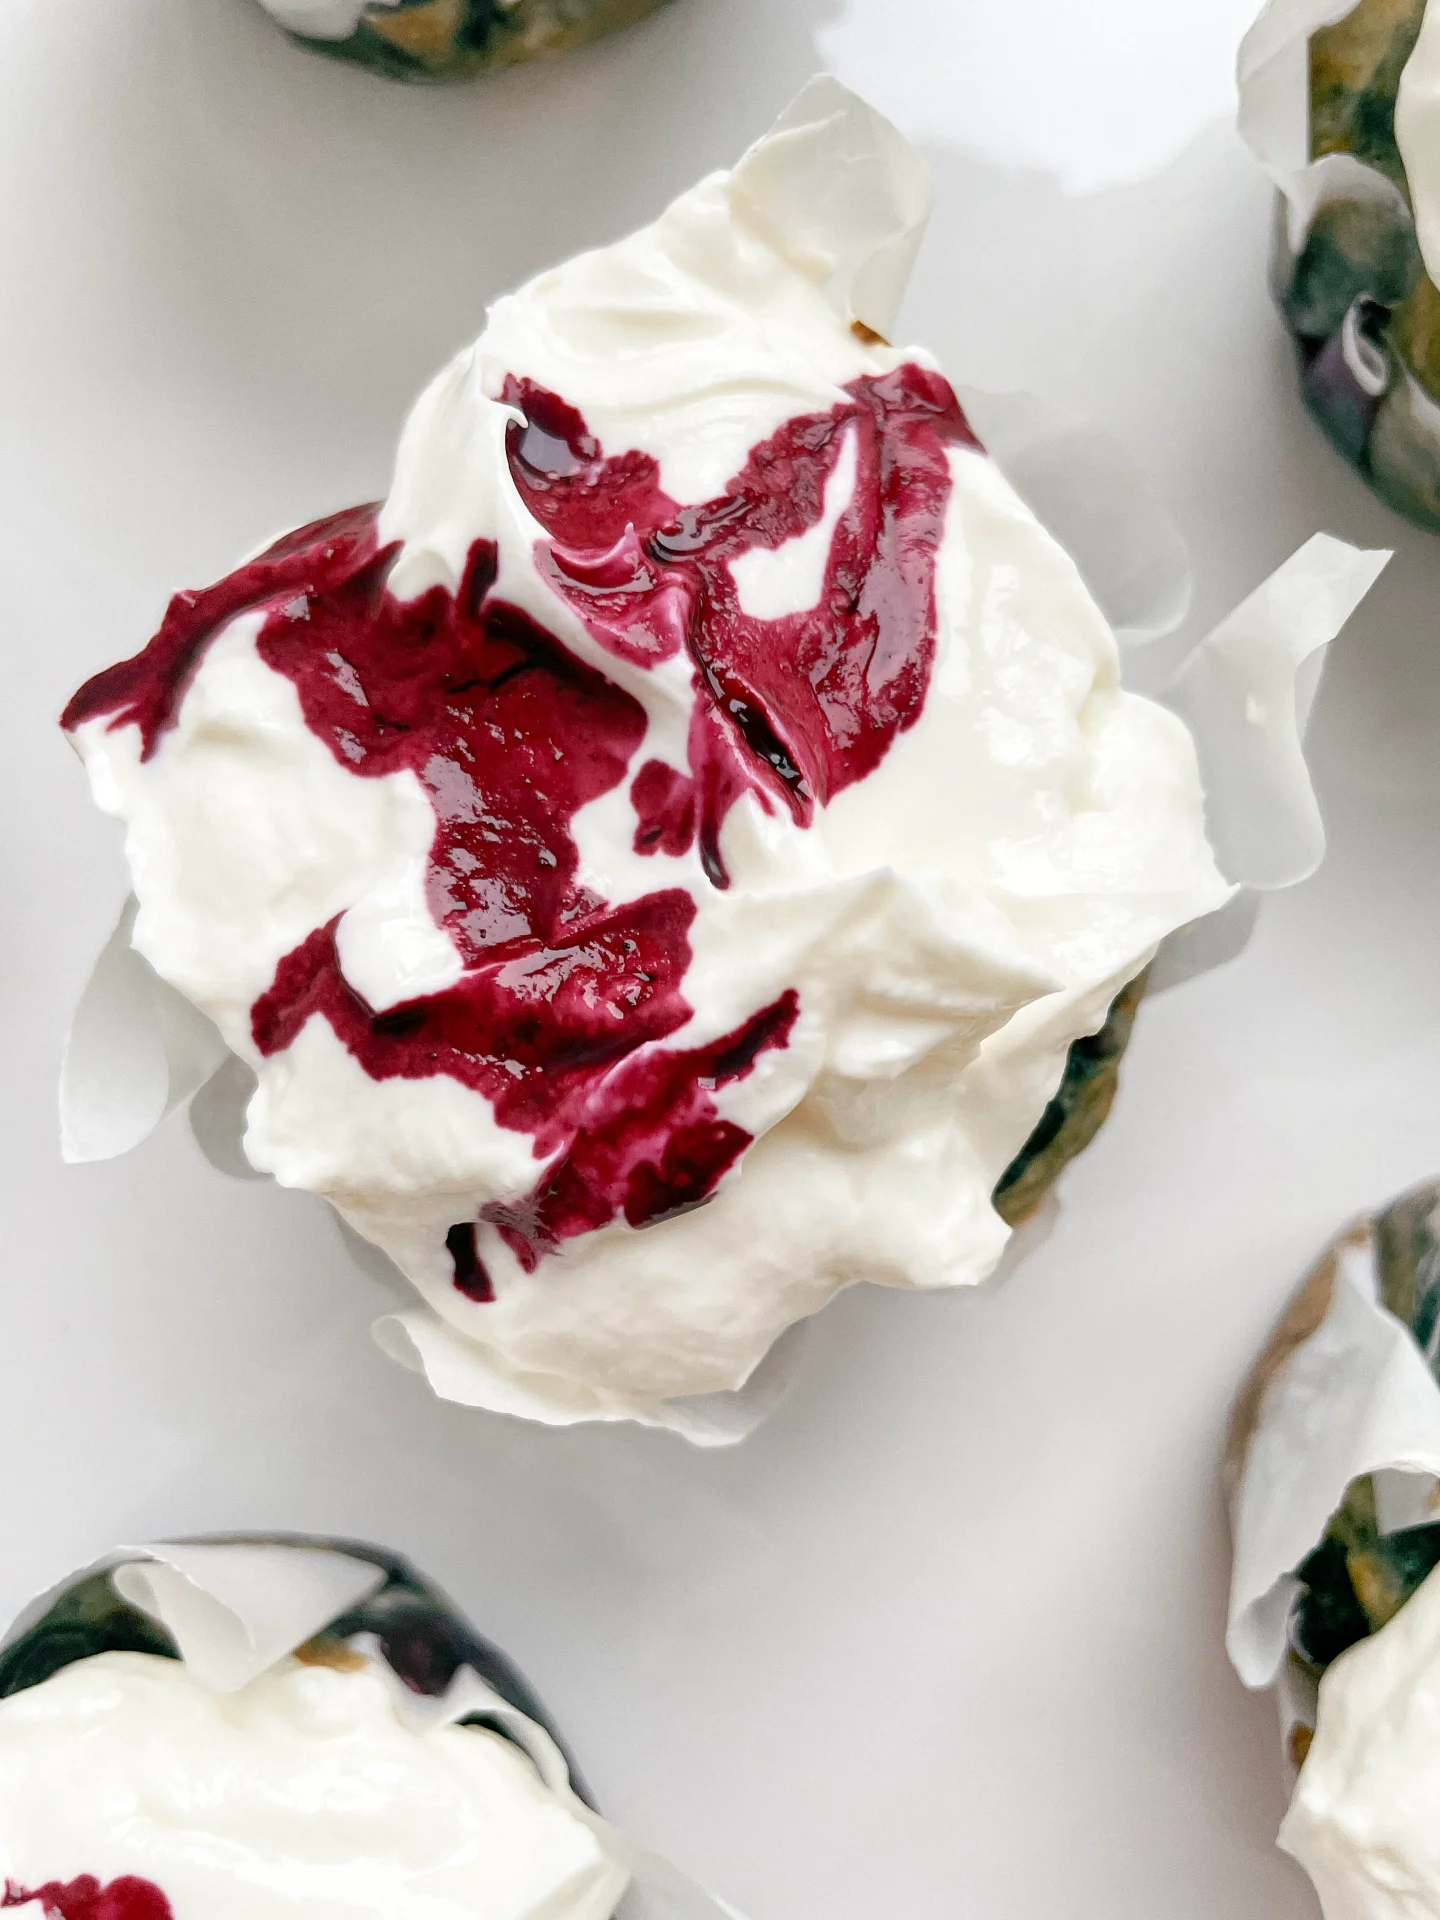
      6. As soon as the cupcakes are at room temperature, the frosting can be spread on top. Warm the remaining blueberries in a small pot or in the microwave until they turn into a sauce. Let it cool and pour the sauce over the cupcakes just before serving.

      NOTE: The calorie information may vary depending on the product used, country and region.