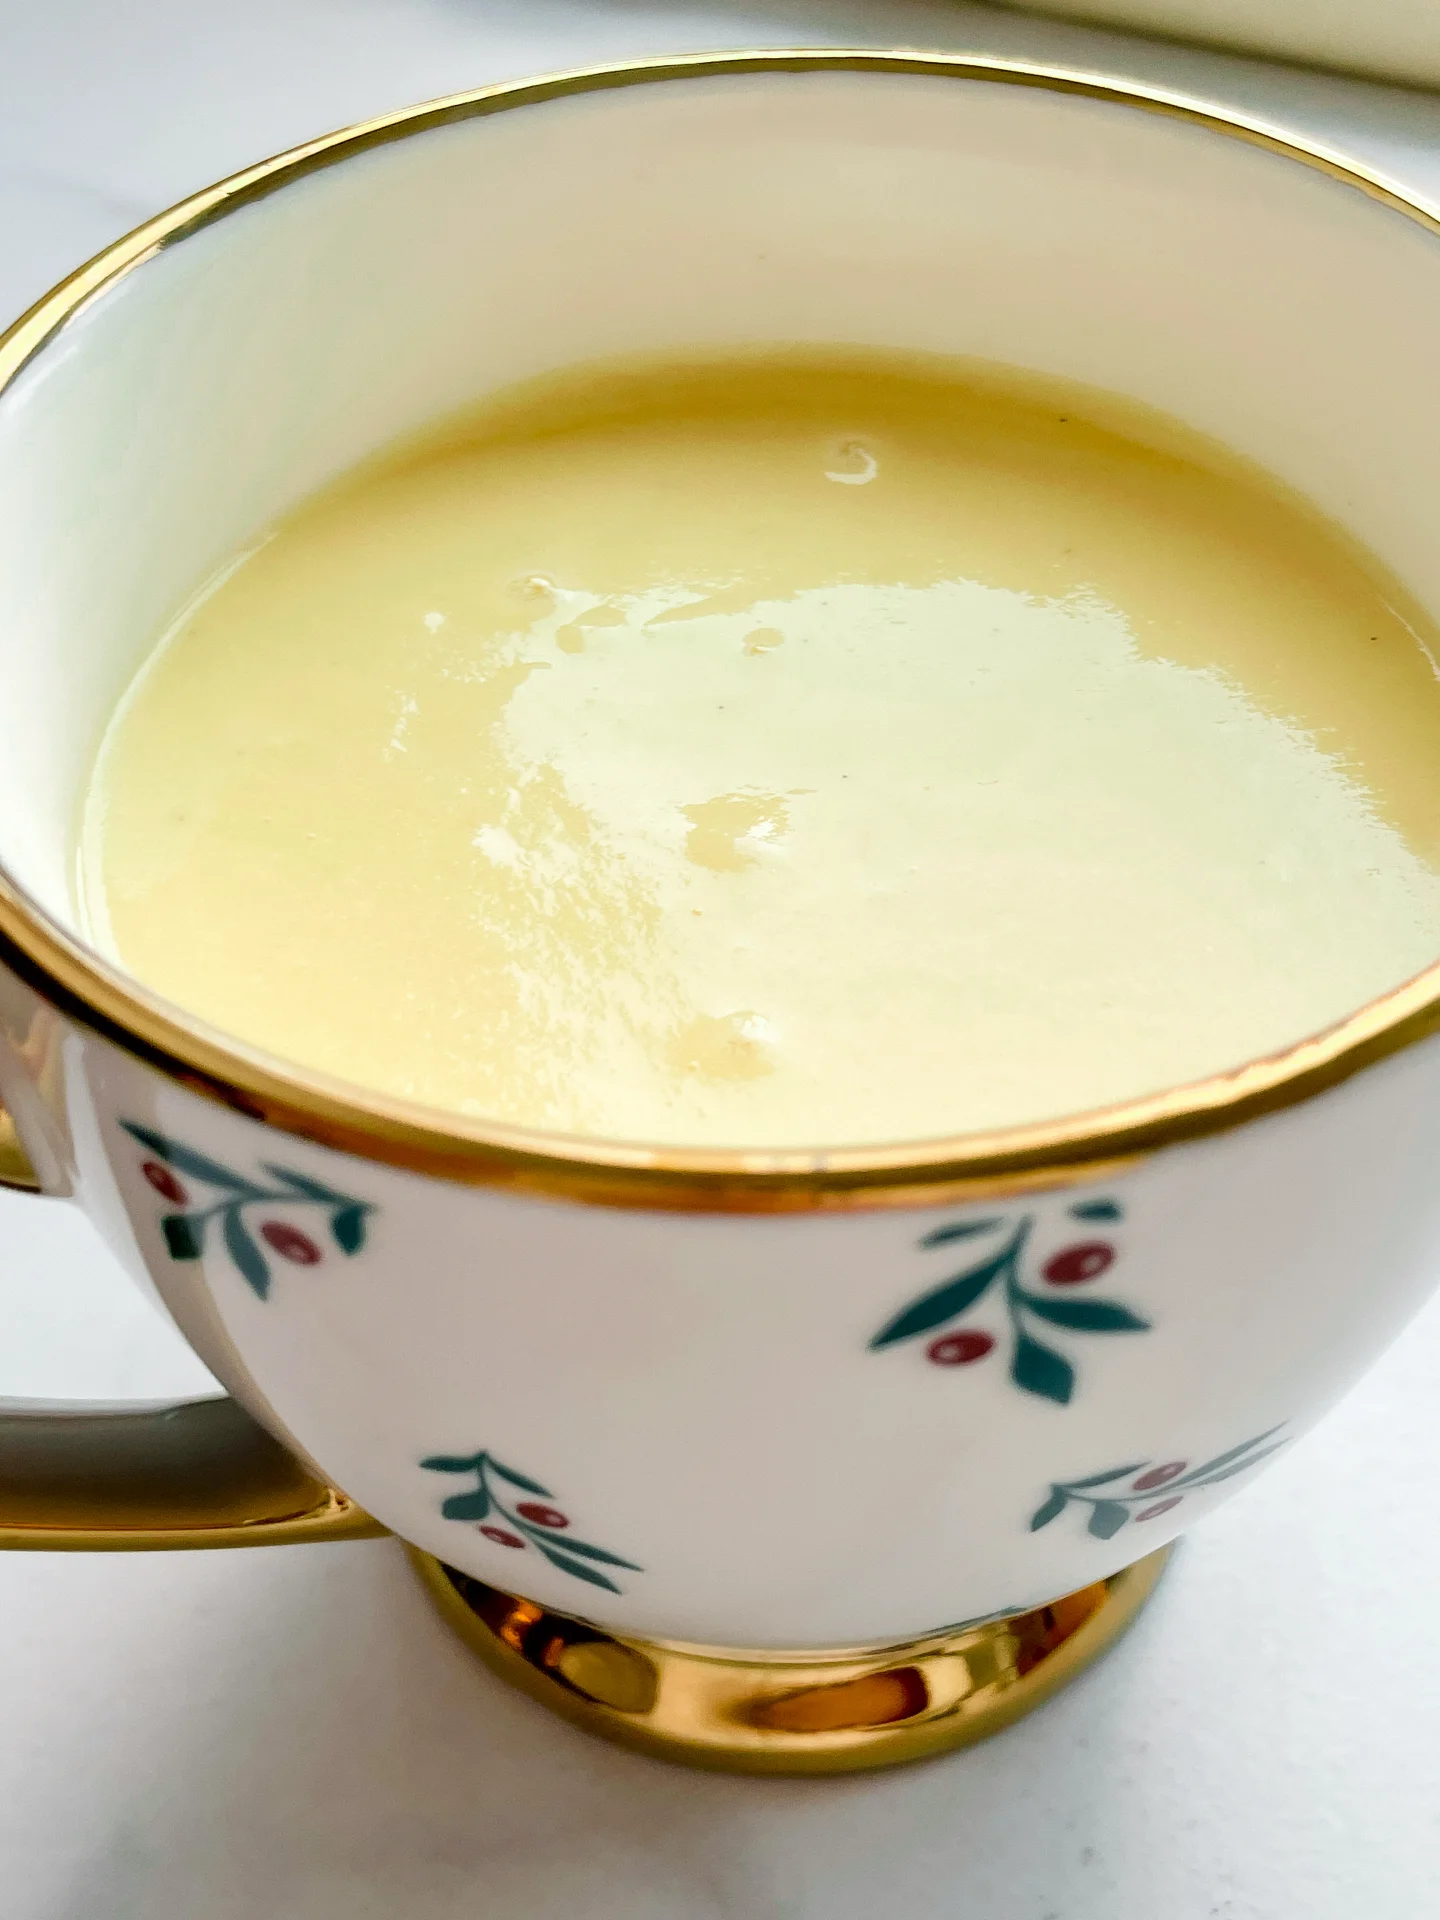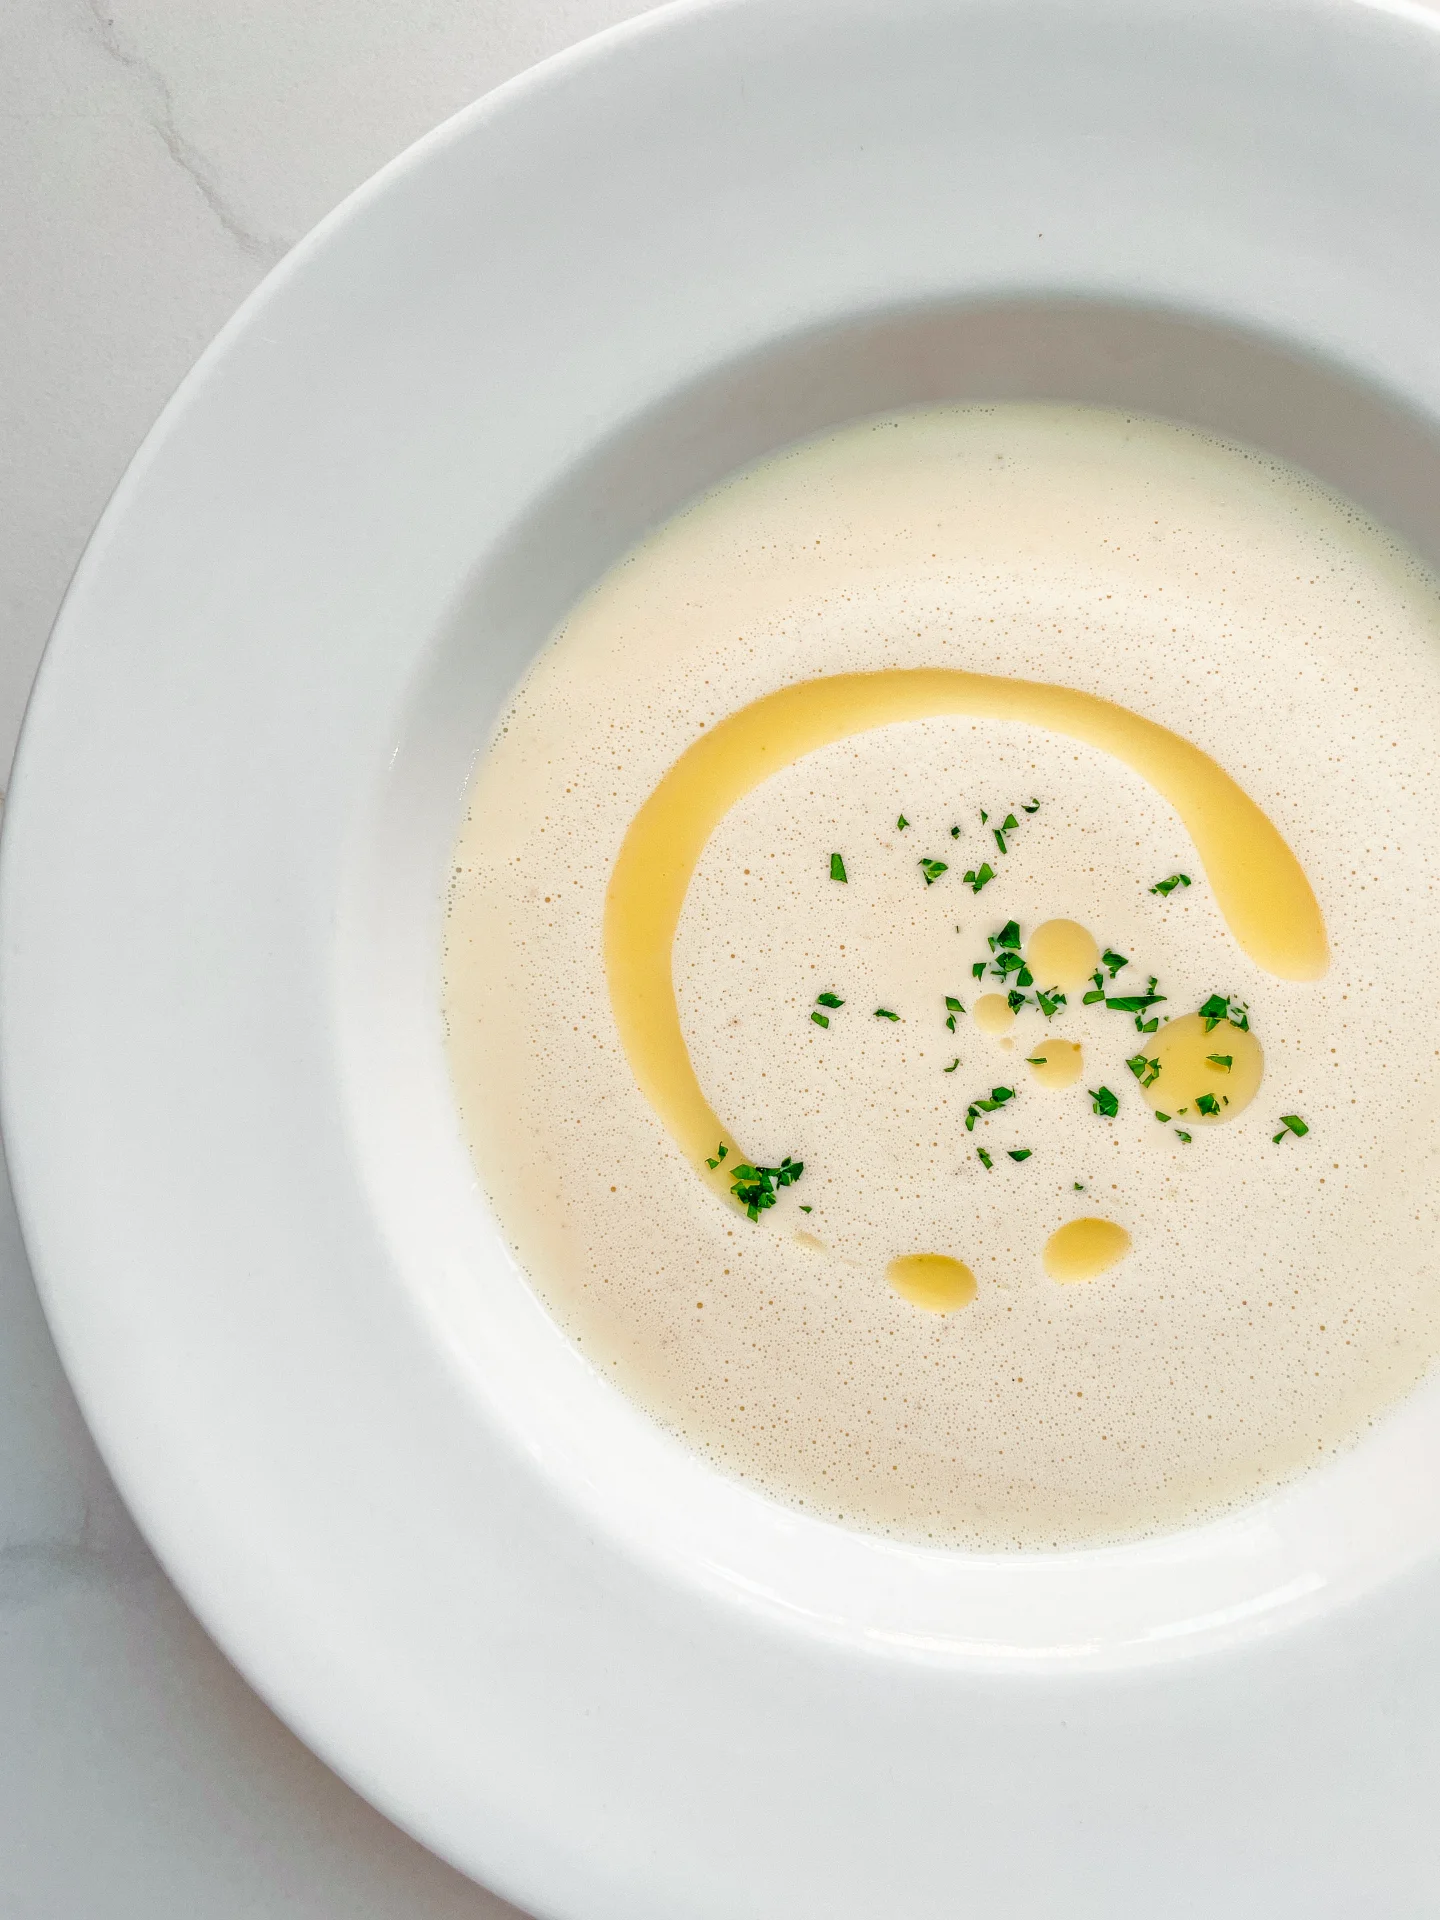


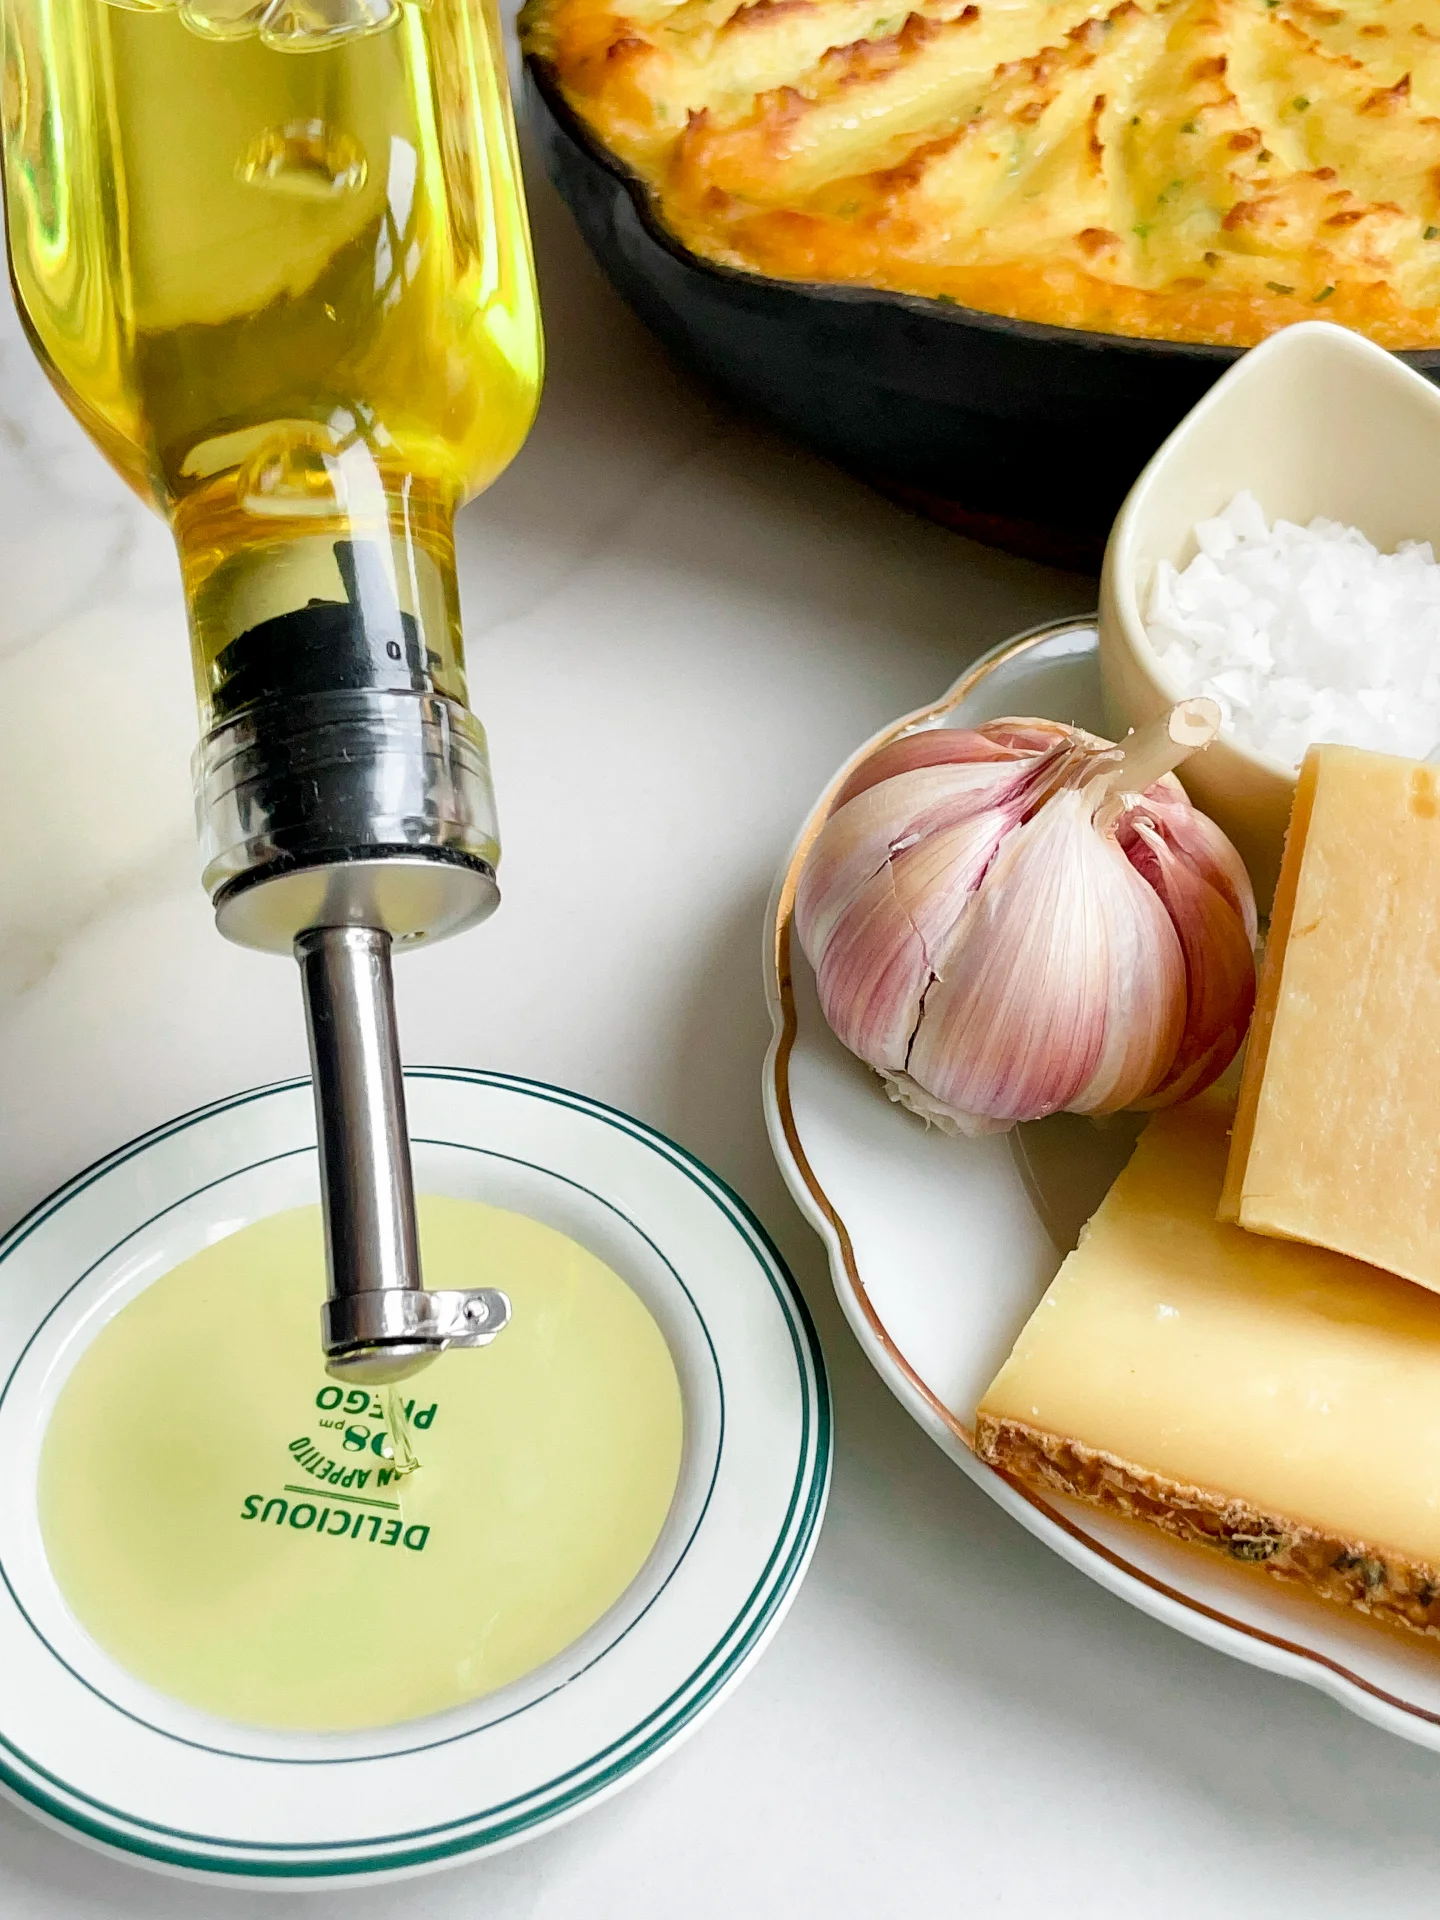

Cheese Fondue Oil

Cheese Fondue Oil

Cheese Fondue Oil

Cheese Fondue Oil

December 23, 2024 by Kimberly

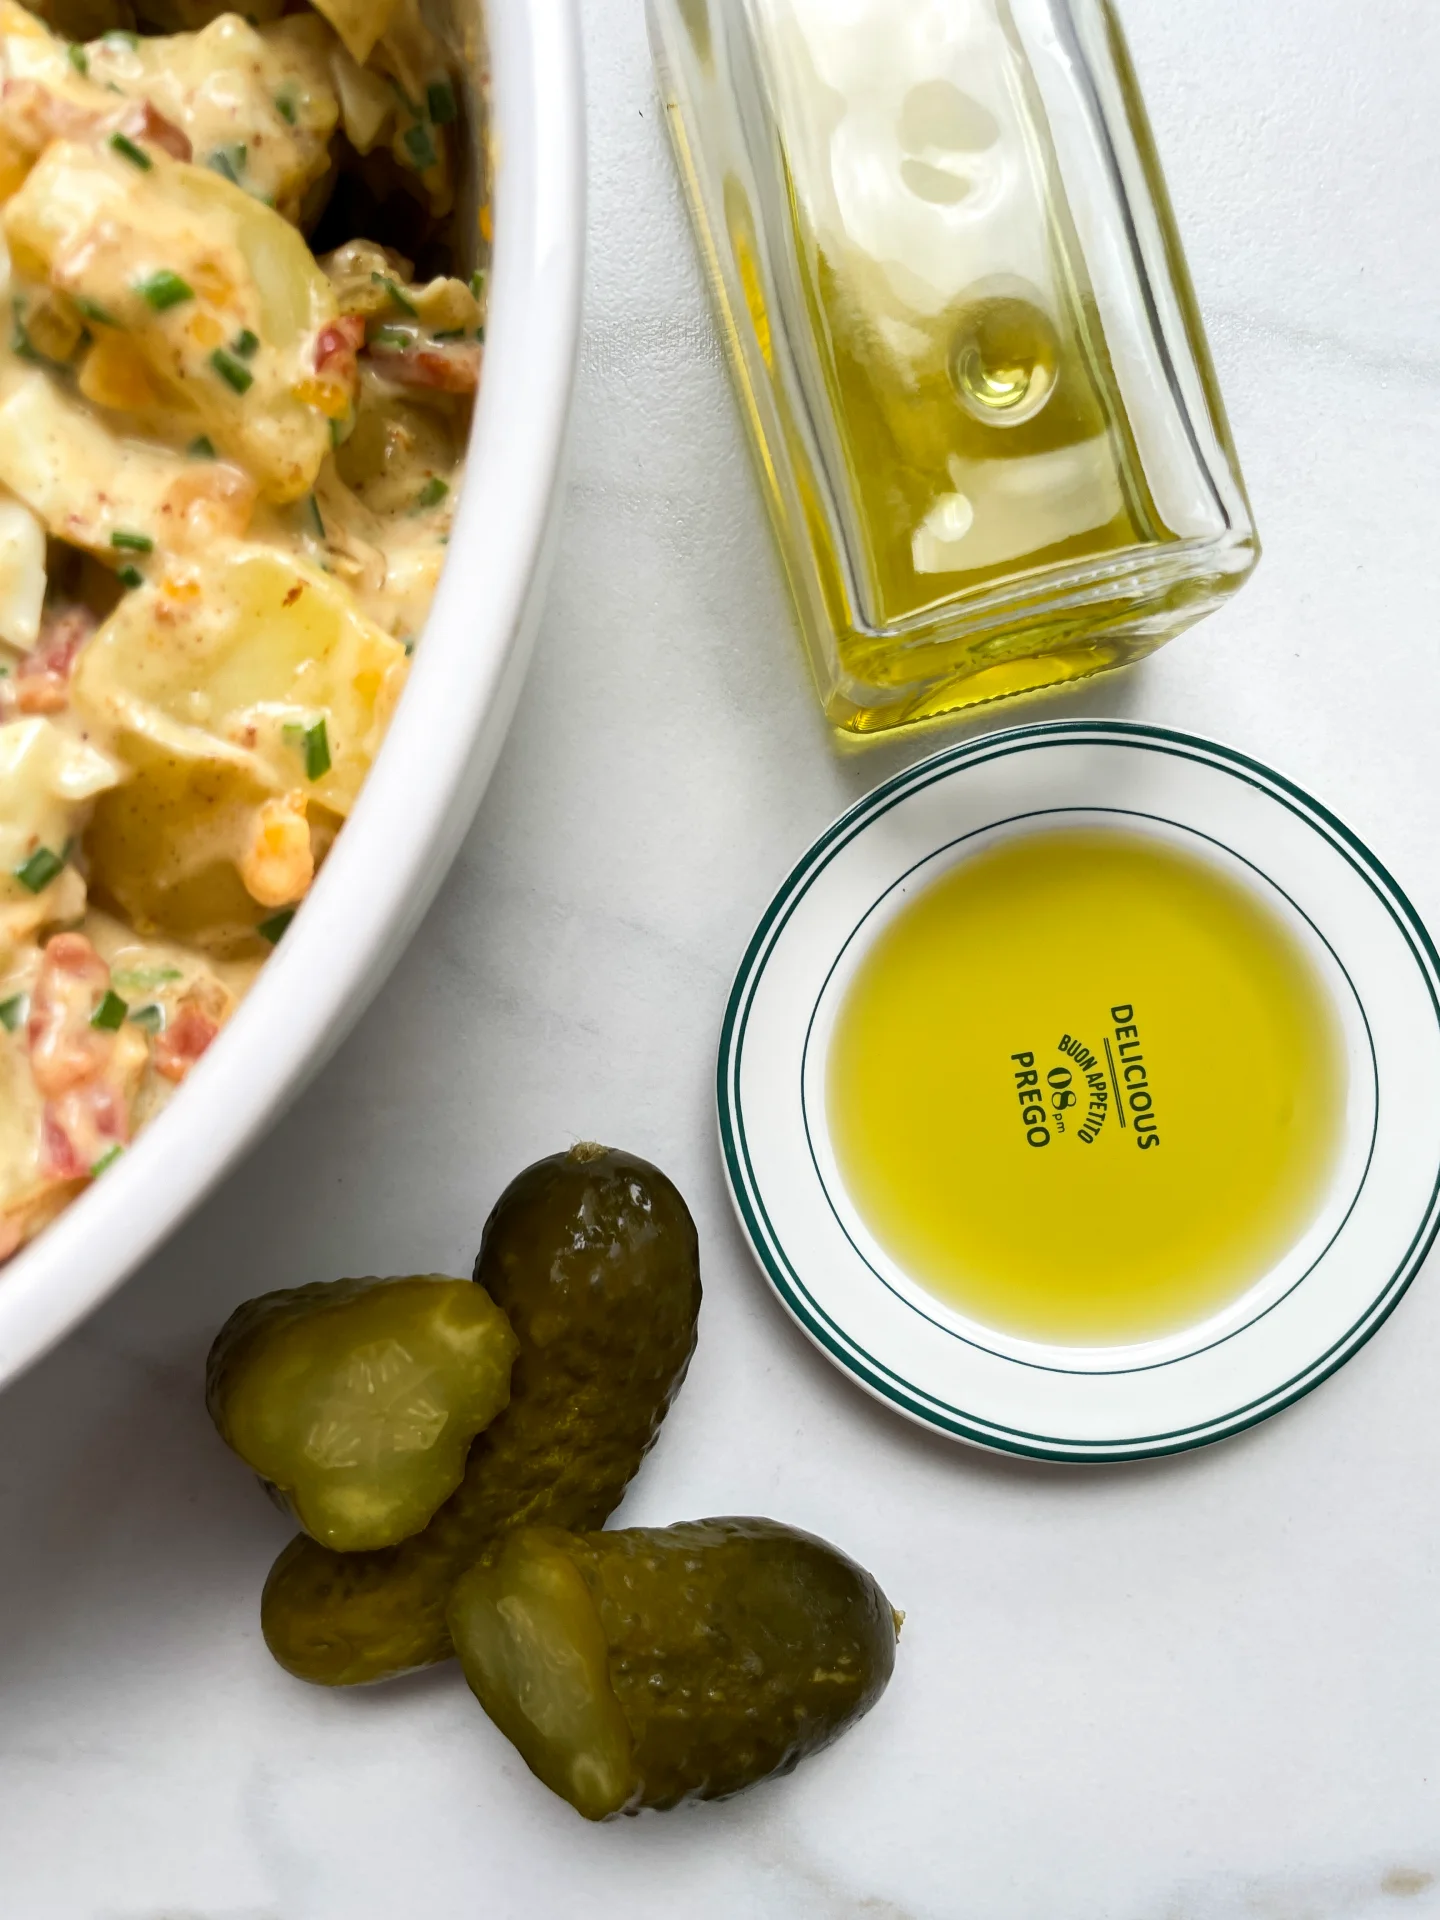
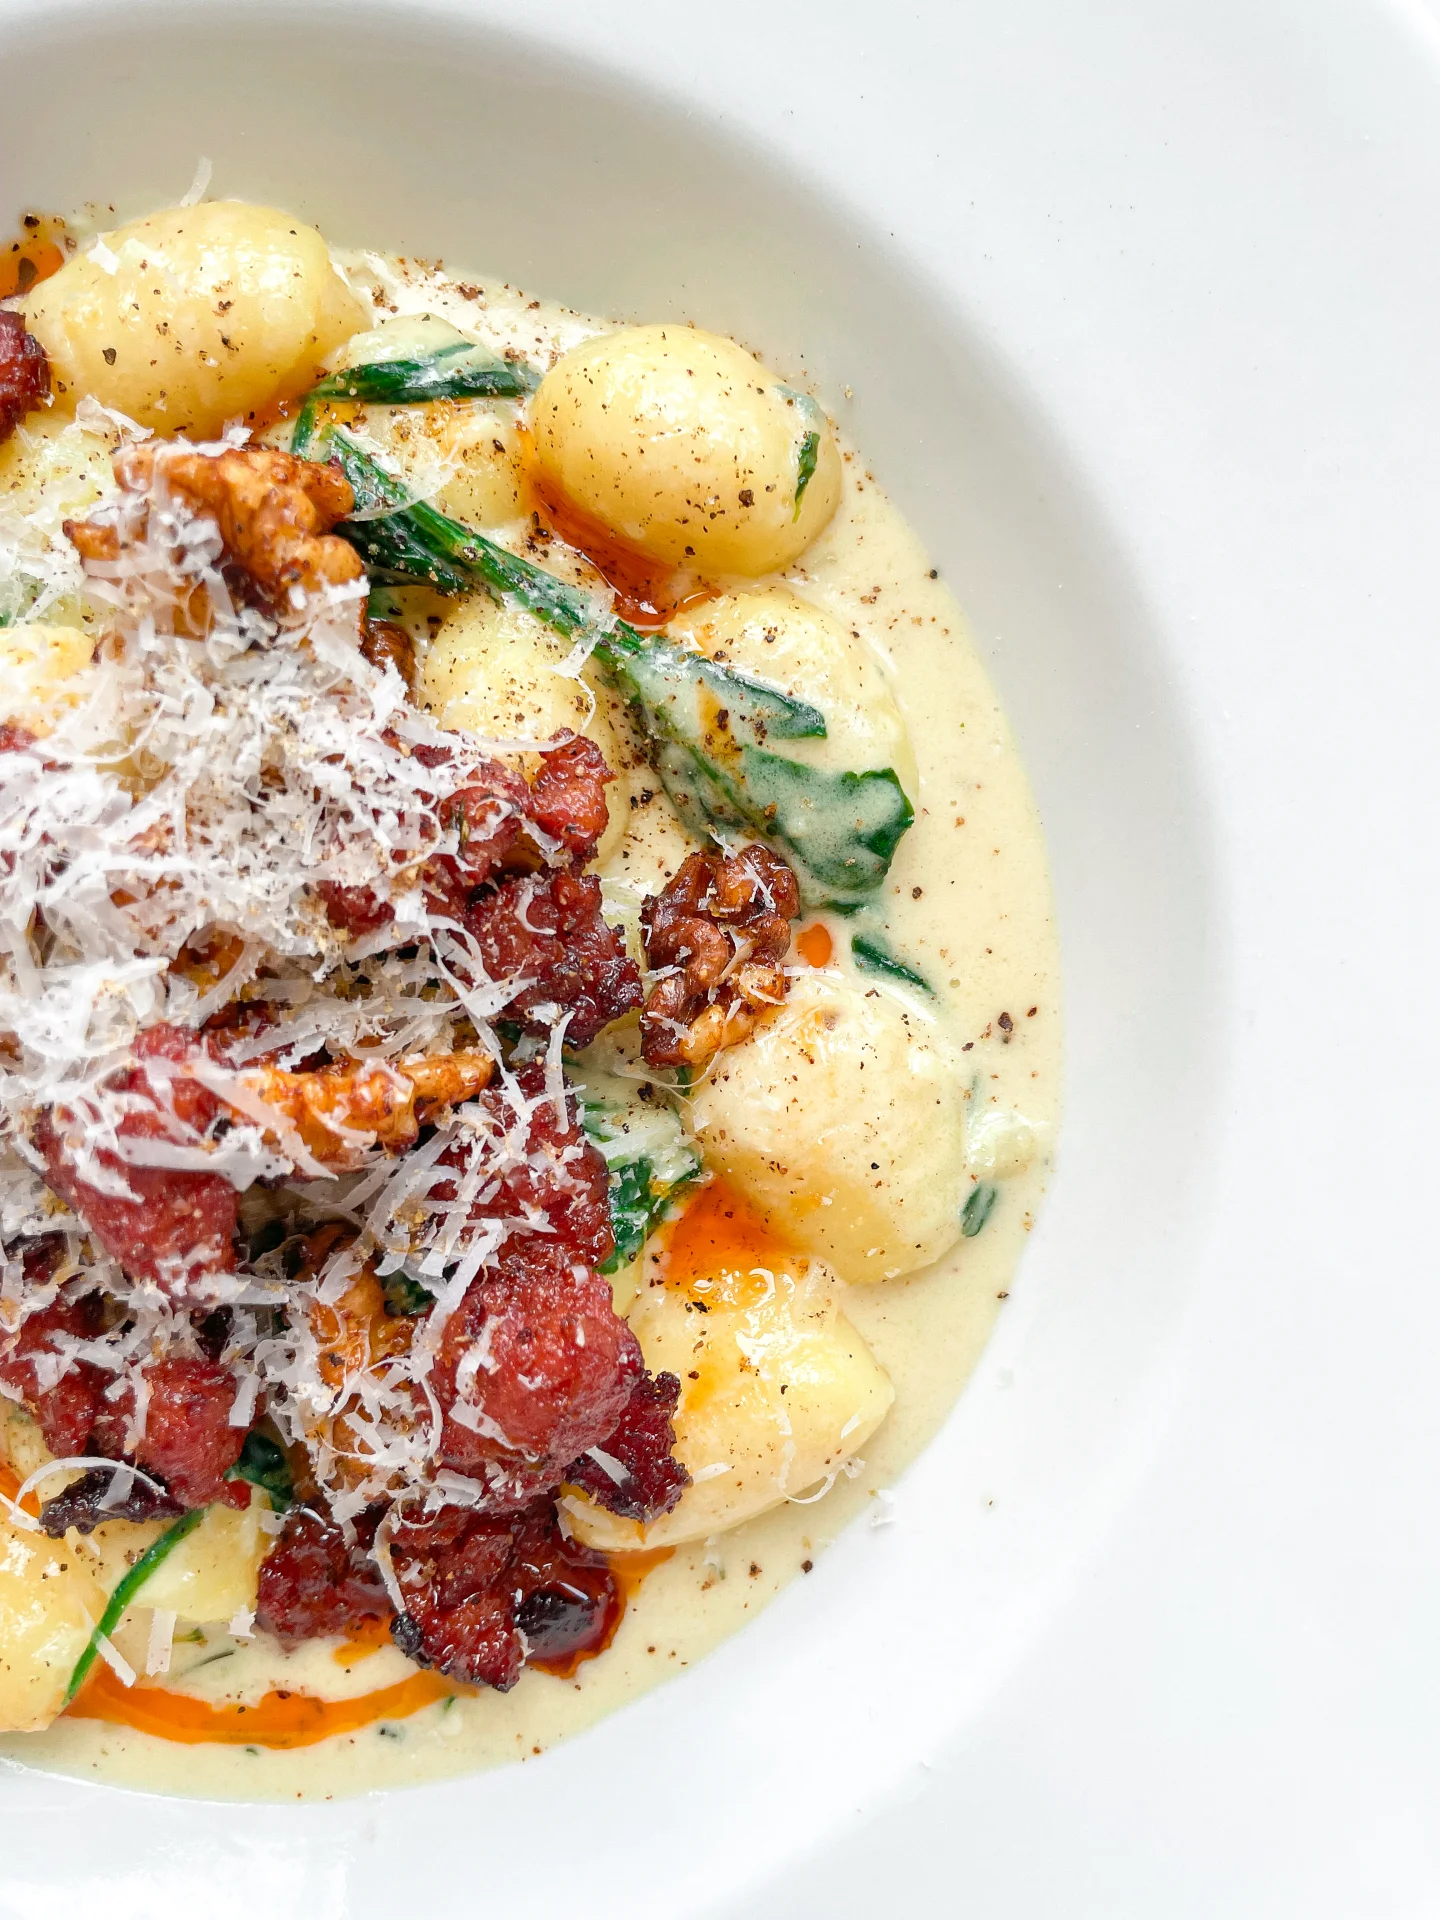
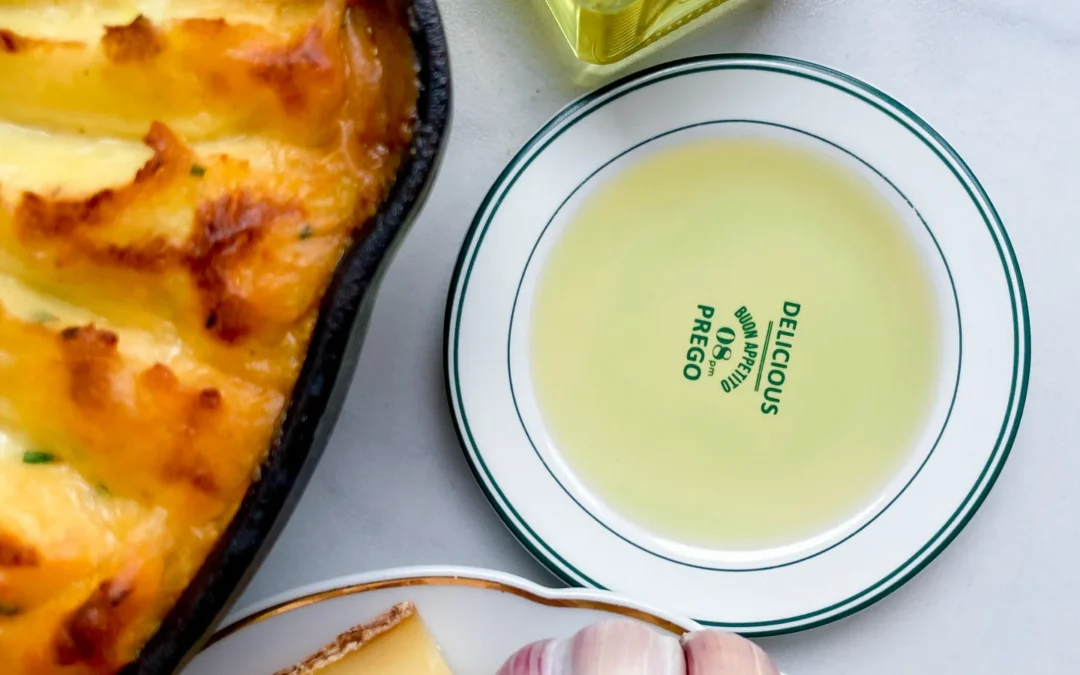
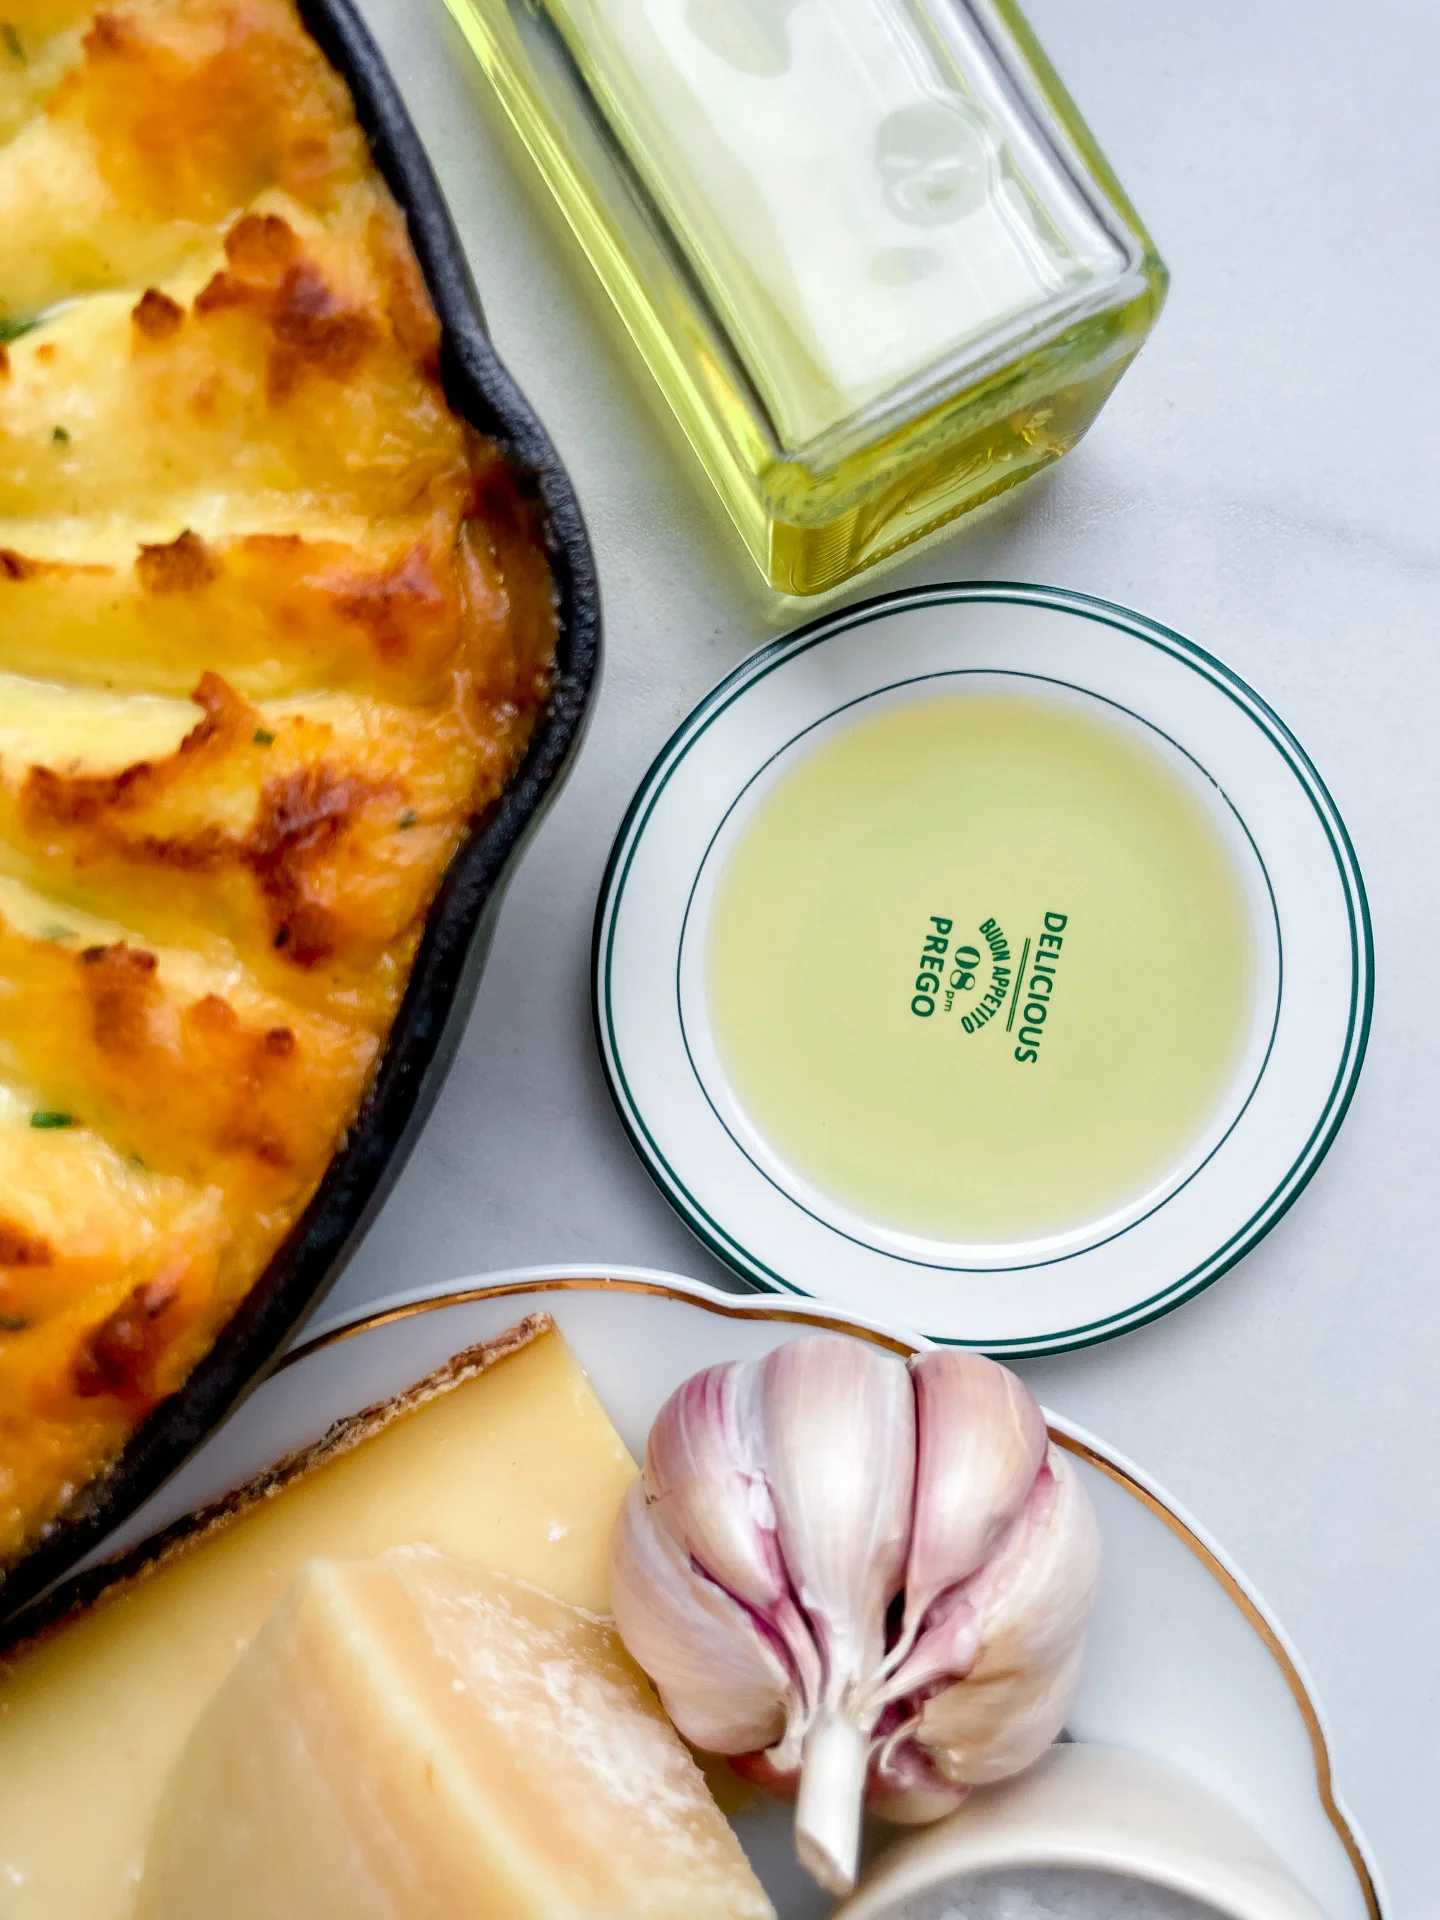
Velvety and savory, this infused oil captures the essence of garlic and cheese, delivering pure fondue vibes. Drizzle it, dip with it, or savor it – it’s a total flavor bomb.

This website uses affiliate links which may earn commission for purchases made at no additional cost to you.

TOTAL TIME

40 min

SERVES

1 cup / 250 ml

DIET

vegetarian

EVERY RECIPE DESERVES

A Little Love Letter

This oil was a fun experiment that turned into a total win! Infused with Gruyere, Parmesan, and garlic, it packs a cheesy, savory punch that’s perfect for dipping or drizzling. While the salt didn’t quite come through, the rich flavors of garlic and cheese infused beautifully into the oil, creating a gourmet touch for any meal. Whether you’re hosting friends or elevating a simple dinner, this oil is a little bottle of magic.

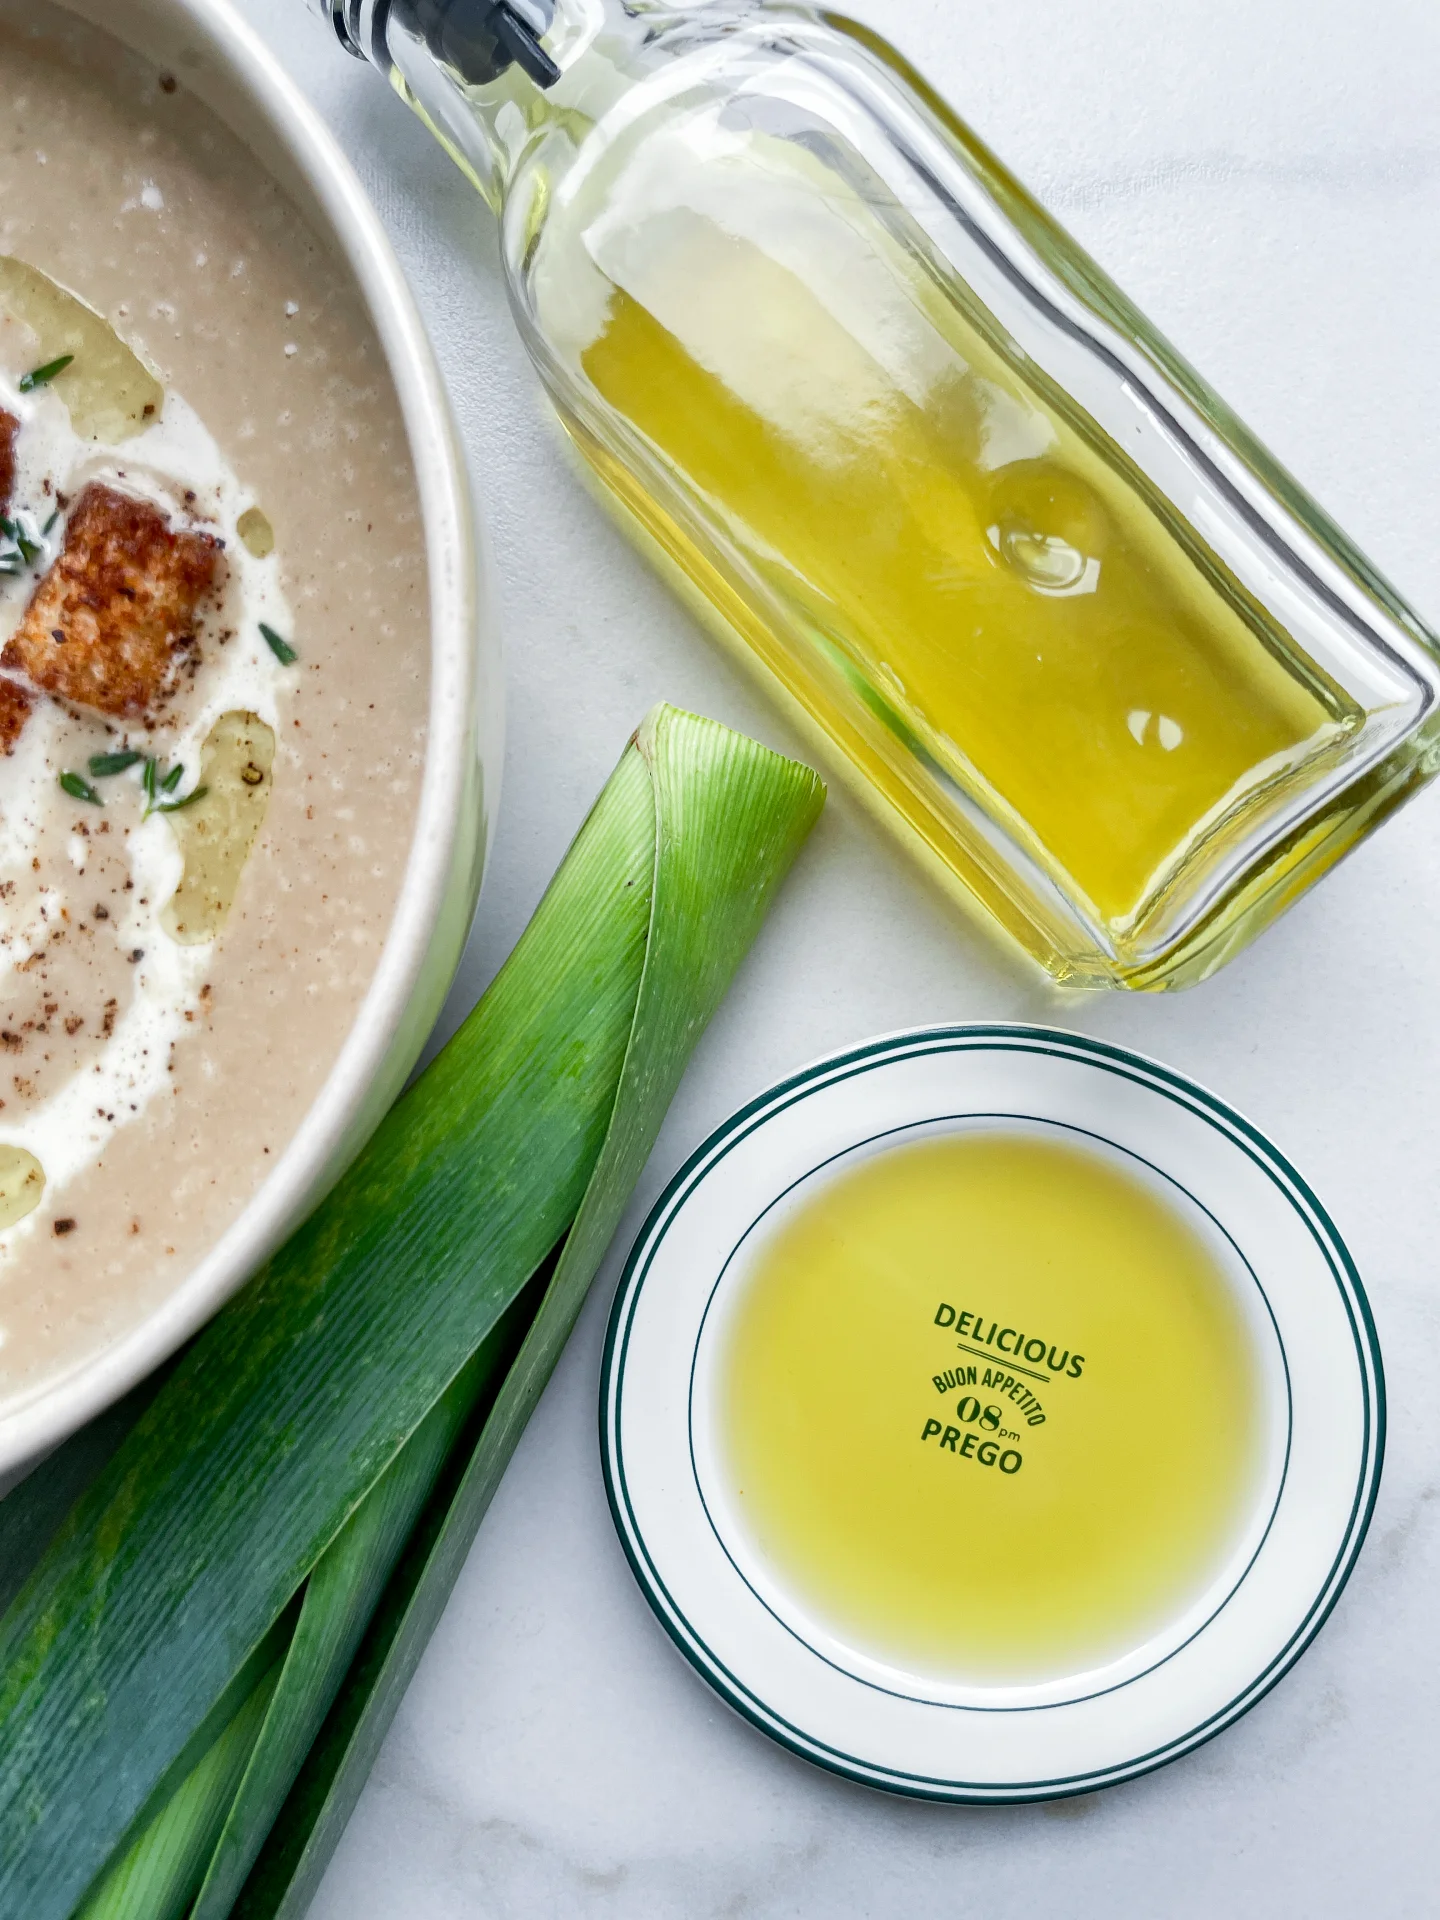
Drizzle this flavorful oil over fresh bread, roasted vegetables, or pasta to take your meal to the next level. Use it as a dip for crusty baguettes or even as a topping for grilled meats. It’s also a game-changer when swirled into soups for an extra burst of richness. For cheese lovers, this oil is the ultimate gourmet hack for effortless flavor in seconds. By the way it pairs perfectly with my Cottage Pie!

Store the oil in an airtight glass container in the fridge for up to one week. Keep it away from direct sunlight to preserve the flavor. If you notice any changes in smell or texture, it’s time to make a fresh batch!

Hi, I'm Kimberly!

Hi, I'm Kimberly.

A hopeless romantic when it comes to food. Every recipe I share is a love letter to food itself. I’m so glad you’re here. Make yourself at home and stay a while.

Love,
Kimberly

Kimberly the Zett Signature

If you want to get to know me better,
click here!


Cheese Fondue Oil
cheese fondue oil
cheese fondue oil
Cheese Fondue Oil

LET’S MAKE A PIECE OF HAPPINESS

Print
clock clock iconcutlery cutlery iconflag flag iconfolder folder iconinstagram instagram iconpinterest pinterest iconfacebook facebook iconprint print iconsquares squares iconheart heart iconheart solid heart solid icon
Cheese Fondue Oil

Cheese Fondue Oil


5 Stars 4 Stars 3 Stars 2 Stars 1 Star

No reviews

  • Author: Kimberly
  • Total Time: 40 min
  • Yield: 1 cup / 250ml 1x

Description

RECOMMENDED EQUIPMENT

  • blender
  • medium-sized saucepan
  • whisk
  • a bowl which the medium saucepan fits into
  • 2 medium-sized bowls
  • 2 fine sieves
  • sealable container (oil bottle)
  • ice cubes
  • coffee filter

Ingredients

Units Scale
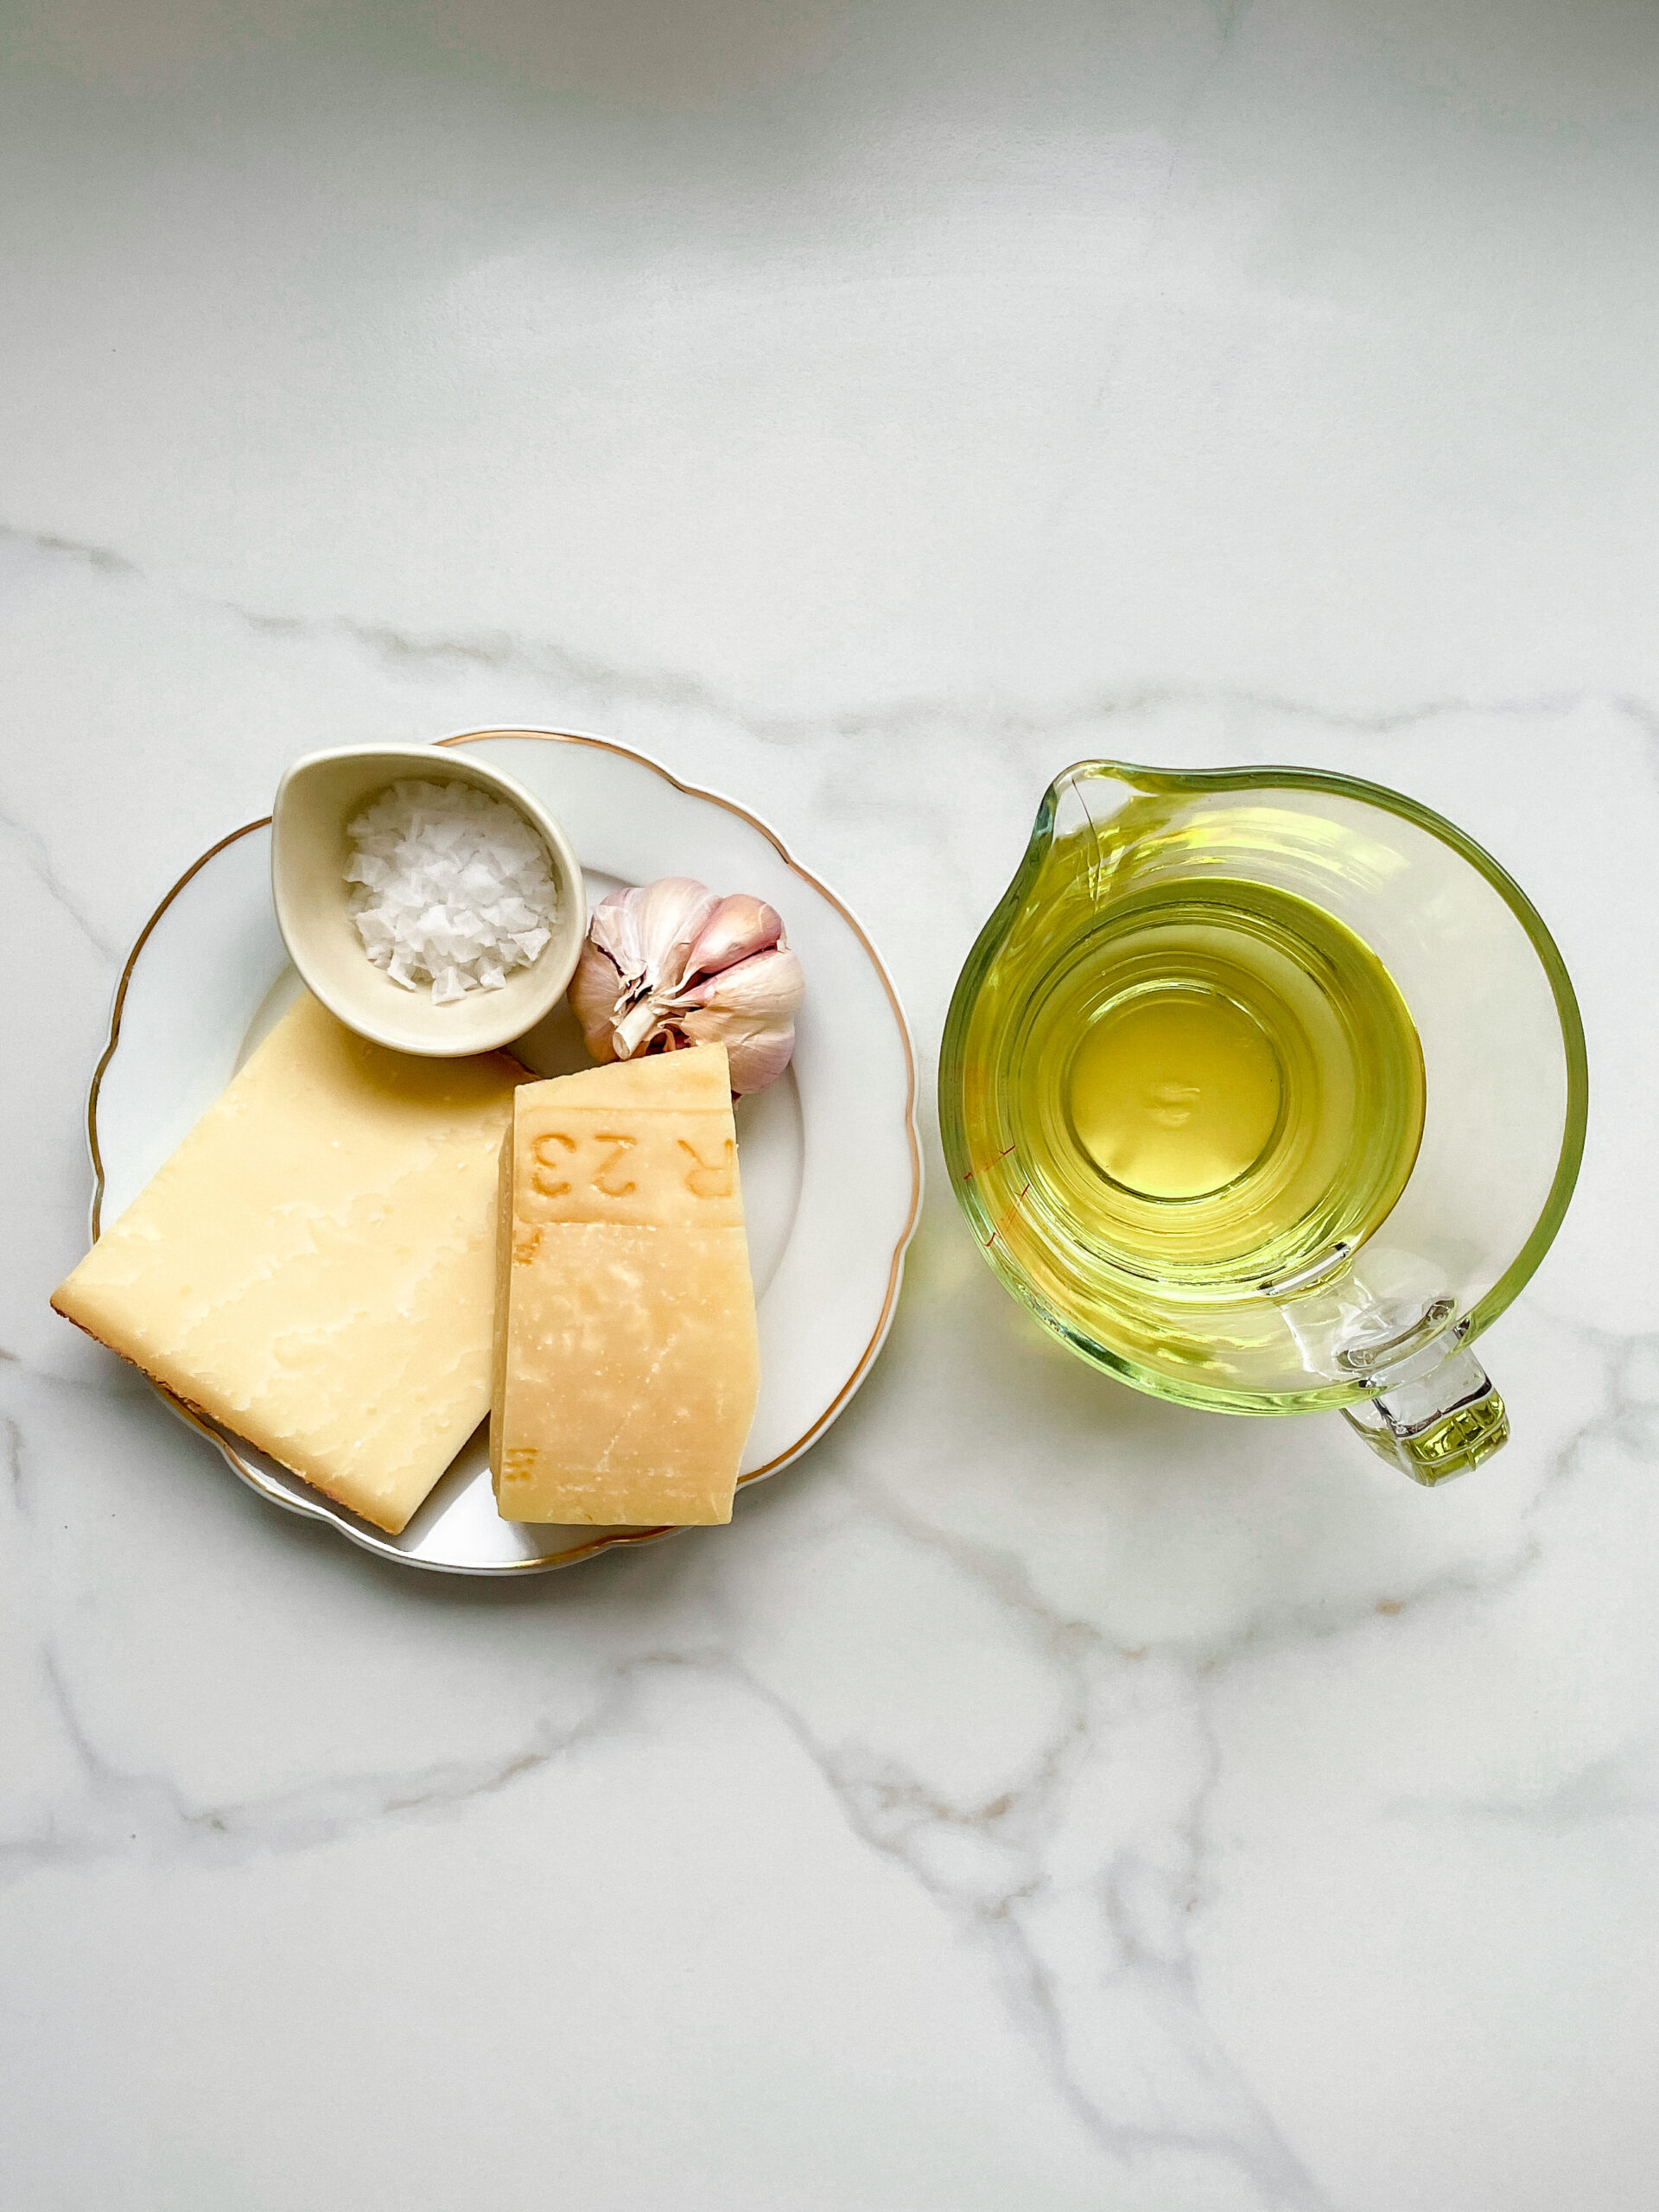
  • 50 grams parmesan
  • 30 grams gruyere
  • 4 garlic cloves
  • 1 tbsp sea salt
  • 250 milliliter oil

Instructions

  1. Cut the cheese into coarse pieces and peel the garlic cloves. Add everything to the blender along with the salt and oil.
  2. Pour the mixture from the blender into a medium-sized pot and heat it over medium heat to a temperature of about 101°-104°C (213°-219°F), and maintain this temperature for the next 15 minutes. Stir occasionally, making sure the temperature remains steady and nothing gets burned.
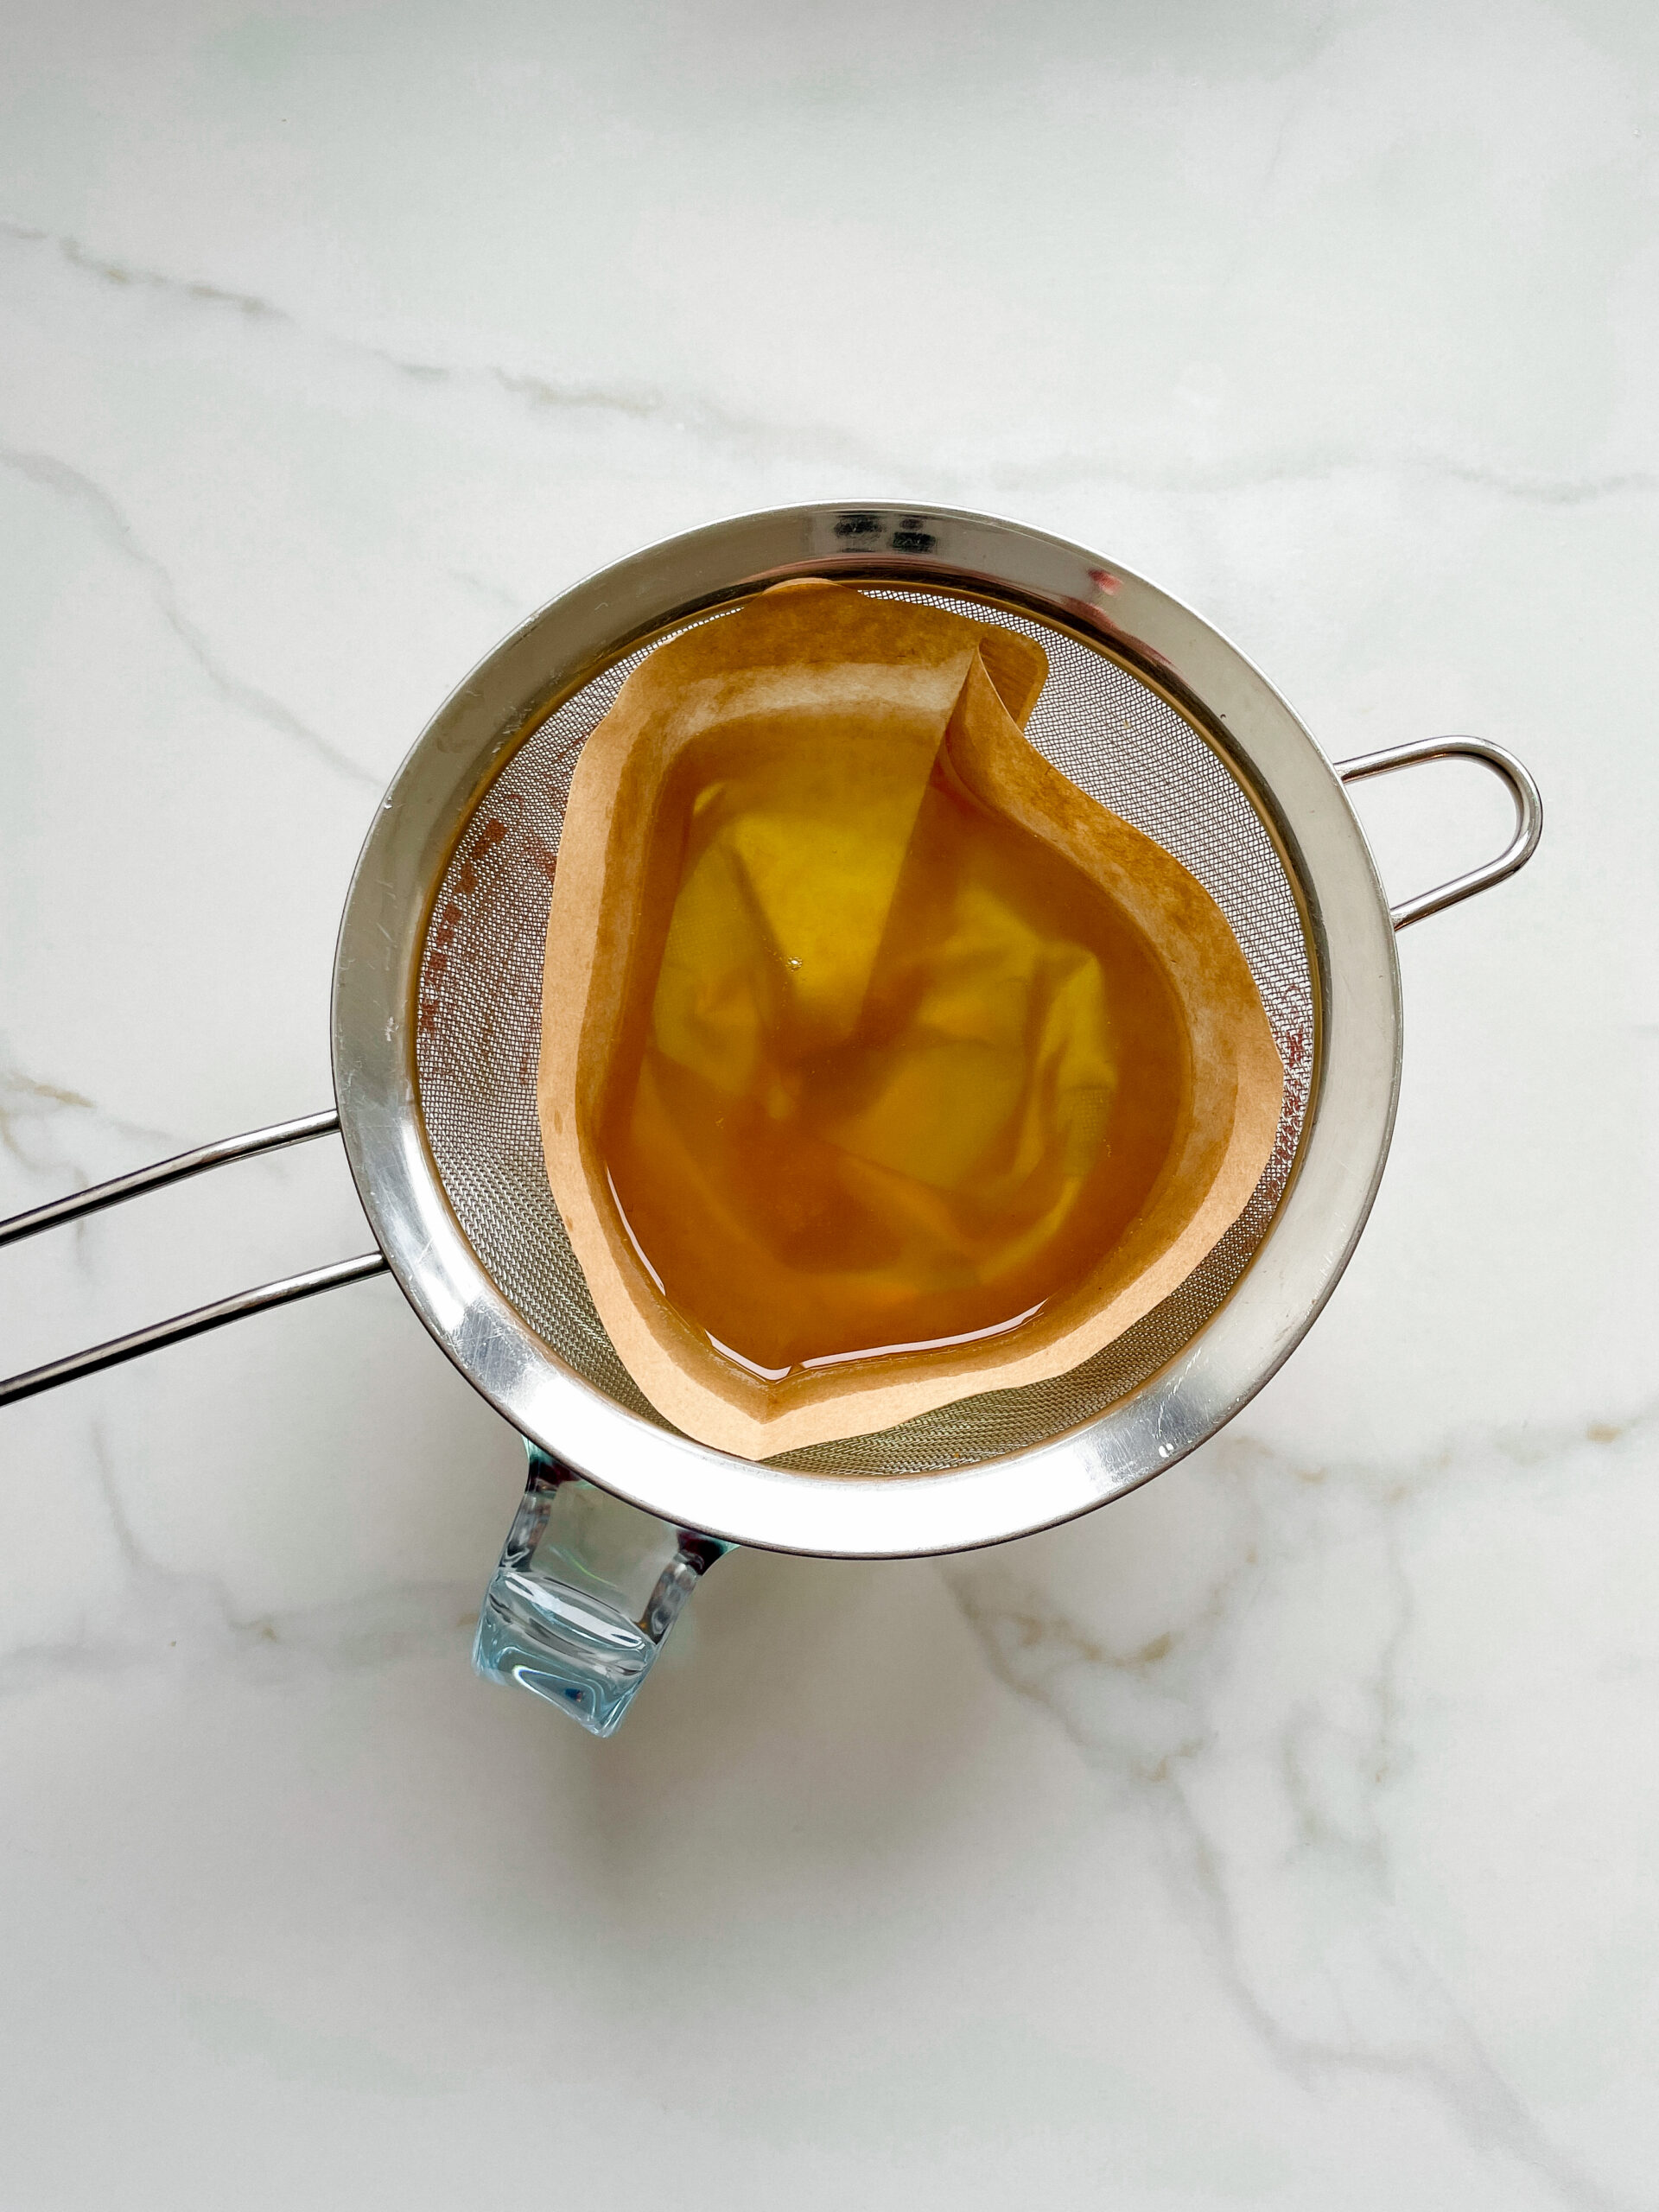
  3. Prepare a bowl large enough to fit a medium-sized pot, and fill it with cold water and a handful of ice cubes. Also, hang a fine sieve strainer over one medium-sized bowl and another fine sieve strainer, with a coffee filter inside it, over another medium-sized bowl.
  4. Now, place the pot in the ice water and stir to cool the oil quickly. Once the oil is almost cold, remove the pot from the water and pour the oil into the prepared fine sieve to catch the coarse particles.
  5. Then, pour the oil into the second sieve, which is equipped with a coffee filter, to catch the remaining finer particles.
  6. Allow the oil to drip through for about 20 minutes or maybe less depending on how many remaining particles are in the coffee filter. Once all the oil has passed through the coffee filter, transfer the collected amount of oil into a sealable container or directly into an oil bottle. Store in the refrigerator for up to one week.
  • Prep Time: 5 min
  • Passive Time: 20 min
  • Cook Time: 15 min
CRAVING MORE?

Follow along here & don’t forget to subscribe to my substack!

Cottage Pie

Cottage Pie

Cottage Pie

Cottage Pie

December 23, 2024 by Kimberly

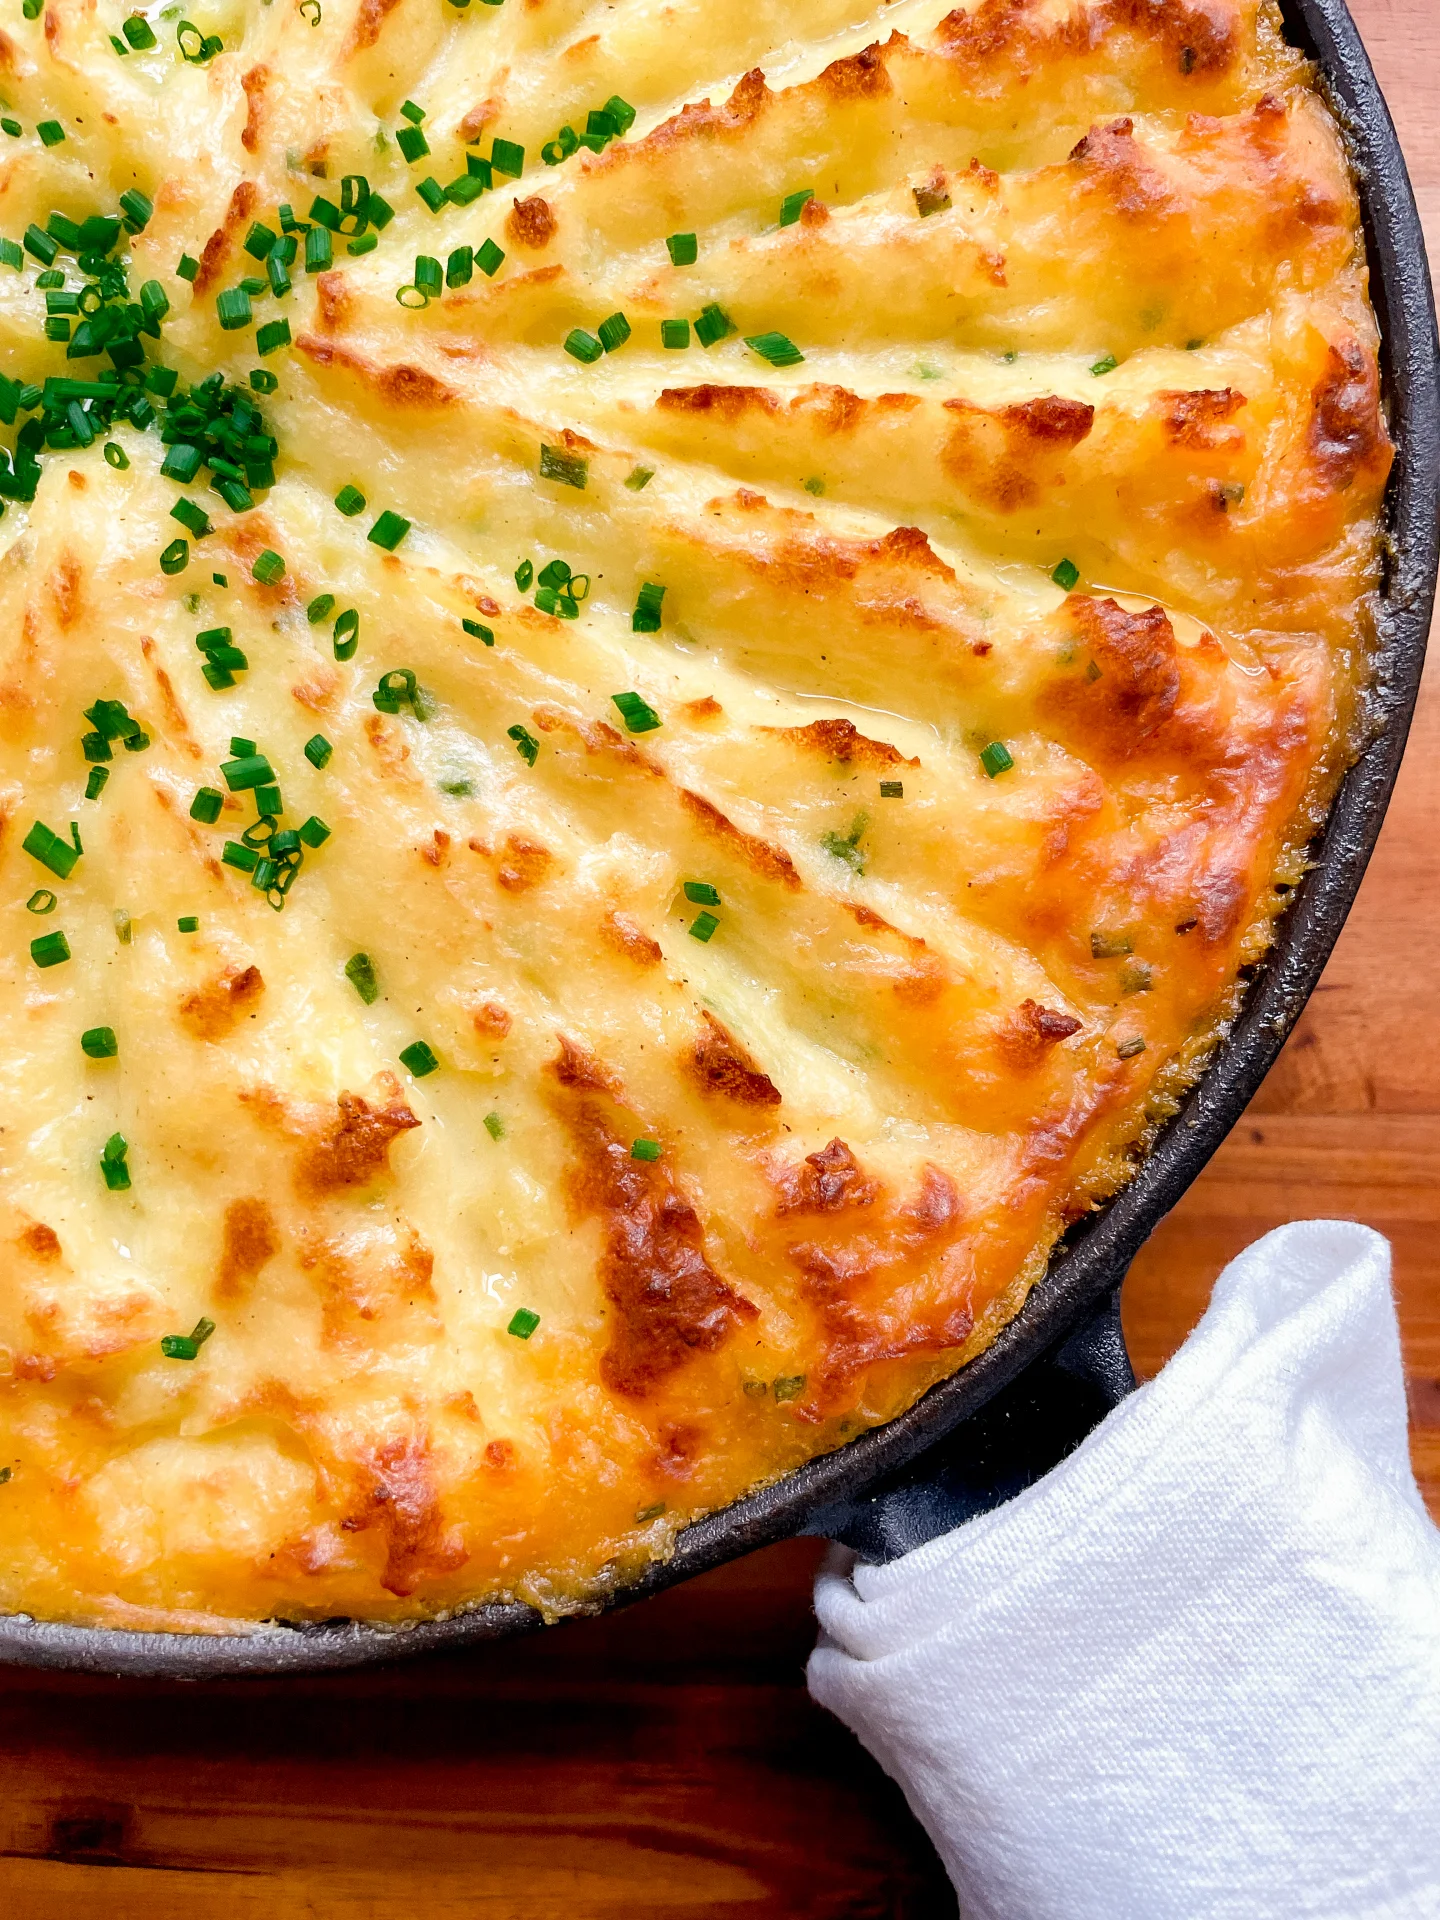
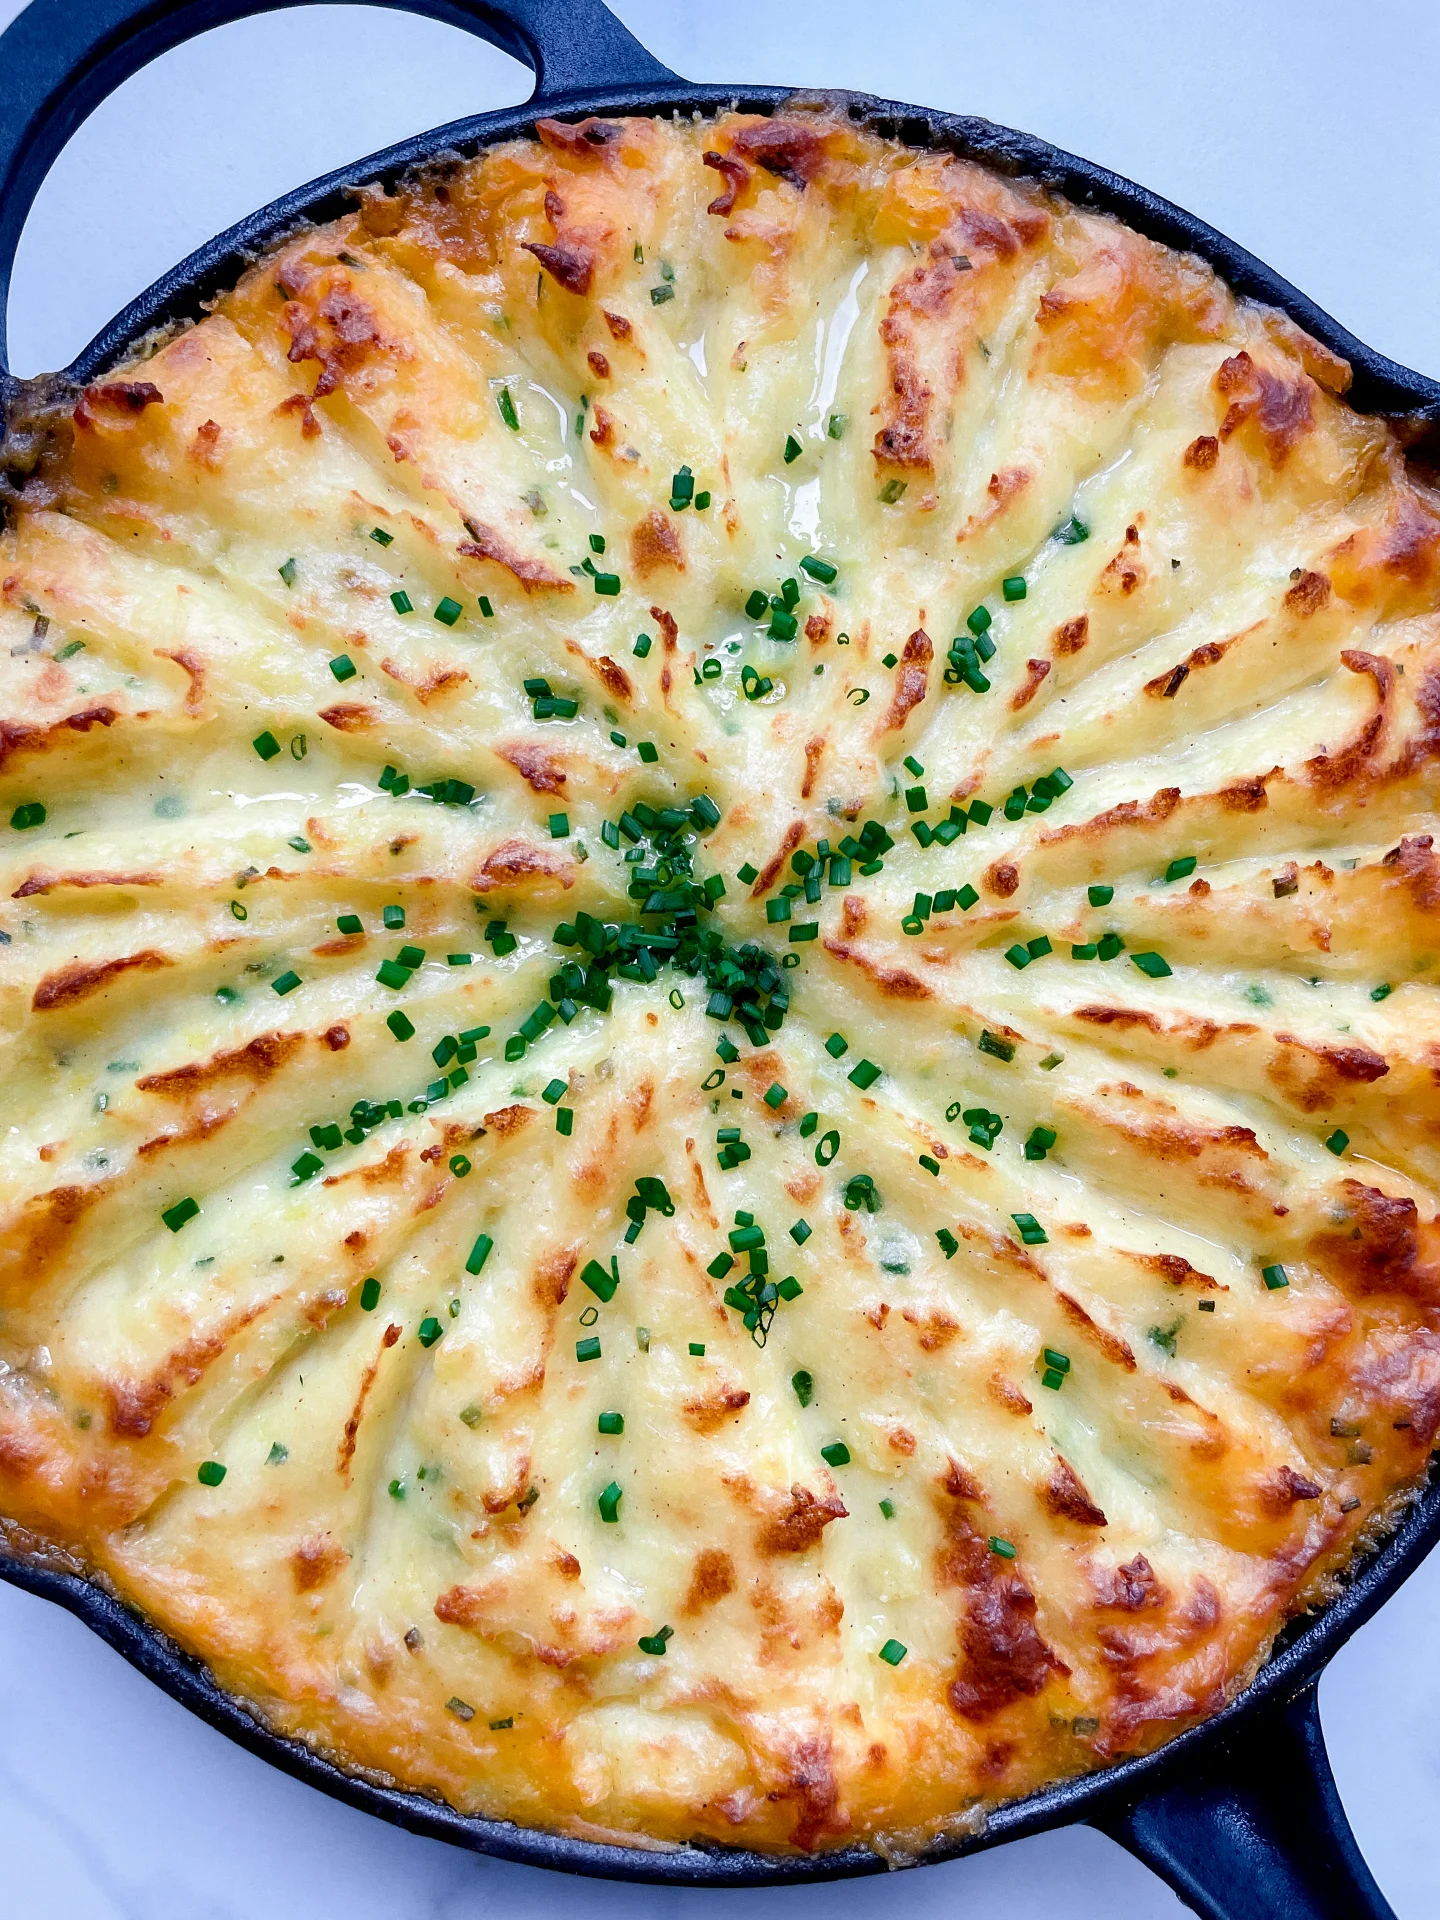
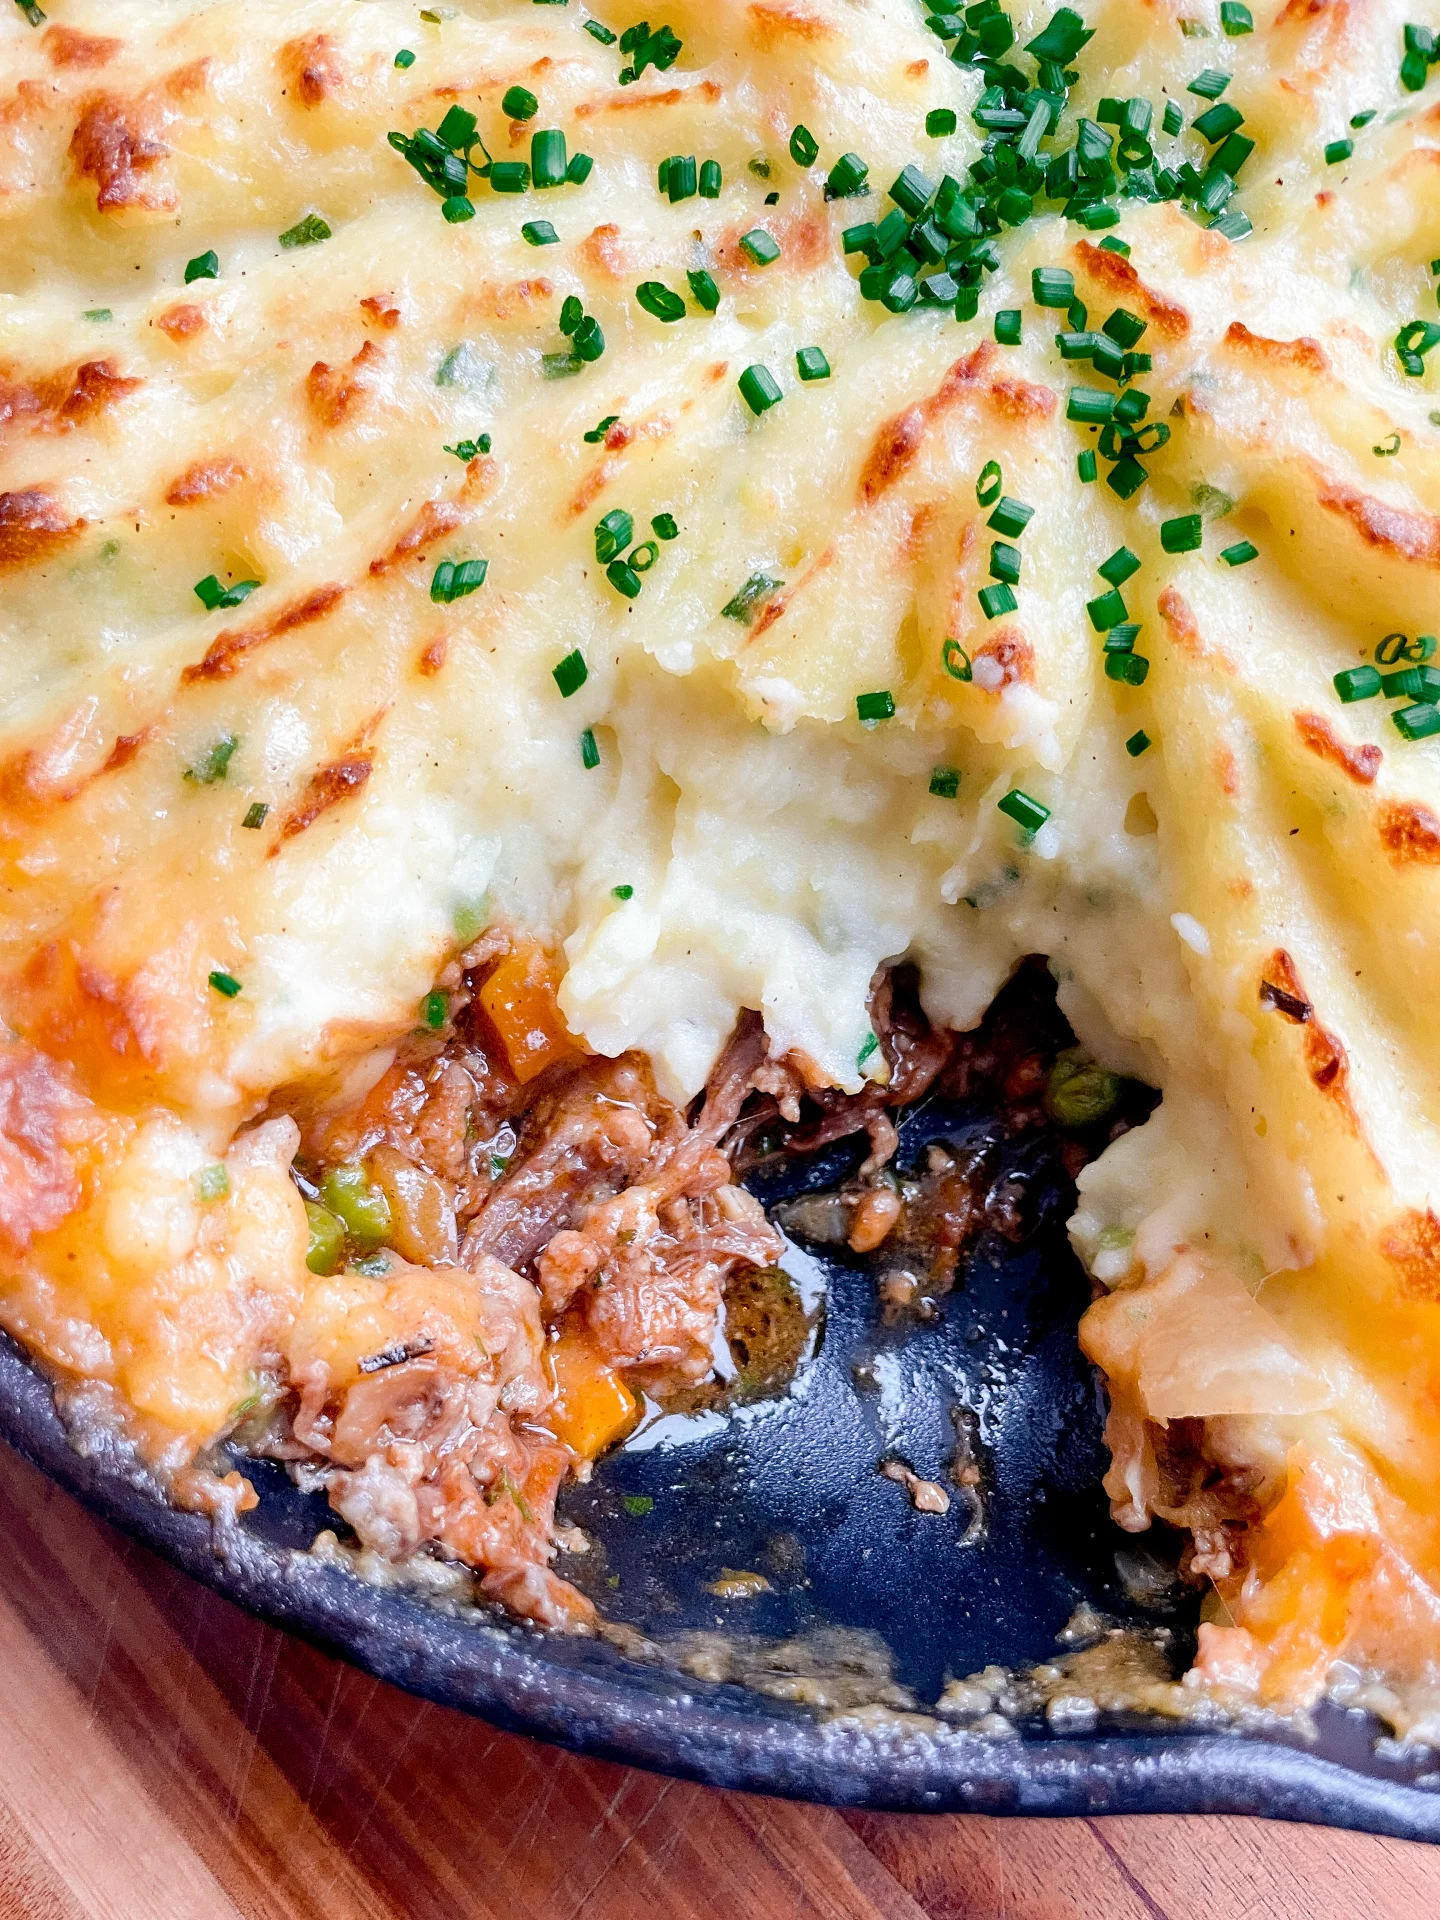
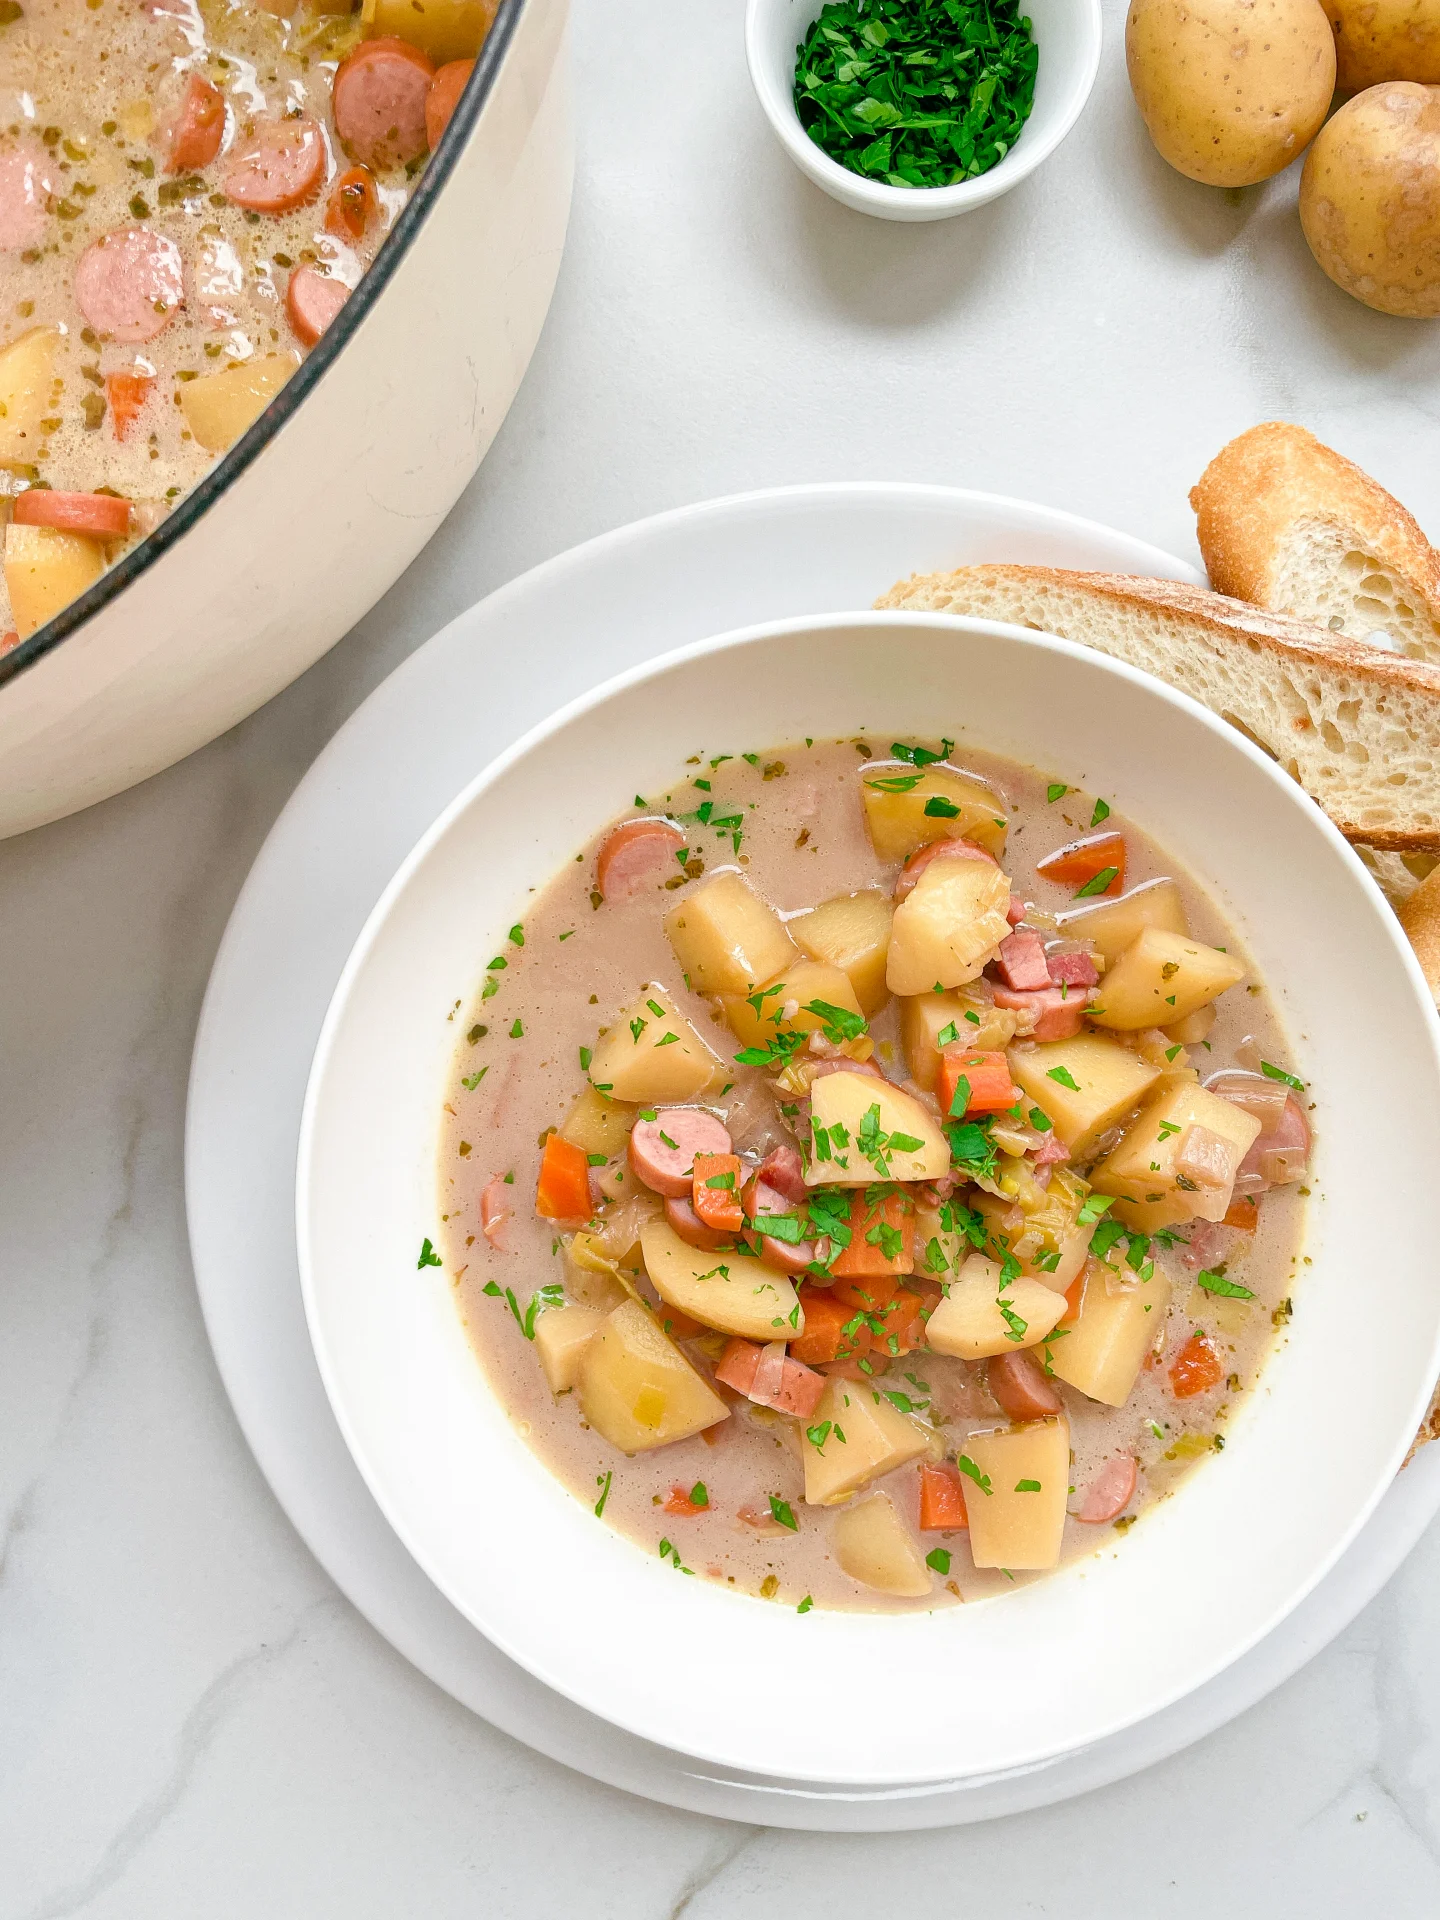
Rich, slow-cooked beef with a creamy, cheesy potato topping. This cozy classic feels like home but leveled up – every bite is hearty, comforting, and completely irresistible. Perfect for chilly nights!

This website uses affiliate links which may earn commission for purchases made at no additional cost to you.

TOTAL TIME

4 hrs

SERVES

4 portions

DIET

omnivore

EVERY RECIPE DESERVES

A Little Love Letter

Imagine tender, slow-cooked beef paired with a golden, cheesy mashed potato topping – this is comfort food on a whole new level. Combining ground beef and flavorful slow-cooked shank meat, this dish delivers a rich, savory filling that melts in your mouth. The creamy Parmesan and cream cheese mashed potatoes bring the perfect finishing touch, creating a meal that’s hearty, satisfying, and unforgettable. Whether it’s a family dinner or meal-prep hero, this pie is your go-to cozy classic.

Serve this dish fresh from the oven with a crisp salad for balance. For extra flair, sprinkle some fresh herbs like parsley or thyme on top before serving. This dish is perfect for casual family dinners or even a dinner party – it’s the kind of meal that gets everyone asking for seconds. Pair it with a glass of red wine or a comforting cup of tea, and you’re all set.

Store any leftovers in an airtight container in the fridge for up to 3 days. Reheat in the oven or microwave until piping hot. For freezing, wrap the dish tightly and freeze for up to a month. Defrost in the fridge overnight before reheating.

Hi, I'm Kimberly!

Hi, I'm Kimberly.

A hopeless romantic when it comes to food. Every recipe I share is a love letter to food itself. I’m so glad you’re here. Make yourself at home and stay a while.

Love,
Kimberly

Kimberly the Zett Signature

If you want to get to know me better,
click here!


Cottage Pie
Cottage Pie
Cottage Pie
Cottage Pie

LET’S MAKE A PIECE OF HAPPINESS

Print
clock clock iconcutlery cutlery iconflag flag iconfolder folder iconinstagram instagram iconpinterest pinterest iconfacebook facebook iconprint print iconsquares squares iconheart heart iconheart solid heart solid icon
Cottage Pie

Cottage Pie


5 from 1 review

  • Author: Kimberly
  • Total Time: 4 hrs
  • Yield: 6 1x

Description

Recommended Equipment

  • medium pot
  • sharp knife
  • cutting board
  • large pot with lid
  • vegetable peeler
  • medium pot with lid
  • small pot
  • cheese grater
  • potato masher
  • ovenproof pan

Ingredients

Units Scale
SHANK MEAT & STOCK
  • 800 grams beef shanks
  • 500 grams beef marrow bones
  • 1 liter water
  • 1 white onion
  • 3 carrots
  • 3 celery sticks
  • 1 tbsp olive oil
  • 1 tbsp tomato paste
  • 2 bay leaves
  • 1 tsp black pepper corns
  • 1 tsp coriander seeds
MASHED POTATOES
  • 1 kilogram russet potatoes
  • 300 milliliter full-fat cow milk
  • 100 grams butter
  • 100 grams cream cheese
  • 50 grams parmesan
  • 2 tbsp chives
  • salt, pepper & nutmeg to taste
MEAT FILLING
  • 2 tbsp oil
  • 500 grams minced beef
  • 300 grams shank meat (prepared earlier from the shanks)
  • 1 white onion
  • 6 garlic cloves
  • 2 carrots
  • 150 grams frozen peas
  • 600 milliliter beef stock (prepared earlier from the shanks & bones)
  • 2 tbsp tomato paste
  • 1-2 tbsp all-purpose flour
  • 1 tbsp Worcestershire sauce
  • 2 bay leaves
  • 1 tsp dried thyme
  • 1/2 tsp dried rosemary
  • 1 tsp paprika powder
  • 1/4 tsp cinnamon
  • 1/4 tsp brown sugar
  • 1/8 tsp nutmeg
  • salt & pepper to taste
  • 2 tbsp fresh parsley

Instructions

PREPARATIONS

  • Place the beef shanks on a rack over a drip tray or a deep baking sheet lined with parchment paper. Roast in the oven at 250°C on the grill setting for about 25 minutes, until browned and starting to render fat.
  • Meanwhile, cut carrots, onions, and celery into large chunks. Sauté the veggies with crushed coriander seeds and peppercorns in a large pot with a bit of olive oil. Stir in tomato paste and cook for another 1–2 minutes.
  • Add water to the pot and toss in bay leaves.
  • Remove the beef shanks and bones from the oven and add them to the pot. Cover with the lid and simmer for about 2 hours.
  • Once the cooking time is up, strain the broth through a sieve into a measuring cup. Discard the vegetables and bones, and set the meat aside in a bowl. If you want to go the extra mile, strain the broth through a cheesecloth, though it’s not essential for this recipe. You’ll need 600 milliliters of broth and all the meat for this cottage pie.

INSTRUCTIONS

  1. Peel and halve the potatoes, then place them in a medium pot with cold water. Bring to a boil and cook until soft, about 20 minutes.
  2. Meanwhile, gently heat milk and butter in a small pot until the butter melts. Grate Parmesan and slice chives into fine rings—set both aside. Finely dice the onion, peel the garlic, and dice the carrots into small cubes. Weigh the peas and set everything aside.
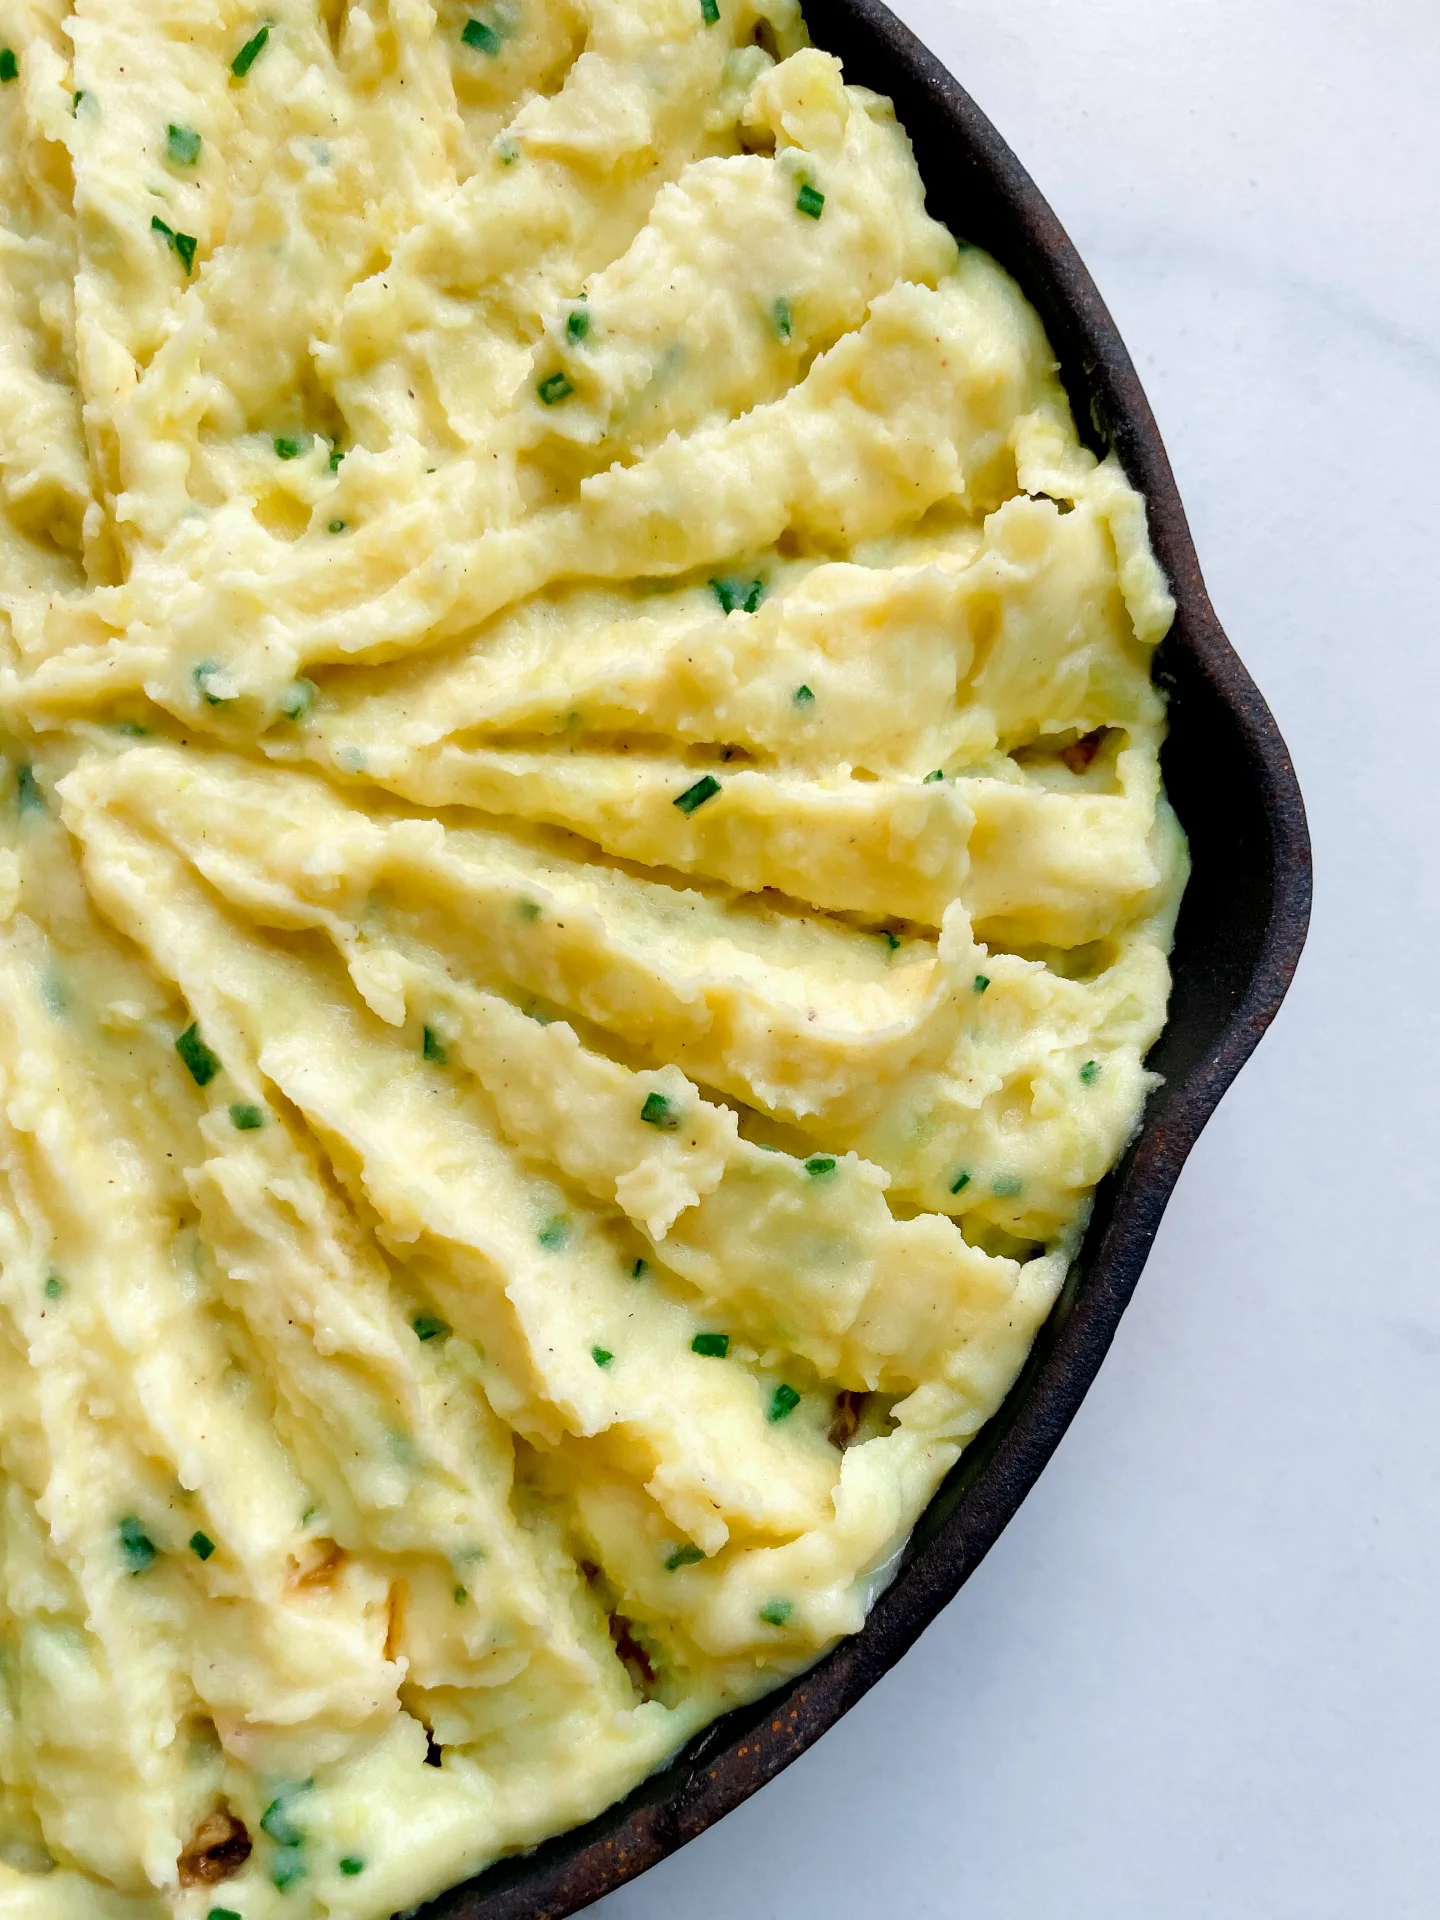
  3. Once the potatoes are soft, drain the water. Add the warm milk-butter mixture and mash the potatoes. Stir in cream cheese and Parmesan, then season with nutmeg, salt, and pepper. Finally, fold in the chives. Cover and set the pot aside.
  4. Heat olive oil in a large pot or ovenproof pan. Sear the ground beef, remove it, and set aside.
  5. Add the onions and carrots to the pan and sauté briefly. Press or finely grate the garlic, sauté for a moment, then stir in tomato paste and cook briefly as well.
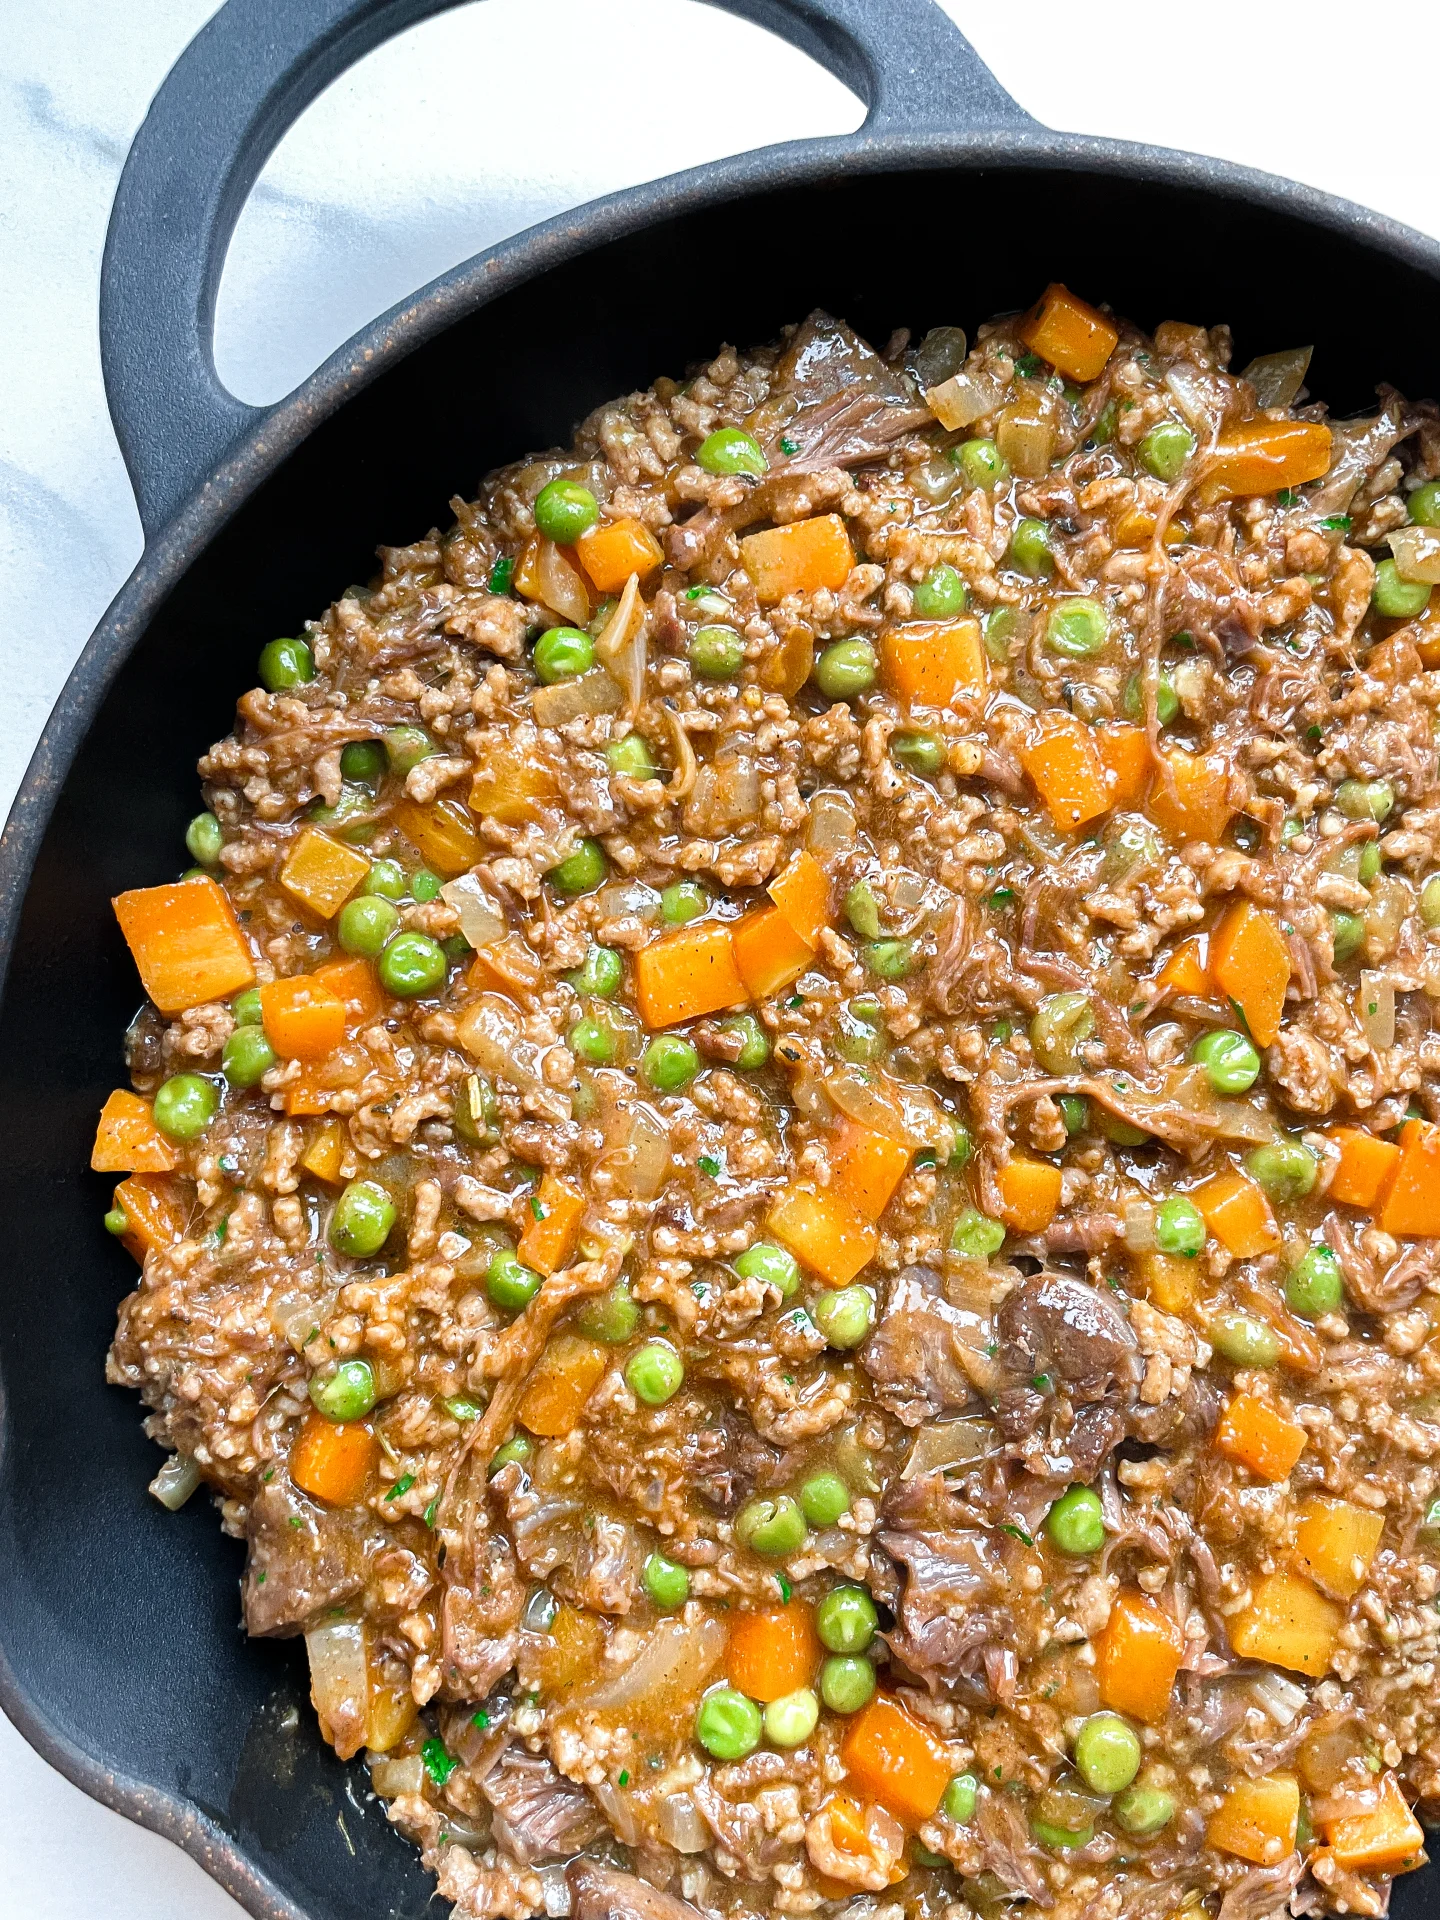
  6. Dust with flour and stir well. Add the ground beef and beef shank meat, then deglaze with the beef broth. Stir in Worcestershire sauce, bay leaves, thyme, rosemary, paprika, cinnamon, brown sugar, nutmeg, salt, and pepper. Simmer for about 20 minutes or until the carrots are soft. While it simmers, finely chop the parsley.
  7. Once the carrots are soft, stir in the peas and parsley. Preheat the oven to 180°C. Spread the meat mixture evenly into an ovenproof dish. Smooth it out, then spread the mashed potatoes on top, smoothing and optionally decorating the surface.
  8. Bake for 15–20 minutes, until the edges are bubbling. Switch to the grill setting and cook for 5–7 minutes until the mashed potato topping turns golden brown. Let the cottage pie rest briefly before serving.
  • Prep Time: 2 hrs + 30 min
  • Passive Time: 45 min
  • Cook Time: 45 min
CRAVING MORE?

Follow along here & don’t forget to subscribe to my substack!

Cherry Almond Marzipan Oats

Cherry Almond Marzipan Oats

Cherry Almond Marzipan Oats

Cherry Almond Marzipan Oats

December 22, 2024 by Kimberly

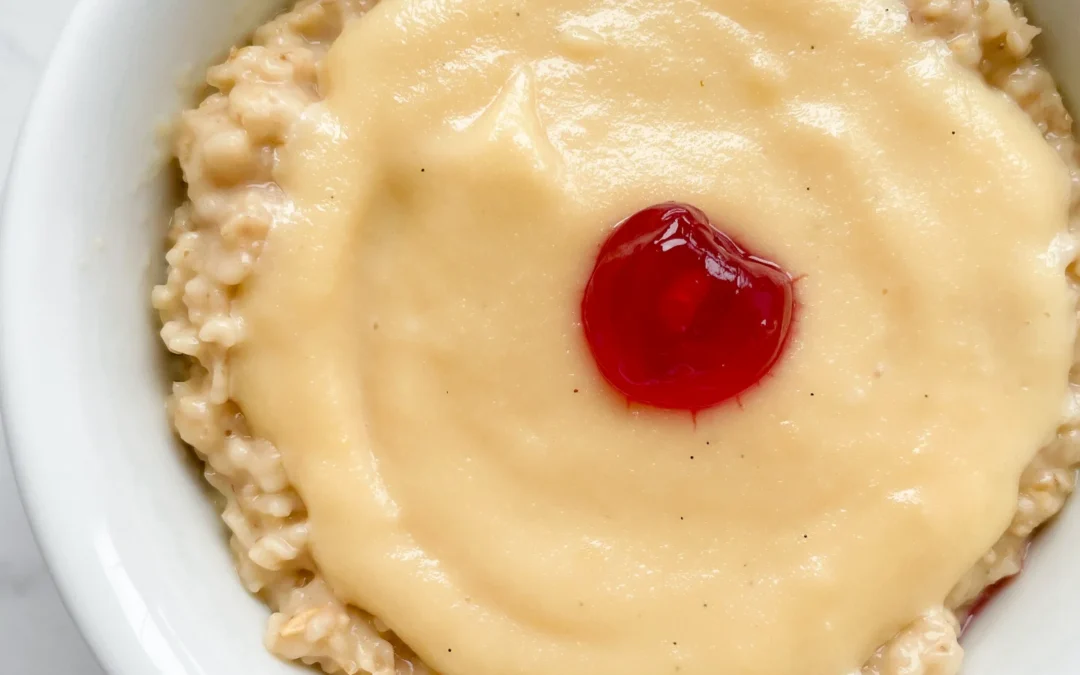
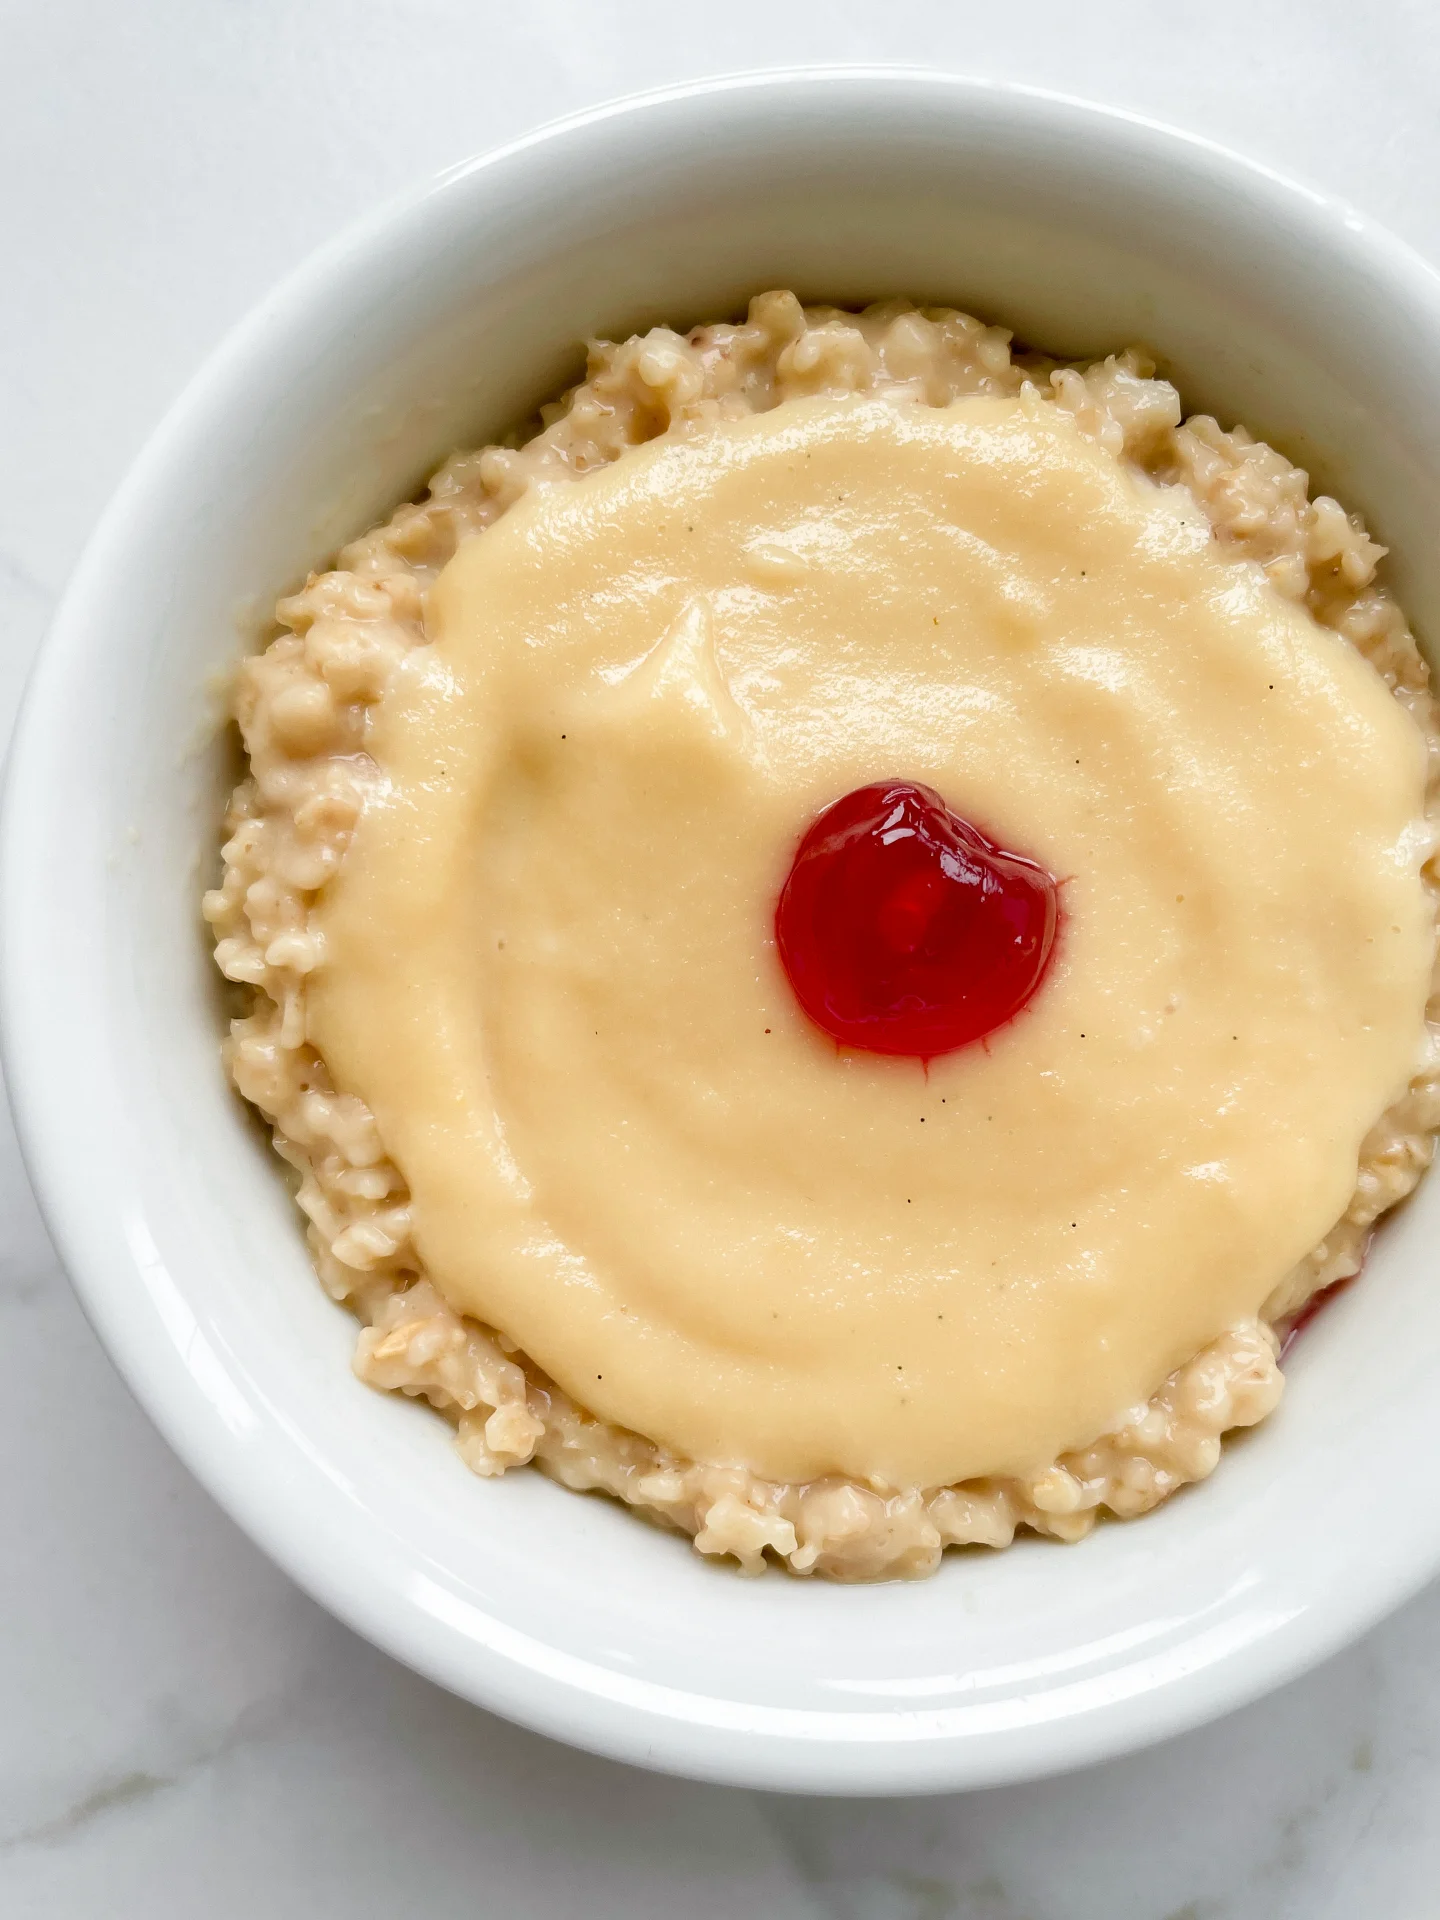
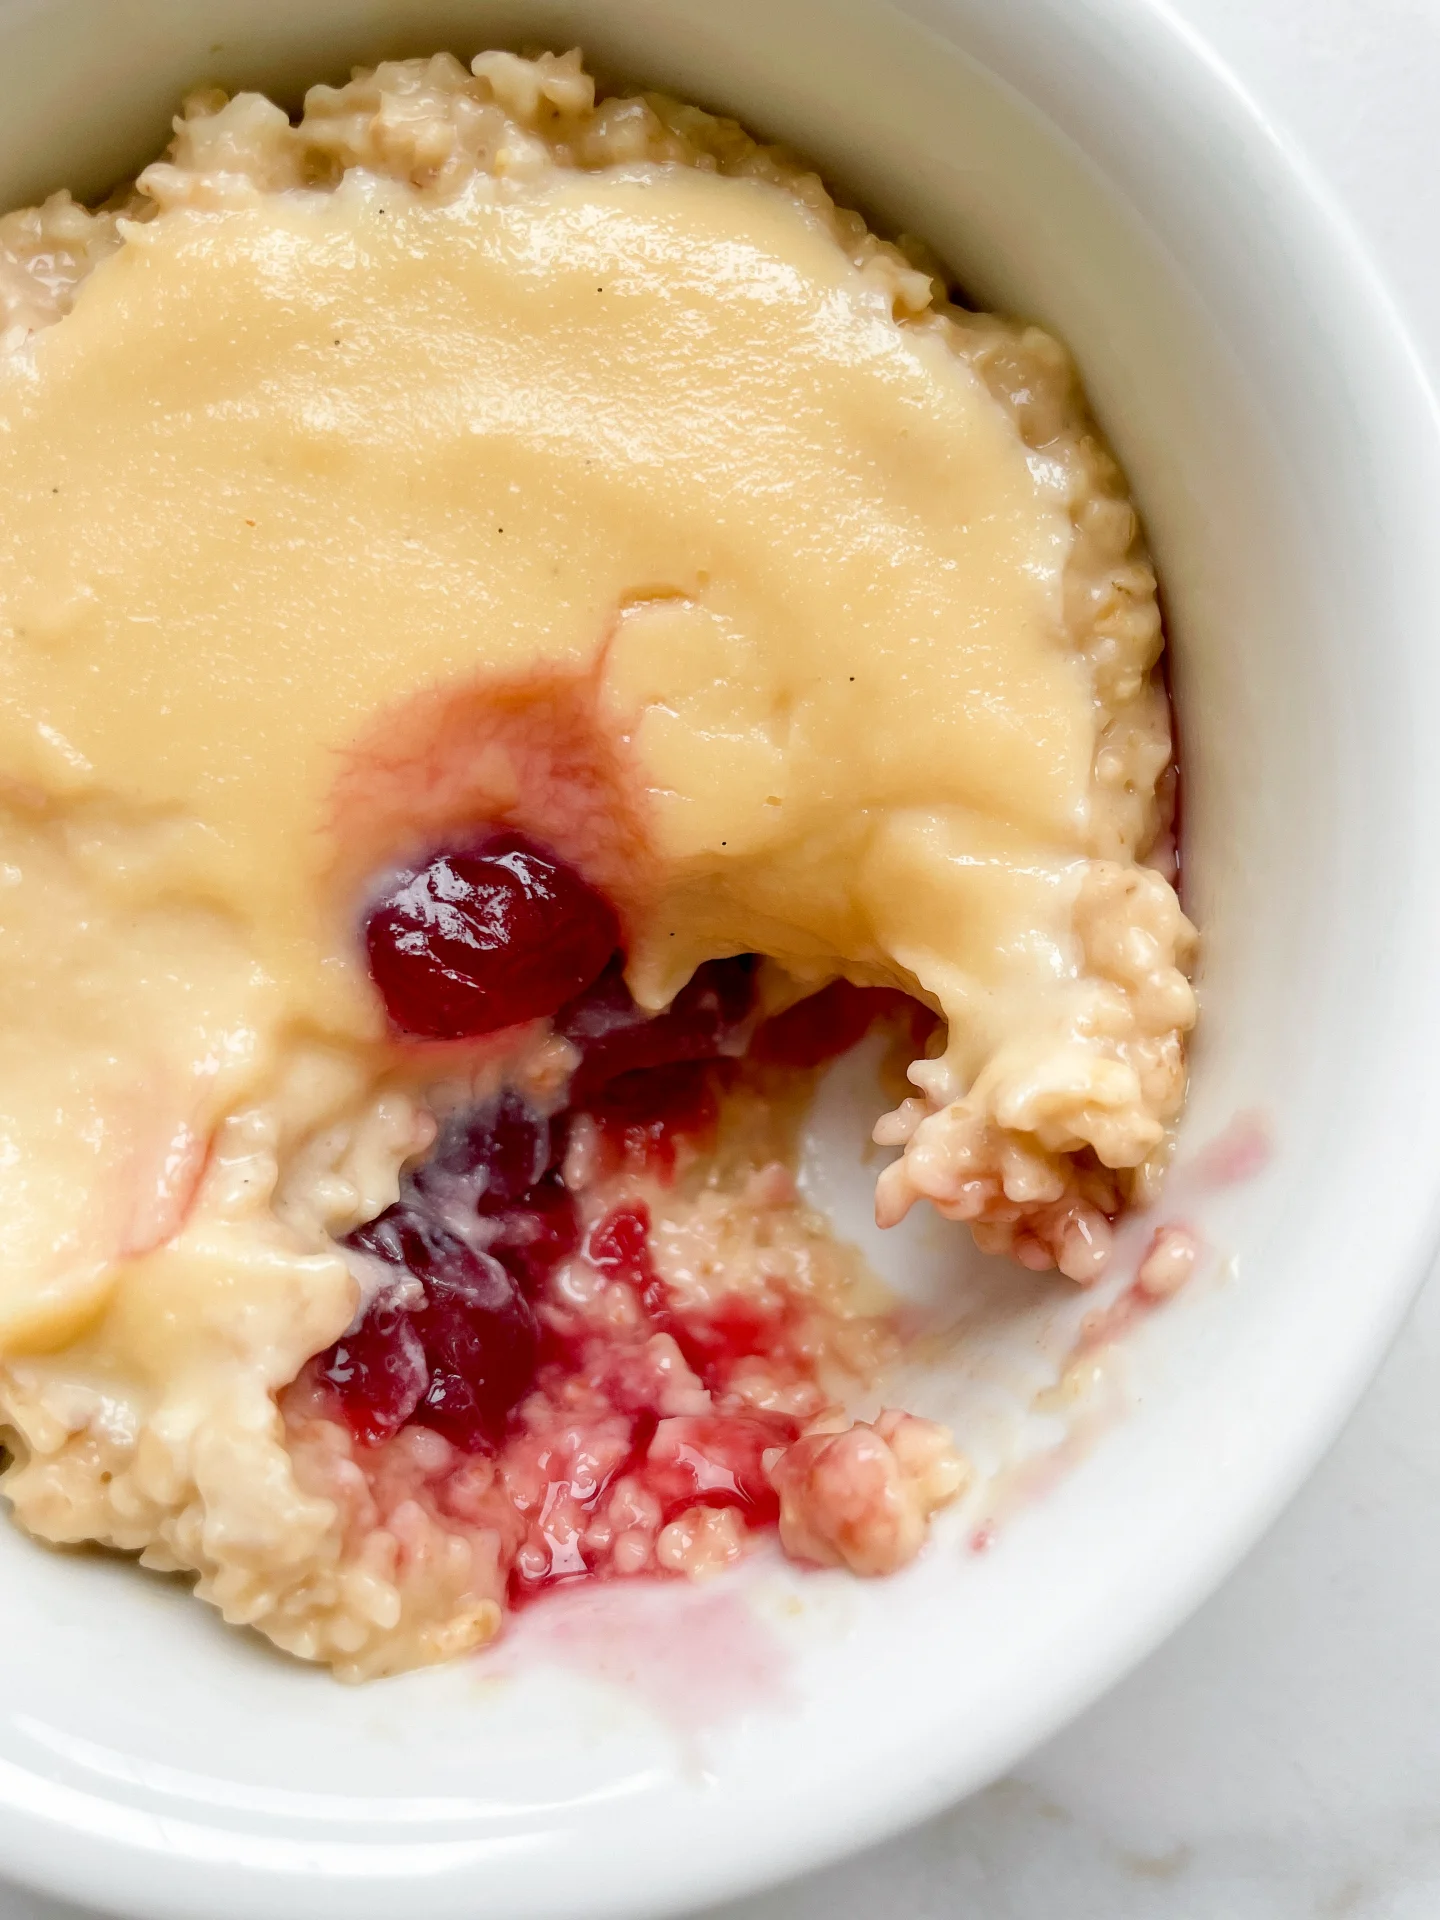
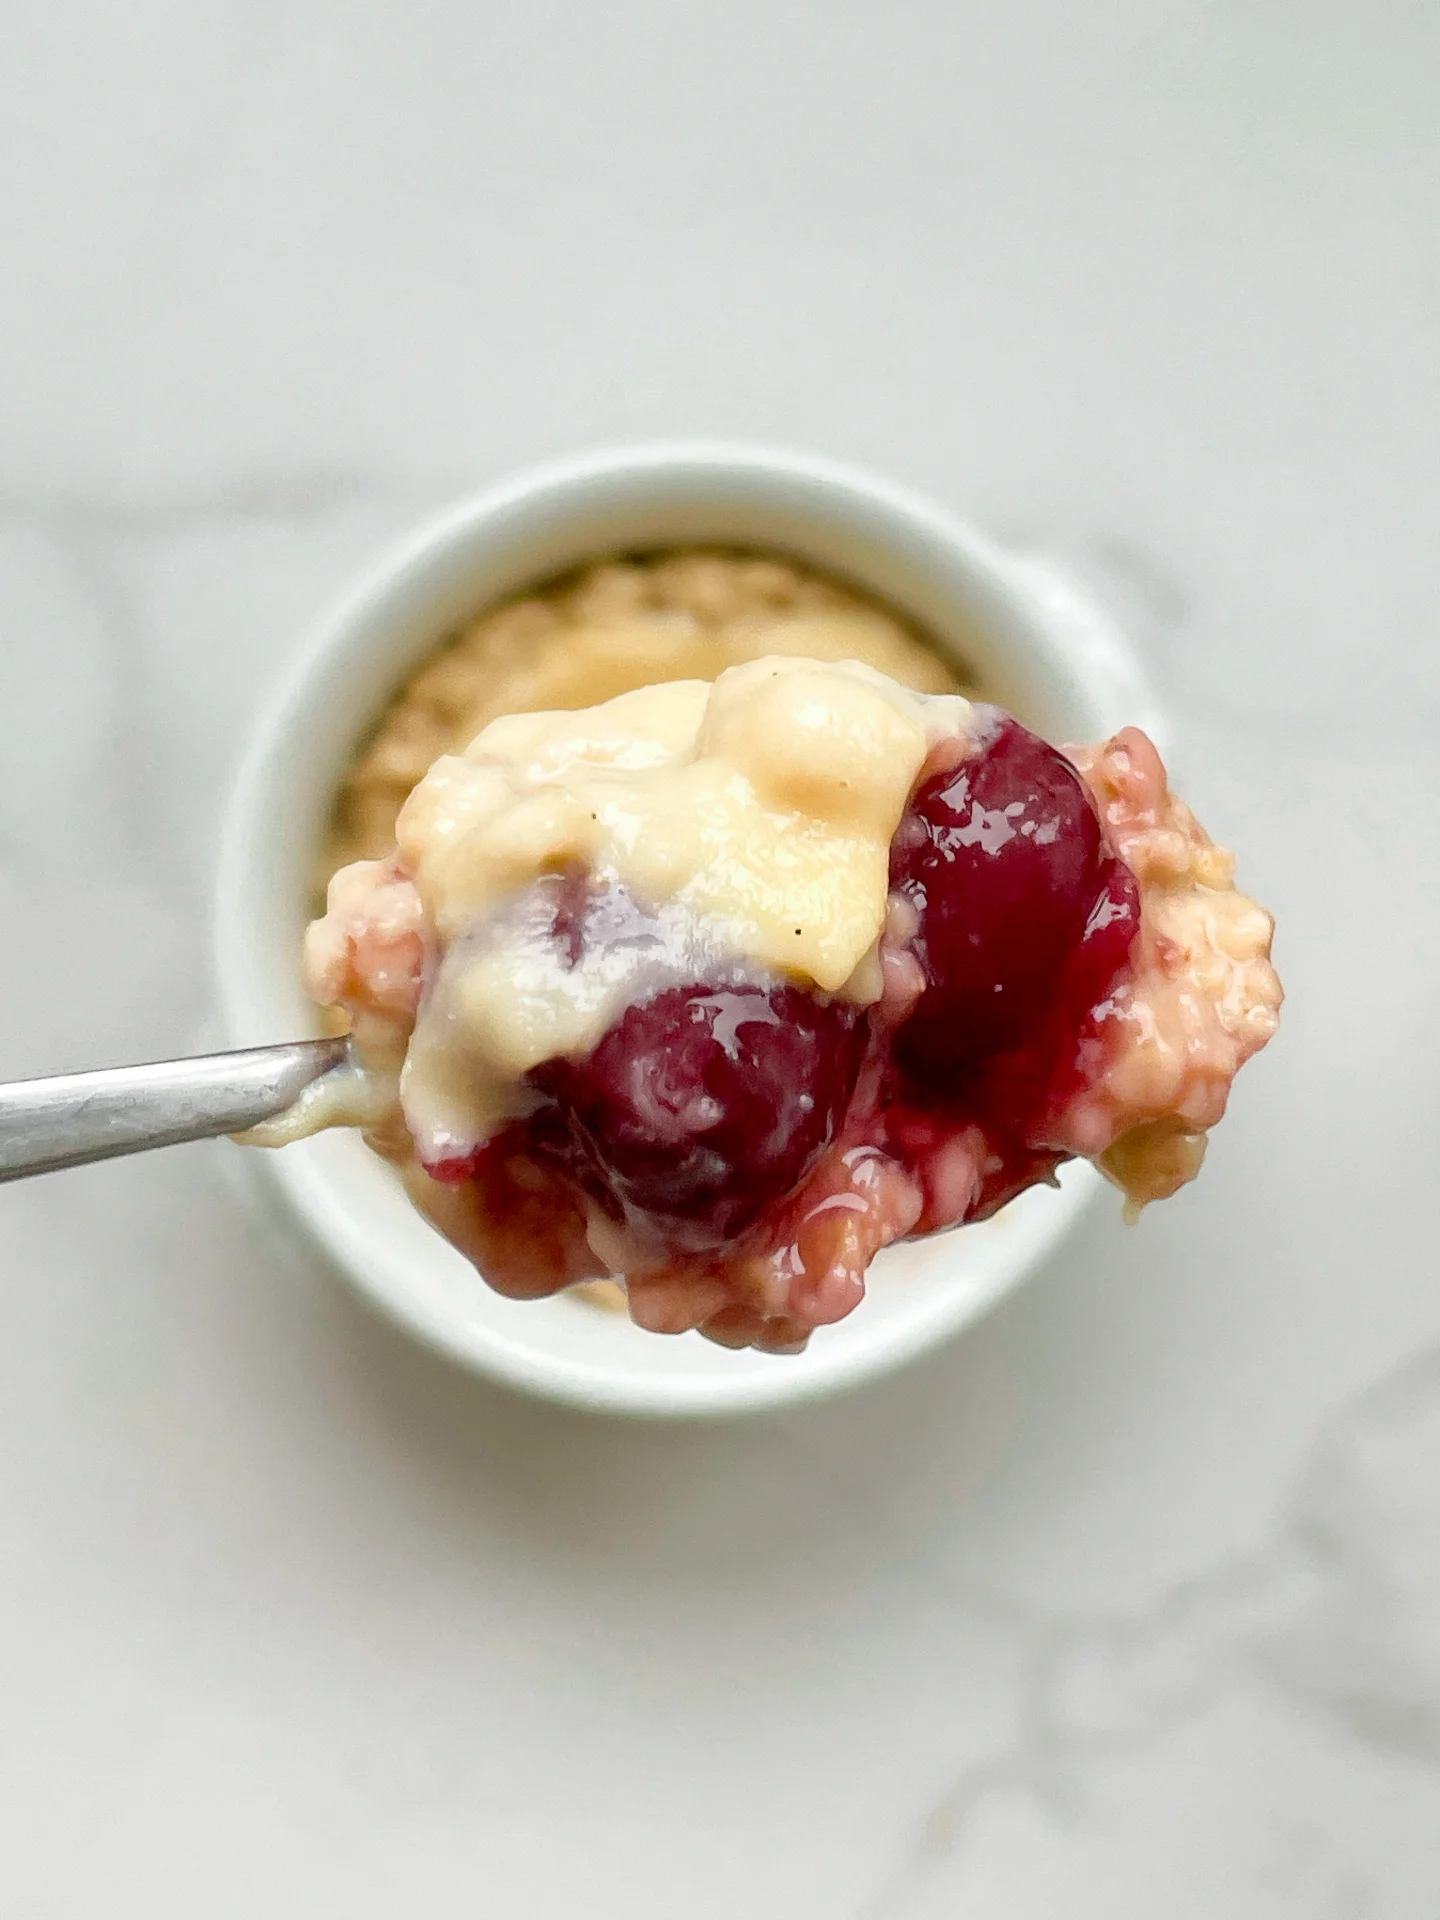
Imagine creamy oats kissed with almond milk, layered with luscious cherry filling, and drizzled with silky marzipan sauce – finished with a candied cherry. It’s breakfast that tastes like dessert but feels indulgently cozy.

This website uses affiliate links which may earn commission for purchases made at no additional cost to you.

TOTAL TIME

30 min
SERVES

3 portions

DIET

vegetarian

EVERY RECIPE DESERVES

A Little Love Letter

This dreamy breakfast combines the best of dessert and comfort food! Creamy almond milk oats meet a tangy-sweet cherry filling, topped with a velvety marzipan drizzle and crowned with a candied cherry. It’s perfect for chilly mornings, special occasions, or whenever you’re craving something extra indulgent. With layers of flavor and texture, this dish is not just a breakfast – it’s a hug in a bowl.
Serve warm for the ultimate cozy vibes. To assemble, spoon the creamy almond oats into a bowl, add a layer of cherry filling, and drizzle generously with the marzipan sauce. Top it with a candied cherry for a stunning finish. Pair it with a hot cup of coffee or tea for a slow, luxurious morning or dress it up for a brunch centerpiece.

Store leftovers in an airtight container in the fridge for up to three days.

Hi, I'm Kimberly!

Hi, I'm Kimberly.

A hopeless romantic when it comes to food. Every recipe I share is a love letter to food itself. I’m so glad you’re here. Make yourself at home and stay a while.

Love,
Kimberly

Kimberly the Zett Signature

If you want to get to know me better,
click here!


Cherry Almond Marzipan Oats

LET’S MAKE A PIECE OF HAPPINESS

Print
clock clock iconcutlery cutlery iconflag flag iconfolder folder iconinstagram instagram iconpinterest pinterest iconfacebook facebook iconprint print iconsquares squares iconheart heart iconheart solid heart solid icon
Cherry Almond Marzipan Oats

Cherry Almond Marzipan Oats


  • Author: Kimberly
  • Total Time: 30 min
  • Yield: 3 1x

Description

Recommended Equipment

  • small pot
  • whisk
  • bowl
  • cheese grater

Ingredients

Units Scale
OATS BASE
  • 100 grams rolled oats
  • 250 milliliter almond milk
  • 1 tsp vanilla extract
  • pinch of salt
  • 1 tsp date syrup
MARZIPAN SAUCE
  • 1 egg yolk
  • 100 milliliter full-fat cow milk
  • 50 milliliter heavy cream
  • 50 grams marzipan
  • 40 grams white sugar
  • 0.5 tsp vanilla extract
CHERRY FILLING
  • 150 grams cherries
  • 50 milliliter cherry juice
  • 1 tsp lemon juice
  • 1 tsp cornstarch
  • 1 tbsp powdered sugar
TOPPING
  • candied cherries

Instructions

  1. Place the marzipan in the freezer for about 20–30 minutes, then grate it coarsely using a cheese grater.
  2. Warm the milk and cream in a pot without bringing it to a boil, then remove from heat.
  3. Mix the egg yolks, sugar, and vanilla extract thoroughly in a bowl. Add the grated marzipan and stir well.
  4. Gradually add the egg yolk mixture to the warm milk-cream mixture, one teaspoon at a time, stirring constantly until combined. Return the pot to medium heat and stir until the sauce thickens. For a firmer consistency, mix 1 tsp of cornstarch with a bit of water, add it to the sauce, and briefly bring it to a boil. Remove from heat.
  5. In another pot, mix cherries, cherry juice, lemon juice, powdered sugar, and cornstarch. Heat over medium heat until the mixture thickens and the cherries soften. Remove from heat.
  6. In a separate pot, combine oats, almond milk, vanilla extract, salt, and your choice of sweetener (e.g., date syrup). Bring to a boil, stirring until the oats are soft.
  7. Layering: Spread a portion of the oatmeal in a small bowl, then add a layer of cherry sauce. Cover with the remaining oatmeal, smooth the surface, and pour the marzipan sauce over the top.
  8. Garnish with a candied cherry. Serve immediately or prepare as overnight oats.

CRAVING MORE?

Follow along here & don’t forget to subscribe to my substack!

German Eggnog

German Eggnog

German Eggnog

German Eggnog

December 21, 2024 by Kimberly

Creamy, spiced, and a hint of orange, this festive drink feels like a warm blanket with a zesty twist. Perfect for cozy nights, it’s sweet nostalgia with a touch of magic.

This website uses affiliate links which may earn commission for purchases made at no additional cost to you.

TOTAL TIME

10 min

SERVES

2 mugs

DIET

vegetarian

EVERY RECIPE DESERVES

A Little Love Letter

This creamy, spiced drink is your ultimate holiday treat, blending warm vanilla notes with a zesty orange kick. It’s the perfect balance of cozy and refreshing, bringing all the festive feels to your cup. Whether you’re cuddled up on the couch or hosting a holiday party, this drink will steal the show. Whipped cream and a sprinkle of cinnamon take it to the next level. Trust me, you’re about to sip your way to holiday bliss.

Serve this festive drink warm for an extra cozy vibe or chilled for a refreshing twist. Top it with a generous dollop of whipped cream and a dash of cinnamon for that picture-perfect look. Pair it with a plate of Christmas cookies or a slice of fruitcake to complete the holiday mood. Pro tip: Add a splash of your favorite spirit if you want to elevate it for the grown-ups at your table.

Store the drink in an airtight container in the fridge for up to one day. Stir it well before reheating or serving cold. Keep the whipped cream and cinnamon topping separate and add them fresh just before serving.

Hi, I'm Kimberly!

Hi, I'm Kimberly.

A hopeless romantic when it comes to food. Every recipe I share is a love letter to food itself. I’m so glad you’re here. Make yourself at home and stay a while.

Love,
Kimberly

Kimberly the Zett Signature

If you want to get to know me better,
click here!


German Eggnog
German Eggnog

LET’S MAKE A PIECE OF HAPPINESS

Print
clock clock iconcutlery cutlery iconflag flag iconfolder folder iconinstagram instagram iconpinterest pinterest iconfacebook facebook iconprint print iconsquares squares iconheart heart iconheart solid heart solid icon
German Eggnog

German Eggnog


  • Author: Kimberly
  • Total Time: 10 min
  • Yield: 2 1x

Description

Recommended Equipment

  • small saucepan
  • whisk
  • electric hand mixer
  • tall container
  • piping bag

Ingredients

Units Scale
EGGNOG
  • 250 milliliter full-fat cow milk
  • 150 milliliter advocaat
  • 100 milliliter orange juice
  • 14 grams vanilla sugar
  • 15 grams vanilla pudding instant powder
  • pinch of salt
WHIPPED CREAM
  • 200 milliliter heavy cream
  • pinch of cinnamon

Instructions

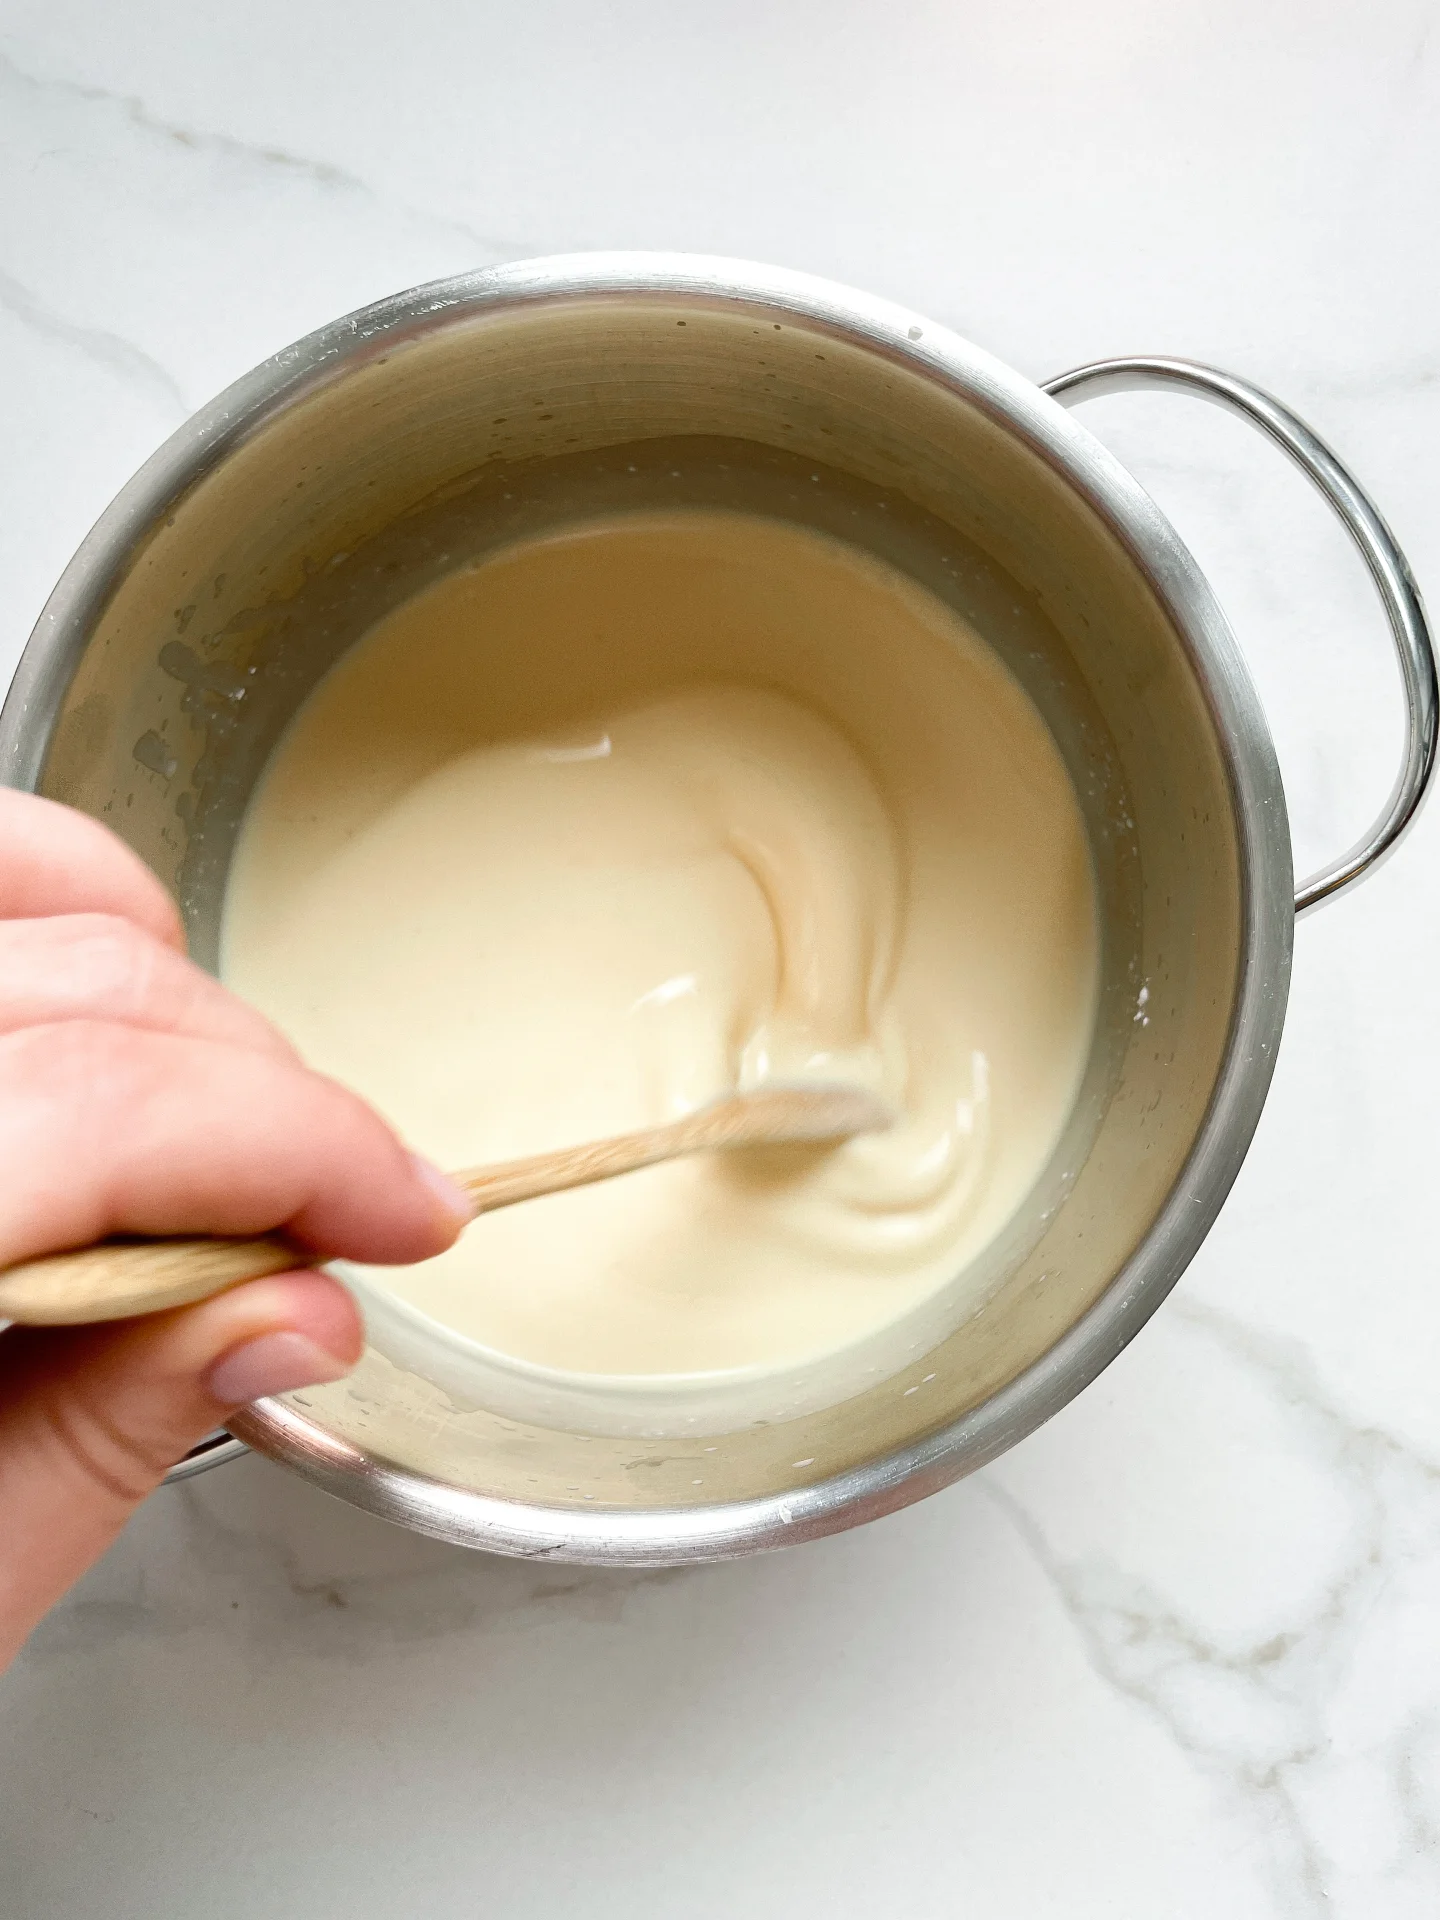
  1. In a small saucepan, whisk together milk, orange juice, eggnog, vanilla sugar, and vanilla pudding powder. Heat over medium heat until the mixture starts to thicken. Remove from heat and keep warm with a lid. Season with a pinch of salt.
  2. Whip the cream until stiff using an electric mixer and transfer it into a piping bag.
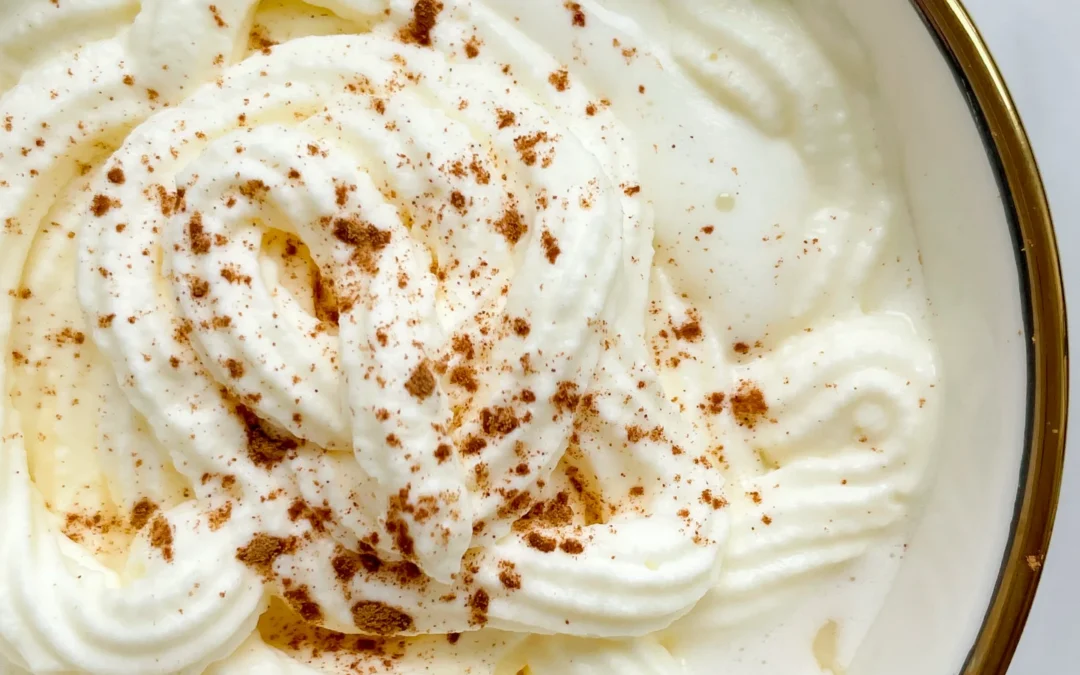
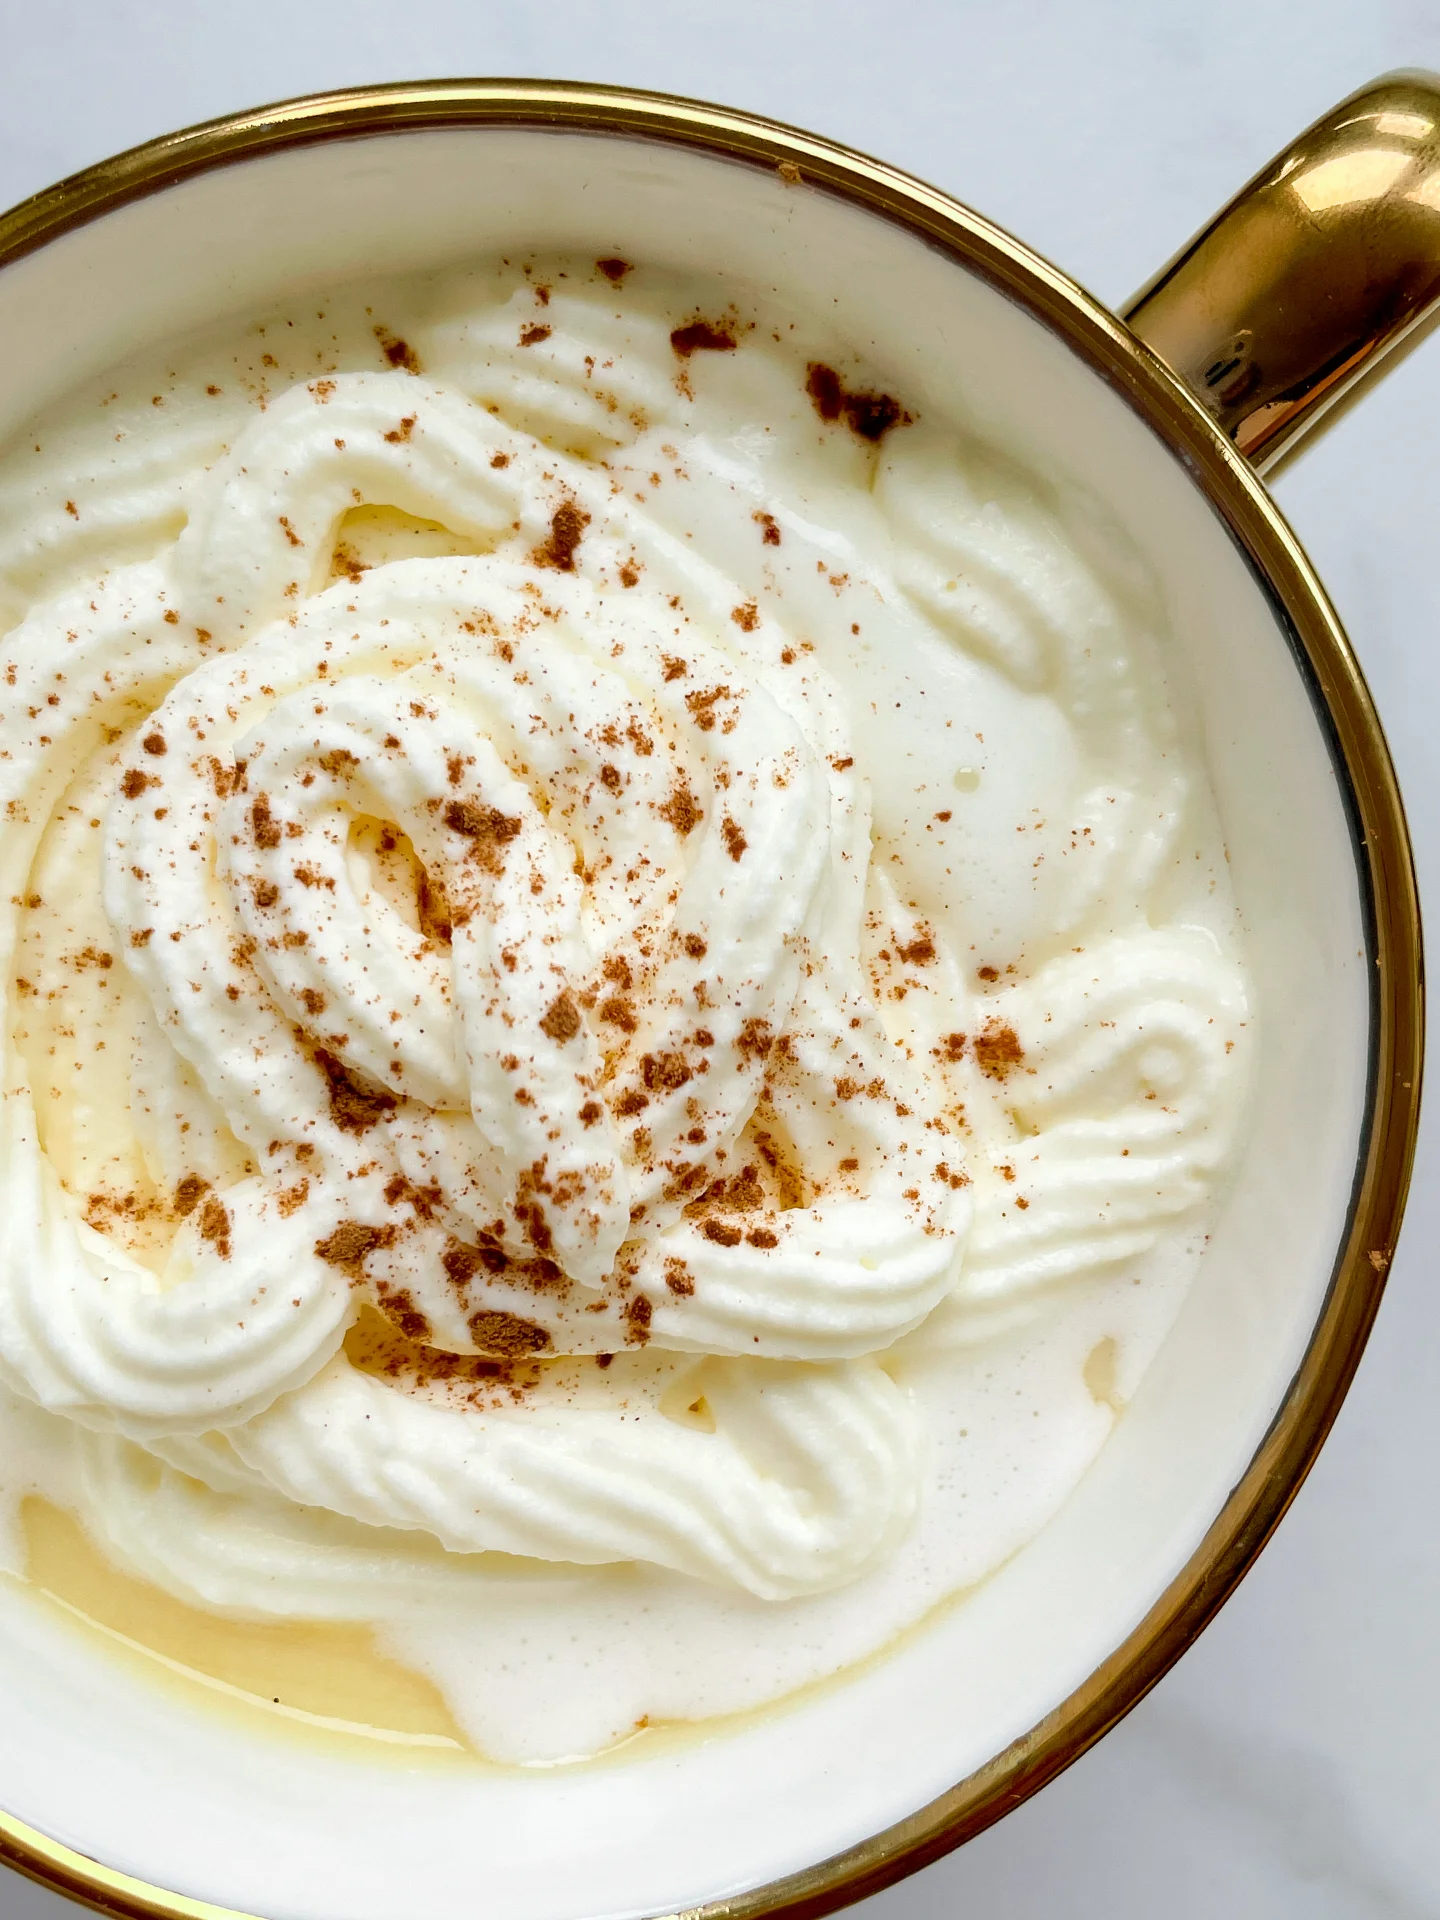
  3. Pour the eggnog mixture into a cup, top with whipped cream, and sprinkle with a bit of cinnamon for a finishing touch. Enjoy!
  4. The vanilla pudding powder can be replaced with milk powder and cornstarch for an even creamier taste.
  • Cook Time: 10 min

CRAVING MORE?

Follow along here & don’t forget to subscribe to my substack!

Cranberry Orange Glazed Pork Roast

Cranberry Orange Glazed Pork Roast

Cranberry Orange Glazed Pork Roast

Cranberry Orange Glazed Pork Roast

December 18, 2024 by Kimberly

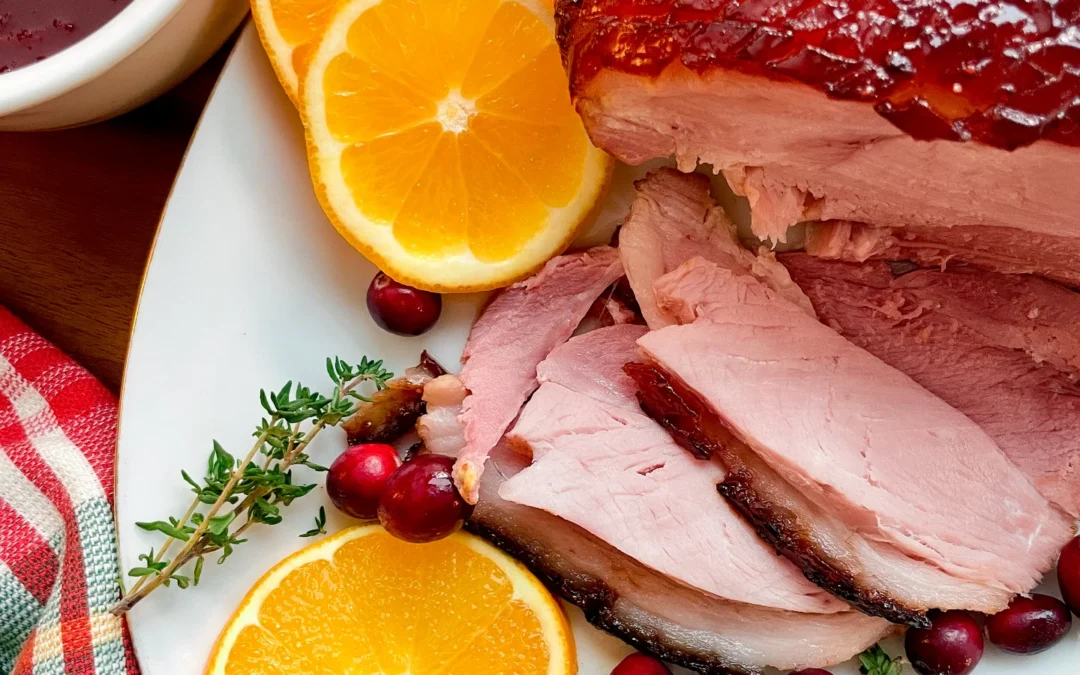
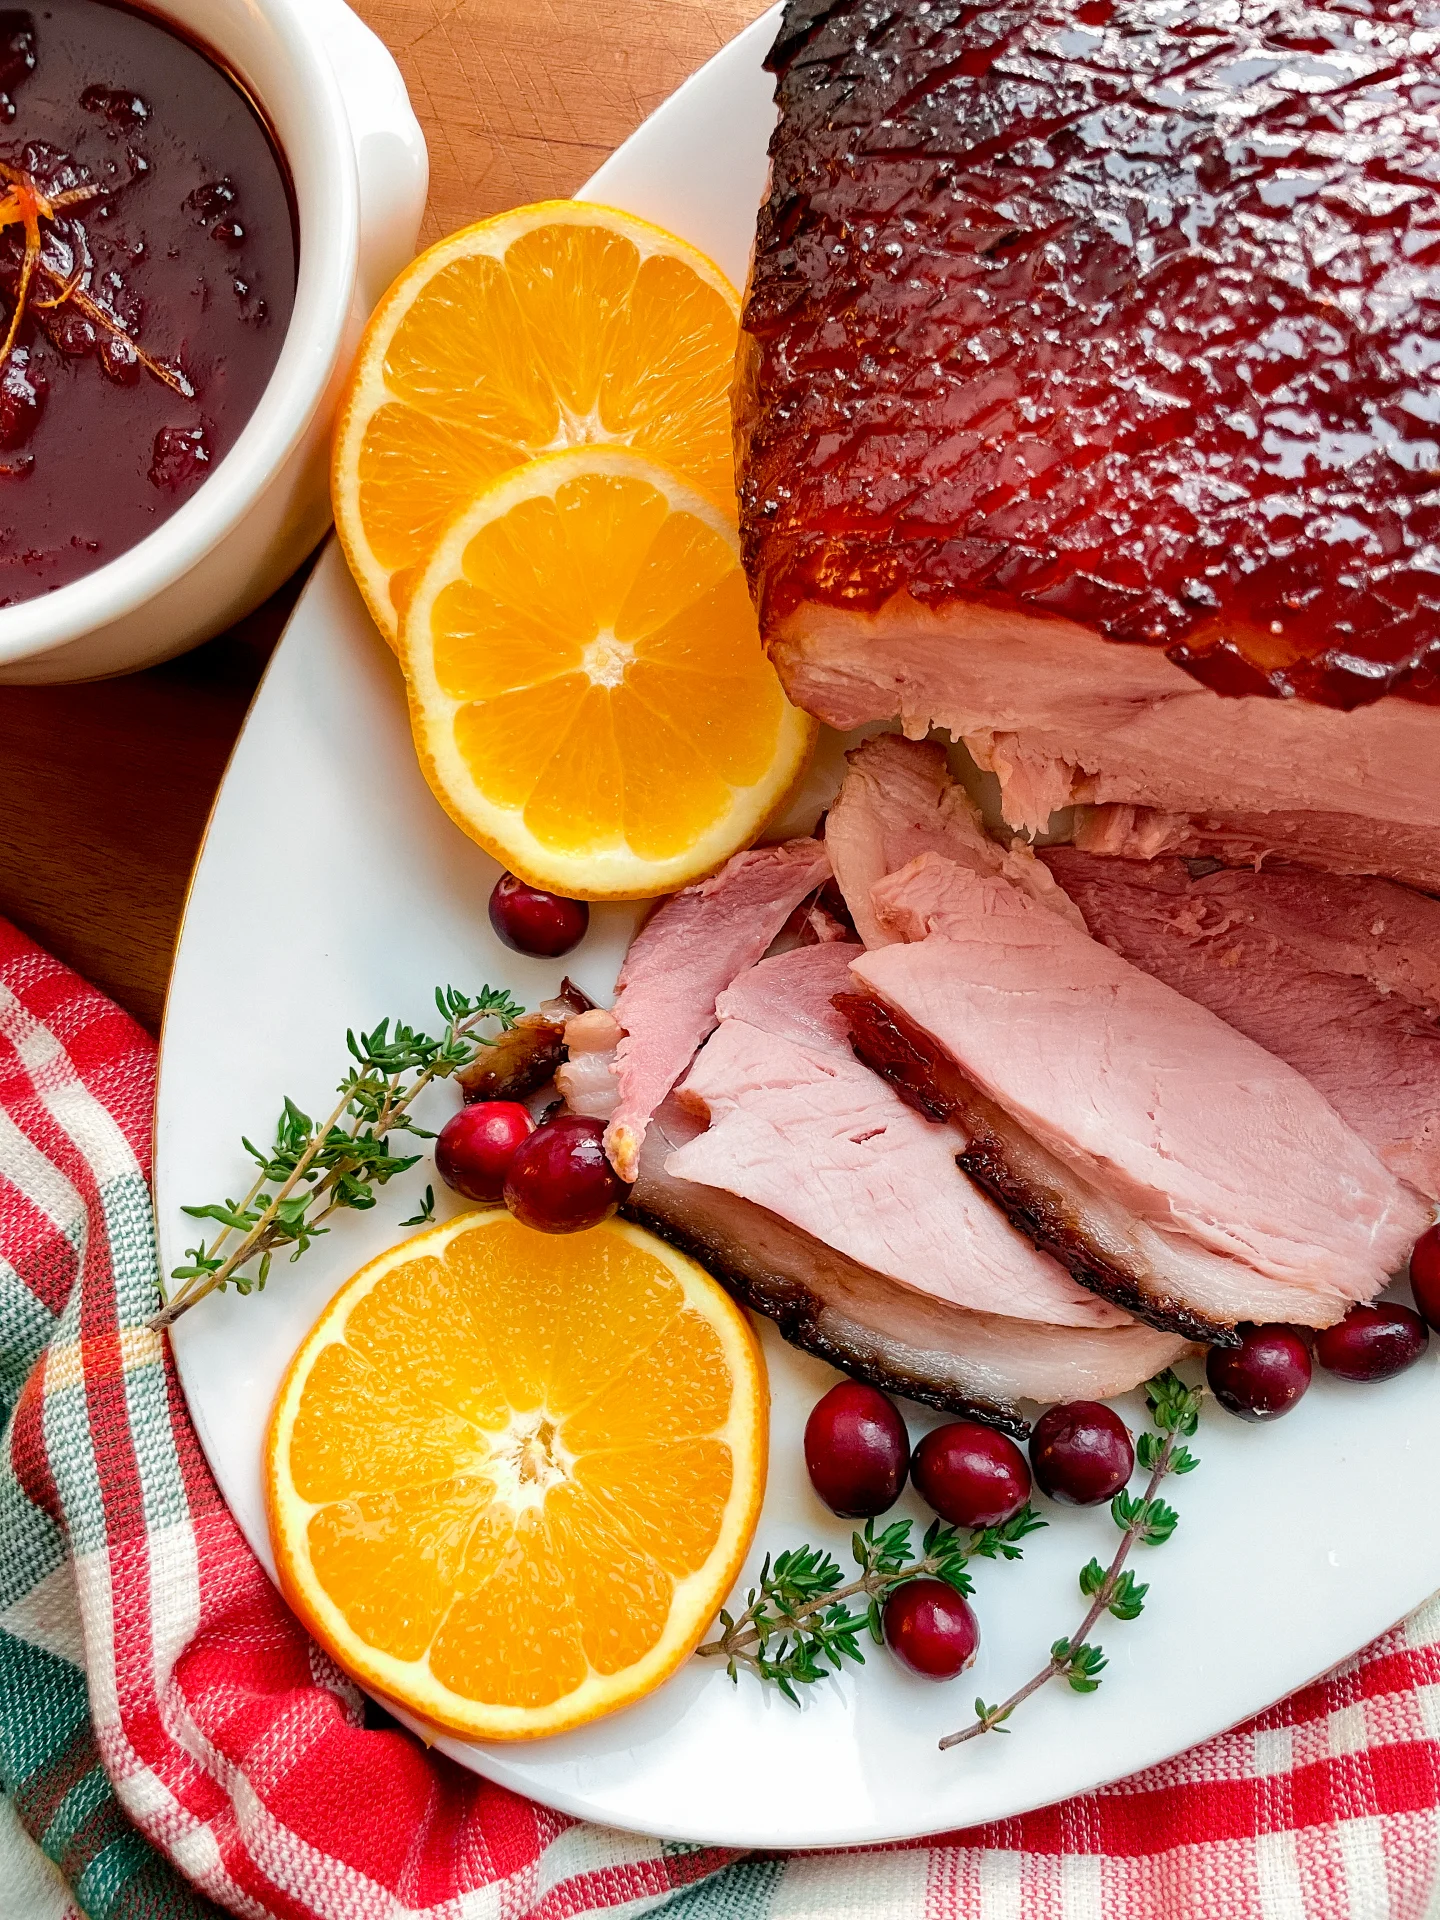
This juicy, tender pork roast with a sweet-tangy cranberry orange glaze tastes like the holidays on a plate. Perfectly crispy on the outside and bursting with bold, festive flavors inside.

This website uses affiliate links which may earn commission for purchases made at no additional cost to you.

TOTAL TIME

2 hrs + 40 min

SERVES

6 portions

DIET

omnivore

EVERY RECIPE DESERVES

A Little Love Letter

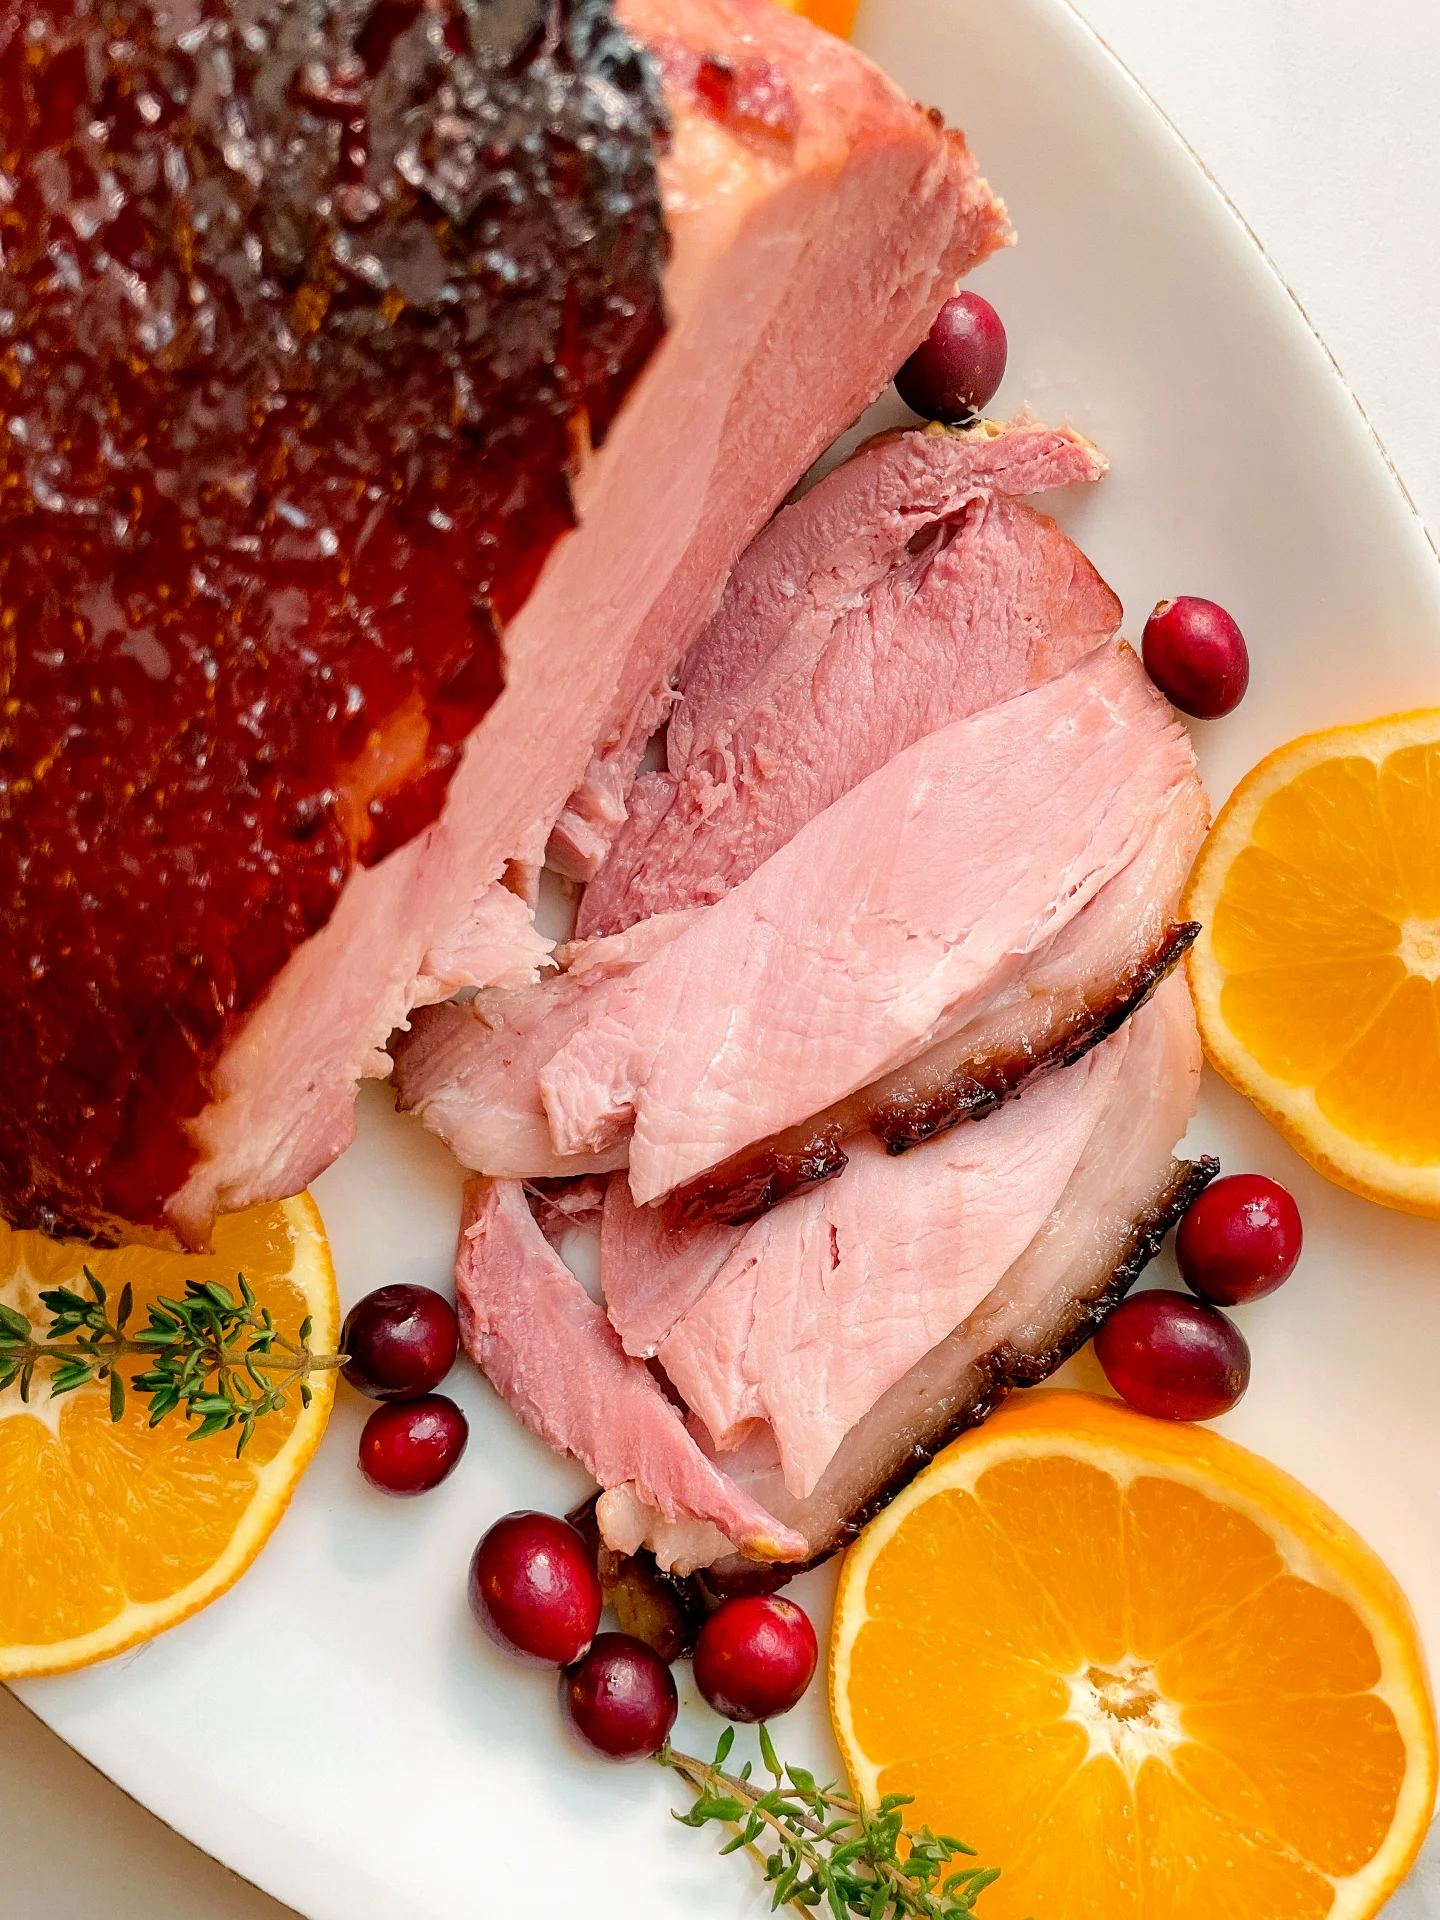
This roast is what holiday dreams are made of crispy crackling, juicy pork, and a sweet-tangy cranberry orange glaze that brings all the festive vibes. The glaze is inspired by a classic Cumberland sauce, with tart cranberries, bright orange zest, and a splash of Port wine for richness. Whether it’s for a holiday feast or a special family dinner, this roast is guaranteed to steal the show and have everyone asking for seconds.

Pair this roast with creamy mashed potatoes, roasted Brussels sprouts, or a crisp green salad to balance the richness. The cranberry orange glaze adds just the right amount of tang, so it shines with simple sides. For an extra festive touch, drizzle a bit of the warm glaze over the carved slices. The best part? This roast is just as amazing the next day! Slice it paper-thin and enjoy it as a snack, or layer it into a sandwich with some extra glaze for a seriously delicious leftover treat.

Wrap leftover pork in foil or store it in an airtight container in the fridge for up to three days. Enjoy it cold in a sandwich with a dollop of leftover glaze.

Hi, I'm Kimberly!

Hi, I'm Kimberly.

A hopeless romantic when it comes to food. Every recipe I share is a love letter to food itself. I’m so glad you’re here. Make yourself at home and stay a while.

Love,
Kimberly

Kimberly the Zett Signature

If you want to get to know me better,
click here!


Cranberry Orange Glazed Pork Roast

LET’S MAKE A PIECE OF HAPPINESS

Print
clock clock iconcutlery cutlery iconflag flag iconfolder folder iconinstagram instagram iconpinterest pinterest iconfacebook facebook iconprint print iconsquares squares iconheart heart iconheart solid heart solid icon
Cranberry Orange Glazed Pork Roast

Cranberry Orange Glazed Pork Roast


  • Author: Kimberly
  • Total Time: 2 hrs + 40 min
  • Yield: 6 - 8 1x

Description

RECOMMENDED EQUIPMENT

  • deep baking dish or roasting pan
  • aluminum foil
  • sharp knife
  • cutting board
  • kitchen brush for glazing
  • meat thermometer
  • vegetable peeler
  • small pot

Ingredients

Units Scale
PORK HAM
  • 1.8 kilogramm cured pork ham with rind
  • 2 tsp dijon mustard
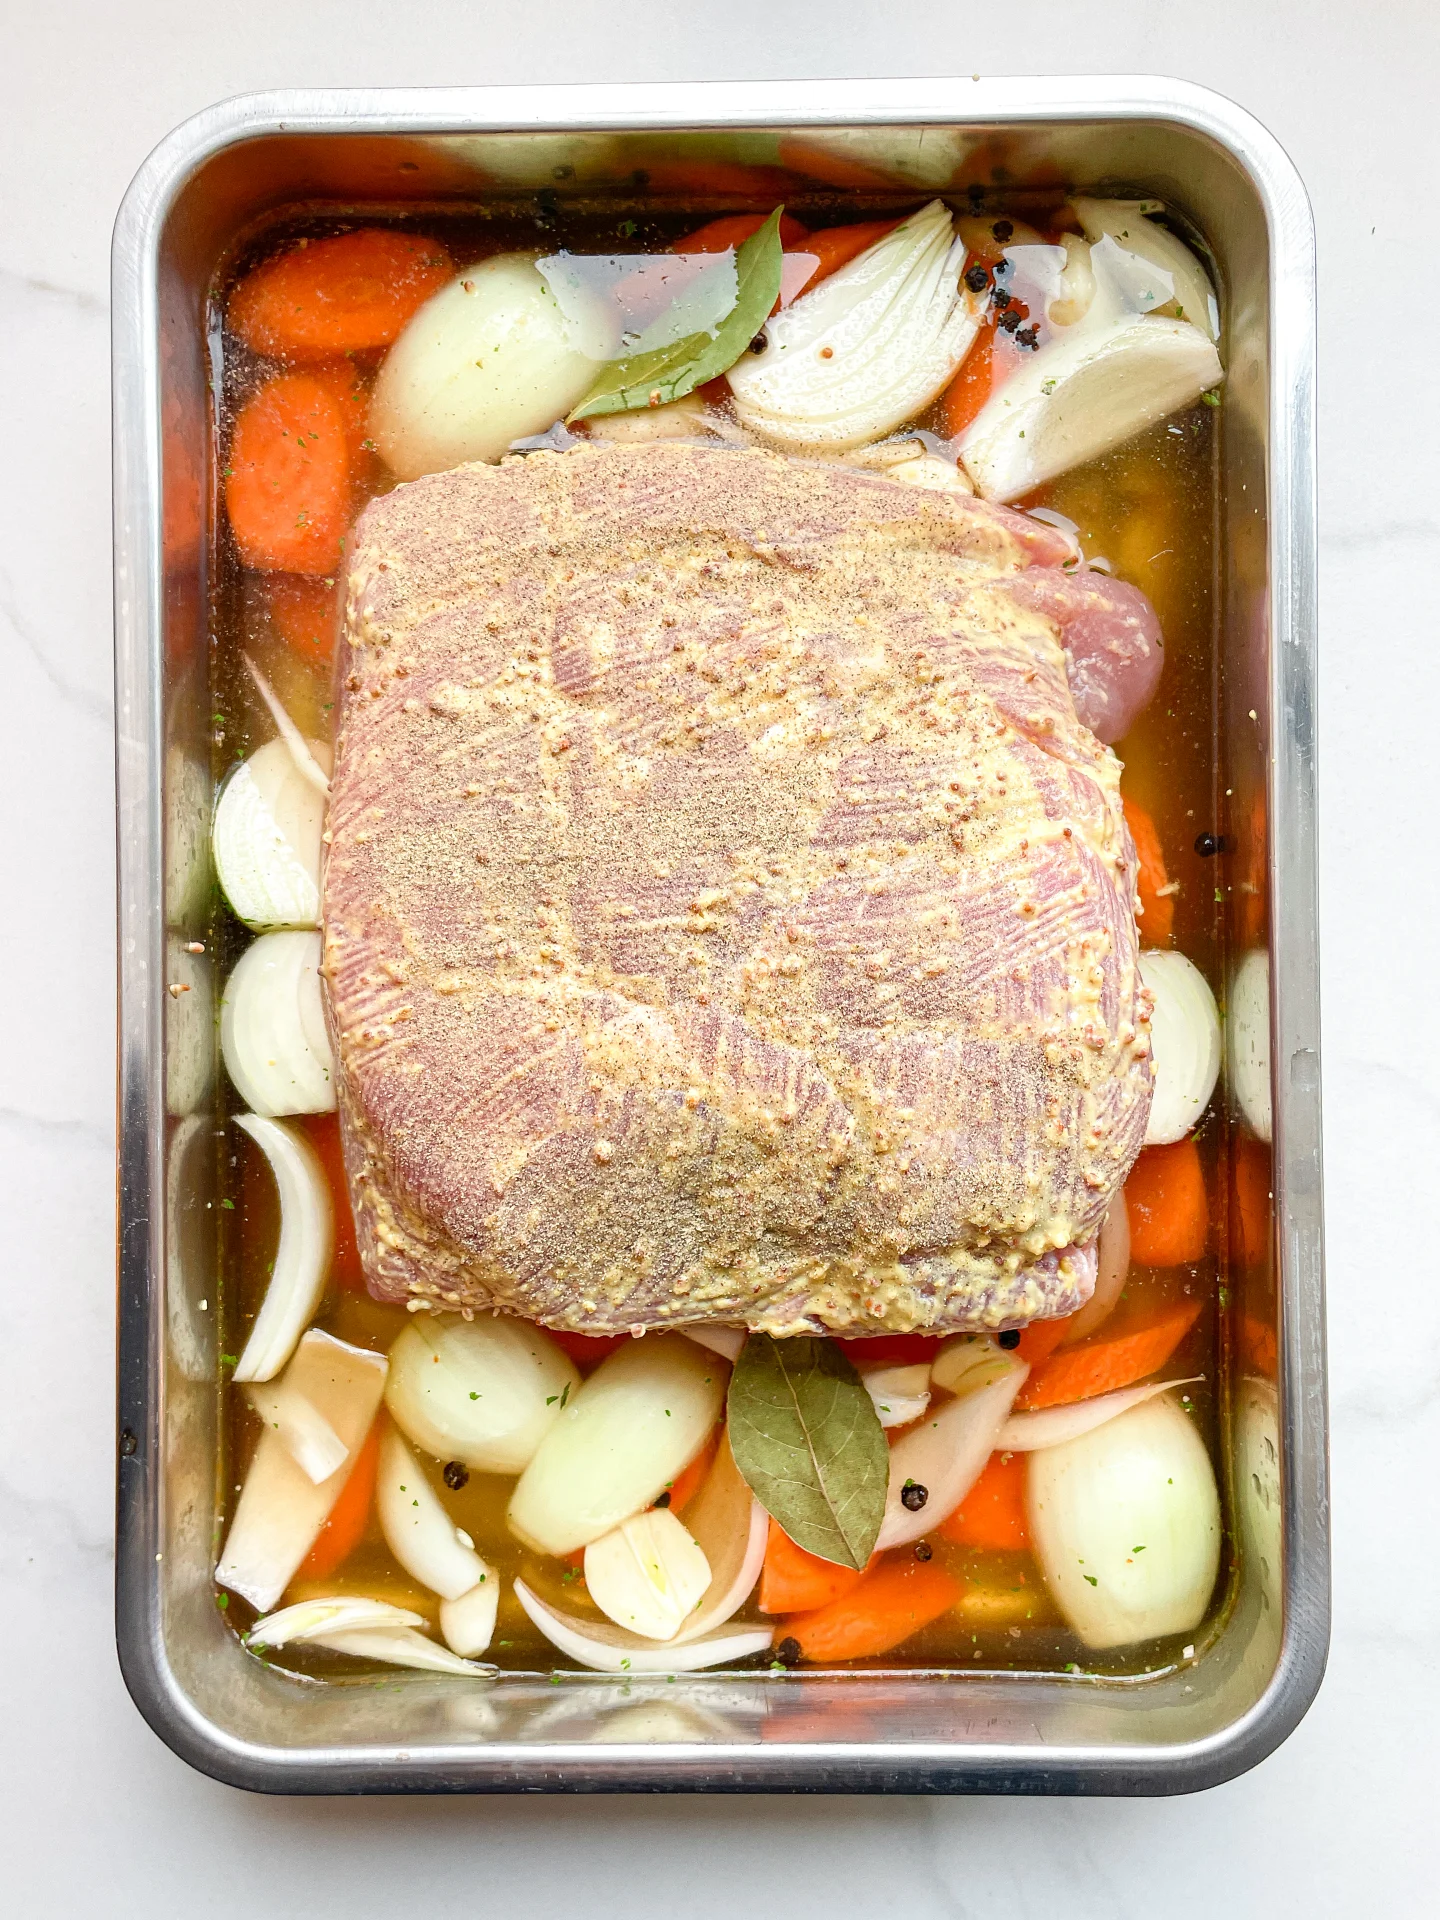
  • salt & pepper
COOKING LIQUID
  • 750 milliliter vegetable stock
  • 1.5 white onions
  • 3 garlic cloves
  • 2 carrots
  • 2 bay leaves
  • 1 tbsp black pepper corns
CRANBERRY ORANGE GLAZE
  • 1 lemon
  • 1 orange
  • 200 milliliter port wine
  • 1 shallot
  • 3/4 tsp fresh ginger, grated
  • 1 tsp dijon mustard
  • 100 grams fresh cranberries
  • 200 grams redcurrant jelly
  • salt & black pepper

Instructions

  1. Take the meat out of the fridge and let it rest at room temperature for about 30 minutes to ensure even cooking later.
  2. In the meantime, prepare the glaze. You can find the recipe for the cranberry-orange sauce here, which we’ll use both as a glaze and a sauce later.
  3. Preheat the oven to 150°C/300°F (fan).
  4. Peel the onions, garlic, and carrots, then cut them into large chunks.
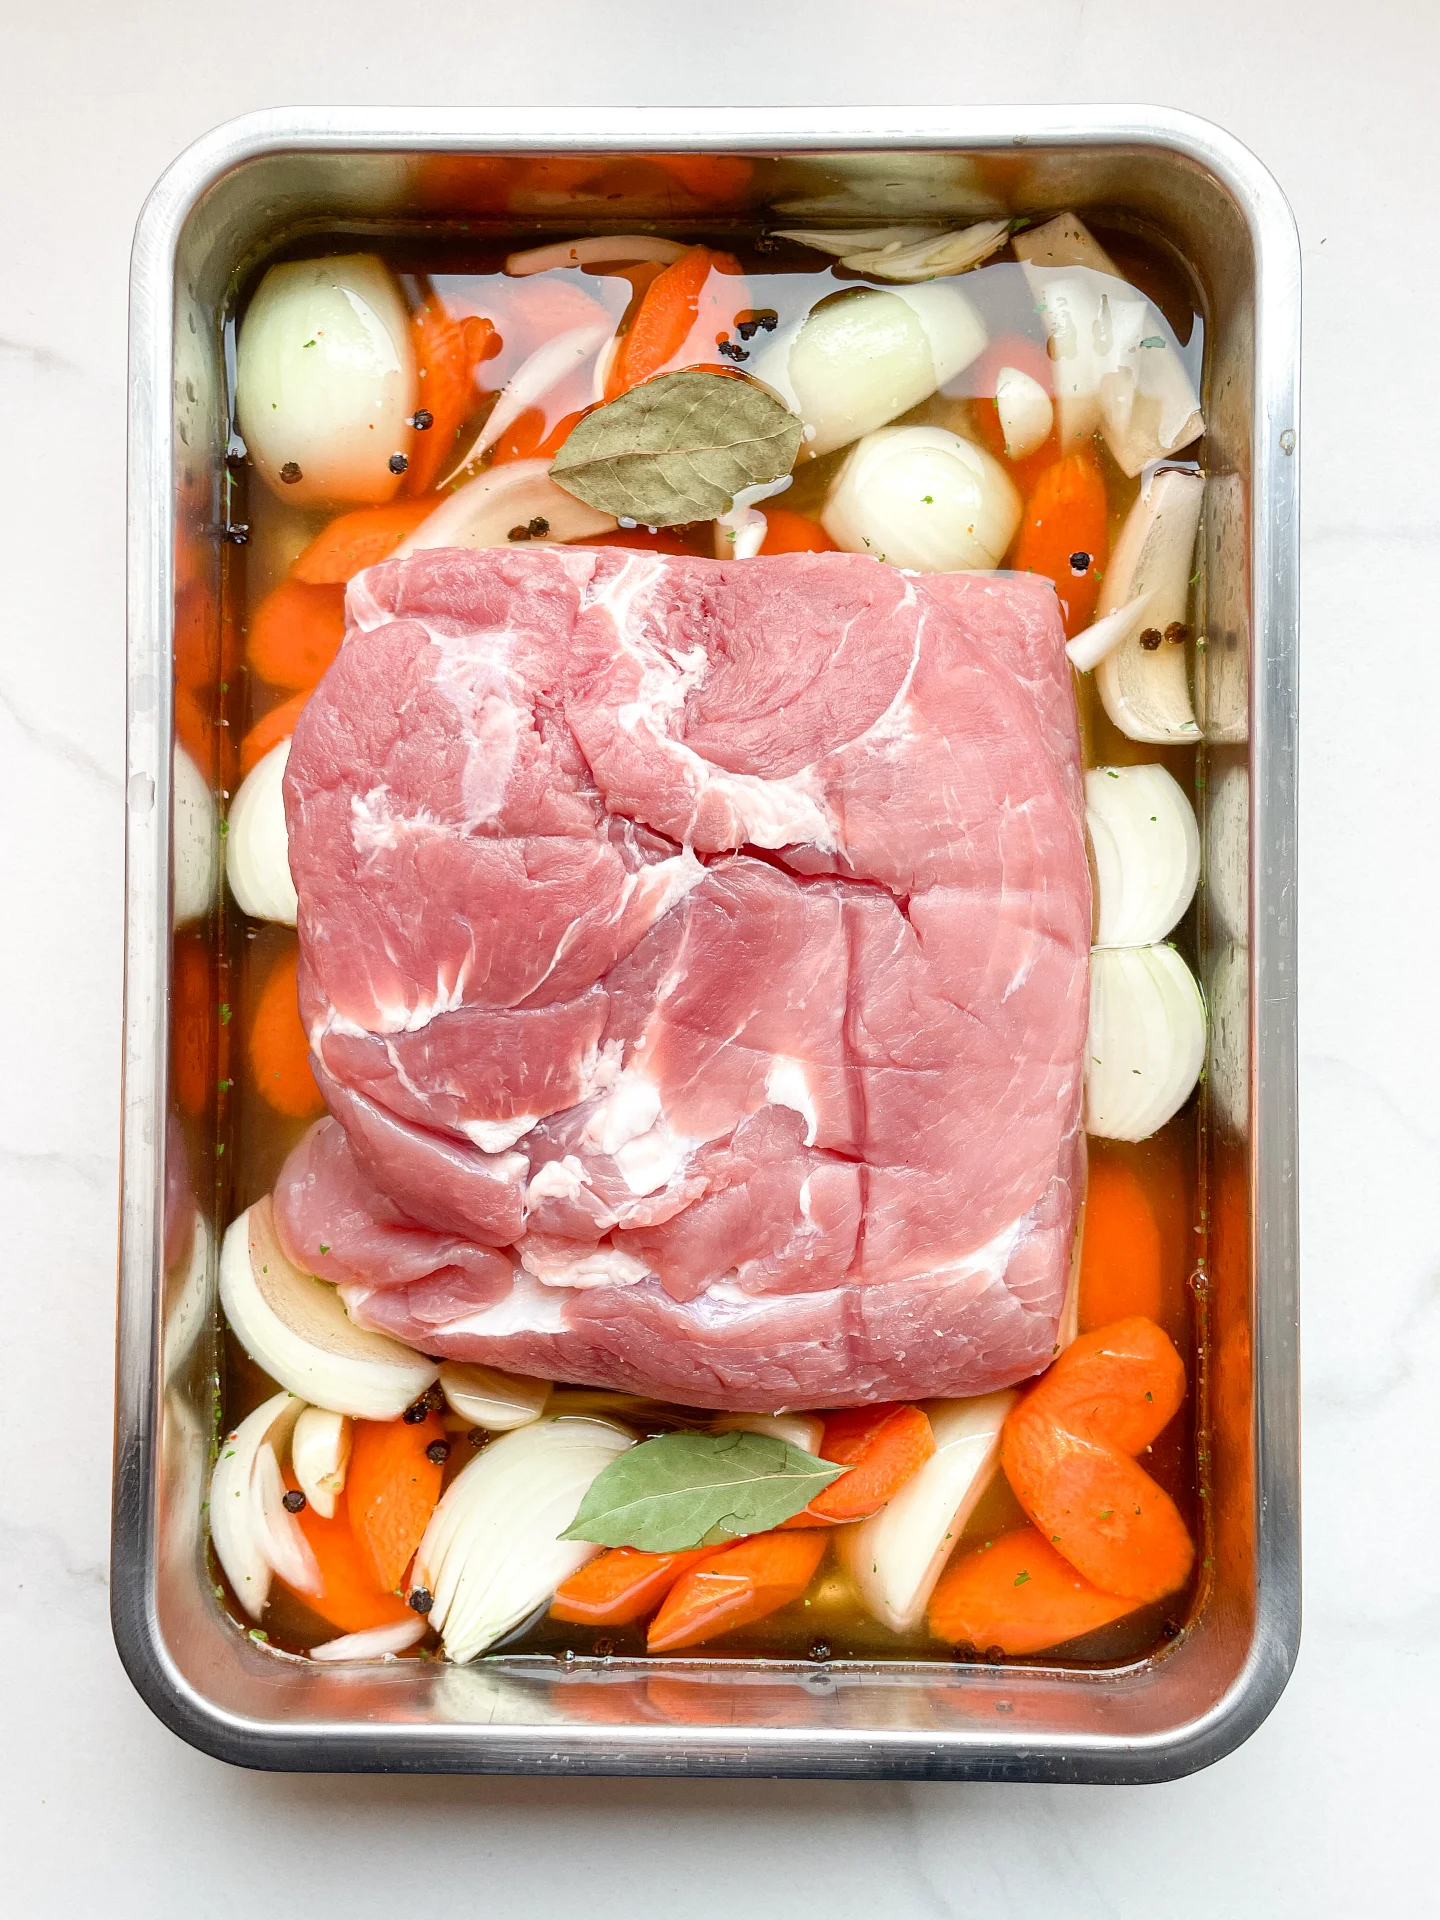
  5. Pour vegetable broth into a deep baking dish or roasting pan and place the meat in it, rind side down. Distribute the chopped vegetables, pepper, and bay leaves around it.
  6. Cover the dish with aluminum foil and place it in the oven for 40 minutes.
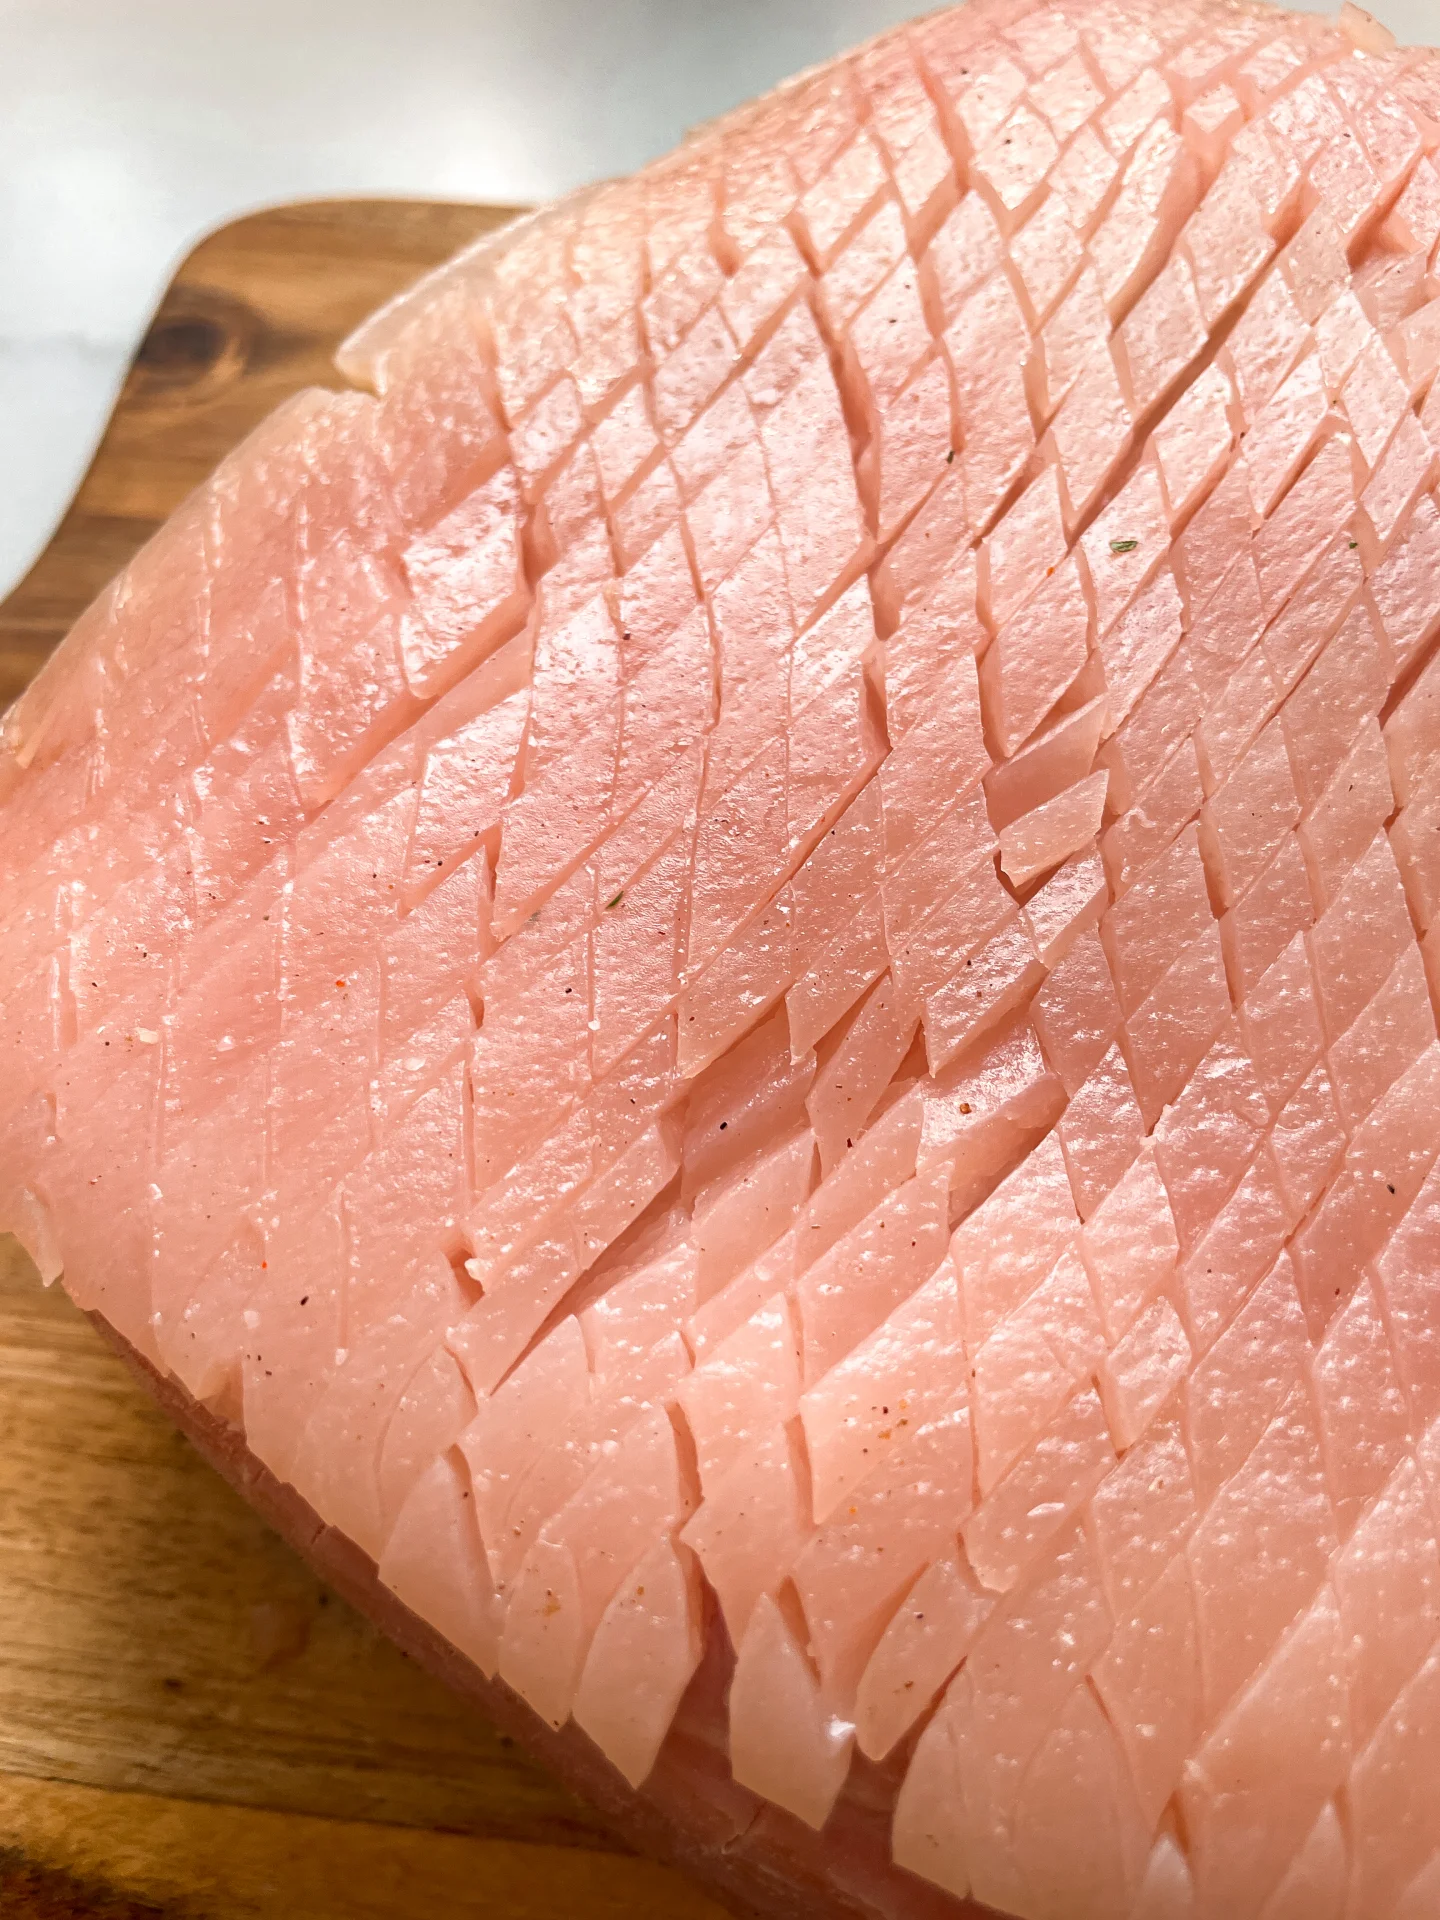
  7. Remove the dish from the oven and transfer the meat to a cutting board, placing it rind side up. You now have two options: either remove the rind completely, leaving the fat layer intact, and score the fat closely with a sharp knife without cutting into the meat. Or, leave the rind on and score it diagonally in a tight pattern, again without cutting into the meat. Return the meat to the oven uncovered and roast for an additional hour.
  8. After 30 minutes, brush the rind with the first layer of glaze. Repeat this every 10 minutes (a total of 3 times). Be sure to save some of the glaze, as it will be used as a sauce later. Once the meat reaches an internal temperature of 65°C/149°F, switch the oven to grill mode and roast the rind for about 10 minutes until it becomes perfectly crispy. The roast should now have an internal temperature of around 68-69°C/154-156°F.
  9. Remove the meat from the oven, cover it with aluminum foil, and let it rest for 10-15 minutes. During this time, the internal temperature will rise to about 72°C/162°F, and the juices will redistribute within the meat.
  10. Slice the meat against the grain into thick slices for serving as a main course or into thin slices for making sandwiches. Enjoy!
  • Passive Time: 2 hrs + 10 min
  • Cook Time: 30 min

CRAVING MORE?

Follow along here & don’t forget to subscribe to my substack!

Mulled Wine Oil

Mulled Wine Oil

Mulled Wine Oil

Mulled Wine Oil

December 17, 2024 by Kimberly

This spiced oil is like a hug in a drizzle. Think rich, warm, and aromatic vibes that make every dish feel festive and fancy. Perfect for cozy dinners and holiday magic.

This website uses affiliate links which may earn commission for purchases made at no additional cost to you.

TOTAL TIME

45 min

SERVES

1 cup / 250 ml

DIET

vegan

EVERY RECIPE DESERVES

A Little Love Letter

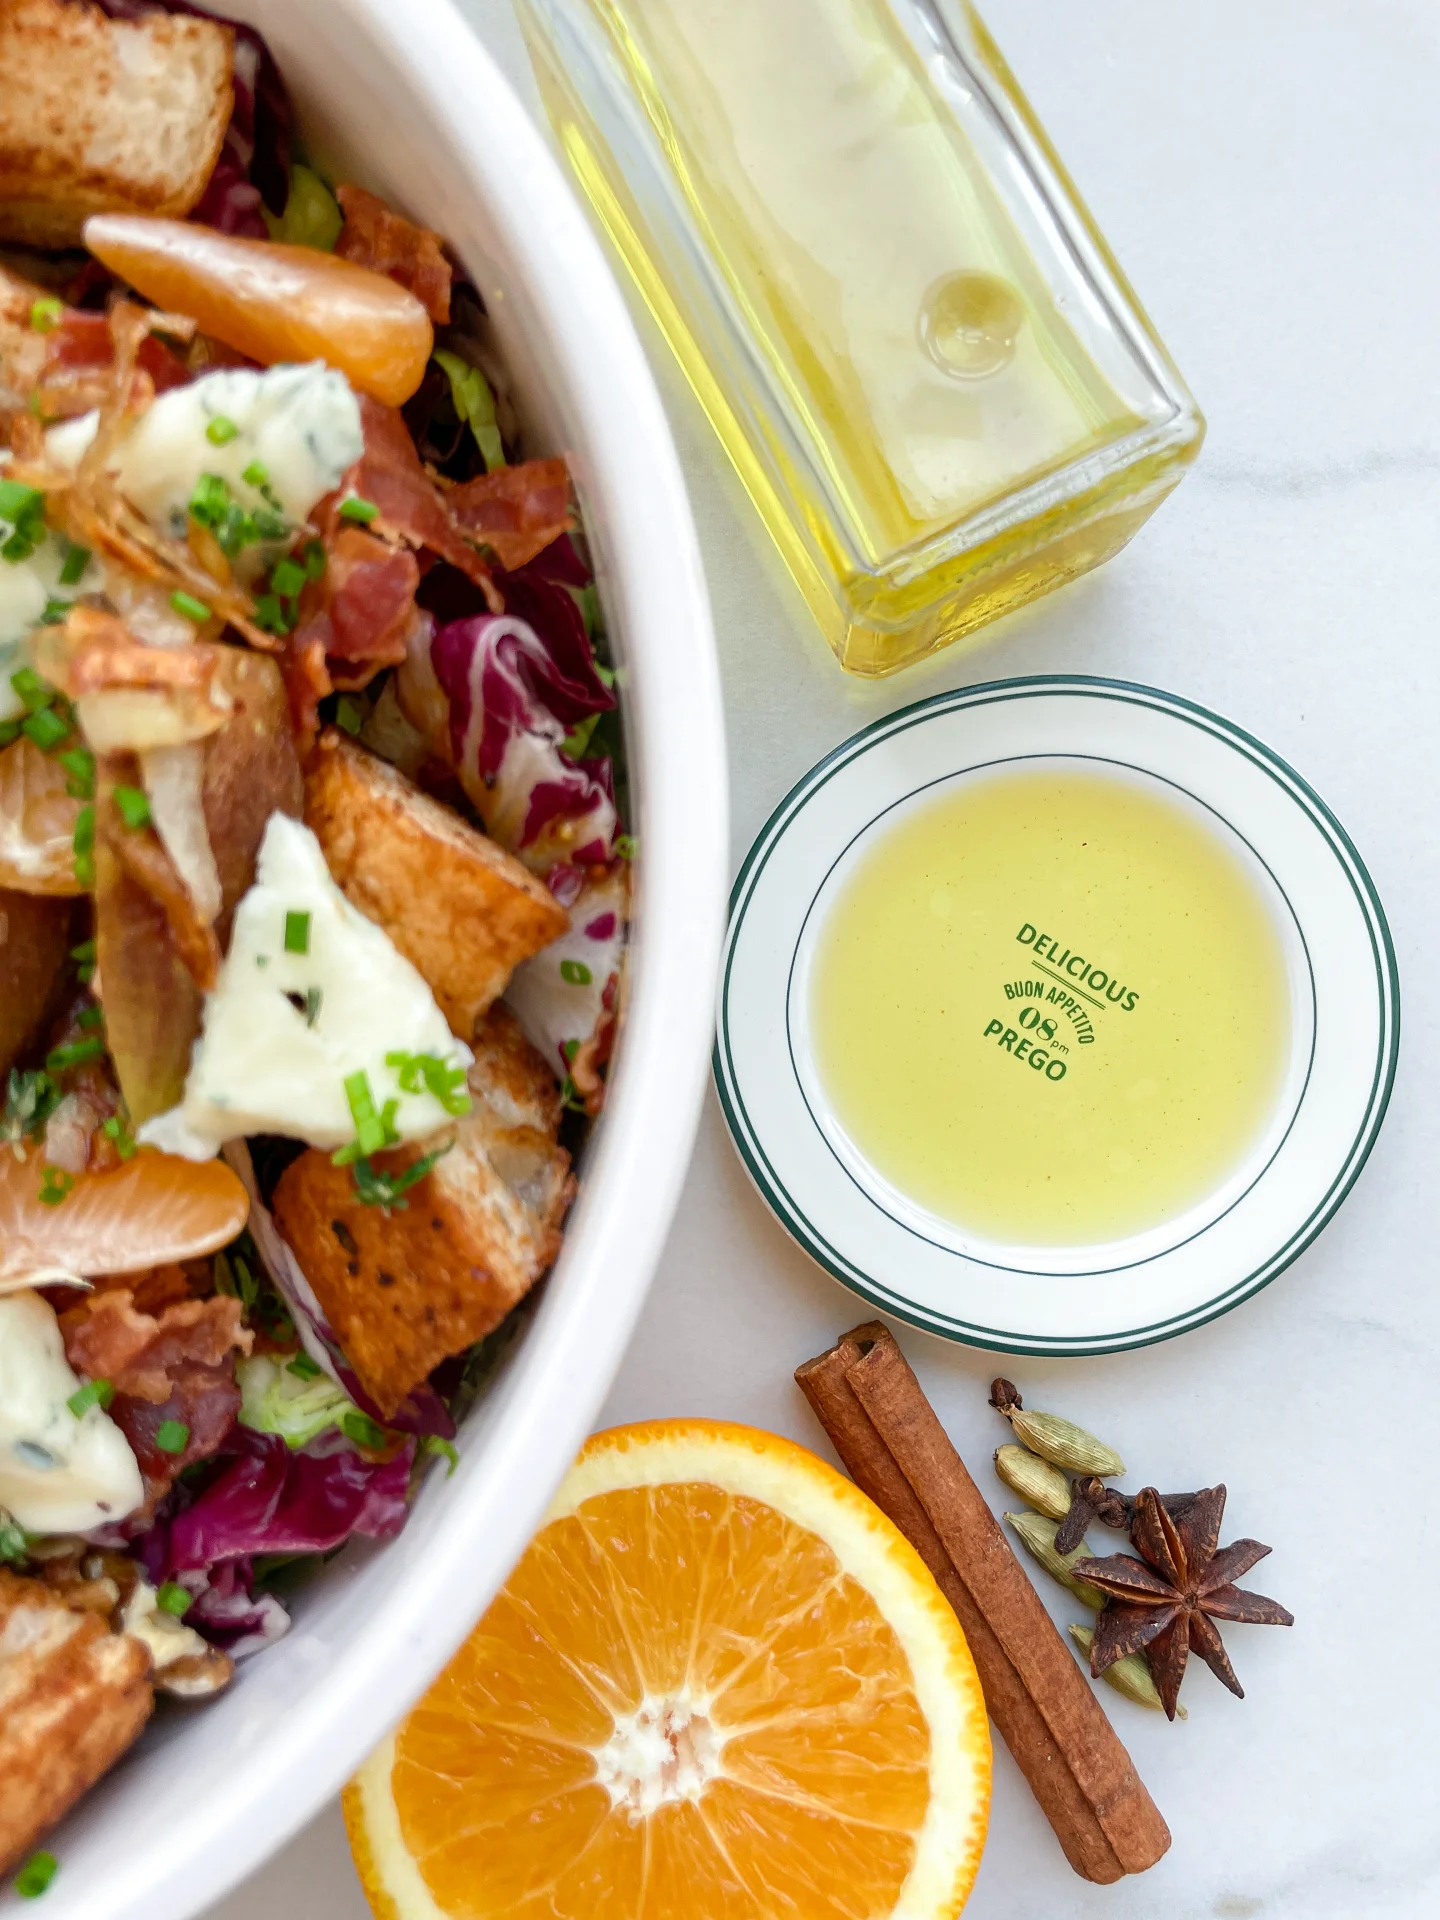
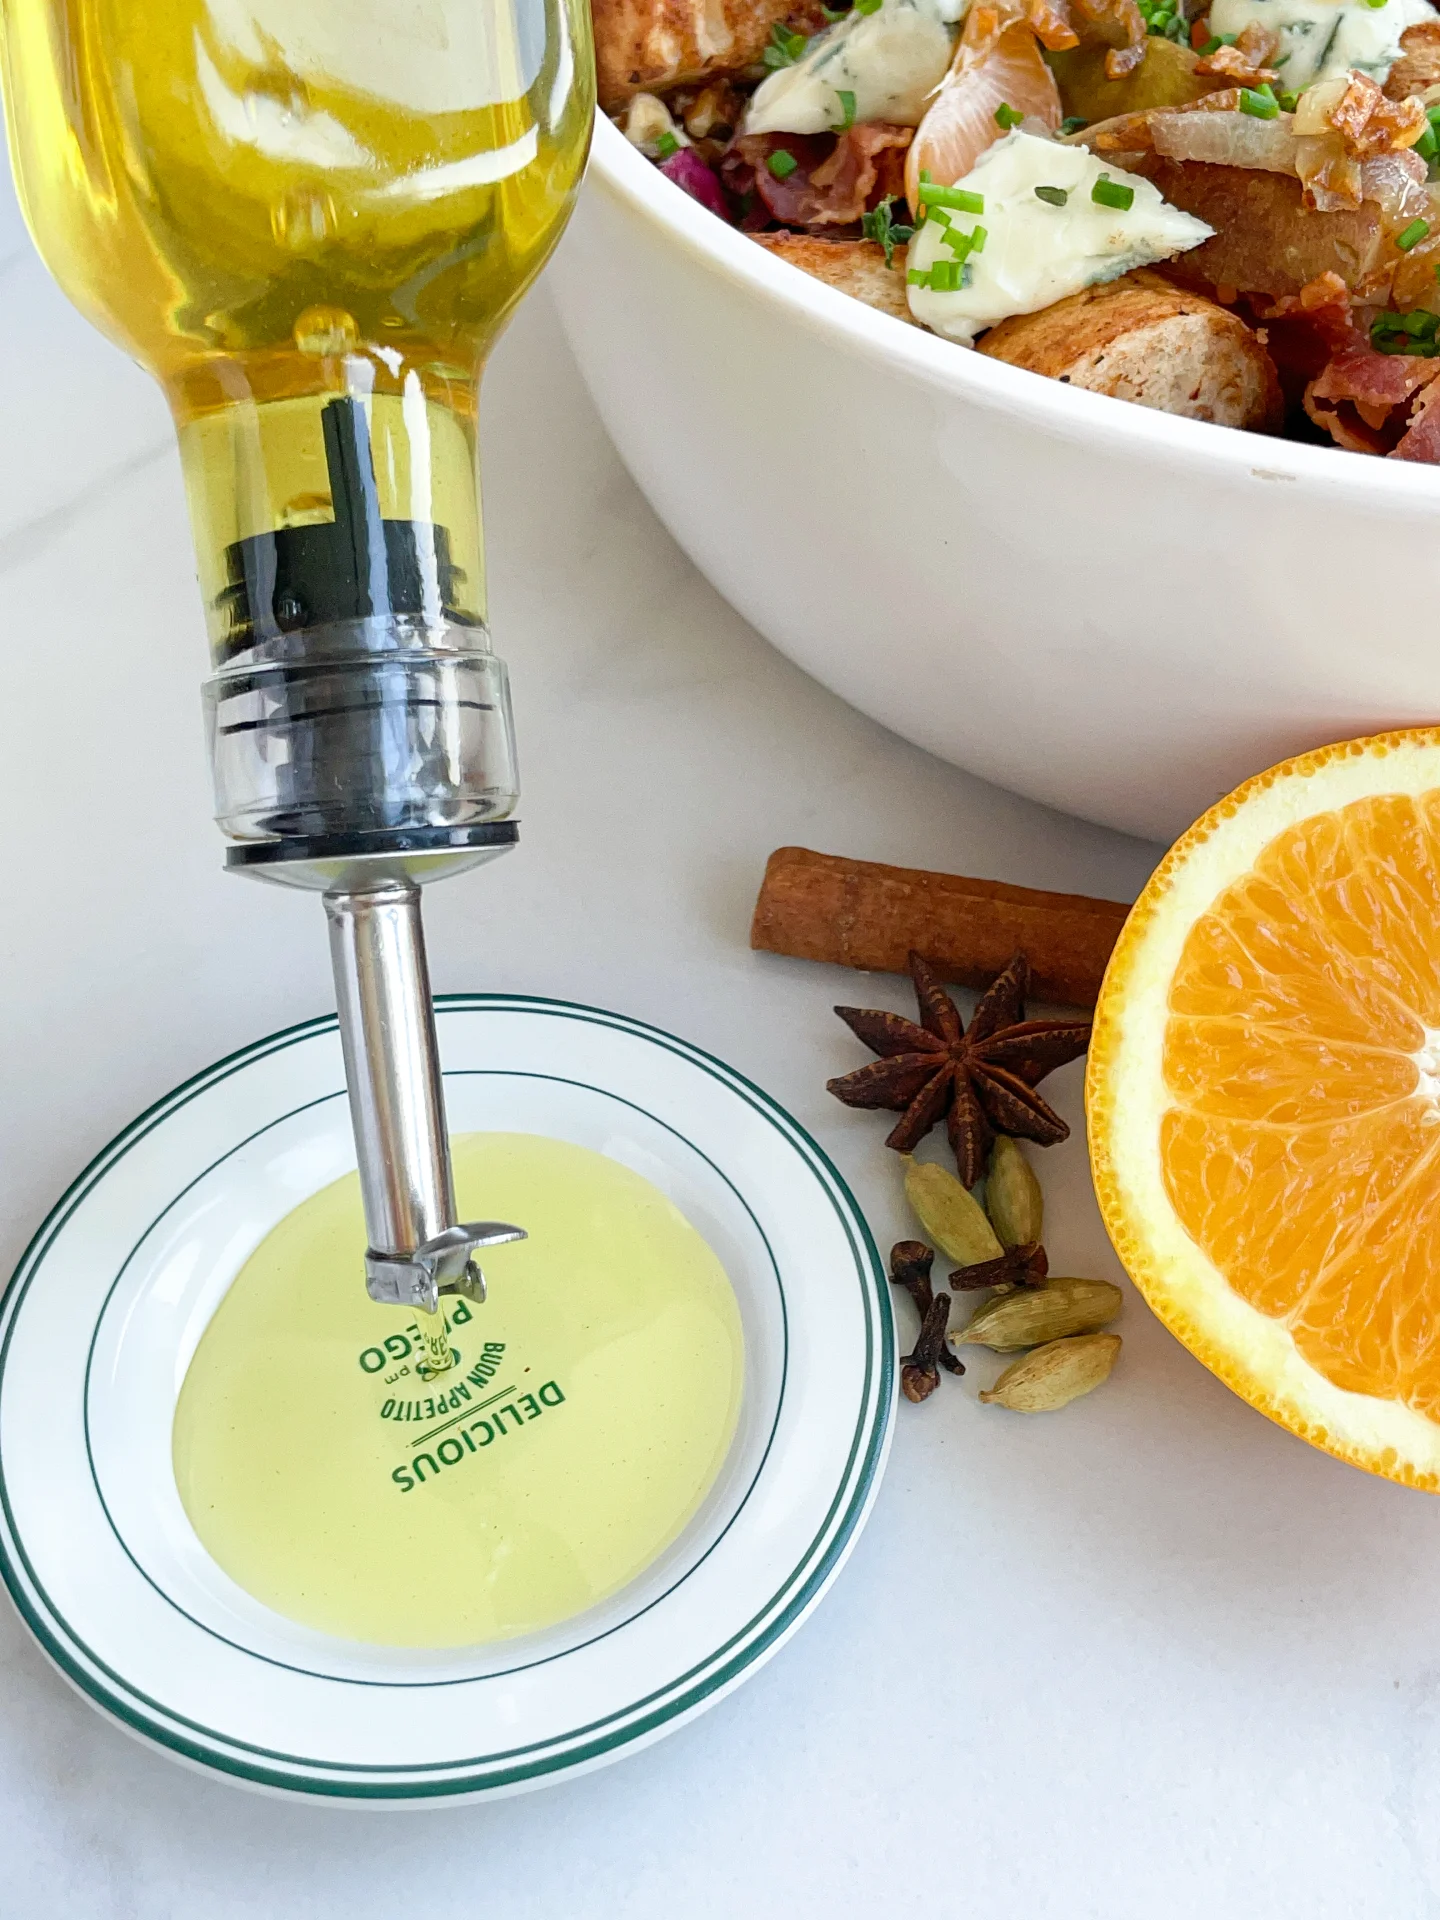
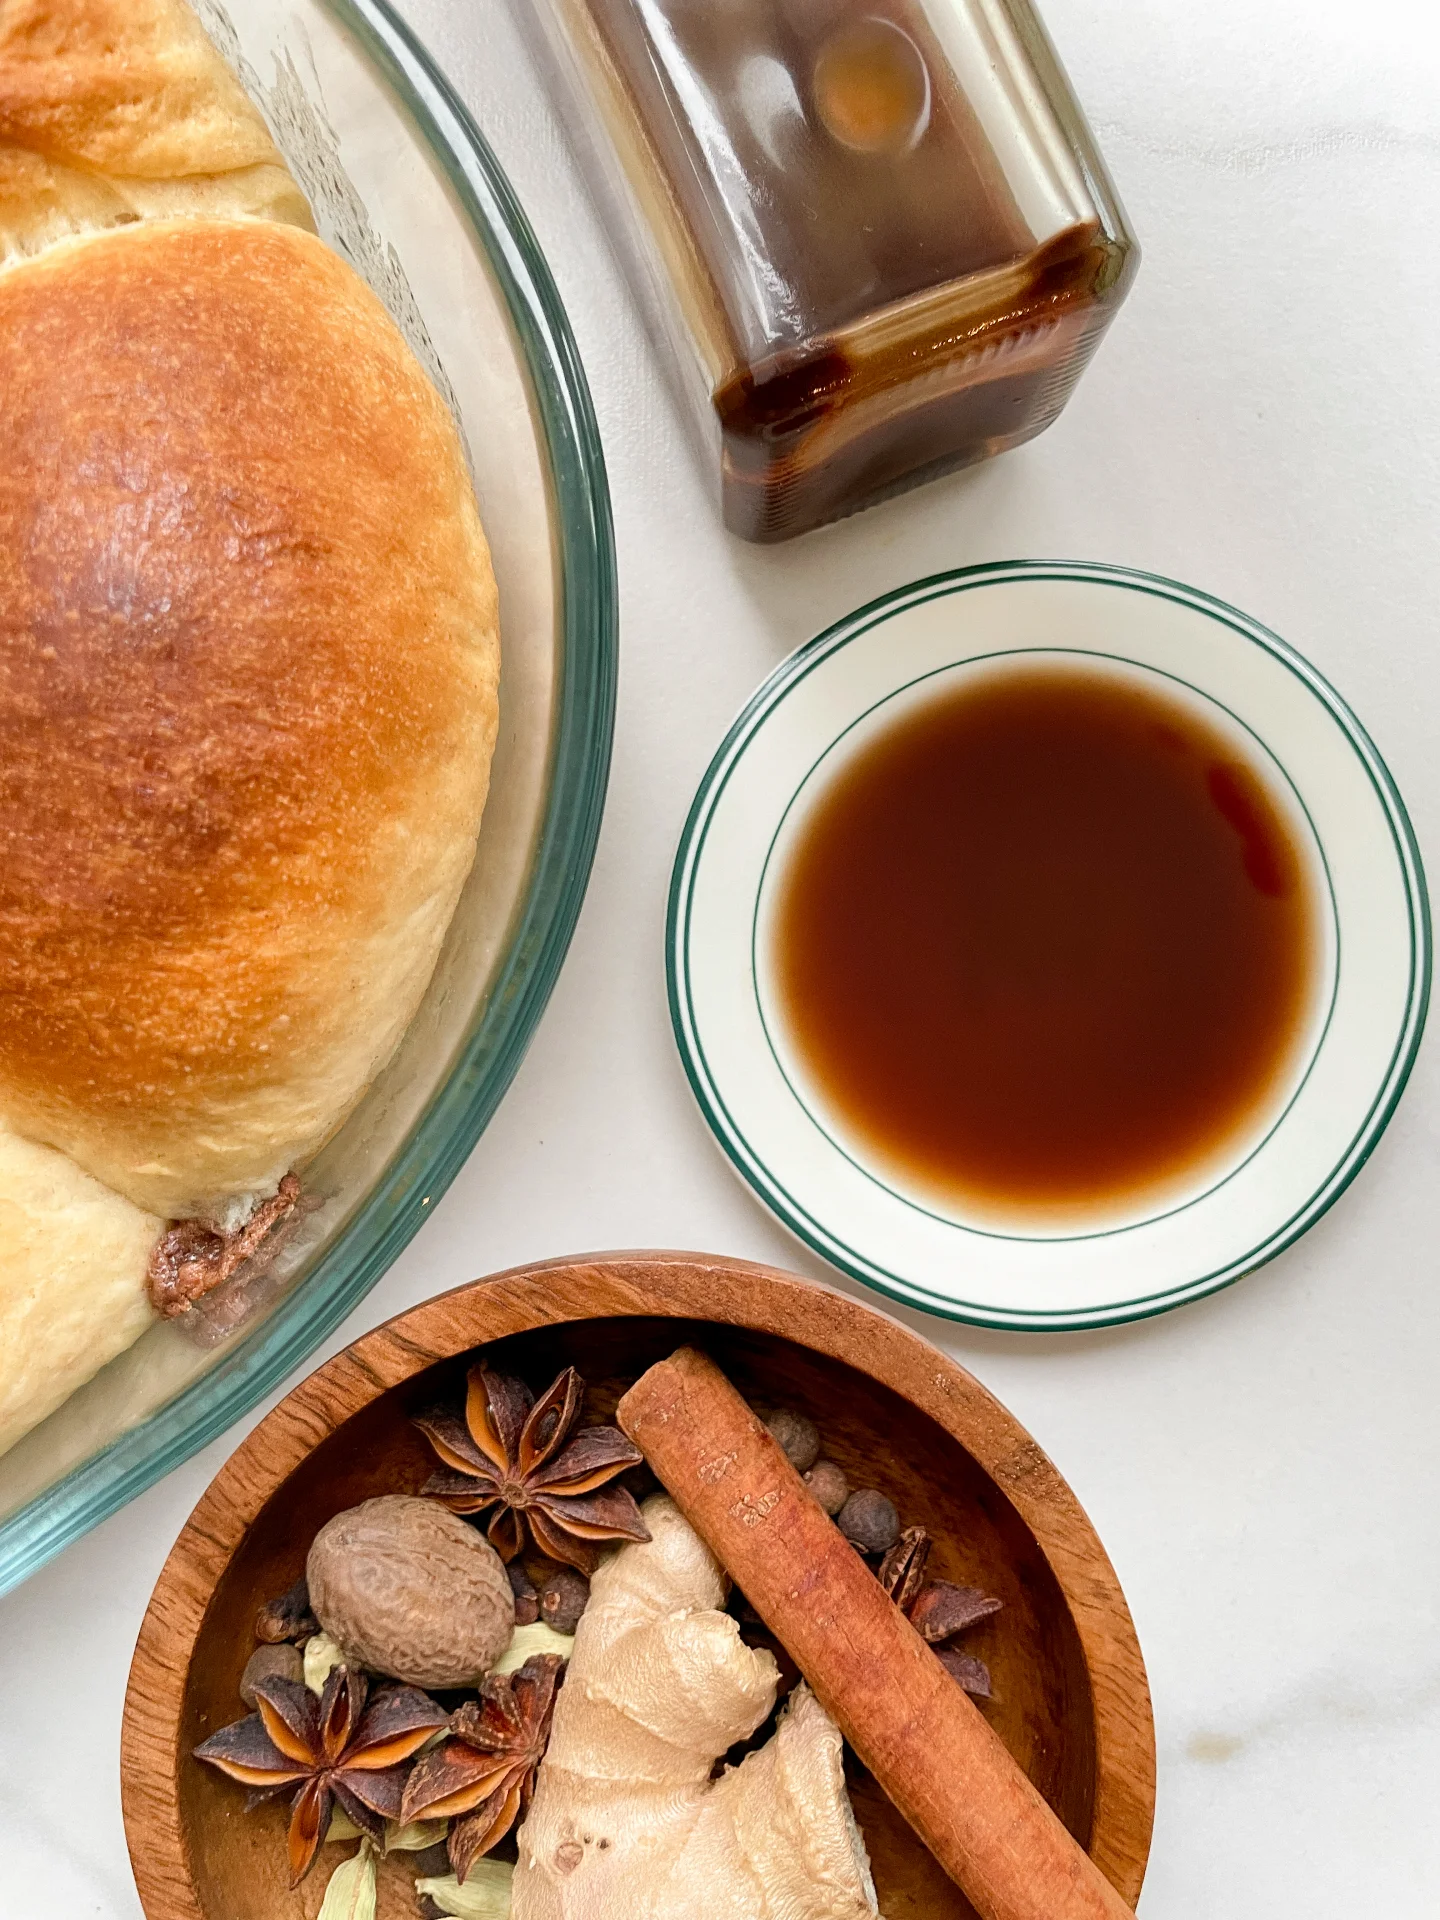
This cozy spiced oil brings holiday magic to your plate. Infused with citrusy orange, cinnamon, cloves, star anise, and cardamom, it’s a flavorful hug in every drizzle. Perfect for elevating roasted veggies, hearty salads, or even as a bread dip, this oil is simple yet sophisticated. Whether you’re hosting or gifting, it’s a warm, festive twist that feels like Christmas in a bottle. Easy to make and impossible not to love!

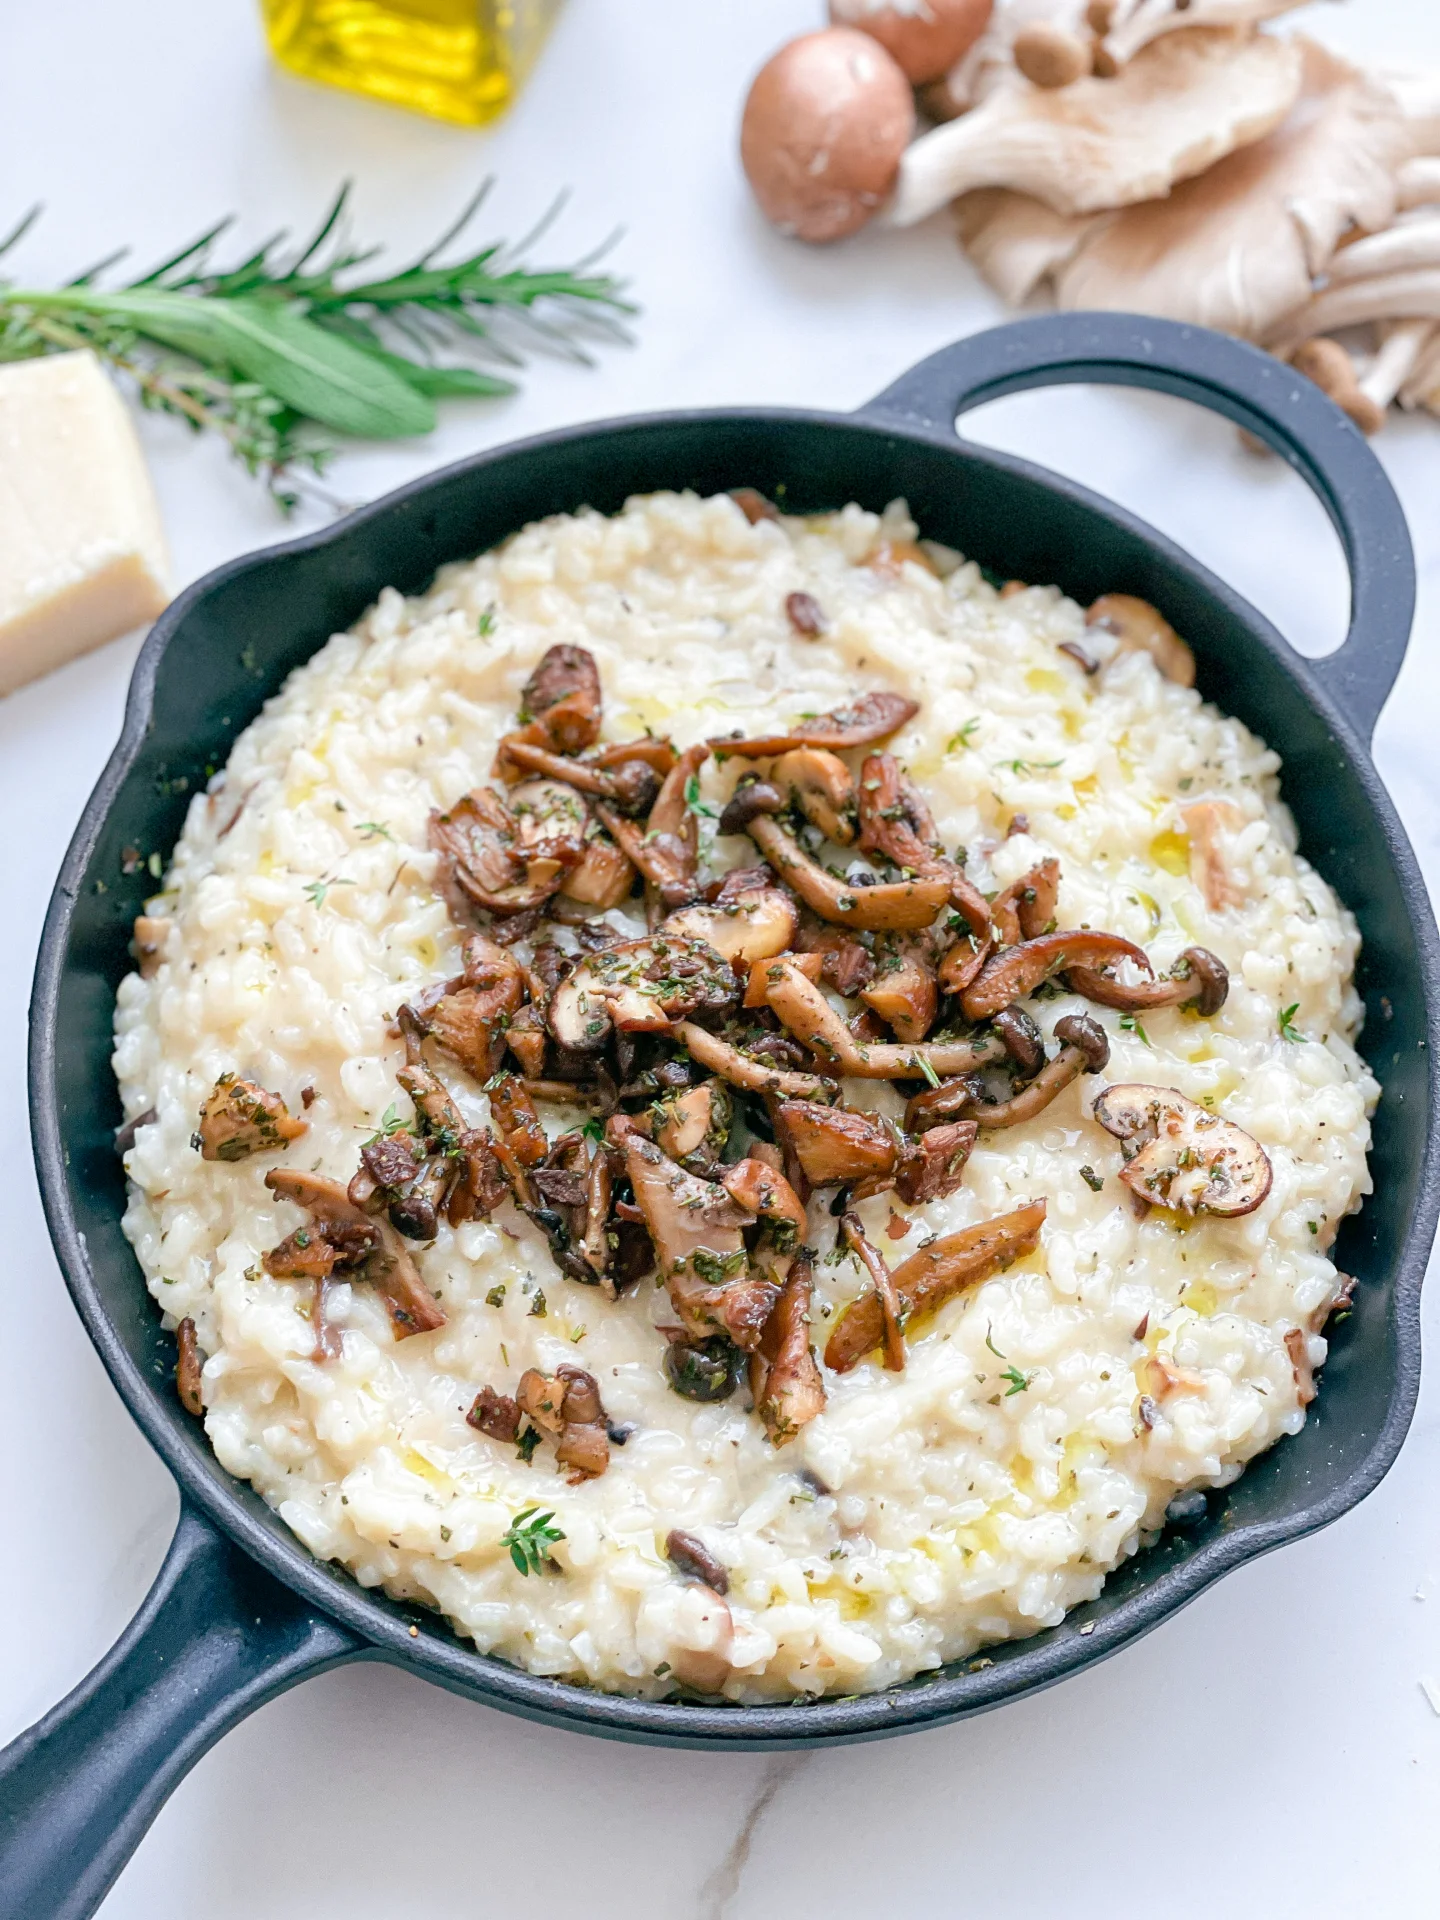
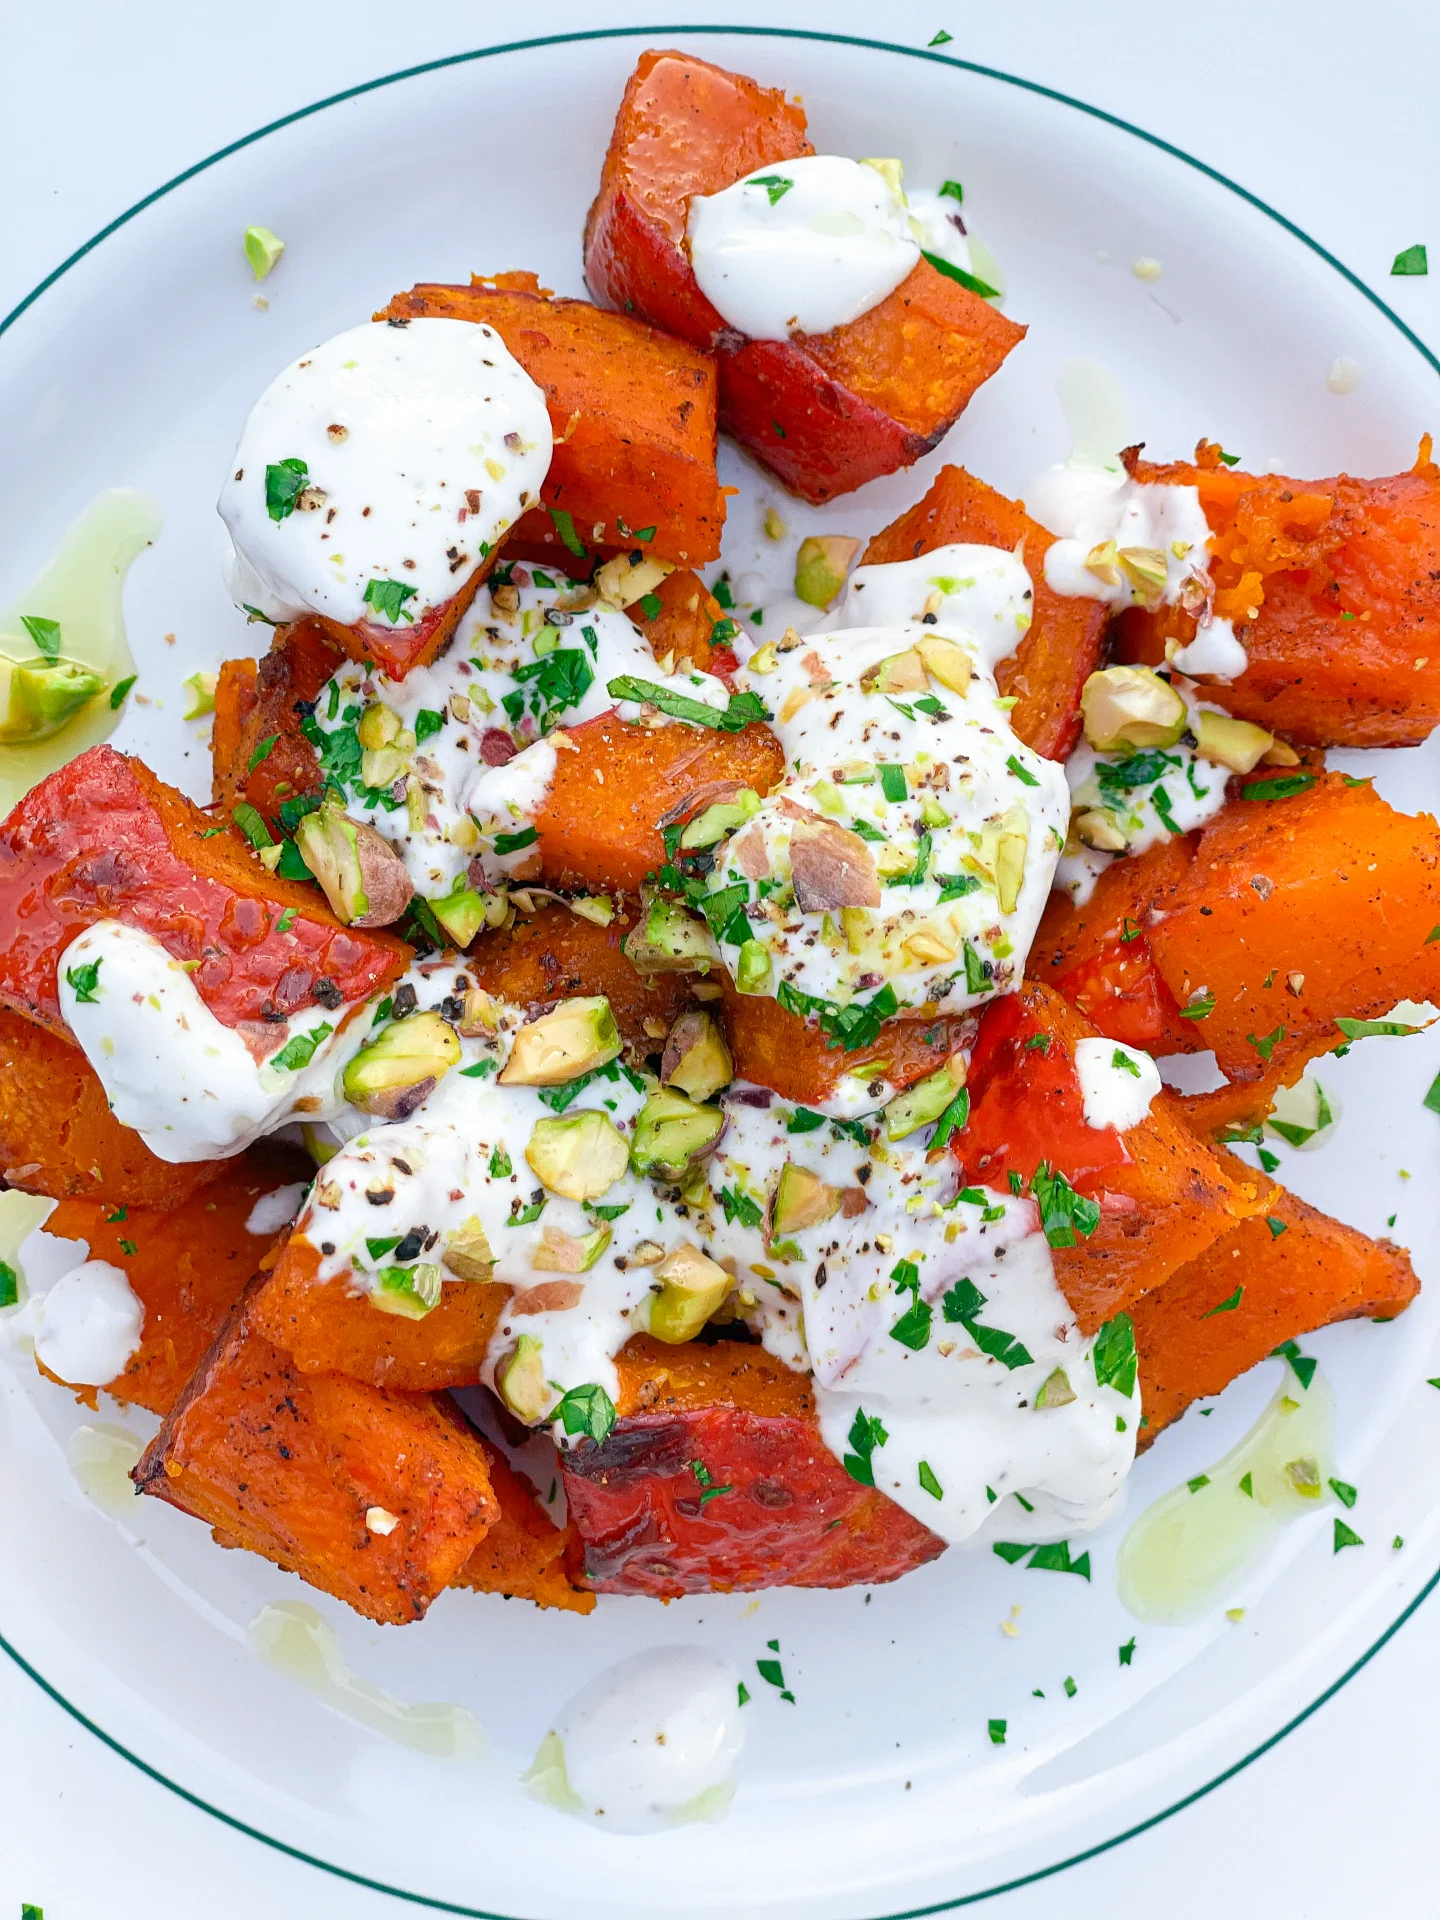
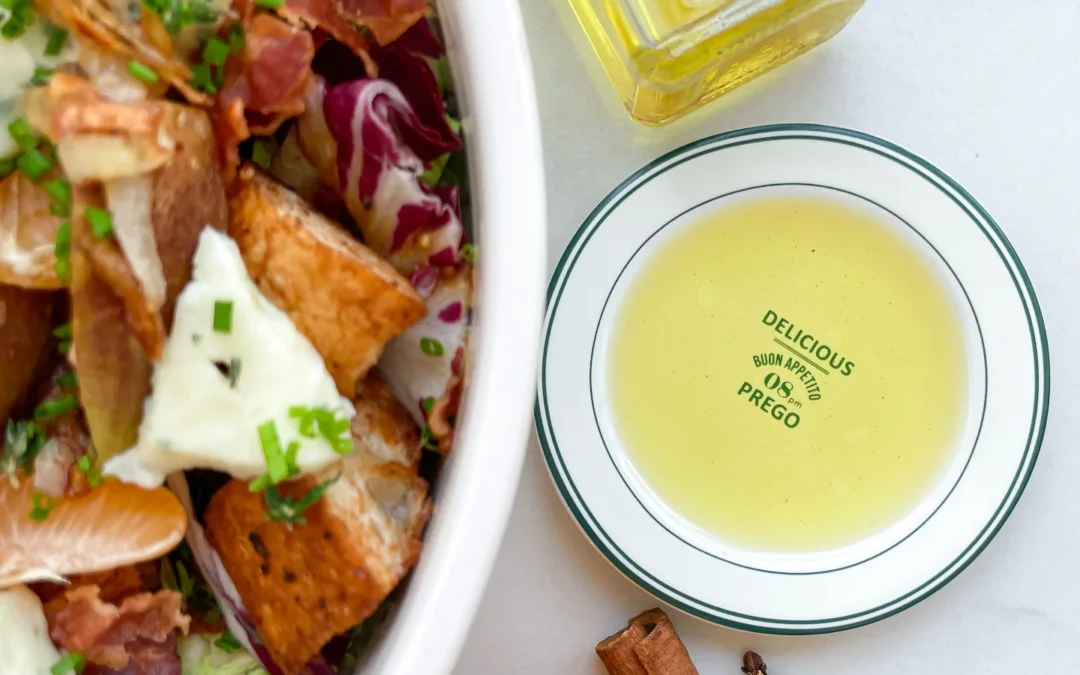
Drizzle this aromatic oil over roasted vegetables for a cozy finish, or mix it into salad dressings for a warm, festive twist. Pair it with fresh, crusty bread as a dip, or spoon it over warm risottos and soups to add a layer of spiced goodness. Feeling adventurous? Try it over roasted sweet potatoes or even desserts like baked pears for a gourmet touch. This oil fits wherever cozy, holiday vibes are needed. You absolutely have to try the oil with this Brussels Sprout Salad!

Store your infused oil in a sealed glass jar at room temperature for up to one week. Keep it in a cool, dark place to preserve its aromatic magic.

Hi, I'm Kimberly!

Hi, I'm Kimberly.

A hopeless romantic when it comes to food. Every recipe I share is a love letter to food itself. I’m so glad you’re here. Make yourself at home and stay a while.

Love,
Kimberly

Kimberly the Zett Signature

If you want to get to know me better,
click here!


Mulled Wine Oil
Mulled Wine Oil
Mulled Wine Oil
Mulled Wine Oil

LET’S MAKE A PIECE OF HAPPINESS

Print
clock clock iconcutlery cutlery iconflag flag iconfolder folder iconinstagram instagram iconpinterest pinterest iconfacebook facebook iconprint print iconsquares squares iconheart heart iconheart solid heart solid icon
Mulled Wine Oil

Mulled Wine Oil


  • Author: Kimberly
  • Total Time: 45 min

Description

RECOMMENDED EQUIPMENT

  • blender
  • medium-sized saucepan
  • whisk
  • a bowl which the medium saucepan fits into
  • 2 medium-sized bowls
  • 2 fine mesh strainers
  • oil bottle
  • ice cubes
  • coffee filter

Ingredients

Units Scale
  • 1 orange
  • 1/4 tsp cinnamon
  • 8 cloves
  • 1 star anise
  • 1/4 tsp ground cardamom
  • 250 milliliter rapeseed oil

Instructions

  1. Zest the orange and put it along with the cloves, cinnamon, cardamom and star anise into the blender. Pour in the oil. Blend on the highest setting until it no coarse pieces are longer visible.
  2. Pour the mixture from the blender into a medium-sized pot and heat it over medium heat, constantly stirring, to a temperature of about 102°-103°C (215°-217°F). Then, let the oil simmer with the lid partially on for the next 10 minutes. Stir only occasionally, making sure the temperature remains steady and nothing gets burned.
  3. At the end of the cooking process, prepare a bowl large enough to fit the medium-sized pot, filled with cold water and a handful of ice cubes. Also, hang a fine mesh sieve strainer over a medium-sized bowl.
  4. Now, place the pot in the ice water and stir to stop the cooking process. Once the oil is almost cold, remove the pot from the water and pour the oil into the first fine mesh sieve to catch the coarse particle.
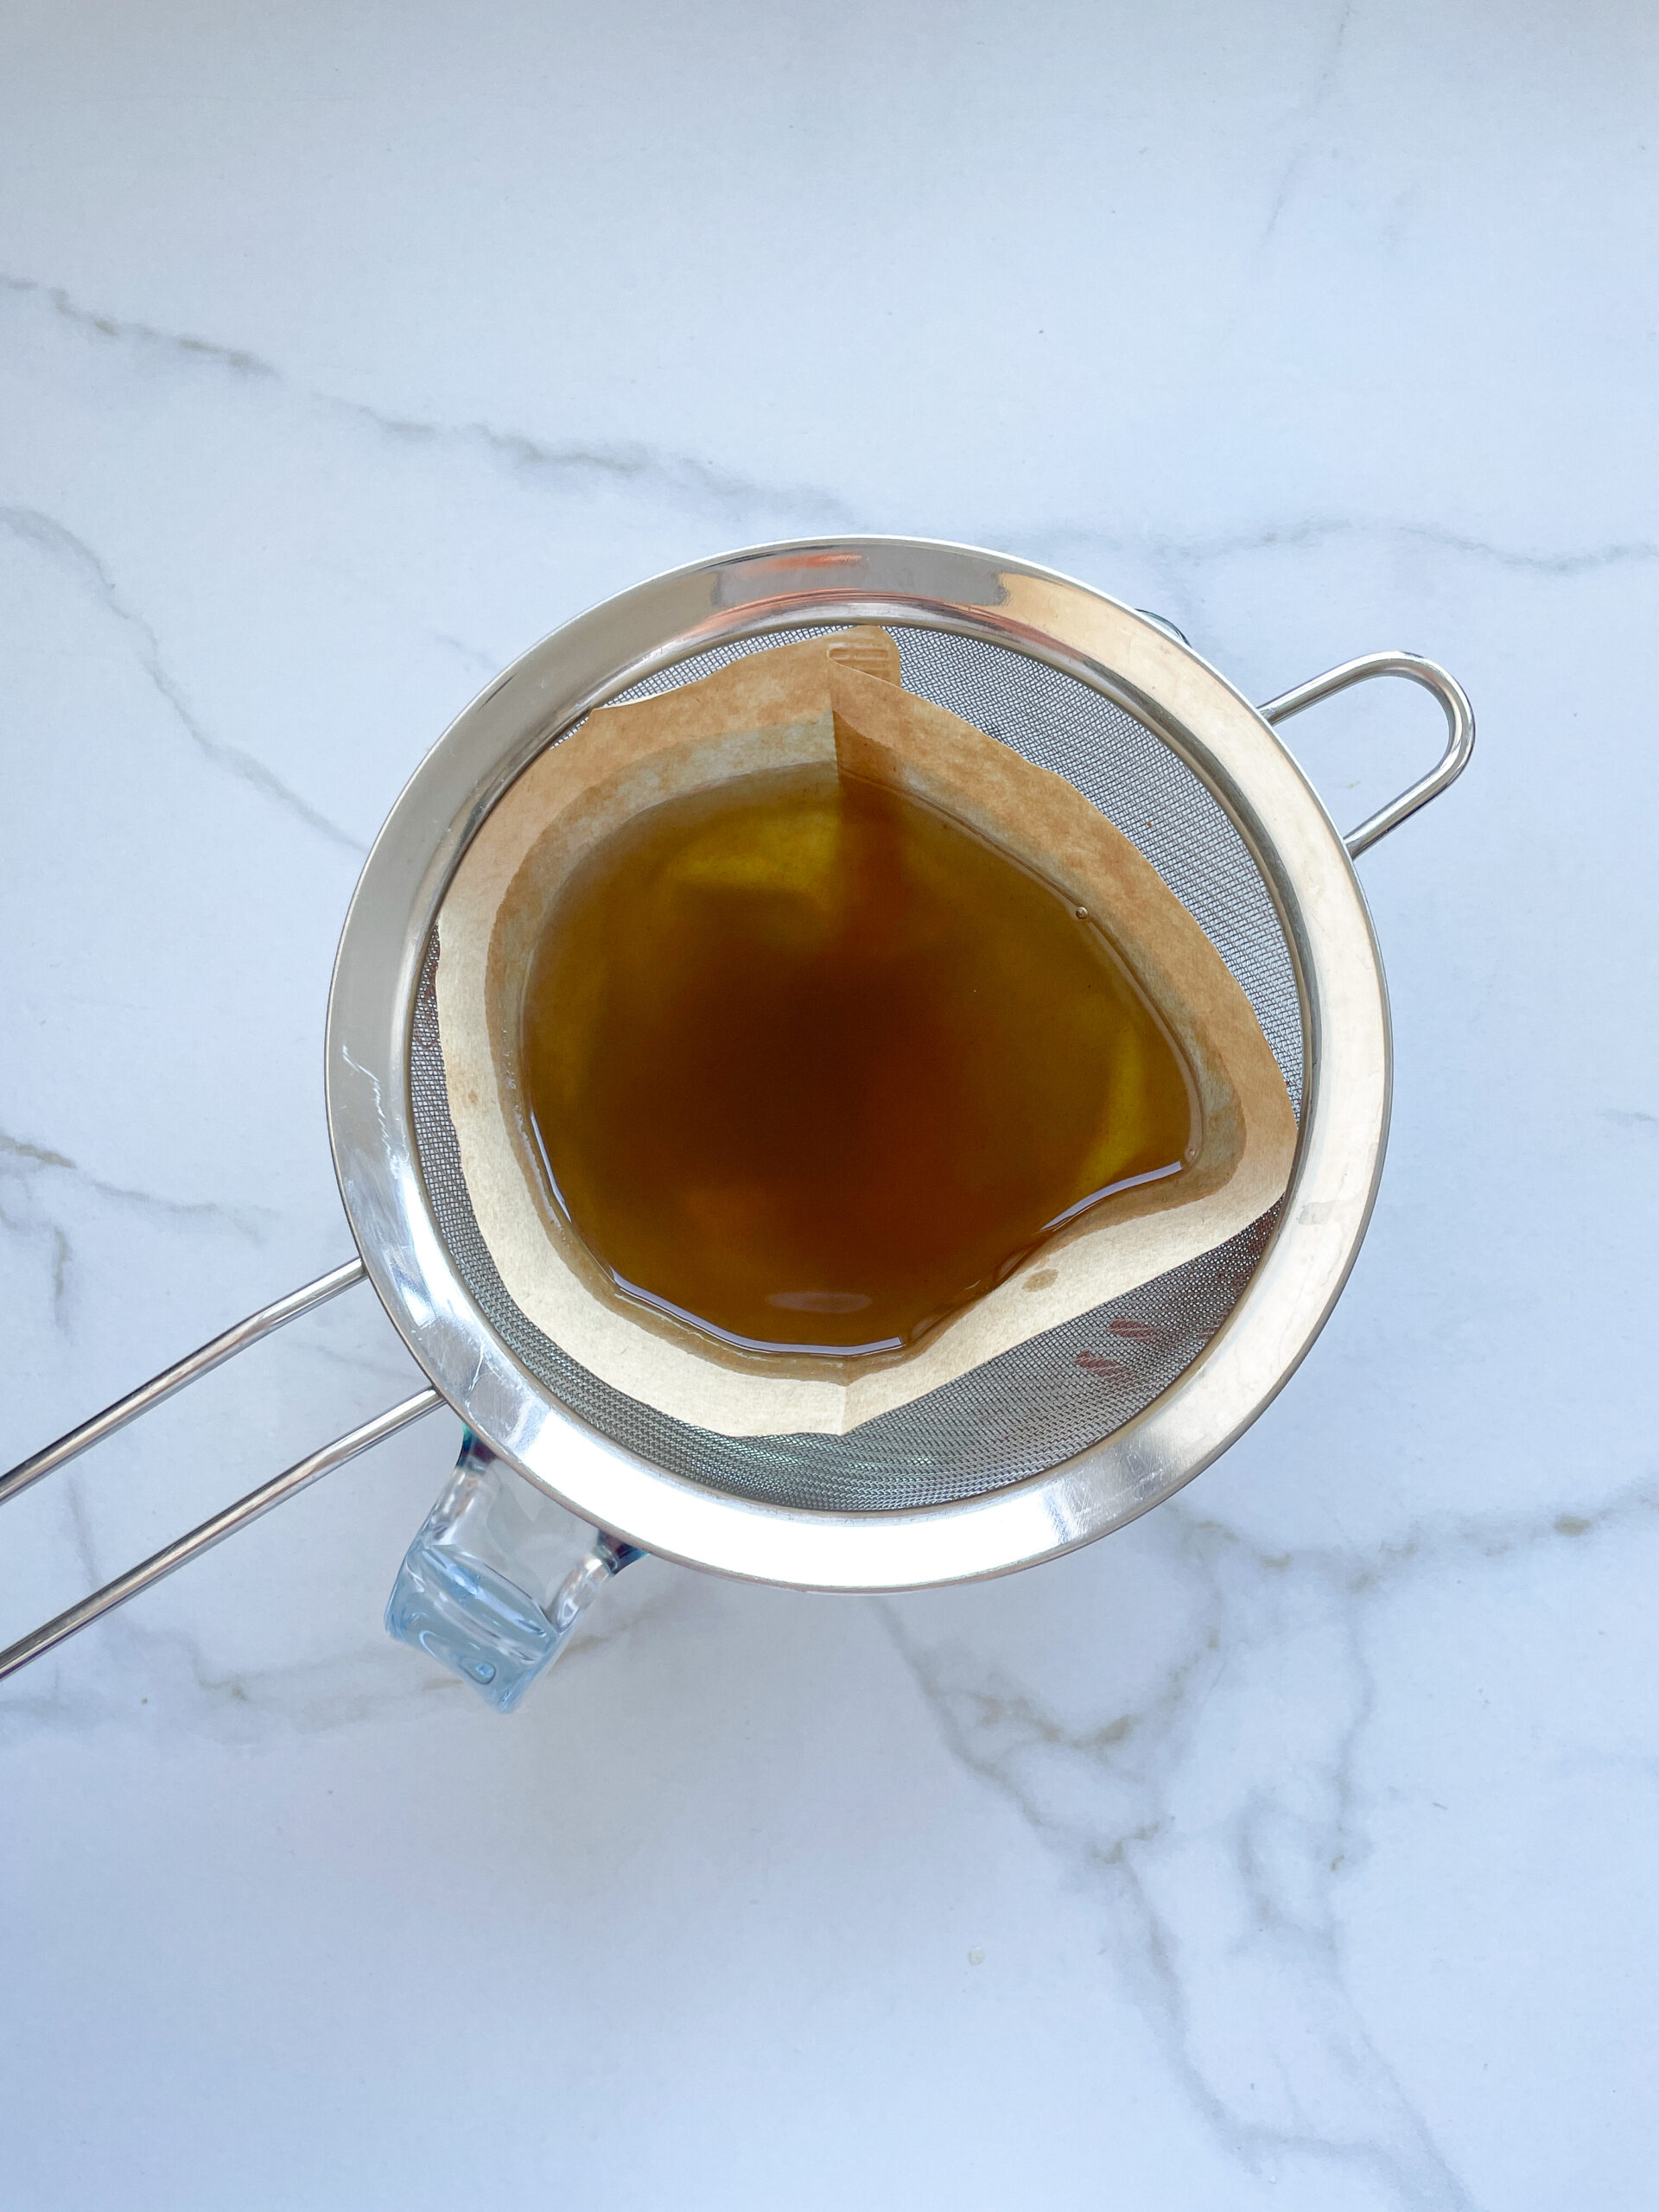
  5. Then, pour the oil into the second fine mesh sieve, which you before equipped with a coffee filter, to catch the remaining finer particles.
  6. Allow the oil to drip through for about 30 minutes or maybe less depending on how many remaining particles are in the coffee filter. Once all the oil has passed through the coffee filter, transfer the collected amount of oil into an oil bottle. Store in the refrigerator for up to 1 week.
  • Prep Time: 5 min
  • Passive Time: 30 min
  • Cook Time: 10 min

CRAVING MORE?

Follow along here & don’t forget to subscribe to my substack!