Vanilla Cream and Strawberry Jam Streusel Buns

Vanilla Cream and Strawberry Jam Streusel Buns

Vanilla Cream and Strawberry Jam Streusel Buns

Vanilla Cream & Strawberry Jam Streusel Buns

April 16, 2025 by Kimberly

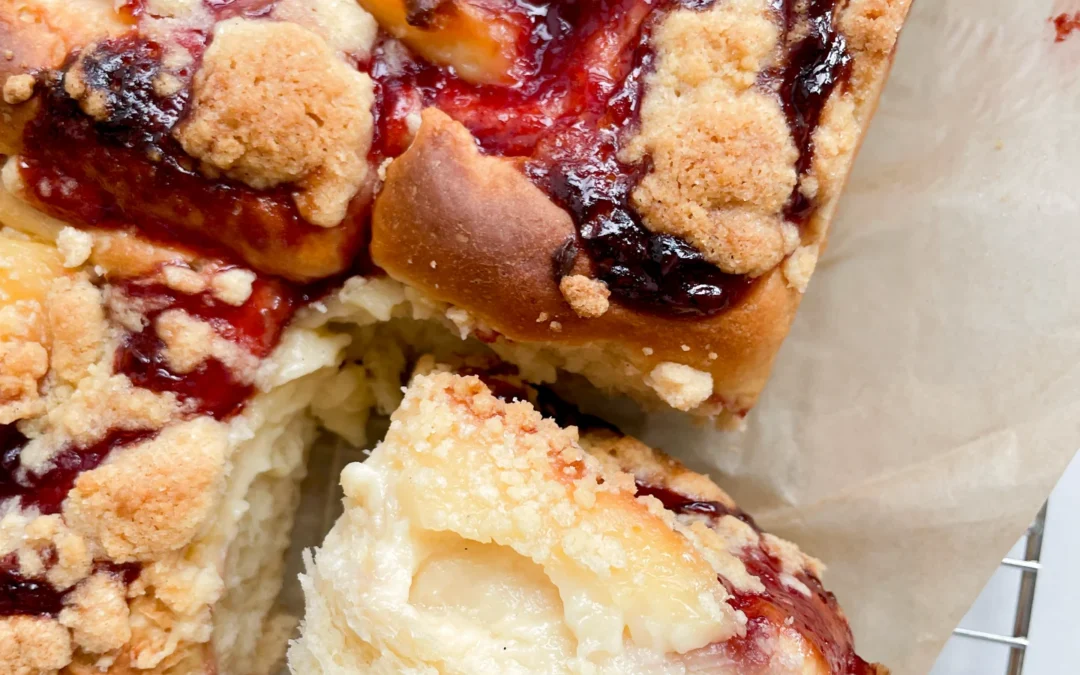
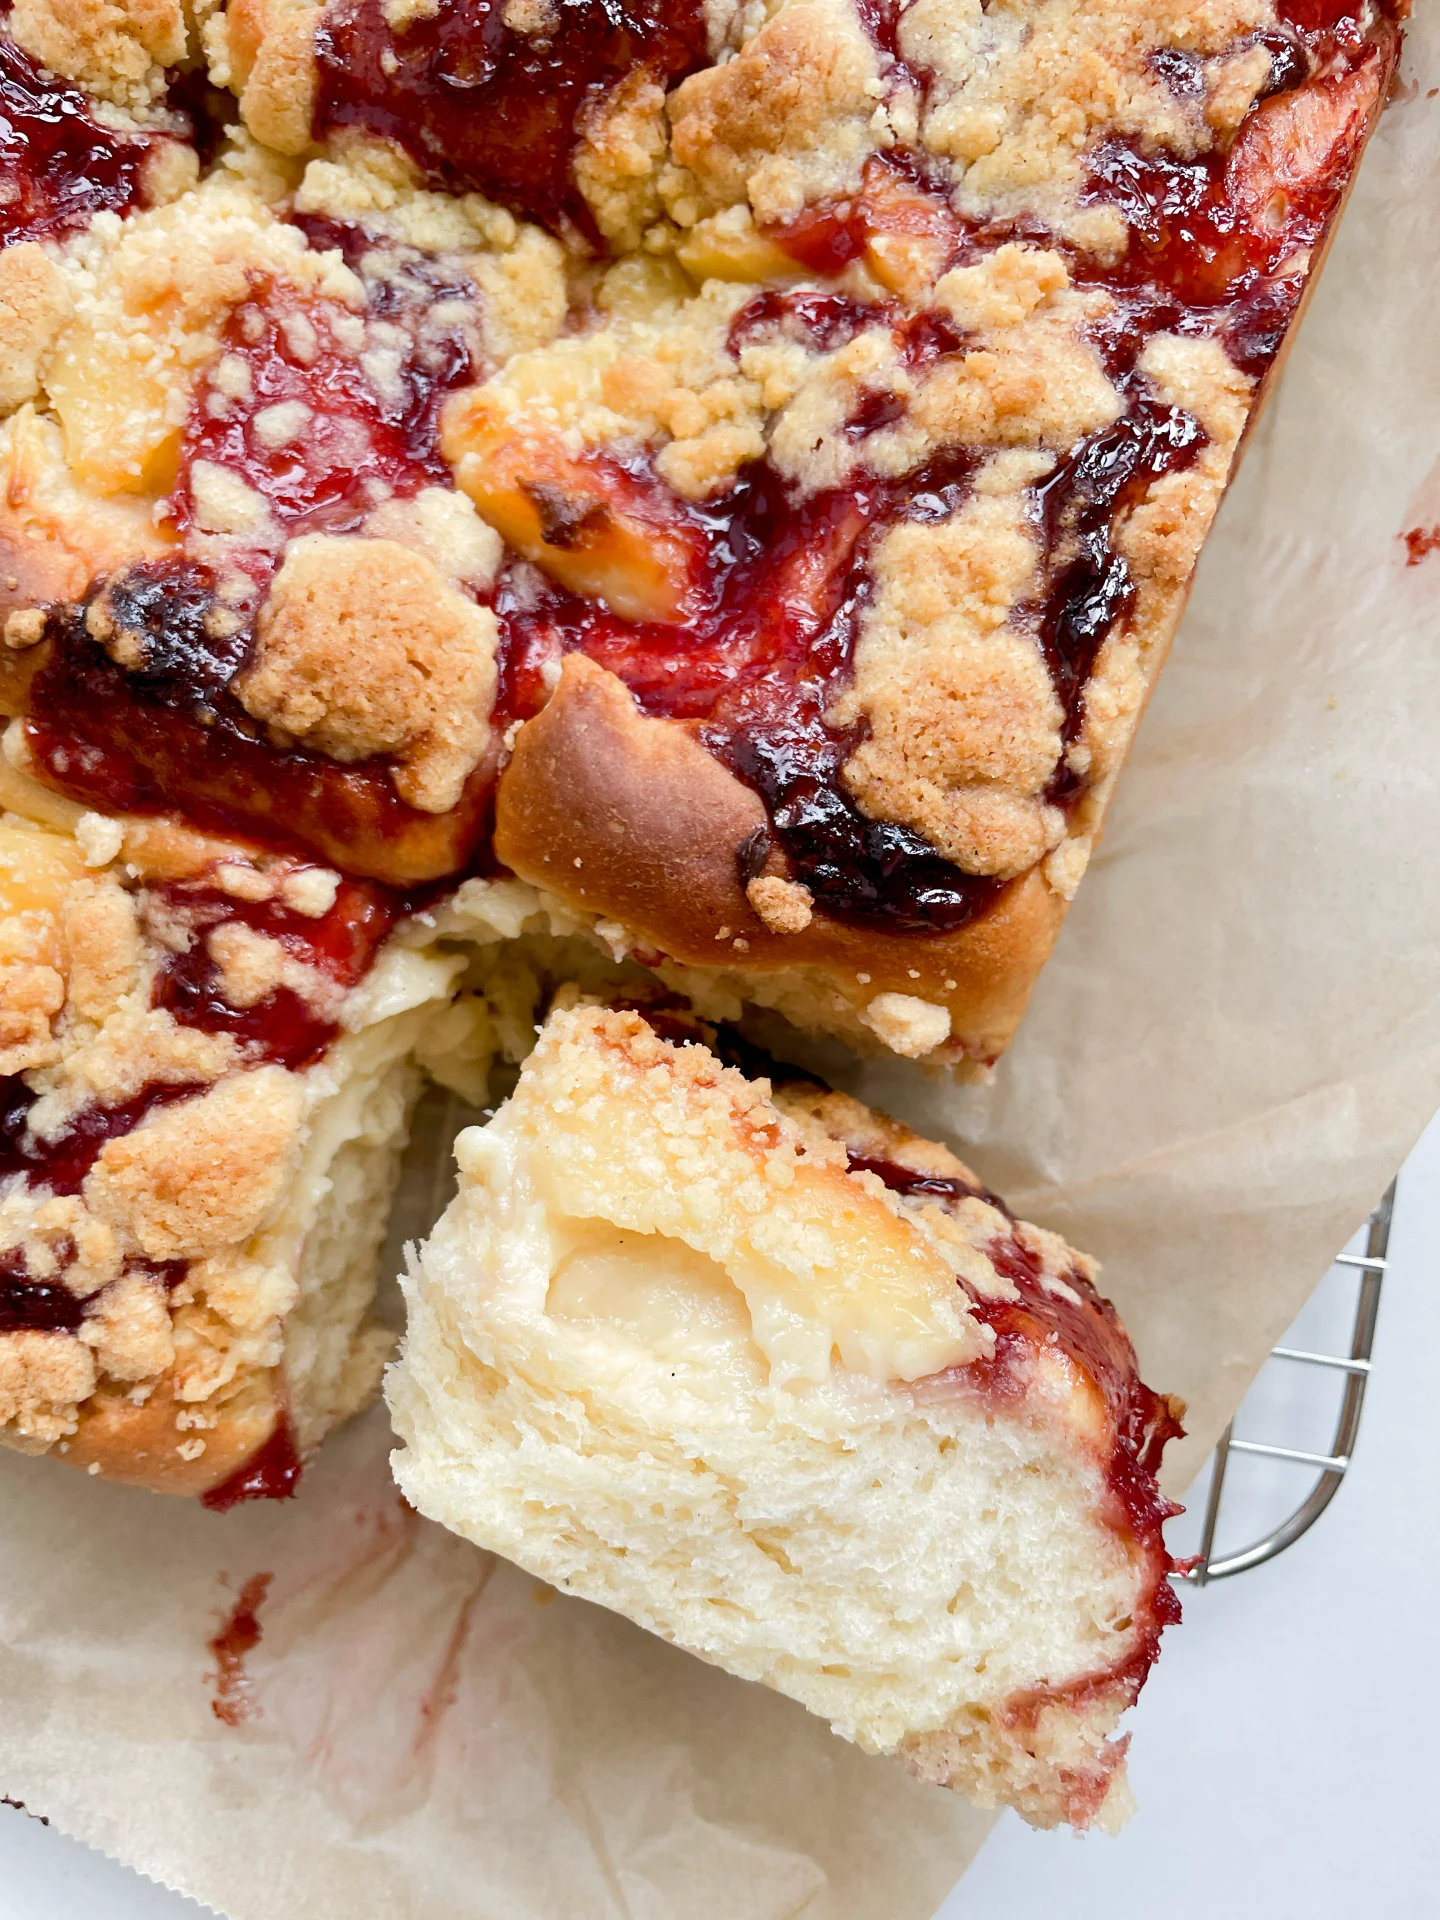
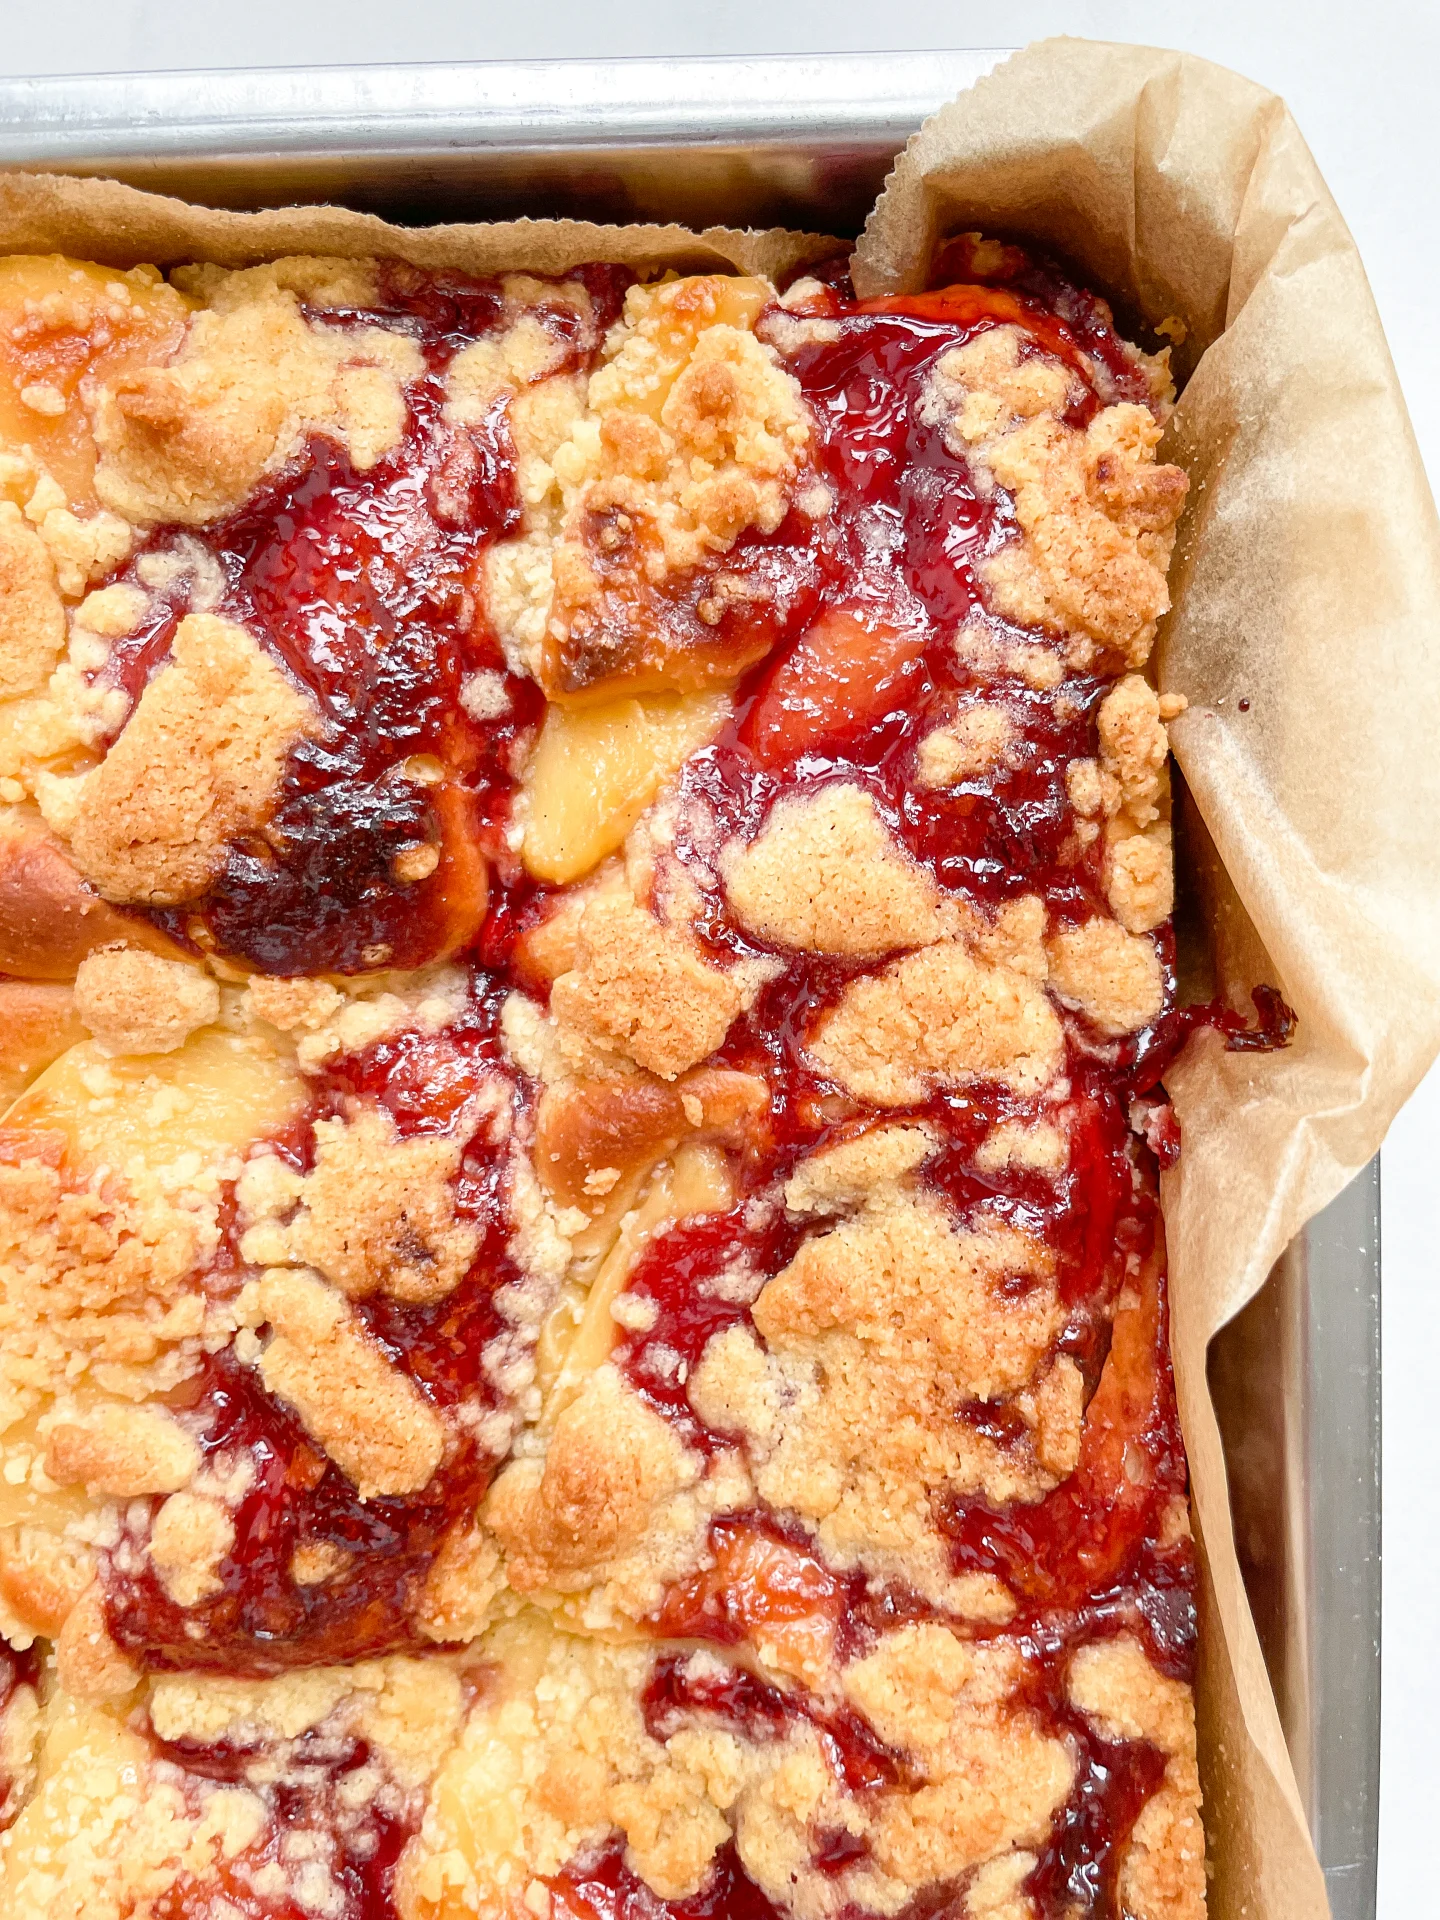
Fluffy, golden buns filled with vanilla cream and strawberry jam, topped with buttery streusel. The kind of thing you’d bring out on Easter Sunday for coffee, cake, and quiet joy.

3 HOURS
30 MINUTES

INTERMEDIATE

VEGETARIAN

GERMAN

12 BUNS

FLUFFY

TEA TIME

CAKE

SUMMER

INTRODUCTION

ABOUT THE RECIPE

These soft, pillowy buns are one of those things that somehow feel both nostalgic and wildly indulgent. We’re talking golden, fluffy dough, a silky vanilla filling, and a bright hit of strawberry jam, all topped with a delicate crumble of streusel. It’s giving cozy Sunday morning, messy counter, and a “just one more” situation. Whether you grew up with German-style sweet buns or not, this combo is the kind of thing that makes you pause mid-bite and just… smile.

How to serve
These are lovely served warm, when the vanilla cream is still soft and the jam gently melts into the dough. But honestly? They’re just as dreamy cold. Straight from the fridge works, especially with a cup of coffee on a slow morning. Serve them stacked on a brunch platter or individually in cupcake liners for that little bakery moment. Optional, but highly recommended: a dusting of powdered sugar to make them feel extra special.

How to store
Store in an airtight container at room temperature for up to 2 days, or refrigerate for up to 4.

Hi, I'm Kimberly!

Hi, I'm Kimberly.

A passionate food lover who believes in the magic of homemade deliciousness that spreads love and warmth. Join me on this culinary adventure as I prepare wonderful dishes and let’s spread some happiness together!

Kimberly the Zett Signature

If you want to get to know me better, click here!


Vanilla Cream and Strawberry Jam Streusel Buns
„Let’s make a piece of happiness“
Print
clock clock iconcutlery cutlery iconflag flag iconfolder folder iconinstagram instagram iconpinterest pinterest iconfacebook facebook iconprint print iconsquares squares iconheart heart iconheart solid heart solid icon
Vanilla Cream and Strawberry Jam Streusel Buns

Vanilla Cream and Strawberry Jam Streusel Buns


5 Stars 4 Stars 3 Stars 2 Stars 1 Star

No reviews

  • Author: Kimberly
  • Total Time: 3 hrs + 30 min

Description

RECOMMENDED EQUIPMENT

  • small saucepan
  • whisk
  • small bowl
  • stand mixer or electric hand mixer
  • plastic wrap
  • rectangular baking dish

Ingredients

Units Scale

DOUGH

  • 250 milliliters full-fat cow milk
  • 7 grams dry active yeast
  • 60 grams white sugar
  • 525 grams all-purpose flour (in Germany 550er)
  • 75 grams butter, soft
  • 1 egg
  • pinch of salt

VANILLA CREAM

  • 200 grams heavy cream
  • 90 milliliters full-fat cow milk
  • 1 tsp vanilla extract
  • 60 grams white sugar
  • 1 egg yolk
  • 20 grams cornstarch

STREUSEL

  • 100 grams all-purpose flour
  • 70 grams butter, soft
  • 70 grams white sugar
  • 1 tsp vanilla extract
  • pinch of salt

OTHER INGREDIENTS

  • 200 grams strawberry jam (homemade or store-bought)
  • confectioners sugar

Instructions

  1. In a small saucepan, heat the cream with the sugar, vanilla extract, and half of the milk until it comes to a boil. In a separate bowl, whisk together the cornstarch, egg yolk, and remaining milk. Slowly pour the starch mixture into the boiling cream while whisking constantly until it thickens into a smooth pudding. Remove from heat and let cool completely. Set aside for later.
  2. Gently warm the milk to 38°C / 100°F and stir in the yeast and 1 tablespoon of the sugar. Let it sit for a few minutes until slightly foamy. In a large mixing bowl, combine the flour, remaining sugar, egg, soft butter, and salt. Add the yeast mixture and knead for about 10 minutes until you get a smooth, soft dough that doesn’t stick. Cover the bowl tightly with plastic wrap and let rise in a warm spot for 90 minutes.
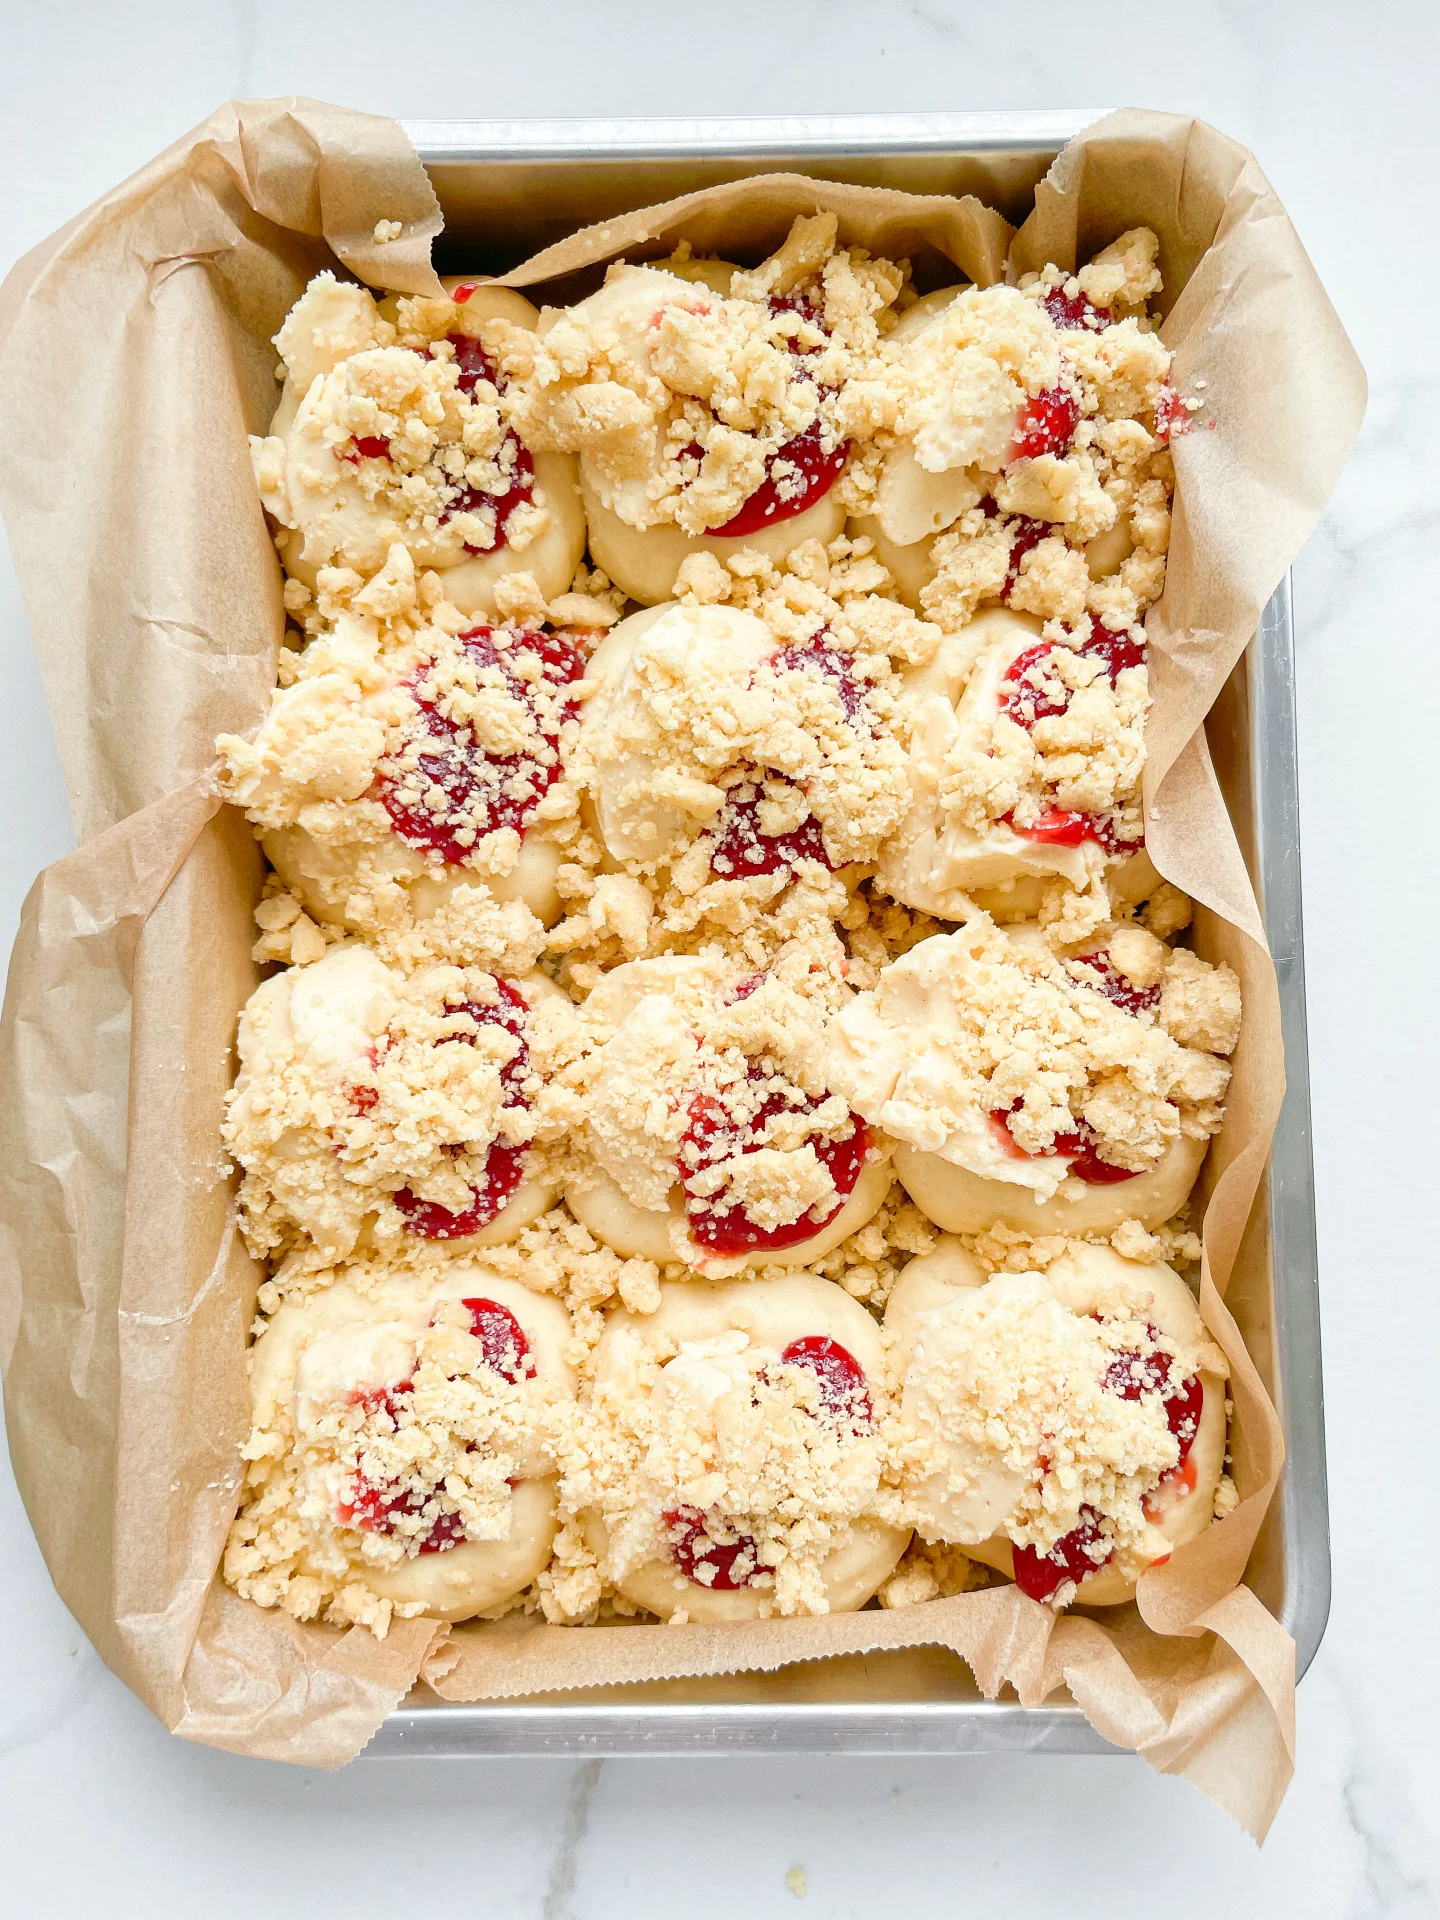
  3. Combine the butter, sugar, flour, vanilla extract and a pinch of salt and mix until crumbly. Chill the streusel until ready to use.
  4. Once the dough has risen, knead it briefly and divide into 12 equal balls, about 80g / 3oz each. Line a rectangular baking dish with parchment paper and arrange the dough balls inside. Let them rest for 20 minutes.
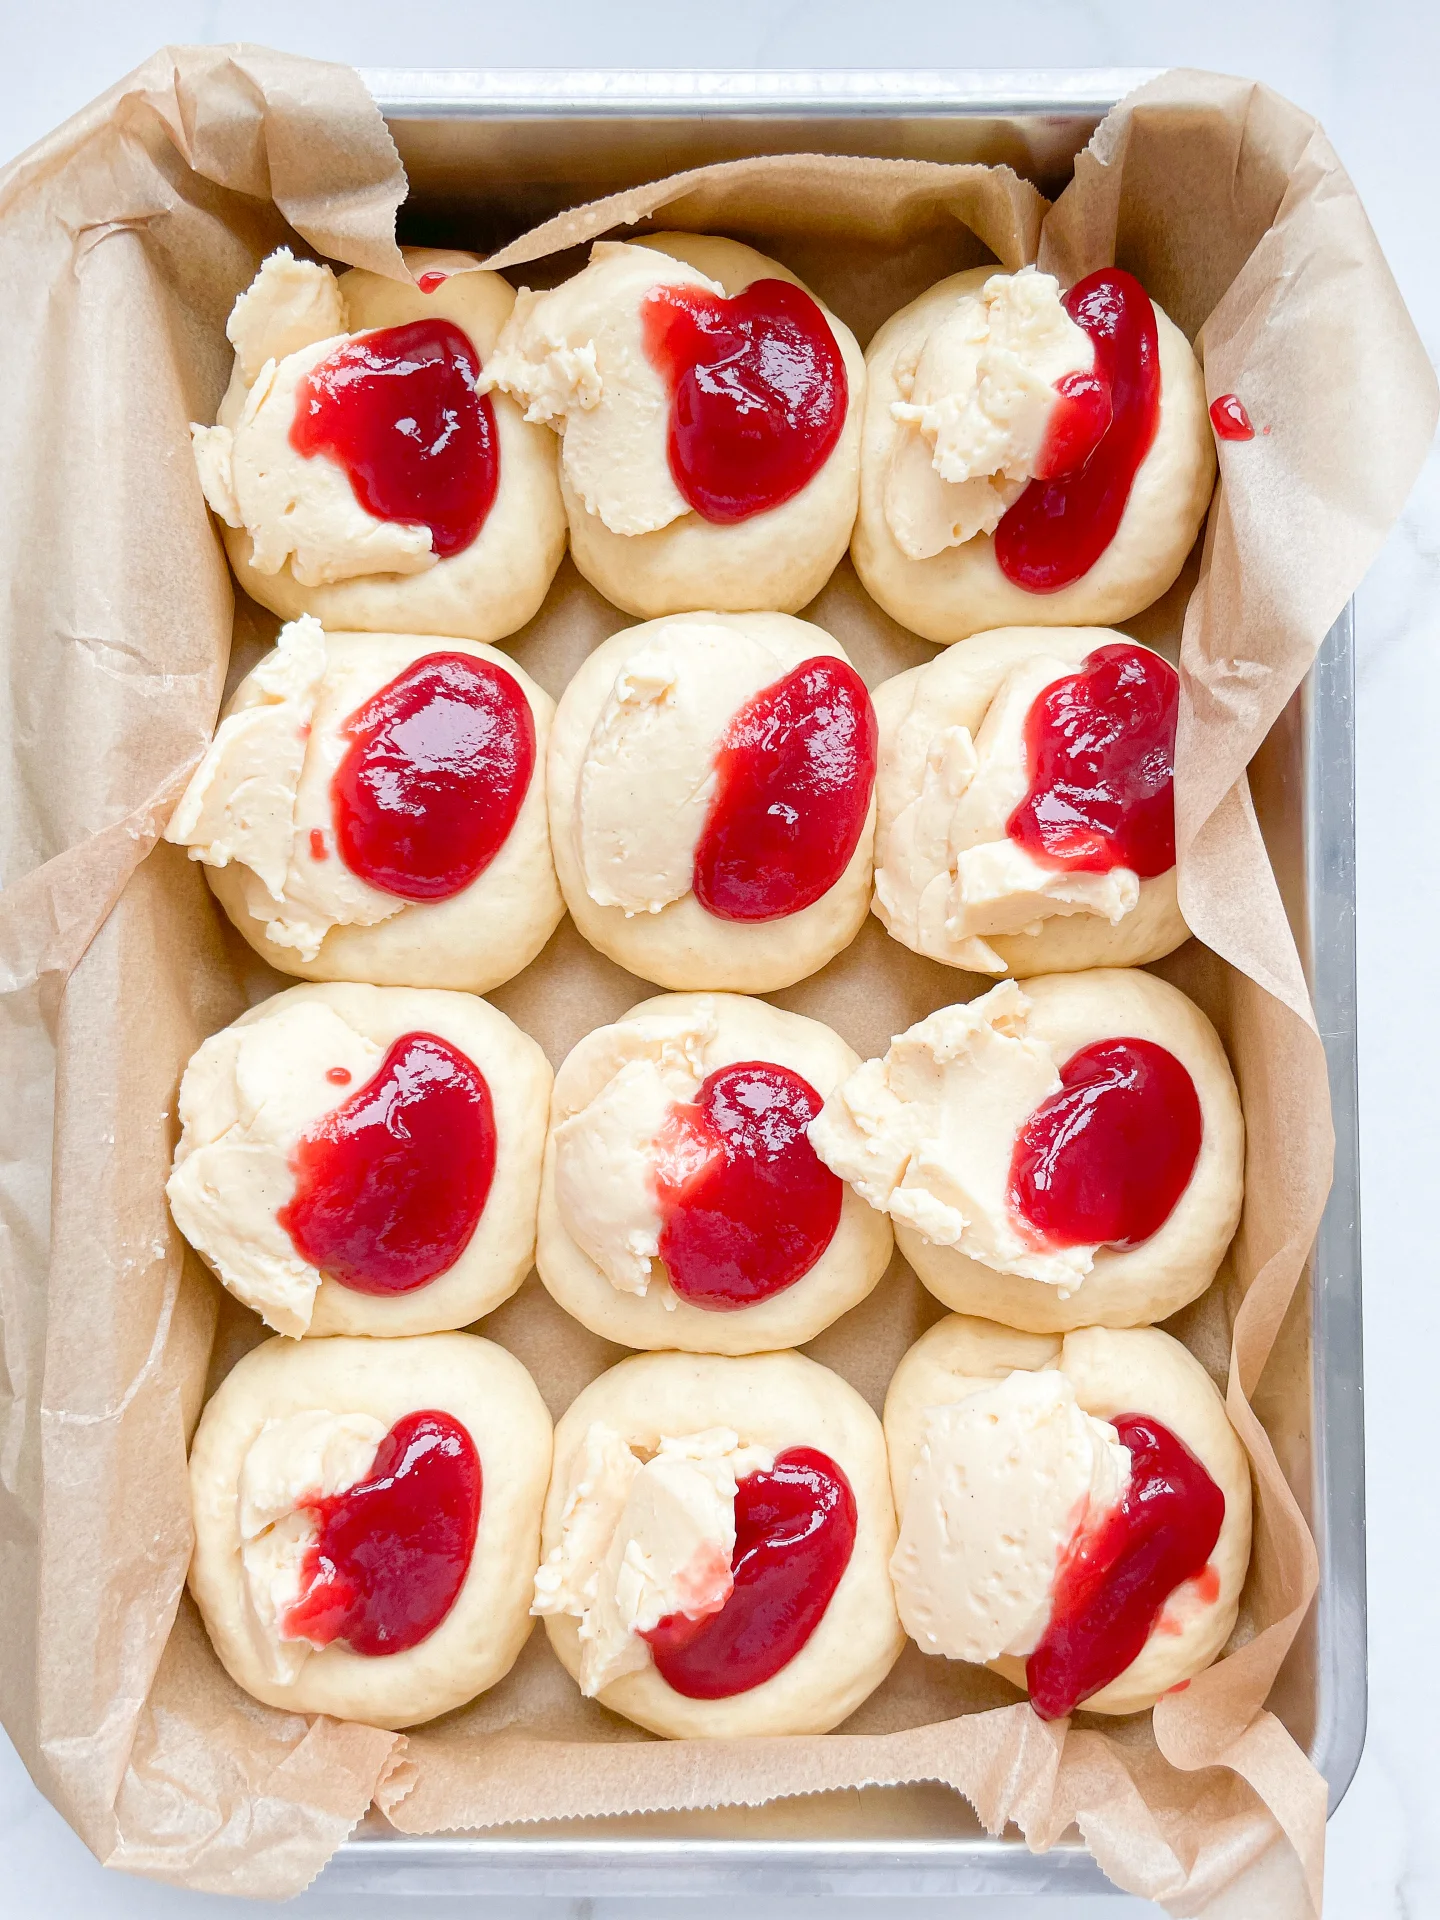
  5. Use your thumbs and press in the middle of the dough ball to form kind of a bowl shape that is going to be filled each with 1 tablespoon of vanilla pudding and 1 heaping teaspoon of strawberry jam side by side.
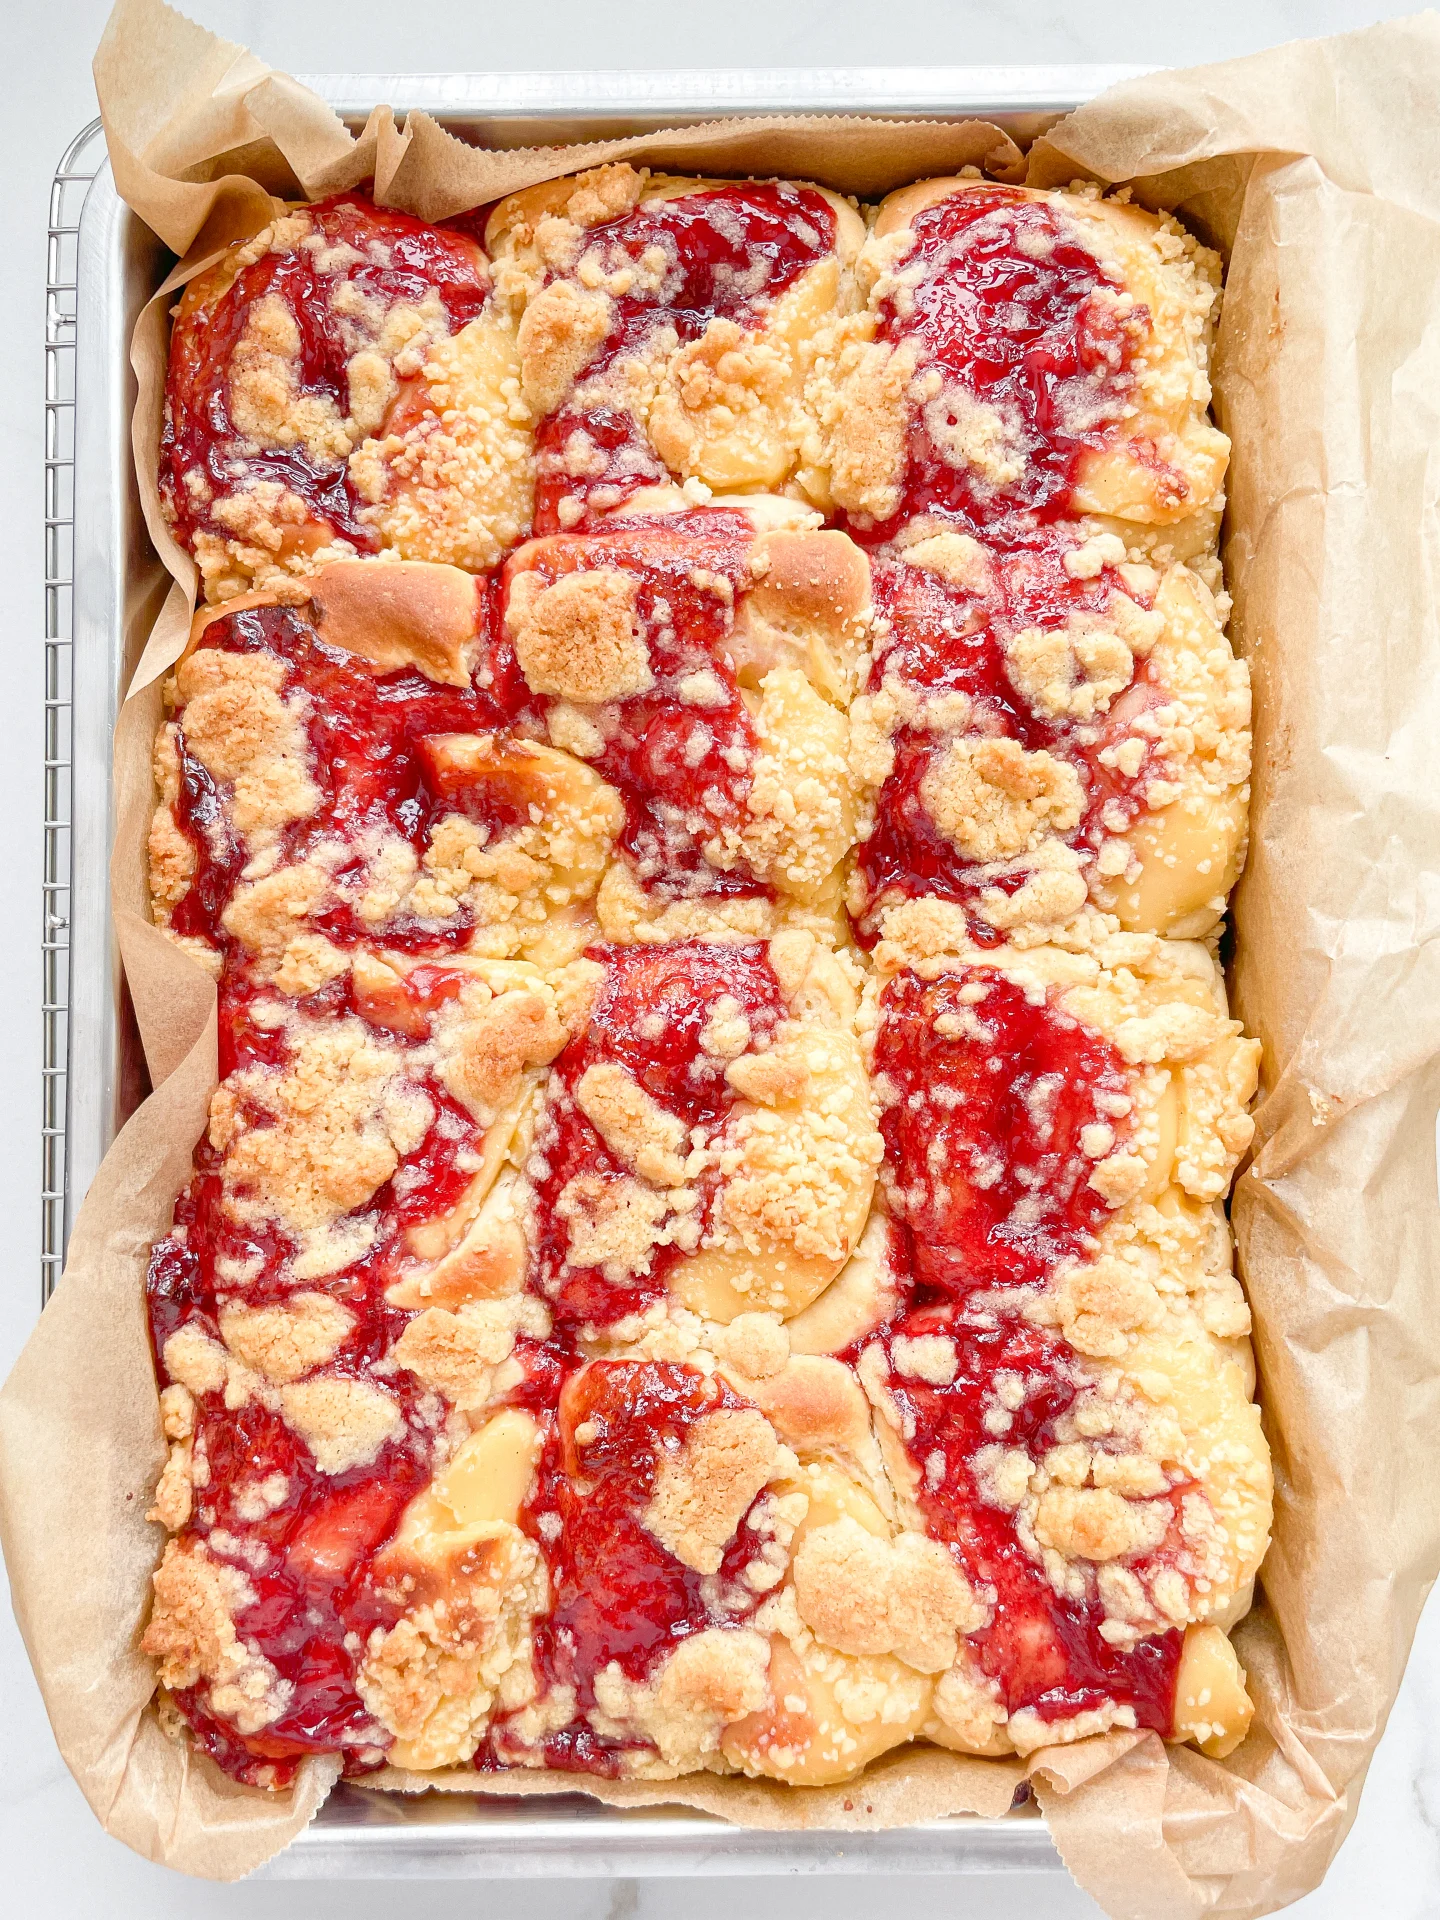
  6. Preheat the oven to 180°C / 350°Ft. Sprinkle the chilled streusel generously over the buns and bake for about 55 minutes, or until golden. Serve slightly warm or fully cooled—both are delicious. Finish with a dusting of powdered sugar before serving.
  • Passive Time: 3 hours
  • Cook Time: 30 min

Ham & Cheese Scones with Ranch Compound Butter

Ham & Cheese Scones with Ranch Compound Butter

Ham & Cheese Scones with Ranch Compound Butter

Ham & Cheese Scones with Ranch Compound Butter

April 14, 2025 by Kimberly

Flaky, buttery, and loaded with cheddar, ham, and chives. These savory scones are what your brunch dreams are made of. Especially with that ranch butter. Comfort food, but make it interesting.

35 MINUTES

INTERMEDIATE

OMNIVORE

INT.

10 SCONES

COMFORT FOOD

BRUNCH

SANDWICHES

ALL YEAR

INTRODUCTION

ABOUT THE RECIPE

There’s something about warm, cheesy pastries that just hits differently. Especially when they’re packed with melty cheddar, smoky ham, and fresh chives. These golden, flaky scones aren’t your typical dainty teatime snack, they’re the brunch version of it. The kind of thing you bake once and instantly regret ever offering to share.

How to serve
Serve these warm from the oven with a generous slather of the ranch butter melting into every crevice. Add a fried egg on the side if you’re feeling extra, or go classic with a cup of black coffee and your favorite playlist on repeat. They’re great for lazy Sundays, fancy brunch tables, or mid-week I-deserve-this moments. Pro tip: break them in half and turn them into a breakfast sandwich with scrambled eggs or crispy bacon. Zero judgment.

How to store
Store leftovers (if you’re lucky enough to have any) in an airtight container for up to 2 days at room temp. Reheat in the oven for that just-baked vibe.

Hi, I'm Kimberly!

Hi, I'm Kimberly.

A passionate food lover who believes in the magic of homemade deliciousness that spreads love and warmth. Join me on this culinary adventure as I prepare wonderful dishes and let’s spread some happiness together!

Kimberly the Zett Signature

If you want to get to know me better, click here!


Ham & Cheese Scones with Ranch Compound Butter
„Let’s make a piece of happiness“
Print
clock clock iconcutlery cutlery iconflag flag iconfolder folder iconinstagram instagram iconpinterest pinterest iconfacebook facebook iconprint print iconsquares squares iconheart heart iconheart solid heart solid icon
Ham & Cheese Scones with Ranch Compound Butter

Ham & Cheese Scones with Ranch Compound Butter


  • Author: Kimberly
  • Total Time: 35 min
  • Yield: 10 1x

Description

RECOMMENDED EQUIPMENT

  • box grater
  • mixing bowl
  • sharp knife
  • cutting board
  • round cookie cutter
  • spatula

Ingredients

Units Scale

SCONES

  • 300 grams all-purpose flour
  • 1/2 tsp salt
  • 1/4 tsp pepper
  • 4 tsp backing powder
  • 2 tbsp brown sugar (optional)
  • 90 grams butter, cold
  • 1 egg
  • 160 milliliters full-fat cow milk
  • 150 grams cheddar cheese
  • 150 grams ham
  • 20 grams fresh chives

RANCH COMPOUND BUTTER

  • 125 grams butter, soft
  • 3 tsp dried chives
  • 1 tsp dried parsley
  • 1 tsp dried onion powder
  • 1/2 tsp dried dill
  • 1/2 tsp dried garlic powder
  • 1/81/4 tsp salt
  • 1/8 tsp white pepper

Instructions

  1. Place the butter for the scones in the freezer for 15 minutes. Let the butter for the ranch compound butter soften at room temperature. Line a baking sheet with parchment paper and preheat the oven to 200°C/390°F. Dice the ham into small squares, grate the cheese, and finely slice the chives. Set aside about 1/3 of each to top the scones later.
  2. In a medium bowl, combine the flour, brown sugar, baking powder, salt, and pepper. Grate the cold butter directly into the dry ingredients using a box grater.
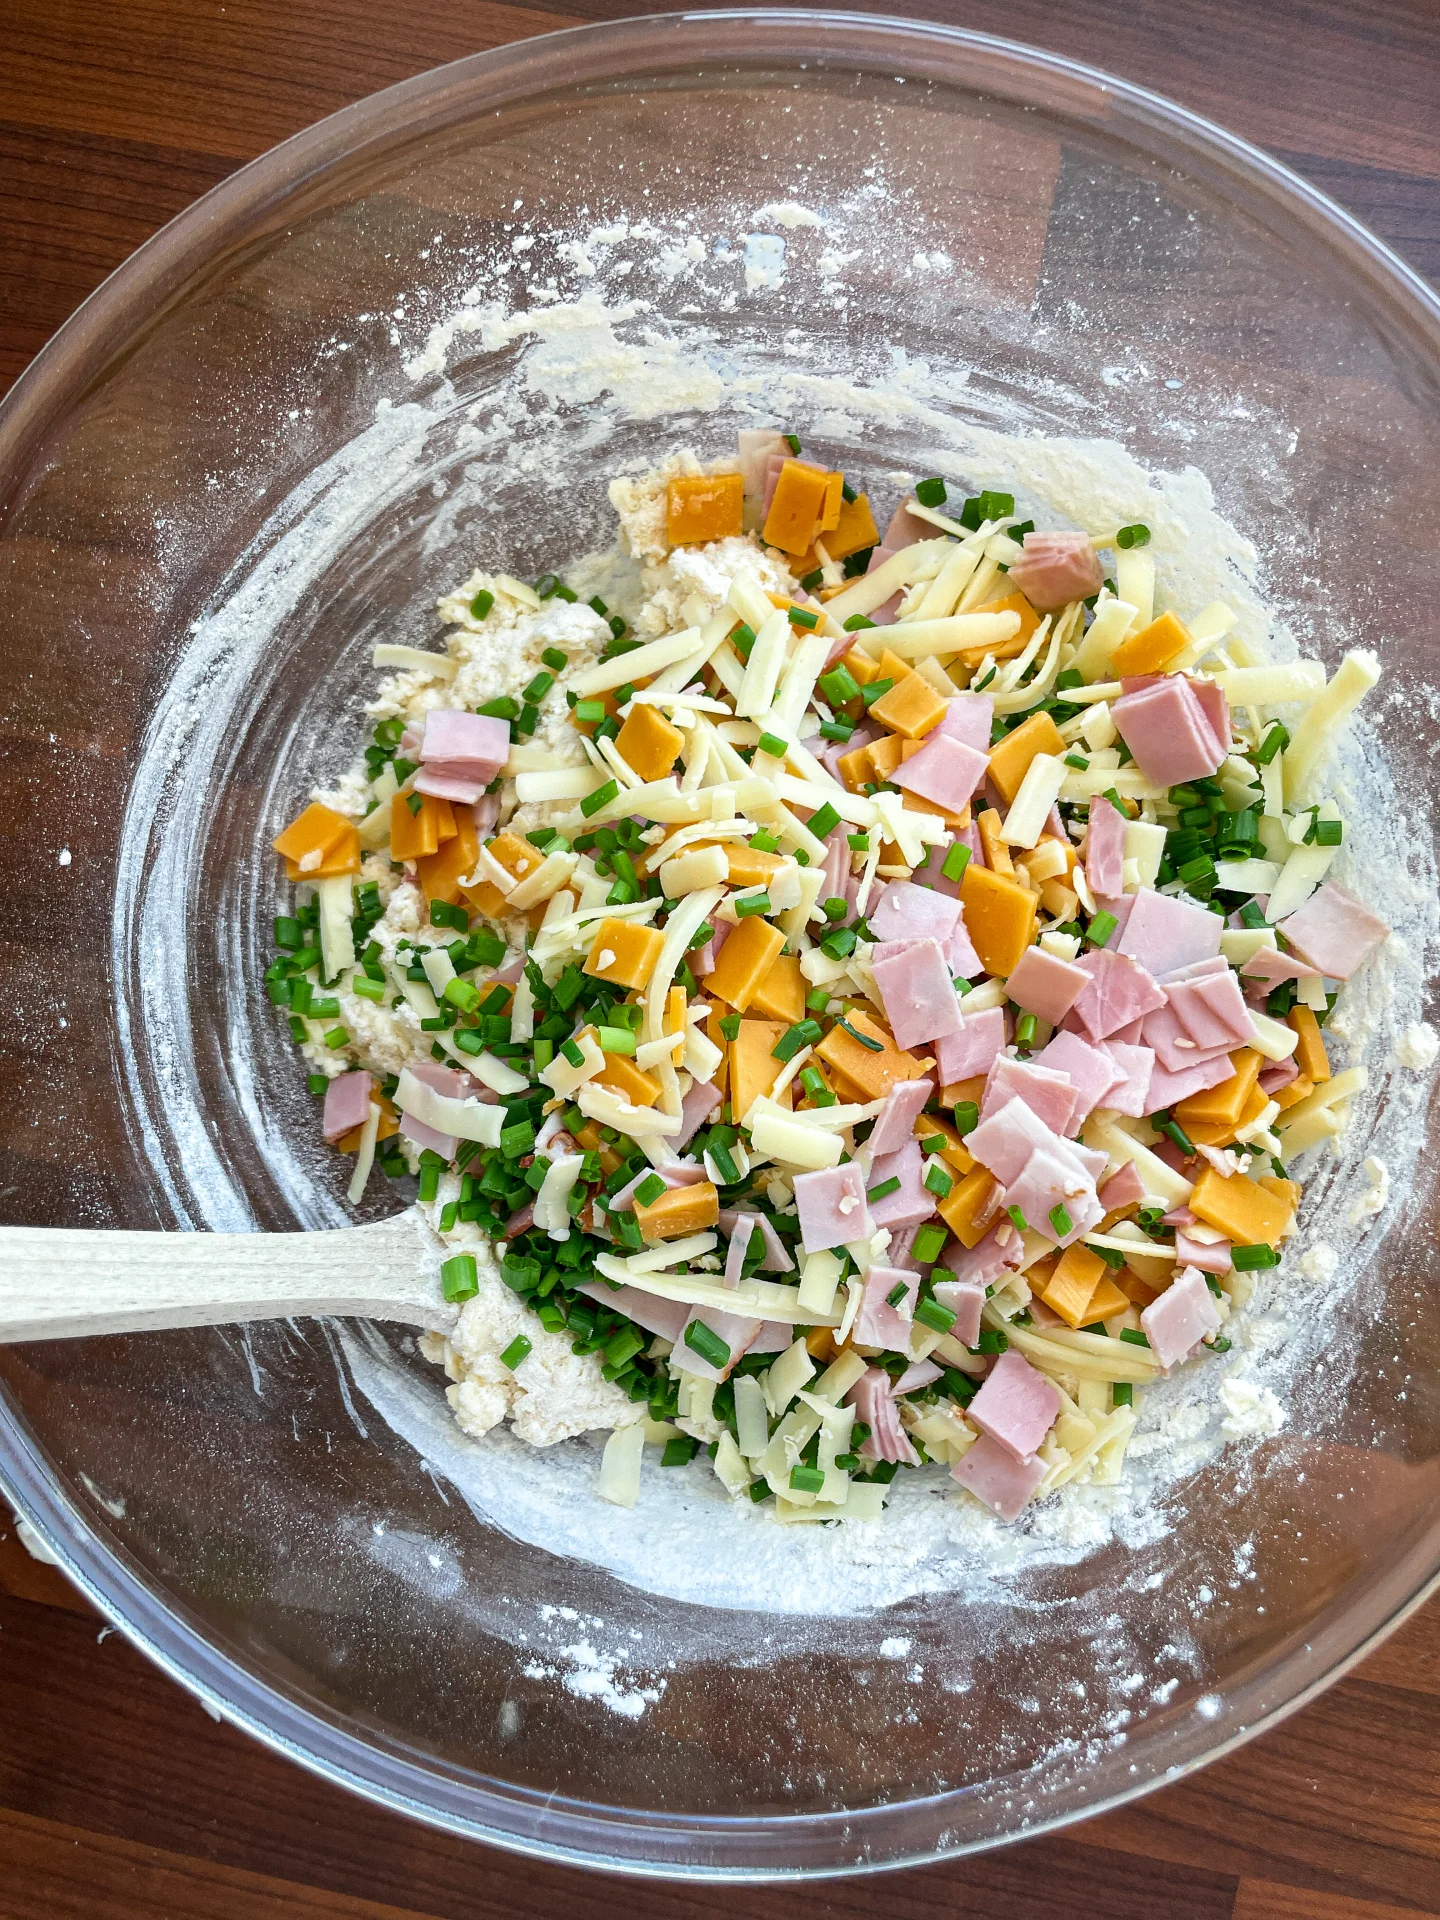
  3. In a small glass or bowl, whisk together the milk and egg, then pour into the dry mixture. Mix with a spoon just until the dough comes together. You should still see streaks of flour. Add the ham, cheese, and chives and gently fold in. Transfer the dough to a clean work surface and shape it into a rectangle (about 20x30cm) using a spatula. Avoid using your hands because keeping the butter cold is key to flaky scones. Sprinkle the remaining ham, cheese, and chives over the top.
  4. Use a round cutter to cut out as many scones as possible. Gather and gently reshape the scraps to cut more until all the dough is used. If you don’t have a cutter, simply slice the dough into triangles. This recipe yields about 10 scones.
  5. Arrange the scones on the baking sheet with a bit of space in between and bake for about 15 minutes until golden. Let cool slightly and serve fresh.
  • Passive Time: 15 min
  • Cook Time: 20 min

Kimchi Gyoza

Kimchi Gyoza

Kimchi Gyoza

Kimchi Gyoza

April 10, 2025 by Kimberly

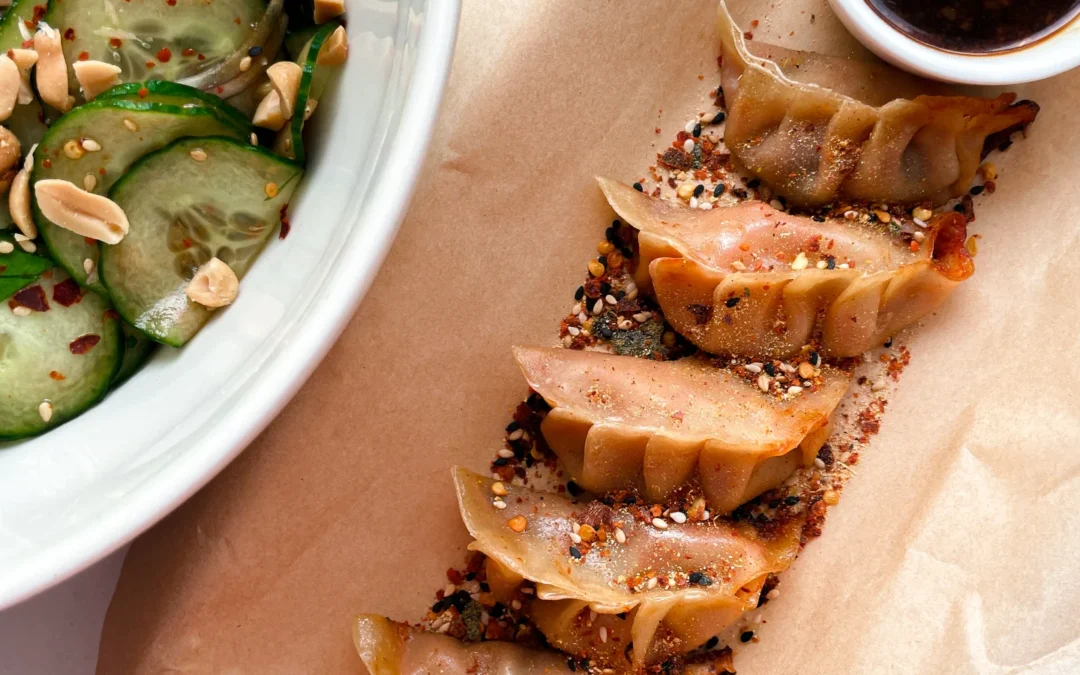
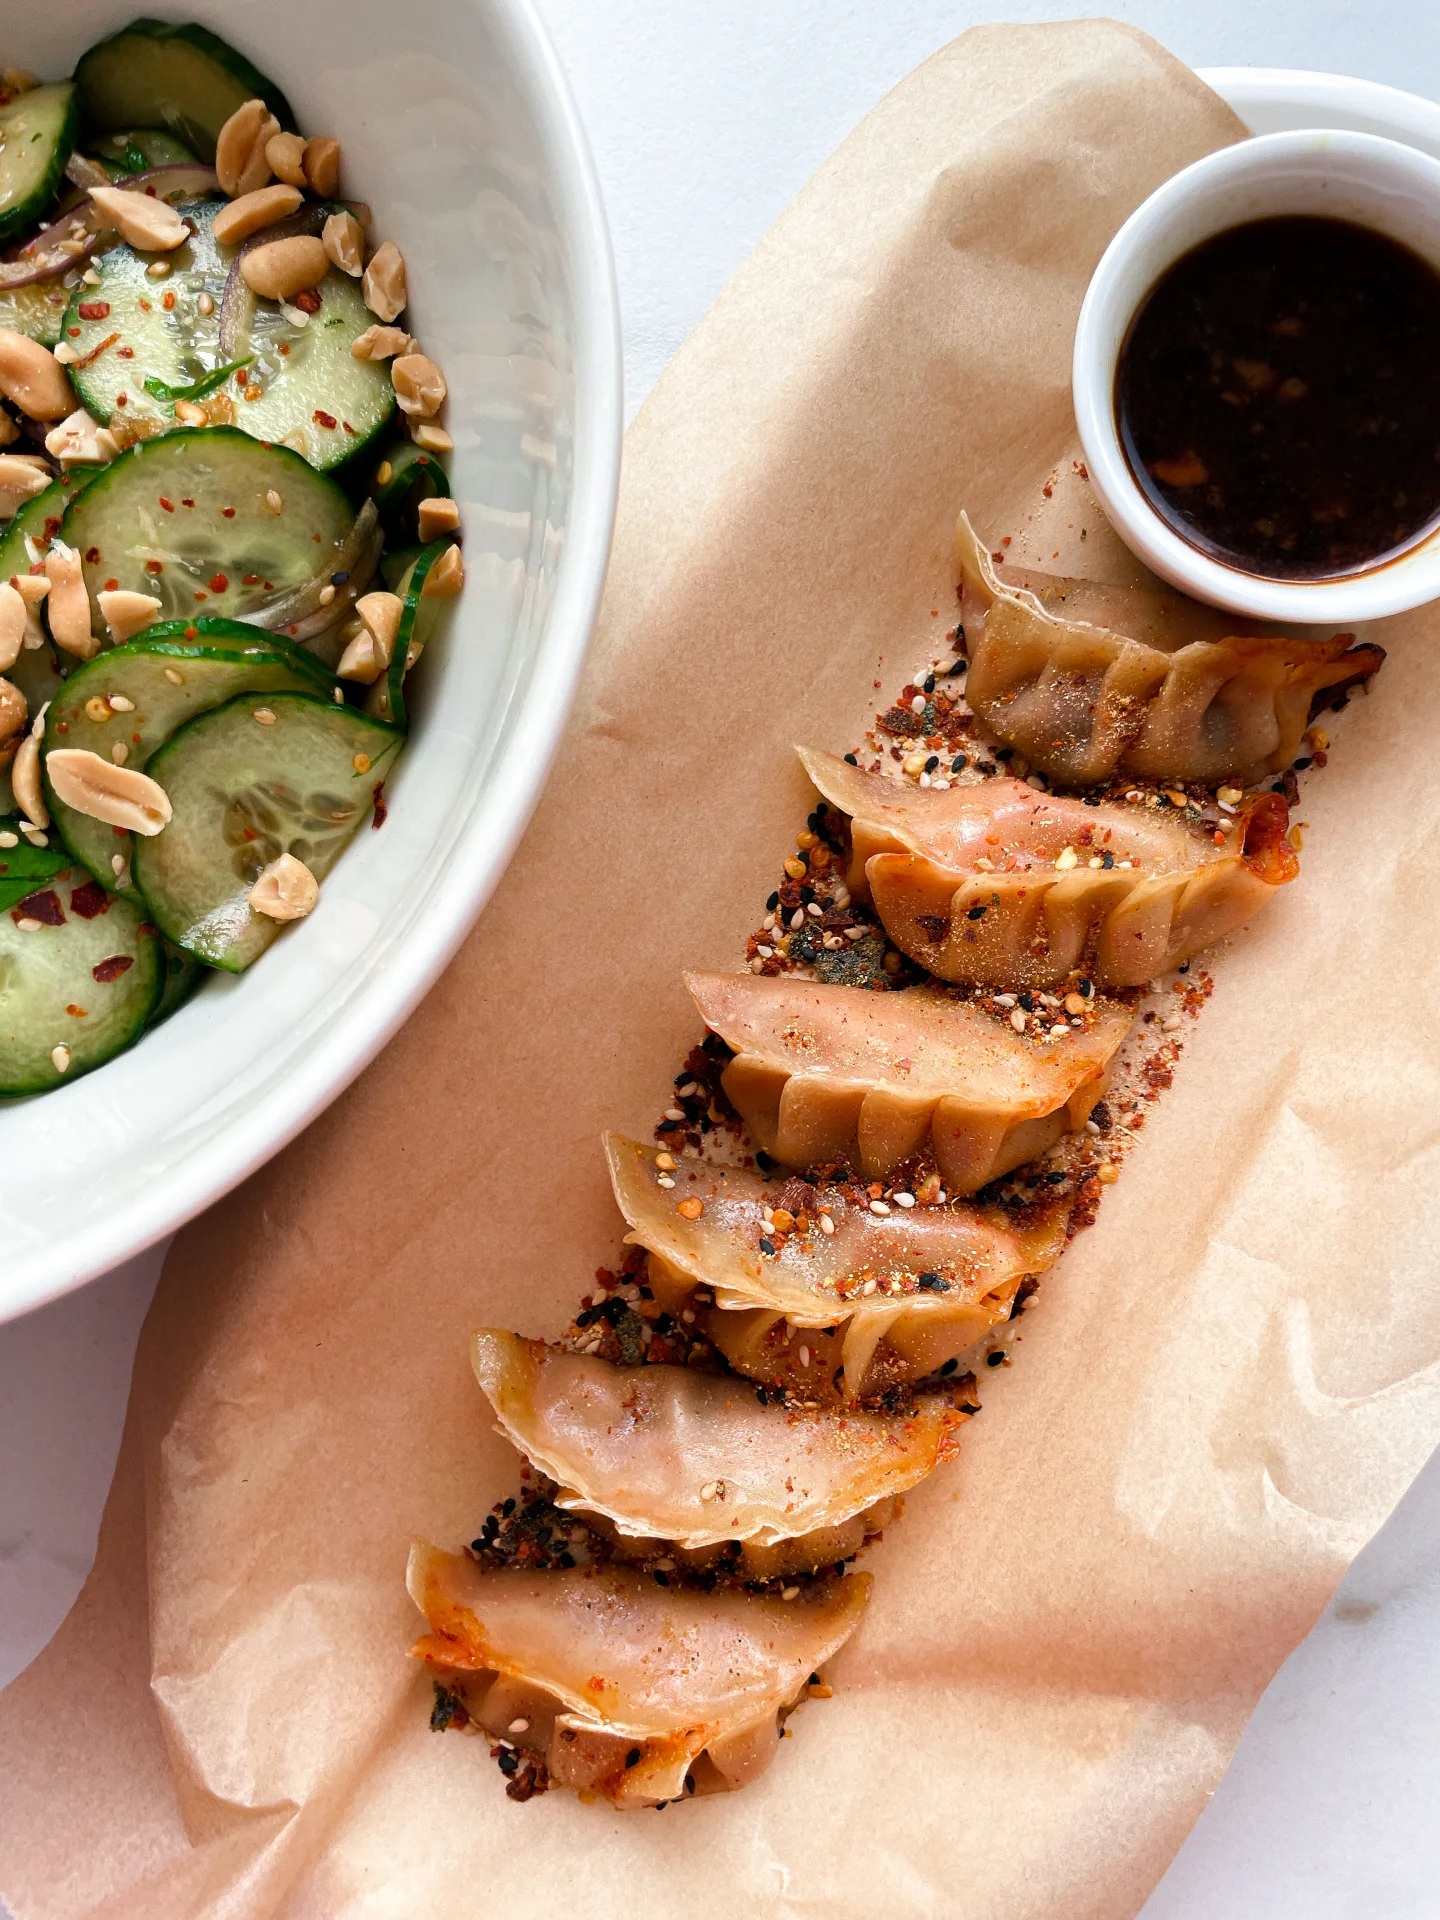
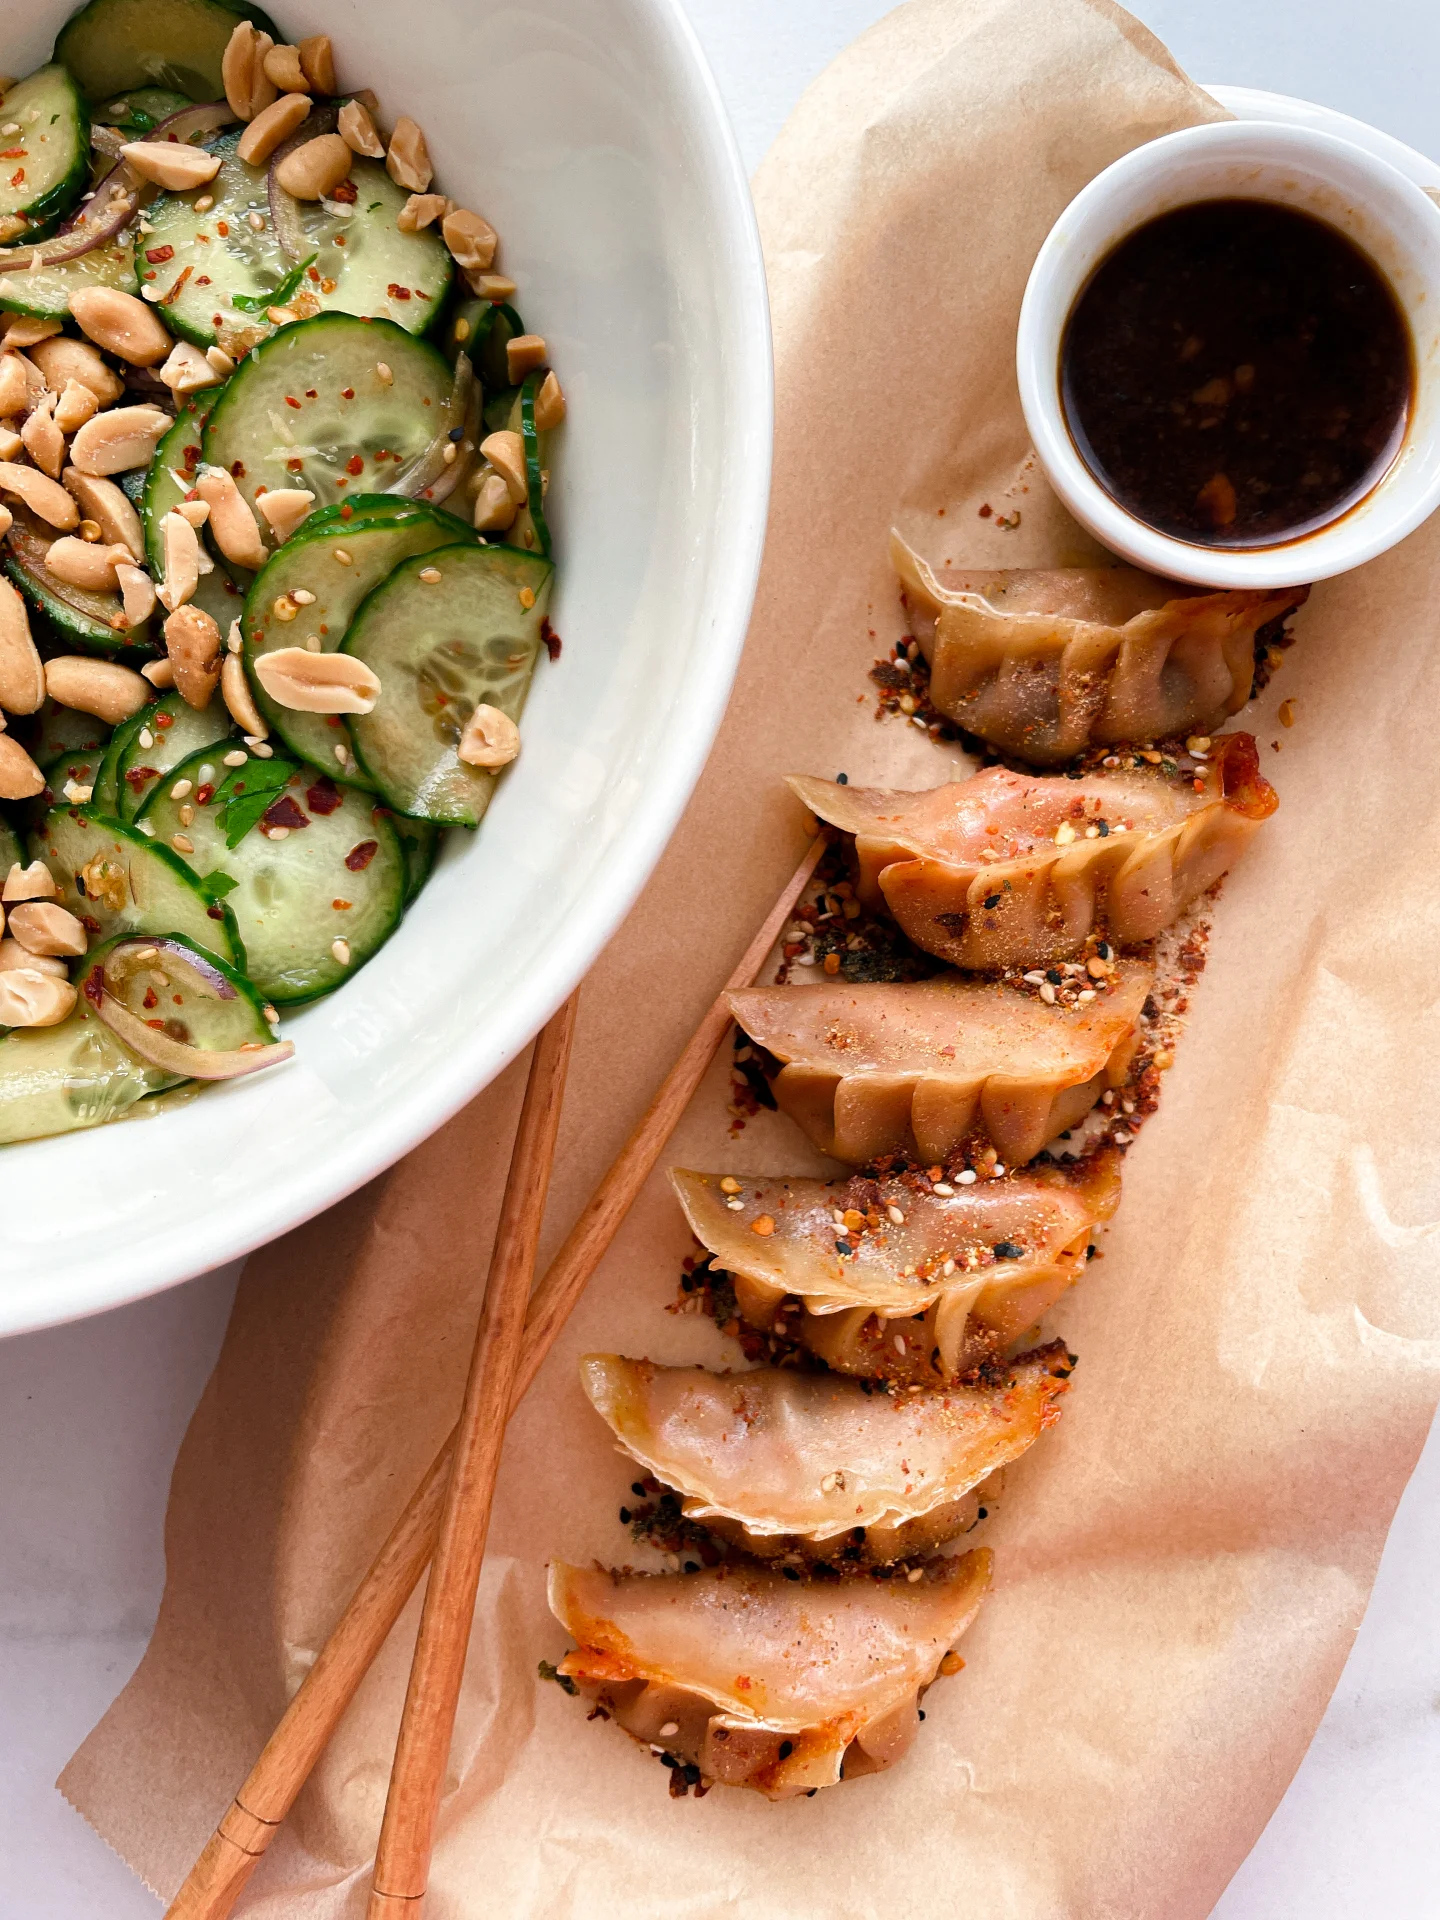
Crispy, spicy, a little funky in the best way. These little pan-fried dumplings pack serious flavor. Perfect for when you’re craving something cozy but still want to feel mildly impressive.

30 MINUTES

INTERMEDIATE

VEGAN

JAPANESE

20 PIECES

SPICY

EVERYDAY

APPETIZER

ALL YEAR

INTRODUCTION

ABOUT THE RECIPE

There’s something weirdly comforting about standing over a hot pan, crisping up dumplings that smell like spice, garlic, and pure satisfaction. I used my homemade version (linked here if you want to try it), but honestly, store-bought kimchi will do just fine. No judgment.

How to serve
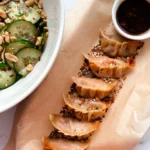
Serve these right out of the pan while they’re still sizzling, with this dipping sauce. They work perfectly as an appetizer, a dinner for one (or two if you’re sharing), or even as a party snack that disappears suspiciously fast.

How to store
Leftovers? Rare, but if you do have a few, pop them into an airtight container and keep them in the fridge for up to 2 days. Reheat in a pan to keep that crispiness alive. They also freeze like a dream just pan-fry straight from frozen.

 
Hi, I'm Kimberly!

Hi, I'm Kimberly.

A passionate food lover who believes in the magic of homemade deliciousness that spreads love and warmth. Join me on this culinary adventure as I prepare wonderful dishes and let’s spread some happiness together!

Kimberly the Zett Signature

If you want to get to know me better, click here!


Kimchi Gyoza
Kimchi Gyoza
„Let’s make a piece of happiness“
Print
clock clock iconcutlery cutlery iconflag flag iconfolder folder iconinstagram instagram iconpinterest pinterest iconfacebook facebook iconprint print iconsquares squares iconheart heart iconheart solid heart solid icon
Kimchi Gyoza

Kimchi Gyoza


  • Author: Kimberly
  • Total Time: 30 min
  • Yield: 20 gyoza 1x

Description

RECOMMENDED EQUIPMENT

  • large pan with a lid
  • small bowl

Ingredients

Units Scale

Instructions

  1. If you’re making your own kimchi and gyoza wrappers: amazing. If not, no worries! Just use store-bought and make sure to thaw the wrappers before using.
  2. Set up your kimchi, the gyoza wrappers, and a small bowl of cold water. Also, prep a large plate dusted with a bit of flour to place your finished dumplings. Now put on your favorite series or podcast and get into your folding zone.
  3. Take one wrapper and place about 1–1.5 teaspoons of kimchi filling in the center. Dip your finger in the water and moisten the edge of the top half of the wrapper. Fold it up like a taco and press the left tip with your left hand. Then, using your right thumb and index finger, create small pleats along the top edge, pressing each one firmly into the back side of the wrapper. Continue pleating until it’s sealed and you’re holding your first little dumpling. Place it on the floured plate. Don’t stress if it’s not perfect, this takes a bit of practice. Scroll down for the video tutorial at the end of the recipe if you need a visual! Repeat until all the wrappers and filling are used up.
  4. Once all your gyoza are ready, heat a large pan over medium heat. Add 1 tablespoon of oil and place as many gyoza as will fit flat-side down in the pan. Let them fry for a few minutes until the bottoms are golden and crispy. Lower the heat, carefully pour in a splash of water, and immediately cover with the lid. Be careful, the oil shouldn’t be too hot or it might splatter! The gyoza will now steam. Keep the lid on until the wrappers turn translucent, about 10–15 minutes. If the water evaporates before they’re done, just add a little more.
  5. Once translucent, remove the lid, turn the heat back up to medium, and let them crisp up again for 5 more minutes. Remove and repeat with the next batch.
  6. Serve all your gyoza hot with this easy dipping sauce and a sprinkle of shichimi spice. Oh, and this cucumber salad goes so good with it.
  • Cook Time: 30 min

Chicken Tikka Masala with Passionfruit Yogurt & Chili Lime Garlic Naan

Chicken Tikka Masala with Passionfruit Yogurt & Chili Lime Garlic Naan

Chicken Tikka Masala with Passionfruit Yogurt & Chili Lime Garlic Naan

Chicken Tikka Masala with Passionfruit Yogurt & Chili Lime Garlic Naan

March 26, 2025 by Kimberly

Bold, creamy, tangy, and just the right amount of spicy. A rich, slow-simmered tomato-coconut sauce meets tender chicken, cooled down with tropical yogurt and scooped up with garlicky, buttery, chili-lime naan.

90 MINUTES

INTERMEDIATE

OMNIVORE

INDIAN

3 PORTIONS

COMFORT FOOD

EVERYDAY

DINNER

ALL YEAR

INTRODUCTION

ABOUT THE RECIPE

This is the kind of meal that feels like a warm hug, but, like, an effortlessly cool one. Tender chicken, slow-simmered in a rich, creamy tomato-coconut sauce packed with warm spices and just the right amount of heat. It’s bold and deep in flavor, but then? Enter the tangy, tropical yogurt that balances it all out, plus fluffy, garlicky naan to scoop up every last drop. It’s cozy, it’s indulgent, and honestly, it just hits different.

How to serve
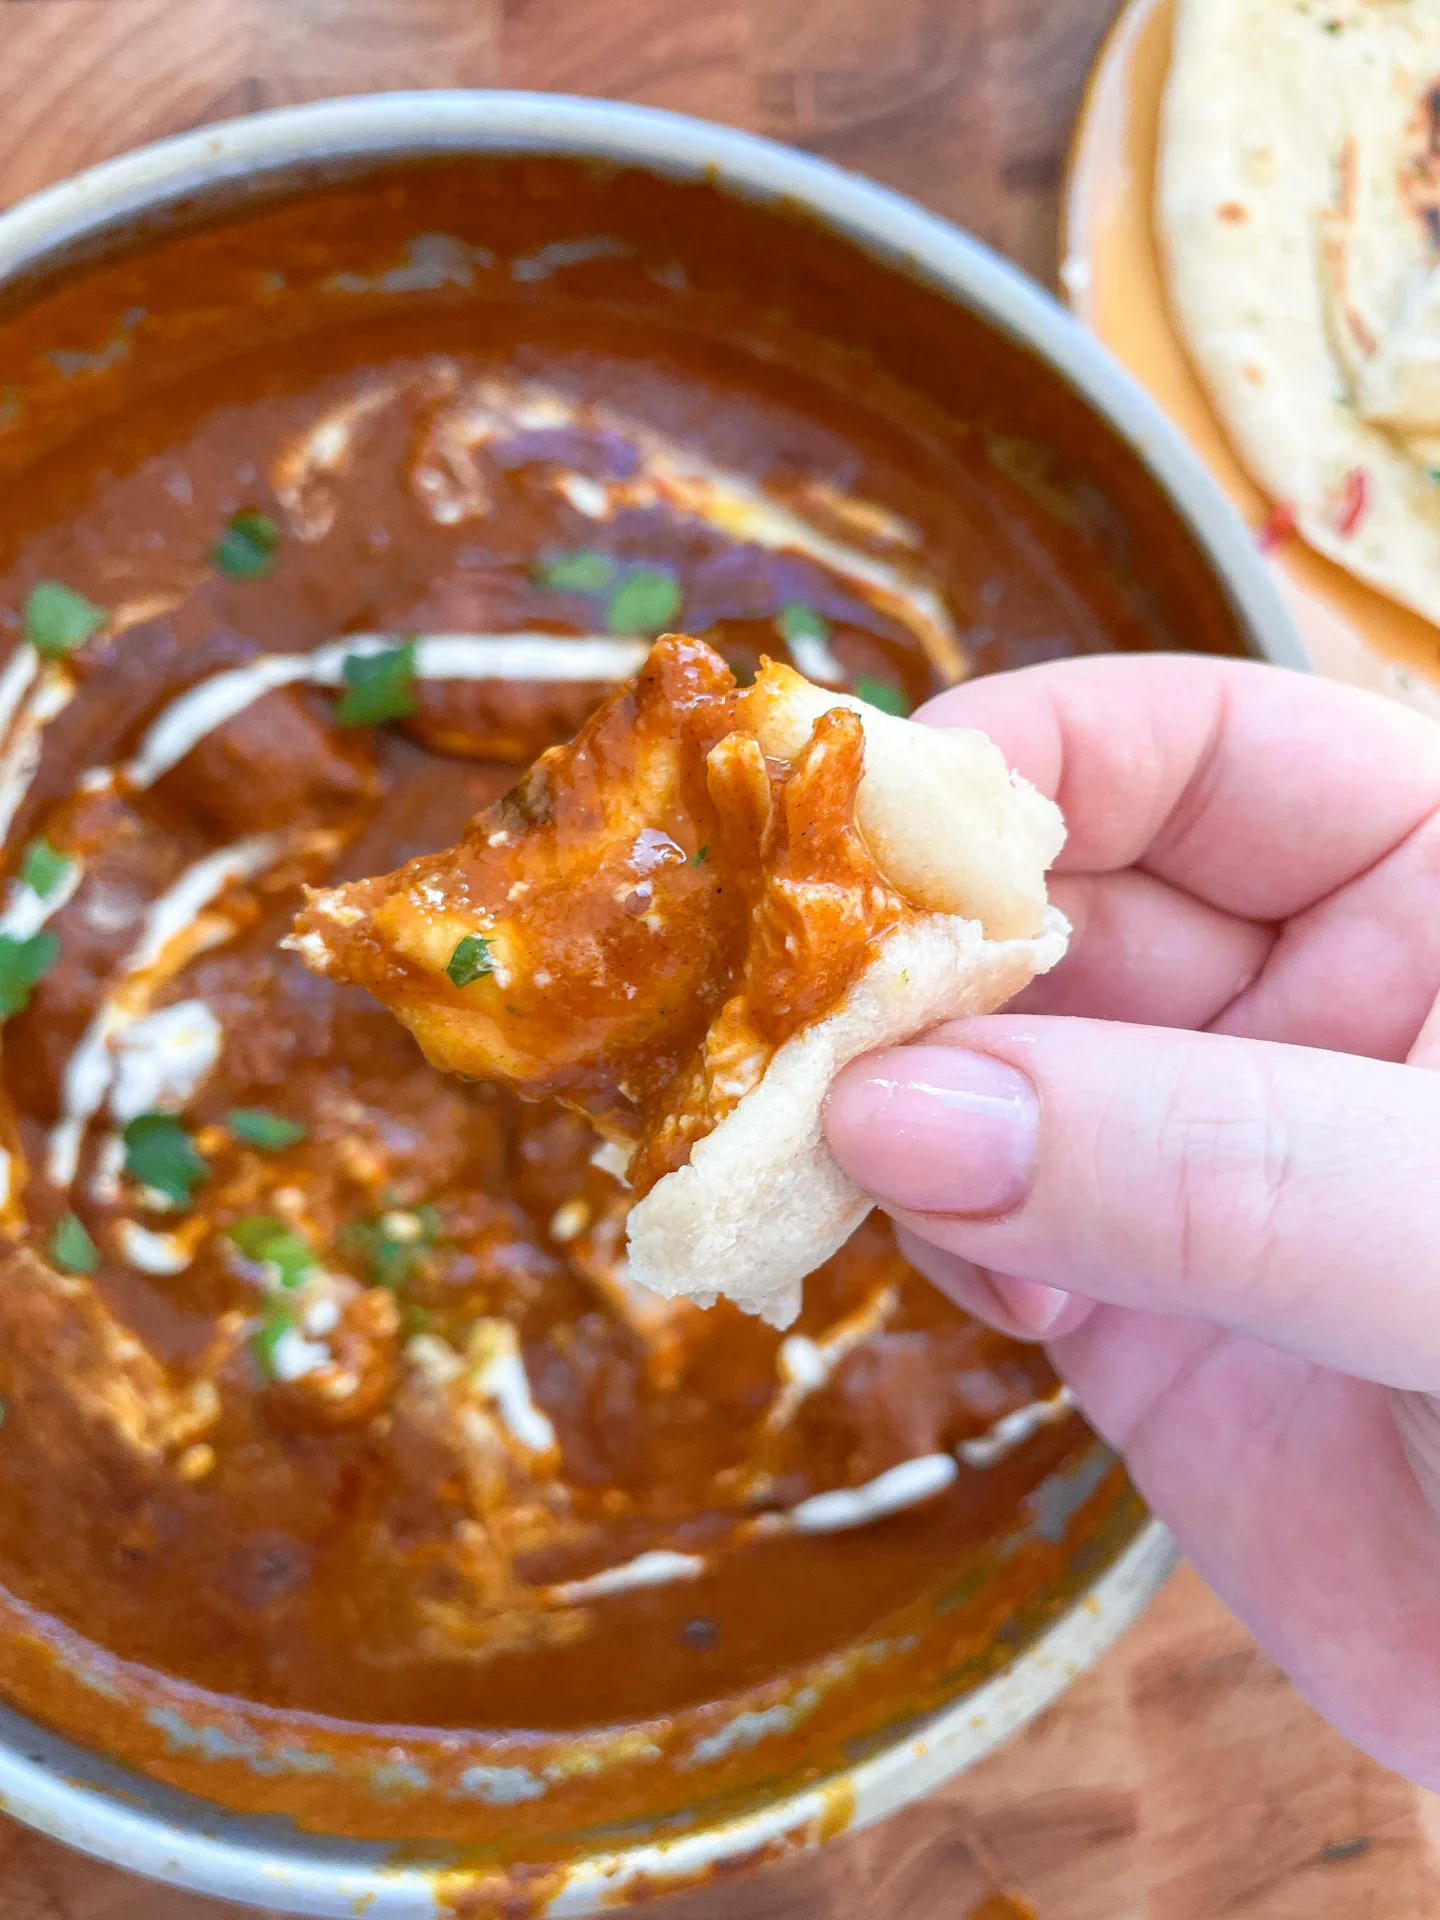
The key here is layering flavors. Start with a generous spoonful of the rich, velvety sauce, pile on the juicy, spice-kissed chicken, and finish with a drizzle of the bright, citrusy yogurt. And the naan? It’s non-negotiable. Tear, dip, repeat. This dish is best served fresh, straight from the pot, but if you want to go all out, a side of fluffy basmati rice wouldn’t hurt. Bonus points if you add a sprinkle of fresh herbs before serving.

How to store
Store the chicken and sauce together in an airtight container for up to two days in the fridge. The naan keeps best wrapped in foil at room temp for a day or in the fridge for up to 3 days. Reheat gently to keep things soft and saucy.

Hi, I'm Kimberly!

Hi, I'm Kimberly.

A passionate food lover who believes in the magic of homemade deliciousness that spreads love and warmth. Join me on this culinary adventure as I prepare wonderful dishes and let’s spread some happiness together!

Kimberly the Zett Signature

If you want to get to know me better, click here!


Chicken Tikka Masala with Passionfruit Yogurt & Chili Lime Garlic Naan
„Let’s make a piece of happiness“
Print
clock clock iconcutlery cutlery iconflag flag iconfolder folder iconinstagram instagram iconpinterest pinterest iconfacebook facebook iconprint print iconsquares squares iconheart heart iconheart solid heart solid icon
Chicken Tikka Masala with Passionfruit Yogurt & Chili Lime Garlic Naan

Chicken Tikka Masala with Passionfruit Yogurt & Chili Lime Garlic Naan


  • Author: Kimberly
  • Total Time: 90 min
  • Yield: 3 1x

Description

RECOMMENDED EQUIPMENT

  • stand mixer
  • sharp knife
  • cutting board
  • large pan

Ingredients

Units Scale

BASE SAUCE

  • 2 tbsp avocado oil
  • 2 red onions
  • 400 grams tomatoes
  • 1/2 tsp cinnamon powder
  • 1/2 tsp cardamom powder
  • 1/2 tsp pepper
  • 1/4 tsp cloves powder
  • 1/4 tsp salt
  • 1 bay leaf
  • 1 tbsp ginger, grated
  • 4 garlic cloves
  • 1/2 tsp dried chili flakes
  • 1/4 tsp cayenne pepper
  • 2 tbsp tomato paste
  • 250 milliliter vegetable stock

COCONUT SAUCE

  • 1 tbsp avocado oil
  • 1/2 tsp cumin
  • 1/2 tsp mustard seeds
  • 4 garlic cloves
  • 1/2 tsp turmeric powder
  • 1 tsp garam masala
  • 200 grams coconut milk

CHICKEN

  • 400 grams boneless, skinless chicken thighs
  • 1 tbsp turmeric powder
  • 1 tbsp avocado oil

TOPPINGS

  • lime juice
  • fresh cilantro
  • 2 tbsp yogurt
  • 2 tbsp passionfruit purée

Instructions

  1. Start by preparing the chili lime garlic naan according to this recipe, up to Step 4. Once 40 minutes of resting time have passed, proceed with Step 2 of this recipe.
  2. Finely dice the onions and tomatoes, keeping them separate.
  3. Coat the chicken in turmeric (gloves recommended, as turmeric stains easily). Heat avocado oil in a large pan and sear the chicken on both sides. It doesn’t need to be fully cooked yet, as it will finish simmering in the sauce. Remove from the pan and set aside.
  4. In the remaining oil, add ground cinnamon, cardamom, black pepper, and ground cloves. Toast briefly until fragrant. Add the diced onions and a bay leaf, season generously with salt, and let them soften. Meanwhile, peel and finely chop the ginger and garlic, then add them to the pan. Let everything cook down gently.
  5. Once softened, add coriander powder, chili powder, and cayenne pepper, toasting briefly. Stir in tomato paste and diced tomatoes, then pour in vegetable broth. Cover with a lid and let it simmer until the tomatoes break down. Transfer everything to a blender and blend until smooth. Keep the mixture in the blender while reheating the pan.
  6. Continue preparing the naan from Step 5 to Step 6, allowing the dough to rest for another 10-15 minutes.
  7. Heat more avocado oil in the pan and toast ground cumin and mustard seeds until they start popping. Add pressed garlic, turmeric, and garam masala, stirring until fragrant. Pour in the coconut milk and mix well. Then, return the blended tomato mixture to the pan, stirring until combined. Add the seared chicken, cover with a lid, and bring to a simmer.
  8. Once simmering, remove the lid and stir in more garam masala and a splash of lime juice. Optionally, add a tablespoon of butter for extra richness. Let everything simmer over medium heat for another 20 minutes until the chicken is fully cooked.
  9. While the dish simmers, complete the naan recipe from Step 7 onward, so it’s freshly served.
  10. Remove the pan from the heat and top the chicken with yogurt, passionfruit purée, and fresh cilantro. Serve with warm naan and enjoy!
  • Passive Time: 30 min
  • Cook Time: 60 min
Cottage Pie

Cottage Pie

Cottage Pie

Cottage Pie

December 23, 2024 by Kimberly

Rich, slow-cooked beef with a creamy, cheesy potato topping. This cozy classic feels like home but leveled up – every bite is hearty, comforting, and completely irresistible. Perfect for chilly nights!

4 HOURS

INTERMEDIATE

OMNIVORE

ENGLISH

710 PER PORTION

COMFORT FOOD

EVERYDAY

DINNER

AUTUMN
WINTER

INTRODUCTION

ABOUT THE RECIPE

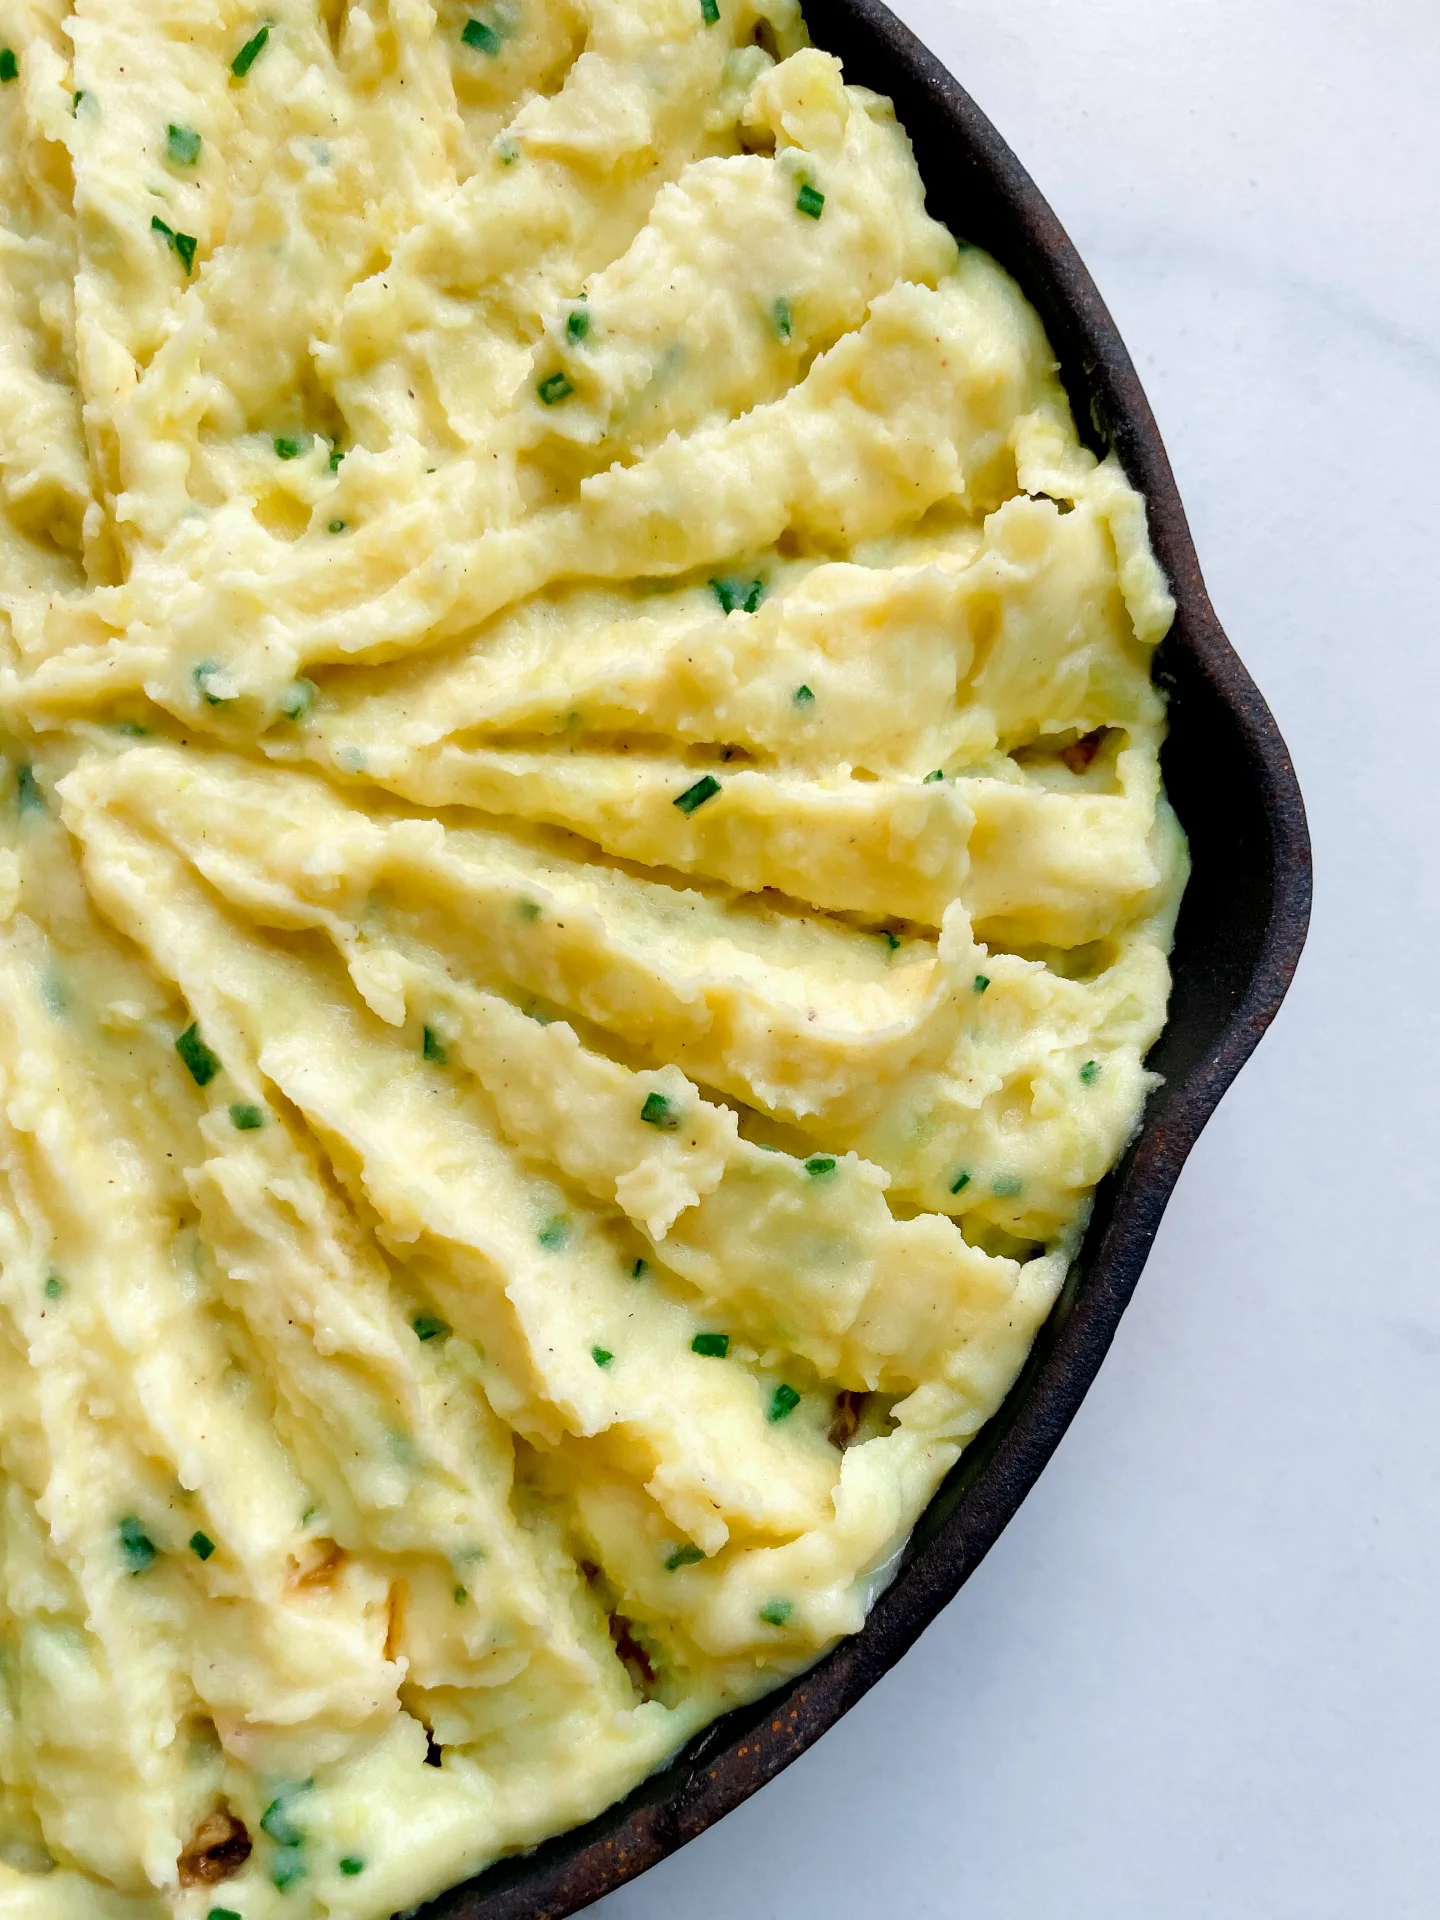
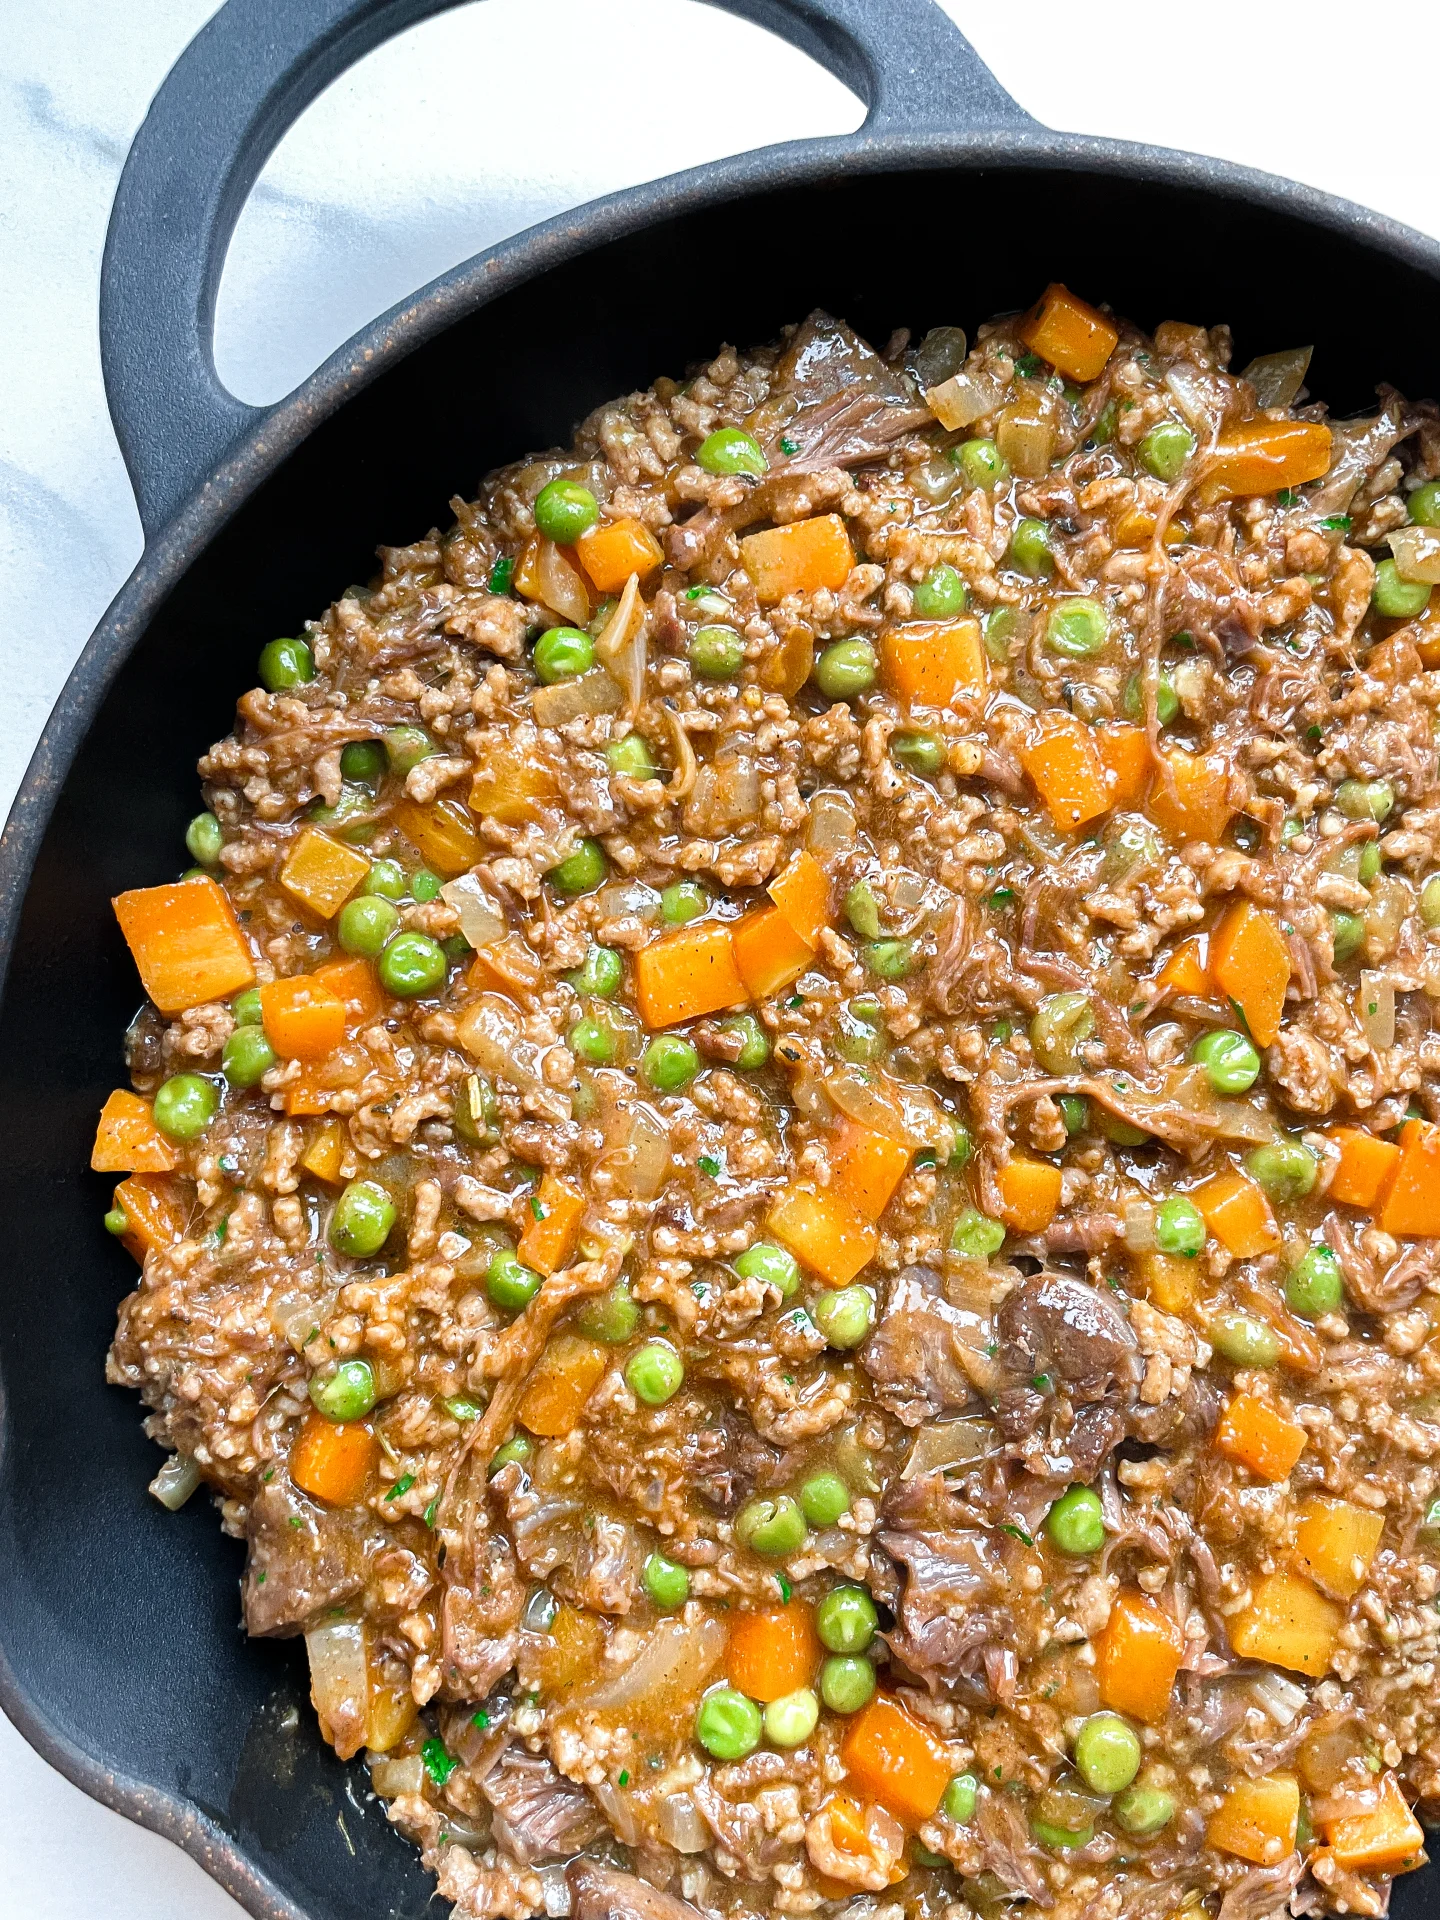
Imagine tender, slow-cooked beef paired with a golden, cheesy mashed potato topping – this is comfort food on a whole new level. Combining ground beef and flavorful slow-cooked shank meat, this dish delivers a rich, savory filling that melts in your mouth. The creamy Parmesan and cream cheese mashed potatoes bring the perfect finishing touch, creating a meal that’s hearty, satisfying, and unforgettable. Whether it’s a family dinner or meal-prep hero, this pie is your go-to cozy classic.

How to serve
Serve this dish fresh from the oven with a crisp salad for balance. For extra flair, sprinkle some fresh herbs like parsley or thyme on top before serving. This dish is perfect for casual family dinners or even a dinner party – it’s the kind of meal that gets everyone asking for seconds. Pair it with a glass of red wine or a comforting cup of tea, and you’re all set.

How to store
Store any leftovers in an airtight container in the fridge for up to 3 days. Reheat in the oven or microwave until piping hot. For freezing, wrap the dish tightly and freeze for up to a month. Defrost in the fridge overnight before reheating.

Hi, I'm Kimberly!

Hi, I'm Kimberly.

A passionate food lover who believes in the magic of homemade deliciousness that spreads love and warmth. Join me on this culinary adventure as I prepare wonderful dishes and let’s spread some happiness together!

Kimberly the Zett Signature

If you want to get to know me better, click here!


Cottage Pie
Cottage Pie
Cottage Pie
Cottage Pie
„Let’s make a piece of happiness“
Print
clock clock iconcutlery cutlery iconflag flag iconfolder folder iconinstagram instagram iconpinterest pinterest iconfacebook facebook iconprint print iconsquares squares iconheart heart iconheart solid heart solid icon
Cottage Pie

Cottage Pie


5 from 1 review

  • Author: Kimberly
  • Total Time: 4 hrs
  • Yield: 6 1x

Description

Recommended Equipment

  • medium pot
  • sharp knife
  • cutting board
  • large pot with lid
  • vegetable peeler
  • medium pot with lid
  • small pot
  • cheese grater
  • potato masher
  • ovenproof pan

Ingredients

Units Scale

SHANK MEAT & STOCK

  • 800 grams beef shanks
  • 500 grams beef marrow bones
  • 1 liter water
  • 1 white onion
  • 3 carrots
  • 3 celery sticks
  • 1 tbsp olive oil
  • 1 tbsp tomato paste
  • 2 bay leaves
  • 1 tsp black pepper corns
  • 1 tsp coriander seeds

MASHED POTATOES

  • 1 kilogram russet potatoes
  • 300 milliliter full-fat cow milk
  • 100 grams butter
  • 100 grams cream cheese
  • 50 grams parmesan
  • 2 tbsp chives
  • salt, pepper & nutmeg to taste

MEAT FILLING

  • 2 tbsp oil
  • 500 grams minced beef
  • 300 grams shank meat (prepared earlier from the shanks)
  • 1 white onion
  • 6 garlic cloves
  • 2 carrots
  • 150 grams frozen peas
  • 600 milliliter beef stock (prepared earlier from the shanks & bones)
  • 2 tbsp tomato paste
  • 12 tbsp all-purpose flour
  • 1 tbsp Worcestershire sauce
  • 2 bay leaves
  • 1 tsp dried thyme
  • 1/2 tsp dried rosemary
  • 1 tsp paprika powder
  • 1/4 tsp cinnamon
  • 1/4 tsp brown sugar
  • 1/8 tsp nutmeg
  • salt & pepper to taste
  • 2 tbsp fresh parsley

Instructions

PREPARATIONS

  • Place the beef shanks on a rack over a drip tray or a deep baking sheet lined with parchment paper. Roast in the oven at 250°C on the grill setting for about 25 minutes, until browned and starting to render fat.
  • Meanwhile, cut carrots, onions, and celery into large chunks. Sauté the veggies with crushed coriander seeds and peppercorns in a large pot with a bit of olive oil. Stir in tomato paste and cook for another 1–2 minutes.
  • Add water to the pot and toss in bay leaves.
  • Remove the beef shanks and bones from the oven and add them to the pot. Cover with the lid and simmer for about 2 hours.
  • Once the cooking time is up, strain the broth through a sieve into a measuring cup. Discard the vegetables and bones, and set the meat aside in a bowl. If you want to go the extra mile, strain the broth through a cheesecloth, though it’s not essential for this recipe. You’ll need 600 milliliters of broth and all the meat for this cottage pie.

INSTRUCTIONS

  1. Peel and halve the potatoes, then place them in a medium pot with cold water. Bring to a boil and cook until soft, about 20 minutes.
  2. Meanwhile, gently heat milk and butter in a small pot until the butter melts. Grate Parmesan and slice chives into fine rings—set both aside. Finely dice the onion, peel the garlic, and dice the carrots into small cubes. Weigh the peas and set everything aside.
  3. Once the potatoes are soft, drain the water. Add the warm milk-butter mixture and mash the potatoes. Stir in cream cheese and Parmesan, then season with nutmeg, salt, and pepper. Finally, fold in the chives. Cover and set the pot aside.
  4. Heat olive oil in a large pot or ovenproof pan. Sear the ground beef, remove it, and set aside.
  5. Add the onions and carrots to the pan and sauté briefly. Press or finely grate the garlic, sauté for a moment, then stir in tomato paste and cook briefly as well.
  6. Dust with flour and stir well. Add the ground beef and beef shank meat, then deglaze with the beef broth. Stir in Worcestershire sauce, bay leaves, thyme, rosemary, paprika, cinnamon, brown sugar, nutmeg, salt, and pepper. Simmer for about 20 minutes or until the carrots are soft. While it simmers, finely chop the parsley.
  7. Once the carrots are soft, stir in the peas and parsley. Preheat the oven to 180°C. Spread the meat mixture evenly into an ovenproof dish. Smooth it out, then spread the mashed potatoes on top, smoothing and optionally decorating the surface.
  8. Bake for 15–20 minutes, until the edges are bubbling. Switch to the grill setting and cook for 5–7 minutes until the mashed potato topping turns golden brown. Let the cottage pie rest briefly before serving.
  • Prep Time: 2 hrs + 30 min
  • Passive Time: 45 min
  • Cook Time: 45 min

Vanilla Parfait with Chocolate Soil

Vanilla Parfait with Chocolate Soil

Vanilla Parfait with Chocolate Soil

Vanilla Parfait with Chocolate Soil

December 20, 2024 by Kimberly

This creamy vanilla parfait melts like a dream, paired with crunchy, bittersweet chocolate soil for a texture and flavor explosion. Dessert vibes: fancy enough to impress, cozy enough to devour solo.

4 HOURS
40 MINUTES

INTERMEDIATE

VEGETARIAN

FRENCH

245 PER PORTION

CREAMY
CRUNCHY

CHRISTMAS

DESSERT

ALL YEAR

INTRODUCTION

ABOUT THE RECIPE

If you’re looking for a dessert that feels both luxurious and approachable, this vanilla parfait with chocolate soil is it. The creamy, rich vanilla base perfectly contrasts the crunchy, bittersweet chocolate soil, creating a balance of flavors and textures. It’s the kind of dessert that wows at a dinner party but is easy enough to whip up for yourself when you need a little indulgence. Bonus: it’s no-bake and totally make-ahead friendly!

How to serve
Serve your parfait chilled in elegant bowls or plates for the ultimate dessert presentation. Spoon the creamy vanilla layer first and top with a generous sprinkle of chocolate soil for that perfect crunch. Want to elevate it even more? Add fresh berries, a drizzle of caramel or even a few drops of this Mint Oil.

How to store
Keep the parfait in an airtight container in the freezer for up to one week. Store the chocolate soil separately in a dry container to maintain its crunch. Assemble right before serving.

Hi, I'm Kimberly!

Hi, I'm Kimberly.

A passionate food lover who believes in the magic of homemade deliciousness that spreads love and warmth. Join me on this culinary adventure as I prepare wonderful dishes and let’s spread some happiness together!

Kimberly the Zett Signature

If you want to get to know me better, click here!


Vanilla Parfait with Chocolate Soil
„Let’s make a piece of happiness“
Print
clock clock iconcutlery cutlery iconflag flag iconfolder folder iconinstagram instagram iconpinterest pinterest iconfacebook facebook iconprint print iconsquares squares iconheart heart iconheart solid heart solid icon
Vanilla Parfait with Chocolate Soil

Vanilla Parfait with Chocolate Soil


5 from 1 review

  • Author: Kimberly
  • Total Time: 4 hrs + 40 min
  • Yield: 10-12 1x

Description

Recommended Equipment

  • two glass or metal mixing bowls
  • two small bowls
  • baking tray
  • small pot
  • whisk
  • silicone spatula
  • fine mesh strainer
  • molds for the parfait

Ingredients

Units Scale

PARFAIT

  • 4 egg yolks
  • 100 grams powdered sugar
  • 400 grams heavy cream
  • 1 vanilla pod

CHOCOLATE SOIL

  • 60 grams powdered sugar
  • 100 grams all-purpose flour
  • 15 grams unsweetened cocoa powder
  • 1/4 tsp salt
  • 50 grams butter
  • 1 tsp ground coffee

Instructions

  1. Whip the cream until stiff peaks form, then place it in the fridge to keep cold.
  2. Separate the eggs, placing the yolks in a glass or metal bowl. Scrape the vanilla pod and add the seeds to the yolks.
  3. Sift the powdered sugar through a fine mesh strainer into the yolks. Mix well with the vanilla seeds.
  4. Place the bowl over a pot of simmering water (double boiler setup), ensuring only the steam touches the bowl. Whisk the mixture until it reaches 80 °C (176 °F).
  5. Prepare an ice bath (a bowl with cold water and ice cubes). Once the yolk mixture reaches 80 °C, place the bowl in the ice bath and whisk until the mixture cools and becomes thick, sticky, and creamy.
  6. Gently fold the chilled whipped cream into the cooled yolk mixture using a silicone spatula until fully combined.
  7. Pour the parfait mixture into molds and freeze for about 4 hours.
  8. For the chocolate soil, preheat the oven to 160 °C (320 °F).
  9. Combine sugar, flour, cocoa powder, salt, and ground coffee in a bowl.
  10. Melt the butter and add it to the dry ingredients. Mix with your hands until a crumbly texture forms.
  11. Spread the mixture evenly on a small baking tray and bake for about 10 minutes.
  12. Remove the tray from the oven, let the mixture cool, then crumble it into pieces. Store in an airtight container.
  13. To serve, unmold the parfaits, arrange them on plates, and decorate with the chocolate soil around them.
  14. Optional: Garnish with mint oil, berry compote, marzipan sauce, or chocolate sauce.
  • Passive Time: 4 hours
  • Cook Time: 40 min