


Description
GOOD TO HAVE ON HAND
- sharp knife
- cutting board
- small bowl
- 2 pans (one of them ovenproof)
Ingredients
Units Scale
CHICKEN
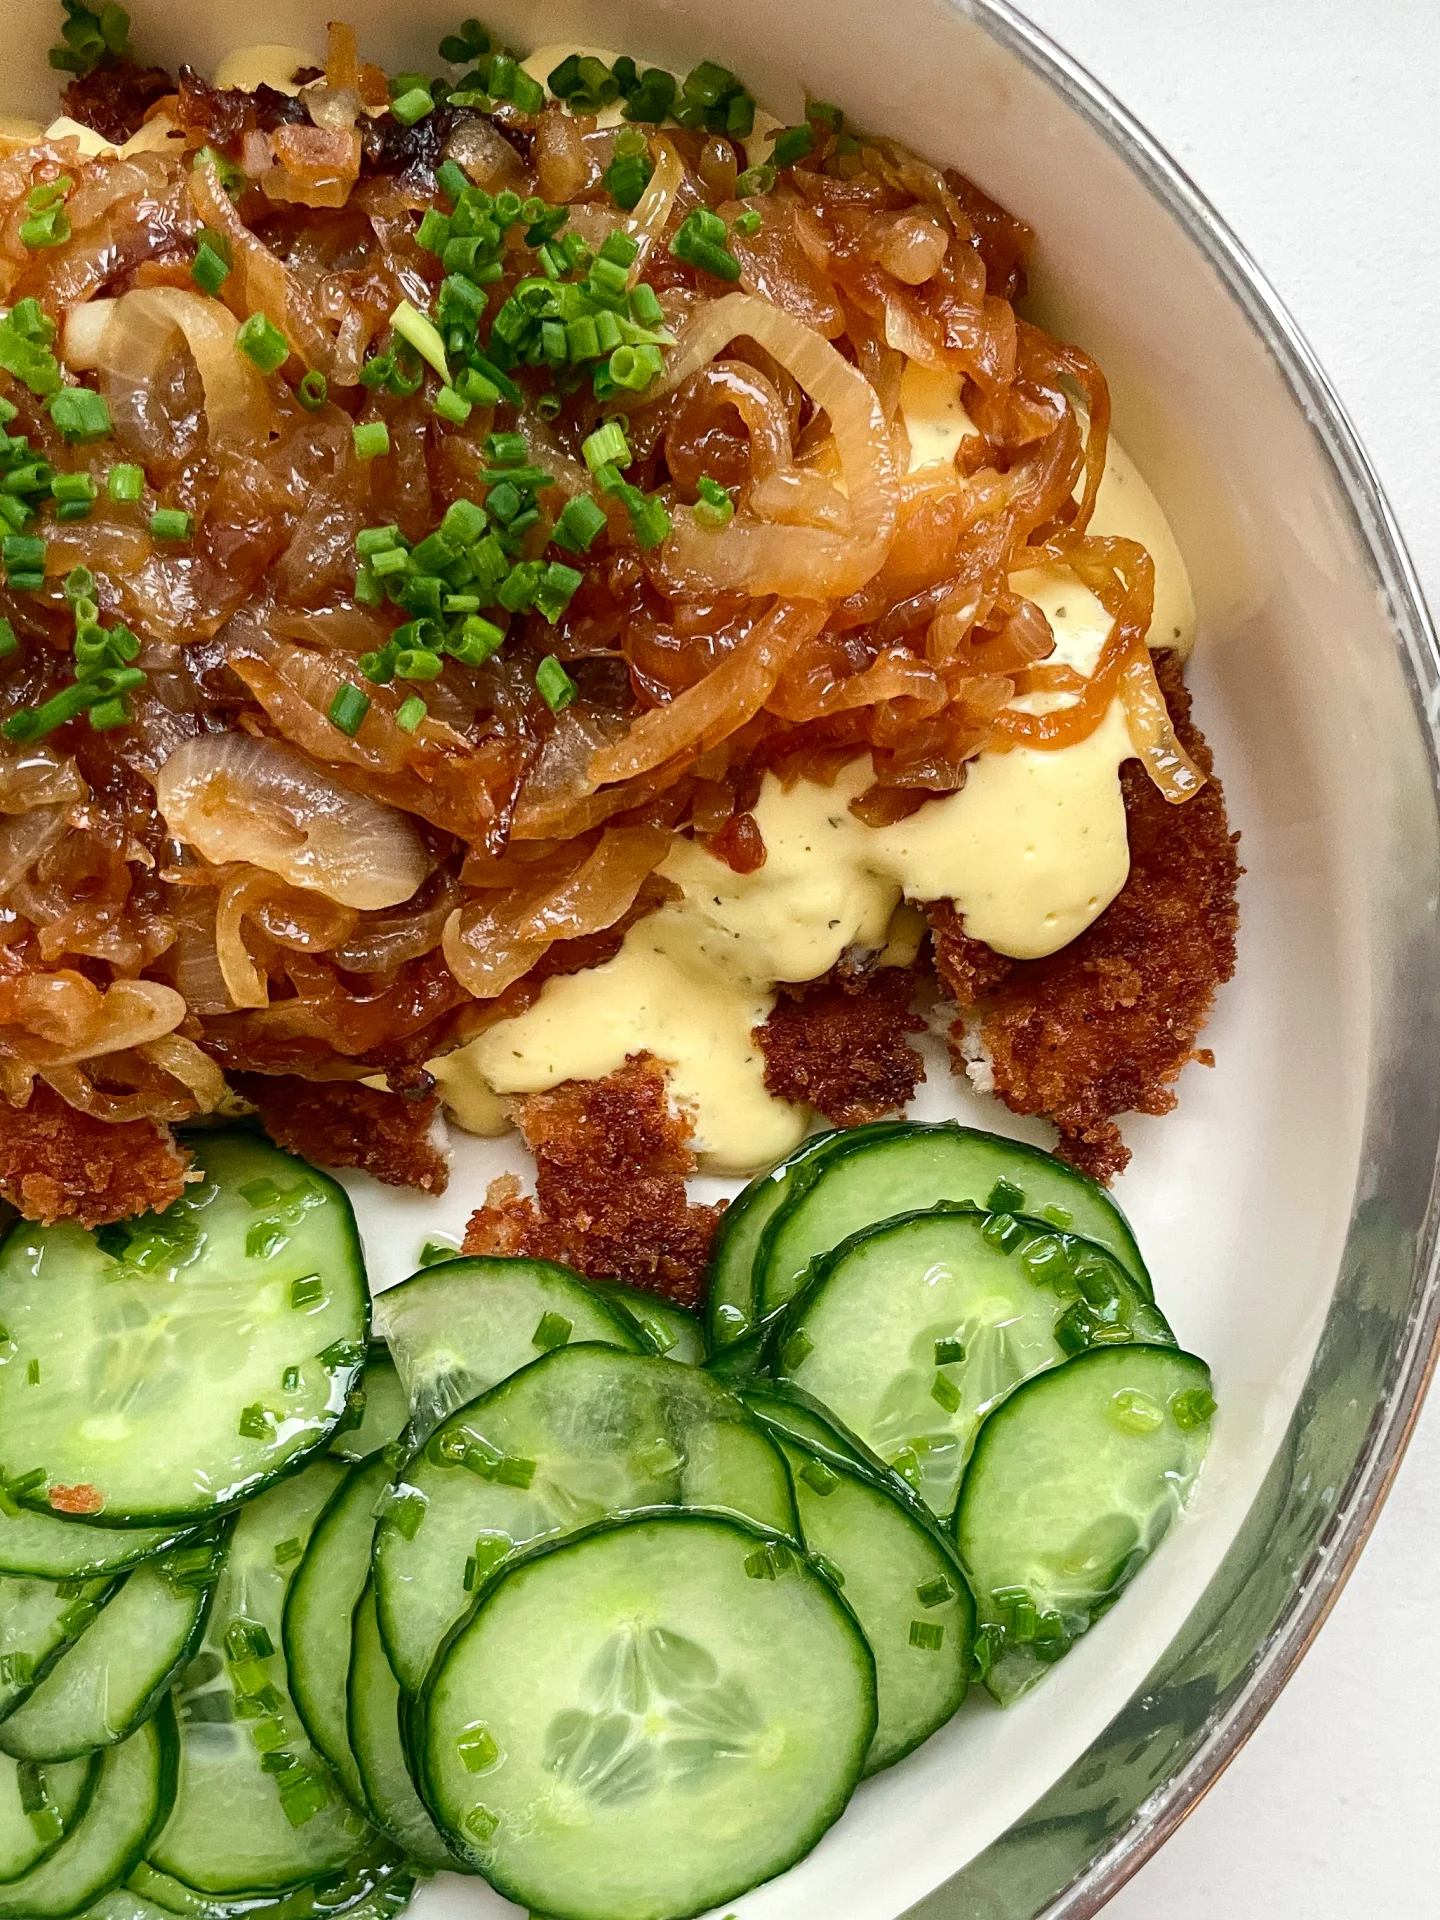
- 400 grams chicken breasts
- 1 tsp clarified butter
- 1 tsp butter
- 3 big onions
- 4 garlic cloves
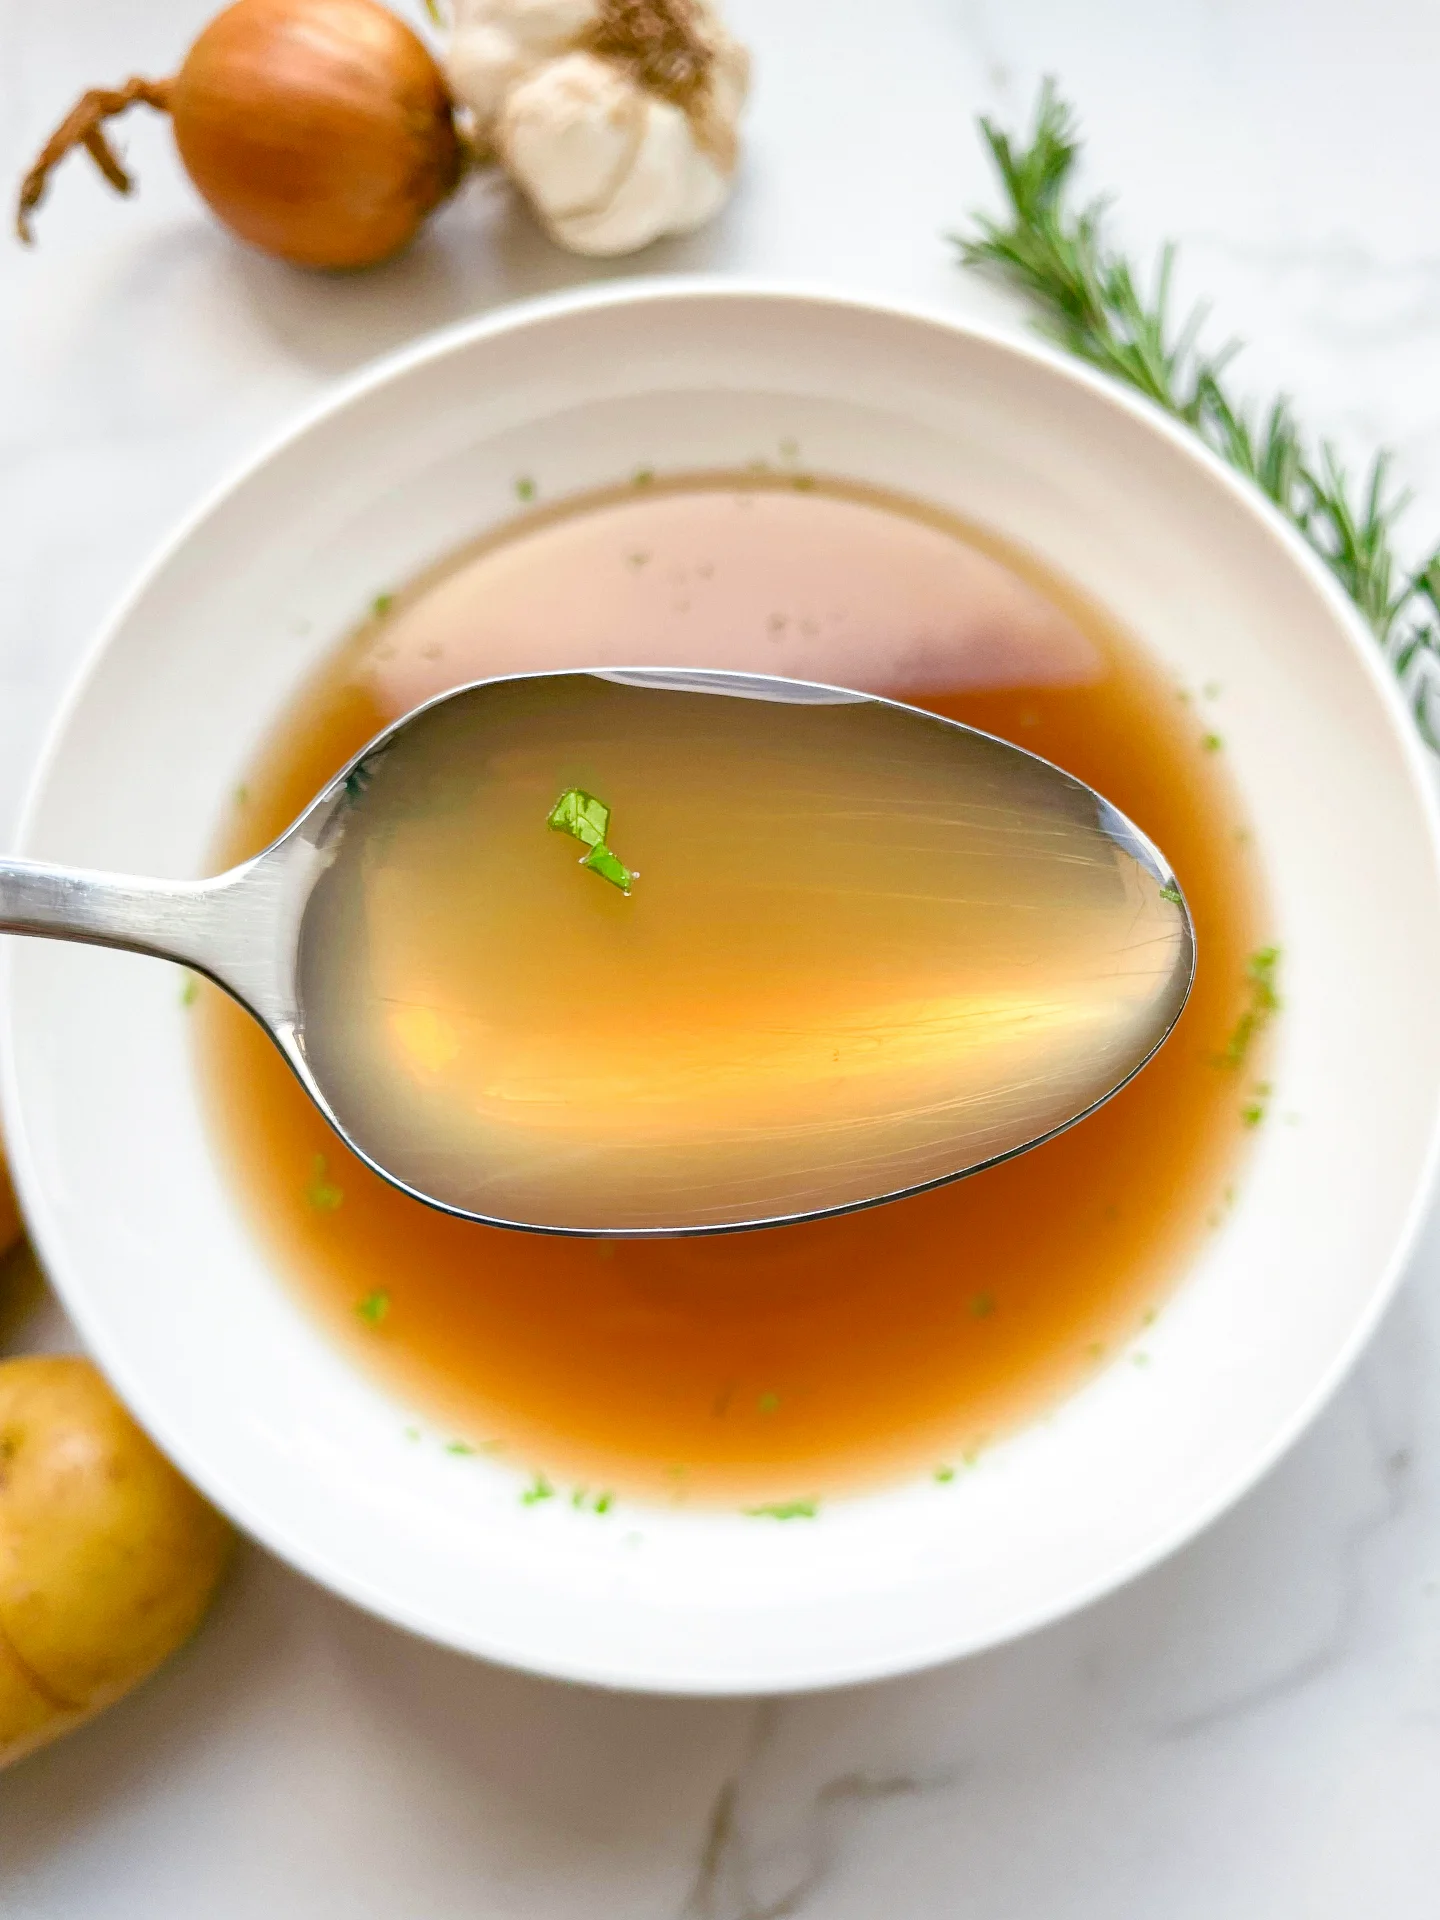
- 200 milliliters heavy cream
- 200 milliliters vegetable broth
- 1/2 tsp dried thyme
- 1/2 tsp dried marjoram
- 1/2 tsp dried oregano
- salt & pepper to taste
- 1 tsp butter
- 1 tsp all-purpose flour
Instructions
- Peel, halve and cut the onions into thin semicircles.
- Peel and finely chop or press the garlic.
- Mix 1 teaspoon of butter and 1 teaspoon of flour in a small bowl until creamy. This is the beurre manié that you will use to bind the sauce later.
- Preheat the oven to 200°C (400°F)
- In a large pan, heat 1 tablespoon of butter and sauté the onions until they have gained a bit of color, for about 15 minutes. Then add the garlic. Stir everything well and sauté for 1-2 minutes.
- Now add the vegetable broth and deglaze the pan. Let everything simmer for about 5 minutes on medium heat. Now add the heavy cream. Stir everything well. Add the beurre manié, stir well and bring to a boil until the sauce has thickened. Now add salt, pepper, thyme, oregano, and marjoram, stir to combine, let it come to a boil briefly, and set aside.
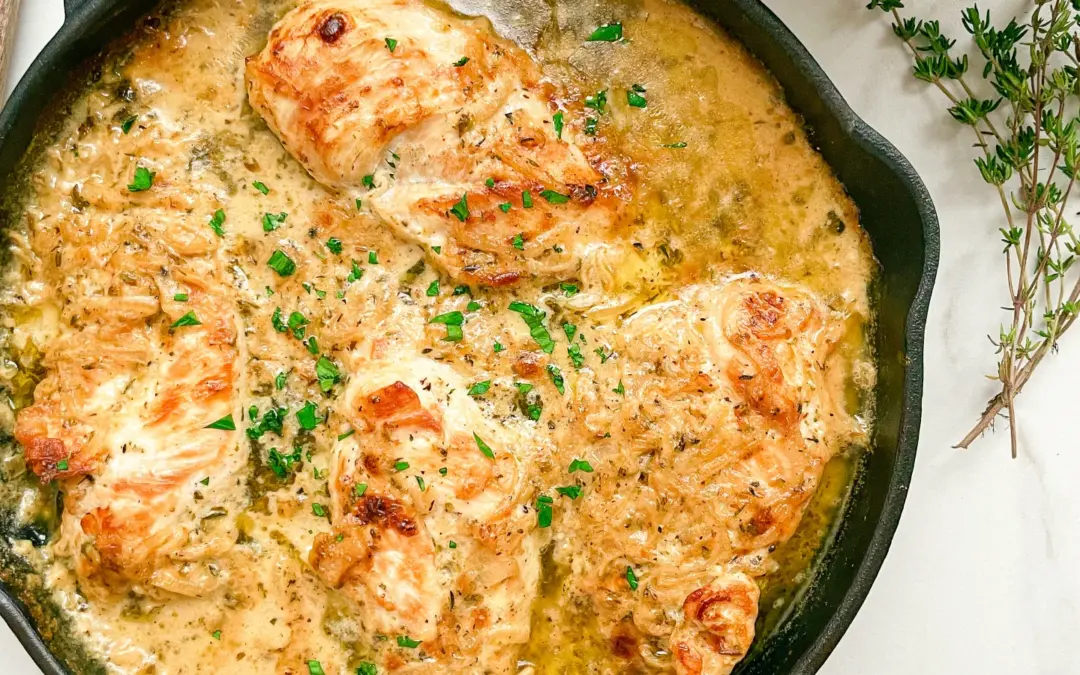
- In an ovenproof skillet, heat 1 teaspoon of clarified butter and sear the chicken breasts on both sides. Do not fully cook the meat, as it will finish cooking in the oven and then become really tender.
- Now spread the entire onion & cream sauce over and between the chicken in the skillet. Smooth out and bake in the oven uncovered for about 30 minutes until done.
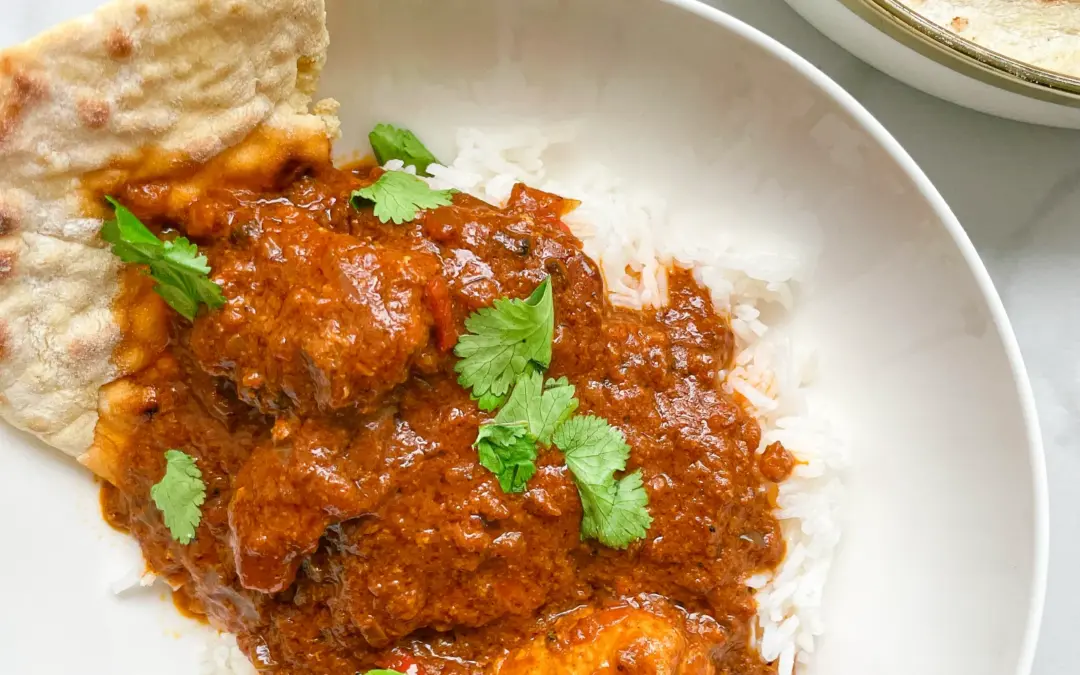
- Remove the skillet from the oven and enjoy the chicken and sour cream caramelized onions with rice, pasta, potatoes, mashed potatoes, or just simply bread.
- Passive Time: 45 min
- Cook Time: 25 min