Apricot Cashew Honey Bliss Balls

Apricot Cashew Honey Bliss Balls

Apricot Cashew Honey Bliss Balls

Apricot Cashew Honey Bliss Balls

April 13, 2024 by Kimberly

Dive into the world of deliciousness with these Apricot Cashew Honey Bliss Balls! Perfectly sweet, nutty, and chewy, they’re the ultimate healthy snack for any time of day.

10 MINUTES

EASY

VEGETARIAN

INT.

67 kcal

NUTTY
CHEWY

EVERYDAY

SNACK

ALL YEAR

INTRODUCTION

ABOUT THE RECIPE

Welcome to your new favorite snack: Apricot Cashew Honey Bliss Balls! These no-bake energy balls are a blissful blend of sweet apricots, creamy cashews, and natural honey. Perfect for those seeking a quick, healthy dessert idea or a nutritious energy boost, these bliss balls are sure to delight with their chewy texture and nutty flavor.

How to serve:
Serve these delightful Apricot Cashew Honey Bliss Balls as a mid-morning snack, a post-workout energy boost, or a sweet after-dinner treat. Pair them with a cup of your favorite tea or a cold glass of almond milk for a refreshing snack. These bliss balls are also perfect for sharing at gatherings or gifting to friends and family who appreciate healthy, homemade treats.

How to store:
Store your Bliss Balls in an airtight container in the refrigerator for up to two weeks. For longer storage, freeze them on a baking sheet before transferring to a freezer-safe bag, keeping them fresh and delicious for up to three months.

Hi, I'm Kimberly!

Hi, I'm Kimberly.

A passionate food lover who believes in the magic of homemade deliciousness that spreads love and warmth. Join me on this culinary adventure as I prepare wonderful dishes and let’s spread some happiness together!

Kimberly the Zett Signature

If you want to get to know me better, click here!


Apricot Cashew Honey Bliss Balls
„Let’s make a piece of happiness“

INGREDIENTS

FOR 12 BALLS

BLISS BALLS

  • 60g salted cashew nuts (2.1 oz)
  • 40g hazelnuts (1.4 oz)
  • 80g dried apricots (2.8 oz)
  • 20g puffed quinoa (0.7 oz)
  • 2 tbsp honey
  • 20g coconut flakes (0.7 oz)
  • 1/4 tsp turmeric
Apricot Cashew Honey Bliss Balls
}

ACTIVE: –

PASSIVE: –

PREPARATIONS

Recommended Equipment
  • food processor
  • small bowl
}

ACTIVE: 10 min
PASSIVE: –

COOKING

1. Place the coconut flakes in a small bowl and set aside.

2. Put the following ingredients into the food processor and blend on high for 1 minute: 60g cashew nuts, 20g hazelnuts, 80g dried apricots, and 20g puffed quinoa.

3. Then add 1/4 tsp turmeric and 2 tbsp honey to the mixture in the food processor and blend again on high for another minute.

4. Divide the mixture into 12 equal portions and roll them into balls and then in the coconut flakes, press lightly, and enjoy 🙂

NOTE: The calorie information may vary depending on the product used, country and region.

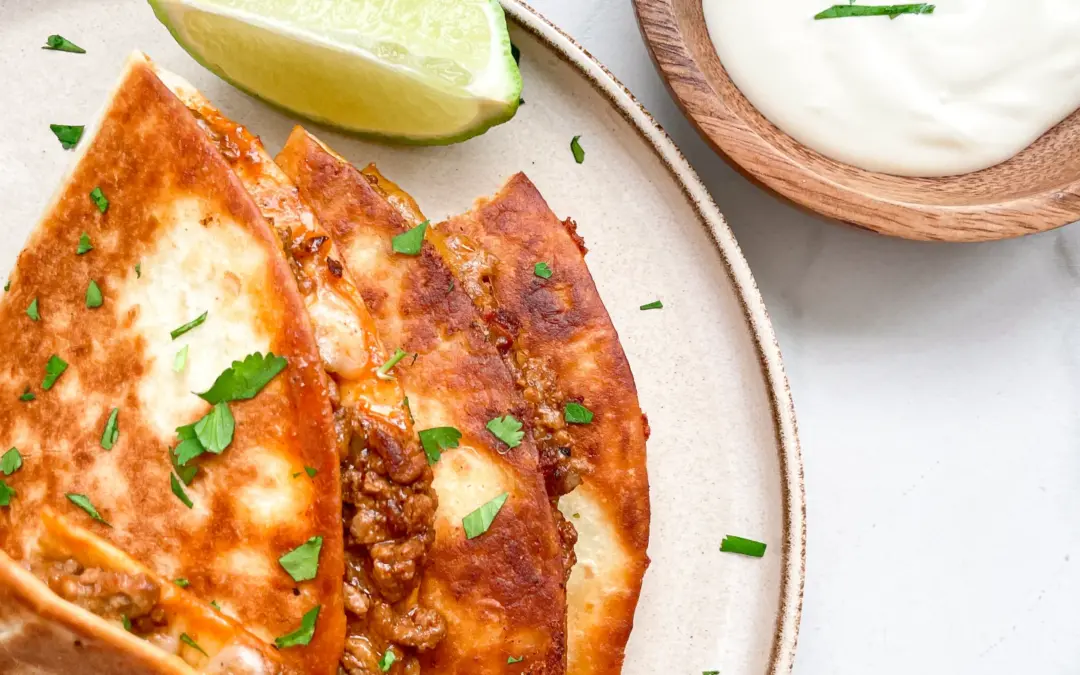
Cilantro Lime Beef Quesadillas

Cilantro Lime Beef Quesadillas

Cilantro Lime Beef Quesadillas

Cilantro Lime Beef Quesadillas

April 10, 2024 by Kimberly

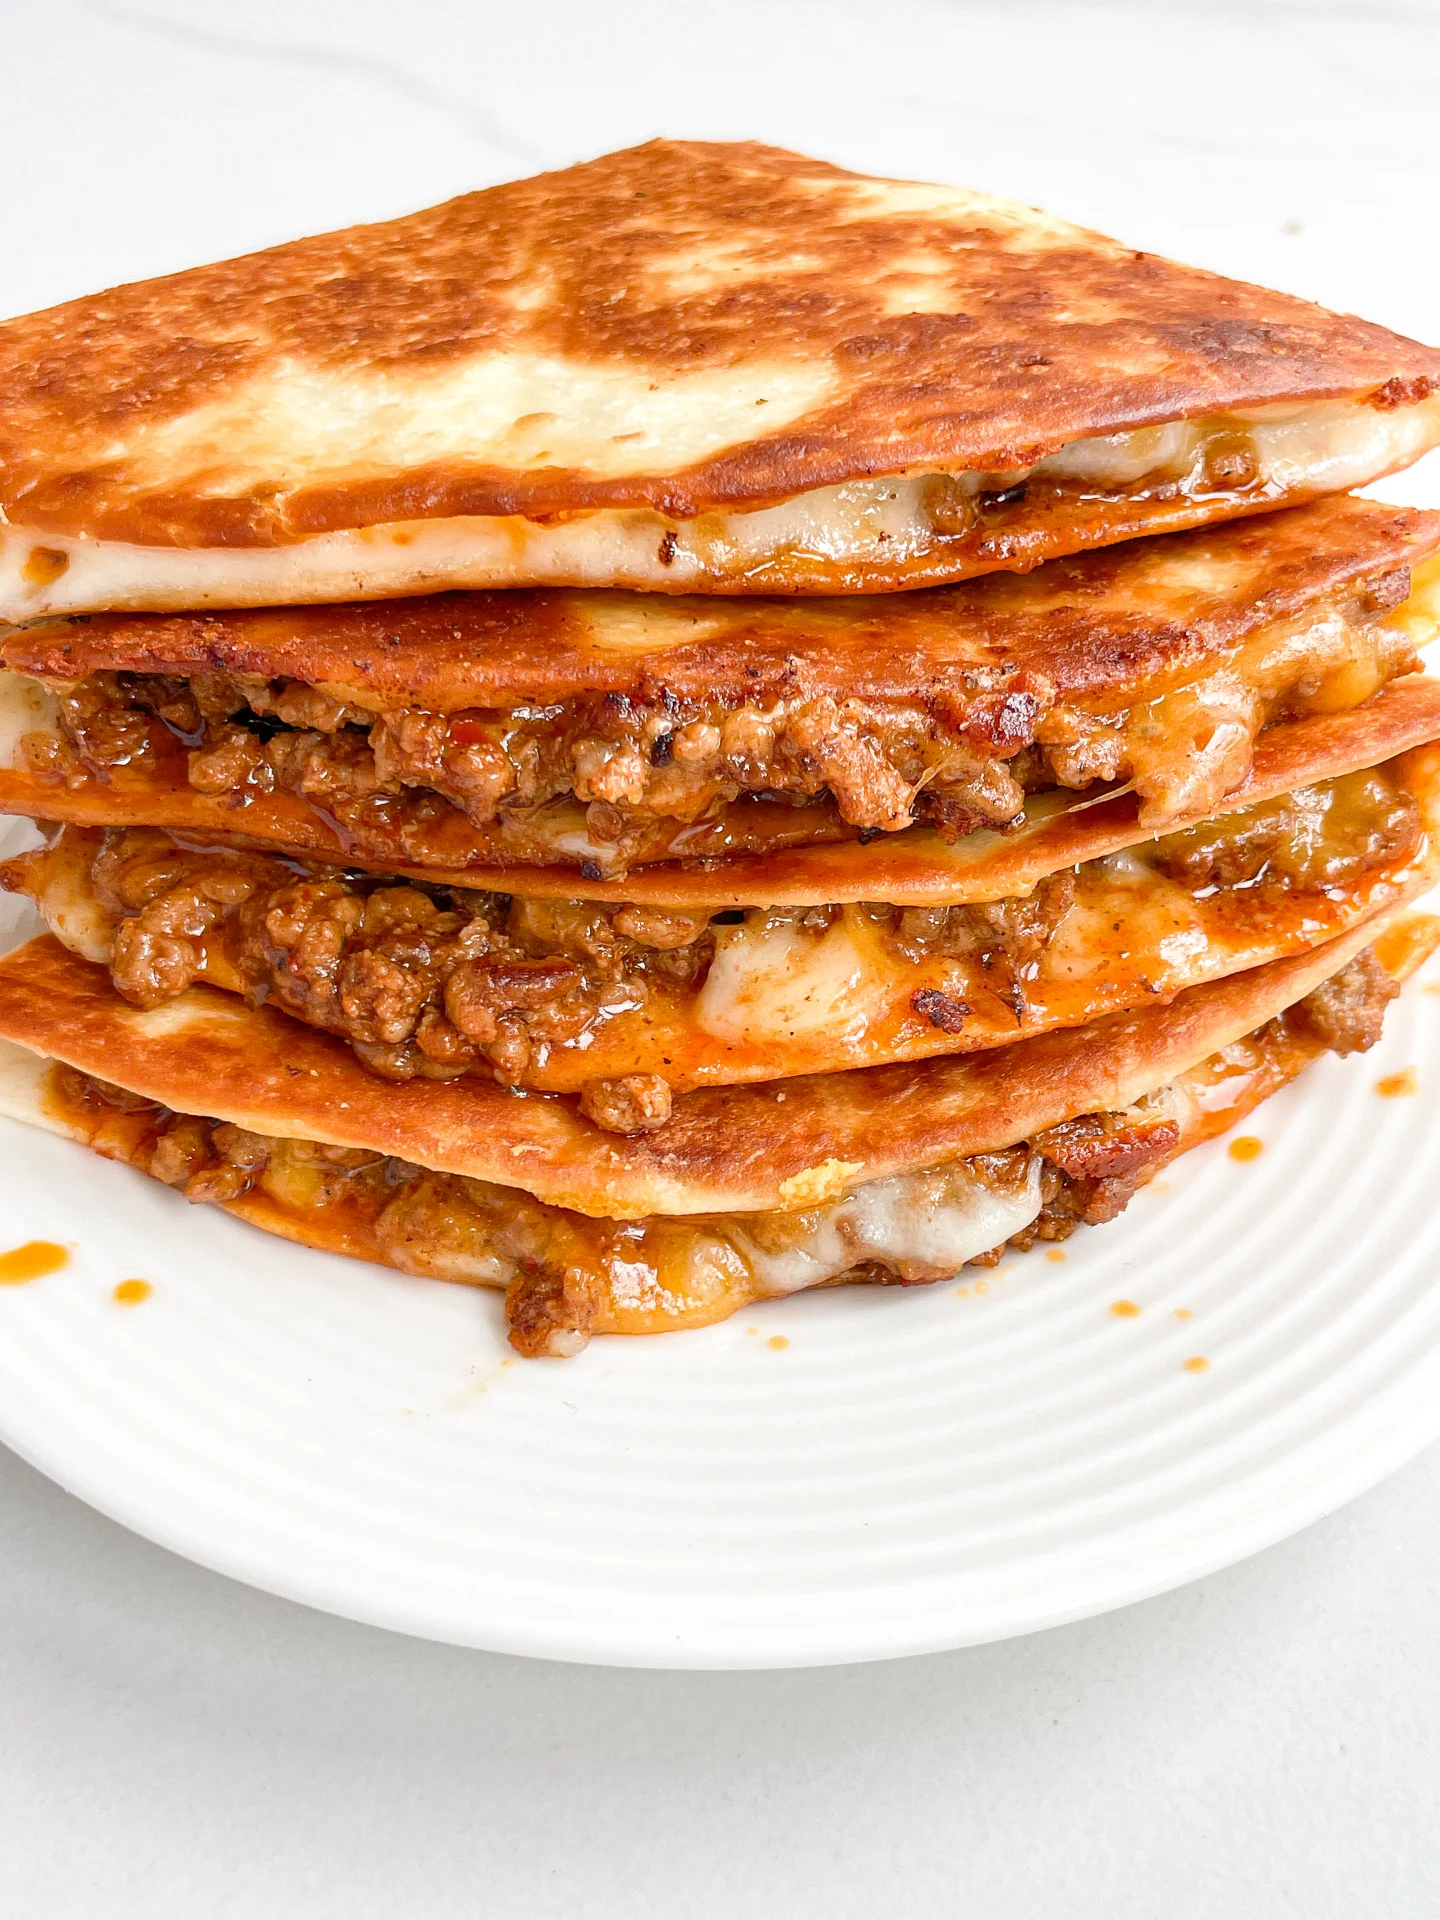
Indulge in the zesty flair of Cilantro Lime Beef Quesadillas! A mouthwatering fusion of juicy beef, tangy lime, and fresh cilantro, wrapped in a crispy tortilla.

30 MINUTES

EASY

OMNIVORE

MEXICAN

811 PER PORTION

COMFORT FOOD

EVERYDAY

DINNER

ALL YEAR

INTRODUCTION

ABOUT THE RECIPE

Dive into the delectable world of Cilantro Lime Beef Quesadillas, your next go-to recipe for a quick, flavorful meal that’s sure to delight your taste buds. Combining juicy beef, vibrant lime, and fresh cilantro, these quesadillas offer a tantalizing taste of Mexican cuisine right in your kitchen. Perfect for those busy weeknights or when you’re craving something deliciously different.

How to serve:
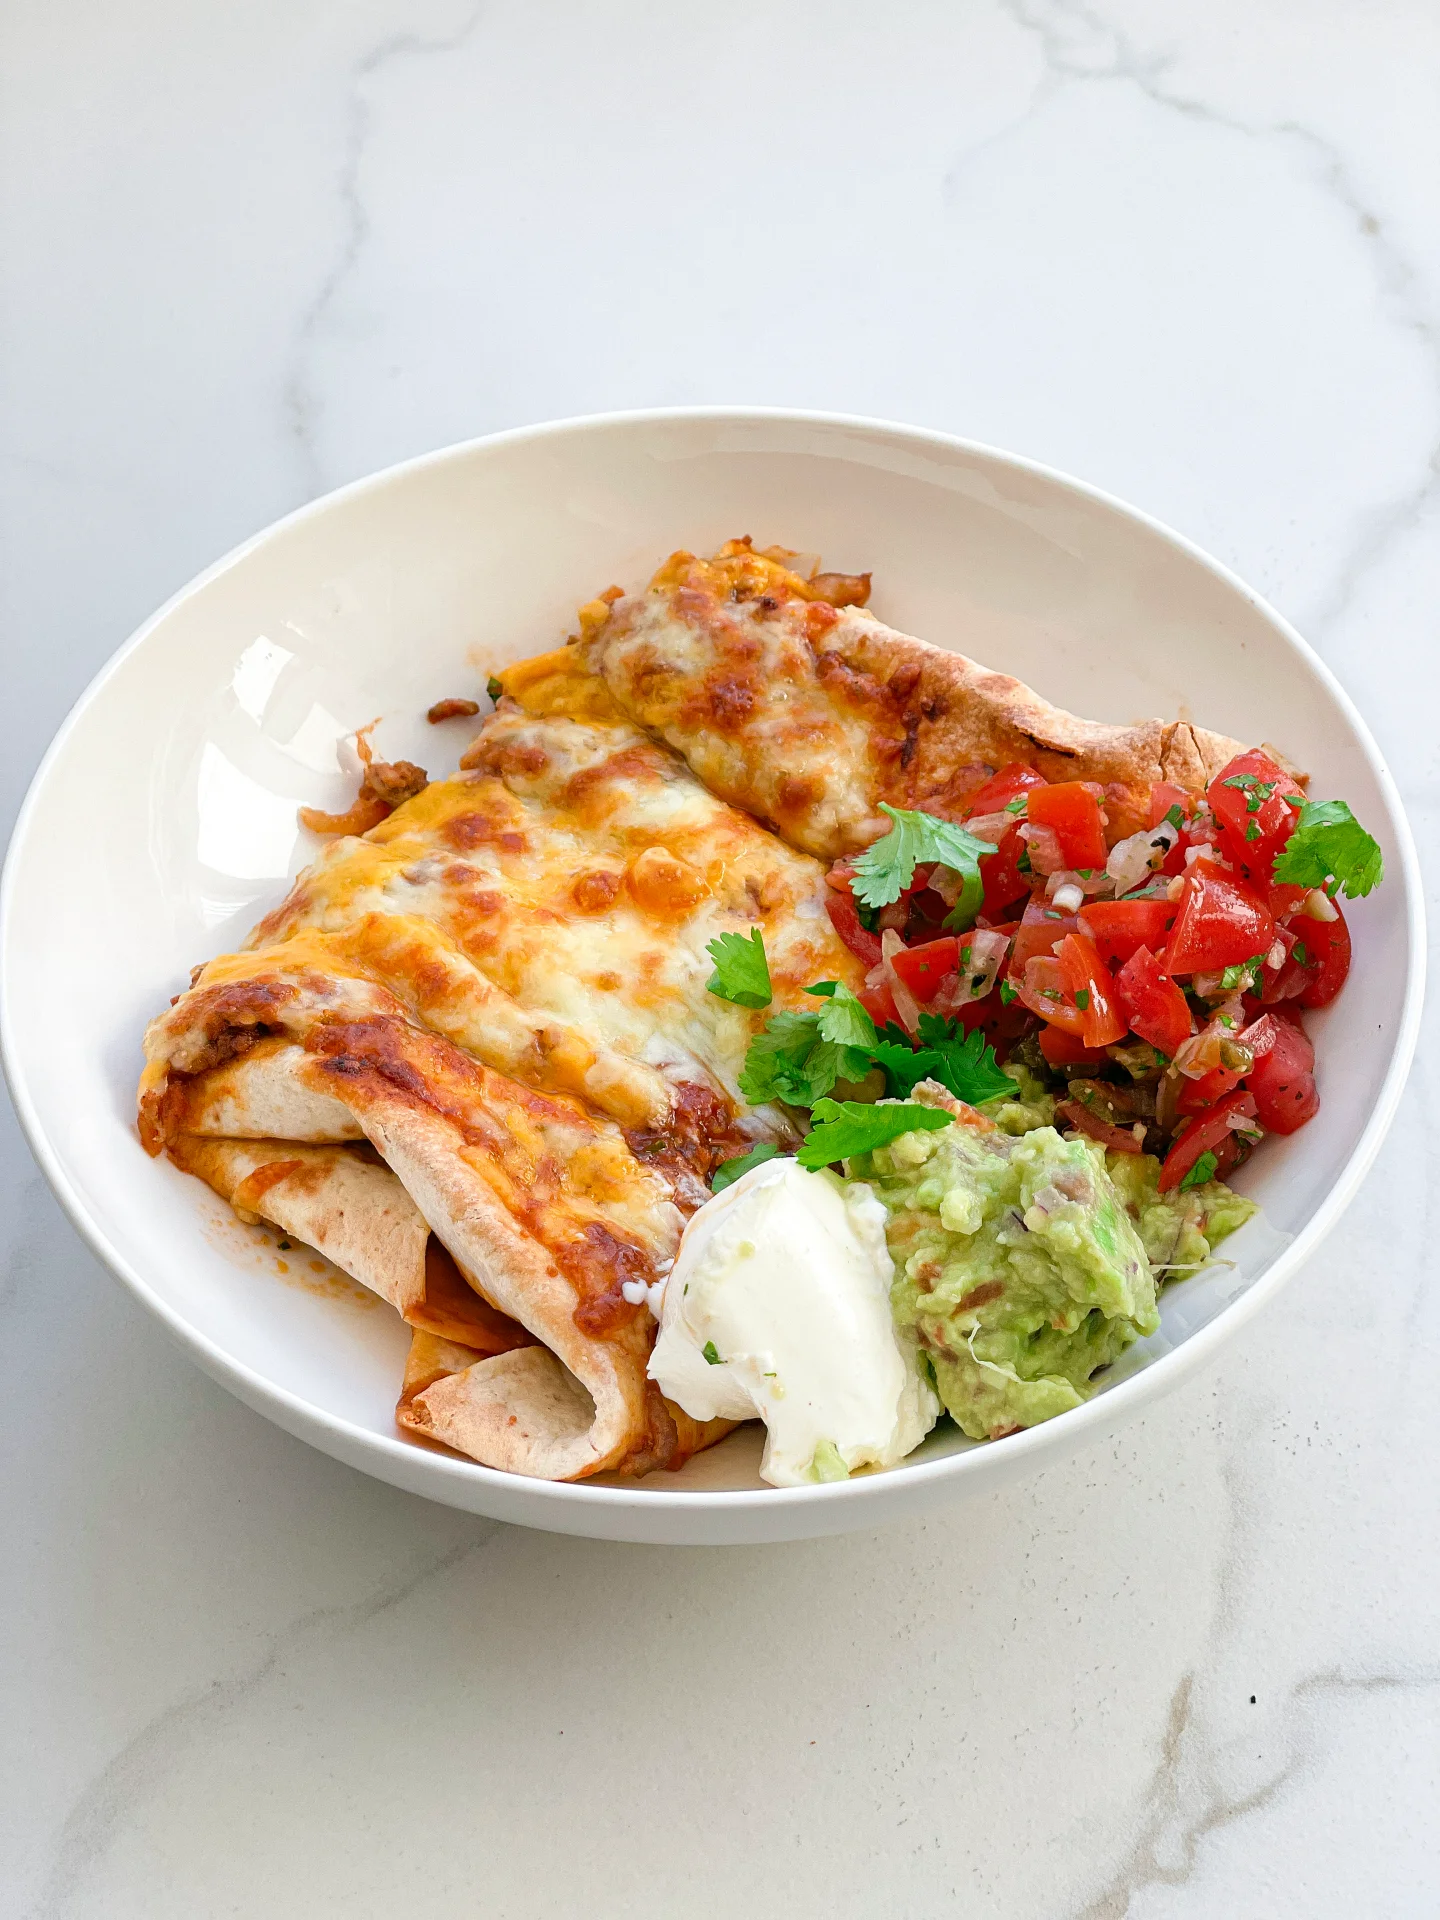
When it comes to serving, Cilantro Lime Beef Quesadillas shine brightest with a side of creamy guacamole, tangy salsa, and a dollop of sour cream. Whether you’re gathering around the table for a family dinner or entertaining friends, these quesadillas are a versatile dish that pairs wonderfully with a chilled margarita or a refreshing limeade. The fusion of flavors and textures makes every bite a delightful experience.

How to store:
To store, let your quesadillas cool down before wrapping them tightly in aluminum foil. They’ll keep nicely in the refrigerator for up to two days. Reheat in a skillet or oven to retain that irresistible crunch. Enjoy the ease of having a delicious meal just minutes away, any day of the week.

Hi, I'm Kimberly!

Hi, I'm Kimberly.

A passionate food lover who believes in the magic of homemade deliciousness that spreads love and warmth. Join me on this culinary adventure as I prepare wonderful dishes and let’s spread some happiness together!

Kimberly the Zett Signature

If you want to get to know me better, click here!


Cilantro Lime Beef Quesadillas
„Let’s make a piece of happiness“

INGREDIENTS

FOR 4 PORTIONS (6 QUESADILLAS)

FILLING

  • 400g lean minced beef (14 oz)
  • 1 tbsp olive oil
  • 1 tsp chili flakes
  • 1/2 tsp oregano
  • 1/2 cumin
  • 1/2 garlic powder
  • 1/2 onion powder
  • 1/2 tsp salt
  • 1/2 cayenne pepper
  • 1/2 ground black pepper
  • 1 tbsp tomato paste
  • 250ml beef stock (1 cup)
  • 125g shredded mozzarella (1 heaped cup)
  • 125g shredded cheddar (1 heaped cup)

TORTILLAS

  • 6 medium-sized tortillas
  • 3 tsp olive oil

TOPPINGS

  • 2 limes
  • cilantro
  • 200g creme fraiche (7 oz)
  • 200g salsa (7 oz)
Cilantro Lime Beef Quesadillas
}

ACTIVE: 5 min

PASSIVE: –

PREPARATIONS

Recommended Equipment
  • sharp knife
  • cutting board
  • large pan
  • Wash the cilantro, pluck the leaves from the stems, and roughly chop them.
  • Wash the limes and cut them into quarters.
  • Mix the grated mozzarella and grated cheddar in a bowl.
}

ACTIVE: 25 min

PASSIVE: –

COOKING

1. Heat a large pan over medium heat and add 1 tbsp olive oil. Put the ground beef into the pan and season it with 1 teaspoon of chili powder, and ½ teaspoon each of oregano, cumin, garlic powder, onion powder, cayenne pepper, salt, and pepper. Cook the meat until it forms a dark crust at the bottom of the pan. Then add 1 heaping tablespoon of tomato paste to the meat, mix everything together, and let it cook for 1-2 minutes. Pour beef broth into the pan to deglaze it, scrape off the crust from the bottom, and let everything simmer for about 10 minutes until the broth forms a creamy sauce around the meat.

2. Meanwhile, lay out 6 tortilla wraps side by side and spread half of the cheese on one half of each tortilla, leaving the other half free.

3. Spread the meat directly from the pan onto the cheese on each tortilla. Wipe the pan clean and place it back on the stove.

4. Now, spread the second half of the cheese on top of the meat and use a spoon to distribute the filling to the edge of half of each tortilla. Fold the empty half of the tortilla over the filled half. Press down firmly.

5. Cook two of the filled quesadillas side by side in the pan with 1 teaspoon of olive oil on both sides over medium heat until the tortilla becomes crispy golden brown and the cheese inside is melted. Remove from the pan and cut in half.
6. Place three pieces of the quesadillas on each plate, along with two lime wedges, and sprinkle with cilantro. Serve with your favorite salsa and sour cream for dipping.

NOTE: The calorie information may vary depending on the product used, country and region.

Honey Mustard Pretzel Bites

Honey Mustard Pretzel Bites

Honey Mustard Pretzel Bites

Honey Mustard Pretzel Bites

April 5, 2024 by Kimberly

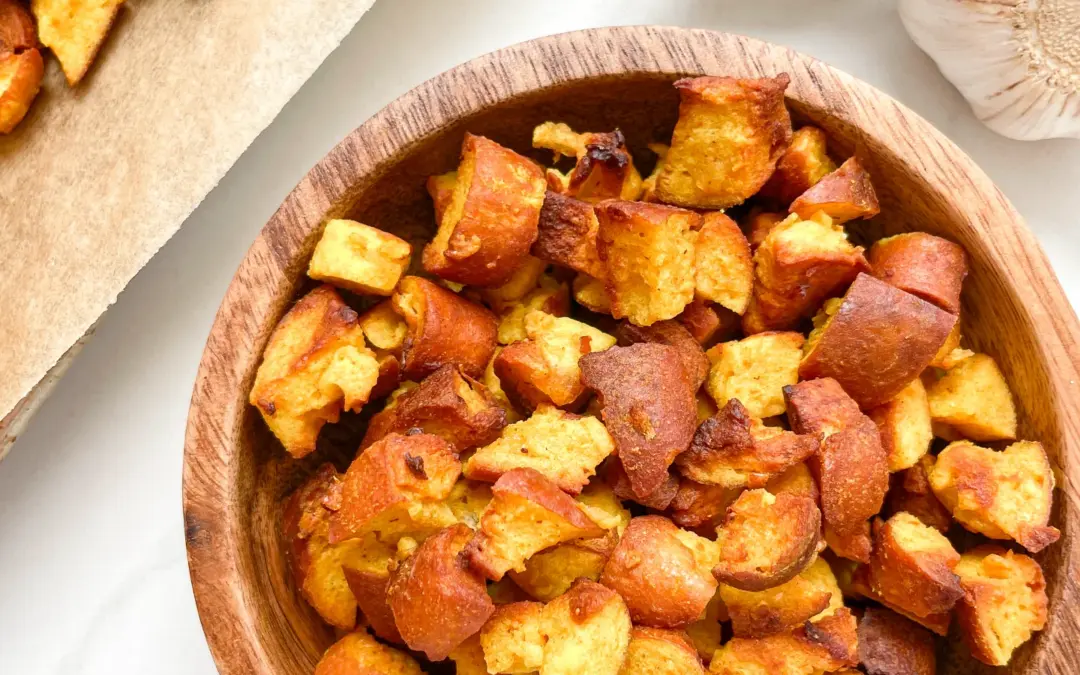
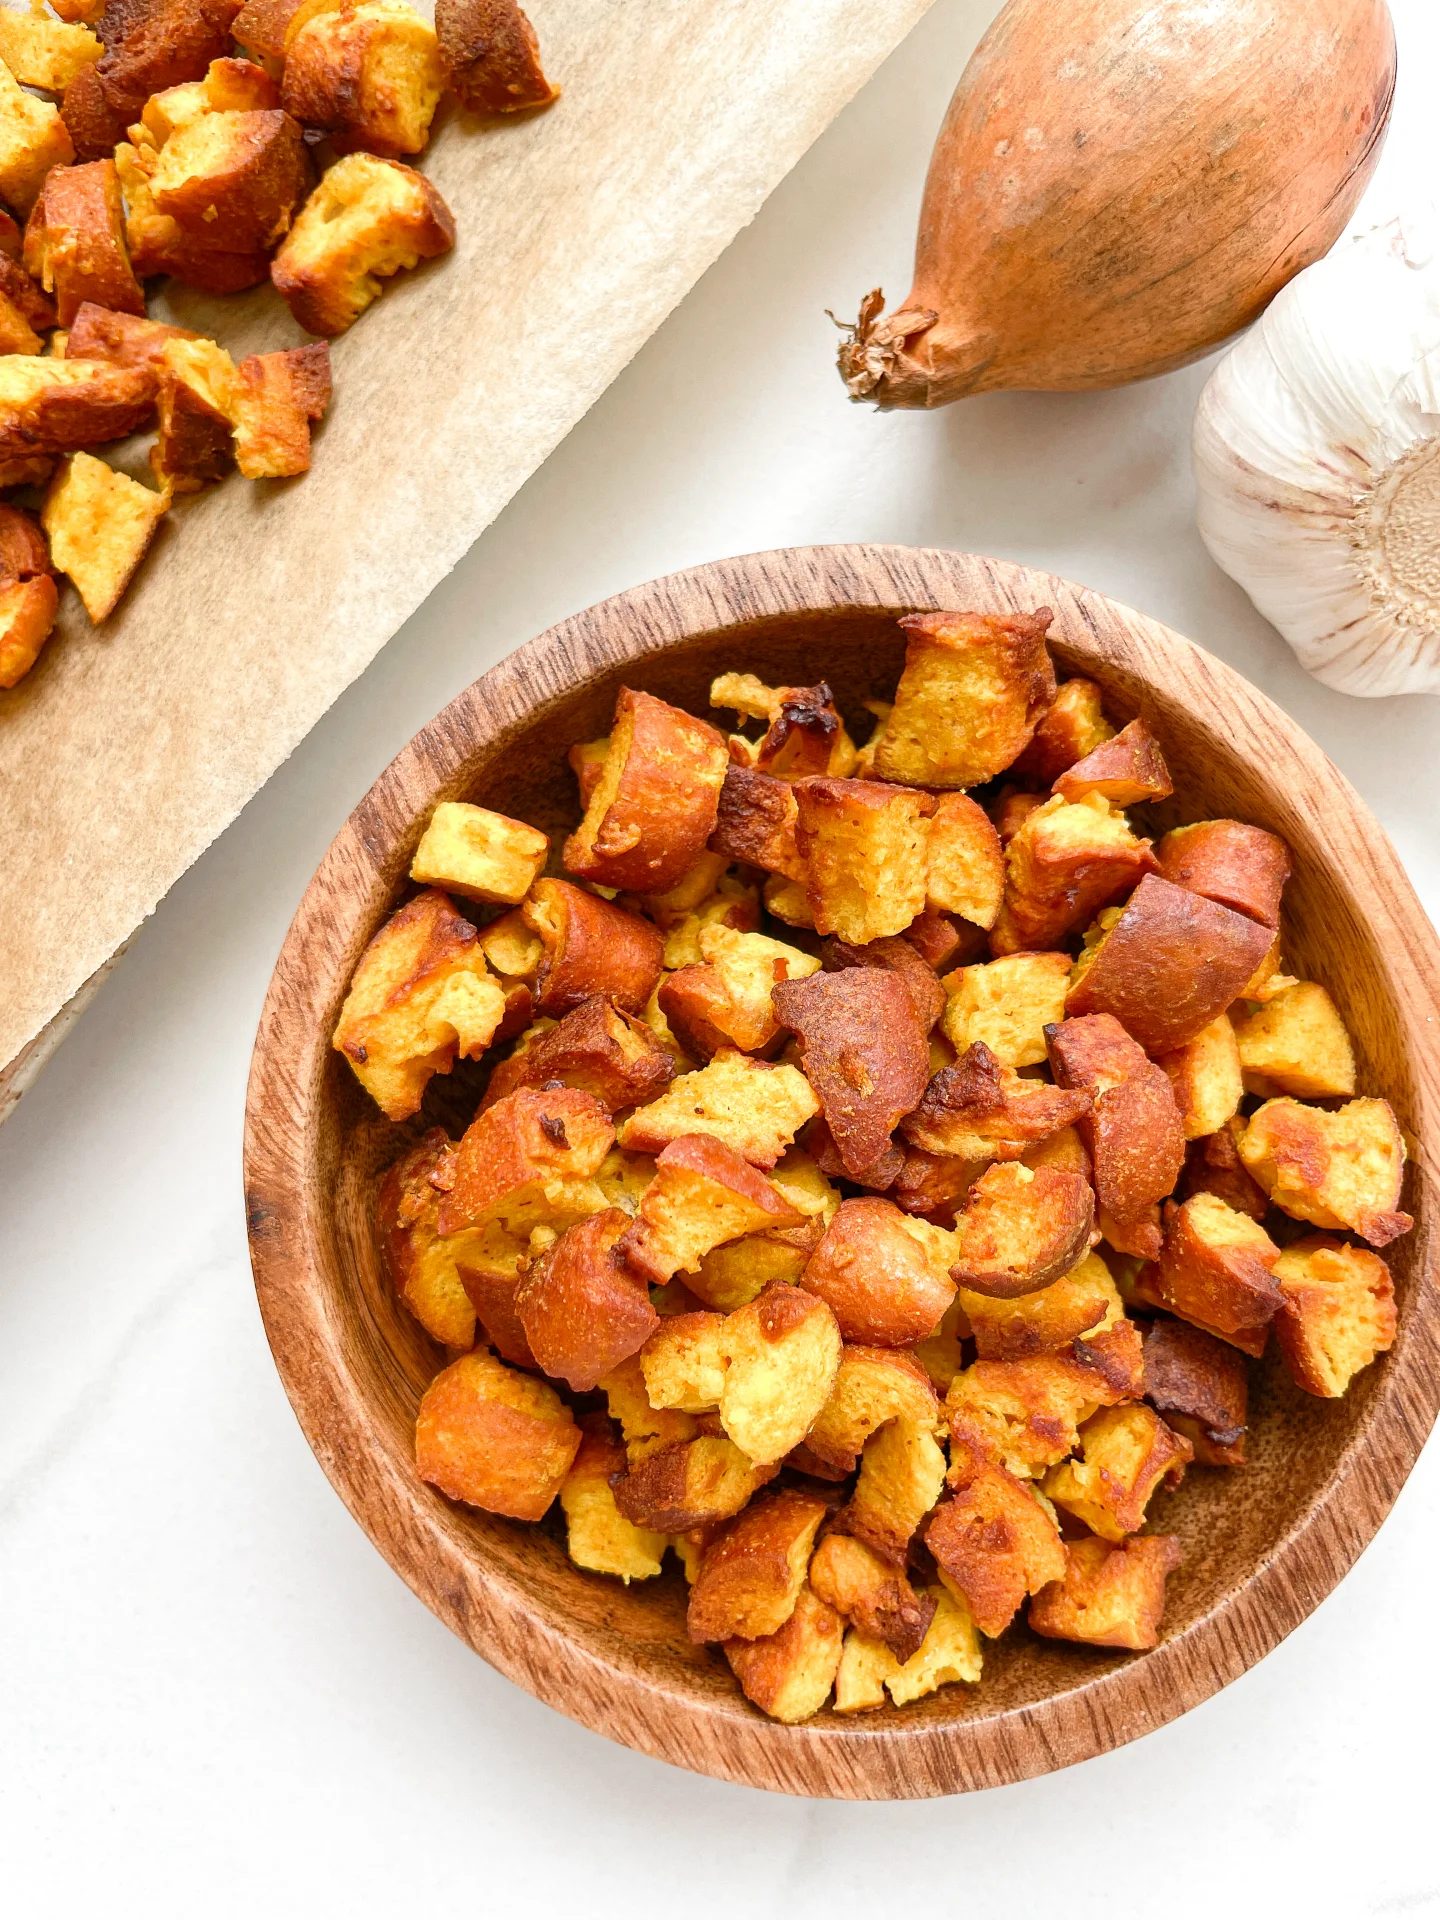
Indulge in Honey Mustard Pretzel Bites – a sweet, tangy, and utterly addictive snack! Perfect for parties or snacking.

25 MINUTES

EASY

VEGETARIAN

US AMERICAN

151 PER PORTION

CRUNCHY

EVERYDAY

SNACK

ALL YEAR

INTRODUCTION

ABOUT THE RECIPE

Welcome to the irresistible world of Honey Mustard Pretzel Bites, your new favorite snack. These bite-sized delights are the perfect combination of crunchy pretzel goodness and the sweet tang of honey mustard. They’re so easy to make and even easier to devour!

How to serve:
Serve them in a big bowl for a casual gathering. They’re the perfect companion to your favorite craft beer or a crisp, refreshing soda. Whether it’s game day, movie night, or just a regular Tuesday, these pretzel bites will be the star of the show.

How to store:
Keep any leftovers (if there are any!) in an airtight container at room temperature. They’ll stay fresh and crunchy for up to a week, ready to satisfy those snack cravings anytime.

Hi, I'm Kimberly!

Hi, I'm Kimberly.

A passionate food lover who believes in the magic of homemade deliciousness that spreads love and warmth. Join me on this culinary adventure as I prepare wonderful dishes and let’s spread some happiness together!

Kimberly the Zett Signature

If you want to get to know me better, click here!


Honey Mustard Pretzel Bites
„Let’s make a piece of happiness“

INGREDIENTS

FOR 4 PORTIONS

BITES

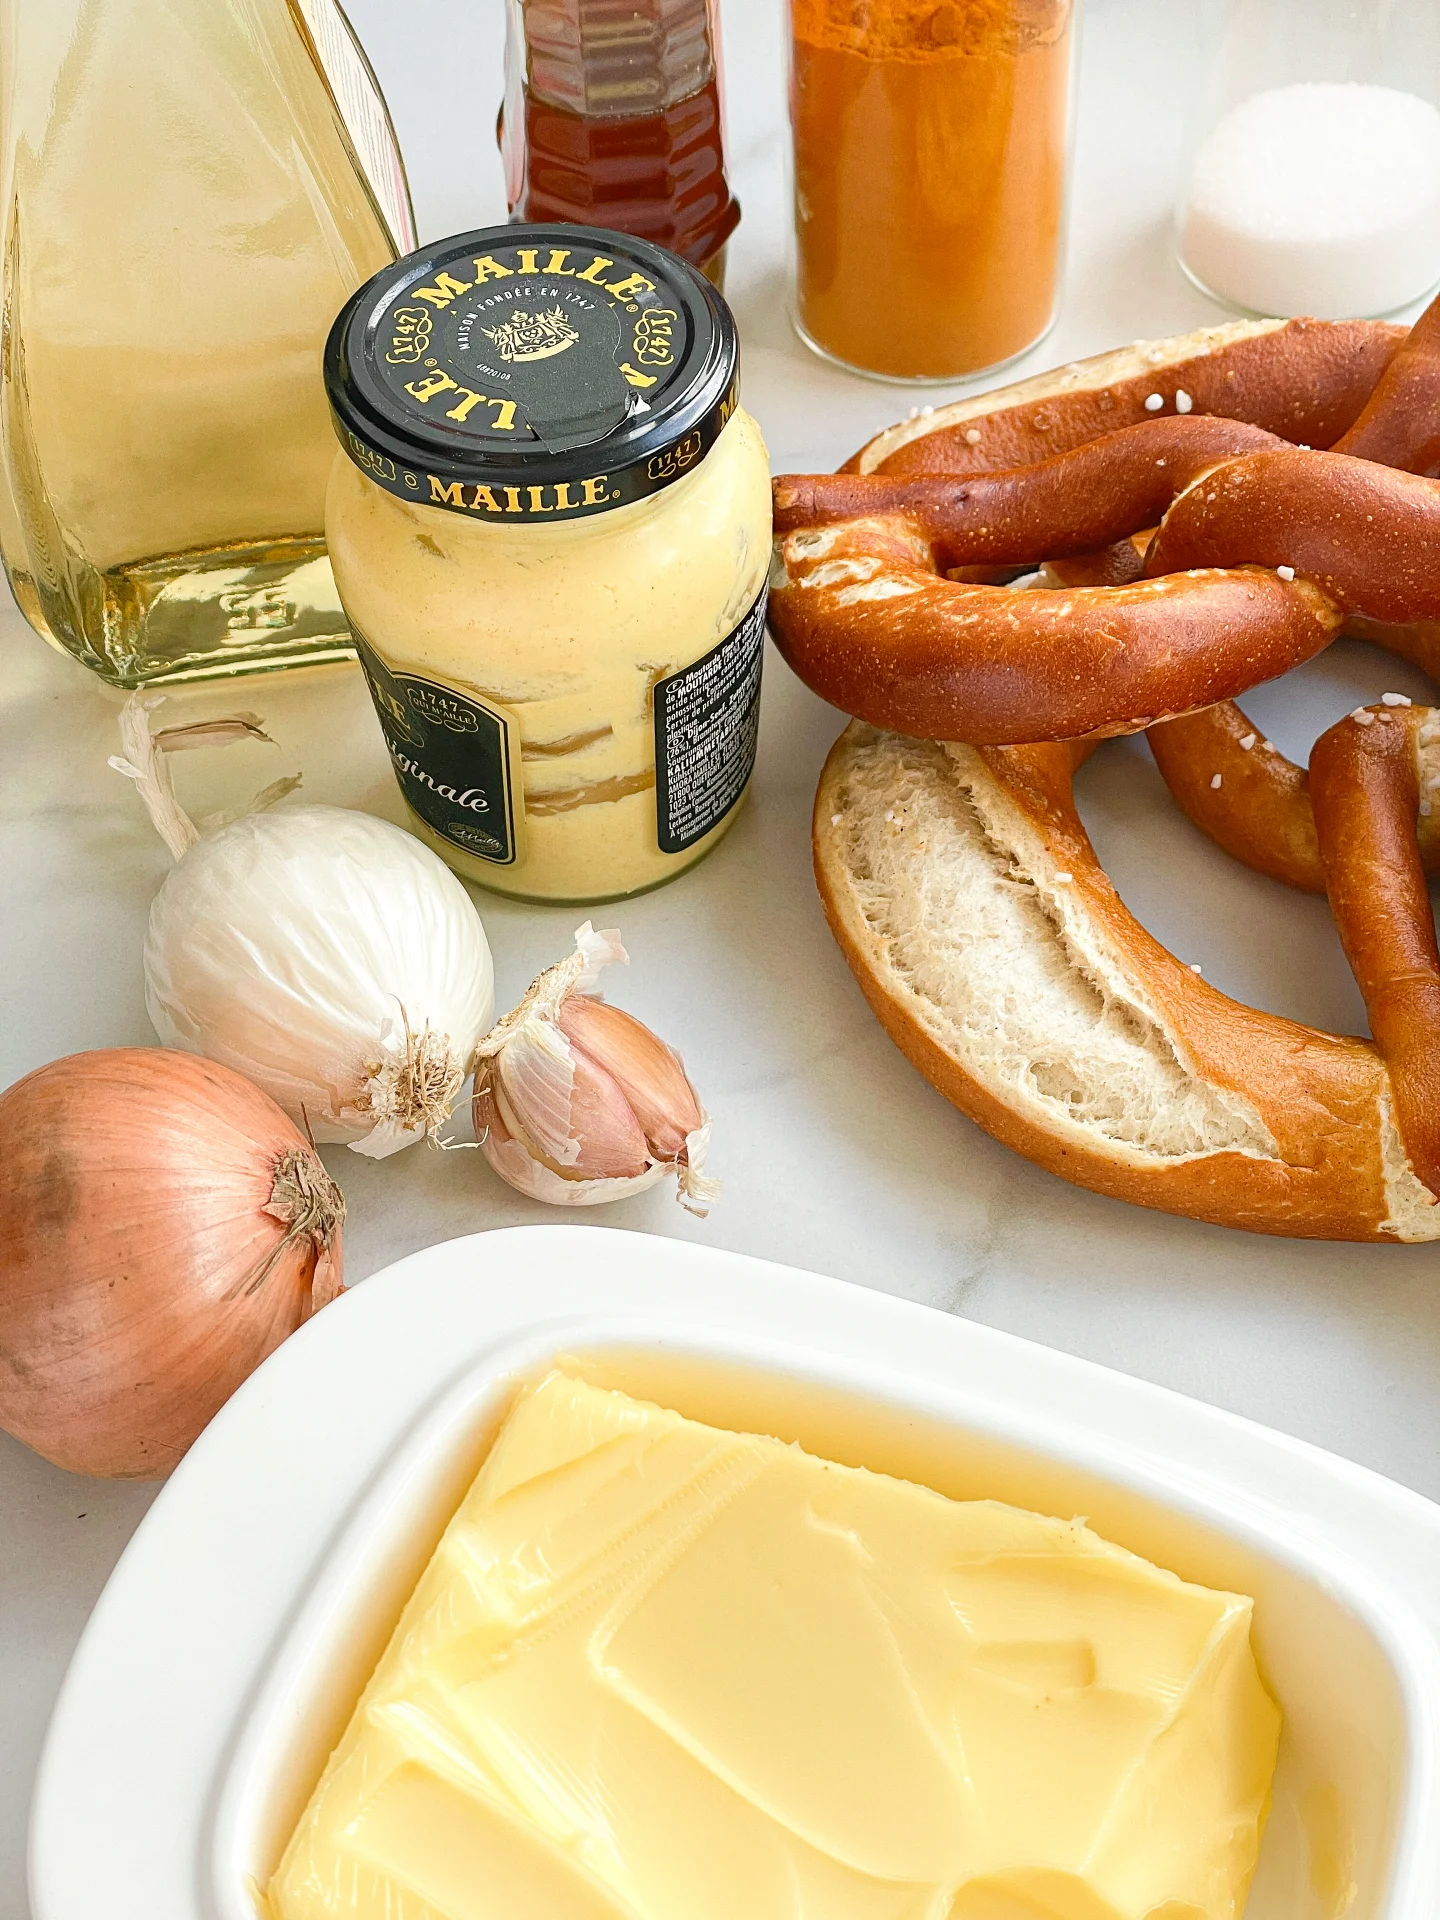
  • 2 soft pretzels (9 oz)
  • 1 tbsp butter
  • 1 tbsp honey
  • 1 onion
  • 2 garlic cloves
  • 1.5 tbsp dijon mustard
  • 1 tbsp white wine vinegar
  • 1/2 tsp turmeric
  • 1 tsp salt
Honey Mustard Pretzel Bites
}

ACTIVE: 5 min

PASSIVE: –

PREPARATIONS

Recommended Equipment
  • sharp knife
  • cutting board
  • medium-sized pot
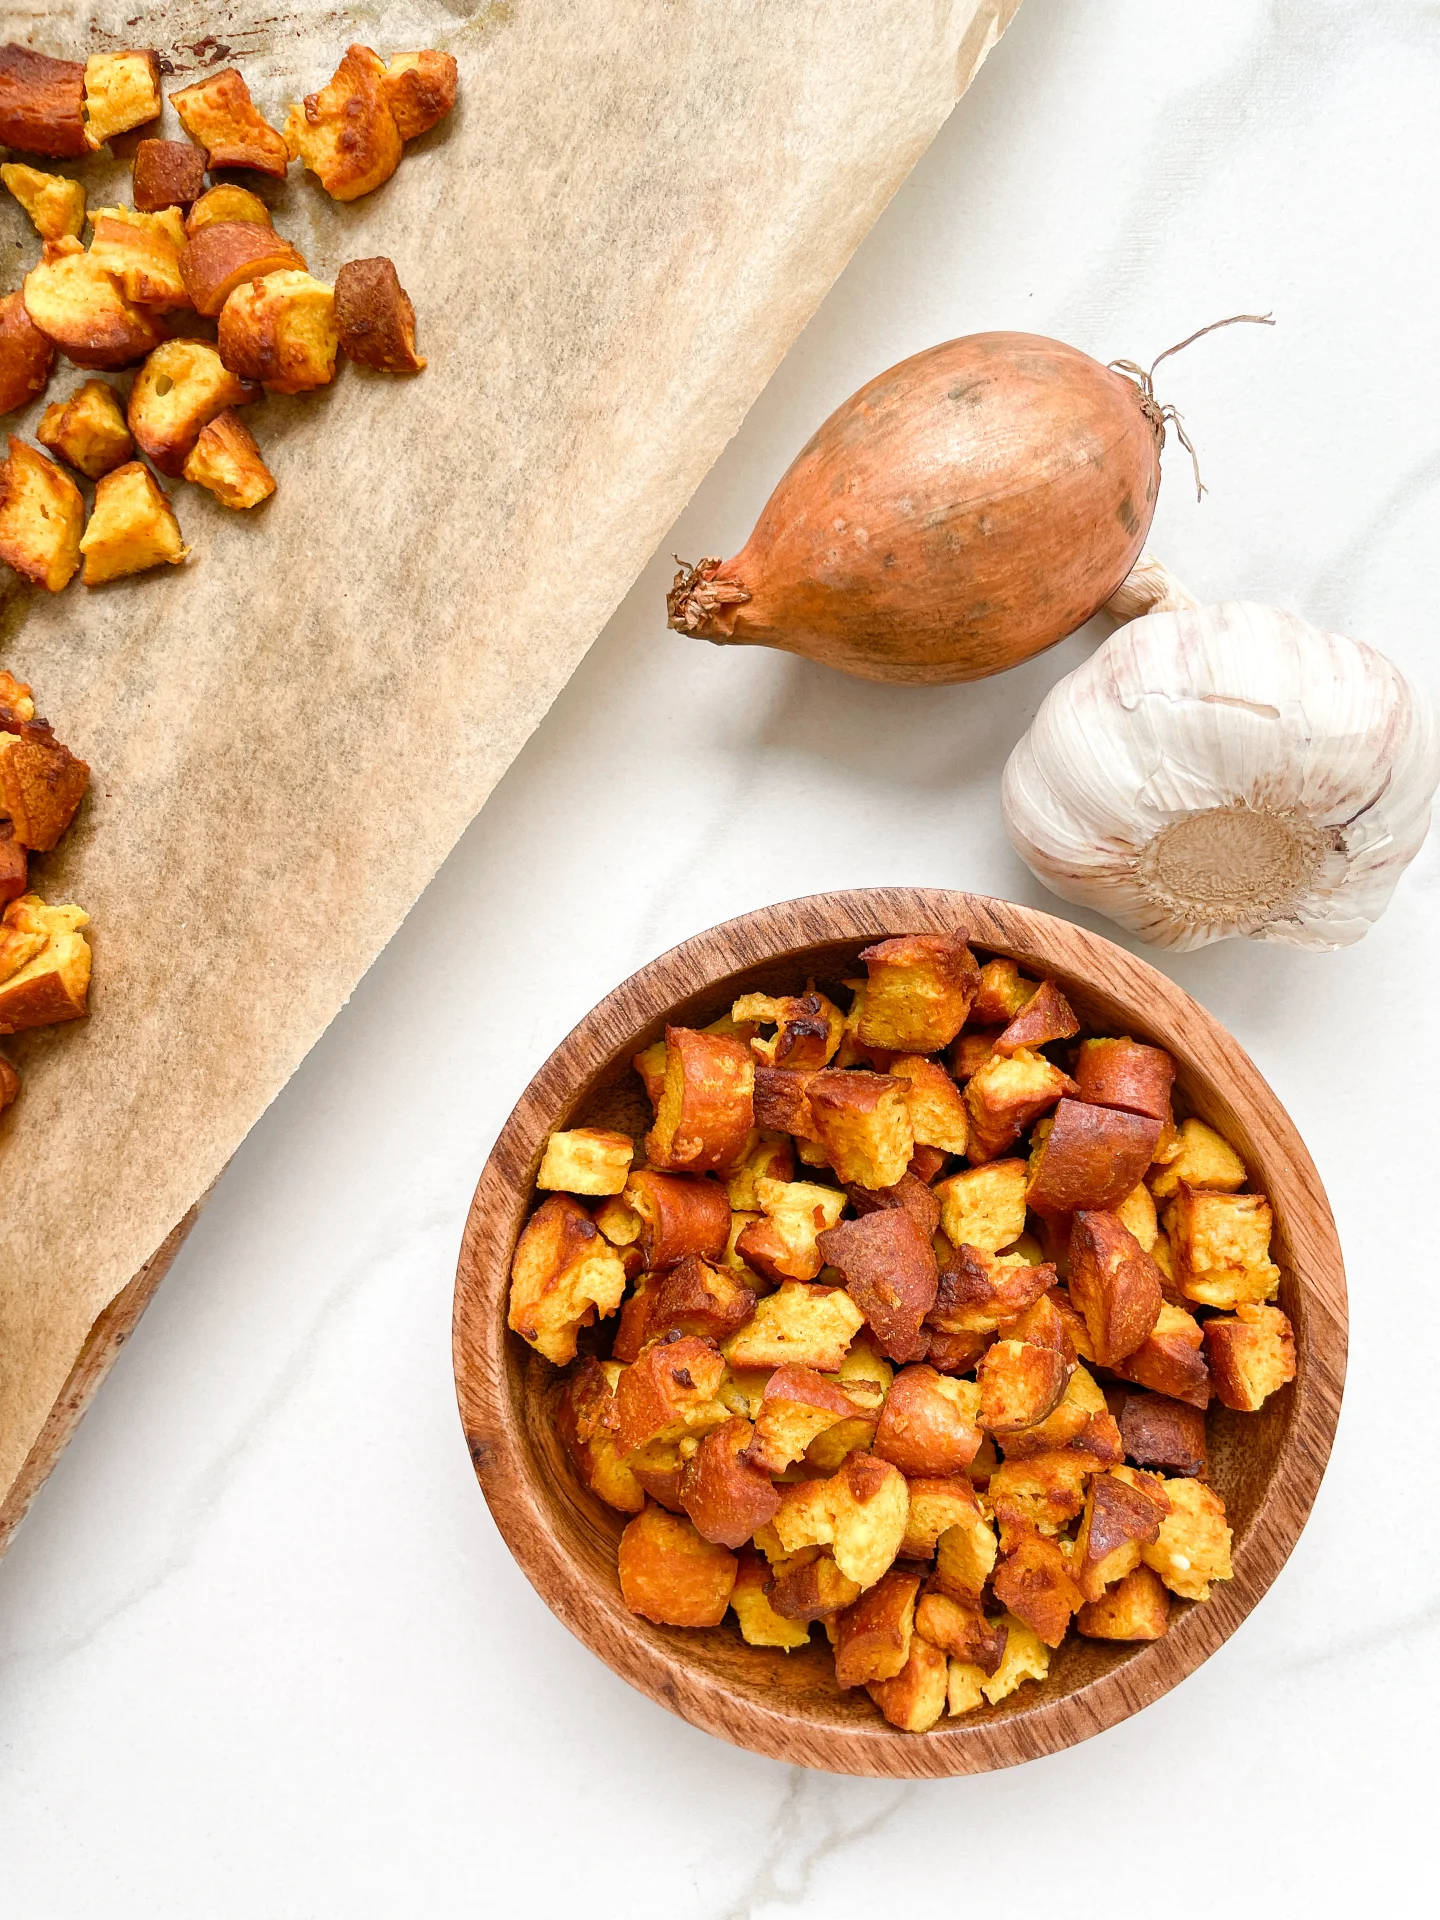
  • Cut the pretzels into small pieces and set them aside.
  • Peel the garlic cloves.
  • Just cut off the „top“ of the onion and then peel it, so it stays whole.
}

ACTIVE: 5 min

PASSIVE: 15 min

COOKING

1. Now grate the onion and garlic cloves directly into the pot using a grater.

2. Also add the following ingredients to the pot: 1 tablespoon of butter, 1 tablespoon of honey, 1 tablespoon of white wine vinegar, 1.5 tablespoons of Dijon mustard, 1 teaspoon of salt, and 1/2 teaspoon of turmeric.

3. Stir everything together and heat on medium until the butter has melted and a yellow mixture has formed. Then add the pretzel pieces to the pot and stir until all the pieces are coated with the sauce.

4. Place the pretzel pieces on a baking sheet lined with parchment paper and bake at 180°C (360°F) for about 15-18 minutes until crispy.

5. Remove the baking sheet from the oven, let the pretzel pieces cool down, and enjoy.

NOTE: The calorie information may vary depending on the product used, country and region.

Lemon Blue Cheese Dip

Lemon Blue Cheese Dip

Blue Cheese Dip

Lemon Blue Cheese Dip

March 23, 2024 by Kimberly

Indulge in the creamy, tangy bliss of Blue Cheese Dip! Perfect for game nights or elegant appetizers, this dip transforms any snack into a gourmet delight.

10 MINUTES

EASY

VEGETARIAN

US AMERICAN

224 PER PORTION

CREAMY / ZESTY

EVERYDAY

DIPS & SPREADS

ALL YEAR

INTRODUCTION

ABOUT THE RECIPE

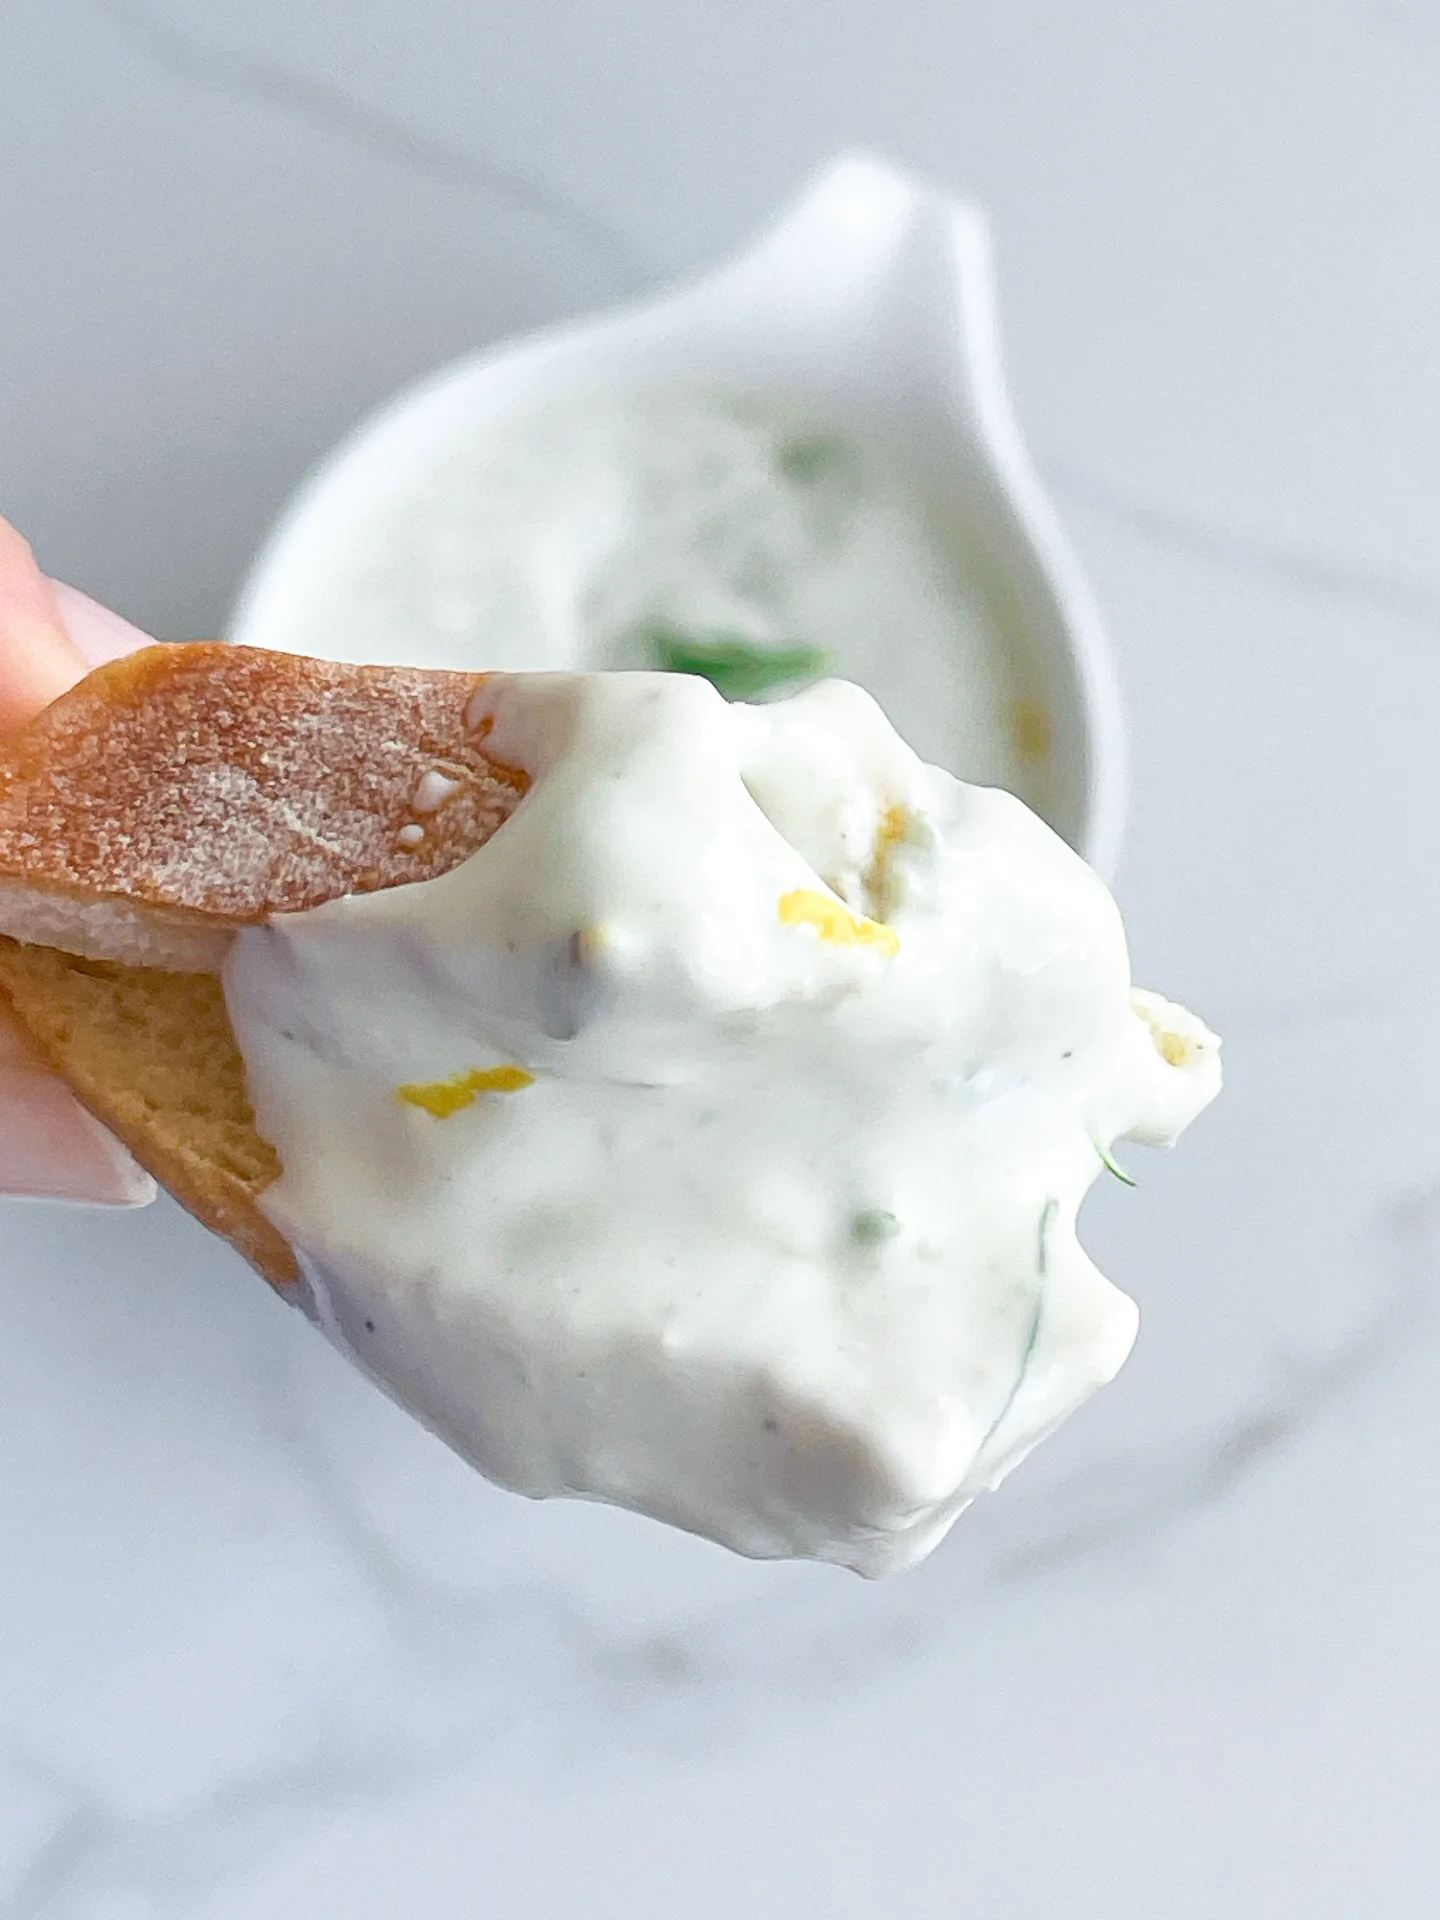
Dive into the irresistible creaminess of Blue Cheese Dip, a must-have for any gathering or quiet night in. This dip combines the rich, tangy flavors of blue cheese with a smooth, spreadable texture that’s simply unmatched. Whether you’re hosting a party or just treating yourself, this dip is a game-changer.

How to serve:
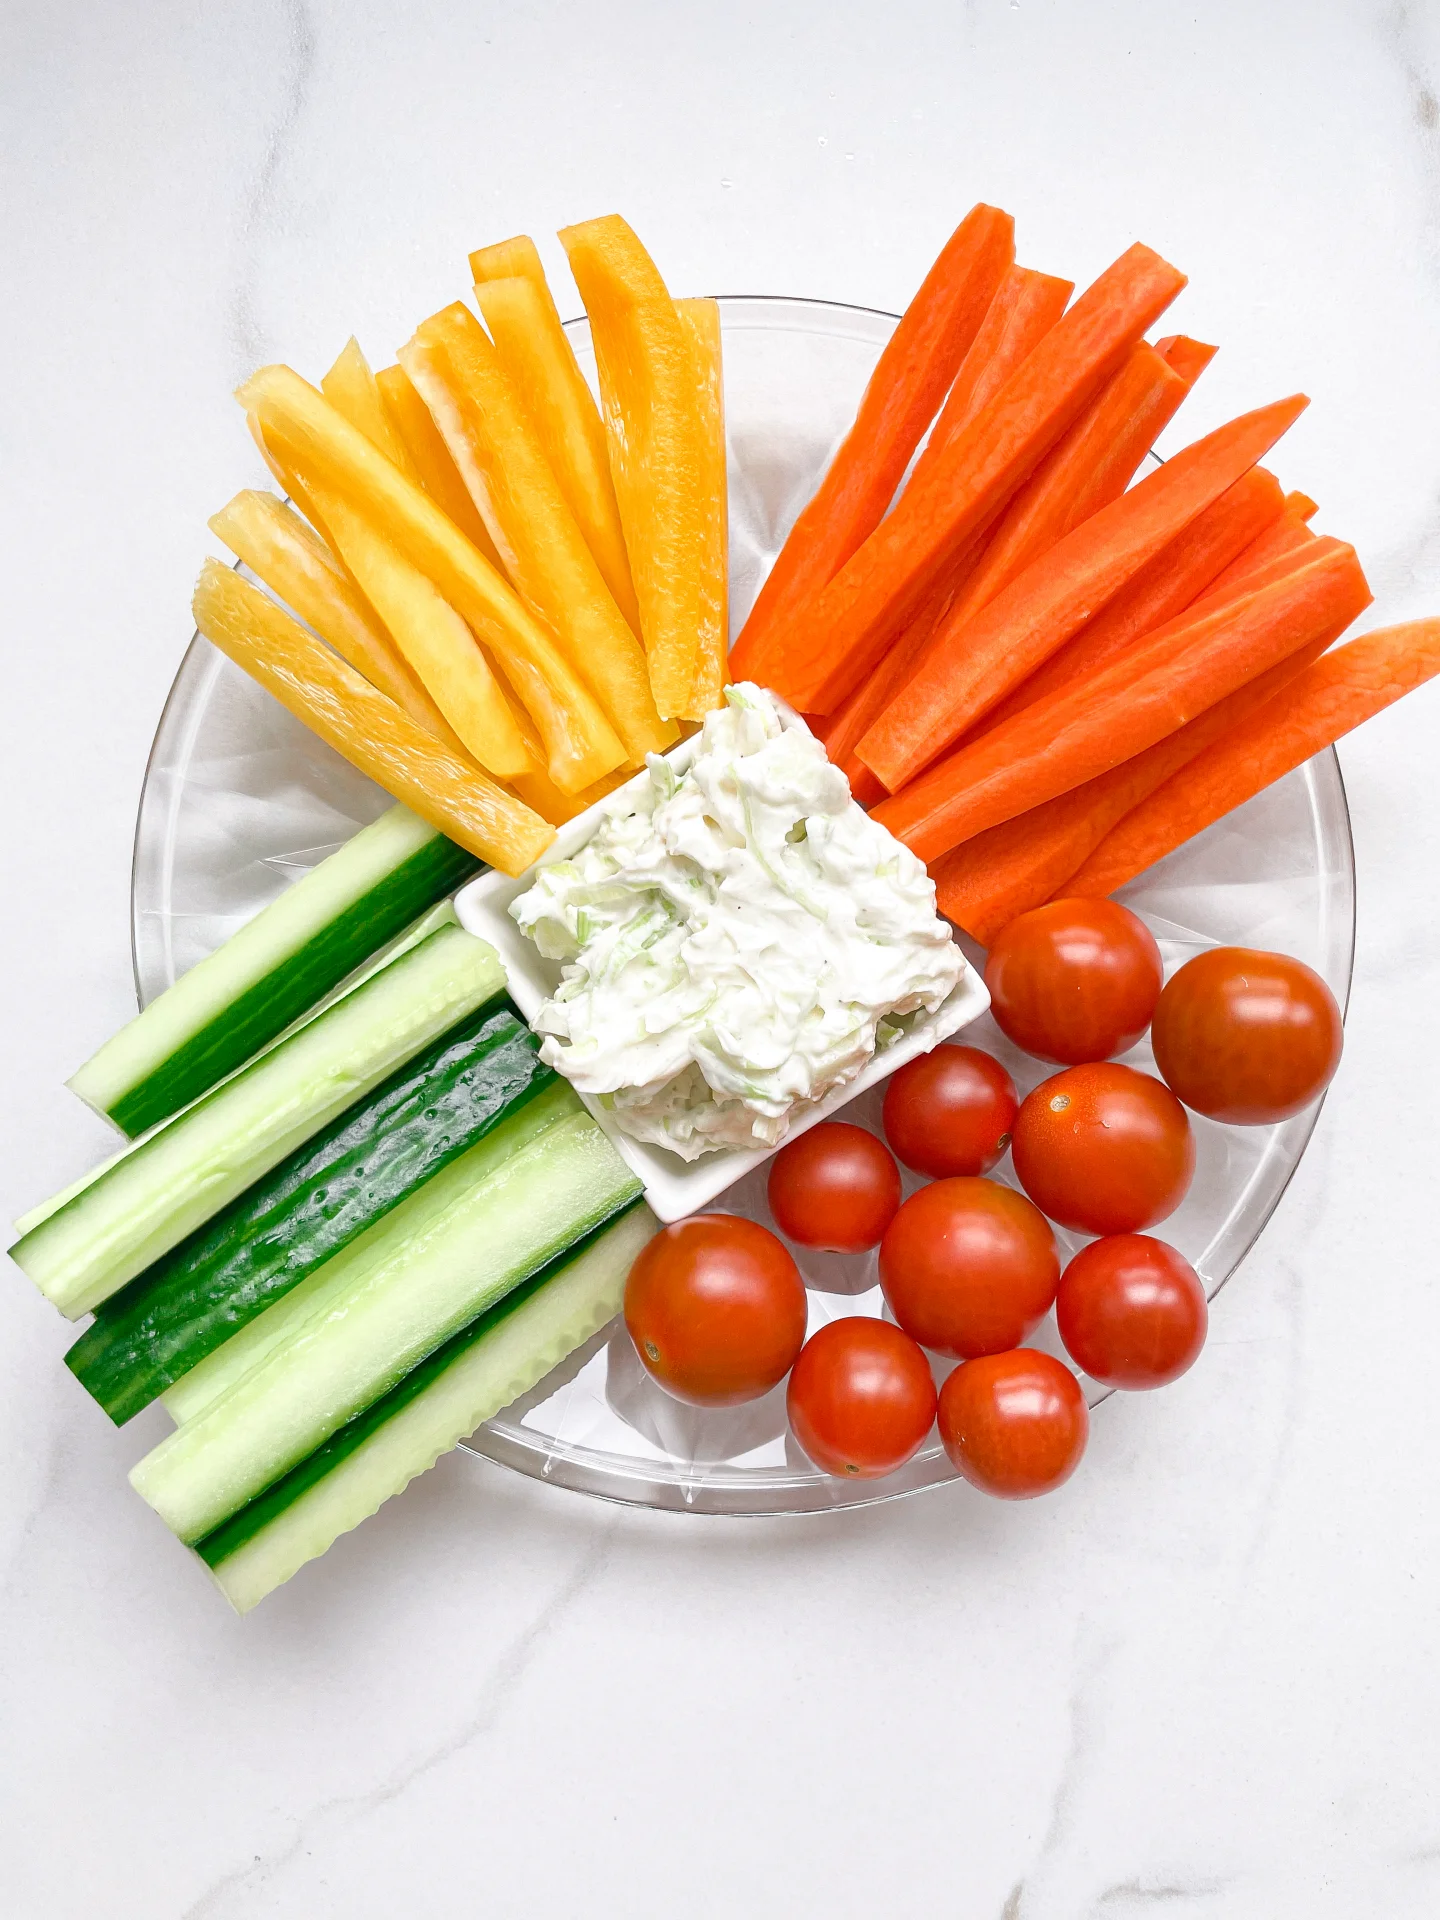
Blue Cheese Dip is versatile, perfect alongside crispy veggies, as a bold wing accompaniment, or as a unique burger topping. Its robust flavor elevates simple crackers to gourmet status and transforms potato chips into a delicacy. Experiment with it as a spread for a zesty twist on sandwiches.

How to store:
Keep your Blue Cheese Dip fresh and flavorful by storing it in an airtight container in the fridge. It stays perfect for up to 3 days, making it a great make-ahead option for effortless entertaining or snacking.

Hi, I'm Kimberly!

Hi, I'm Kimberly.

A passionate food lover who believes in the magic of homemade deliciousness that spreads love and warmth. Join me on this culinary adventure as I prepare wonderful dishes and let’s spread some happiness together!

Kimberly the Zett Signature

If you want to get to know me better, click here!


Blue Cheese Dip
Blue Cheese Dip
Blue Cheese Dip
„Let’s make a piece of happiness“

INGREDIENTS

FOR 4 PORTIONS

DIP

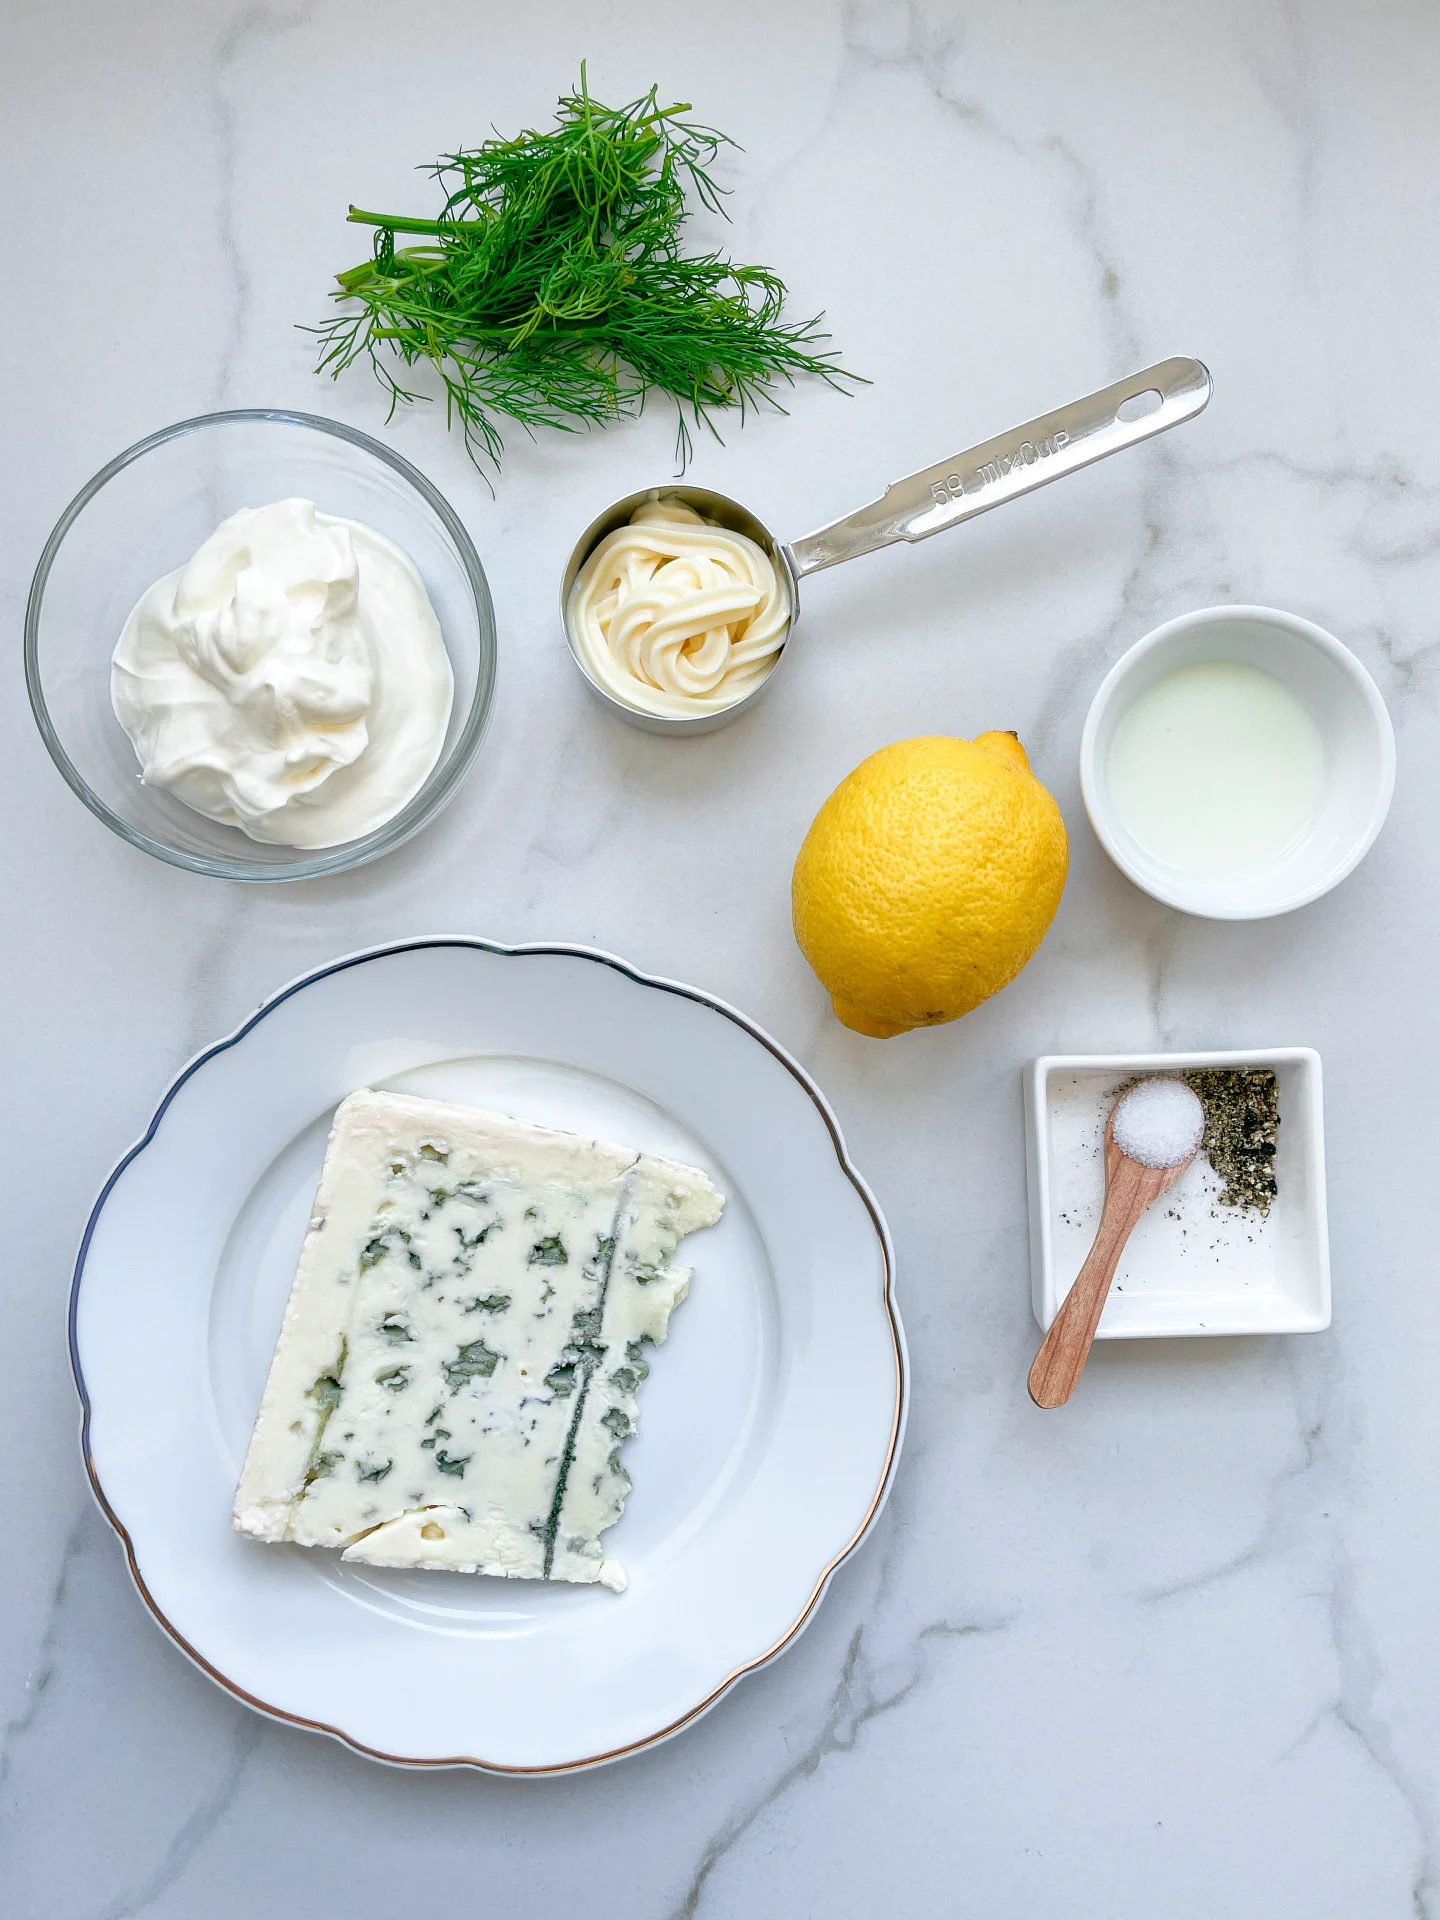
  • 100g blue cheese – I used Roquefort (3.5 oz)
  • 35g mayonnaise (1/4 cup)
  • 100g creme fraiche (1/2 cup)
  • 1-2 tbsp buttermilk
  • 1 tbsp lemon juice
  • dill, salt & pepper to taste
Blue Cheese Dip
}

ACTIVE: –

PASSIVE: –

PREPARATIONS

Recommended Equipment
  • medium-sized bowl
  • none
}

ACTIVE: 10 min

PASSIVE: –

COOKING

1. In a medium-sized bowl, mix crème fraîche, mayonnaise, and buttermilk. Now add the blue cheese in small chunks and mix thoroughly until there are no big lumps of cheese visible.

2. Then season the mixture with lemon juice, salt, pepper, and fresh dill to taste.

3. For an especially intense flavor, the dip can be prepared in advance and should be stored in the fridge before serving.

NOTE: The calorie information may vary depending on the product used, country and region.

Easy Dumpling Dipping Sauce

Easy Dumpling Dipping Sauce

Easy Dumpling Dipping Sauce

Easy Dumpling Dipping Sauce

March 9, 2024 by Kimberly

Dip into delight with this easy Dumpling Dipping Sauce! A perfect blend of soy sauce, sriracha, and lemon juice for an unforgettable taste.

5 MINUTES

EASY

VEGAN

CHINESE

14 PER PORTION

UMAMI / ZESTY

EVERYDAY

DIPS & SPREADS

ALL YEAR

INTRODUCTION

ABOUT THE RECIPE

Elevate your dumpling experience with this easy Dumpling Dipping Sauce! This simple yet irresistible sauce combines the umami of soy sauce, the heat of sriracha, and the tanginess of lemon juice to create a mouthwatering condiment. It’s the perfect companion for any dumpling, adding a zesty and spicy kick that will leave you craving more.

How to serve:
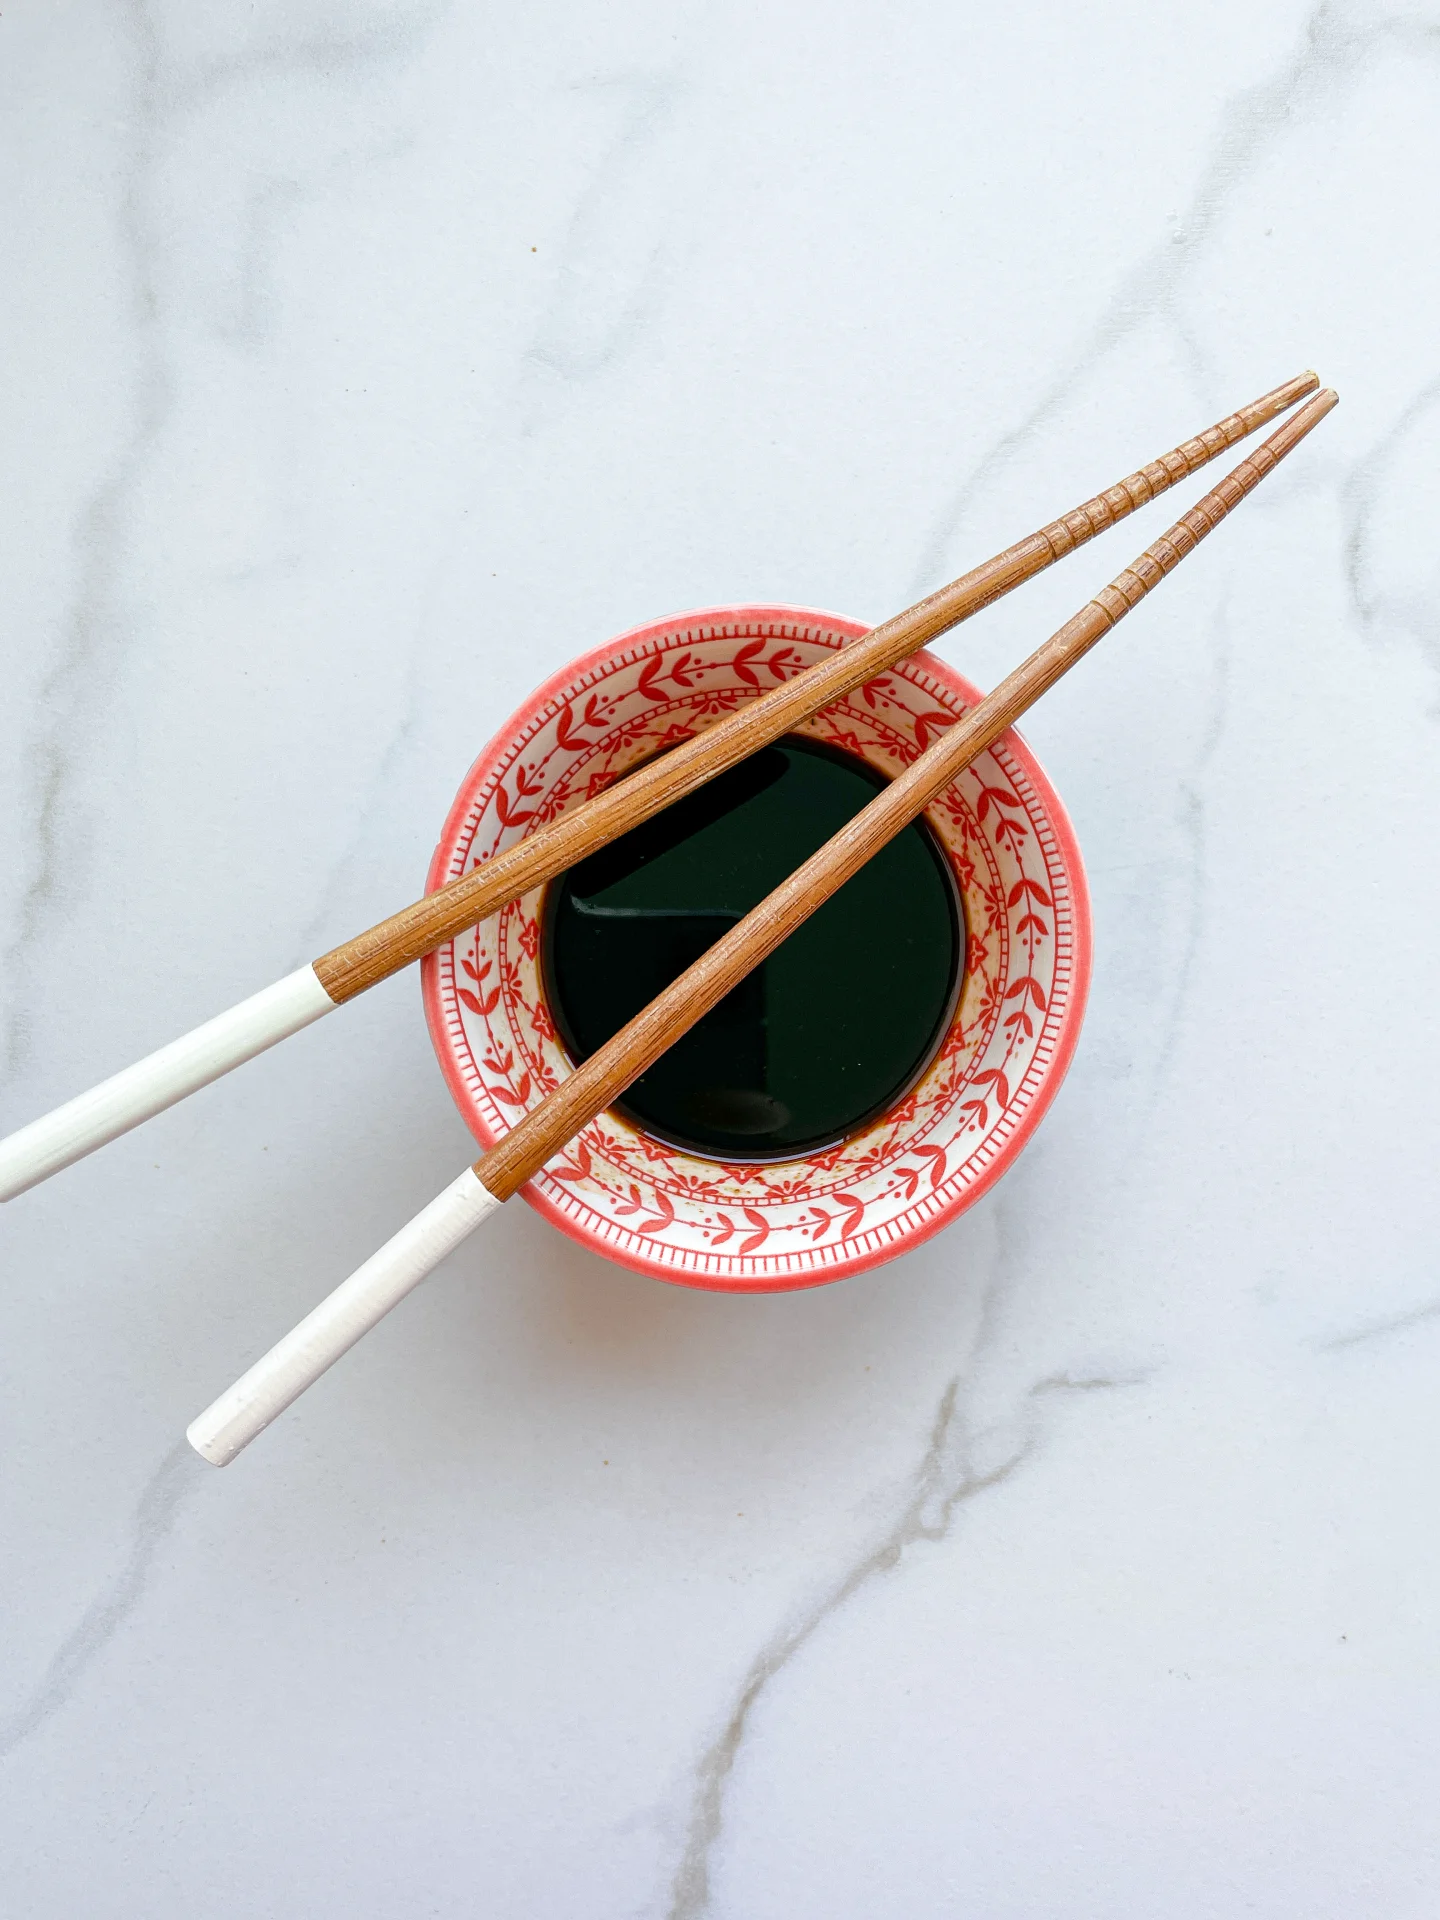
This versatile dipping sauce is ideal for accompanying any kind of dumplings, whether they’re steamed, fried, or boiled. Serve it in a small bowl alongside your favorite dumplings, maybe these juicy pan-fried pork dumplings, for an instant flavor upgrade. It’s also great with spring rolls, potstickers, or korean pancakes.

How to store:
Keep this Dumpling Dipping Sauce fresh by storing it in an airtight container in the refrigerator. It stays flavorful for up to five days, ensuring you have delicious dipping sauce ready whenever those dumpling cravings hit.

Hi, I'm Kimberly!

Hi, I'm Kimberly.

A passionate food lover who believes in the magic of homemade deliciousness that spreads love and warmth. Join me on this culinary adventure as I prepare wonderful dishes and let’s spread some happiness together!

Kimberly the Zett Signature

If you want to get to know me better, click here!


Easy Dumpling Dipping Sauce
„Let’s make a piece of happiness“

INGREDIENTS

FOR 2 PORTIONS

SAUCE

  • 2 tbsp soy sauce
  • 1 tbsp lemon juice
  • 1/2 tbsp sriracha
Easy Dumpling Dipping Sauce
}

ACTIVE: –

PASSIVE: –

PREPARATIONS

Recommended Equipment
  • sharp knife
  • cutting board
  • small bowl
  • none
}

ACTIVE: 5 min

PASSIVE: –

COOKING

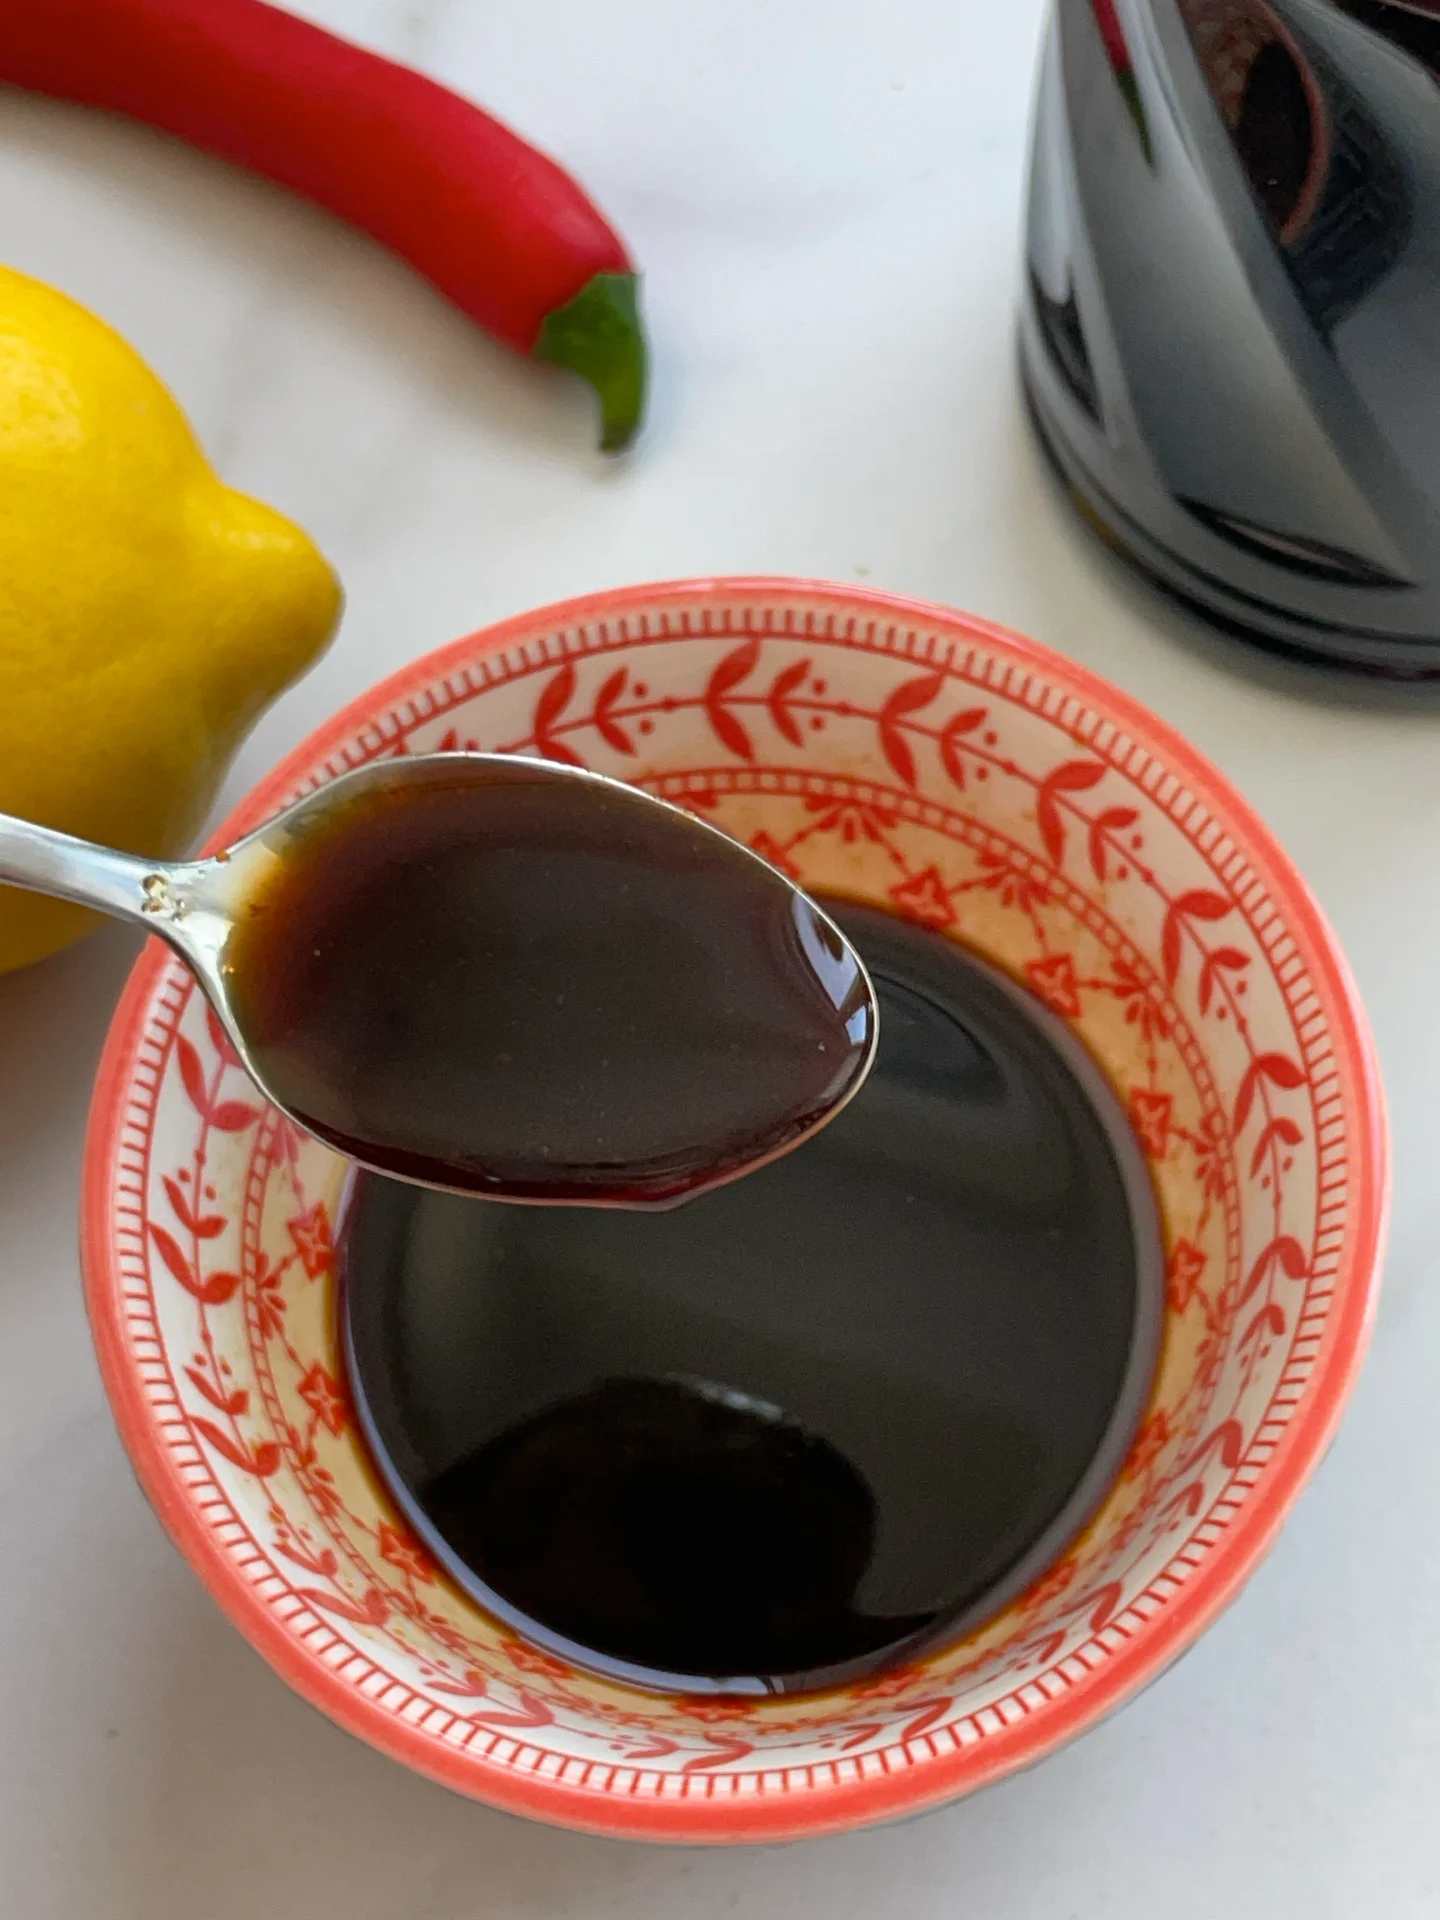
1. Cut the lemon in half and put 1 tbsp of the lemon juice in a small bowl. Mix with 2 tbsp soy sauce and 1/2 tbsp sriracha sauce and serve with your favorite dumplings.

NOTE: The calorie information may vary depending on the product used, country and region.

Oeuf Cocotte with Cream & Herbs (Baked Eggs)

Oeuf Cocotte with Cream & Herbs (Baked Eggs)

Oeuf Cocotte with Cream & Herbs

Oeuf Cocotte with Cream & Herbs (Baked Eggs)

March 2, 2024 by Kimberly

Indulge in the heartwarming delight of Oeuf Cocotte! A simple, nutritious, and delicious start to your day. Embrace the taste of French elegance in every bite.

20 MINUTES

EASY

VEGETARIAN

FRENCH

365 PER PORTION

CREAMY

EVERYDAY

BREAKFAST / BRUNCH

ALL YEAR

INTRODUCTION

ABOUT THE RECIPE

Discover the joy of French cooking with my simple Oeuf Cocotte recipe! Perfect for a delightful breakfast or a cozy brunch, this dish is not only easy to make but also bursting with flavors. Dive into the elegance of French cuisine and impress your family with this gourmet yet straightforward recipe. Ideal for anyone looking to elevate their morning routine!

How to serve:
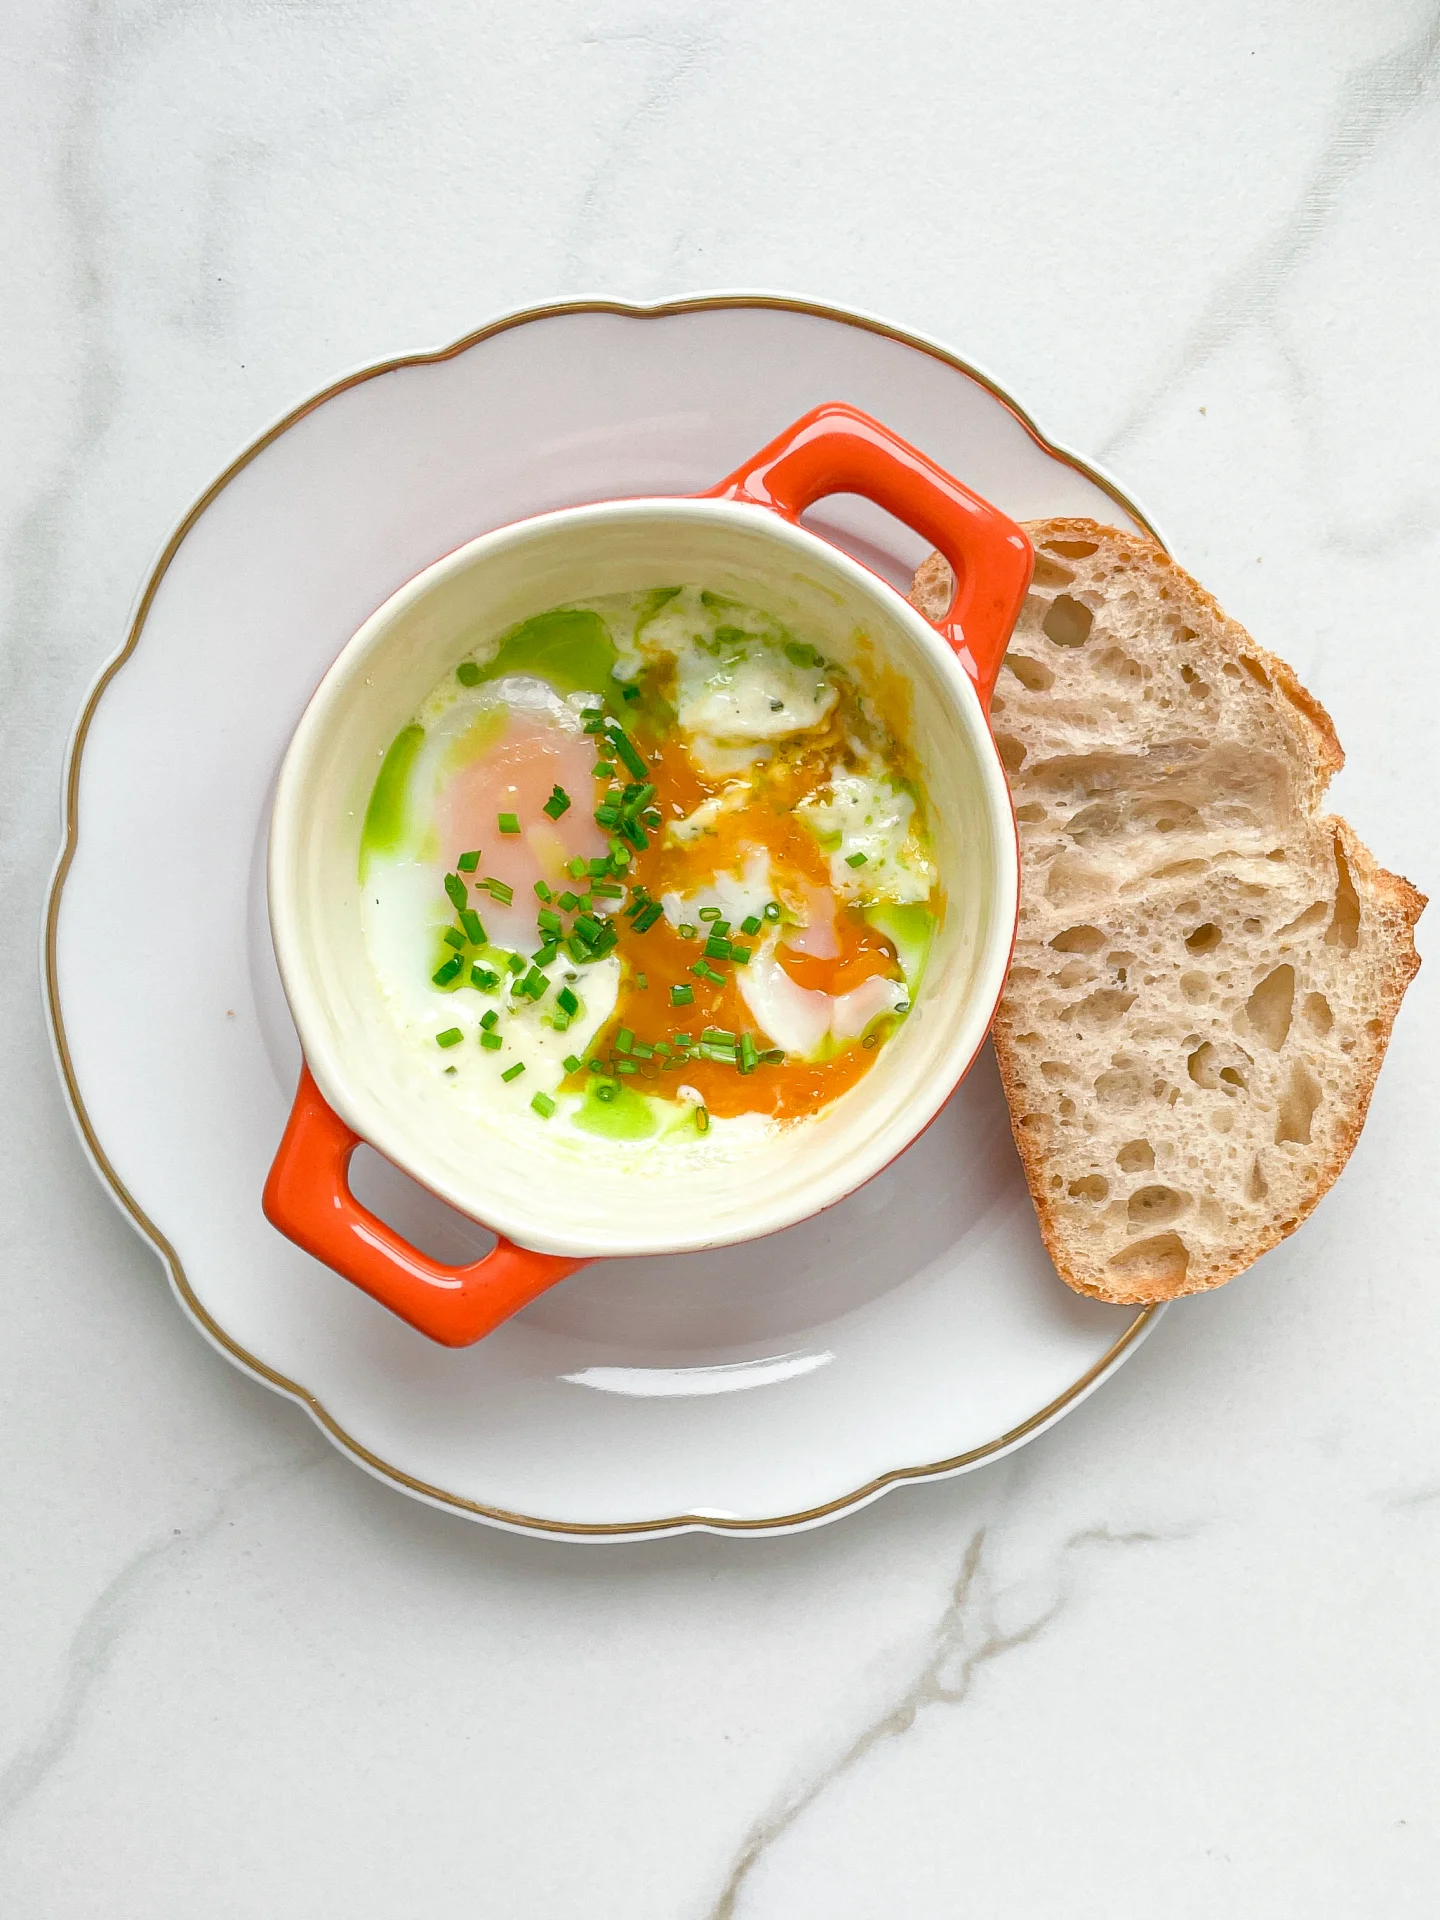
Serve your Oeuf Cocotte straight from the oven, nestled in their little pots for a touch of French elegance. Accompany them with slices of crusty bread or a fresh salad for a balanced meal. Perfect for a lazy weekend brunch or a special breakfast, these baked eggs will become your go-to. Garnish with fresh herbs or a sprinkle of cheese for that extra flair!

How to store:
I do not recommend to store the cooked dish. It’s better to enjoy your delicious breakfast creation even on busy mornings straight out of the oven!

Hi, I'm Kimberly!

Hi, I'm Kimberly.

A passionate food lover who believes in the magic of homemade deliciousness that spreads love and warmth. Join me on this culinary adventure as I prepare wonderful dishes and let’s spread some happiness together!

Kimberly the Zett Signature

If you want to get to know me better, click here!


Oeuf Cocotte with Cream & Herbs
„Let’s make a piece of happiness“

INGREDIENTS

FOR 1 PORTION

BAKED EGGS

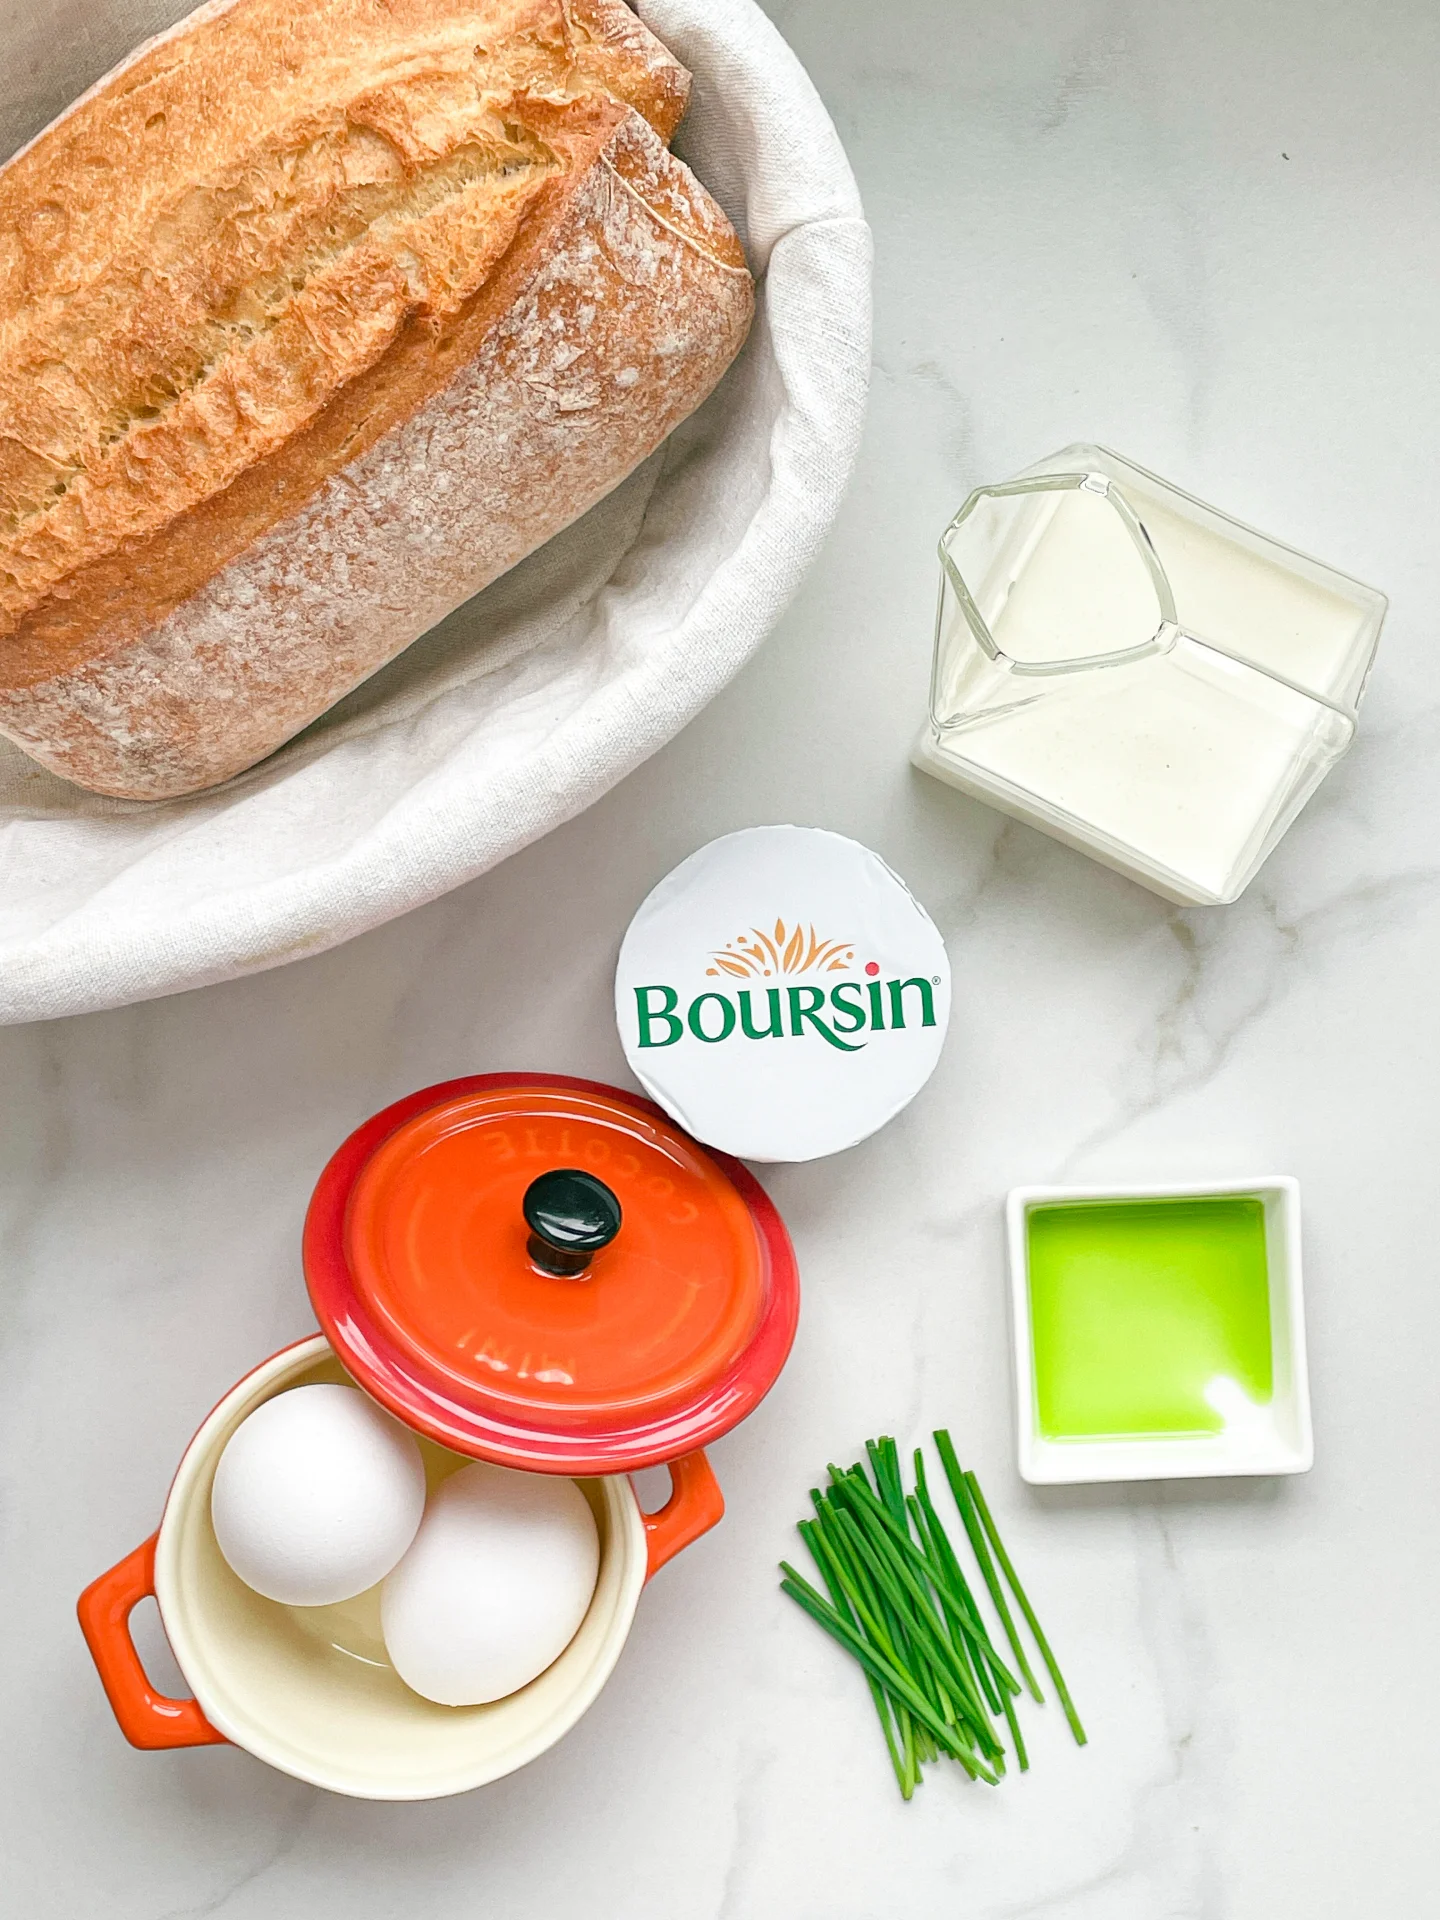
  • 2 eggs
  • 1 tbsp cream
  • 1.5 tsp herb cream cheese

TOPPINGS

  • 30g baguette
  • chives
  • salt & pepper
Oeuf Cocotte with Cream & Herbs
}

ACTIVE: –

PASSIVE: –

PREPARATIONS

Recommended Equipment
  • sharp knife
  • cutting board
  • small ovenproof dish
  • none
}

ACTIVE: 5 min

PASSIVE: 15 min

COOKING

1. Crack two eggs into a small ovenproof dish. Spread a tablespoon of cream on top, as well as 1.5 teaspoons of herb cream cheese. Place the dish in the oven at 180°C (350°F) for about 18 minutes.

2. Meanwhile, cut the chives into rolls and the baguette into slices.

3. When the eggs are ready, take them out of the oven and top with salt, pepper and chives. Chive oil also goes very well. Enjoy with fresh baguette for dipping.

NOTE: The calorie information may vary depending on the product used, country and region.