

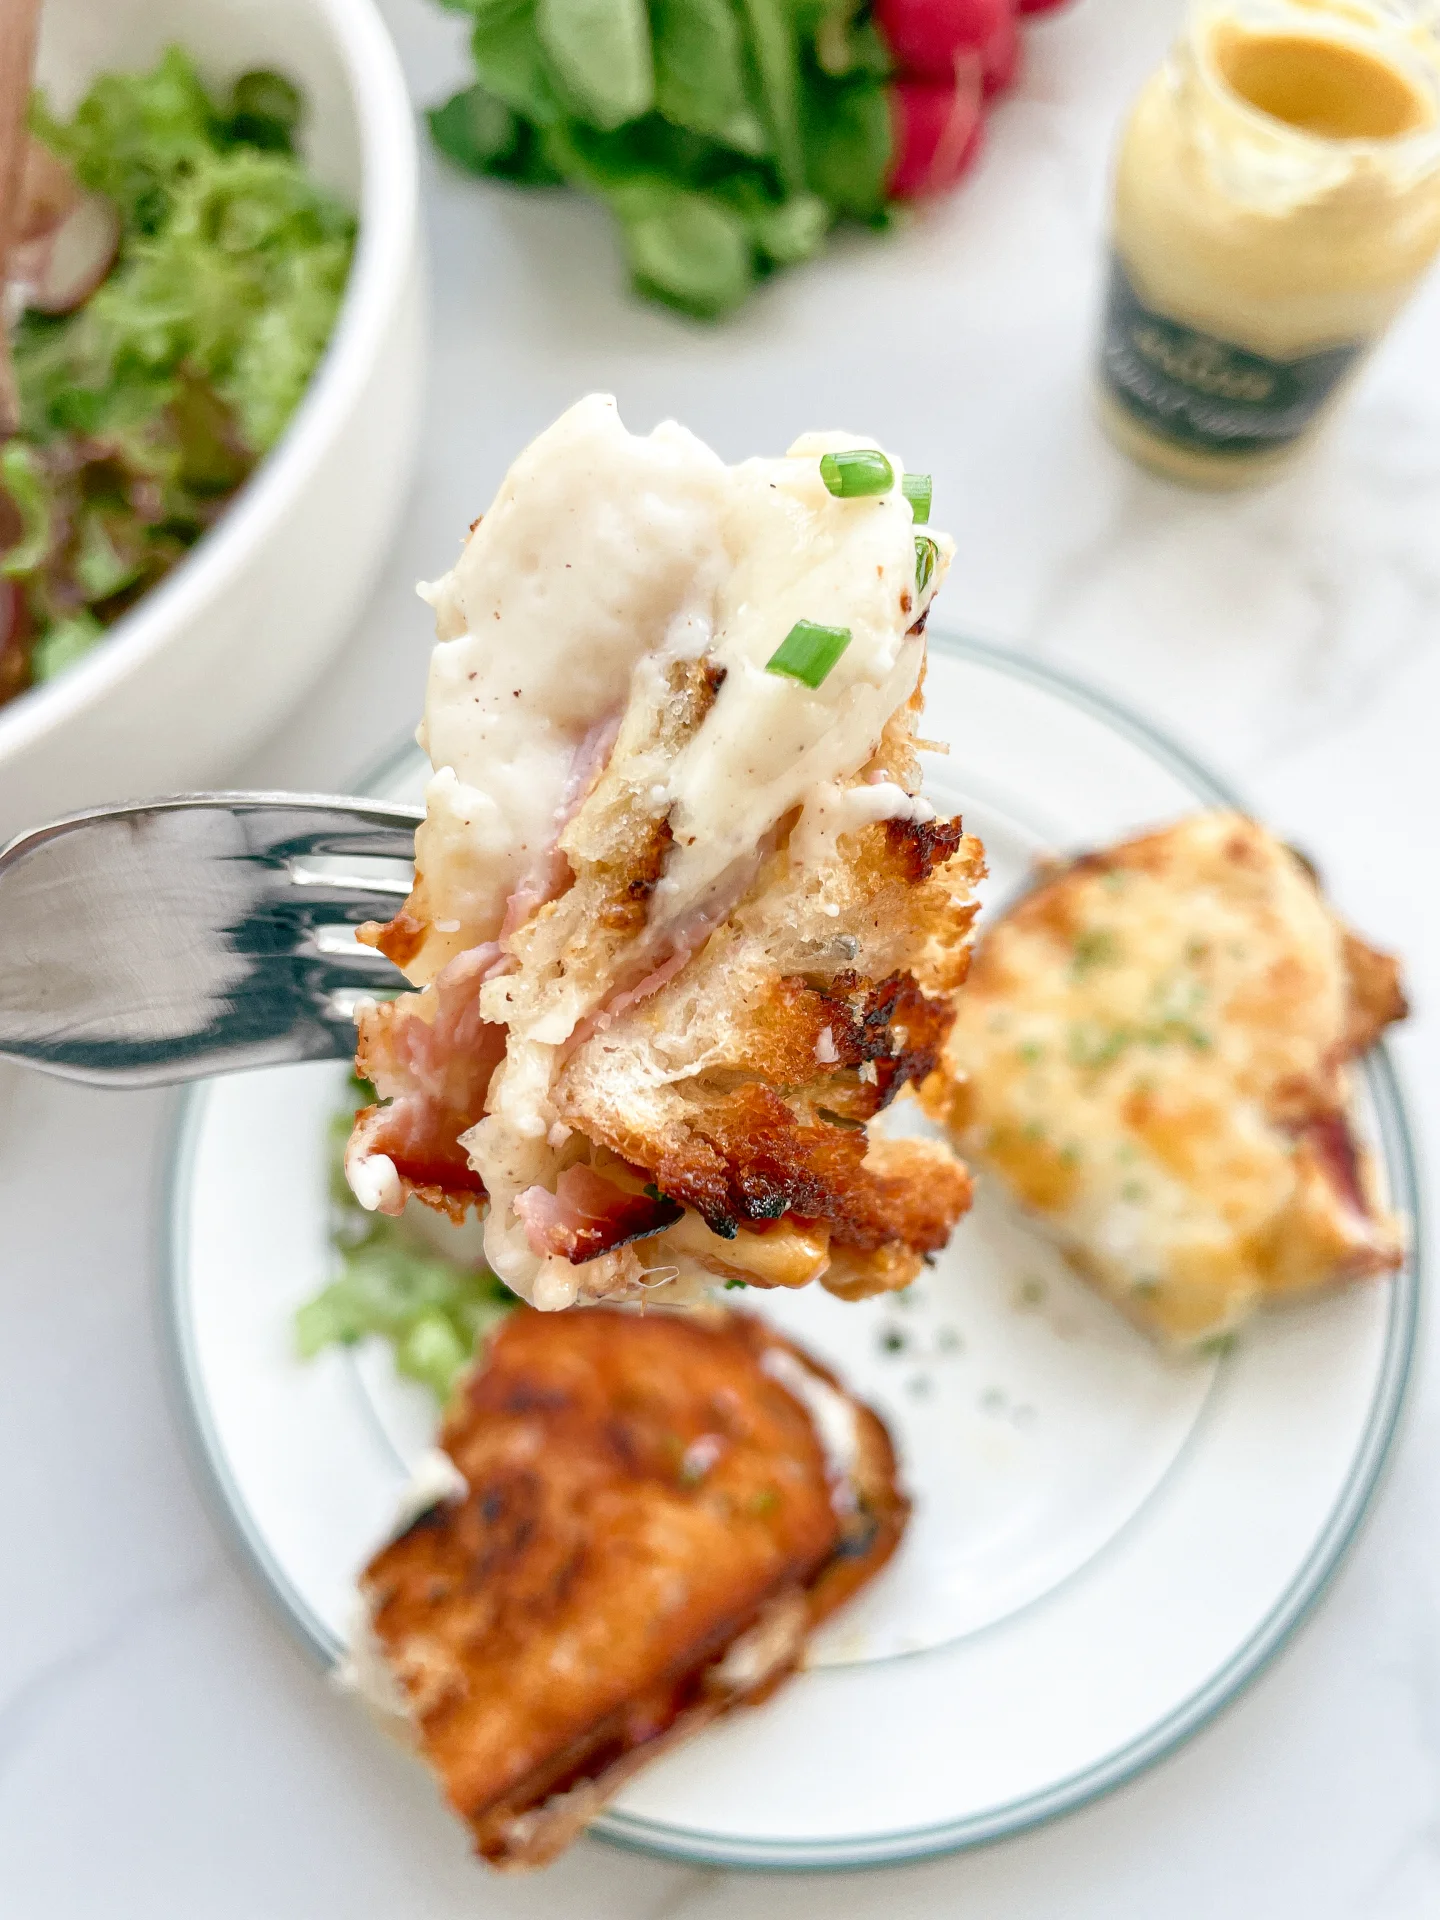

Croque Monsieur

Croque Monsieur

Croque Monsieur

Croque Monsieur

February 13, 2024 by Kimberly

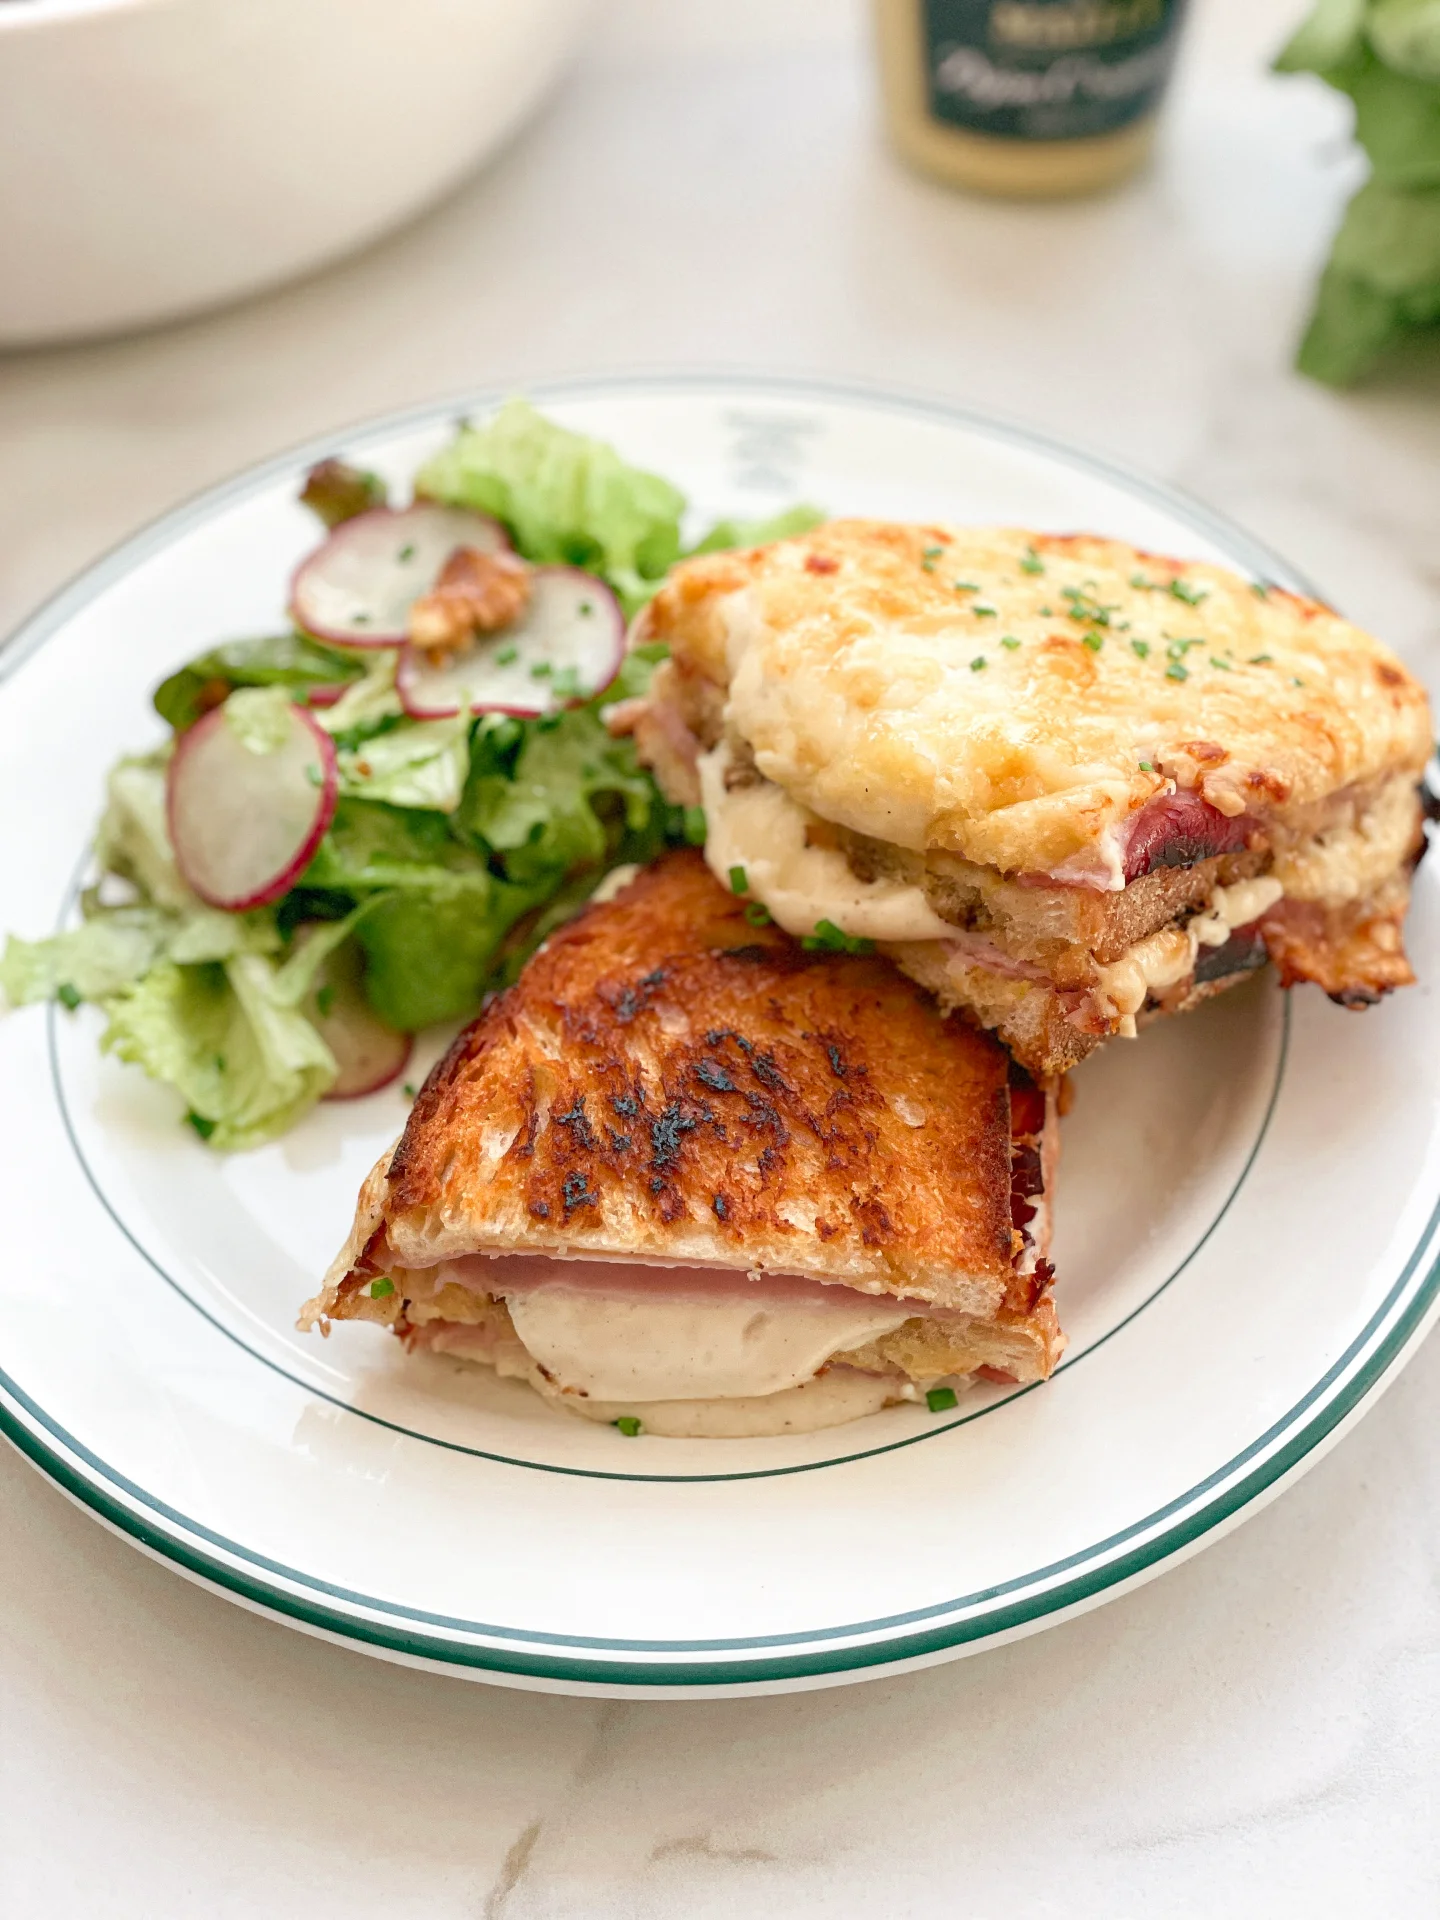
Dive into the cheesy goodness of Croque Monsieur! This classic French sandwich brings a crispy, creamy delight to your table, perfect for any meal. A must-try!

This website uses affiliate links which may earn commission for purchases made at no additional cost to you.

TOTAL TIME

50 min

SERVES

4 sandwiches

DIET

omnivore

EVERY RECIPE DESERVES

A Little Love Letter

Step into the world of French cuisine with the Croque Monsieur, a luxurious twist on the grilled cheese sandwich. Featuring ham and melted cheese nestled between slices of buttery bread, topped with a creamy Béchamel sauce and then grilled to perfection. This dish is not just food – it’s a culinary experience that transports you straight to the streets of Paris with every bite. Perfect for brunch or a comforting dinner!

Serve the Croque Monsieur fresh off the grill, with its cheese deliciously oozing and bread crisply toasted. Pair it with a light, tangy salad to cut through the richness, or enjoy it with a cup of hot soup for a heartier meal. Don’t forget a sprinkle of fresh herbs or a dash of Dijon mustard on the side for that authentic French flair.

To keep the Croque Monsieur’s delightful texture, store any leftovers in an airtight container in the fridge. Reheat in the oven or on the stove to revive its crispy exterior and melty interior, ensuring it tastes just as fabulous.

Hi, I'm Kimberly!

Hi, I'm Kimberly.

A hopeless romantic when it comes to food. Every recipe I share is a love letter to food itself. I’m so glad you’re here. Make yourself at home and stay a while.

Love,
Kimberly

Kimberly the Zett Signature

If you want to get to know me better,
click here!


Croque Monsieur
Croque Monsieur

LET’S MAKE A PIECE OF HAPPINESS

Print
clock clock iconcutlery cutlery iconflag flag iconfolder folder iconinstagram instagram iconpinterest pinterest iconfacebook facebook iconprint print iconsquares squares iconheart heart iconheart solid heart solid icon
Croque Monsieur

Croque Monsieur


5 Stars 4 Stars 3 Stars 2 Stars 1 Star

No reviews

  • Author: Kimberly
  • Total Time: 45 min
  • Yield: 4 1x

Description

GOOD TO HAVE ON HAND

  • knife
  • cheese grater
  • large pan


Ingredients

Units Scale
  • 8 slices sourdough bread
  • 200 grams deli ham
  • 100 grams Gruyere cheese
  • 100 grams Emmental cheese
  • 2 tsp Dijon mustard
  • 4 tsp butter
  • 600 grams Béchamel sauce

Instructions

  1. Prepare the Béchamel sauce.
  2. Preheat the oven to 250°C (480°F)
  3. Grate the Gruyere and Emmental and mix together in a bowl.
  4. Spread 1/2 teaspoon of butter on one side of each slice of bread and fry in the pan on the buttered side until crispy. Remove the bread from the pan.
  5. The crispy side should now be on the bottom. Spread 1/4 teaspoon of Dijon mustard on the non-fried side of each slice of bread.
  6. Place deli ham on each slice of bread on top of the mustard.
  7. 1 tbsp of Béchamel sauce and 50g (2 oz) of grated cheese are placed on top of the deli ham.
  8. Now stack the slices as a double-decker that a total of 4 sandwiches are made from those 8 slices.
  9. Place the 4 sandwiches on a baking tray lined with baking paper and bake for 10-12 minutes until the cheese and sauce have melted and browned. Cut each croque monsieur in half with a sharp knife and divide between 4 plates. Serve with a fresh salad.
  • Passive Time: 15 min
  • Cook Time: 30 min
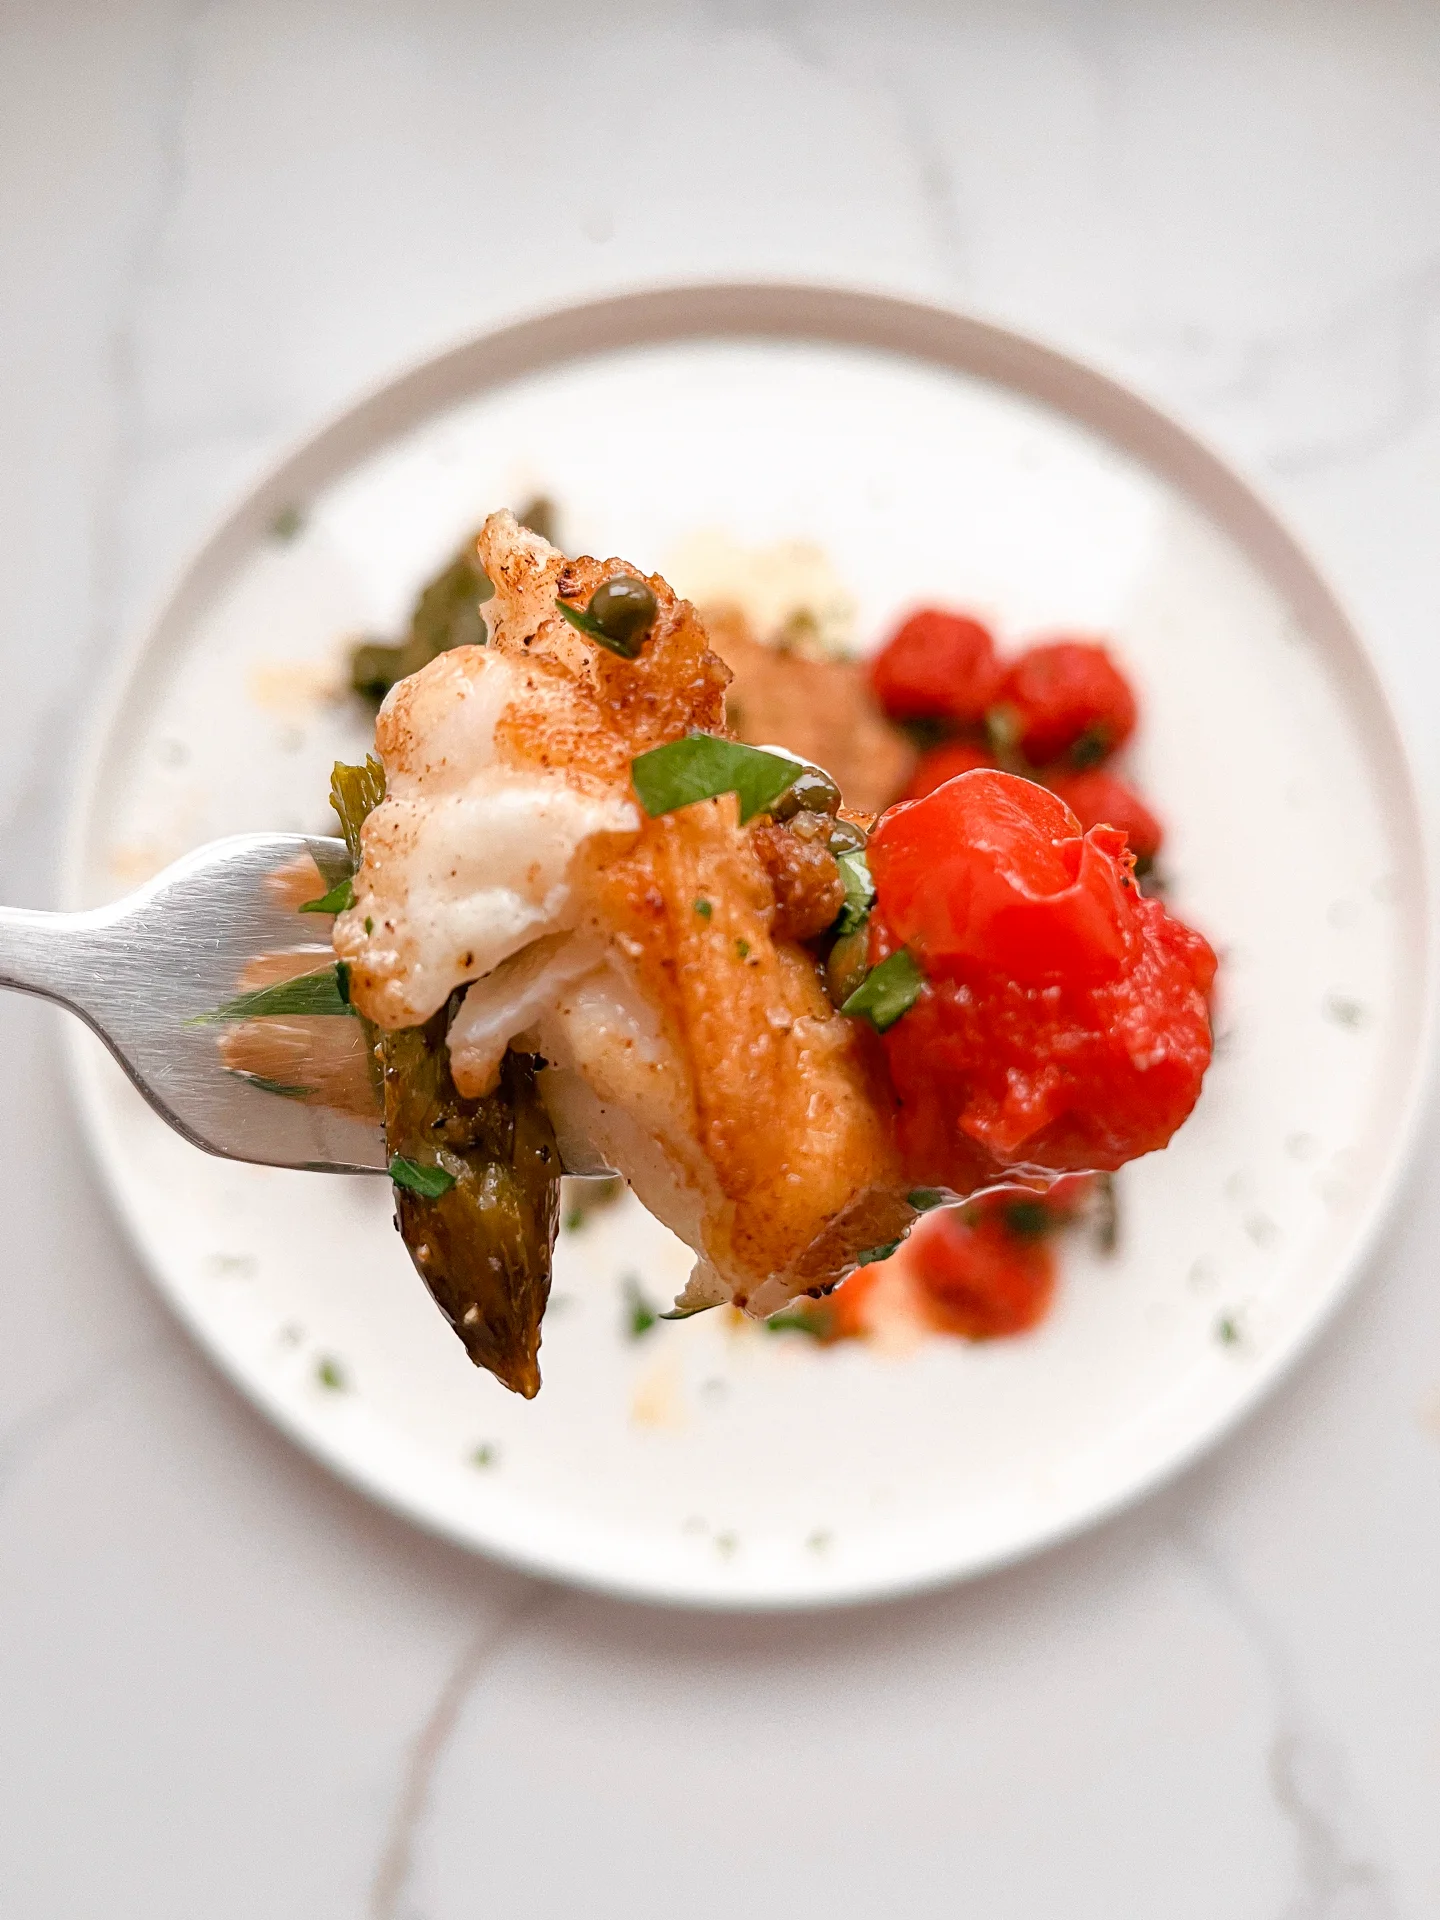
CRAVING MORE?

Follow along here & don’t forget to subscribe to my substack!

Cajun Bang Bang Salmon Rice Bowl

Cajun Bang Bang Salmon Rice Bowl

Cajun Bang Bang Salmon Rice Bowl

Cajun Bang Bang Salmon Rice Bowl

February 7, 2024 by Kimberly

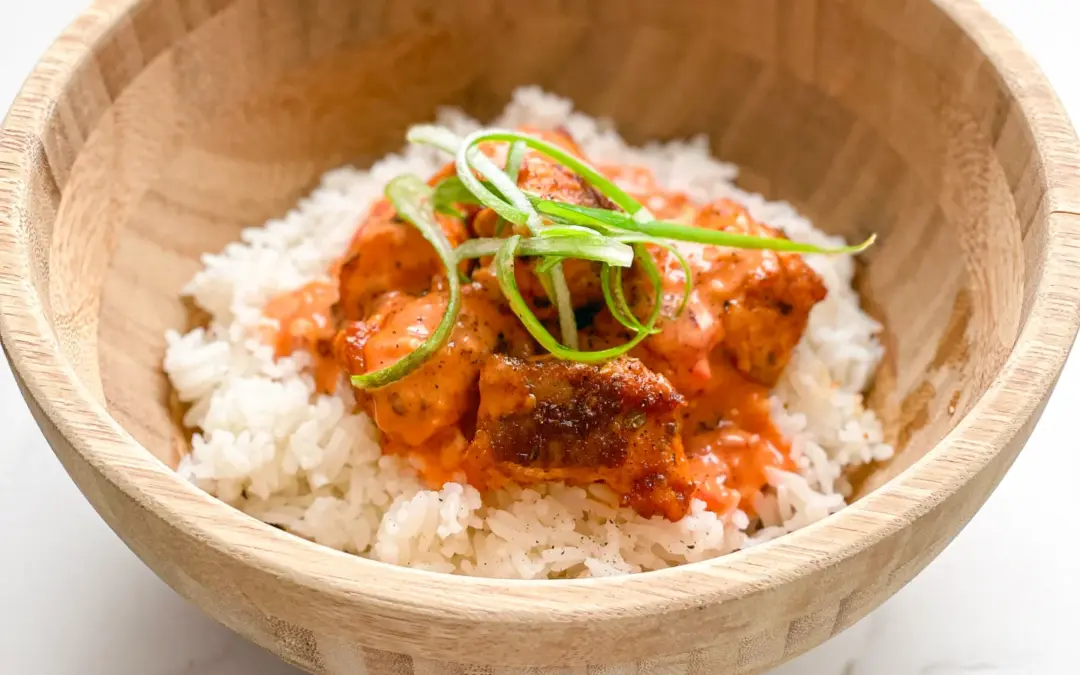
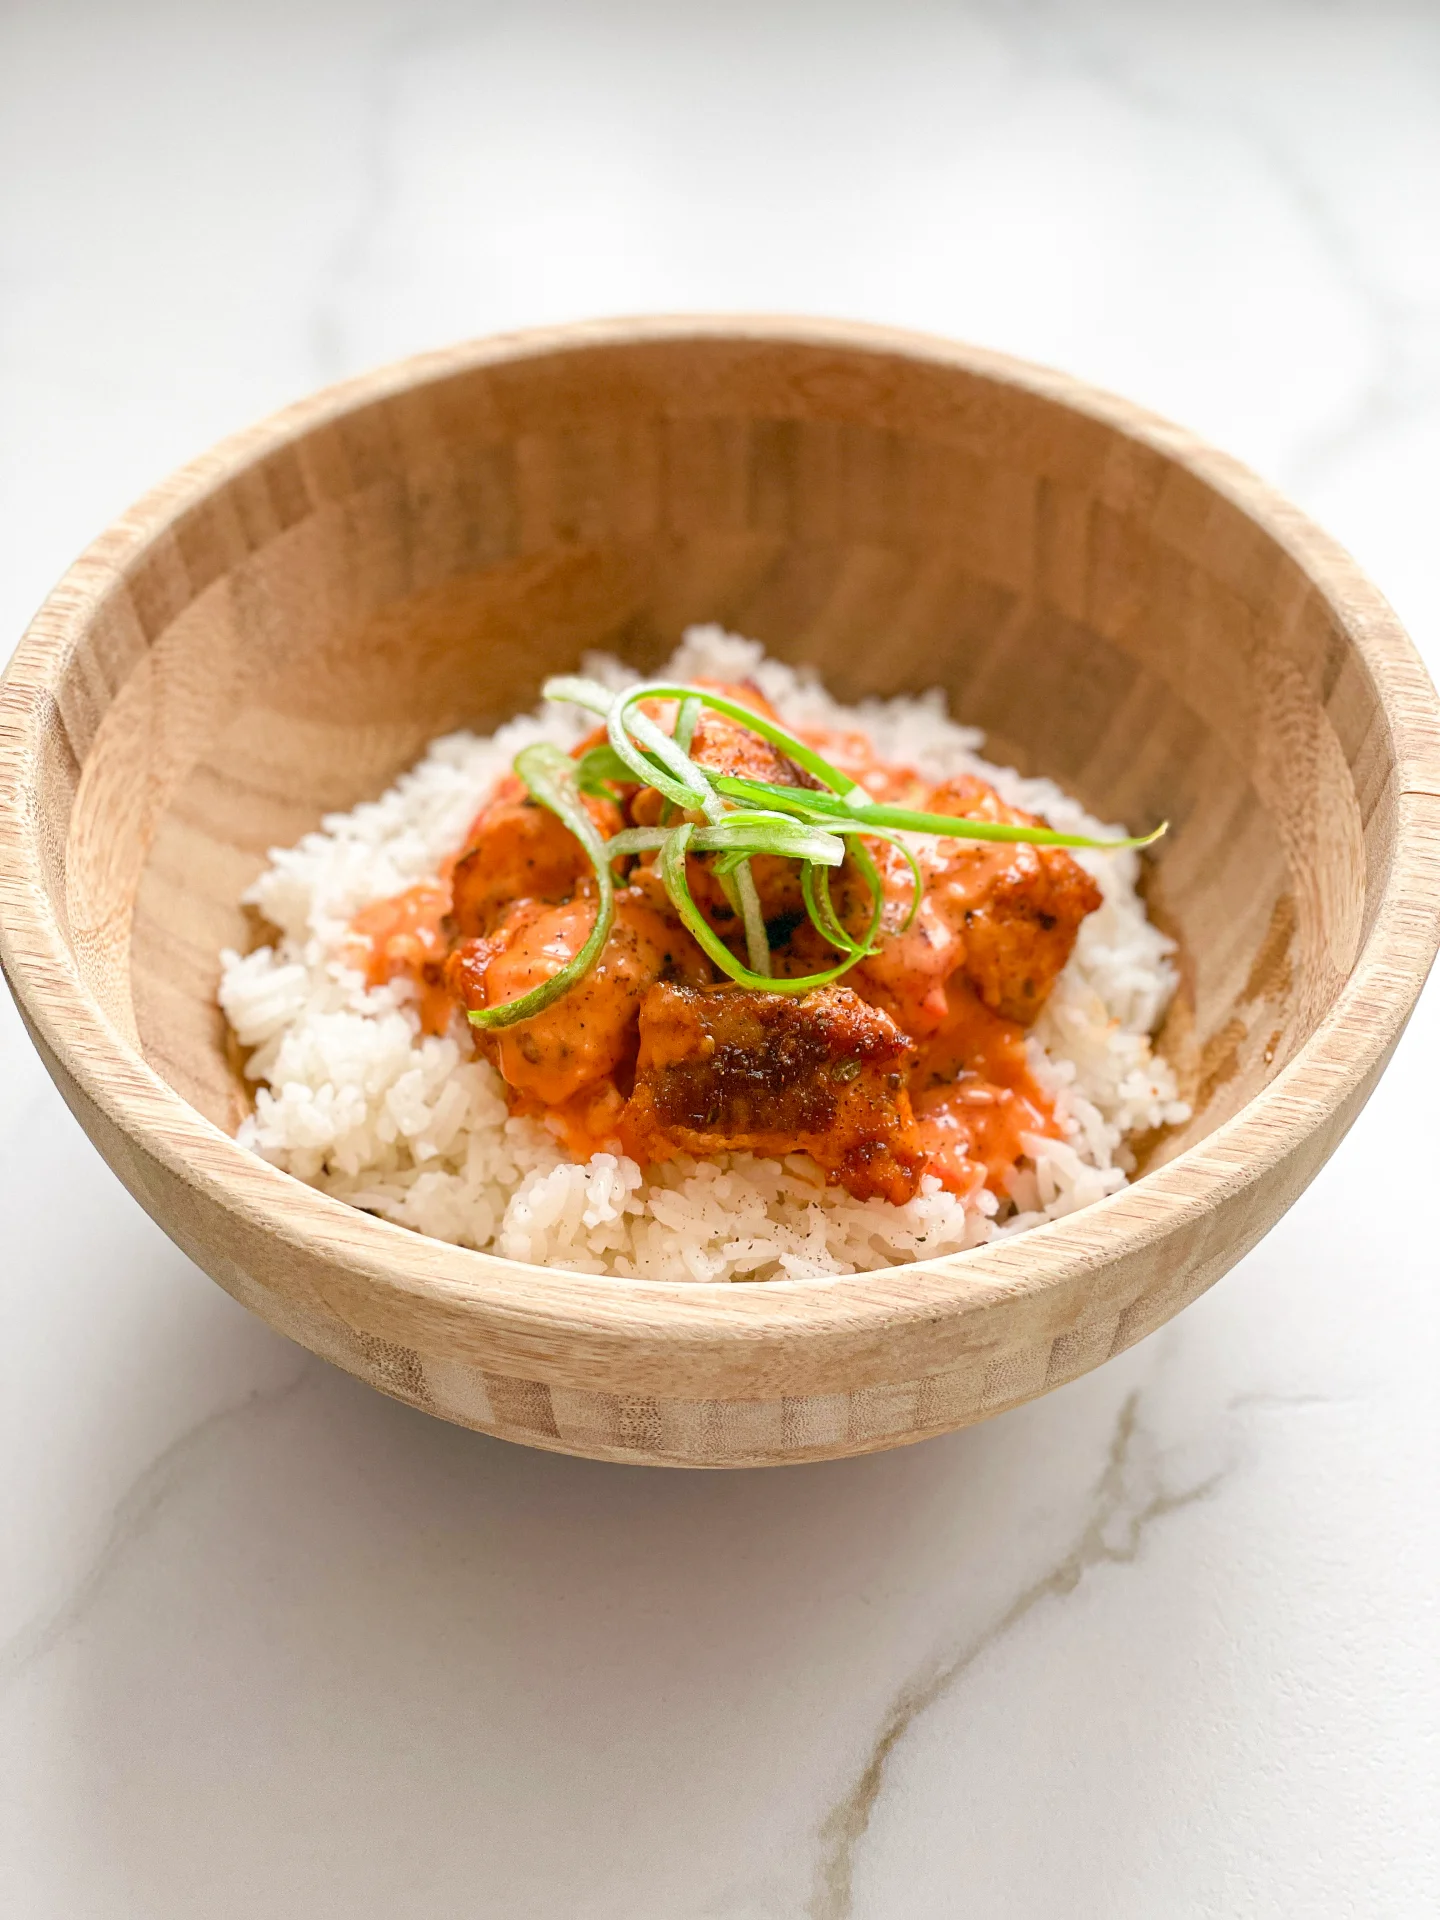
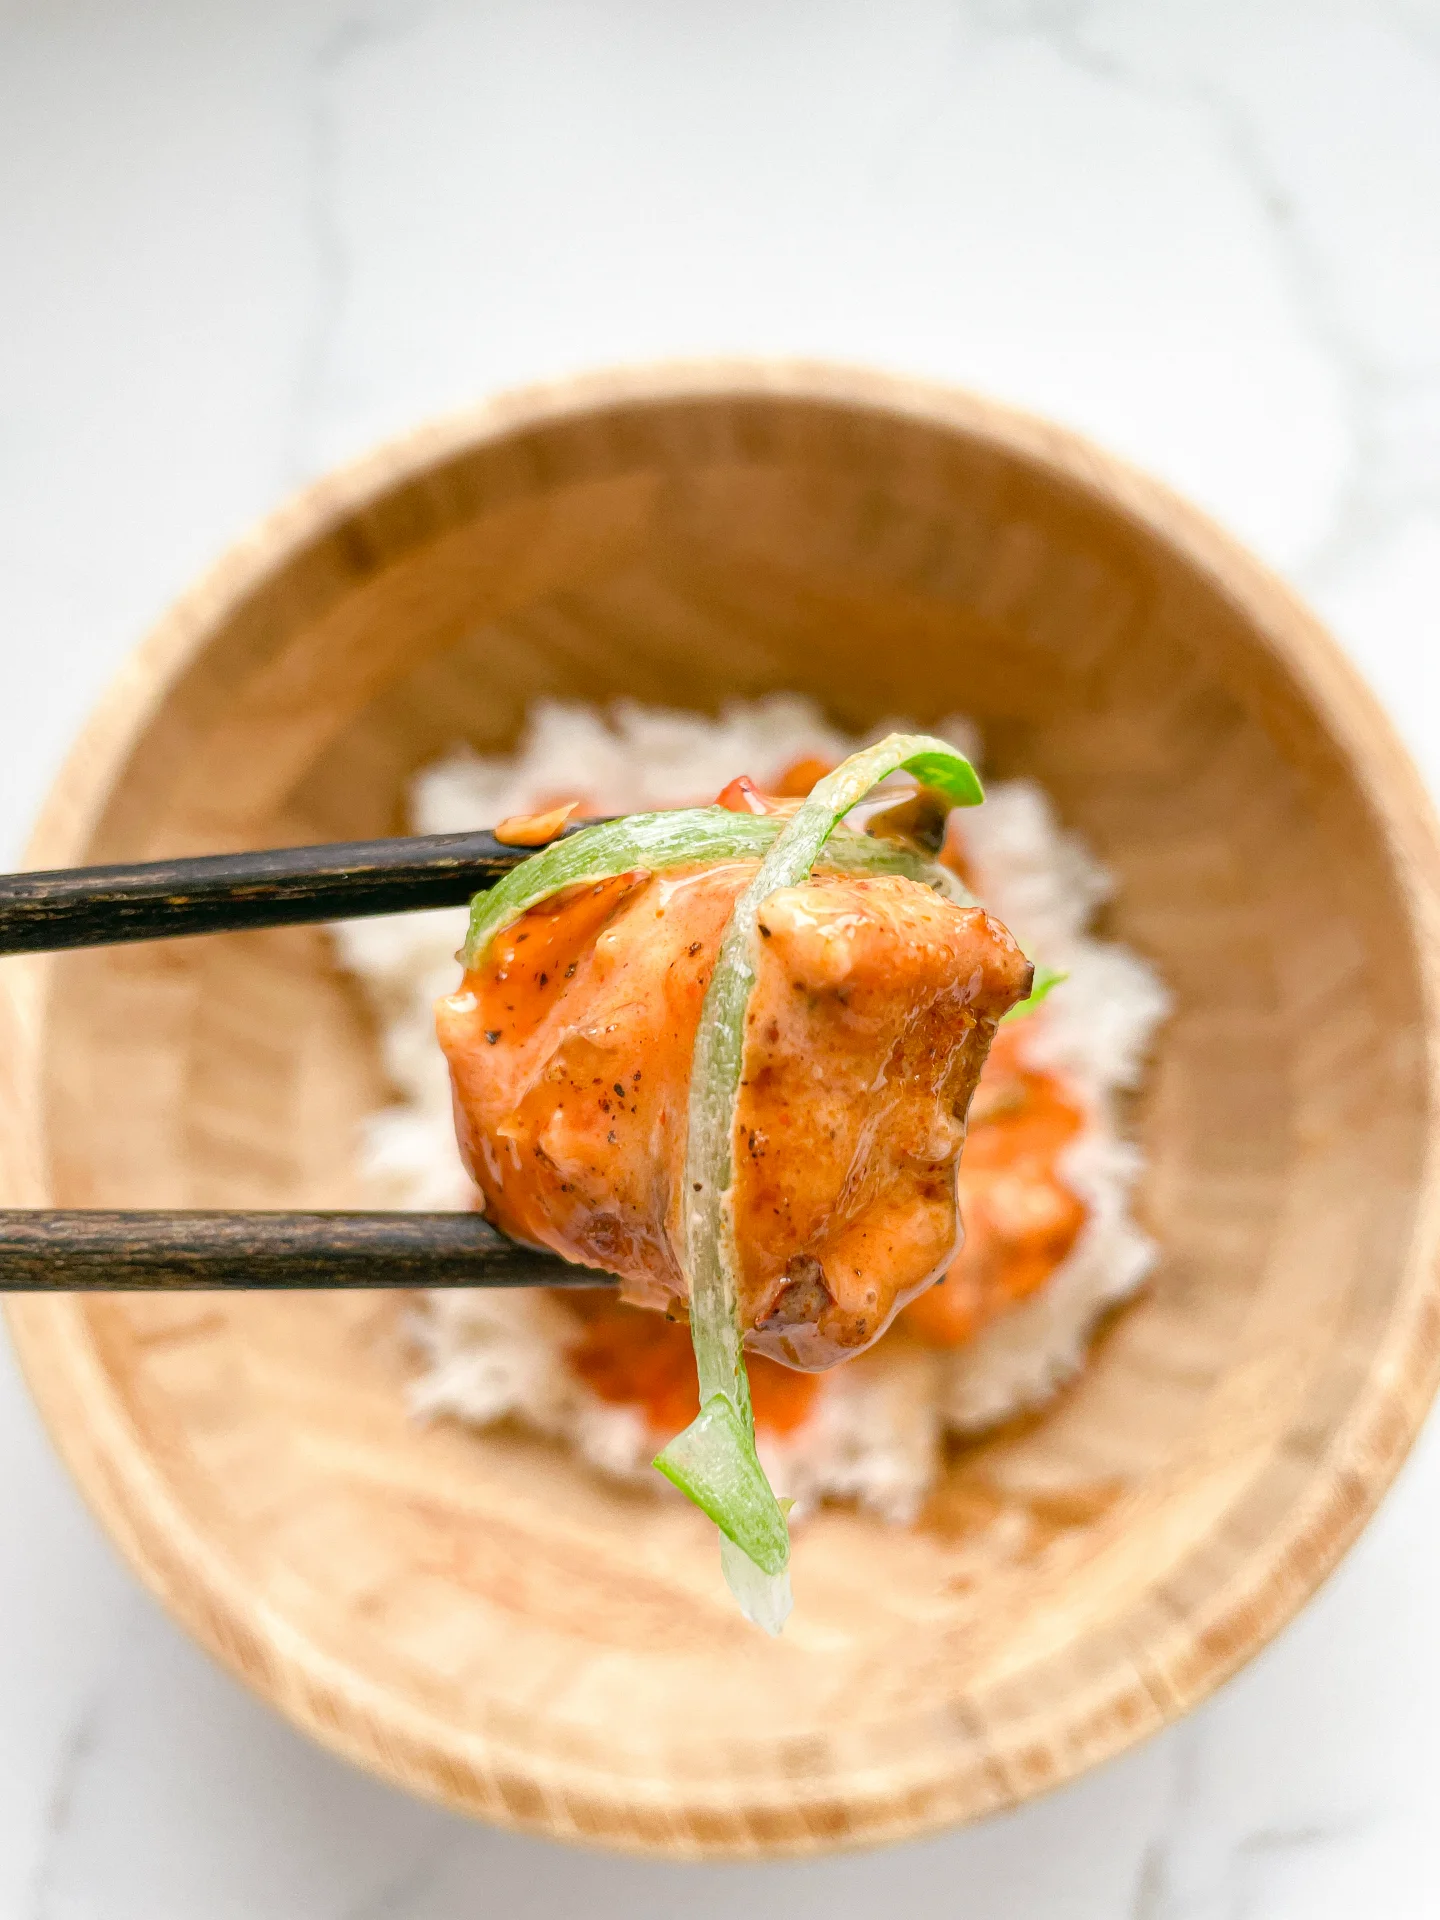
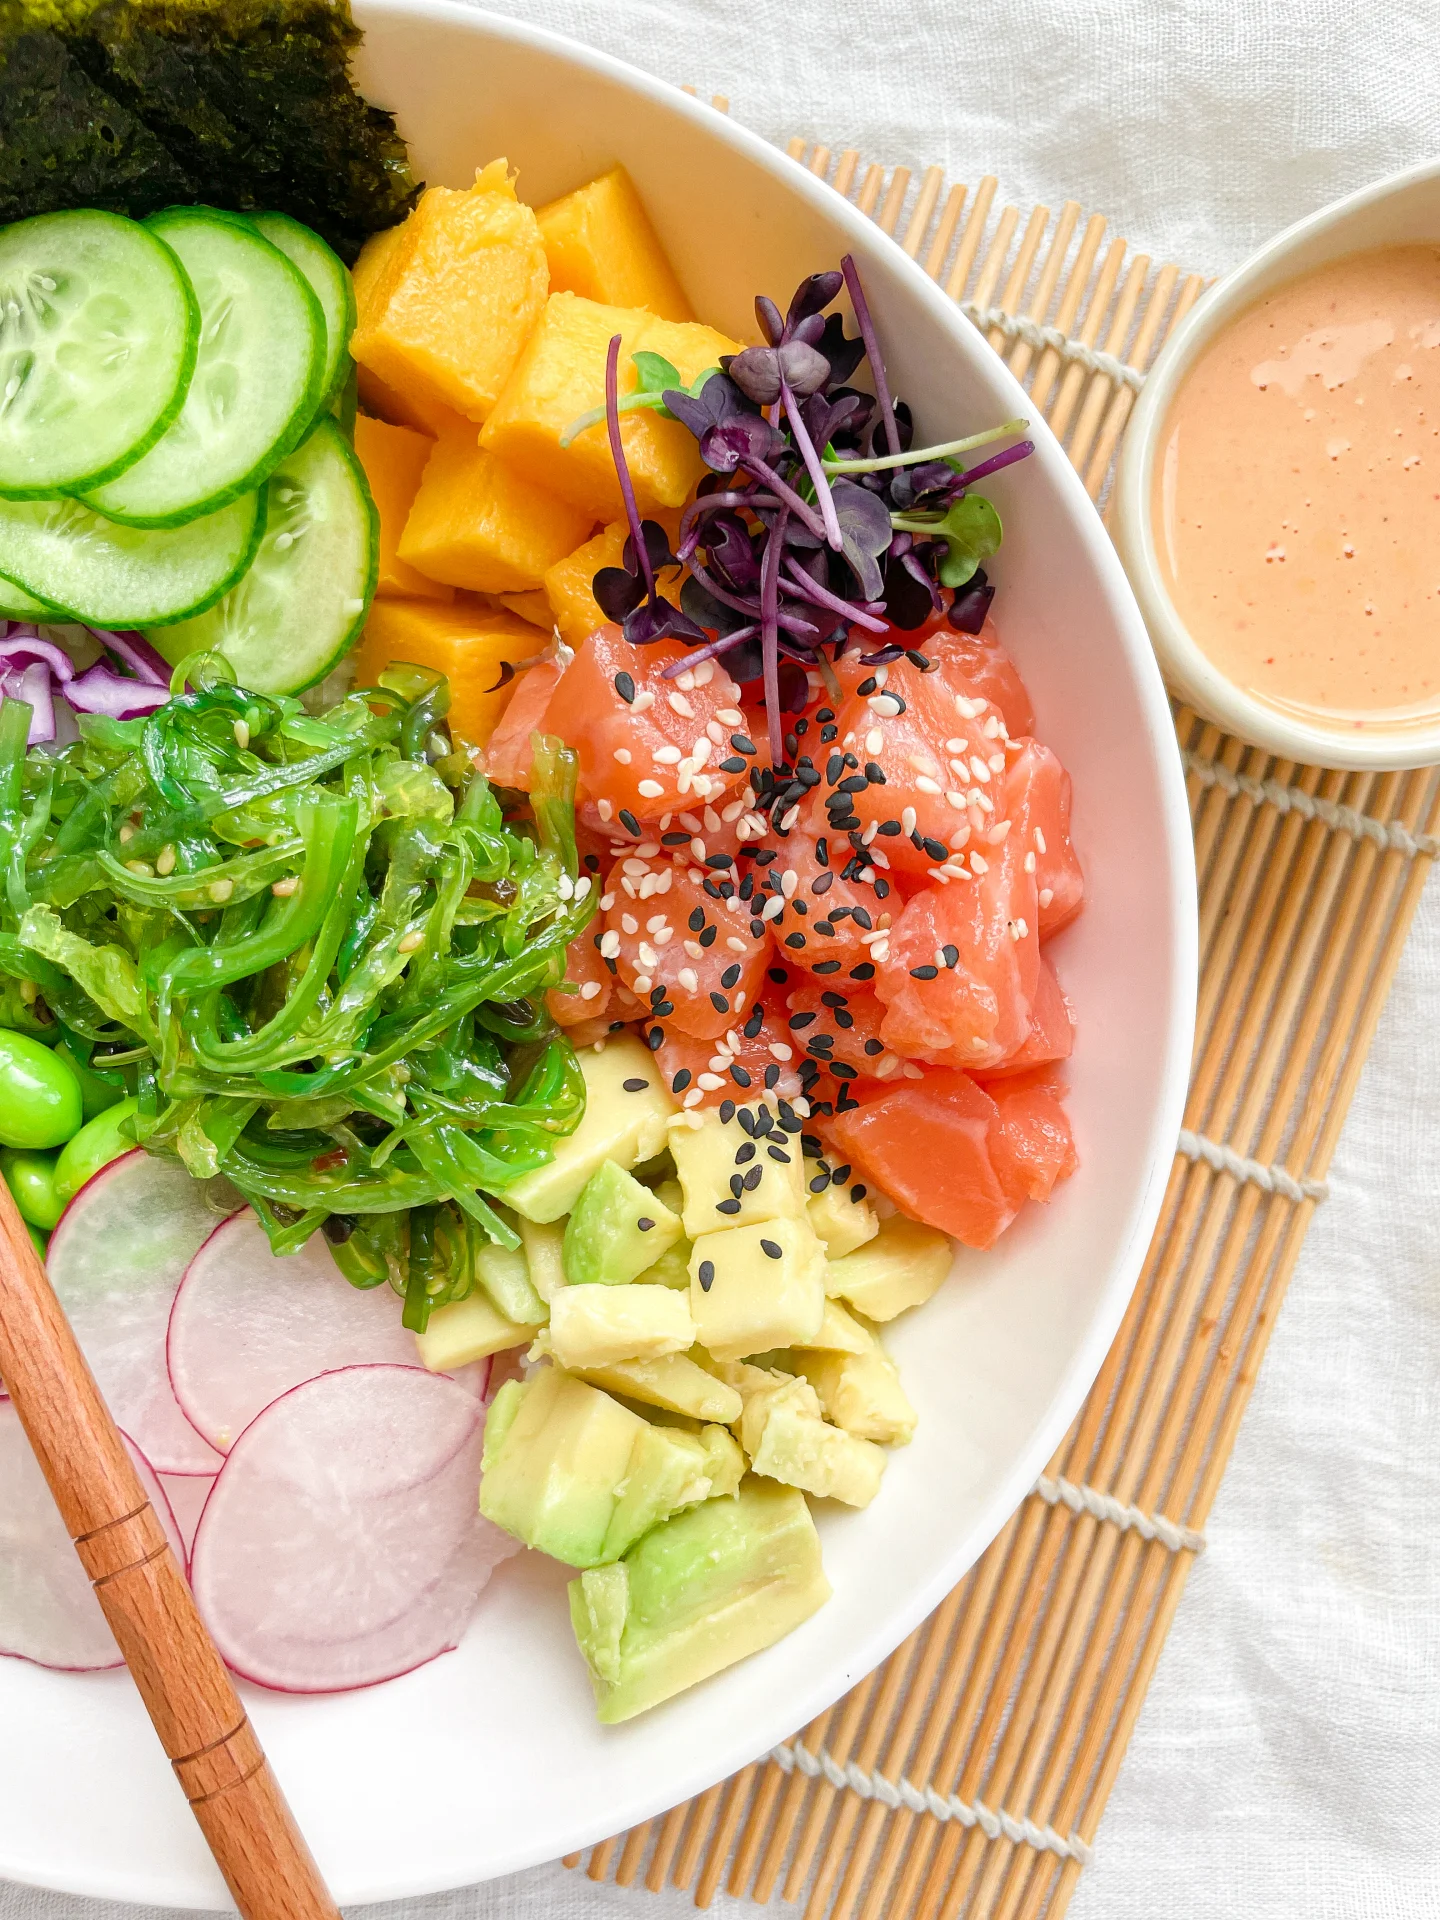
Discover the taste of Cajun-spiced Salmon Bites, paired with fluffy rice for a quick, savory meal. Perfect for an easy, delightful seafood experience!

This website uses affiliate links which may earn commission for purchases made at no additional cost to you.

TOTAL TIME

25 min

SERVES

2 portions

DIET

omnivore

EVERY RECIPE DESERVES

A Little Love Letter

Dive into the vibrant world of Cajun cuisine with my Cajun Salmon Recipe, a perfect blend of bold flavors and nutritious ingredients. These Spicy Salmon Bites offer a tantalizing experience, bringing the essence of Southern cooking right to your plate. Ideal for those who love Easy Seafood Meals, this dish combines the simplicity of cooking with an explosion of taste, making it a must-try for seafood enthusiasts.

The salmon bites, with their perfect Cajun seasoning, are best paired with fluffy, light rice, enhancing the rich flavors of the fish. This pairing makes for an irresistible combination and lands this dish among the top quick salmon dishes. Whether you’re hosting a dinner party or looking for a simple yet flavorful seafood recipe for your family, these Cajun Salmon Bites will not disappoint. Their versatility also makes them a great option for a healthy salmon idea, fitting into various meal plans.

Keep any leftovers in an airtight container in the refrigerator, ensuring they stay fresh. Make sure to store each ingredient in a separate container. They can be easily reheated for a quick meal, maintaining their delicious taste and texture.

Hi, I'm Kimberly!

Hi, I'm Kimberly.

A hopeless romantic when it comes to food. Every recipe I share is a love letter to food itself. I’m so glad you’re here. Make yourself at home and stay a while.

Love,
Kimberly

Kimberly the Zett Signature

If you want to get to know me better,
click here!


Cajun Bang Bang Salmon Rice Bowl

LET’S MAKE A PIECE OF HAPPINESS

Print
clock clock iconcutlery cutlery iconflag flag iconfolder folder iconinstagram instagram iconpinterest pinterest iconfacebook facebook iconprint print iconsquares squares iconheart heart iconheart solid heart solid icon
Cajun Bang Bang Salmon Rice Bowl

Cajun Bang Bang Salmon Rice Bowl


  • Author: Kimberly
  • Total Time: 25 min
  • Yield: 2 1x

Description

GOOD TO HAVE ON HAND

  • sharp knife
  • cutting board
  • medium bowl
  • small bowl
  • rice cooker (or pot with lid)


Ingredients

Units Scale
SALMON
  • 300 grams salmon fillet
  • 1 tbsp cajun seasoning
  • 2 tbsp olive oil
SAUCE
  • 50 grams mayonnaise
  • 50 grams sweet & sour sauce
  • 1 tbsp sriracha sauce
  • 1 tbsp lemon juice
  • 1 tsp crispy chili oil
  • 1 garlic clove
RICE
  • 300 grams jasmine rice
  • 400 milliliters water
TOPPING
  • spring onions

Instructions

  • Preheat the oven to 180°C (350°F)
  • Cut the spring onions into thin strips.
  • Cut the lemon in half.
  • Peel the garlic clove.
  • Pat the salmon dry and cut into large pieces.
  • Wash the rice until the water runs clear. Then cook the rice with 400ml (1 3/4 cups) of fresh water in the rice cooker. If you don’t have a rice cooker, you can cook the rice in a pot with a lid. To do so bring to a boil and then finish cooking on the lowest setting with the lid on.
  • In a medium-sized bowl, mix together the marinade for the salmon. Stir together the olive oil and Cajun seasoning and add the salmon bites. Stir everything well and then place the salmon pieces on a baking tray lined with baking paper.
  • Meanwhile, prepare the sauce. In a small bowl, mix together the mayonnaise, sweet and sour sauce, Sriracha, lemon juice, crispy chili oil and crushed garlic.
  • Remove the salmon from the oven after 5-7 minutes. Now divide the rice into two bowls, place the salmon bites on top and spread the sauce over them. Finally, top with spring onions.
  • Cook Time: 25 min

CRAVING MORE?

Follow along here & don’t forget to subscribe to my substack!

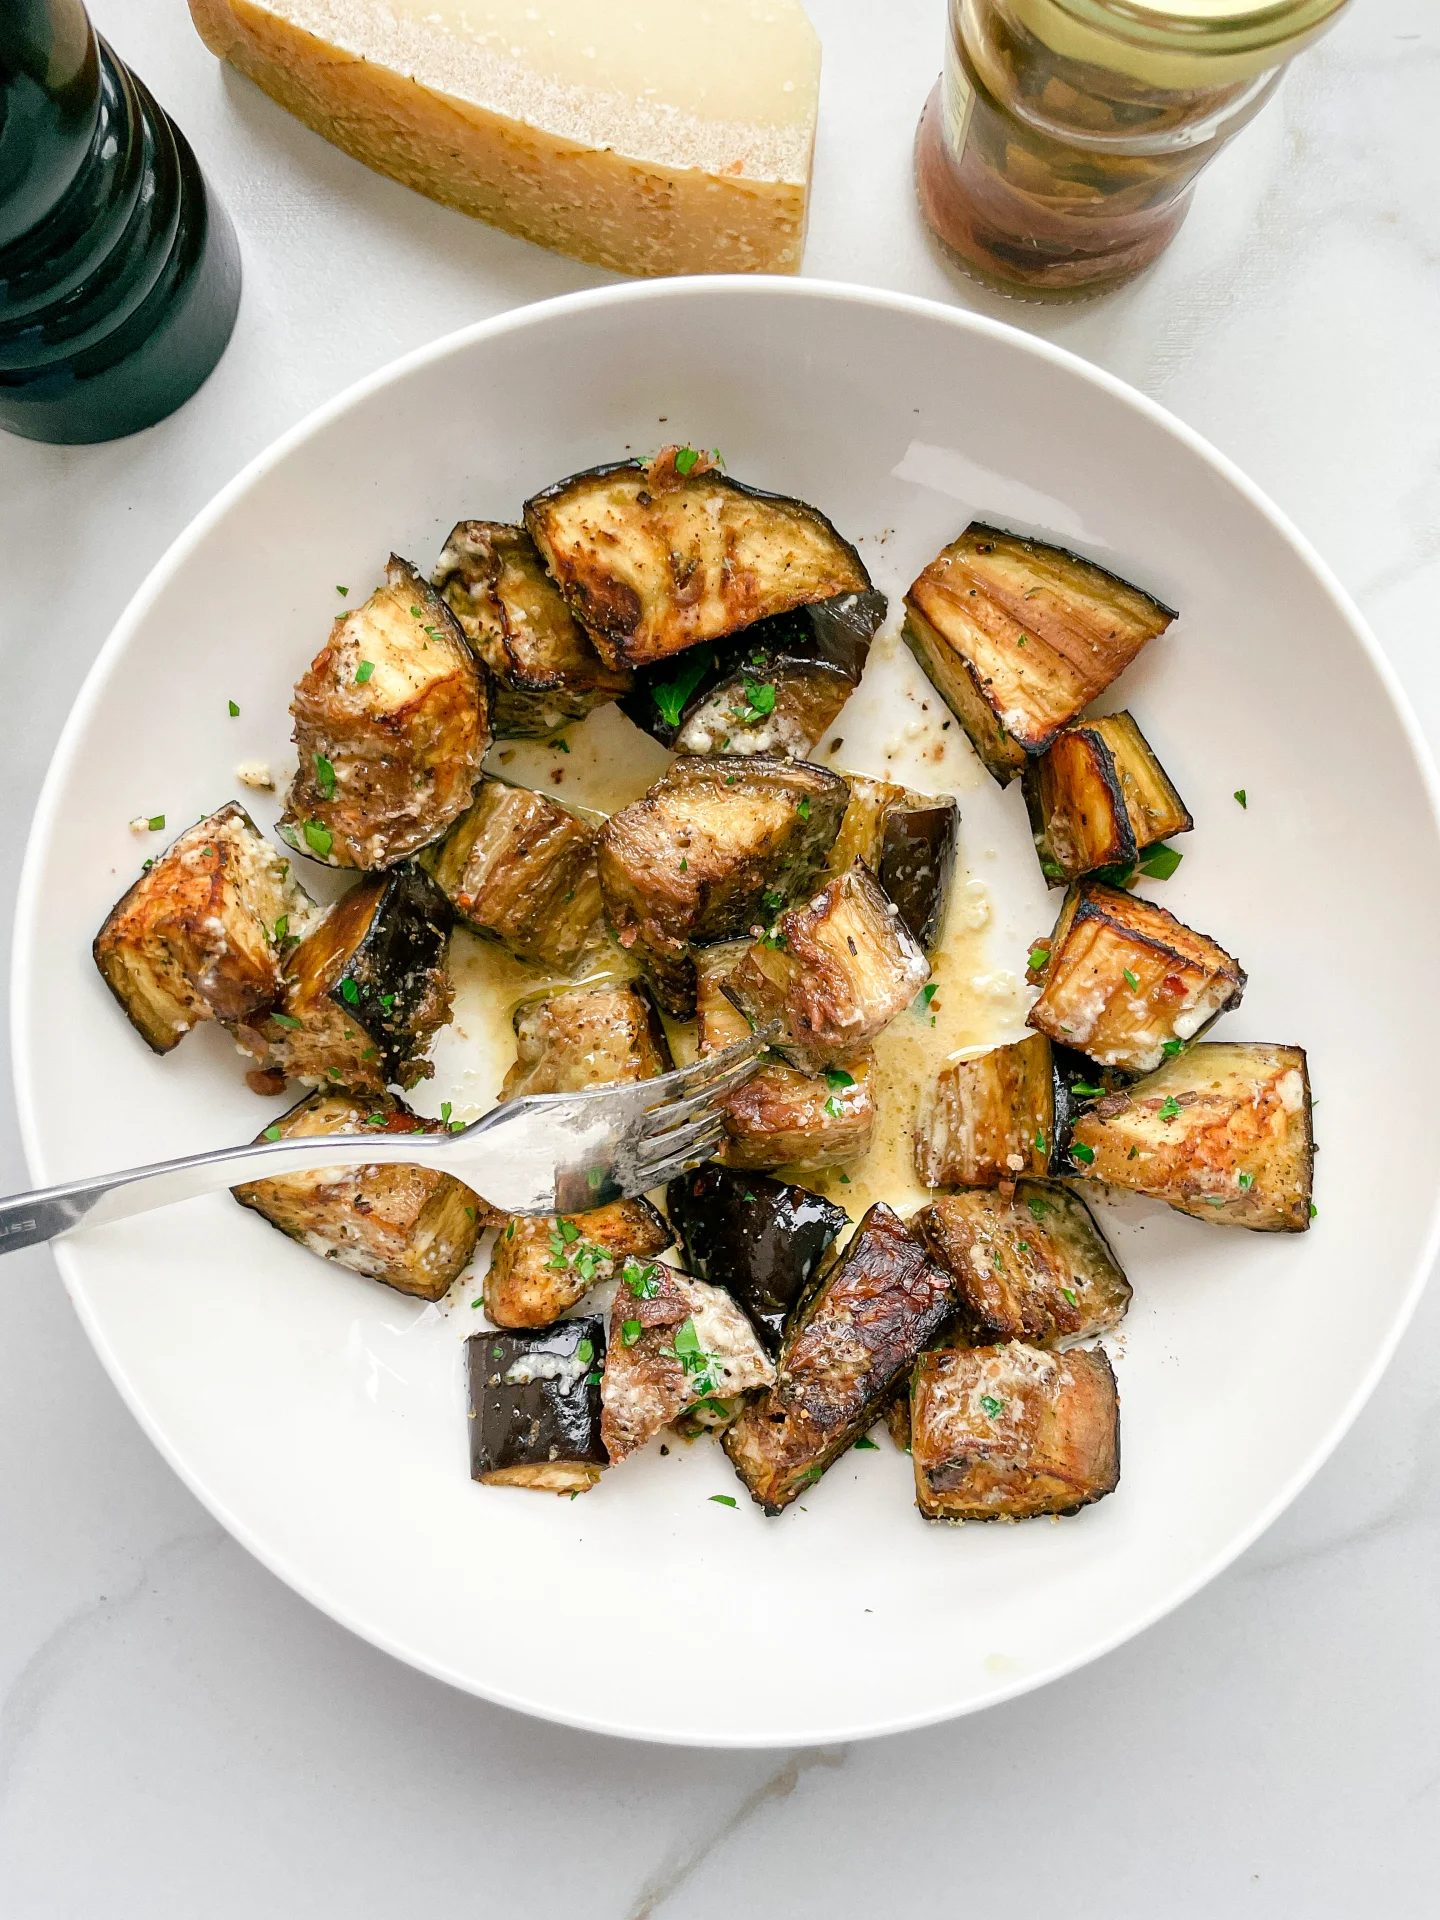
Roasted Eggplants with Parmesan Vinaigrette & Melted Anchovy Oil

Roasted Eggplants with Parmesan Vinaigrette & Melted Anchovy Oil

Roasted Eggplants with Parmesan Vinaigrette & Melted Anchovy Oil

Roasted Eggplants with Parmesan Vinaigrette & Melted Anchovy Oil

January 24, 2024 by Kimberly

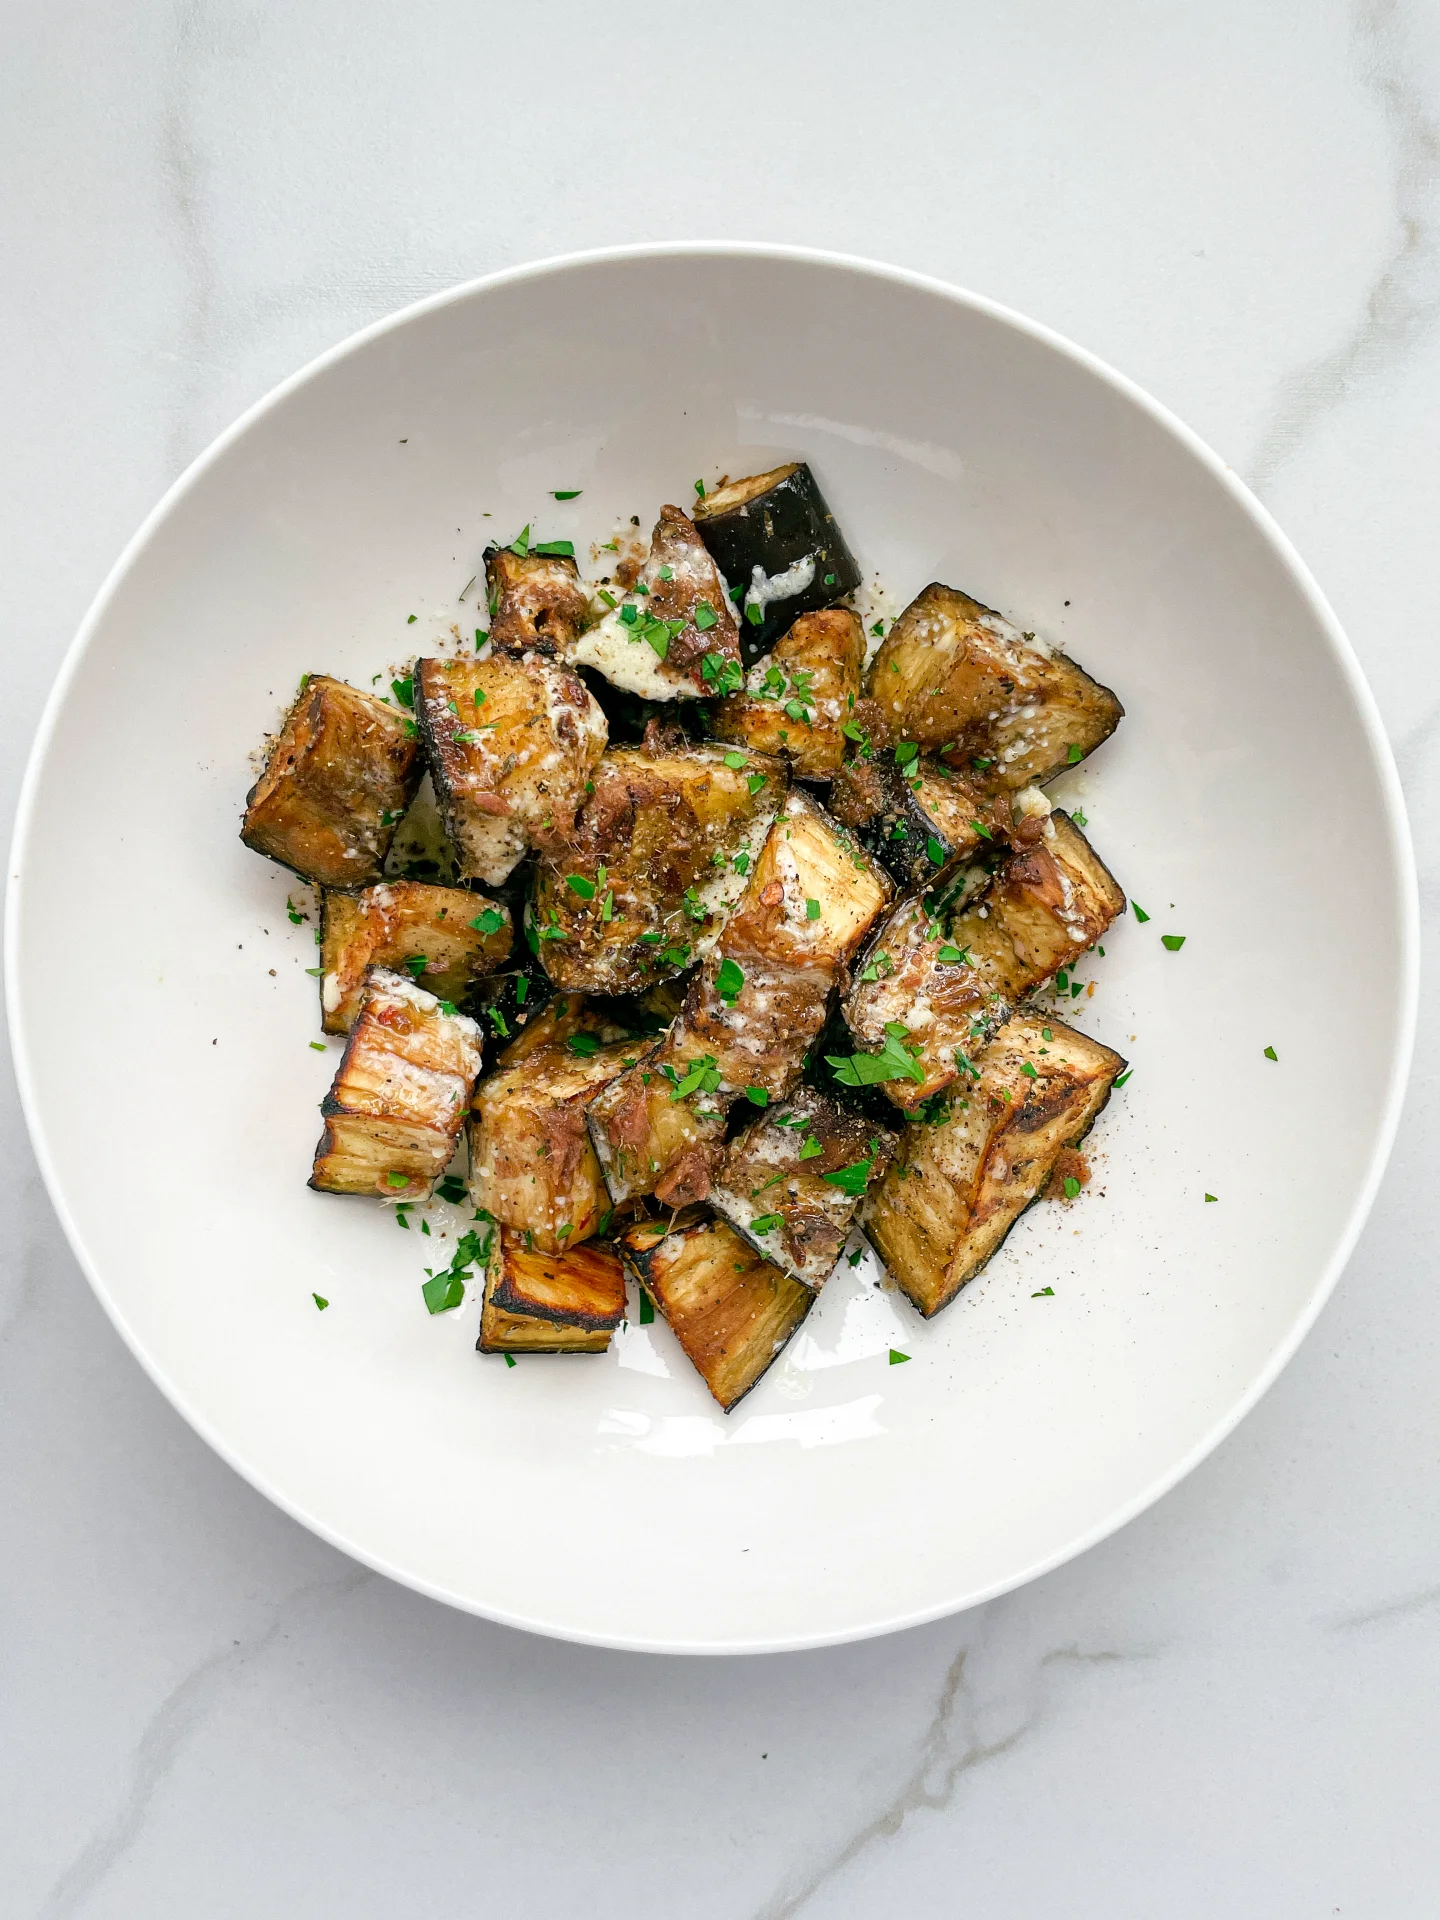
Discover the delight of Roasted Eggplants, enhanced with savory Parmesan Vinaigrette and rich Melted Anchovy Oil – a simple yet exquisite culinary experience!

This website uses affiliate links which may earn commission for purchases made at no additional cost to you.

TOTAL TIME

25 min

SERVES

4 portions

DIET

omnivore

EVERY RECIPE DESERVES

A Little Love Letter

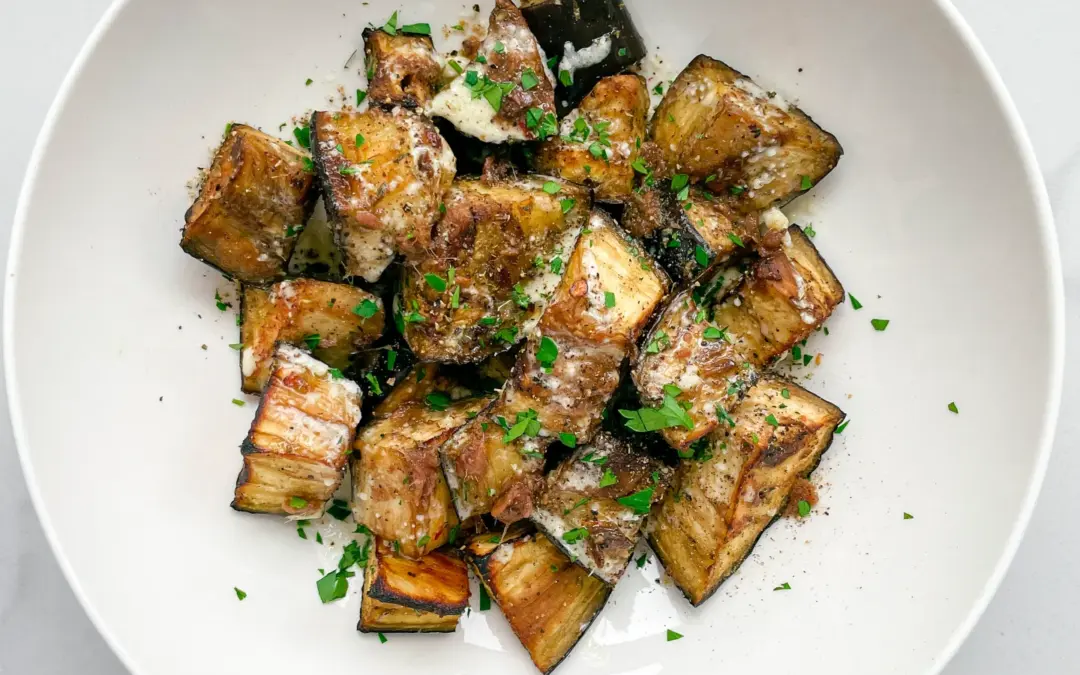
Embark on a culinary journey with this roasted eggplants, a dish that transforms simple ingredients into a symphony of flavors. This gourmet dish, featuring the subtle smokiness of perfectly roasted eggplants, is elevated with a luxurious Parmesan Vinaigrette and a unique melted Anchovy Oil. Ideal for both intimate dinners and special gatherings, it showcases the versatility and richness of eggplant in a new, exciting way.

Present the Roasted Eggplants warm, drizzled generously with the homemade Parmesan Vinaigrette. The Melted Anchovy Oil adds an unexpected depth, creating a savory experience that’s both heartwarming and sophisticated. Pair it with a light salad or crusty bread to absorb the exquisite flavors. It’s a flavorful vegetable dish that stands out, whether as a main course or a luxurious side.

Keep any leftovers in an airtight container, refrigerated. It maintains its deliciousness for up to one day, making it a convenient and healthy eggplant entree option. The flavors even deepen over time, offering a rich, savory experience with each bite. Reheat gently to preserve the delicate balance of flavors, and enjoy the convenience of a gourmet meal at any time.

Hi, I'm Kimberly!

Hi, I'm Kimberly.

A hopeless romantic when it comes to food. Every recipe I share is a love letter to food itself. I’m so glad you’re here. Make yourself at home and stay a while.

Love,
Kimberly

Kimberly the Zett Signature

If you want to get to know me better,
click here!


Roasted Eggplants with Parmesan Vinaigrette & Melted Anchovy Oil

LET’S MAKE A PIECE OF HAPPINESS

Print
clock clock iconcutlery cutlery iconflag flag iconfolder folder iconinstagram instagram iconpinterest pinterest iconfacebook facebook iconprint print iconsquares squares iconheart heart iconheart solid heart solid icon
Roasted Eggplants with Parmesan Vinaigrette & Melted Anchovy Oil

Roasted Eggplants with Parmesan Vinaigrette & Melted Anchovy Oil


  • Author: Kimberly
  • Total Time: 25 min
  • Yield: 4 1x

Description

GOOD TO HAVE ON HAND

  • sharp knife
  • cutting board
  • medium-sized bowl
  • sealable jar
  • cheese grater
  • small pot


Ingredients

Units Scale
EGGPLANT
  • 2 eggplants
  • 4 tbsp olive oil
  • 1 tsp oregano
  • 1/4 tsp chili flakes
  • 1/8 tsp salt
  • 1/8 tsp pepper
PARMESAN VINAIGRETTE
  • 2 tbsp olive oil
  • 1 tsp white wine vinegar
  • 50 milliliters vegetable stock (5 tbsp)
  • 1 tsp honey
  • 1 tsp dijon mustard
  • 1 garlic clove
  • 2 tbsp creme fraiche
  • 2 tbsp grated parmesan
  • 1/8 tsp salt
  • 1/8 tsp pepper
ANCHOVY OIL
  • 2 tbsp olive oil
  • 4 anchovie filets
TOPPINGS
  • parsley
  • freshly grated pepper

Instructions

  • Wash the eggplants thoroughly and cut into chunks and finely grate the Parmesan.
  • Place the eggplant chunks in a medium bowl and mix with 4 tbsp olive oil, 1 tsp dried oregano, 1/4 tsp chili flakes, 1/8 tsp salt and 1/8 tsp ground pepper. Place the eggplant pieces on baking paper, spread evenly and bake in the oven at 230°C (450°F) for 15-20 minutes until crispy.
  • In the meantime, stir together the Parmesan vinaigrette. To do this, place the following ingredients in a sealable jar and shake well: 1 crushed garlic clove, 1 tsp white wine vinegar, 1 tsp Dijon mustard, 2 tbsp creme fraiche, vegetable stock, 2 tbsp olive oil, 2 tbsp grated Parmesan, 1 tsp honey, 1/8 tsp salt and 1/8 tsp ground pepper. Set aside.
  • Heat 2 tbsp olive oil in a small pan over a medium heat. Add the anchovy fillets and stir until the anchovies have dissolved in the oil.
  • Remove the eggplants from the oven and arrange on plates. Spread the vinaigrette over the eggplants and top with anchovy oil, parsley and freshly ground pepper.
  • Cook Time: 25 min

CRAVING MORE?

Follow along here & don’t forget to subscribe to my substack!

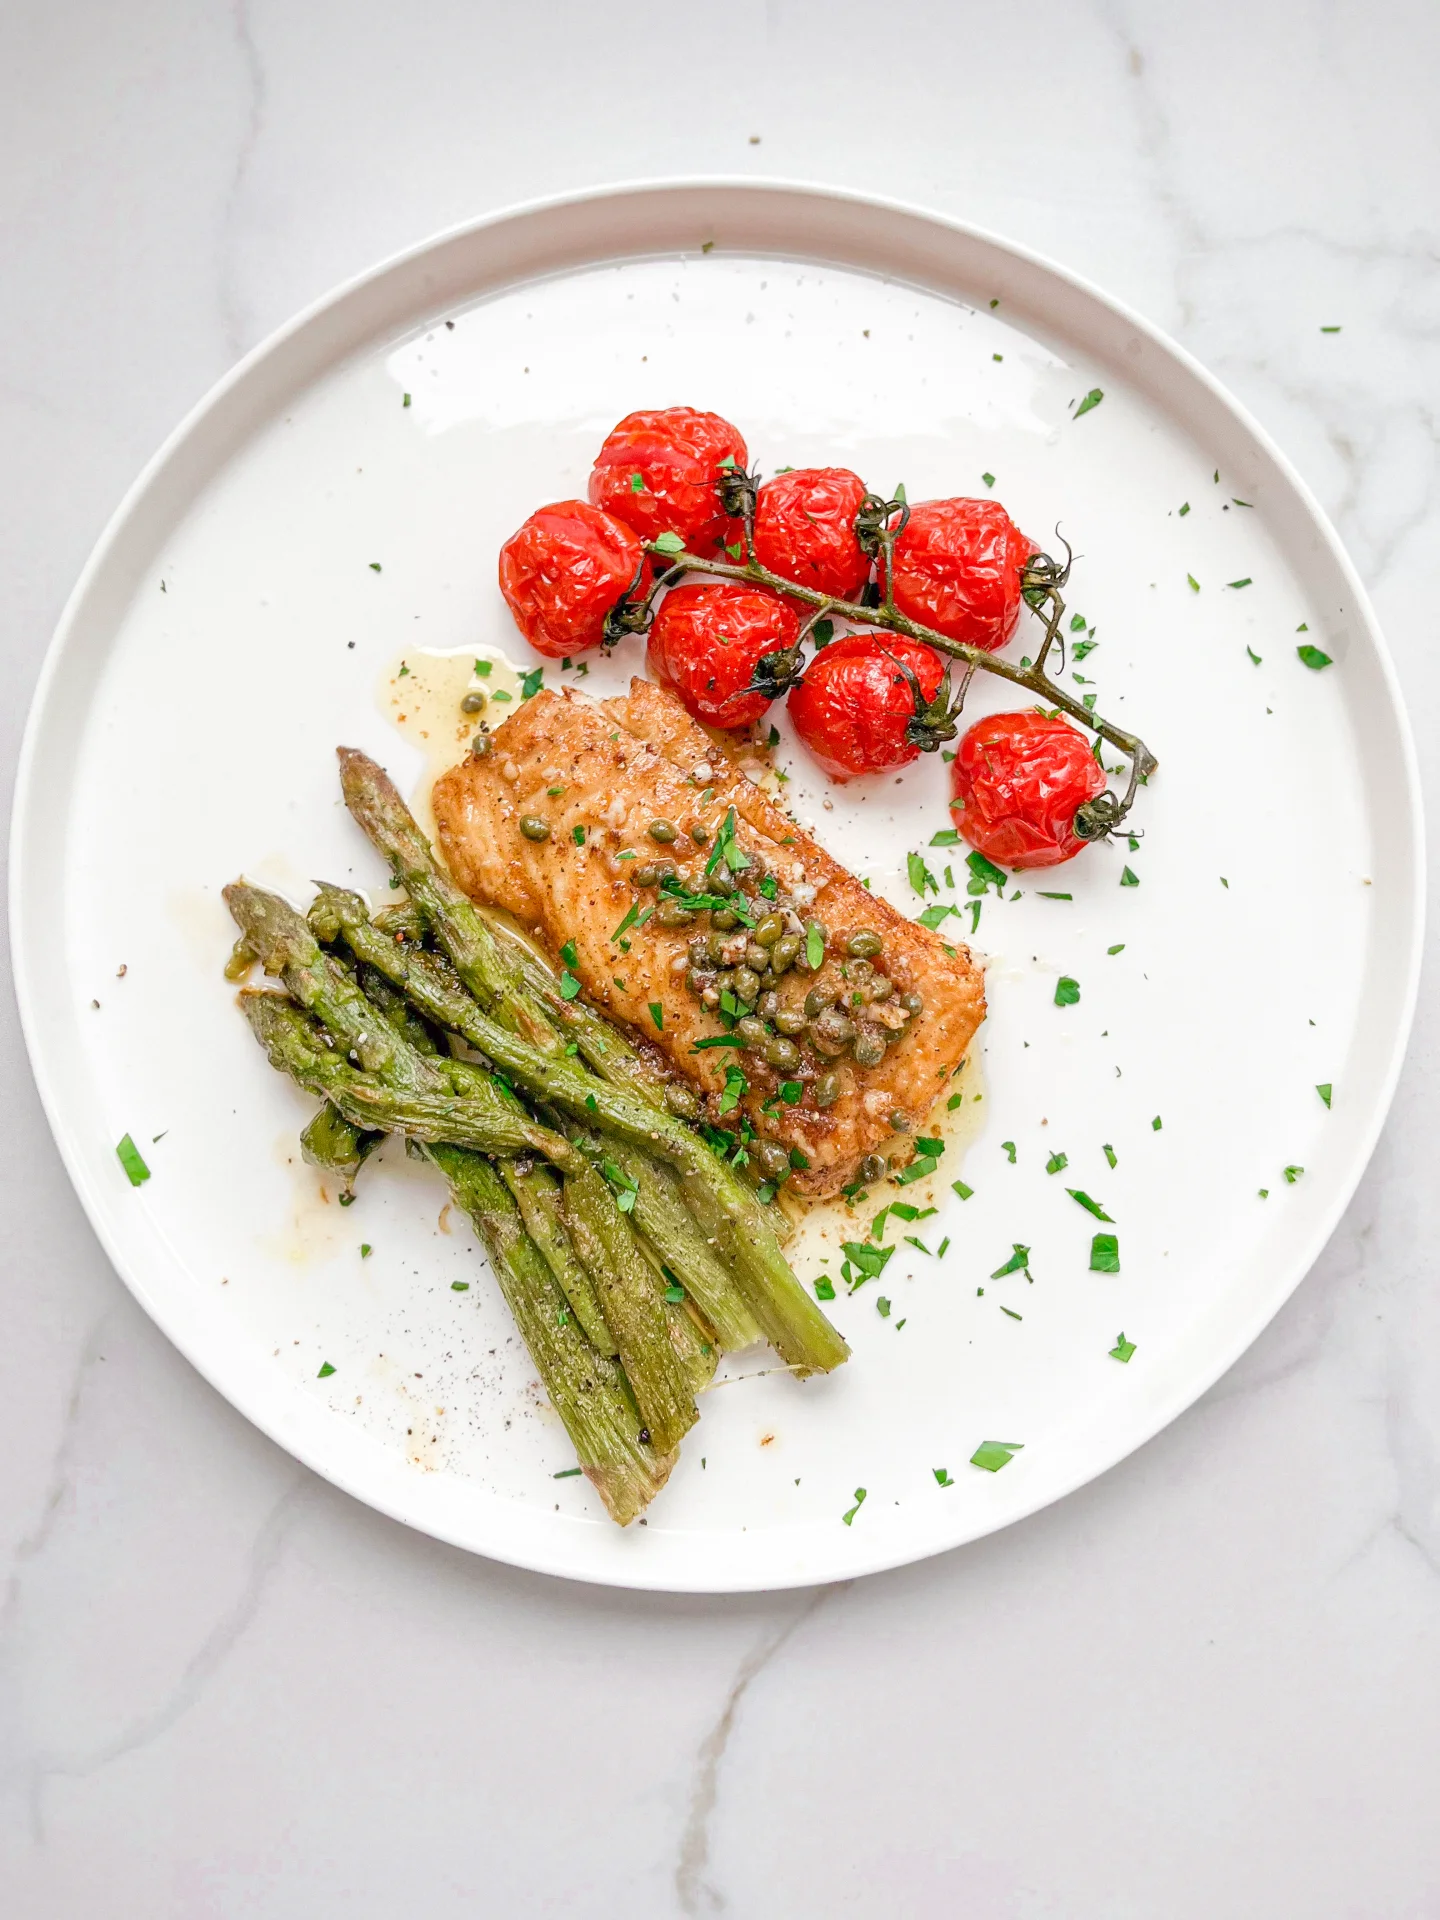
Cod with Caper Lemon Butter Baked Asparagus & Vine Tomatoes

Cod with Caper Lemon Butter Baked Asparagus & Vine Tomatoes

Cod with Caper Lemon Butter Baked Asparagus & Vine Tomatoes

Cod with Caper Lemon Butter Baked Asparagus & Vine Tomatoes

January 17, 2024 by Kimberly

Savor the zesty blend of Cod with Caper Lemon Butter, complemented by tender baked asparagus and juicy vine tomatoes. A delicious, wholesome dinner for any day!

This website uses affiliate links which may earn commission for purchases made at no additional cost to you.

TOTAL TIME

25 min

SERVES

2 portions

DIET

omnivore

EVERY RECIPE DESERVES

A Little Love Letter

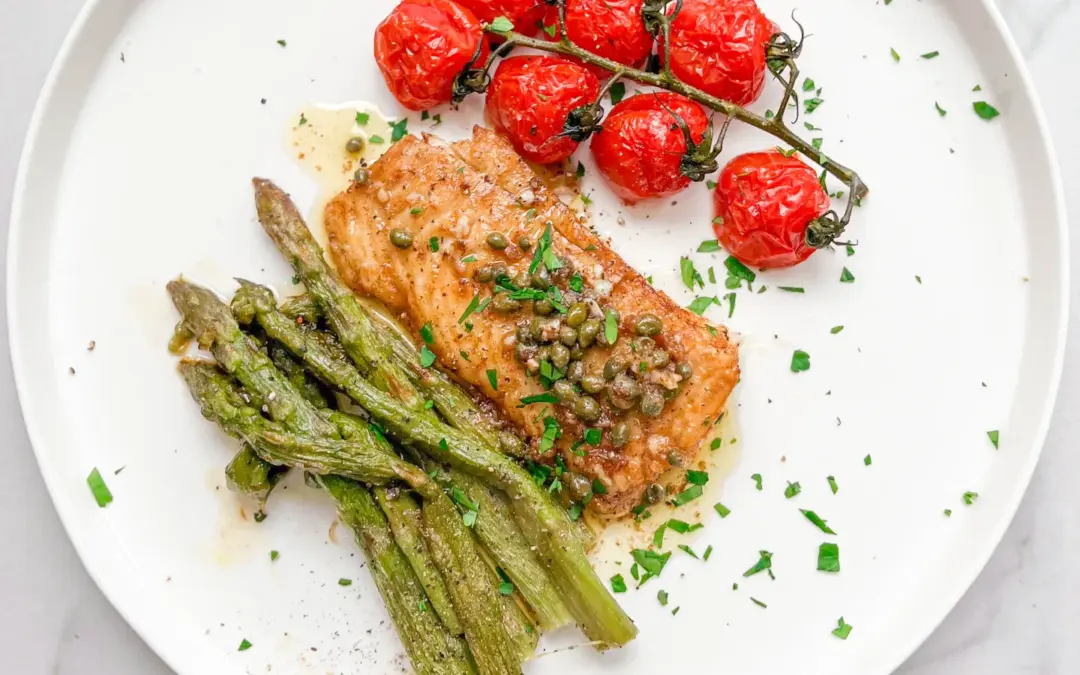
Delight your taste buds with this exquisite Cod with Caper Lemon Butter, Baked Asparagus & Vine Tomatoes recipe. This dish is a perfect blend of flavors, combining the mild, flaky texture of cod with the zesty tang of caper lemon butter. Complemented by the earthy taste of baked asparagus and the sweetness of vine tomatoes, it’s a healthy seafood dish that’s both nutritious and indulgent. Ideal for a quick, yet elegant family dinner, this recipe brings gourmet home cooking to your table with simple, seasonal ingredients.

To serve this delightful meal, plate the perfectly cooked cod as the centerpiece. Drizzle it generously with the aromatic caper lemon butter sauce, ensuring each bite is infused with its rich flavor. Accompany the fish with a side of tender, oven-roasted asparagus and ripe, juicy baked vine tomatoes, enhancing the dish’s freshness and color. This combination not only offers a harmonious blend of tastes but also presents a visually appealing dish, perfect for any occasion. For a complete dining experience, pair this meal with a light, crisp white wine or a lemon-infused water.

Keep the cod and vegetables in separate airtight containers in the refrigerator. They will maintain their quality for up to one day. Reheat gently to preserve the texture of the fish and the crispness of the vegetables. Enjoy the convenience of a delicious, homemade meal, ready to be savored again.

Hi, I'm Kimberly!

Hi, I'm Kimberly.

A hopeless romantic when it comes to food. Every recipe I share is a love letter to food itself. I’m so glad you’re here. Make yourself at home and stay a while.

Love,
Kimberly

Kimberly the Zett Signature

If you want to get to know me better,
click here!


Cod with Caper Lemon Butter Baked Asparagus & Vine Tomatoes

LET’S MAKE A PIECE OF HAPPINESS

Print
clock clock iconcutlery cutlery iconflag flag iconfolder folder iconinstagram instagram iconpinterest pinterest iconfacebook facebook iconprint print iconsquares squares iconheart heart iconheart solid heart solid icon
Cod with Caper Lemon Butter Baked Asparagus & Vine Tomatoes

Cod with Caper Lemon Butter Baked Asparagus & Vine Tomatoes


  • Author: Kimberly
  • Total Time: 25 min
  • Yield: 2 1x

Description

GOOD TO HAVE ON HAND

  • sharp knife
  • cutting board
  • frying pan


Ingredients

Units Scale
COD
  • 300 grams cod filet
  • 2 tbsp all-purpose flour
  • 2 tbsp olive oil
  • 1 tbsp butter
SAUCE
  • 1 tbsp capers
  • 1 tsp butter
  • juice of half a lemon
VEGETABLES
  • 250 grams vine tomatoes
  • 250 grams green asparagus (fresh or frozen)
  • 2 tbsp olive oil
  • salt
  • pepper
TOPPINGS
  • parsley
  • the other half of the lemon

Instructions

  1. Preheat the oven to 200°C (400°F).
  2. Pluck the parsley leaves from the stalks and chop finely.
  3. Place the frozen asparagus and tomatoes on a baking tray lined with baking paper, drizzle with olive oil and season with salt and pepper. Roast the asparagus and tomatoes in the oven on the middle shelf for approx. 15 minutes until golden brown.
  4. Pat the cod dry and then roll in flour. Set aside.
  5. Heat 2 tbsp olive oil and 1 tbsp butter in a frying pan over a medium heat. Add the cod and fry on one side for approx. 5 minutes. Carefully flip the fish and fry for a further 1-3 minutes (depending on the thickness of the fish). At this point, the fat in the pan can be poured over the fish with a spoon so that the side that is facing up does not dry out.
  6. Remove the pan from the heat and arrange the fish on plates. Warm the plates in advance if you like. Put the pan back on the heat.
  7. Now pour the juice of half a lemon over the remaining oil and butter in the pan. Stir briefly and allow to warm. Now add the capers, toss well and deglaze whats on the bottom of the pan. Remove the pan from the heat and stir in 1 teaspoon of butter. The sauce can now be poured over the fish.
  8. Remove the vegetables from the oven and place on the plates next to the fish. Garnish with parsley and lemon slices.
  • Cook Time: 25 min

CRAVING MORE?

Follow along here & don’t forget to subscribe to my substack!

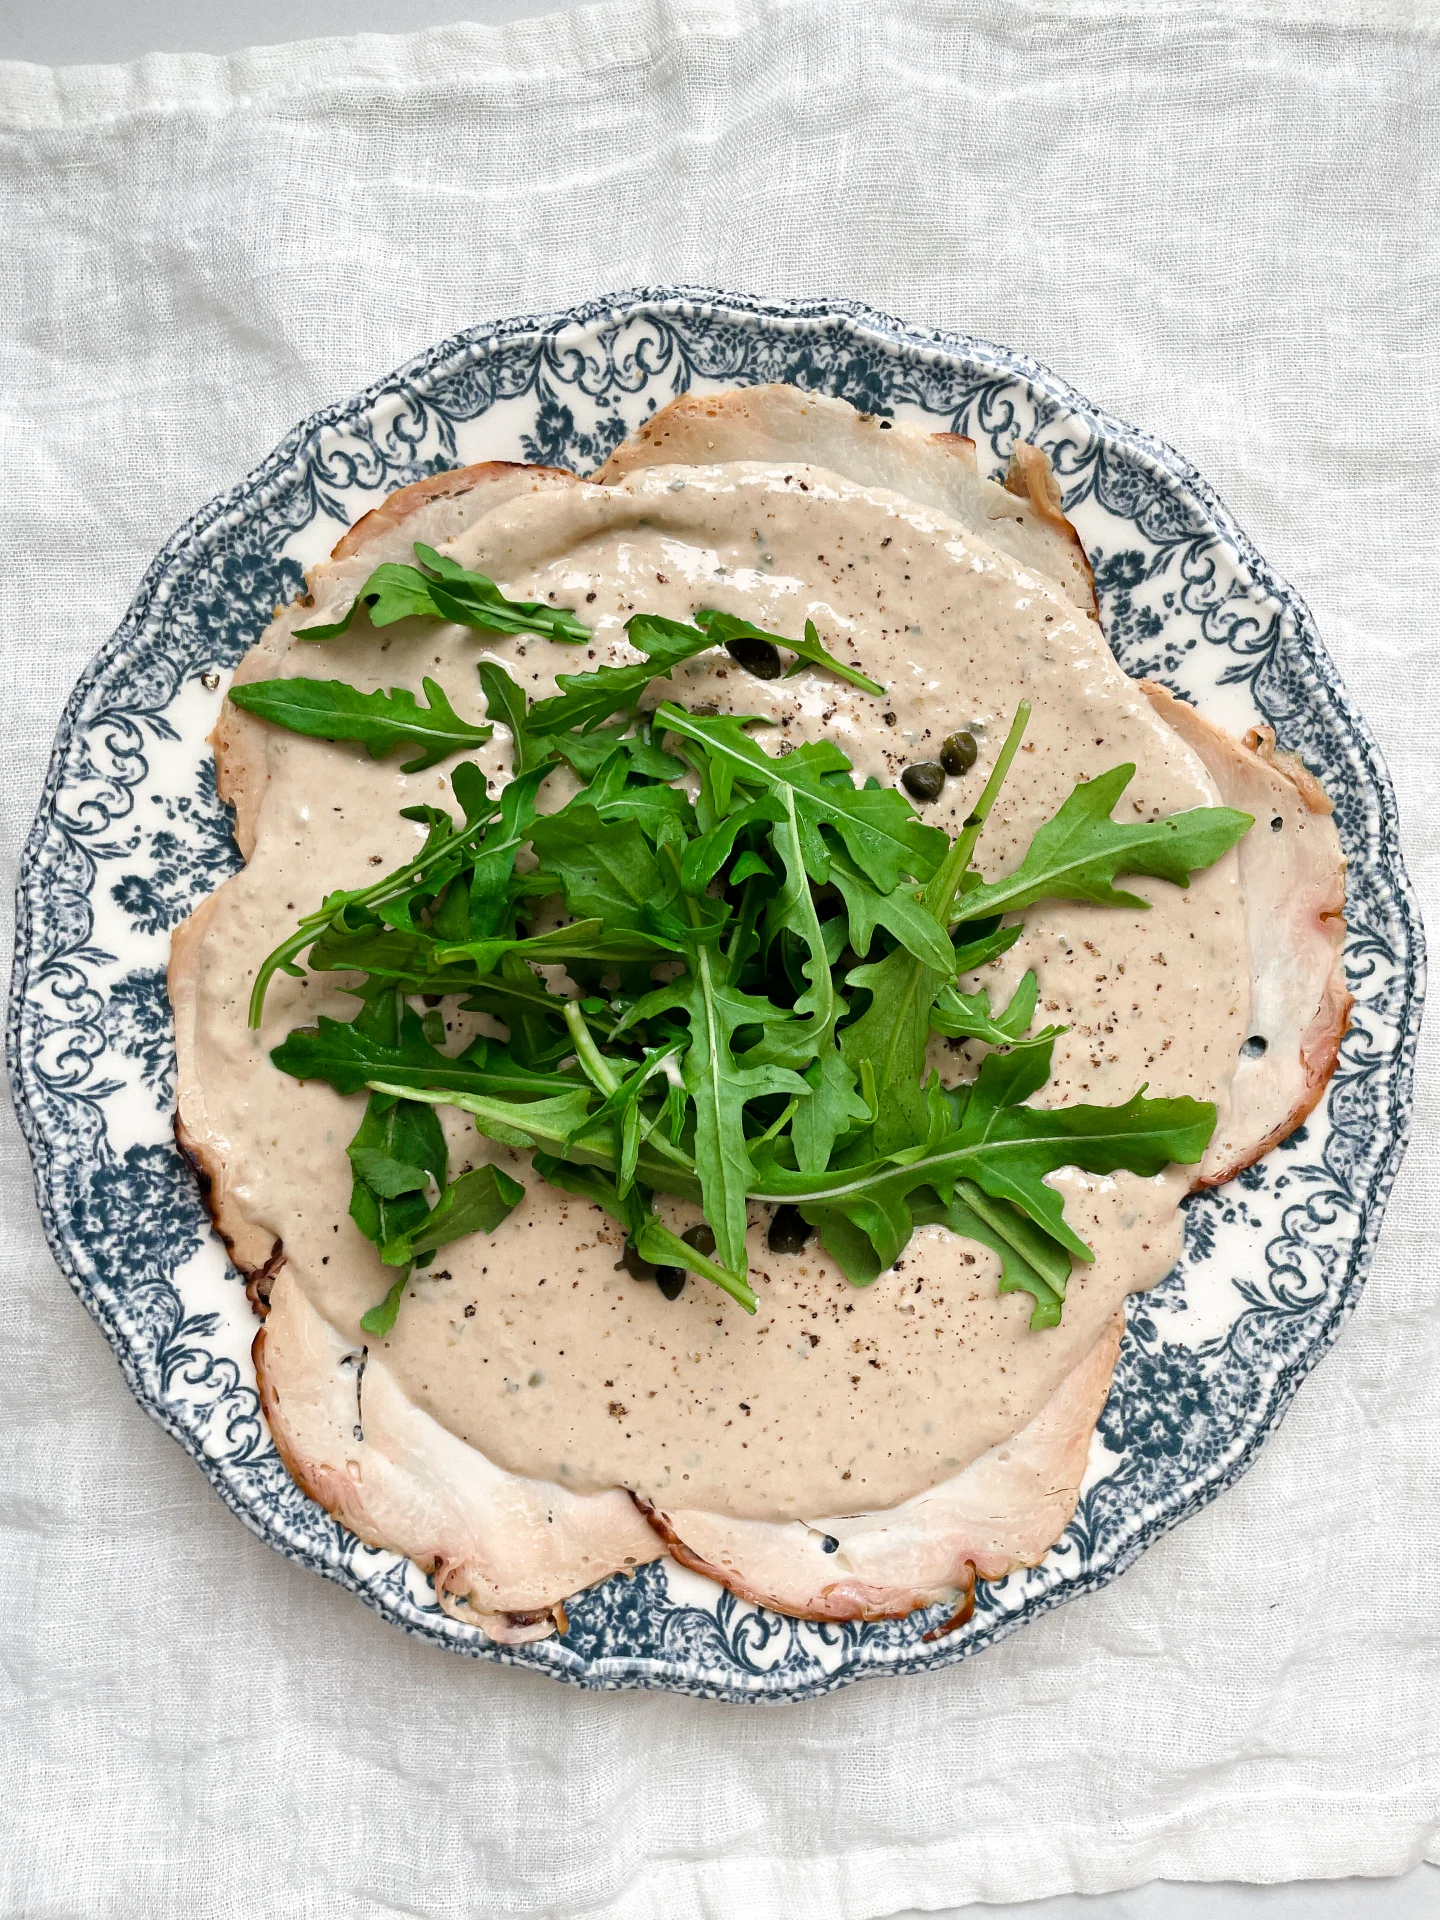
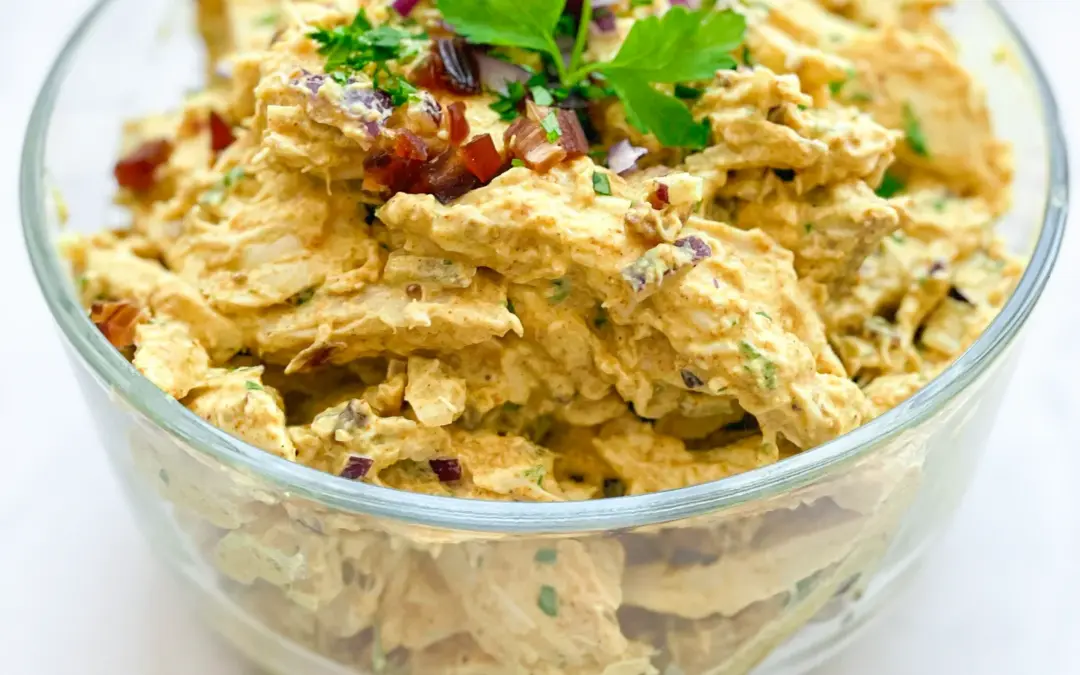
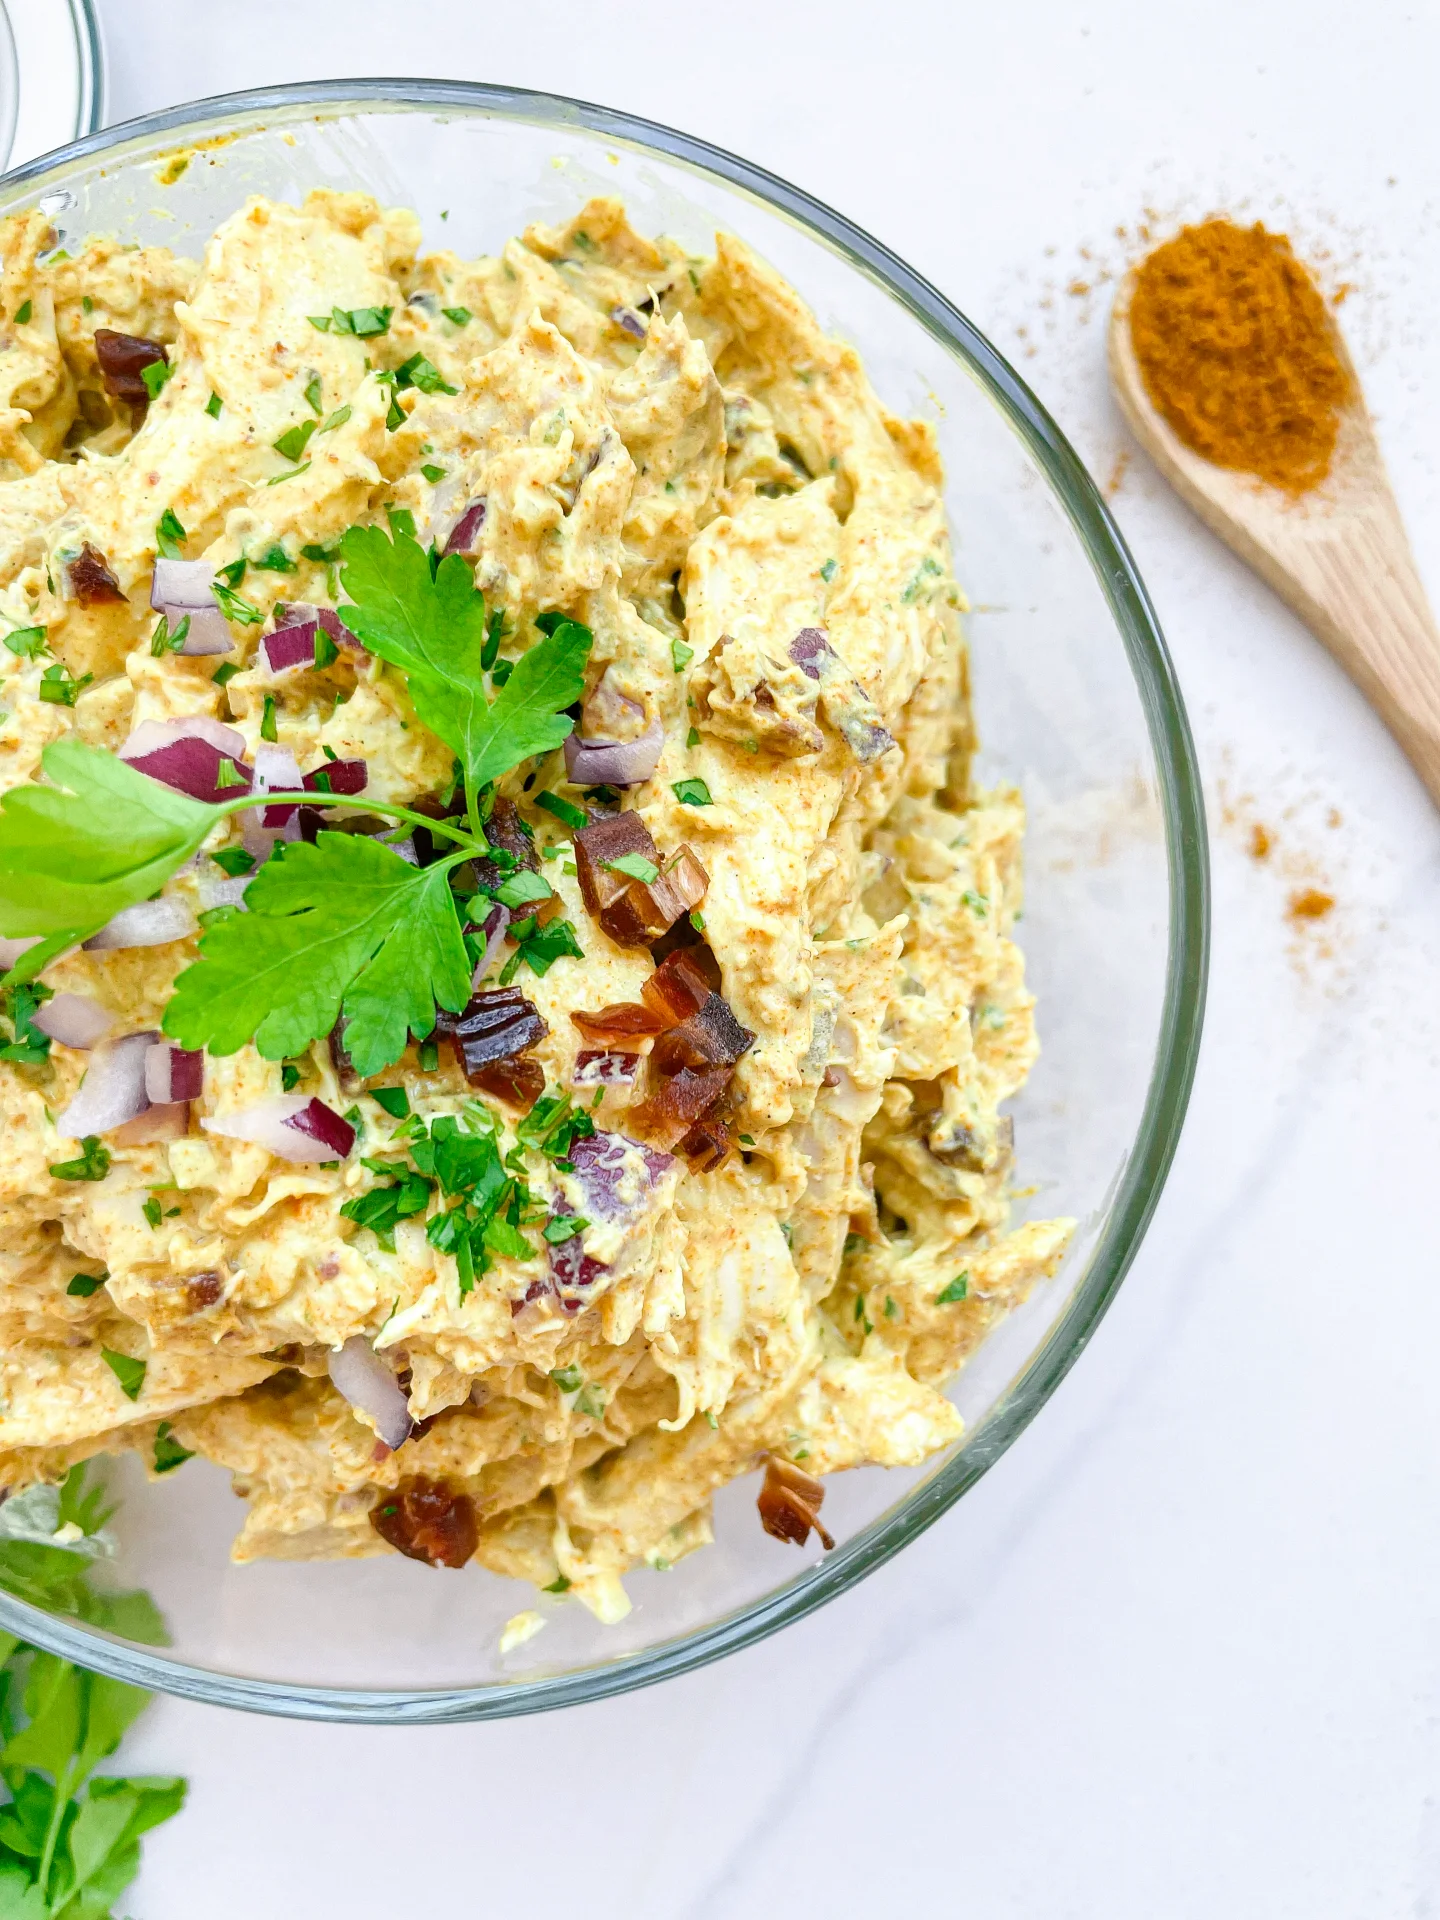
Curry Chicken Spread

Curry Chicken Spread

Curry Chicken Spread

Curry Chicken Spread

January 12, 2024 by Kimberly

Get ready for a taste adventure with my Curry Chicken Spread! Rich, spicy, and full of flavor, it’s perfect for sandwiches or as a savory snack dip!

This website uses affiliate links which may earn commission for purchases made at no additional cost to you.

TOTAL TIME

30 min

SERVES

6 portions

DIET

omnivore

EVERY RECIPE DESERVES

A Little Love Letter

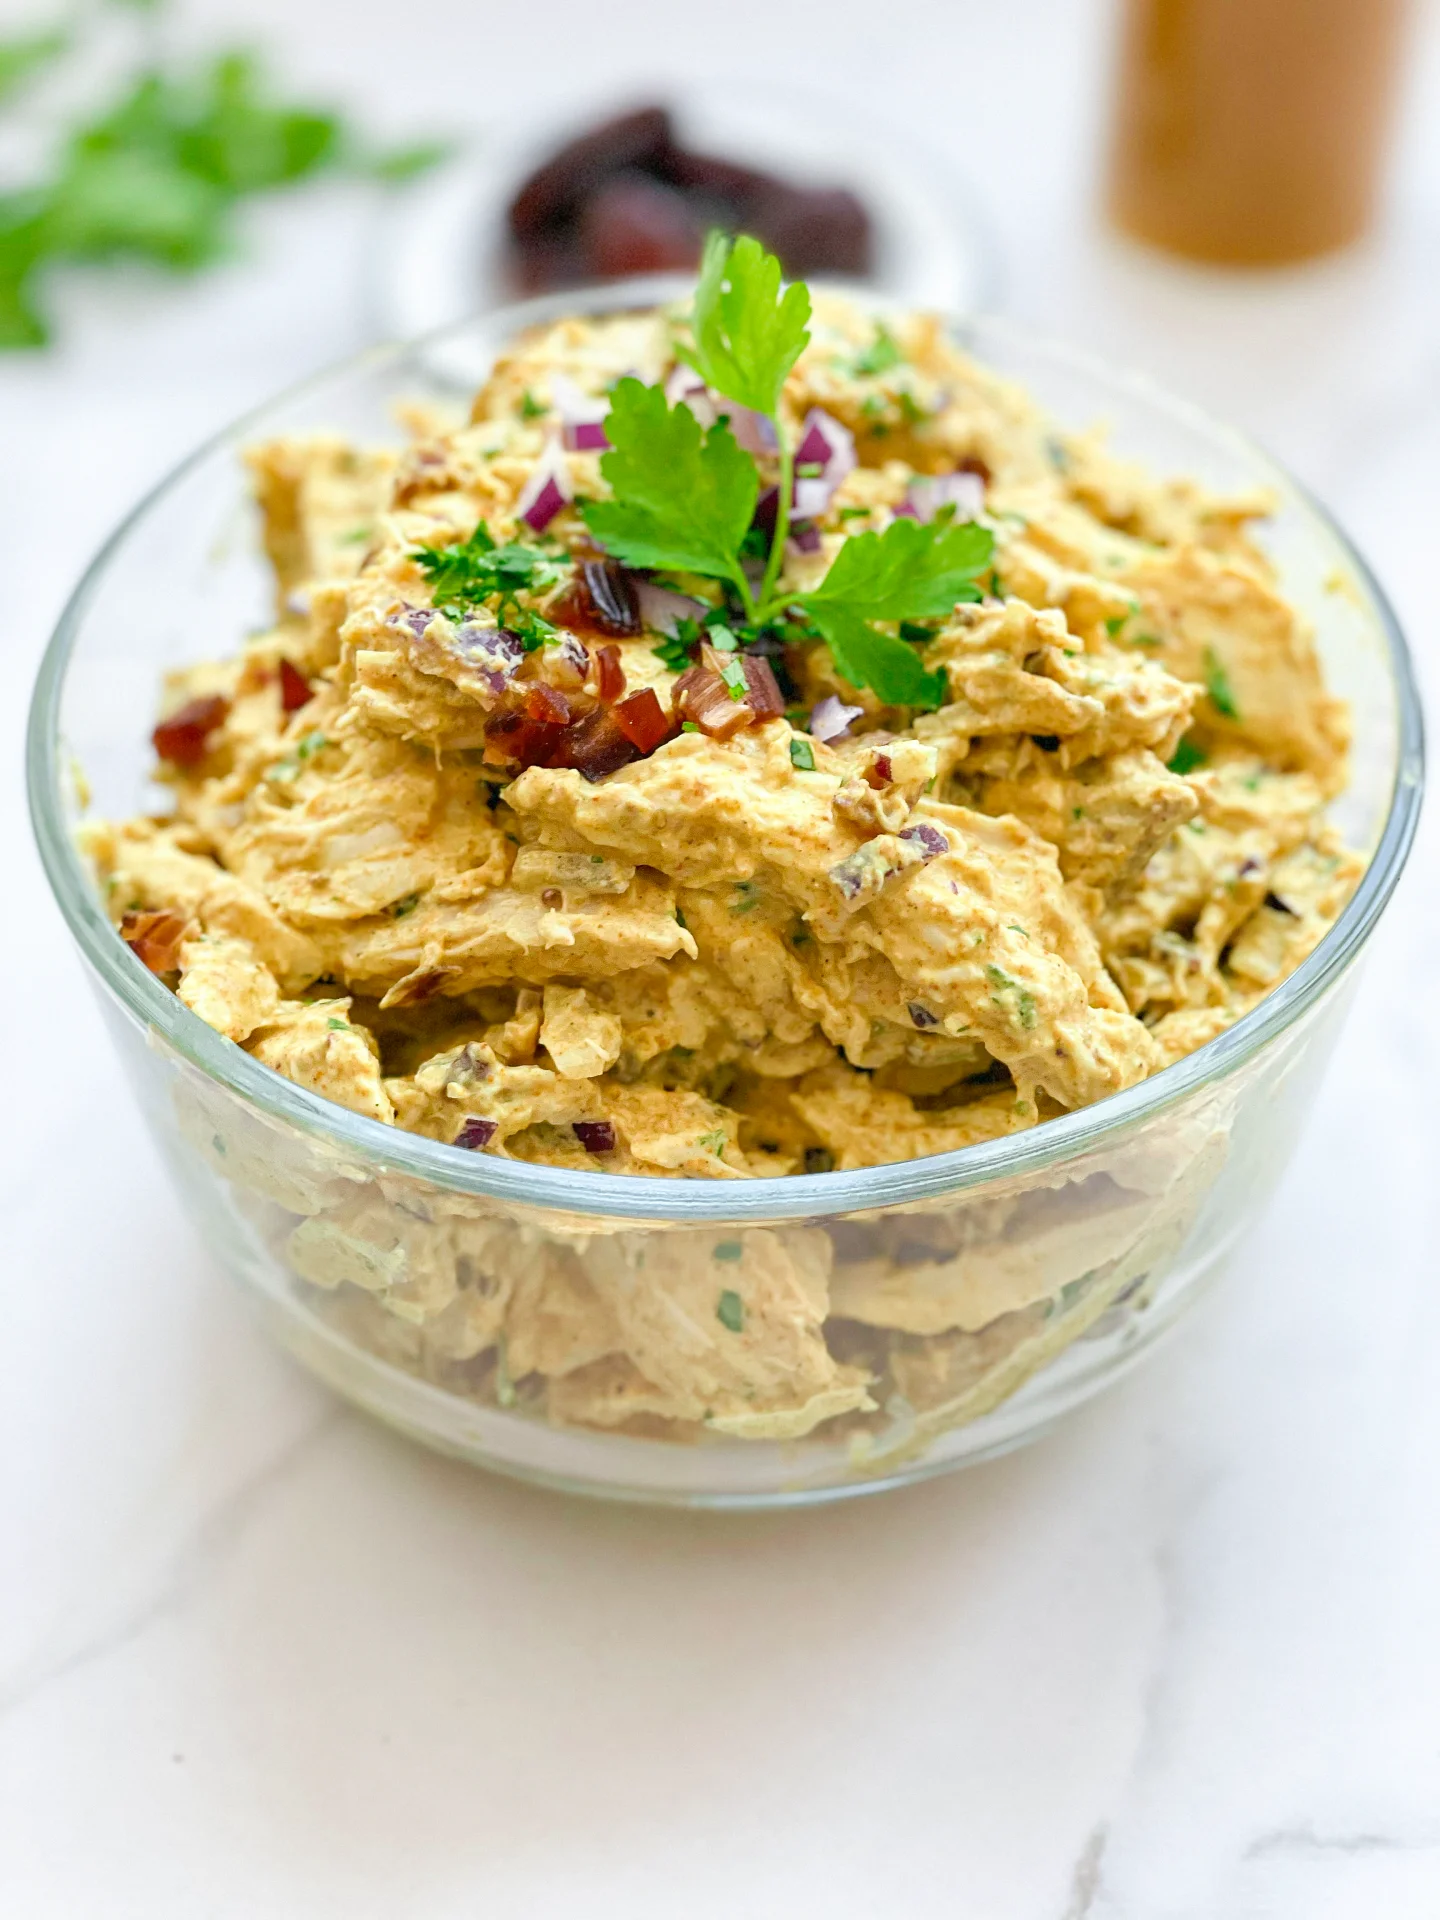
Embark on a culinary journey with our Curry Chicken Spread, a fusion of bold flavors and textures. This spread is a delightful blend of tender chicken, aromatic spices, and creamy elements, creating a versatile and irresistible addition to any meal. It’s an exotic twist on traditional spreads, perfect for those who crave something uniquely flavorful and satisfying.

Curry Chicken Spread is incredibly versatile. Spread it generously on crusty bread or crackers for a quick, savory snack. It’s also fantastic in sandwiches, adding a flavorful kick to your lunch. For a more elegant presentation, use it as a dip with a platter of fresh vegetables or pita chips at your next party. The rich curry flavors blend beautifully with the chicken, making it a hit at any dining occasion.

To store the Curry Chicken Spread, place it in an airtight container and refrigerate. It will stay fresh for up to 3-4 days.

Hi, I'm Kimberly!

Hi, I'm Kimberly.

A hopeless romantic when it comes to food. Every recipe I share is a love letter to food itself. I’m so glad you’re here. Make yourself at home and stay a while.

Love,
Kimberly

Kimberly the Zett Signature

If you want to get to know me better,
click here!


Curry Chicken Spread

LET’S MAKE A PIECE OF HAPPINESS

Print
clock clock iconcutlery cutlery iconflag flag iconfolder folder iconinstagram instagram iconpinterest pinterest iconfacebook facebook iconprint print iconsquares squares iconheart heart iconheart solid heart solid icon
Curry Chicken Spread

Curry Chicken Spread


  • Author: Kimberly
  • Total Time: 30 min
  • Yield: 6 1x

Description

GOOD TO HAVE ON HAND

  • sharp knife
  • cutting board
  • medium sized bowl


Ingredients

Units Scale
  • 450 grams chicken breast
  • 1 red onion
  • 4 dates
  • a few stems parsley
  • 150 grams yoghurt
  • 3 tsp curry powder
  • 1 garlic clove
  • 1 tbsp lemon juice
  • 1 tsp Dijon mustard
  • salt & pepper to taste

Instructions

  1. Peel the onion and cut into small pieces. Pluck the parsley leaves from the sprigs and chop finely. Cut the dates into small pieces.
  2. Boil the chicken breasts in hot water for about 15 minutes and then shred them.
  3. In a medium bowl, mix the yogurt with the mustard, lemon juice, garlic, curry, salt and pepper and season to taste.
  4. Stir in the finely diced onions, dates and parsley.
  5. Finally, add the shredded chicken and mix everything well.
  • Passive Time: 15 min
  • Cook Time: 15 min

CRAVING MORE?

Follow along here & don’t forget to subscribe to my substack!

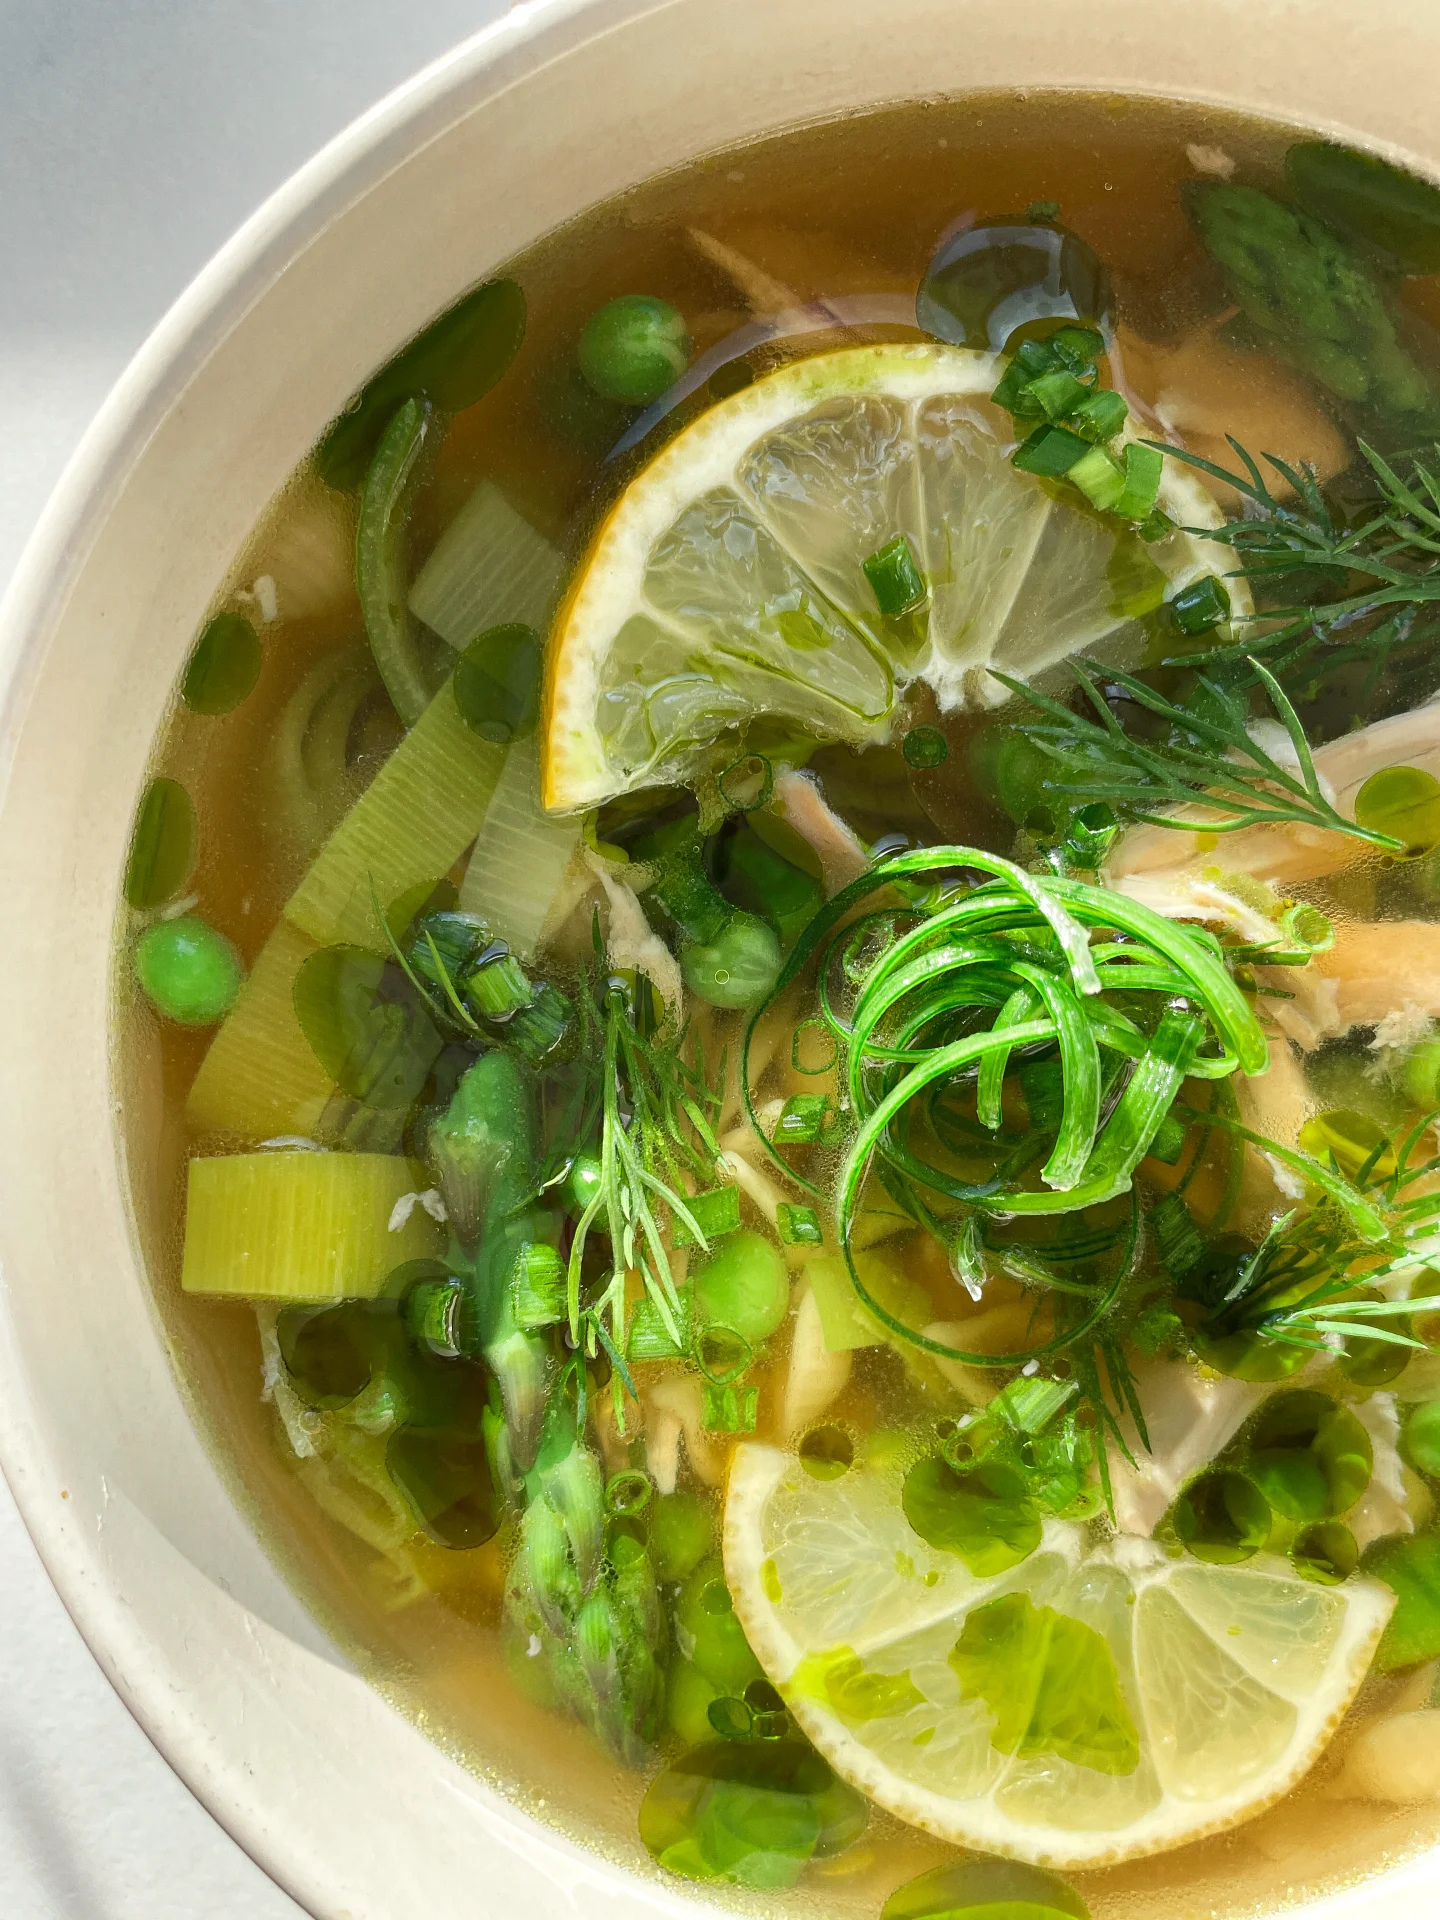
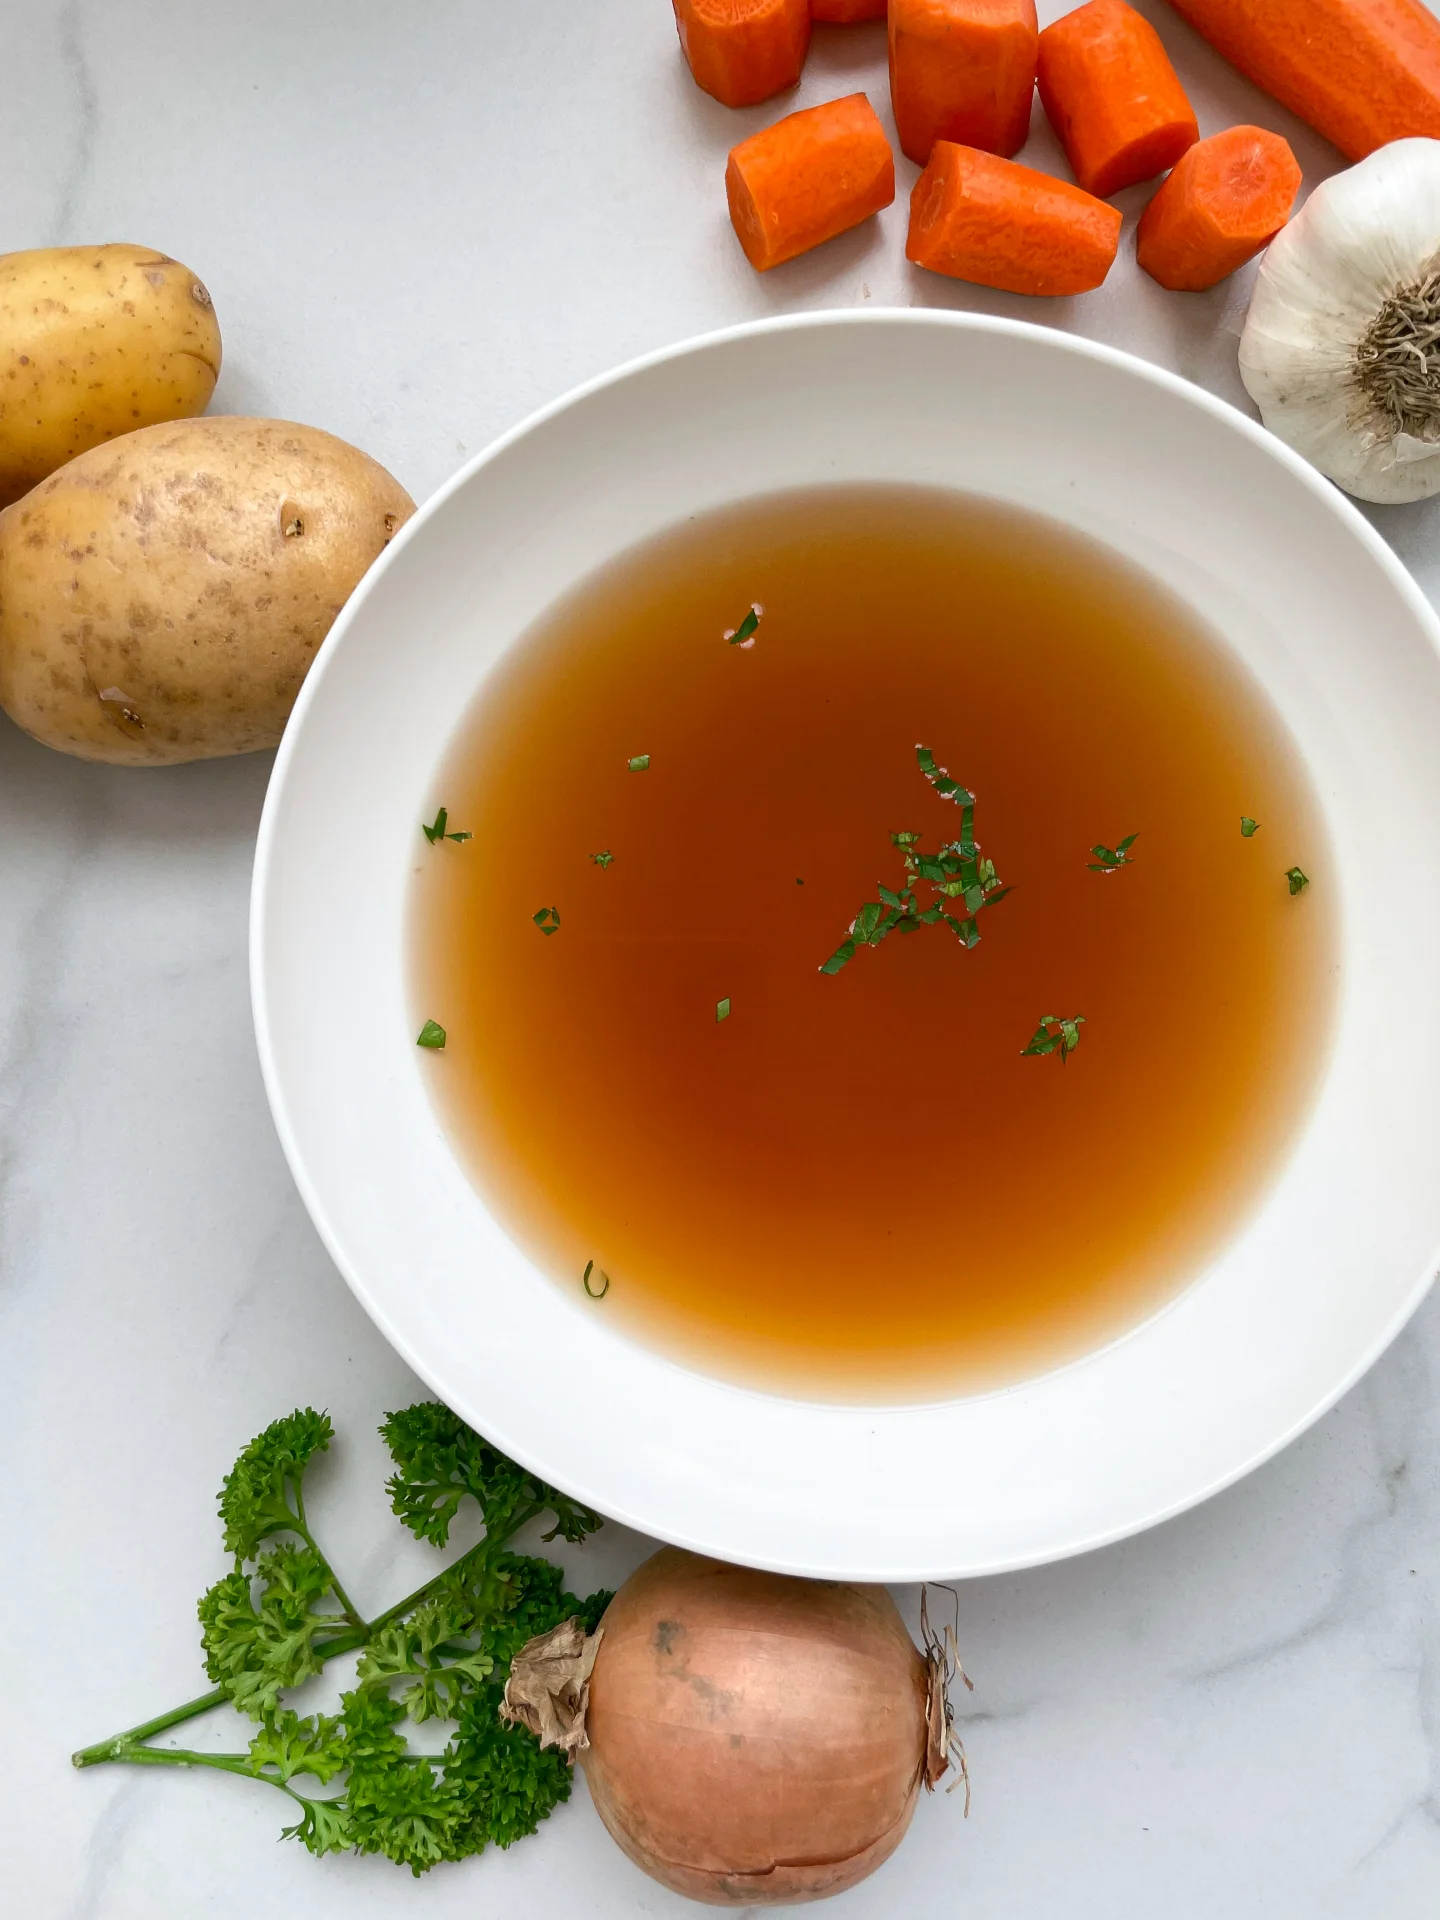
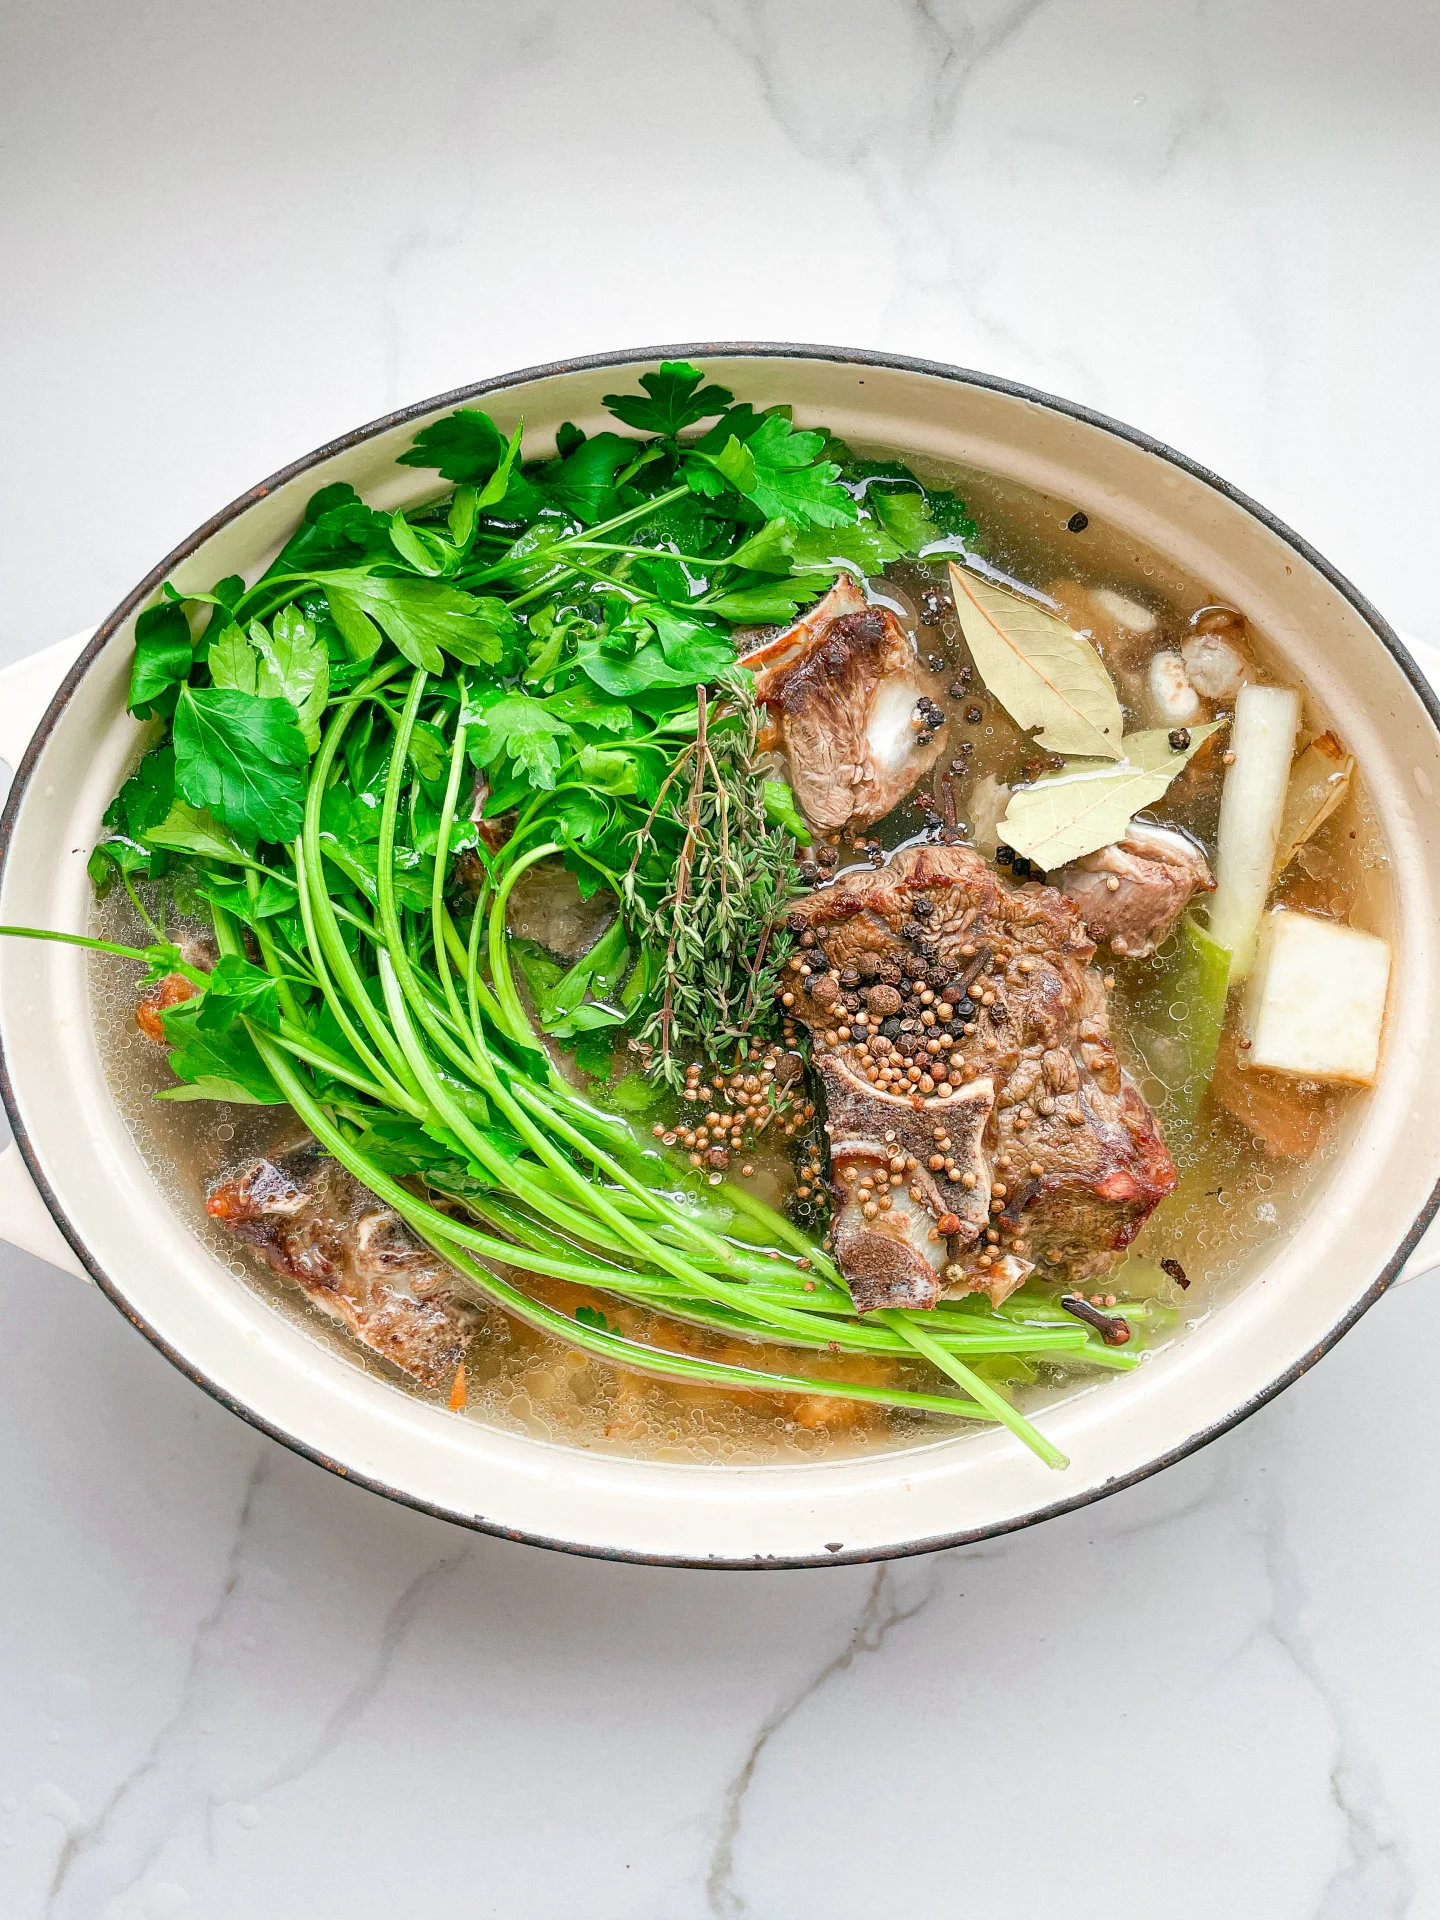
Basic Chicken Broth

Basic Chicken Broth

Basic Chicken Broth

Basic Chicken Broth

January 11, 2024 by Kimberly

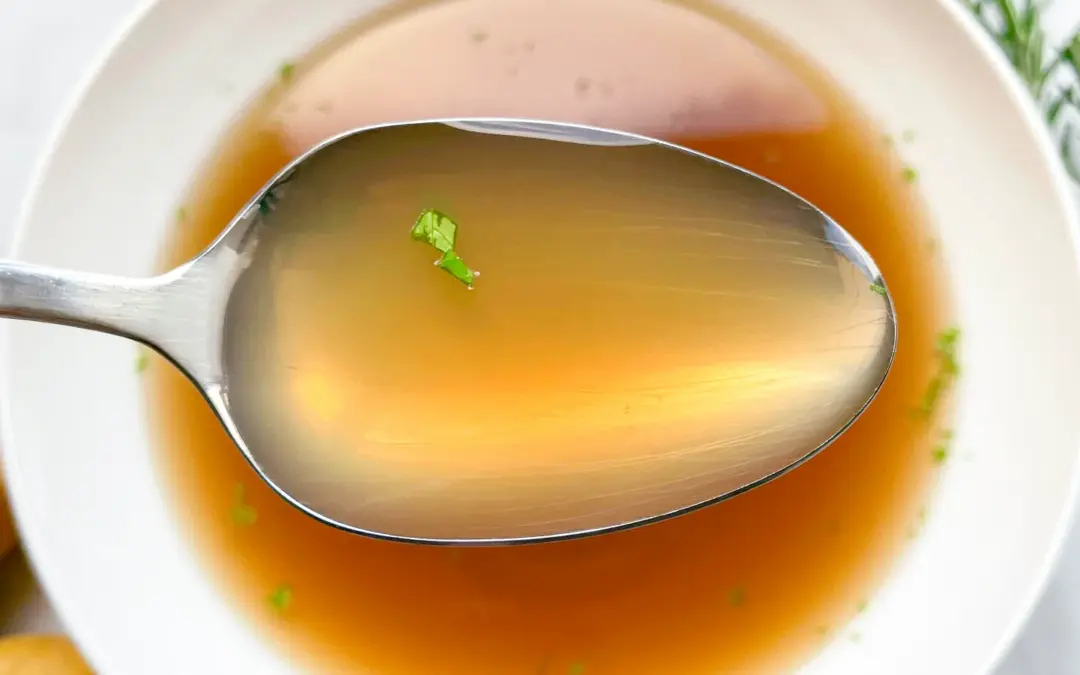
Discover the warm, comforting embrace of Chicken Broth. It’s simple, nourishing, and versatile, perfect for soups, stews, or just sipping. A timeless kitchen staple!

This website uses affiliate links which may earn commission for purchases made at no additional cost to you.

TOTAL TIME

2 hrs + 30 min
SERVES

3 liters / 3 quarts

DIET

omnivore

EVERY RECIPE DESERVES

A Little Love Letter

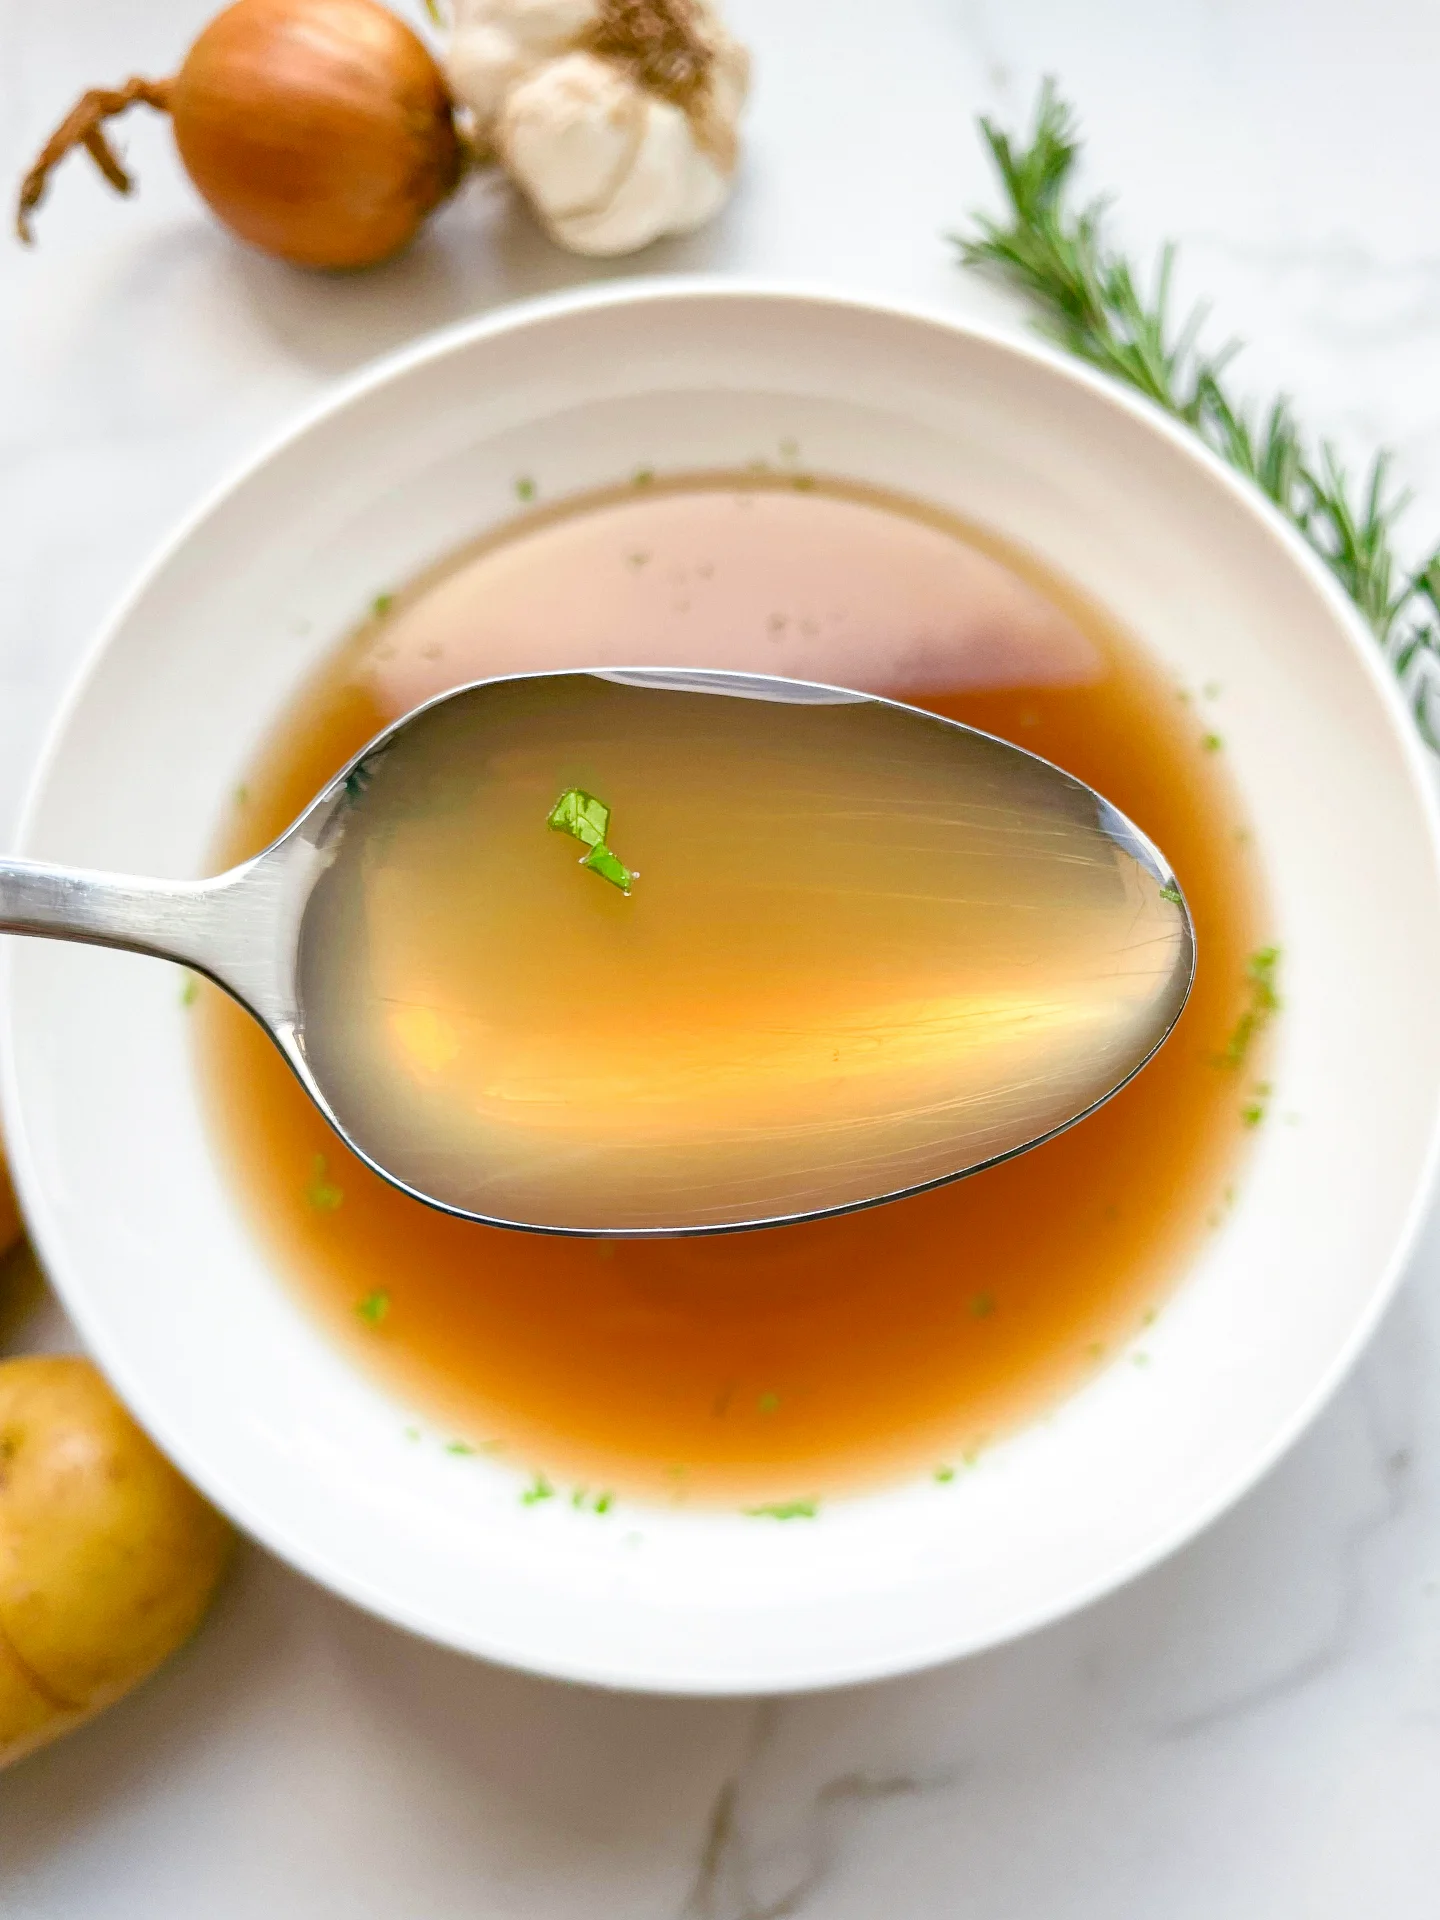
Embark on a culinary journey with the timeless classic, Chicken Broth. This simple yet profound staple is the heart of countless recipes, offering a warm, soothing base that’s both nourishing and flavorful. Ideal for both novice cooks and seasoned chefs, it’s a testament to the beauty of simplicity in cooking, transforming basic ingredients into a versatile foundation for a myriad of dishes.

Serve this comforting Basic Chicken Broth as a warming start to your meal, or use it as a versatile base for soups, stews, and sauces. Its delicate flavors complement a variety of ingredients, making it perfect for enhancing your favorite recipes. For a simple yet satisfying experience, enjoy it hot with a sprinkle of herbs, a dash of salt, and a slice of crusty bread for dipping.

To store, cool the broth and then transfer it into airtight containers or deli container. It can be refrigerated for up to 6 days or frozen for up to 6 months. The broth can also be preserved using canning methods for long-term storage. When ready to use, thaw or reheat as needed.

Hi, I'm Kimberly!

Hi, I'm Kimberly.

A hopeless romantic when it comes to food. Every recipe I share is a love letter to food itself. I’m so glad you’re here. Make yourself at home and stay a while.

Love,
Kimberly

Kimberly the Zett Signature

If you want to get to know me better,
click here!


Basic Chicken Broth
Basic Chicken Broth

LET’S MAKE A PIECE OF HAPPINESS

Print
clock clock iconcutlery cutlery iconflag flag iconfolder folder iconinstagram instagram iconpinterest pinterest iconfacebook facebook iconprint print iconsquares squares iconheart heart iconheart solid heart solid icon
Basic Chicken Broth

Basic Chicken Broth


  • Author: Kimberly
  • Total Time: 2-4 hrs
  • Yield: 3 liters / 3.17 quarts 1x

Description

RECOMMENDED EQUIPMENT

  • sharp knife
  • cutting board
  • large pot with lid
  • large bowl
  • fine sieve

Ingredients

Units Scale
  • 3 liters water
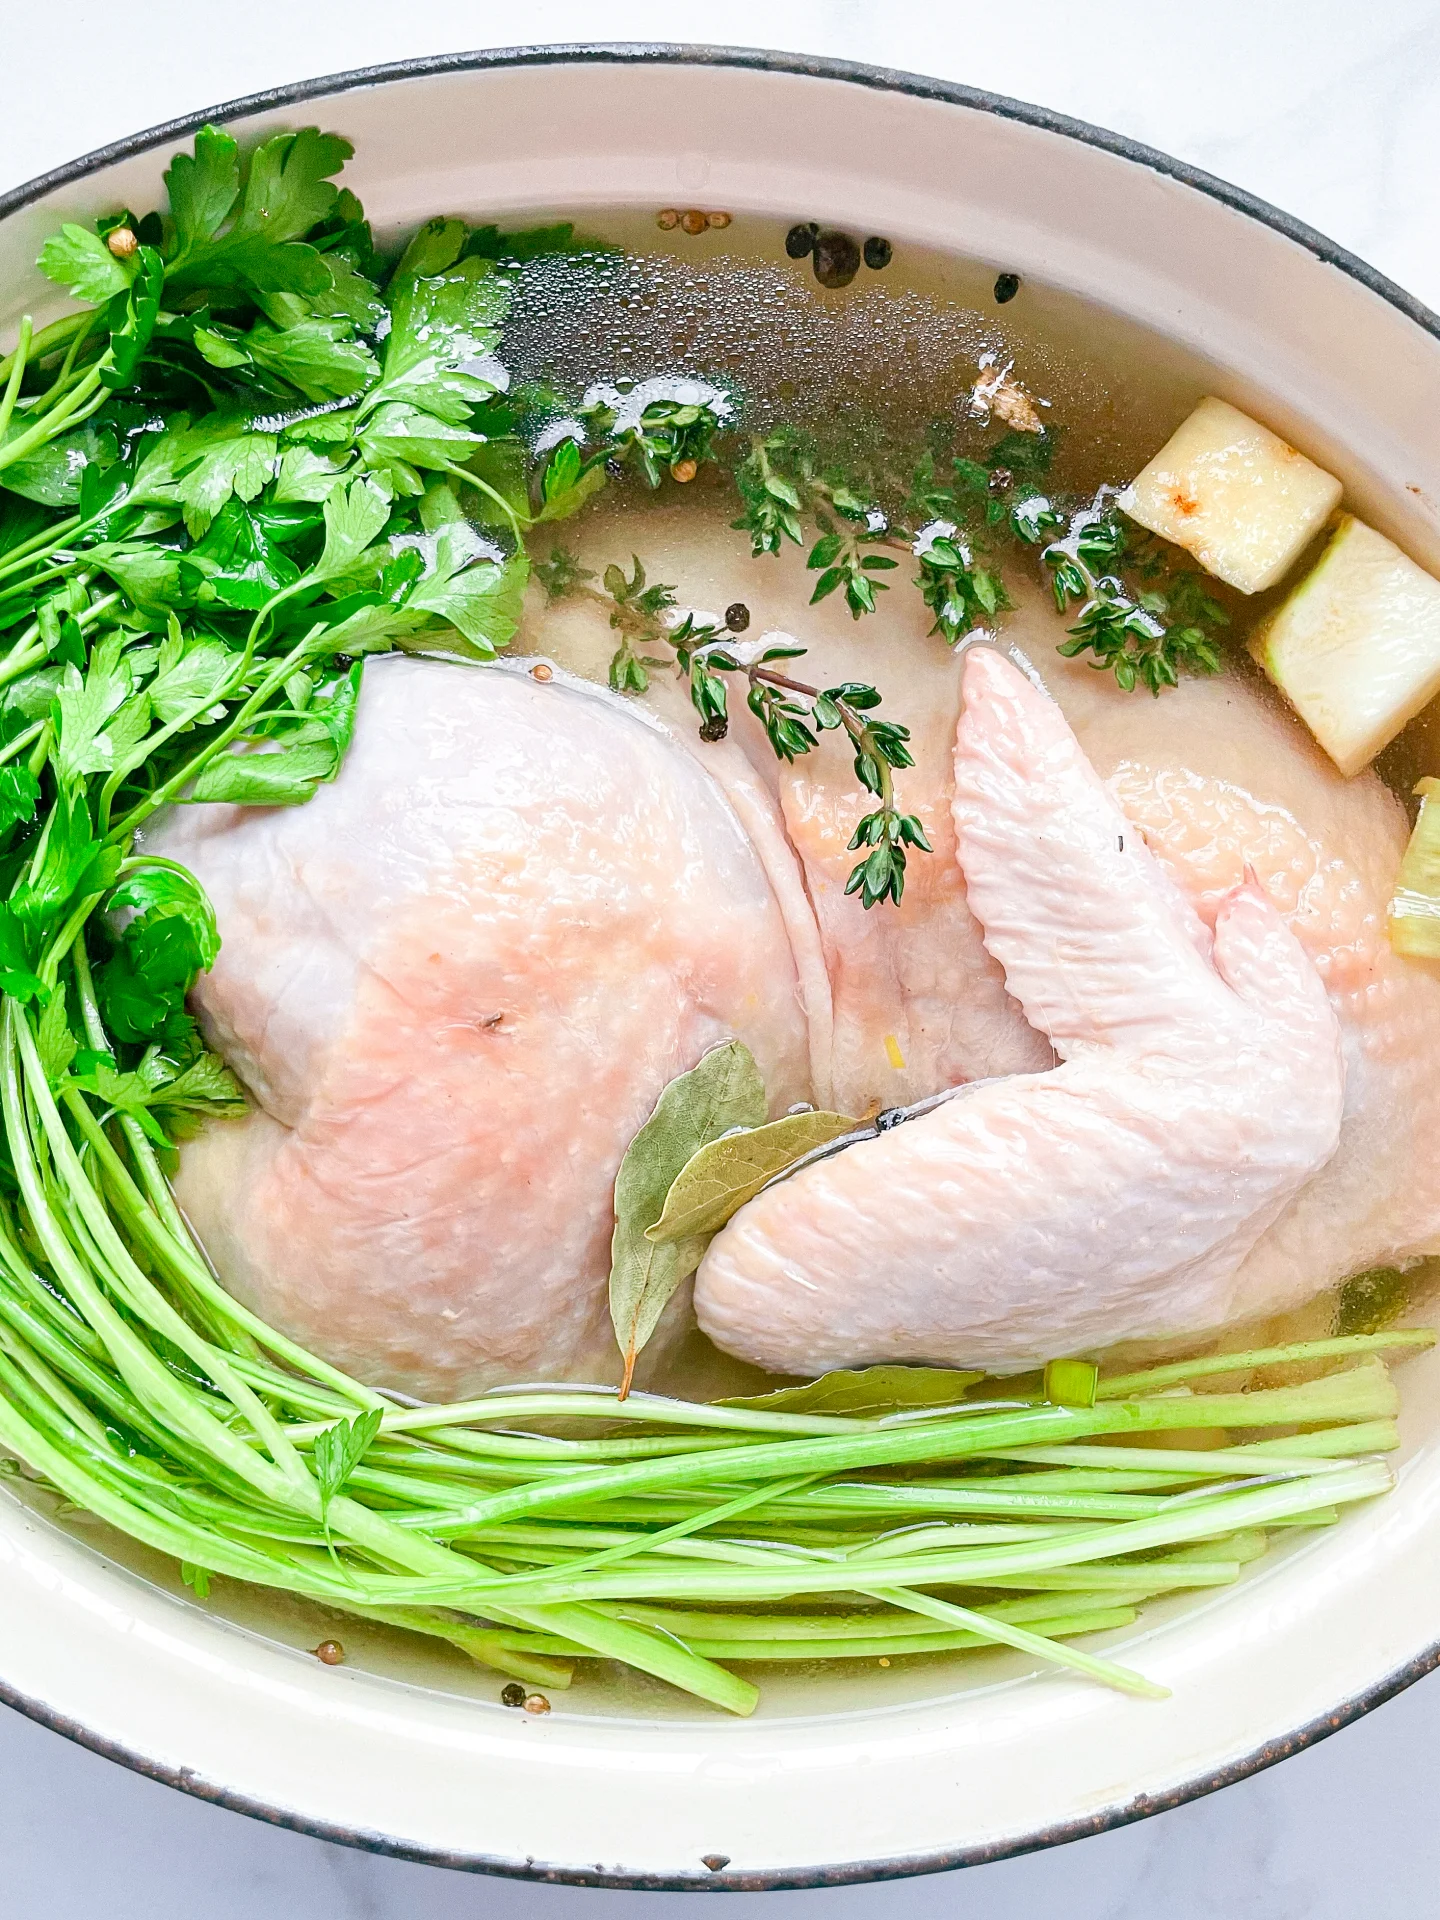
  • 1.5 kilograms of any kind of chicken parts with bones and a bit of fat (e.g. stewing hen)
  • 800 grams mixed vegetables of your choice (e.g. carrots, onions, celery root, parsley, leeks)
  • 1 bundle of fresh herbs of your choice (e.g. thyme, parsley, cilantro, chives)
  • 2 bay leaves
  • 5 cloves
  • 1/4 tsp coriander seeds
  • 5 allspice
  • 1 tsp black peppercorns
  • 1 tsp avocado oil or clarified butter
  • 22 grams salt, optional

Instructions

  1. Wash your vegetables, leave their skins on, and chop everything into large pieces. Also, wash the herbs because we’ll use them whole, including their stems.
  2. Pat the chicken pieces dry with kitchen paper. Then heat a tablespoon of oil in a large pot and fry the vegetables until they get a little nice browning. Place the chicken on top of the vegetables and add 3 liters of cold water.
  3. Add 2 dried bay leaves, 5 allspice berries, 3 cloves, 1 teaspoon of black peppercorns, 1/2 teaspoon of coriander seeds, and the herbs to the pot.
  4. Cover the pot with a lid and bring it to a boil over high heat. Once it boils, reduce the heat to the lowest setting and let it simmer with the lid on for at least 2 hours. For the best results, I recommend letting it cook for 4 hours.
  5. After cooking, remove the pot from the heat and allow it to cool slightly. Take out the chicken, vegetables, herbs, and spices. If you’ve used chicken parts with meat on, don’t forget to save the meat for other recipes.
    Strain the liquid through a fine sieve into another pot. Season the broth with salt if desired. I usually add 6–8 g (approximately 1 teaspoon) of salt per liter (4 cups) of broth.
  6. Let the broth cool completely. Skim off any fat floating on top, or if your pot fits in the fridge, let it rest overnight. The fat will solidify on the surface, making it easy to remove.
  7. The broth is now ready to use. Alternatively, pour it into sealable jars or deli containers. You can store it in the fridge for up to 6 days or freeze it for up to 6 months.

Notes

If you cook on a regular basis, you’ve probably noticed how many vegetable scraps end up in the trash, e.g. onion skins, carrot peels, leek ends, herb stems, and more. Instead of tossing them, grab a large ziplock bag and store all your scraps in the freezer. Over time, you’ll collect a substantial amount of veggie and herb scraps, which are perfect for making your next broth at home. No need to defrost them, simply toss the frozen scraps directly into a pot, cover them with water and go for it. Use them alone for a flavorful vegetable stock or pair them with chicken or beef bones for a rich, meaty broth. It’s an easy, eco-friendly way to ensure you always have homemade stock for literally no cost!

  • Prep Time: 10 min

  • Passive Time: 2-4 hrs

CRAVING MORE?

Follow along here & don’t forget to subscribe to my substack!