

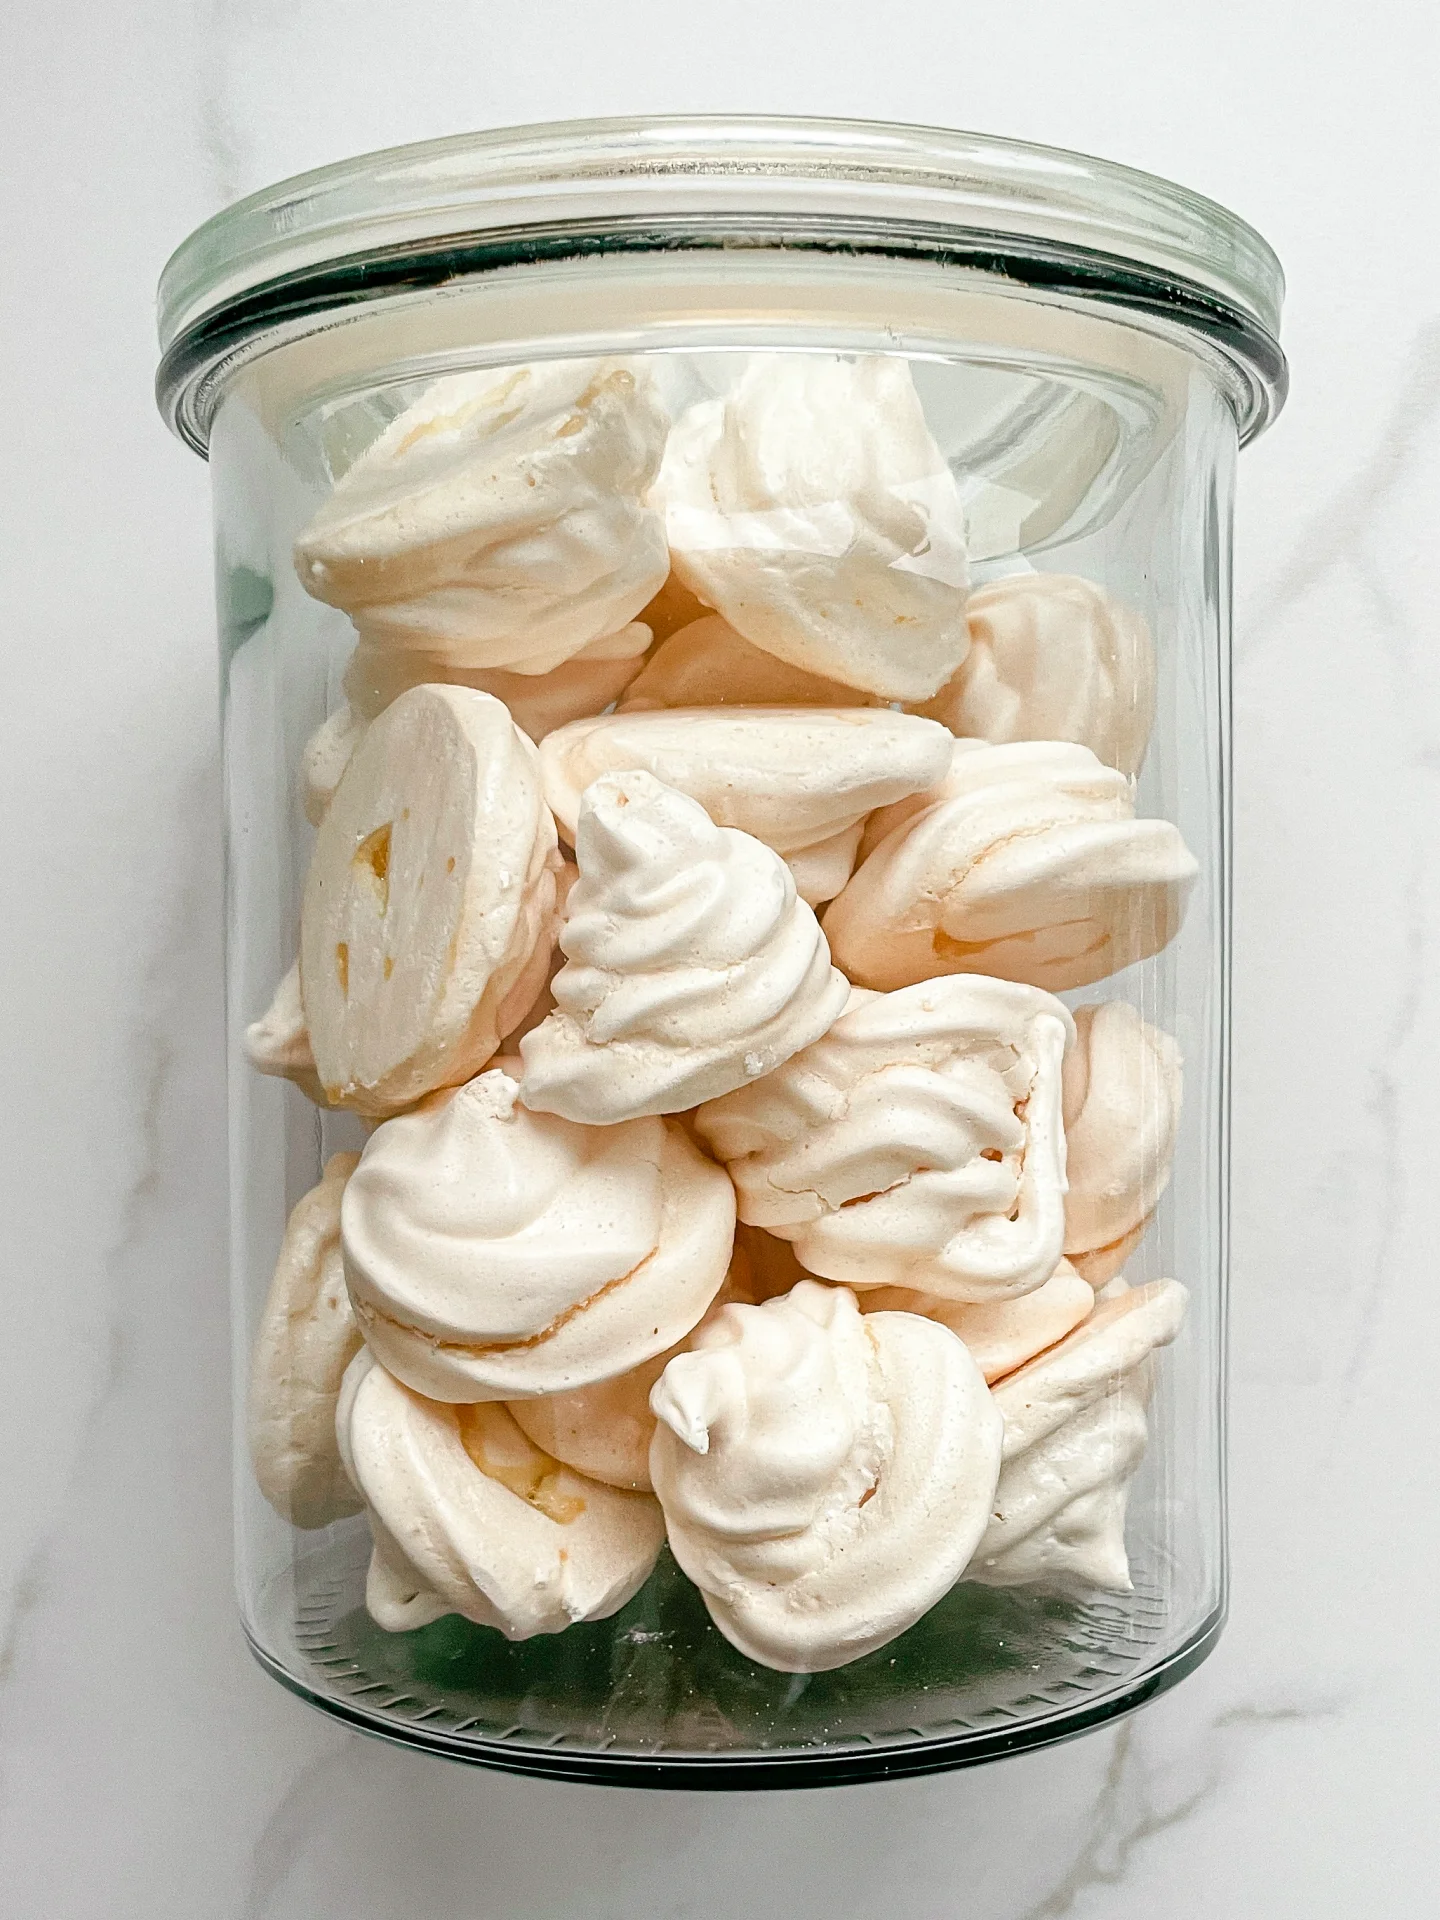

Basic Meringues

Basic Meringues

Basic Meringues

Basic Meringues

March 9, 2024 by Kimberly

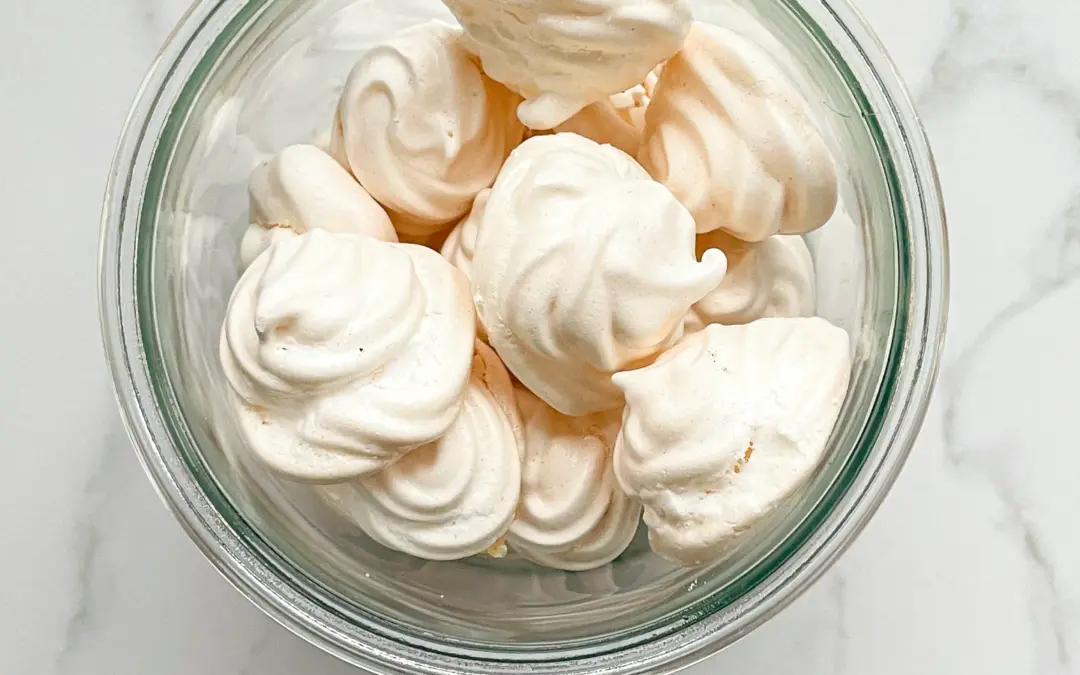
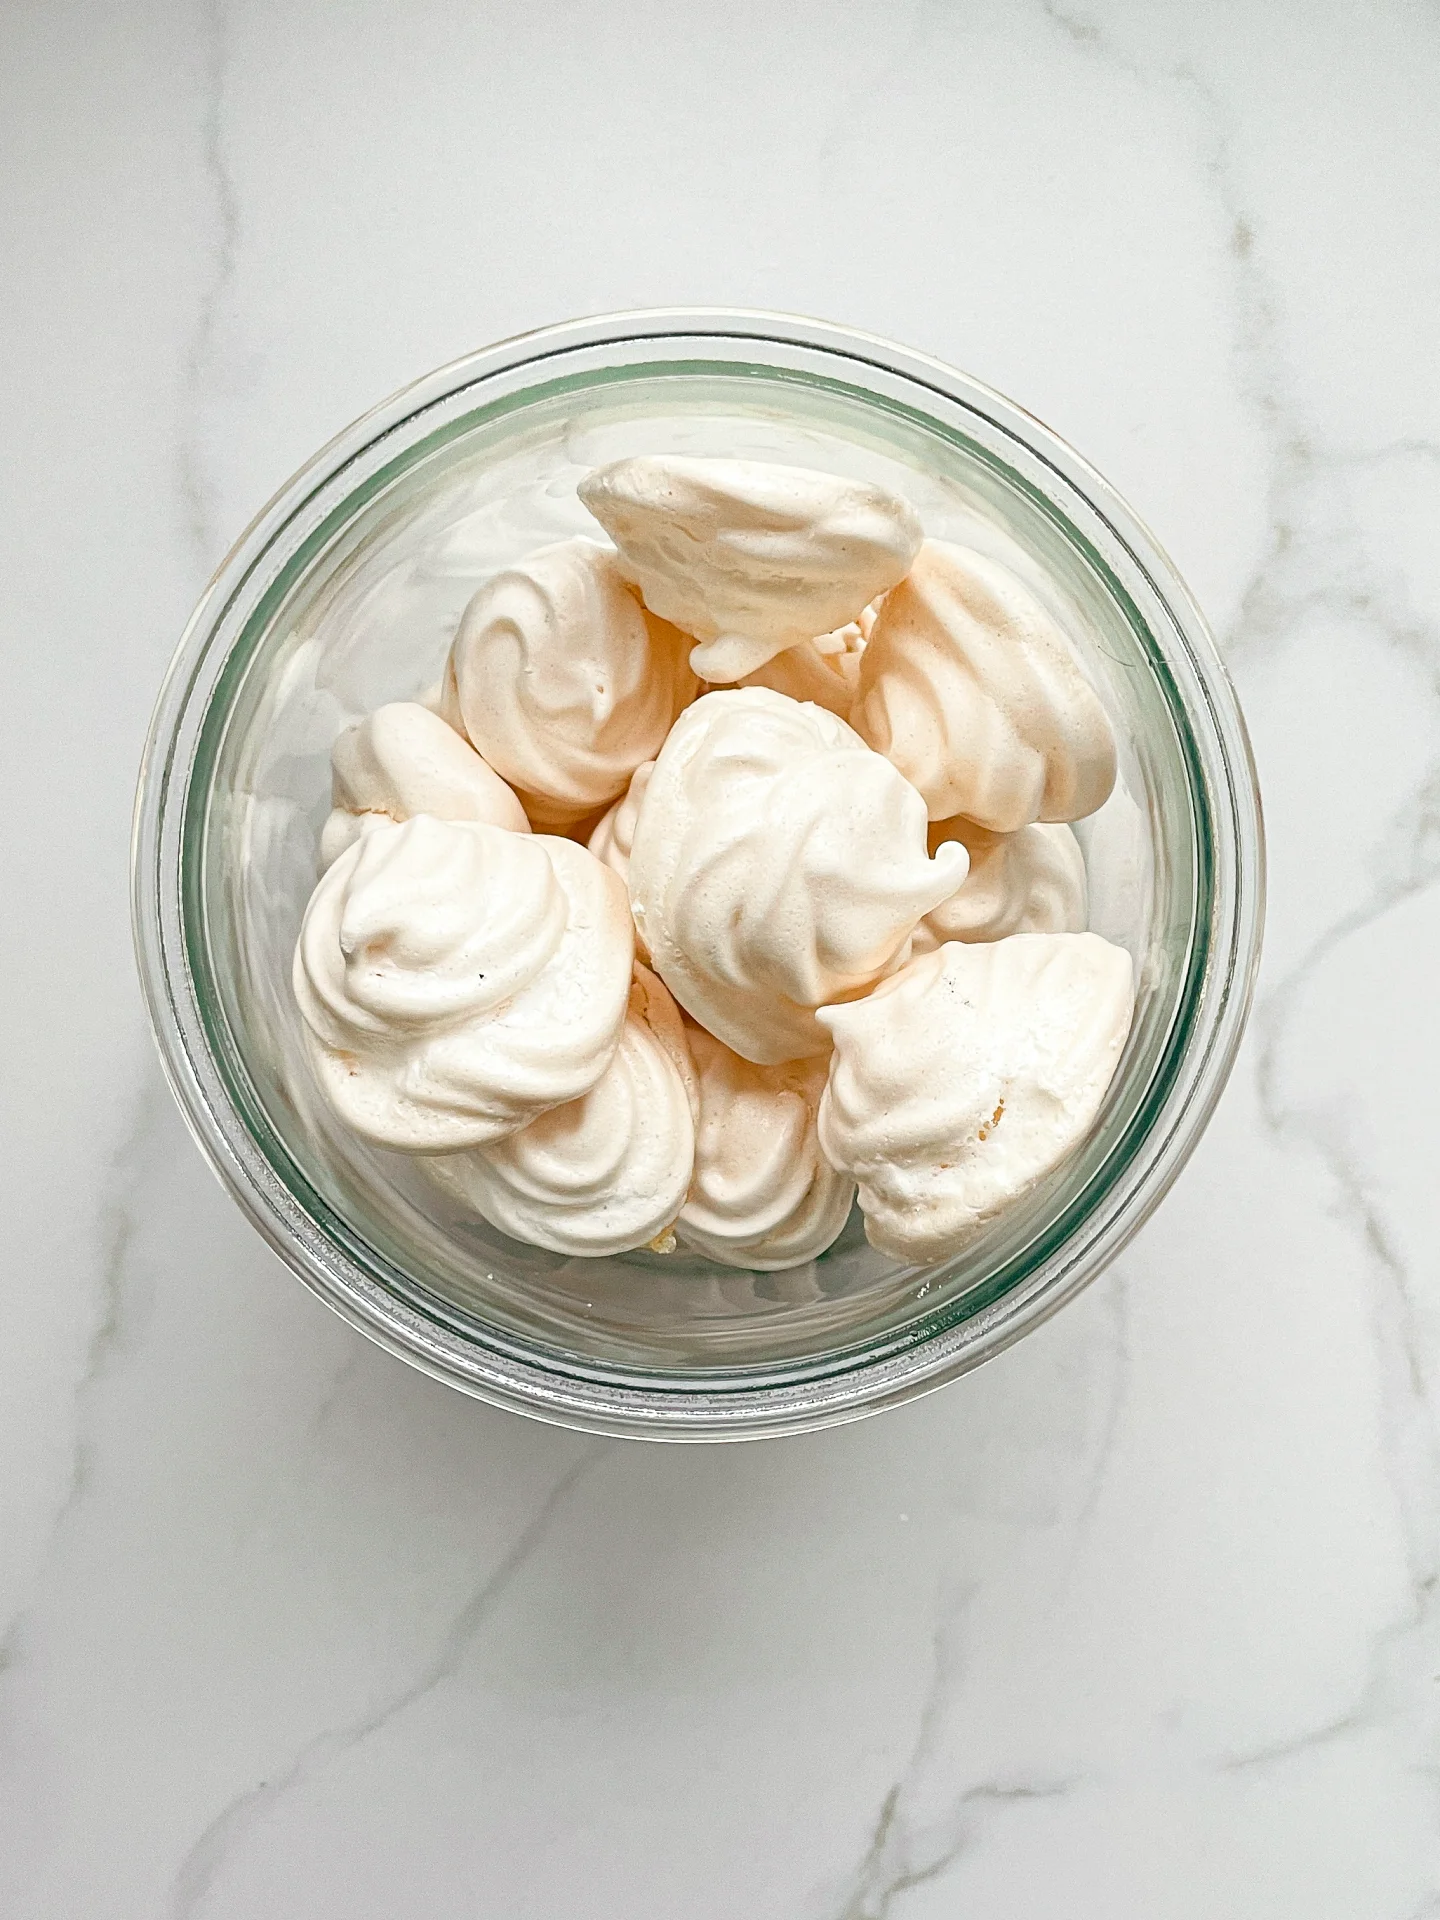
This melt-in-your-mouth meringue is the perfect treat. Enjoy the crisp exterior and soft, marshmallow-like interior. Pure, sugary bliss awaits!

This website uses affiliate links which may earn commission for purchases made at no additional cost to you.

TOTAL TIME

1 hr + 40 min

SERVES

30 pieces

DIET

vegetarian

EVERY RECIPE DESERVES

A Little Love Letter

Dive into the ethereal world of Baiser, the classic French meringue that’s as enchanting as it is sweet. These light, airy treats are a testament to the elegance of simplicity in baking. Perfect for those who love a crisp, sugary crunch with a soft, tender heart. Whether you’re a novice or an expert baker, this easy Meringue recipe will add a touch of sophistication to your dessert repertoire.

Serve your freshly baked Meringue as a standalone sweet treat, or pair it with fresh berries and a dollop of whipped cream for an exquisite dessert. They’re the perfect finale to a sophisticated dinner or a delightful addition to your afternoon tea. For an extra indulgent twist, dip them in dark chocolate or sandwich with lemon curd. Let these delicate confections be the star of your next gathering!

Store your Baiser in an airtight container at room temperature to maintain its crispness. Avoid humidity to keep them from becoming sticky. Enjoy these heavenly meringues within a week for the best texture and flavor experience.

Hi, I'm Kimberly!

Hi, I'm Kimberly.

A hopeless romantic when it comes to food. Every recipe I share is a love letter to food itself. I’m so glad you’re here. Make yourself at home and stay a while.

Love,
Kimberly

Kimberly the Zett Signature

If you want to get to know me better,
click here!


Basic Meringues
Basic Meringues

LET’S MAKE A PIECE OF HAPPINESS

Print
clock clock iconcutlery cutlery iconflag flag iconfolder folder iconinstagram instagram iconpinterest pinterest iconfacebook facebook iconprint print iconsquares squares iconheart heart iconheart solid heart solid icon
Basic Meringues

Basic Meringues


5 Stars 4 Stars 3 Stars 2 Stars 1 Star

No reviews

  • Author: Kimberly
  • Total Time: 100 min
  • Yield: 30 1x

Description

GOOD TO HAVE ON HAND

  • mixer
  • large bowl
  • piping bag with star nozzle (or two spoons)
  • sealable container


Ingredients

Units Scale
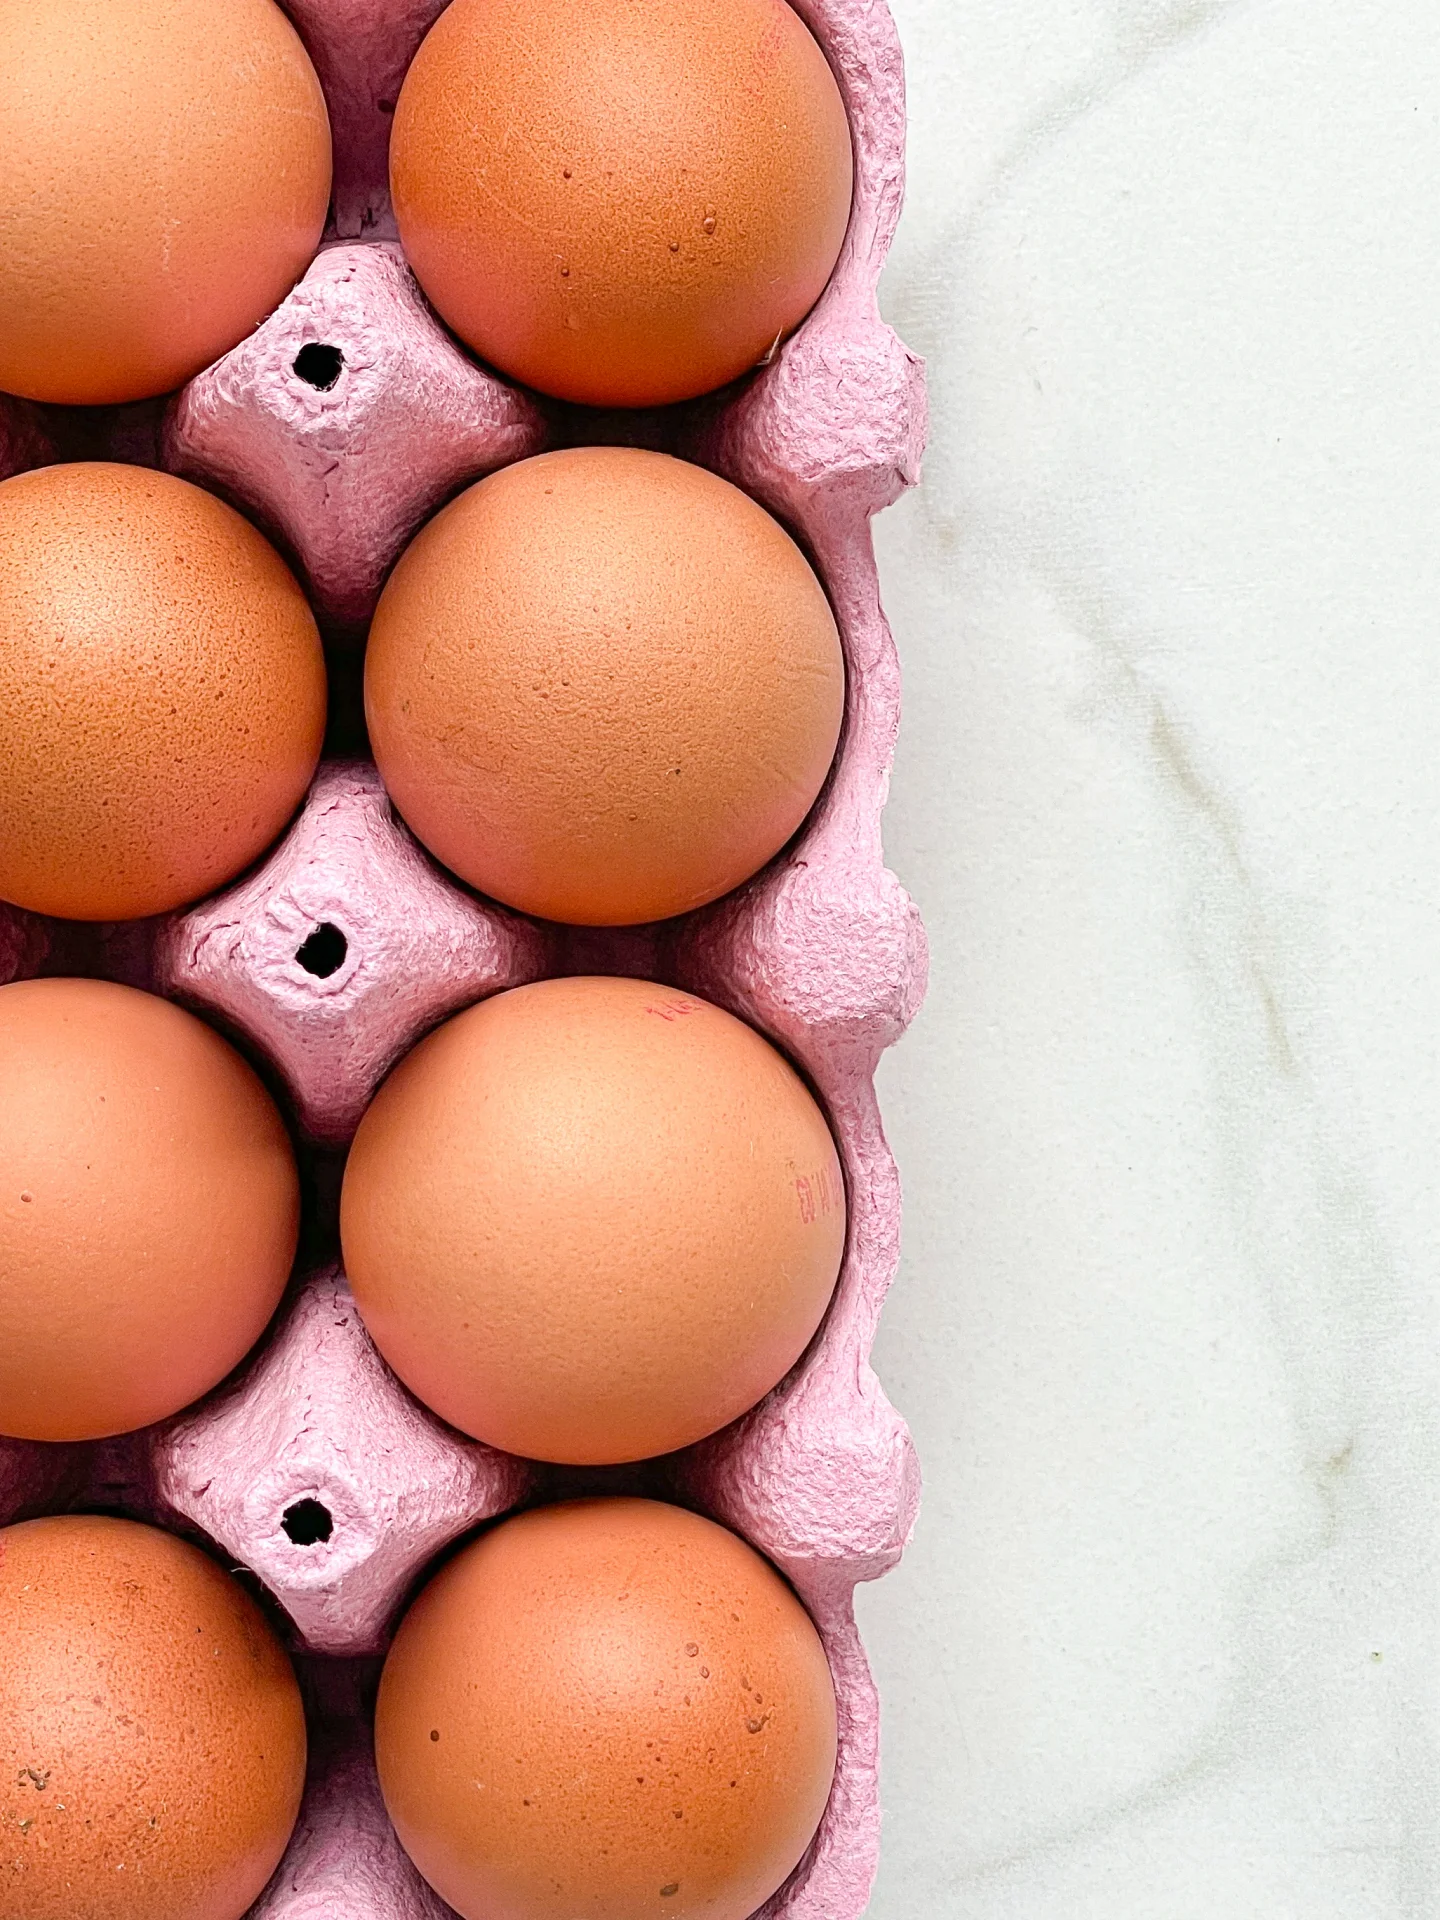
  • 6 fresh eggs
  • 300 grams sugar
  • pinch of salt

Instructions

  1. Line two baking trays with parchment paper
  2. Preheat the oven to 100°C (210°F) with convection (fan-assisted)
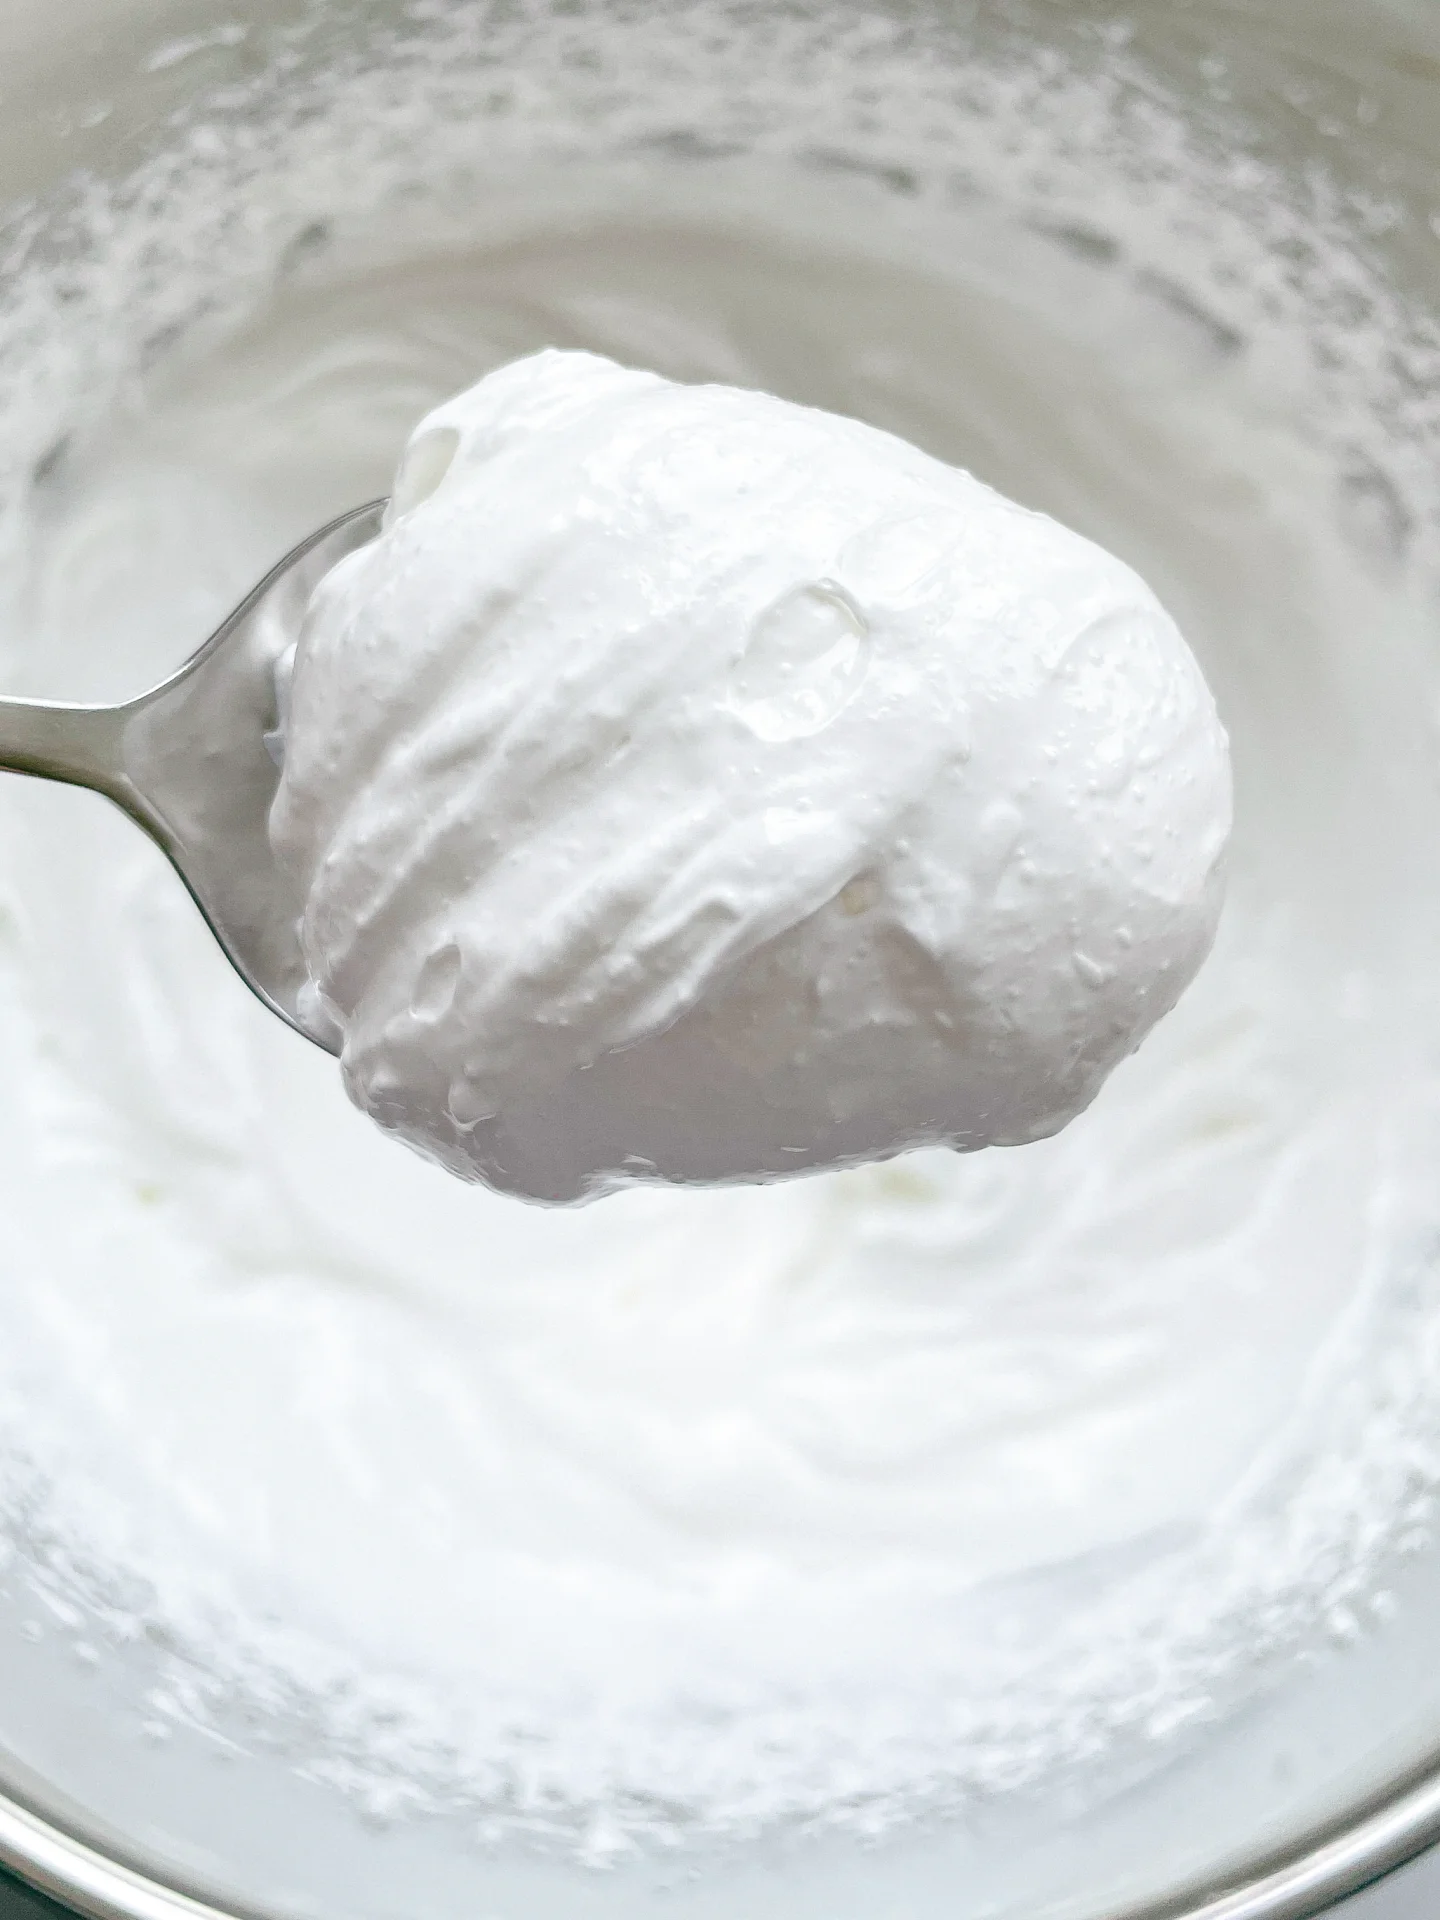
  3. Separate the egg whites from the yolks and start to whisk the egg whites in a grease-free bowl. Do not throw away the egg yolks. You can make cured egg yolks from them, for example. Once the egg whites start to foam, gradually add the sugar and continue to whisk until stiff. Once the sugar has dissolved and the meringue has become almost blue-white and glossy, you can tell that the meringue is ready when long peaks form on the mixer attachment.
  4. Next, fill the meringue into a piping bag with a star nozzle. If you do not have a piping bag, you can also shape the meringue with two spoons. Use the piping bag to form small mounds on the parchment paper in circular motions.
  5. Place the baking trays in the oven and bake for approximately 80-100 minutes (depending on the size). Occasionally open the oven door for a few seconds to allow moisture to escape. Ensure that the meringues do not turn brownish.
  6. The meringues are ready when they can be easily lifted off the parchment paper. Remove the trays from the oven and let them cool completely.
  7. Store the meringues in an airtight container to keep them fresh for several months.
  • Passive Time: 80 min
  • Cook Time: 20 min

CRAVING MORE?

Follow along here & don’t forget to subscribe to my substack!

Oeuf Cocotte with Cream & Herbs (Baked Eggs)

Oeuf Cocotte with Cream & Herbs (Baked Eggs)

Oeuf Cocotte with Cream & Herbs

Oeuf Cocotte with Cream & Herbs (Baked Eggs)

March 2, 2024 by Kimberly

Indulge in the heartwarming delight of Oeuf Cocotte! A simple, nutritious, and delicious start to your day. Embrace the taste of French elegance in every bite.

This website uses affiliate links which may earn commission for purchases made at no additional cost to you.

TOTAL TIME

20 min

SERVES

1 portion

DIET

vegetarian

EVERY RECIPE DESERVES

A Little Love Letter

Discover the joy of French cooking with my simple Oeuf Cocotte recipe! Perfect for a delightful breakfast or a cozy brunch, this dish is not only easy to make but also bursting with flavors. Dive into the elegance of French cuisine and impress your family with this gourmet yet straightforward recipe. Ideal for anyone looking to elevate their morning routine!

Serve your Oeuf Cocotte straight from the oven, nestled in their little pots for a touch of French elegance. Accompany them with slices of crusty bread or a fresh salad for a balanced meal. Perfect for a lazy weekend brunch or a special breakfast, these baked eggs will become your go-to. Garnish with fresh herbs or a sprinkle of cheese for that extra flair!

I do not recommend to store the cooked dish. It’s better to enjoy your delicious breakfast creation even on busy mornings straight out of the oven!

Hi, I'm Kimberly!

Hi, I'm Kimberly.

A hopeless romantic when it comes to food. Every recipe I share is a love letter to food itself. I’m so glad you’re here. Make yourself at home and stay a while.

Love,
Kimberly

Kimberly the Zett Signature

If you want to get to know me better,
click here!


Oeuf Cocotte with Cream & Herbs

LET’S MAKE A PIECE OF HAPPINESS

Print
clock clock iconcutlery cutlery iconflag flag iconfolder folder iconinstagram instagram iconpinterest pinterest iconfacebook facebook iconprint print iconsquares squares iconheart heart iconheart solid heart solid icon
Oeuf Cocotte with Cream & Herbs

Oeuf Cocotte with Cream & Herbs (Baked Eggs)


  • Author: Kimberly
  • Total Time: 20 min
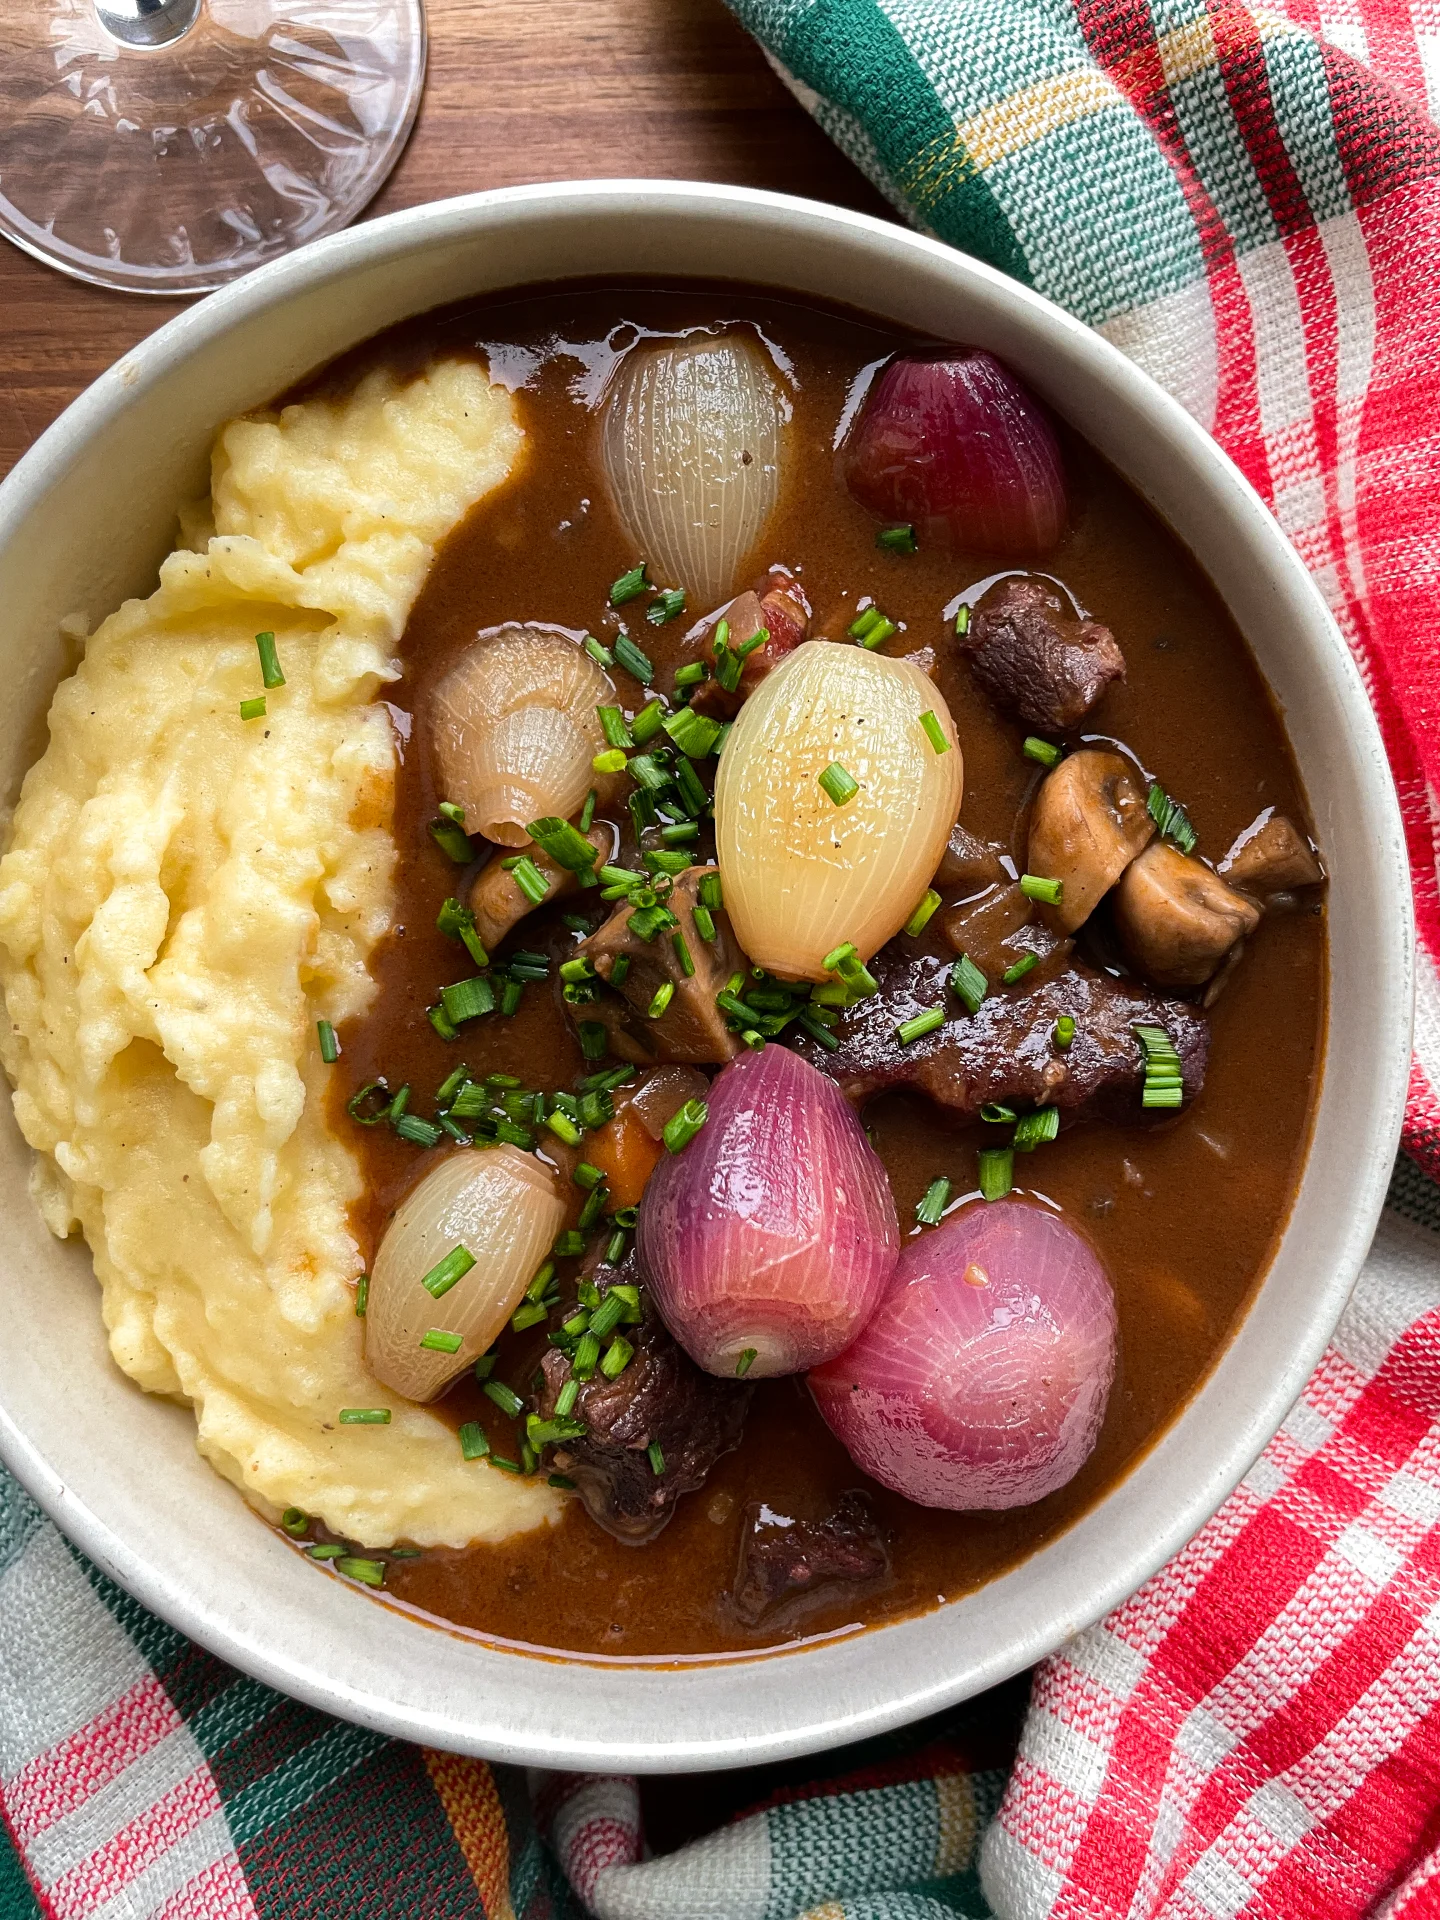
  • Yield: 1 1x

Description

GOOD TO HAVE ON HAND

  • sharp knife
  • cutting board
  • small ovenproof dish


Ingredients

Units Scale
BAKED EGGS
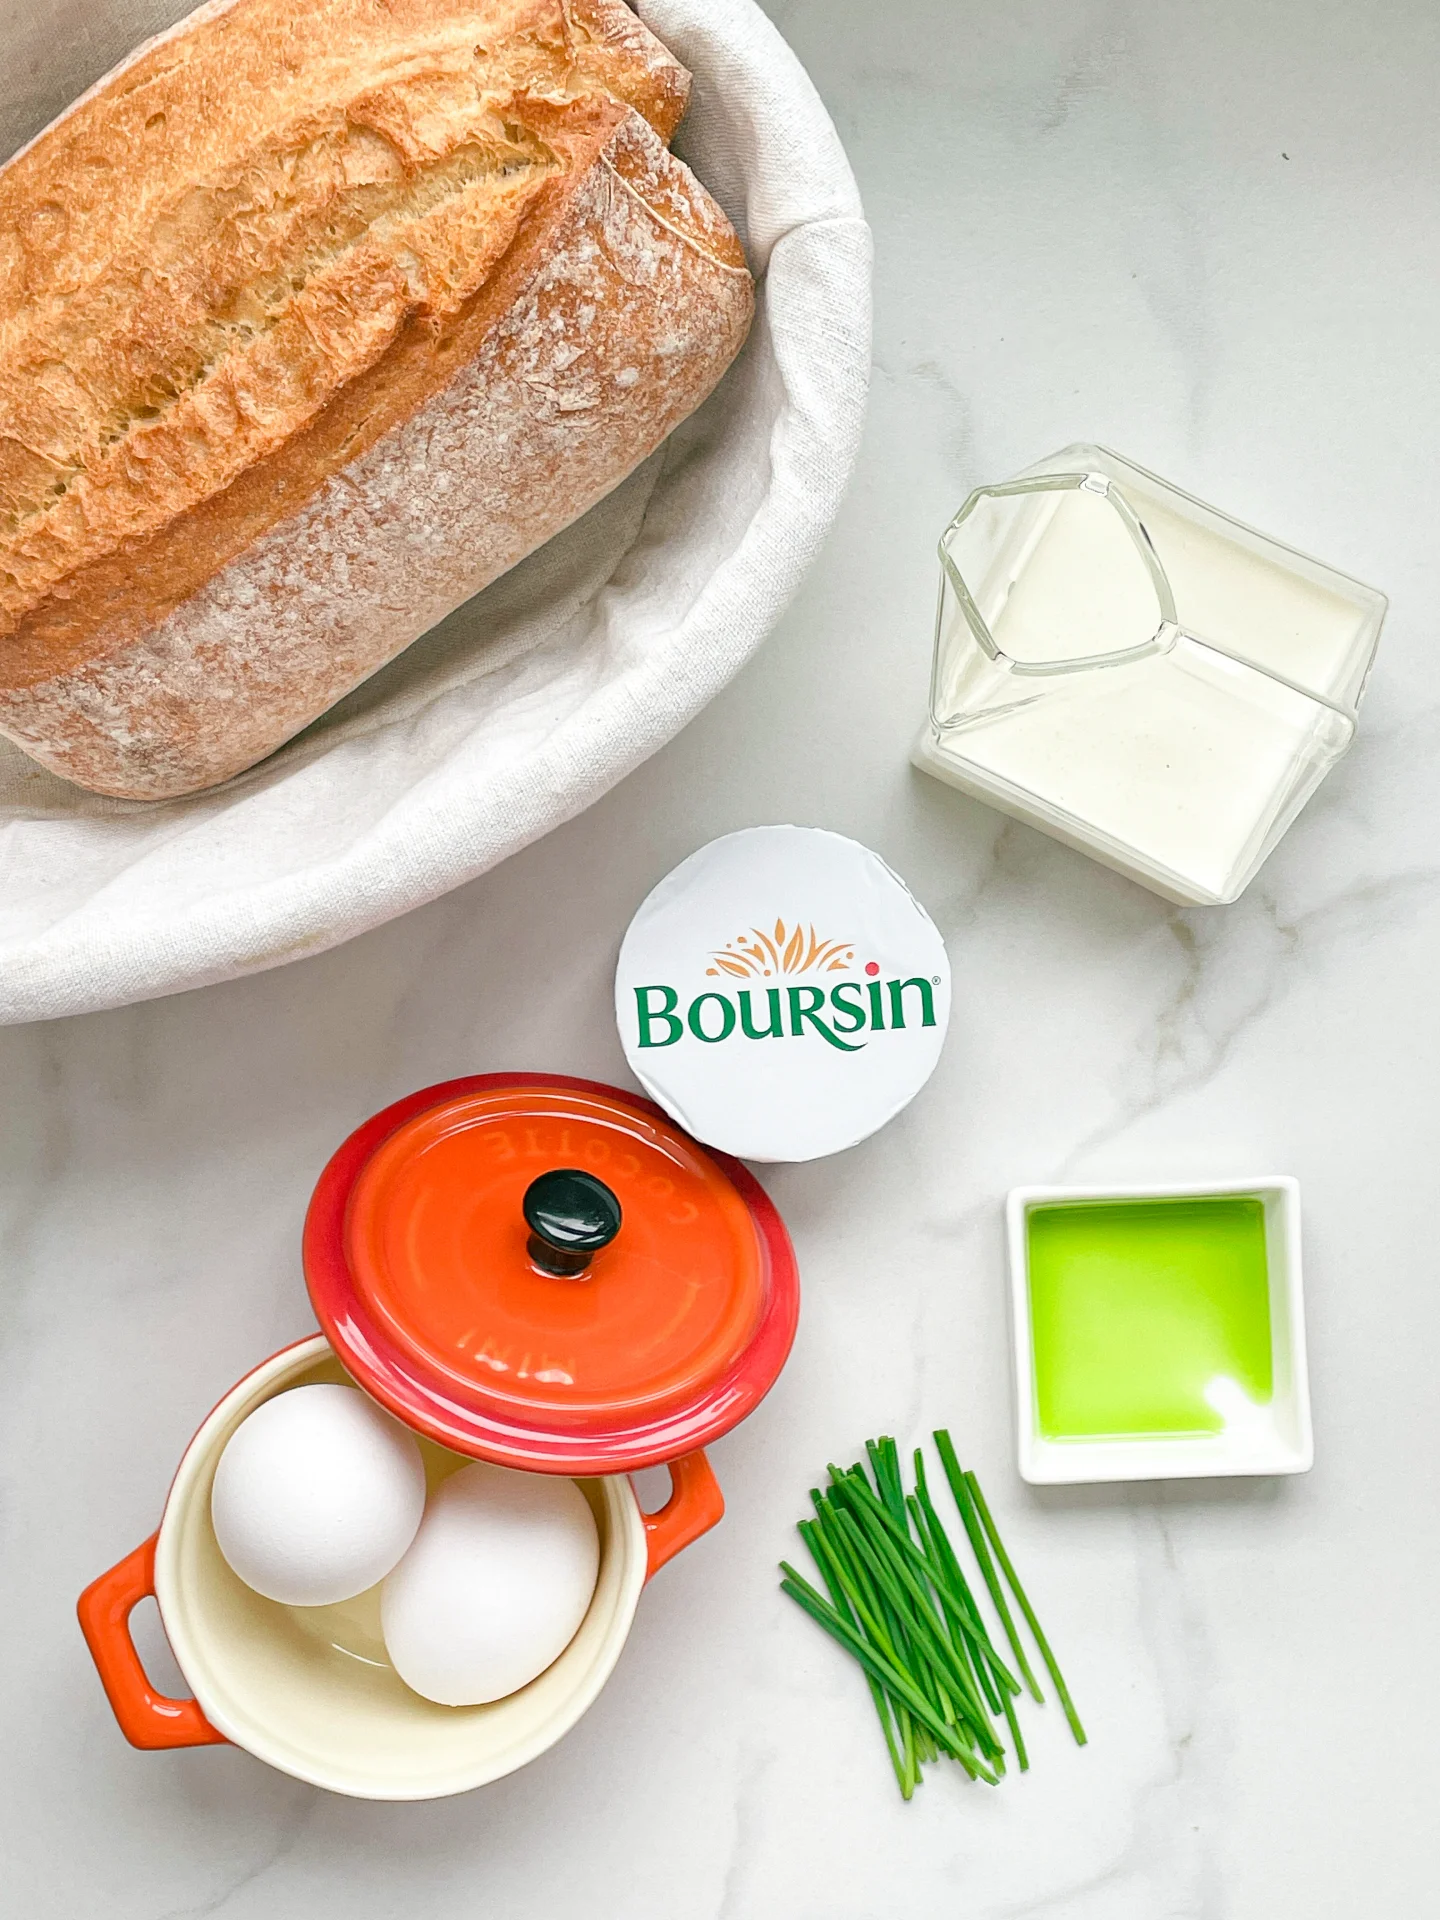
  • 2 eggs
  • 1 tbsp cream
  • 1.5 tsp herb cream cheese
TOPPINGS
  • 30 grams baguette
  • chives
  • salt & pepper

Instructions

  1. Crack two eggs into a small ovenproof dish. Spread a tablespoon of cream on top, as well as 1.5 teaspoons of herb cream cheese. Place the dish in the oven at 180°C (350°F) for about 18 minutes.
  2. Meanwhile, cut the chives into rolls and the baguette into slices.
  3. When the eggs are ready, take them out of the oven and top with salt, pepper and chives. Chive oil also goes very well. Enjoy with fresh baguette for dipping.
  • Passive Time: 15 min
  • Cook Time: 5 min

CRAVING MORE?

Follow along here & don’t forget to subscribe to my substack!

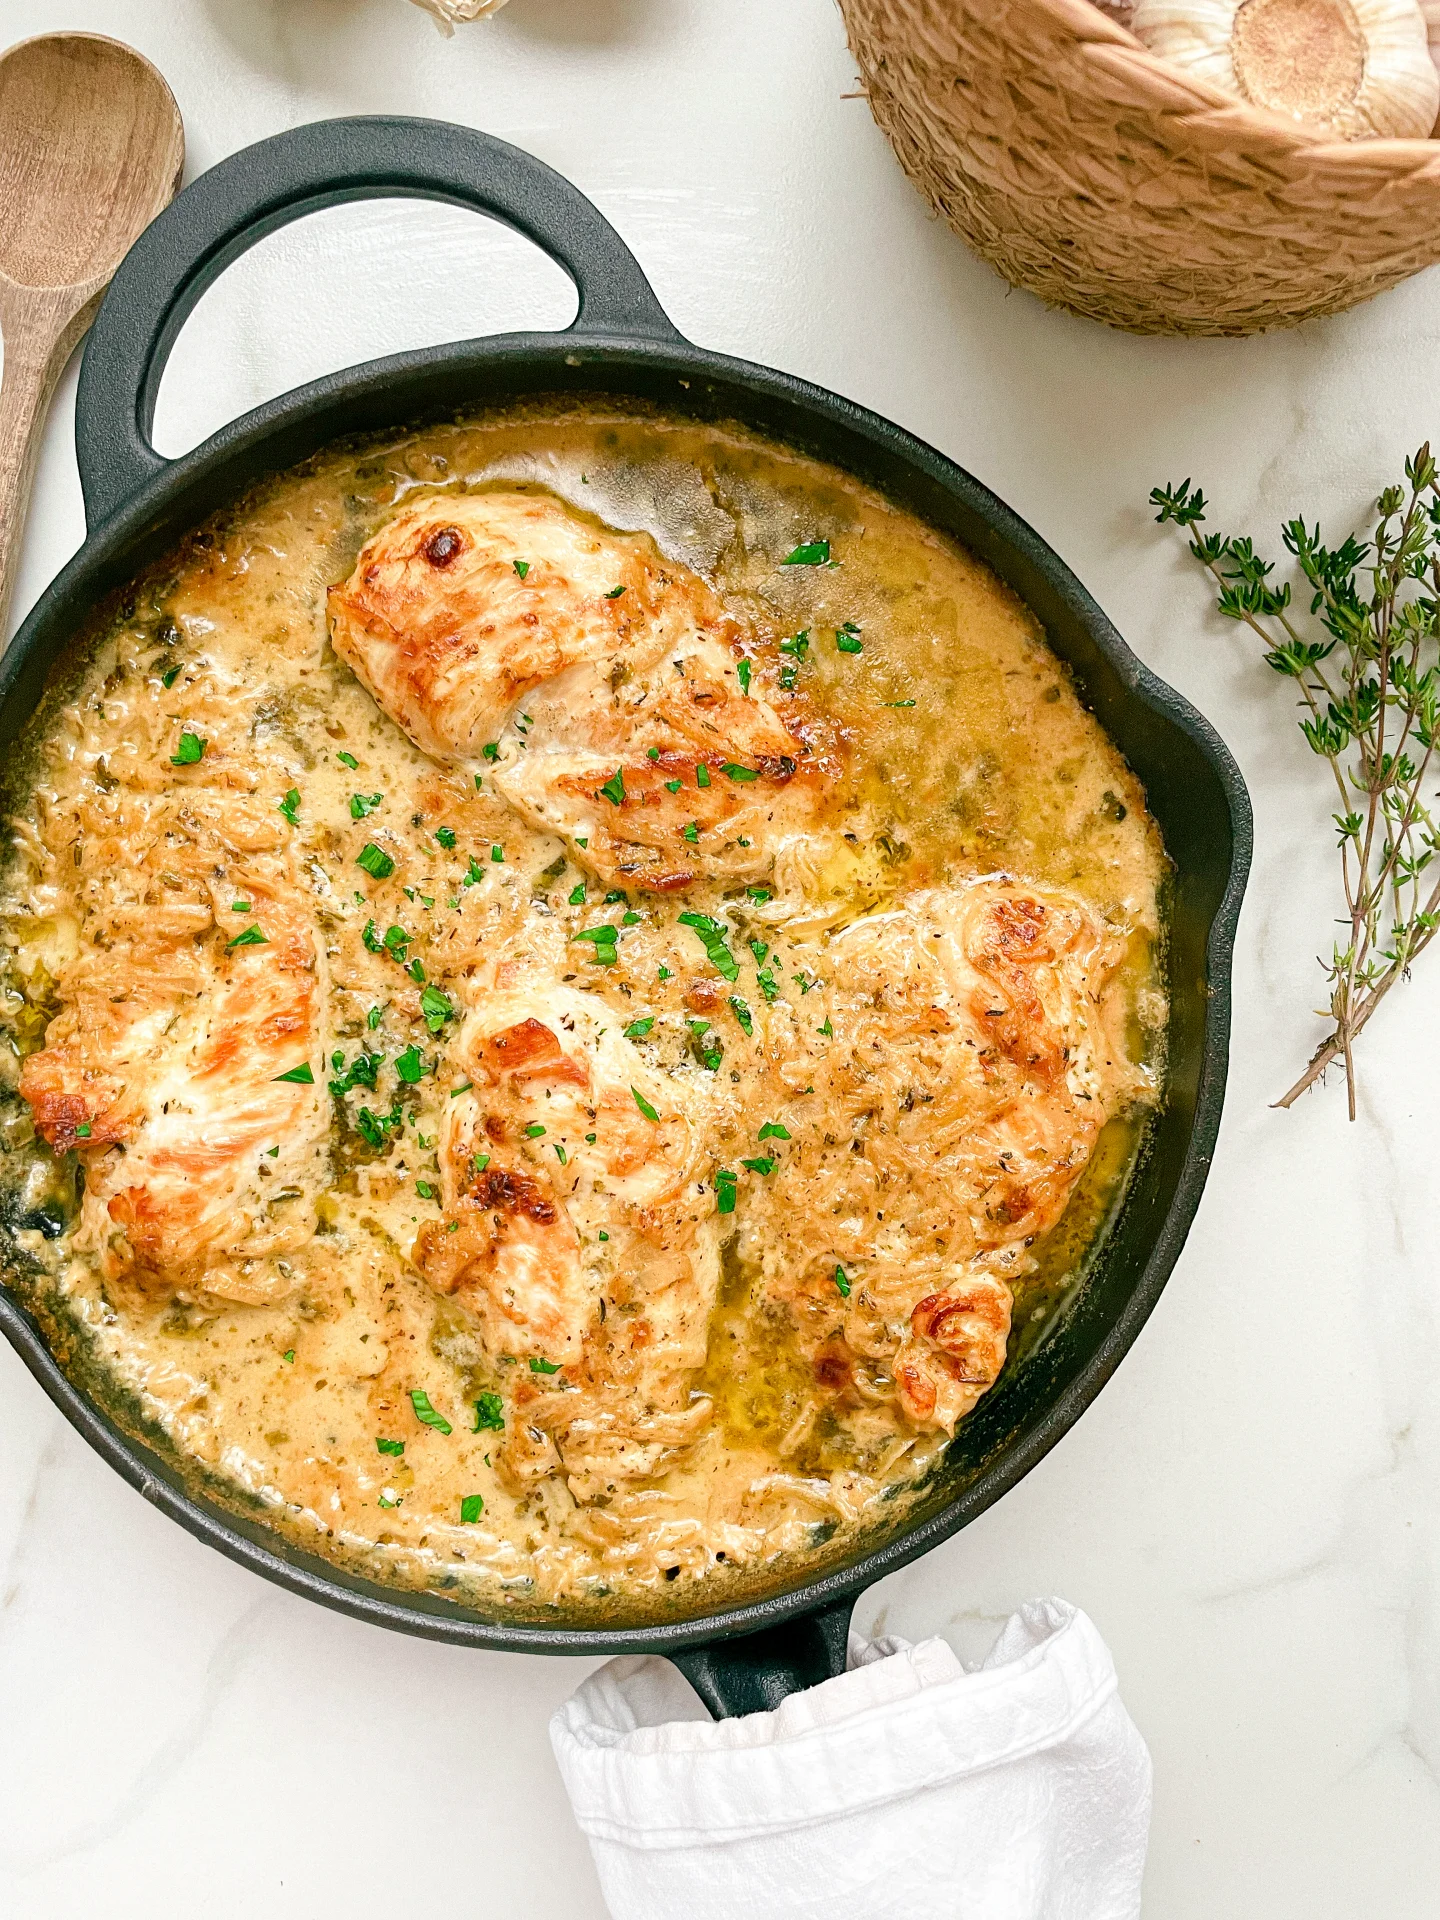
Sour Cream & Caramalized Onion Skillet Chicken

Sour Cream & Caramalized Onion Skillet Chicken

Sour Cream & Caramalized Onion Skillet Chicken

Sour Cream & Caramalized Onion Skillet Chicken

February 27, 2024 by Kimberly

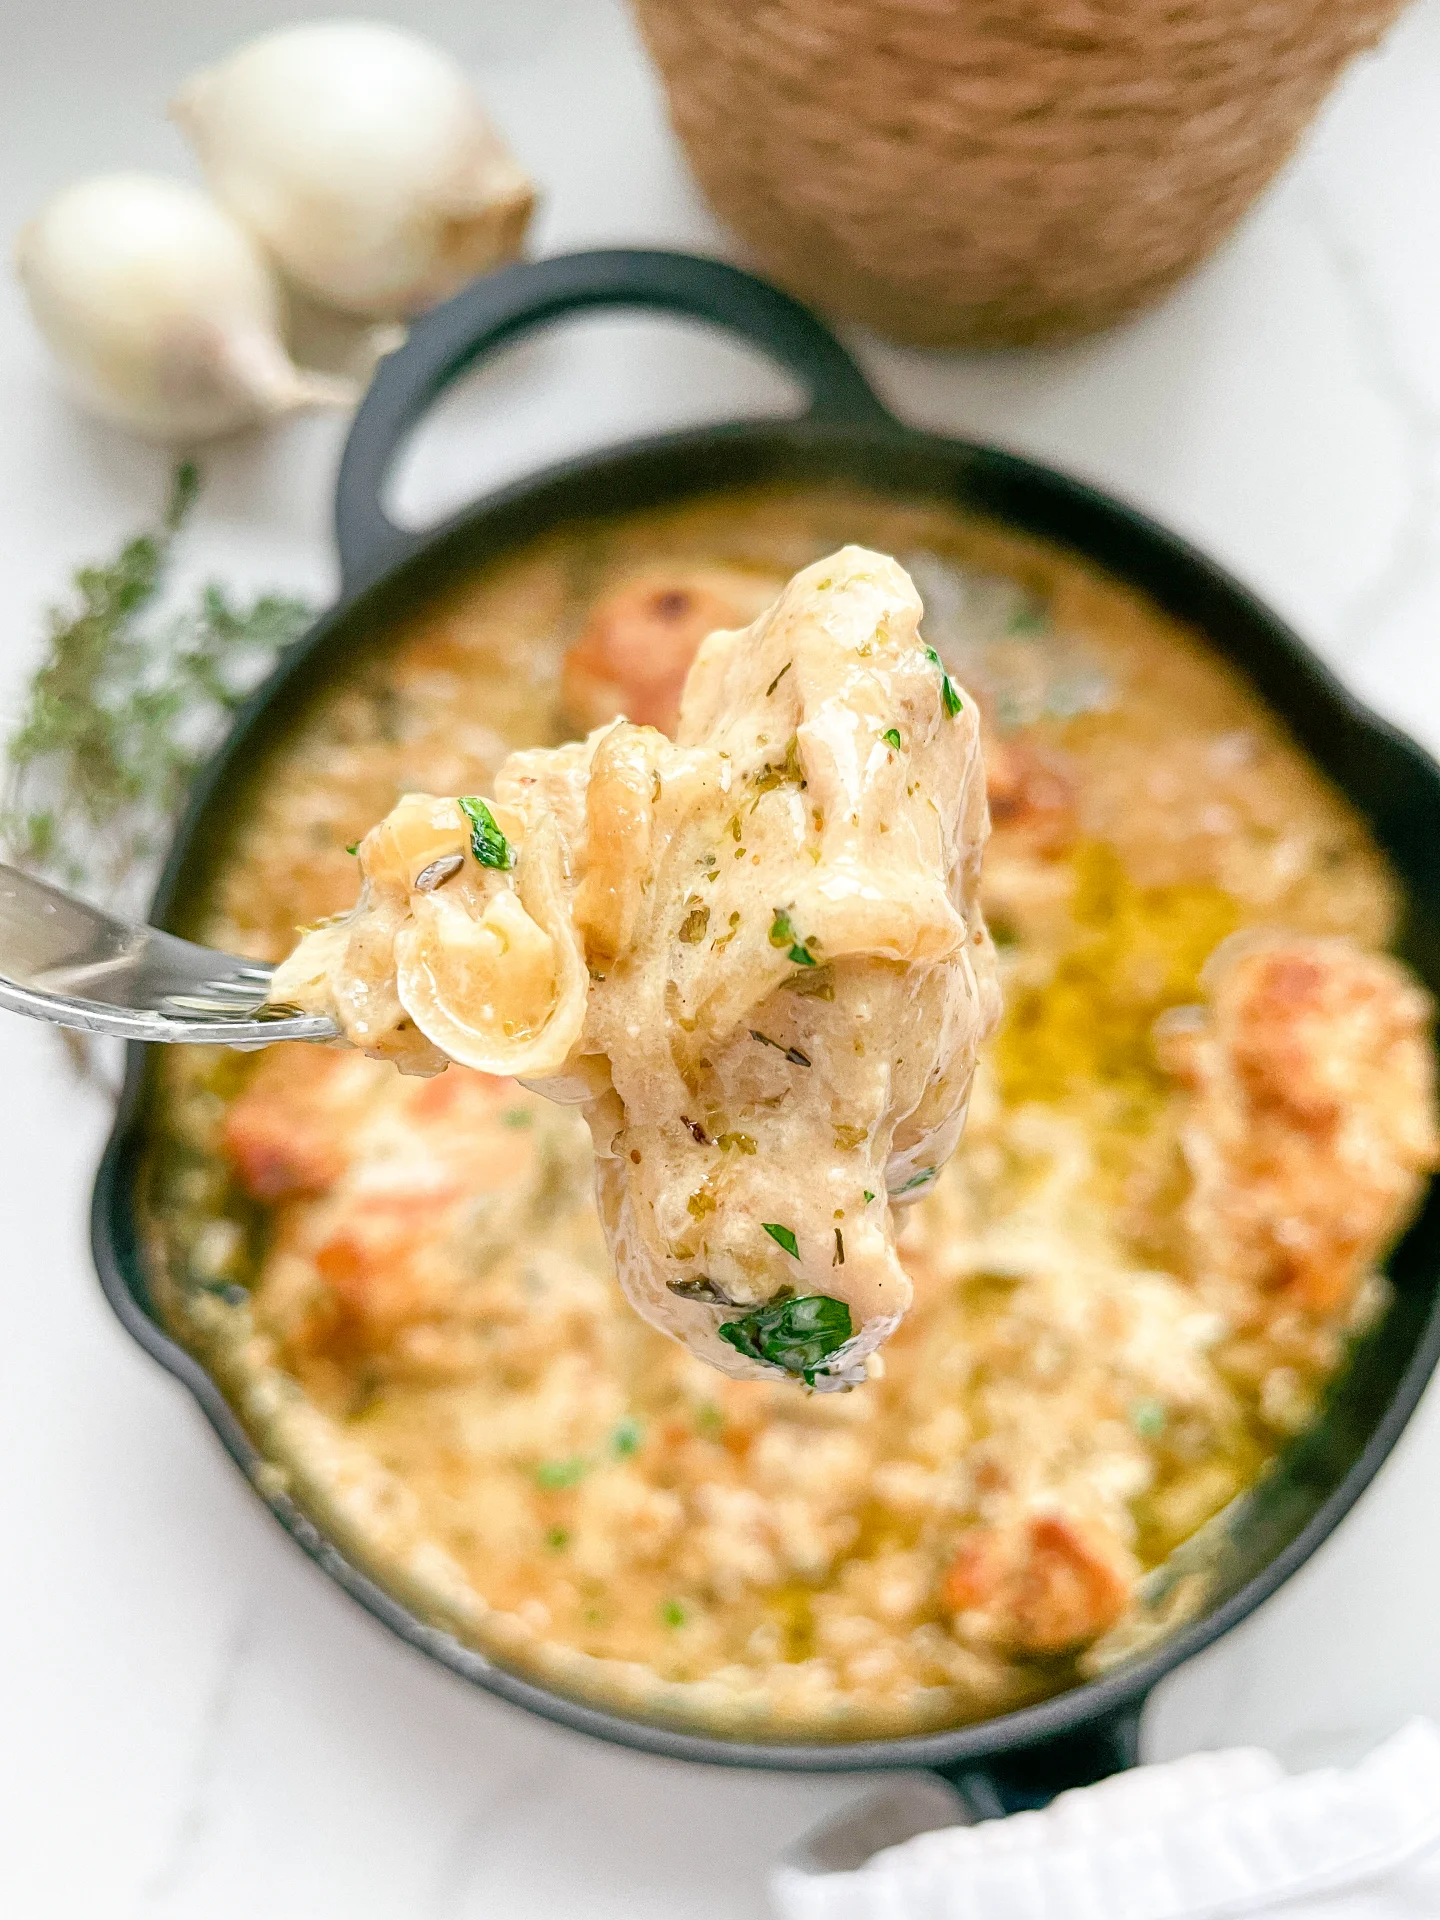
Dive into the creamy delight of Sour Cream & Caramelized Onion Skillet Chicken! Perfect for a cozy dinner, this dish combines rich flavors with tender chicken. Enjoy the taste of home!

This website uses affiliate links which may earn commission for purchases made at no additional cost to you.

TOTAL TIME

70 min

SERVES

4 portions

DIET

omnivore

EVERY RECIPE DESERVES

A Little Love Letter

Indulge in the comfort of Sour Cream & Caramelized Onion Skillet Chicken, your new favorite dinner solution! This one-pan wonder combines juicy chicken, rich sour cream, and sweet caramelized onions for a delightful meal. Perfect for busy weeknights or a comforting weekend treat, this easy-to-make dish brings gourmet flavors to your kitchen table without the fuss.

Serve this luscious Sour Cream & Caramelized Onion Skillet Chicken with fluffy mashed potatoes or steamed rice to soak up the creamy sauce. A side of green beans or a crisp salad adds freshness to your meal, creating a balanced and satisfying dinner. Don’t forget a slice of crusty bread for the ultimate comfort food experience, ideal for gathering family and friends around the table.

Store any leftovers in an airtight container in the refrigerator for up to three days. Reheat gently in a pan over low heat to preserve the creamy texture and rich flavors of your delicious skillet chicken.

Hi, I'm Kimberly!

Hi, I'm Kimberly.

A hopeless romantic when it comes to food. Every recipe I share is a love letter to food itself. I’m so glad you’re here. Make yourself at home and stay a while.

Love,
Kimberly

Kimberly the Zett Signature

If you want to get to know me better,
click here!


Sour Cream & Caramalized Onion Skillet Chicken

LET’S MAKE A PIECE OF HAPPINESS

Print
clock clock iconcutlery cutlery iconflag flag iconfolder folder iconinstagram instagram iconpinterest pinterest iconfacebook facebook iconprint print iconsquares squares iconheart heart iconheart solid heart solid icon
Sour Cream & Caramalized Onion Skillet Chicken

Sour Cream & Caramalized Onion Skillet Chicken


  • Author: Kimberly
  • Total Time: 1 hr + 10 min
  • Yield: 4 1x

Description

GOOD TO HAVE ON HAND

  • sharp knife
  • cutting board
  • small bowl
  • 2 pans (one of them ovenproof)


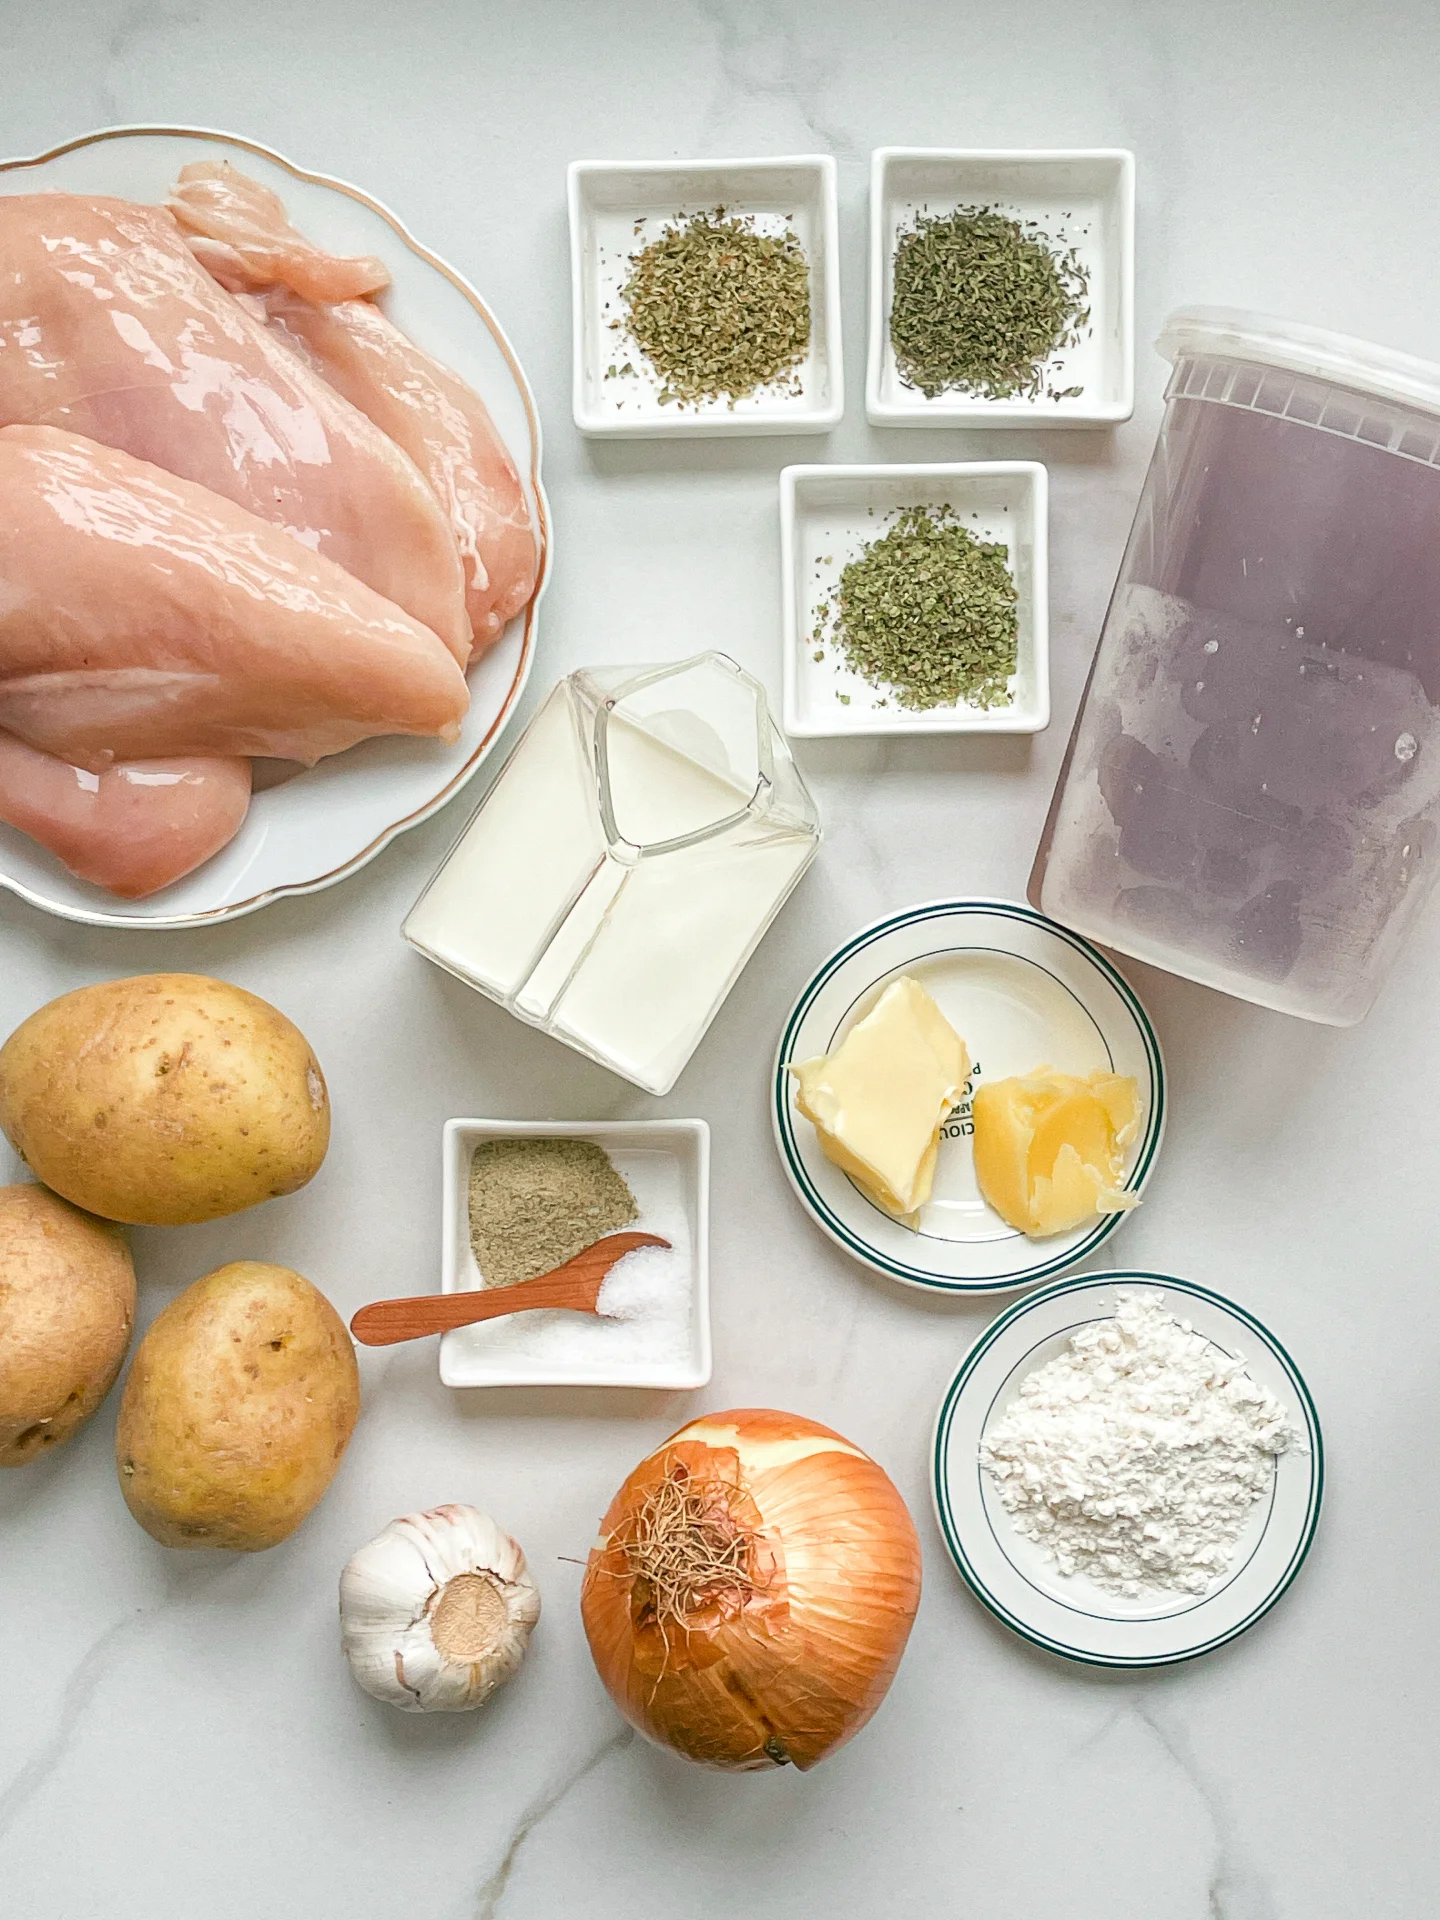
Ingredients

Units Scale
CHICKEN
  • 400 grams chicken breasts
  • 1 tsp clarified butter
SOUR CREAM & ONION SAUCE
  • 1 tsp butter
  • 3 big onions
  • 4 garlic cloves
  • 200 milliliters heavy cream
  • 200 milliliters vegetable broth
  • 1/2 tsp dried thyme
  • 1/2 tsp dried marjoram
  • 1/2 tsp dried oregano
  • salt & pepper to taste
BEURRE MANIÉ
  • 1 tsp butter
  • 1 tsp all-purpose flour

Instructions

  1. Peel, halve and cut the onions into thin semicircles.
  2. Peel and finely chop or press the garlic.
  3. Mix 1 teaspoon of butter and 1 teaspoon of flour in a small bowl until creamy. This is the beurre manié that you will use to bind the sauce later.
  4. Preheat the oven to 200°C (400°F)
  5. In a large pan, heat 1 tablespoon of butter and sauté the onions until they have gained a bit of color, for about 15 minutes. Then add the garlic. Stir everything well and sauté for 1-2 minutes.
  6. Now add the vegetable broth and deglaze the pan. Let everything simmer for about 5 minutes on medium heat. Now add the heavy cream. Stir everything well. Add the beurre manié, stir well and bring to a boil until the sauce has thickened. Now add salt, pepper, thyme, oregano, and marjoram, stir to combine, let it come to a boil briefly, and set aside.
  7. In an ovenproof skillet, heat 1 teaspoon of clarified butter and sear the chicken breasts on both sides. Do not fully cook the meat, as it will finish cooking in the oven and then become really tender.
  8. Now spread the entire onion & cream sauce over and between the chicken in the skillet. Smooth out and bake in the oven uncovered for about 30 minutes until done.
  9. Remove the skillet from the oven and enjoy the chicken and sour cream caramelized onions with rice, pasta, potatoes, mashed potatoes, or just simply bread.
  • Passive Time: 45 min
  • Cook Time: 25 min

CRAVING MORE?

Follow along here & don’t forget to subscribe to my substack!

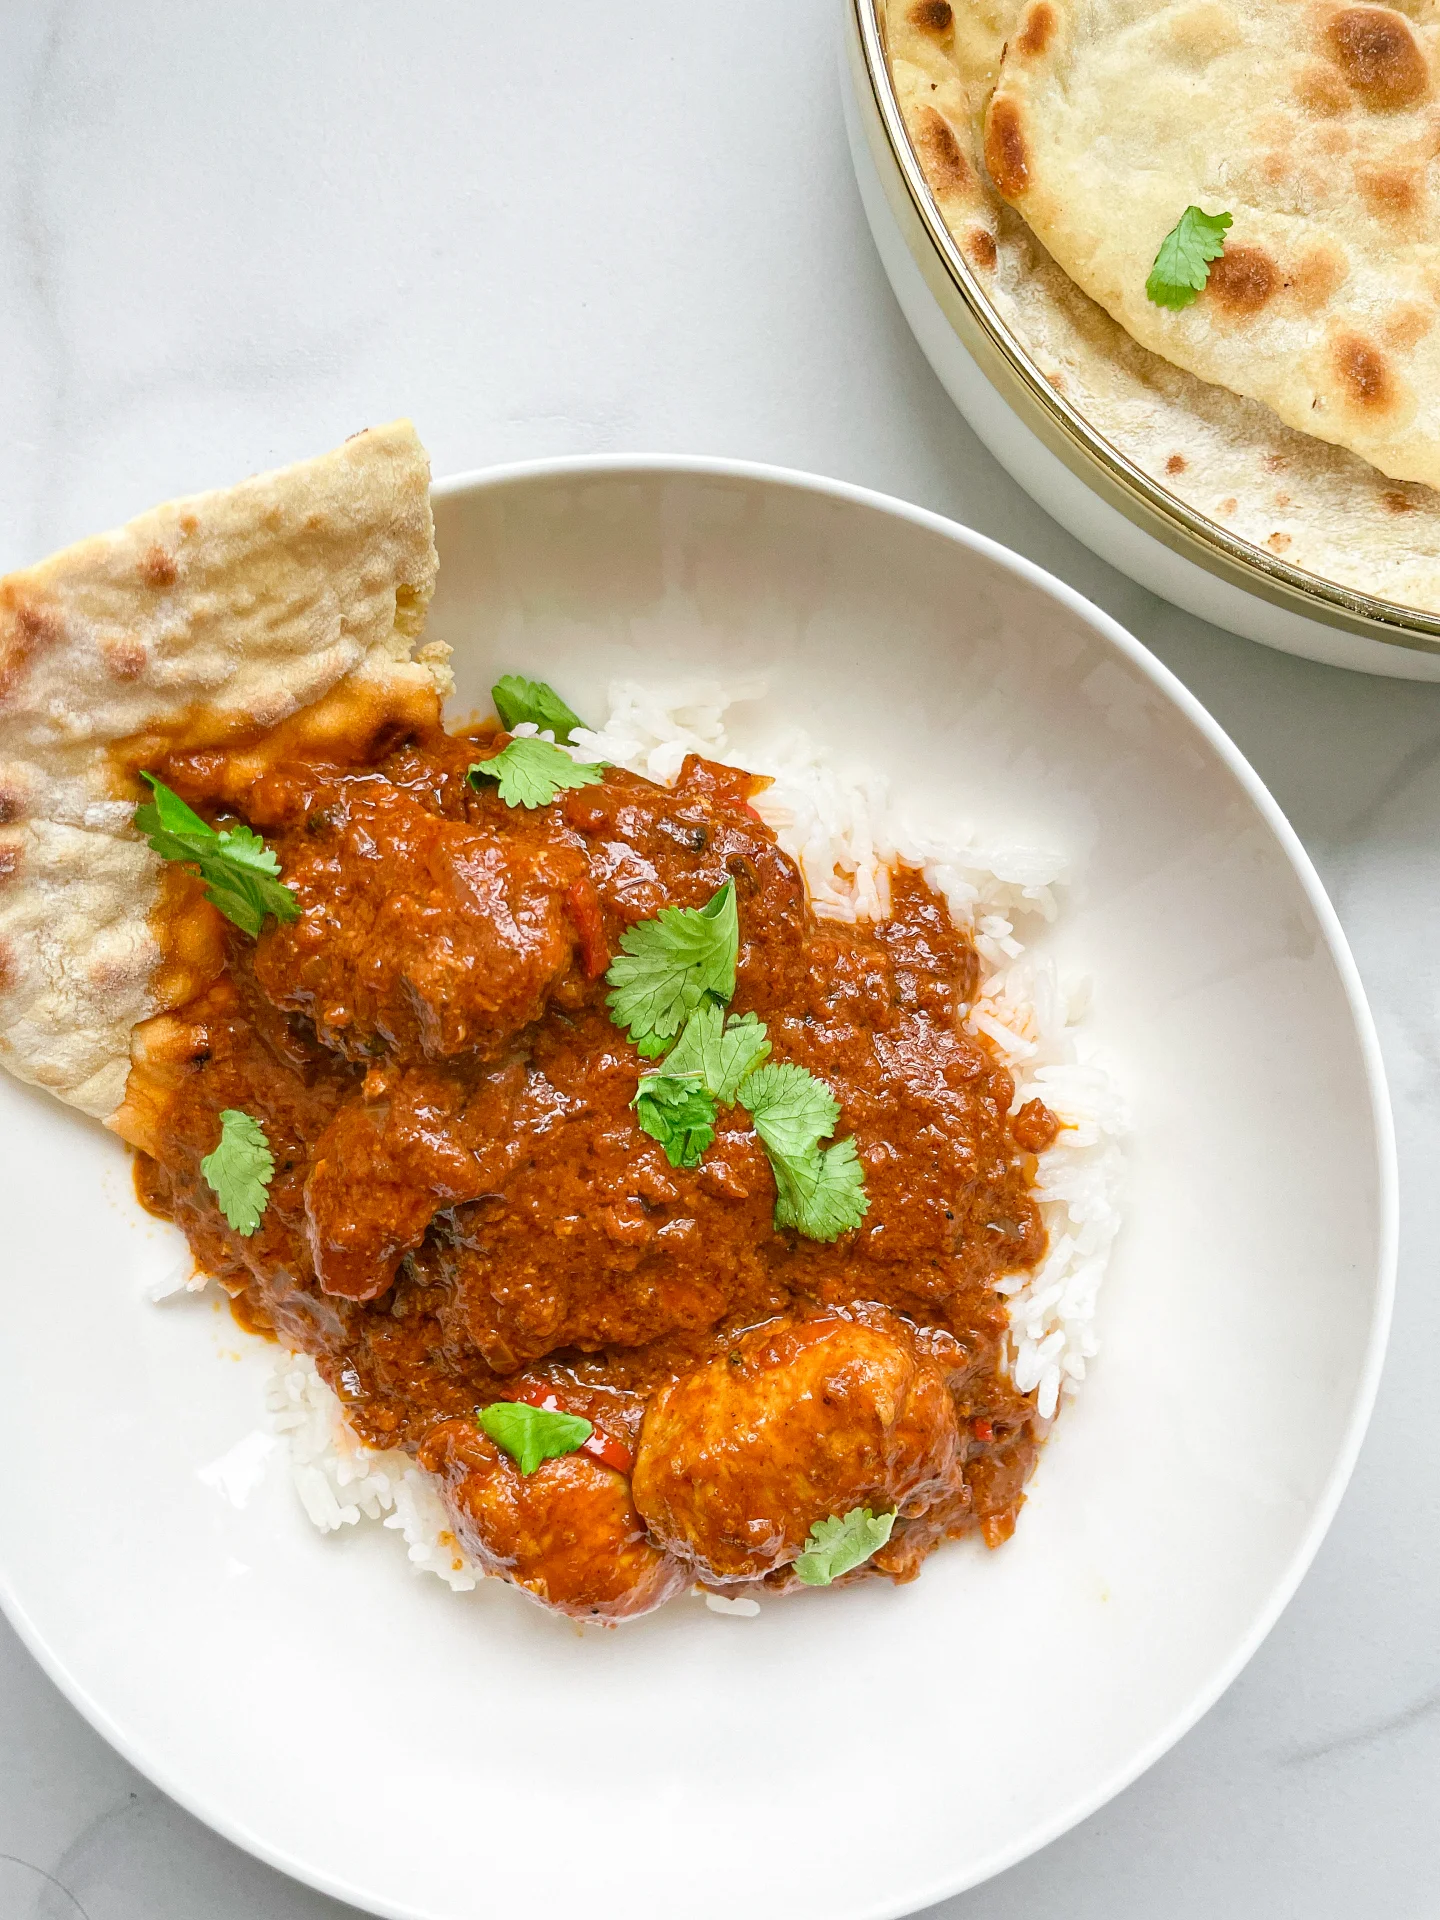
Spicy Butter Chicken
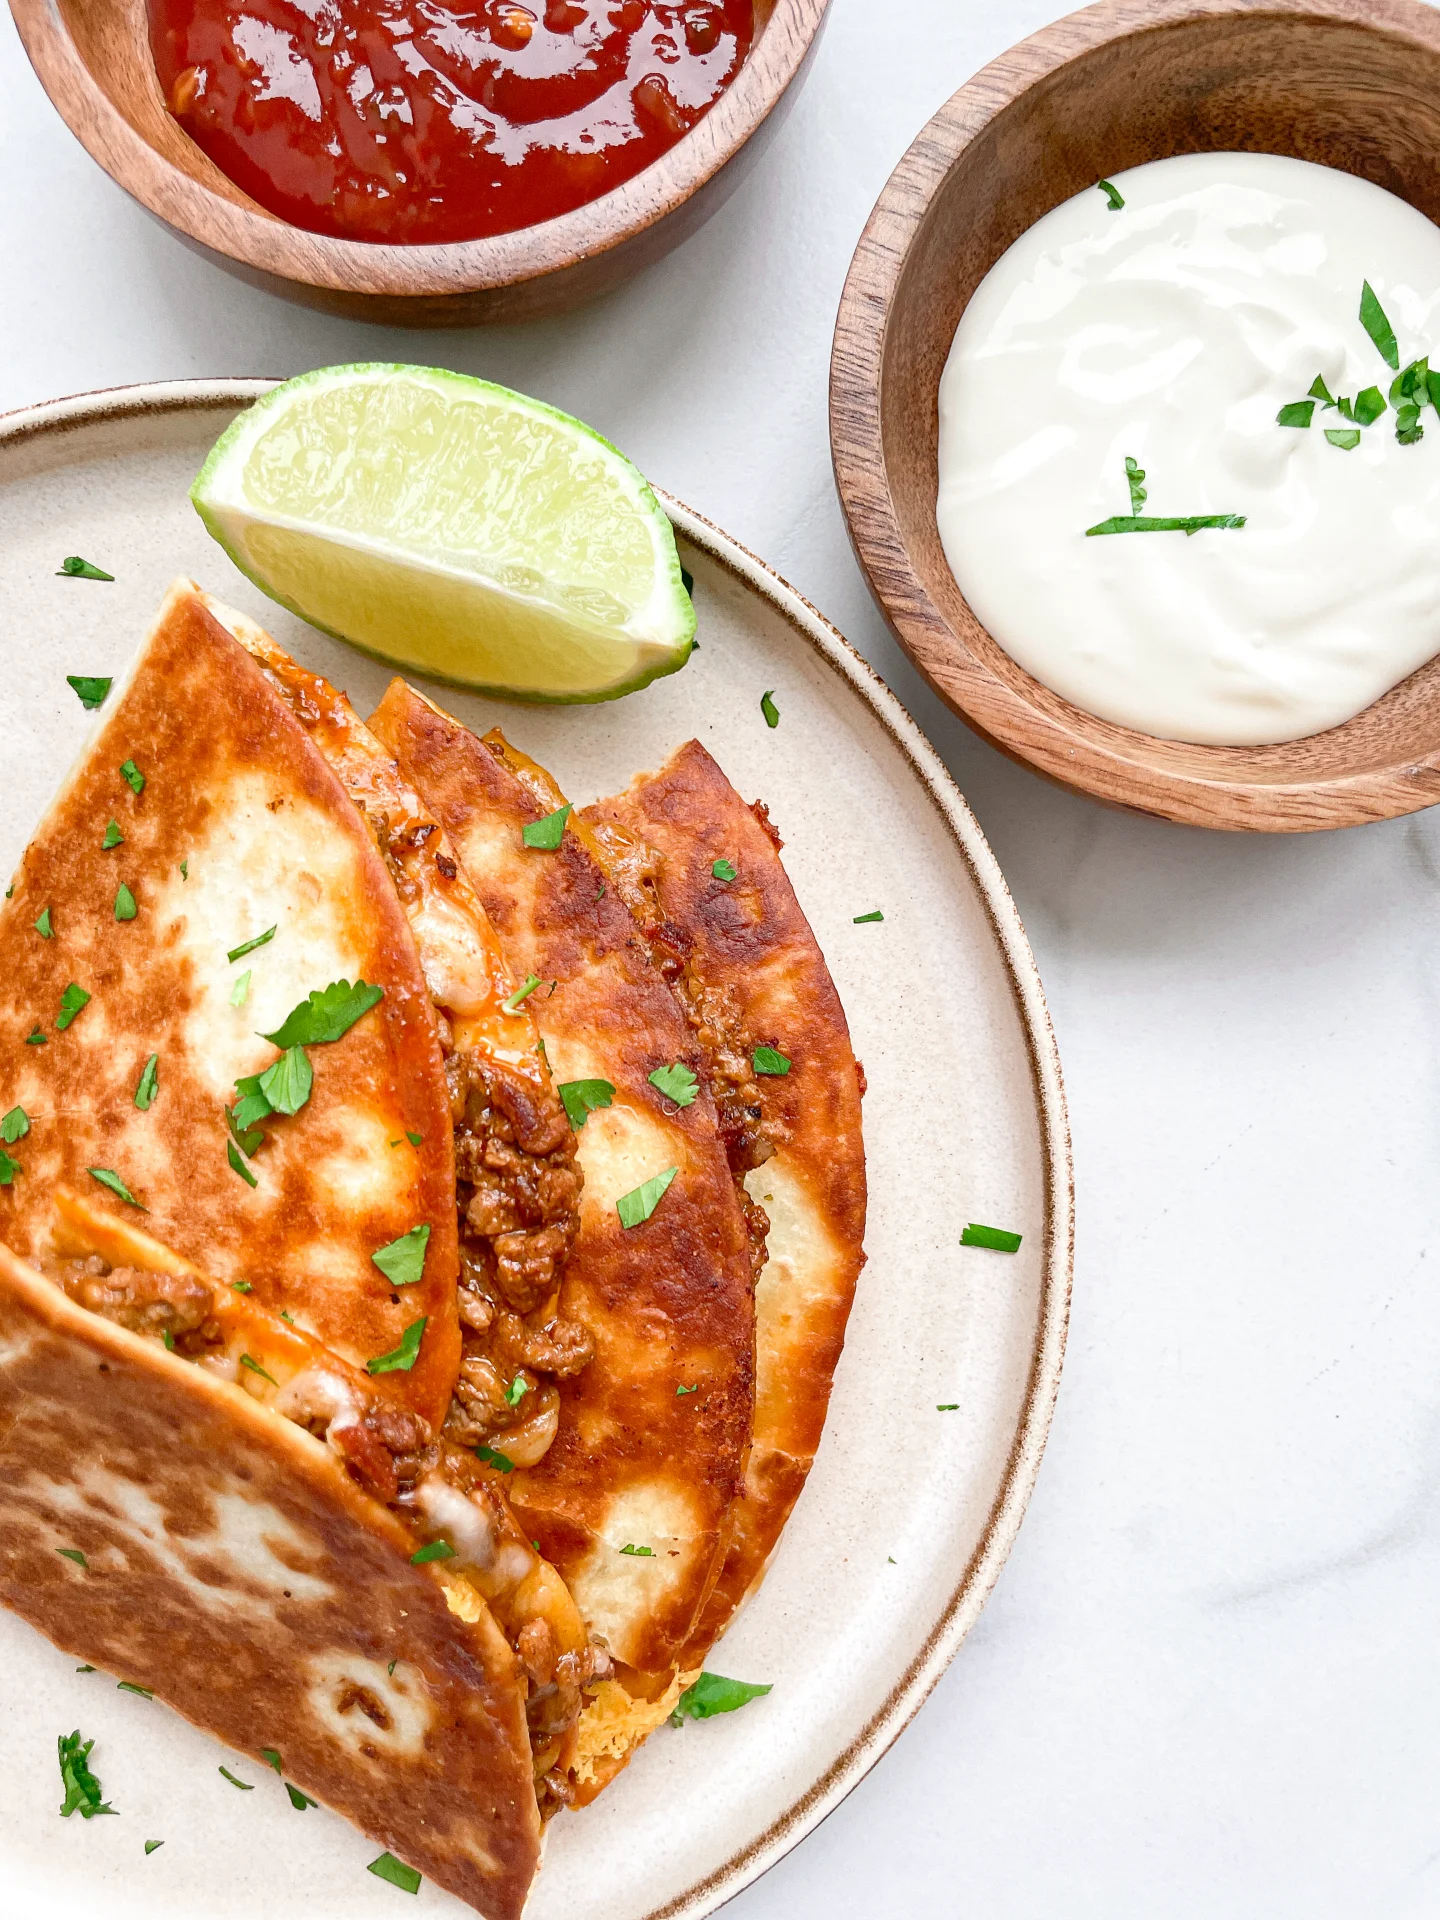
Spicy Butter Chicken

Spicy Butter Chicken

Spicy Butter Chicken

February 22, 2024 by Kimberly

Dive into the creamy delight of Spicy Butter Chicken with Coconut Cream! Perfect for those who love a rich, flavorful twist on a classic dish. Easy and satisfying!

This website uses affiliate links which may earn commission for purchases made at no additional cost to you.

TOTAL TIME

75 min

SERVES

4 portions

DIET

omnivore

EVERY RECIPE DESERVES

A Little Love Letter

Indulge in the rich flavors of my spicy Butter Chicken. This dish offers a perfect balance of creamy texture and fiery spices, bringing a delightful twist to traditional Indian cuisine. Ideal for dinner parties or a cozy night in, this easy-to-make recipe promises to impress with its deep flavors and comforting warmth.

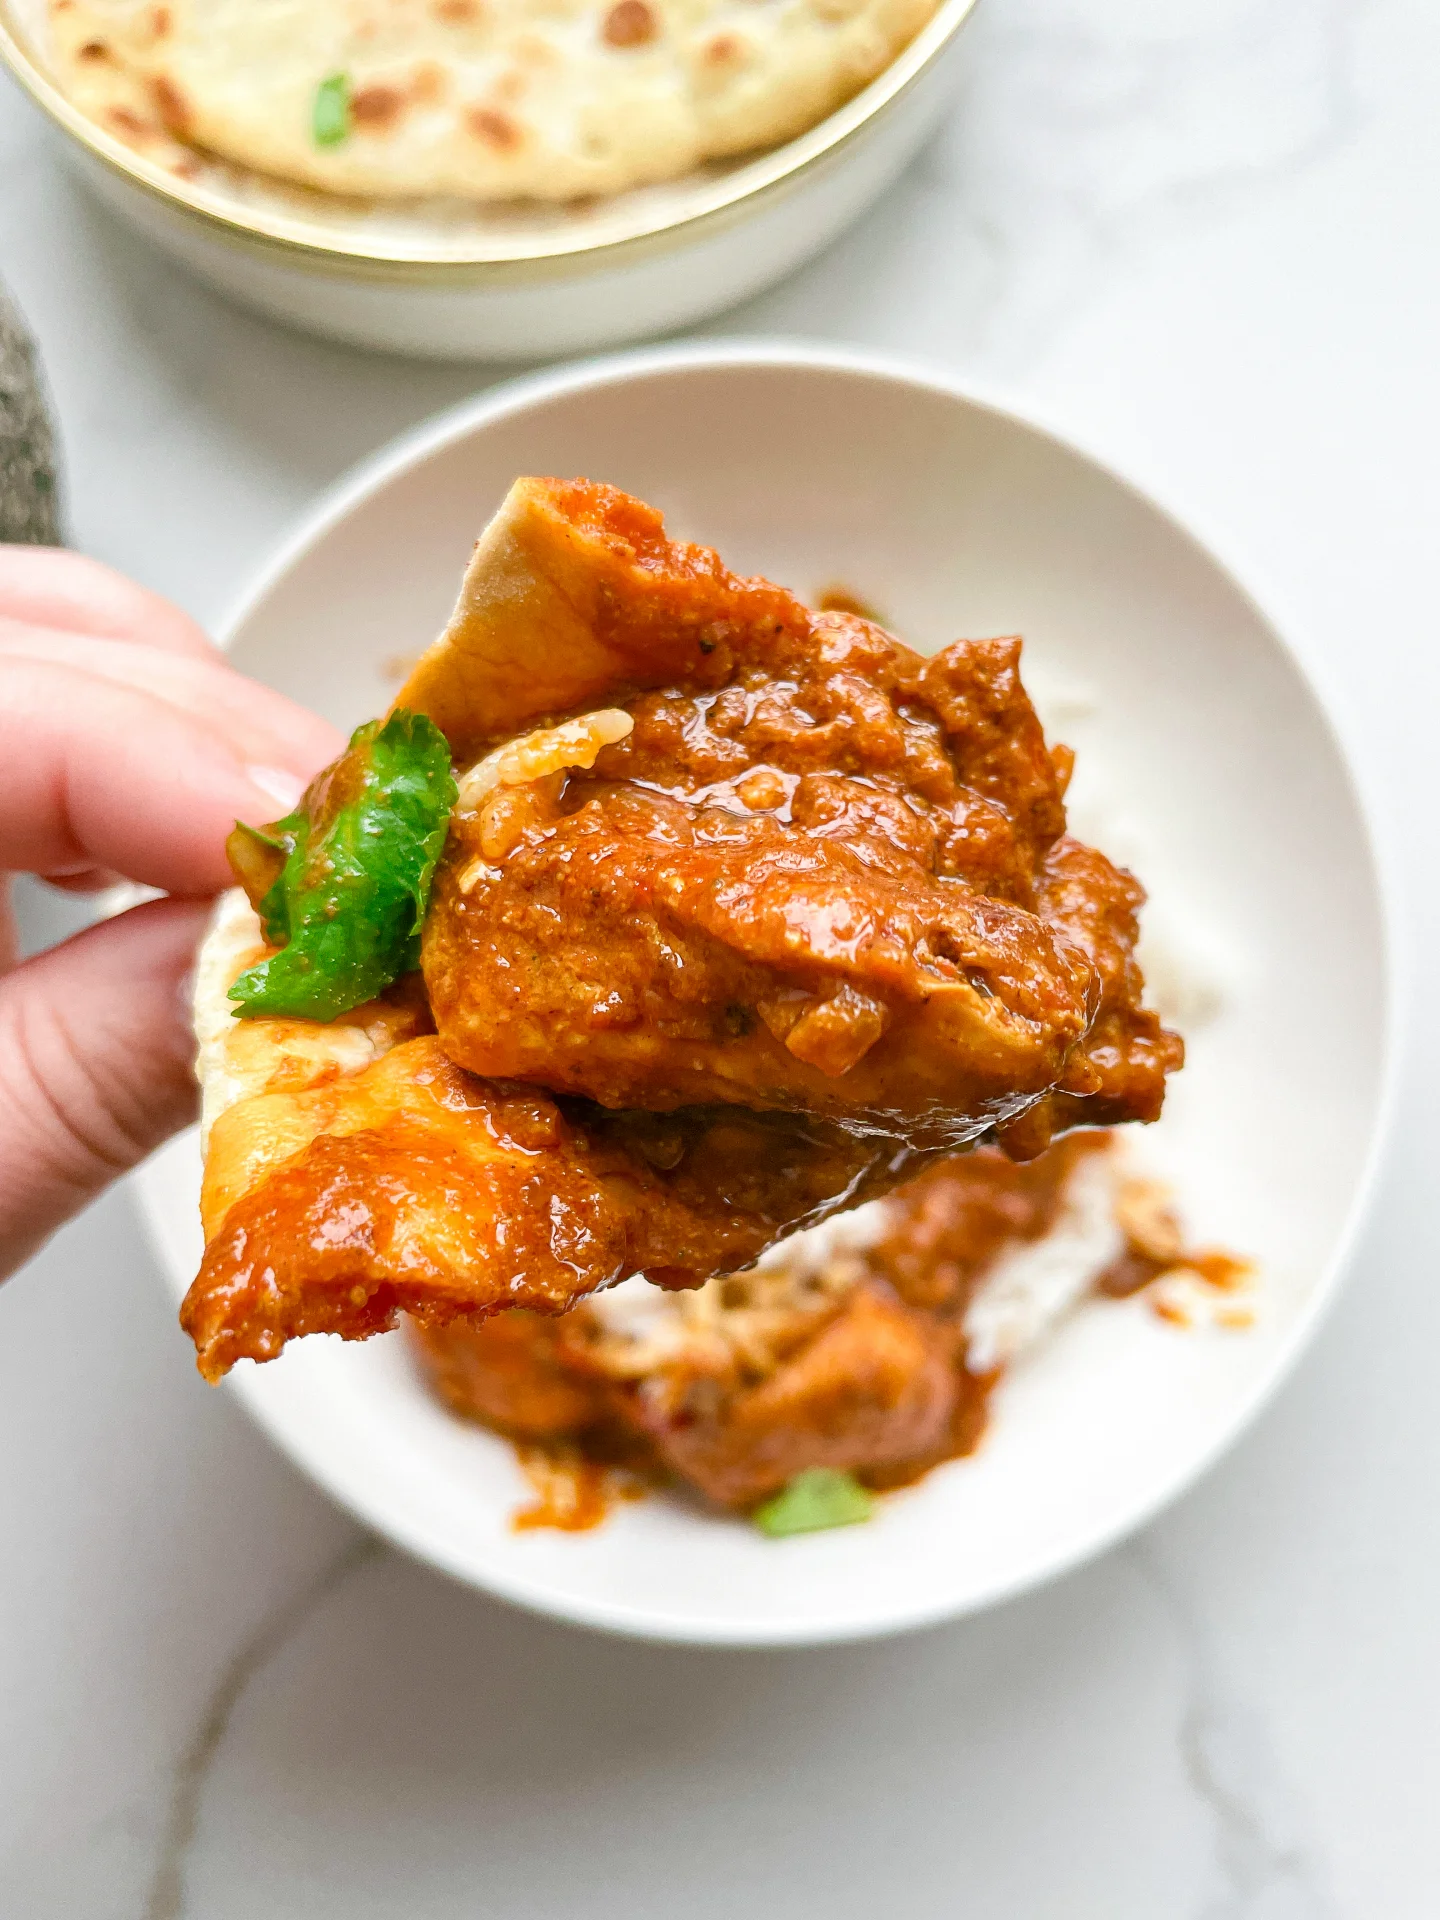
Serve this luxurious spicy Butter Chicken with fragrant basmati rice or warm naan bread to soak up the creamy sauce. Garnish with fresh cilantro and a squeeze of lemon for an added zest. This dish is perfect for spice lovers and can be easily adjusted to suit any palate, making it a versatile addition to your culinary repertoire.

Store leftovers in an airtight container in the refrigerator for up to three days. Reheat gently, adding a splash of stock or coconut milk to retain the creamy texture. Avoid freezing as it may affect the sauce’s consistency.

Hi, I'm Kimberly!

Hi, I'm Kimberly.

A hopeless romantic when it comes to food. Every recipe I share is a love letter to food itself. I’m so glad you’re here. Make yourself at home and stay a while.

Love,
Kimberly

Kimberly the Zett Signature

If you want to get to know me better,
click here!


Spicy Butter Chicken

LET’S MAKE A PIECE OF HAPPINESS

CRAVING MORE?

Follow along here & don’t forget to subscribe to my substack!

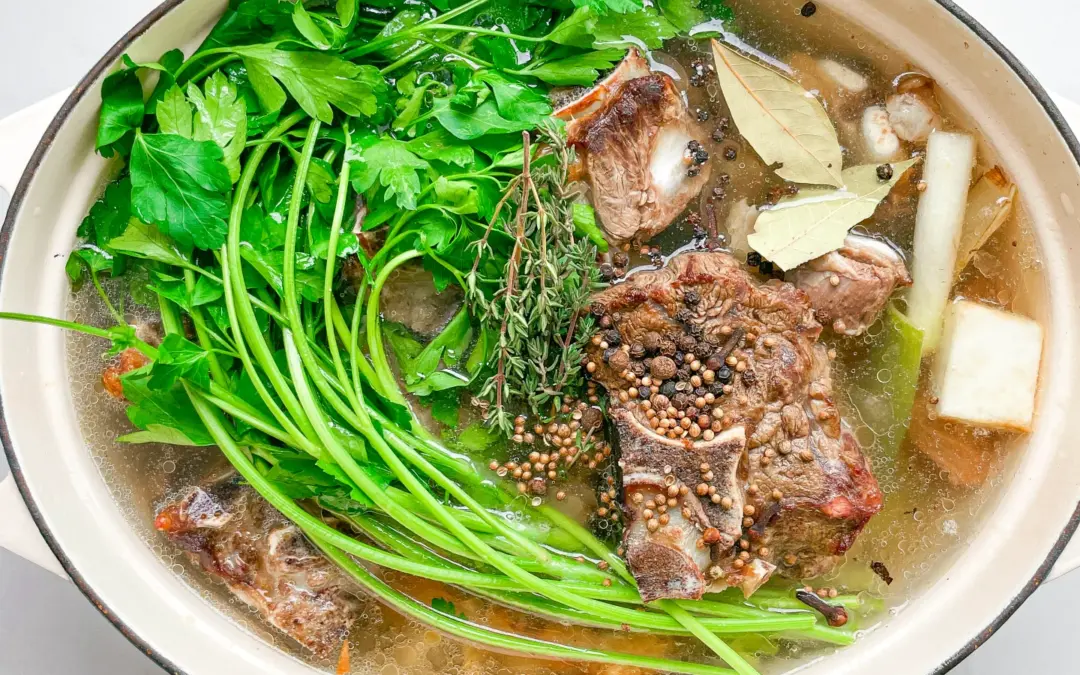
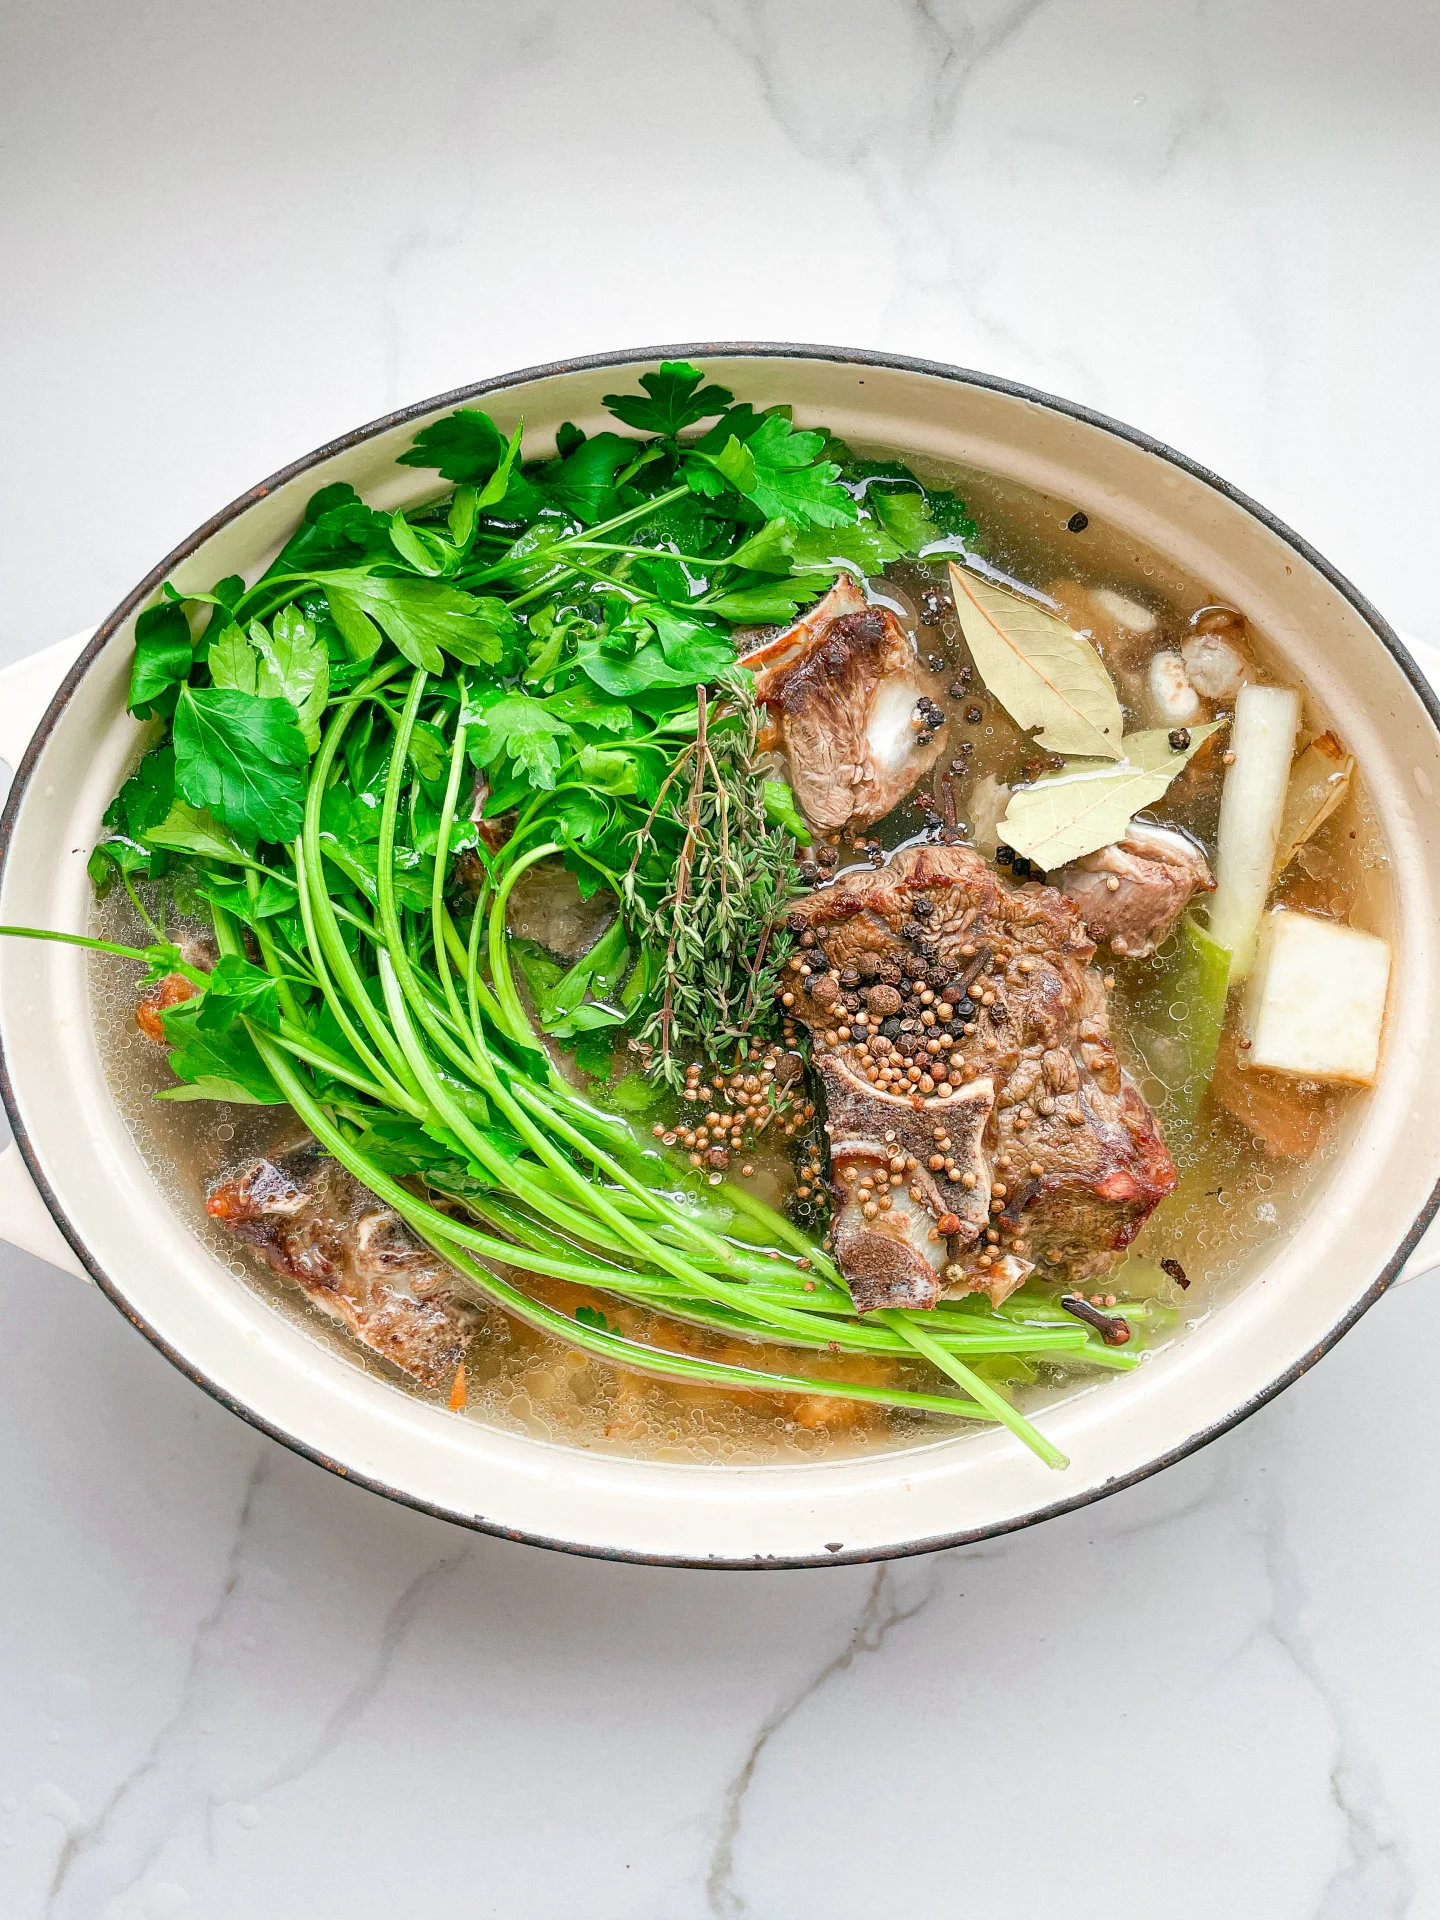
Basic Beef Broth

Basic Beef Broth

Basic Beef Broth

Basic Beef Broth

February 22, 2024 by Kimberly

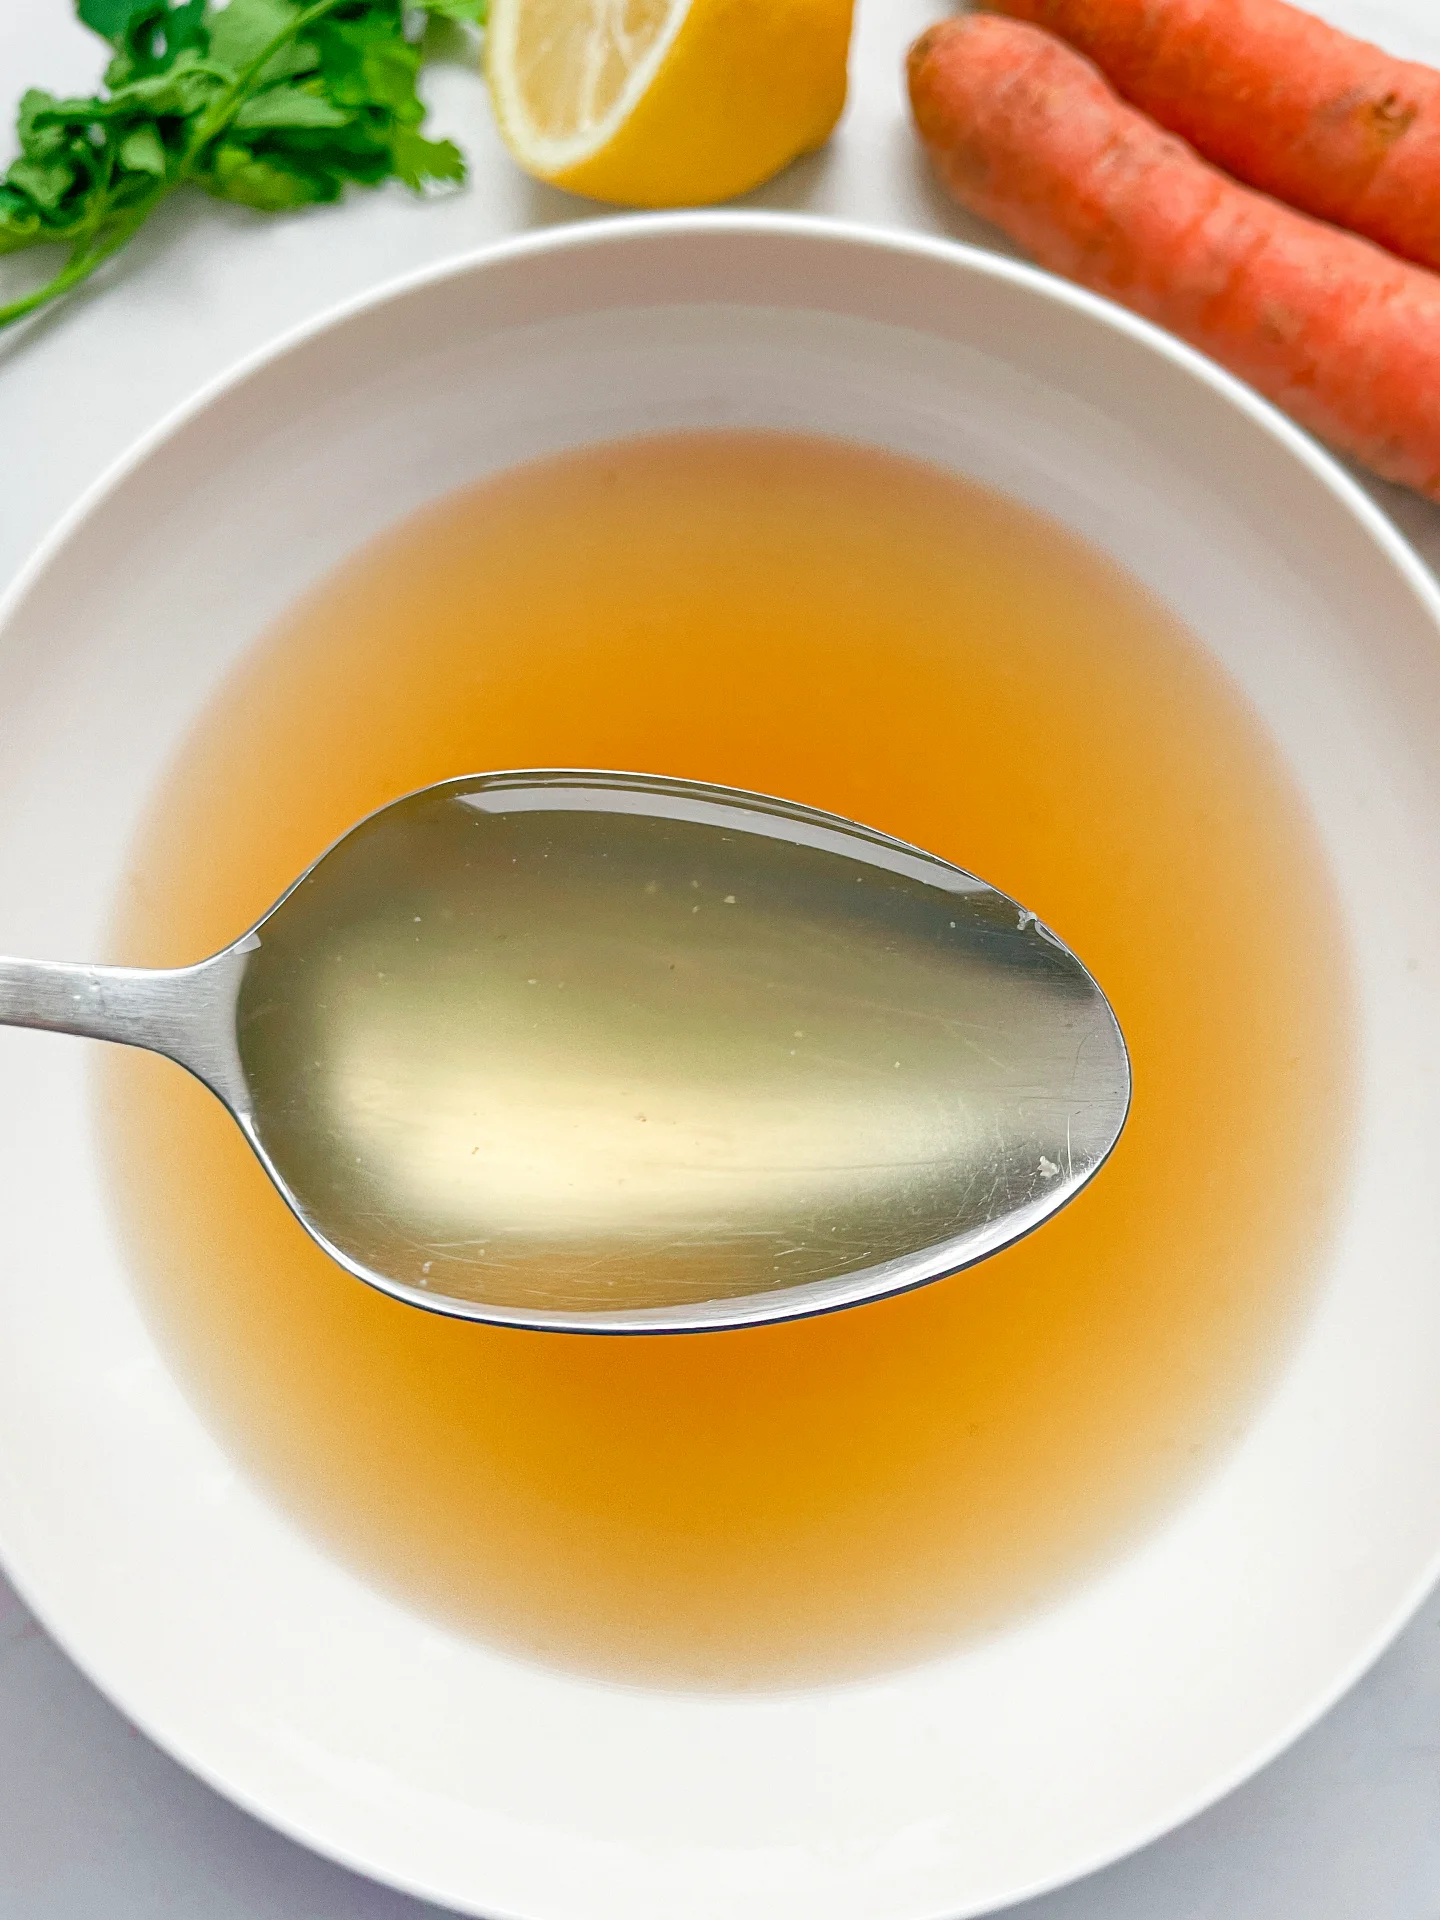
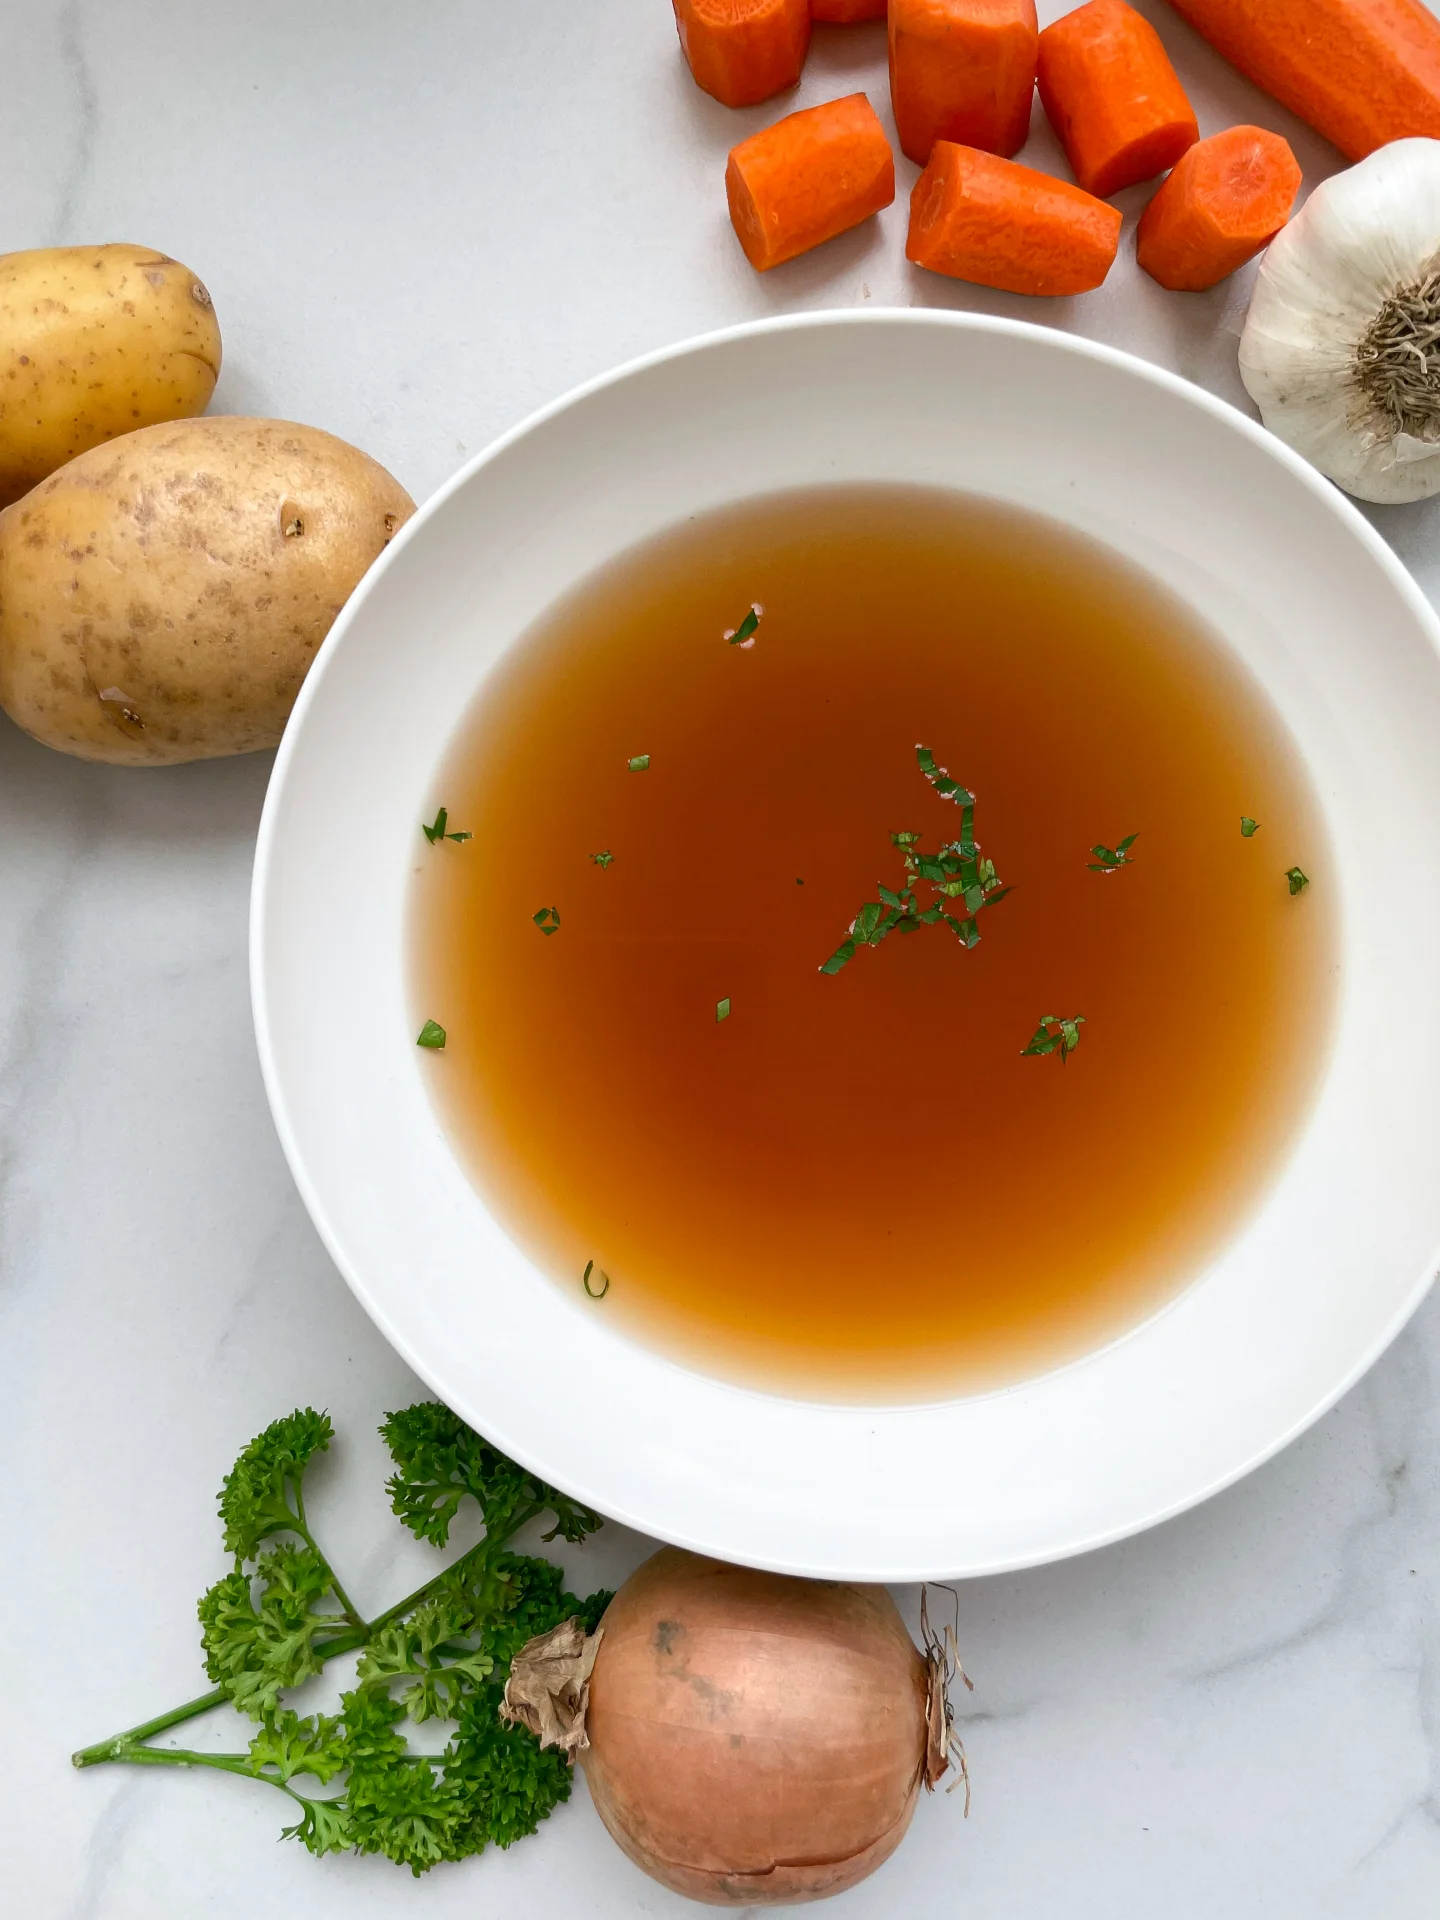
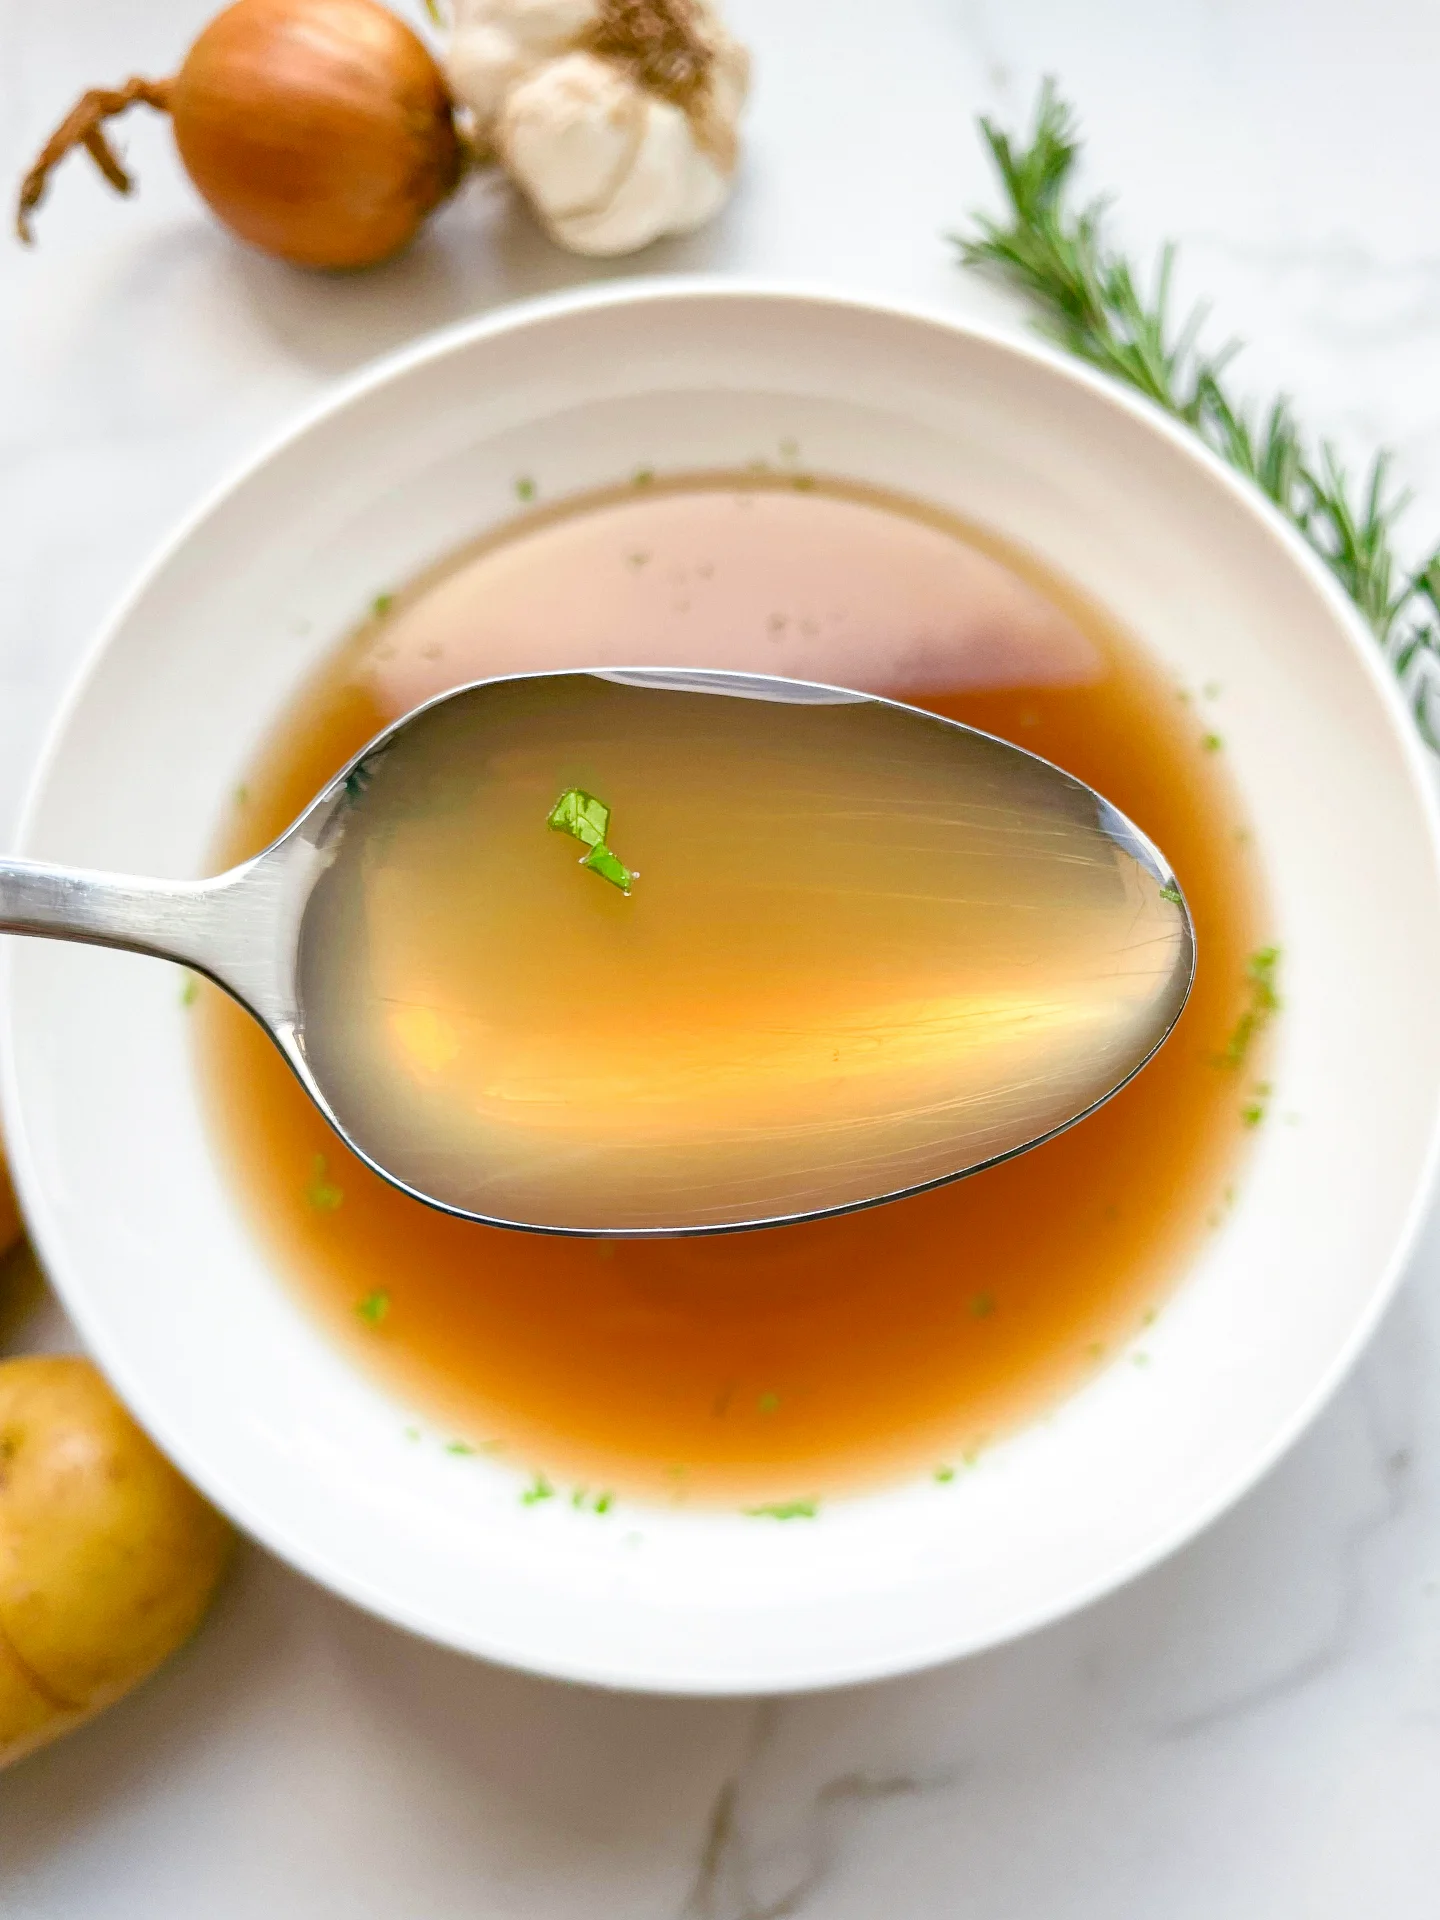
Discover the rich, savory goodness of homemade Beef Broth, a nourishing and flavorful base for soups and stews.

This website uses affiliate links which may earn commission for purchases made at no additional cost to you.

TOTAL TIME

7 hrs

SERVES

2.5 liters / 5 fl. pt.

DIET

omnivore

EVERY RECIPE DESERVES

A Little Love Letter

Embrace the art of cooking with my homemade Beef Broth recipe. This nutritious and flavorful broth forms a versatile foundation for countless dishes. A perfect blend of simplicity and taste, this beef broth recipe guarantees a delightful culinary experience. It’s not just a recipe – it’s a journey to explore the depths of natural flavors, making it ideal for those who love to infuse health and taste in their cooking.

It’s perfect as a base for hearty soups and stews. Elevate your risottos, gravies, and sauces with its rich flavor. For a personalized touch, garnish with fresh herbs or a sprinkle of sea salt. Its versatility makes it a staple in any kitchen, promising a gourmet experience with every dish.

Cool it down and refrigerate for up to 4-5 days. For longer storage, freeze it in portions. Use ice cube trays for easy, recipe-ready portions, ensuring freshness and convenience whenever you need it.

Hi, I'm Kimberly!

Hi, I'm Kimberly.

A hopeless romantic when it comes to food. Every recipe I share is a love letter to food itself. I’m so glad you’re here. Make yourself at home and stay a while.

Love,
Kimberly

Kimberly the Zett Signature

If you want to get to know me better,
click here!


Basic Beef Broth
Basic Beef Broth

LET’S MAKE A PIECE OF HAPPINESS

Print
clock clock iconcutlery cutlery iconflag flag iconfolder folder iconinstagram instagram iconpinterest pinterest iconfacebook facebook iconprint print iconsquares squares iconheart heart iconheart solid heart solid icon
Basic Beef Broth

Basic Beef Broth


  • Author: Kimberly
  • Total Time: 6 hrs + 30 min
  • Yield: 2.5 LITERS (APPROX. 5 FL. PT.) 1x

Description

GOOD TO HAVE ON HAND

  • sharp knife
  • cutting board
  • large pot with lid
  • large bowl (or a medium-sized pot)
  • fine sieve (or a kitchen towel)


Ingredients

Units Scale
VEGETABLES & BEEF
  • 2 kilograms beef bones
  • 1 tsp clarified butter
  • 400 grams carrots
  • 2 onions
  • 200 grams celery root
  • 100 grams leek
  • 2 garlic cloves
  • 1 lemon
HERBS & SPICES
  • 2 bay leaves
  • 1 stem thyme
  • 1 large bunch of parsley
  • 5 cloves
  • 1/2 tsp coriander seeds
  • 1 tsp black peppercorns
  • 22 grams salt (approx. 2 1/2 tsp)

Instructions

  1. Wash the beef bones well and roast in the oven at 250°C (480°F) for approx. 30 minutes.
  2. Wash the carrots, celery and leek and cut everything into large pieces.
  3. Wash the lemon and herbs too. Put the herbs aside.
  4. Halve the onions and lemon.
  5. Heat 1 tsp clarified butter in a large pot and fry onions, lemon, carrots, celery, leek and garlic cloves until they leave a residue.
  6. Remove the bones from the oven and place on top of the vegetables. Fill up with 2.5-3 liters of cold water.
  7. Now add 2 dried bay leaves, 5 allspice seeds, 5 cloves, 1 teaspoon of black peppercorns, 1/2 teaspoon of coriander seeds and 1 bunch of parsley.
  8. Put the lid on and bring to the boil over a high heat. As soon as it boils, turn the heat down to the lowest setting and leave the liquid to simmer in the pot with the lid on for 6 hours.
  9. After 6 hours, remove the pot from the heat and leave to cool briefly. Remove the beef bones and any other coarse pieces of vegetables, as well as the herbs and spices.
  10. Strain the liquid through a fine sieve into a medium-sized pan. Allow the broth to cool completely and then skim off any fat floating on top. I put my pot in the fridge overnight. If there is still too much fat floating on top, the broth can be strained again through kitchen towels or a fine kitchen towel. The fat residue will then stick to it. Season the broth with salt. I season with 6-8g (approx. 1 teaspoon) per liter, depending on taste.
  11. The broth can now be processed directly or filled into jars.
  • Passive Time: 6 hrs
  • Cook Time: 30 min

CRAVING MORE?

Follow along here & don’t forget to subscribe to my substack!

Cilantro Beef Cheese Enchiladas

Cilantro Beef Cheese Enchiladas

Cilantro Beef Cheese Enchiladas

Cilantro Beef Cheese Enchiladas

February 18, 2024 by Kimberly

Savor the blend of cilantro, beef, and cheese in this delicious enchiladas. Perfect for family dinners, they’re a flavorful fiesta in every bite!

This website uses affiliate links which may earn commission for purchases made at no additional cost to you.

TOTAL TIME

60 min

SERVES

4 portions

DIET

omnivore

EVERY RECIPE DESERVES

A Little Love Letter

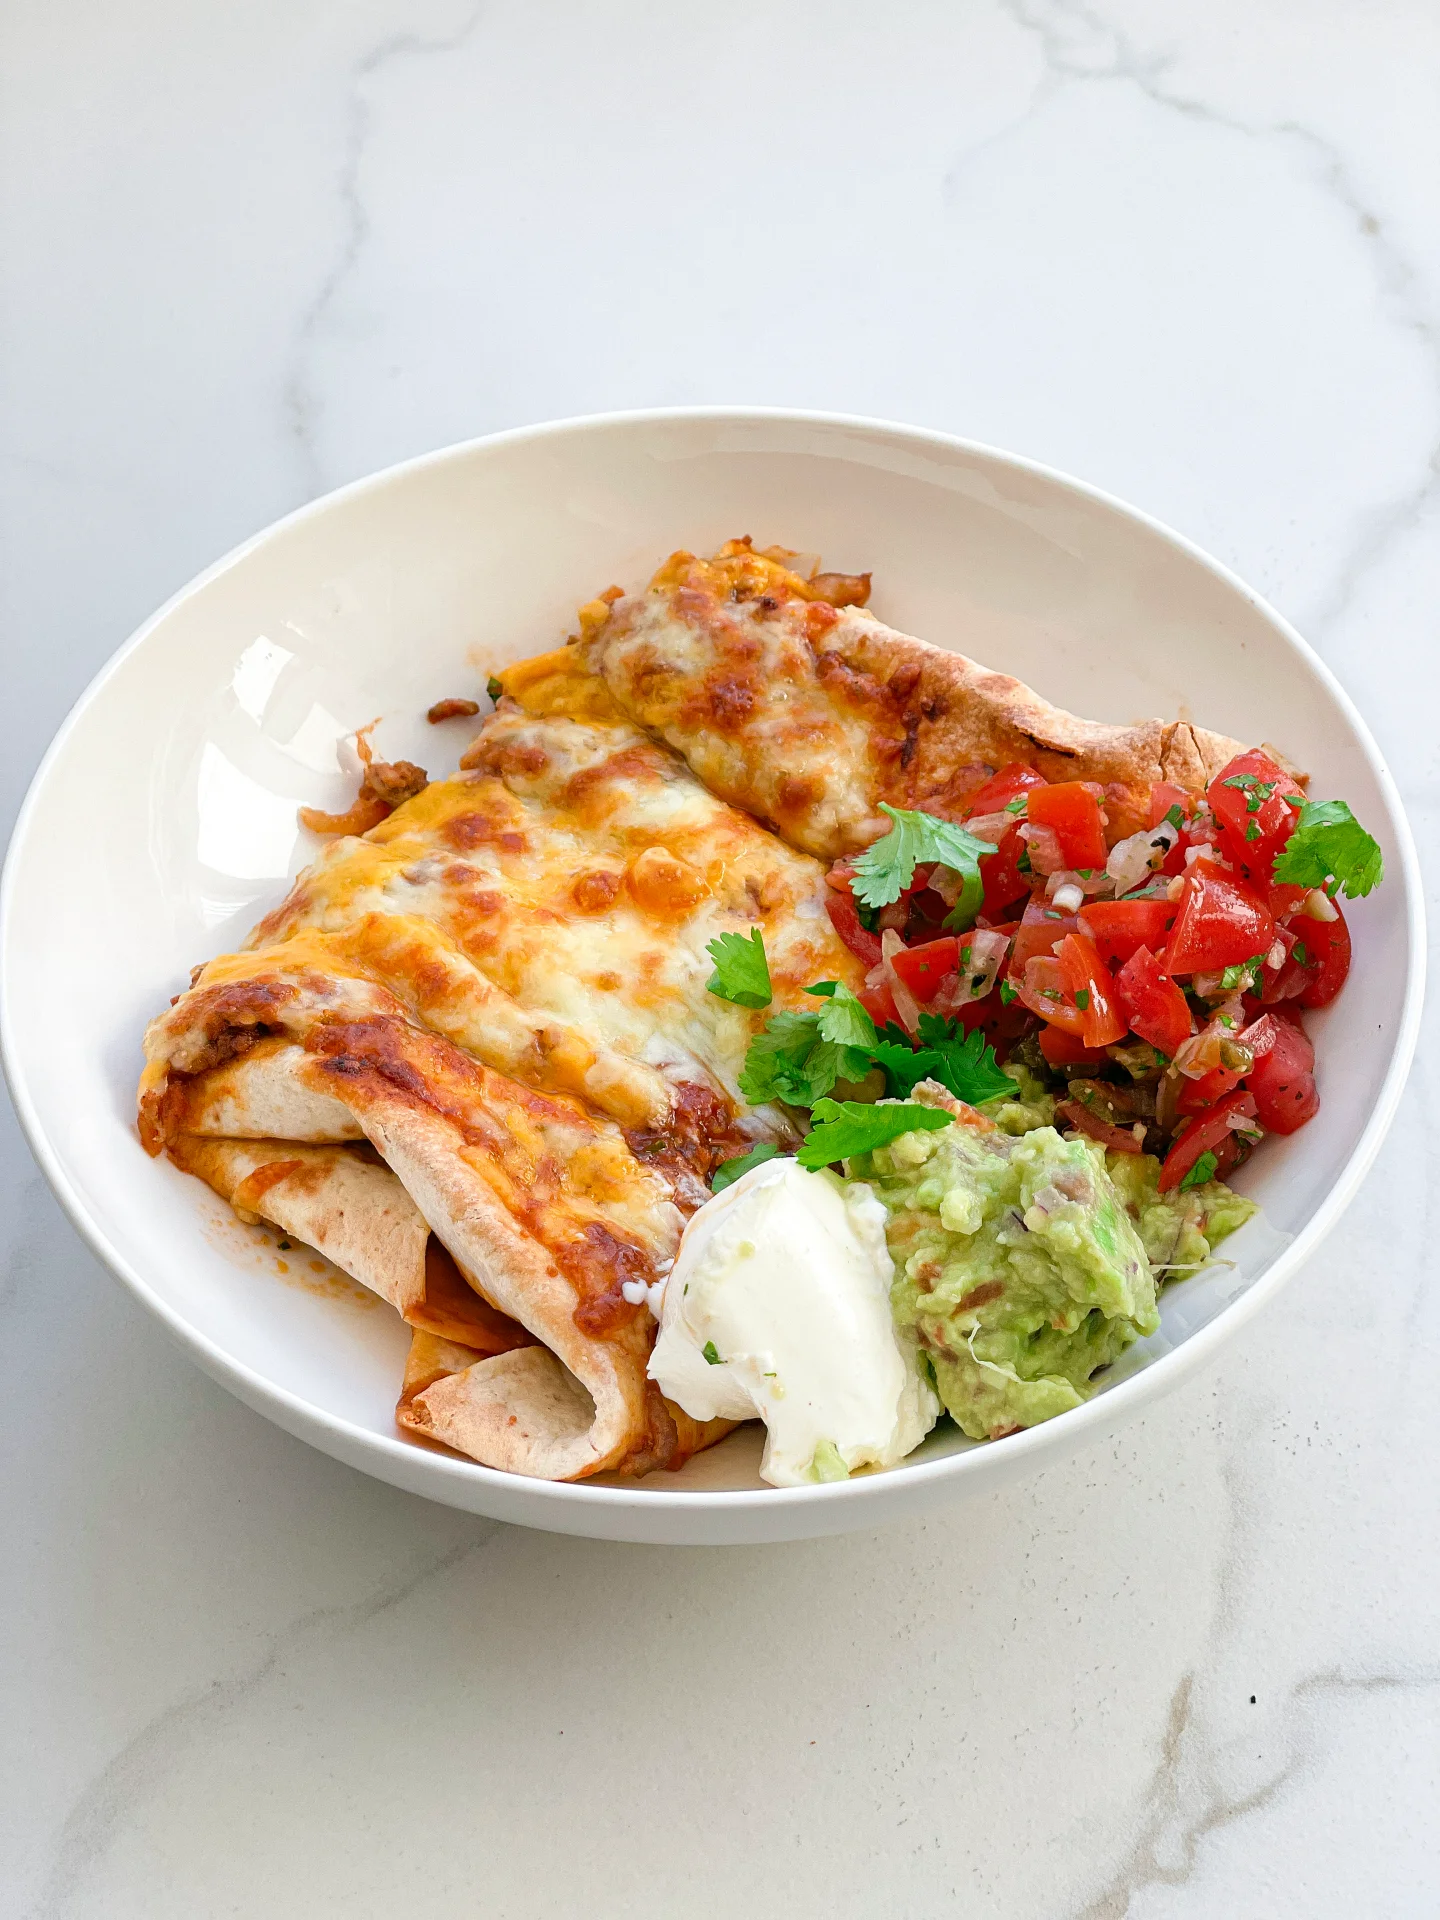
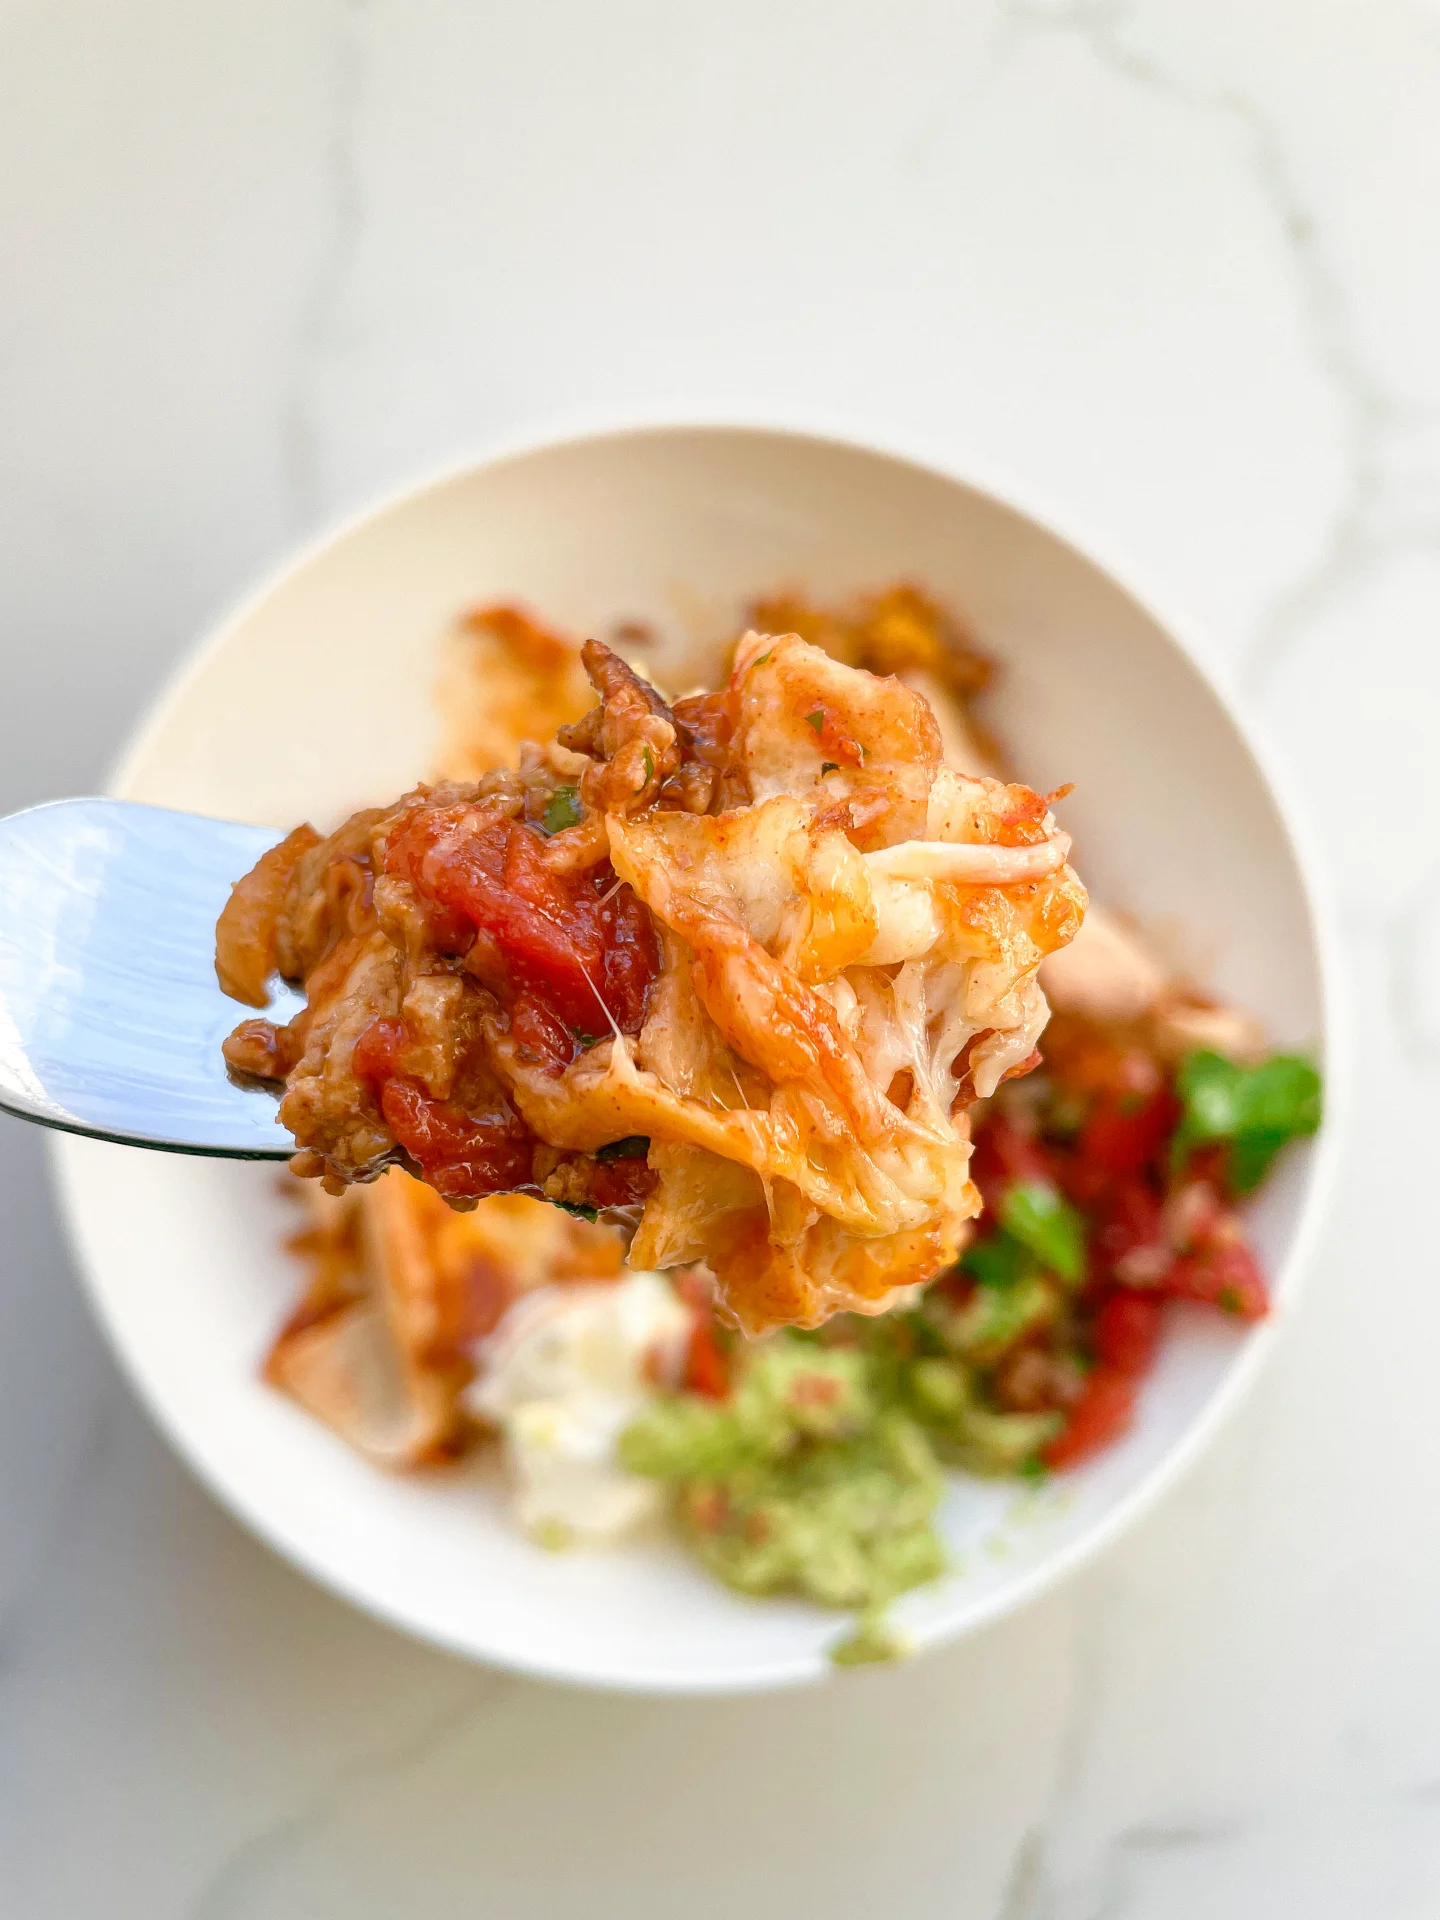
Discover the magic of Cilantro Beef Cheese Enchiladas, a Mexican cuisine favorite that brings a world of flavors to your table. This easy beef enchiladas recipe, perfect for any family dinner, combines the freshness of cilantro with the heartiness of beef and the melt-in-your-mouth goodness of cheese. Dive into this homemade enchiladas experience that promises a savory fiesta in every bite!

Serve these flavorful dish hot, garnished with a sprinkle of fresh cilantro and a dollop of sour cream, Guacamole and Pico de Gallo. You can also accompany your cheesy enchiladas with a side of Mexican rice, refried beans, or a crisp green salad. These enchiladas are perfect for a quick dinner, offering a balance of taste and texture that appeals to everyone at the table.

To store, let the enchiladas cool completely before covering them with foil. Refrigerate for up to 2 days. Reheat in the oven or microwave, making these savory enchiladas a delightful leftover treat that maintains its delightful flavors.

Hi, I'm Kimberly!

Hi, I'm Kimberly.

A hopeless romantic when it comes to food. Every recipe I share is a love letter to food itself. I’m so glad you’re here. Make yourself at home and stay a while.

Love,
Kimberly

Kimberly the Zett Signature

If you want to get to know me better,
click here!


Cilantro Beef Cheese Enchiladas

LET’S MAKE A PIECE OF HAPPINESS

Print
clock clock iconcutlery cutlery iconflag flag iconfolder folder iconinstagram instagram iconpinterest pinterest iconfacebook facebook iconprint print iconsquares squares iconheart heart iconheart solid heart solid icon
Cilantro Beef Cheese Enchiladas

Cilantro Beef Cheese Enchiladas


  • Author: Kimberly
  • Total Time: 60 min
  • Yield: 4 1x

Description

GOOD TO HAVE ON HAND

  • sharp knife
  • cutting board
  • large pan
  • baking dish


Ingredients

Units Scale
  • 4 tortillas
  • 200 grams grated cheese (I used mozzarella & cheddar)
  • 400 grams minced beef
  • 125 milliliters beef broth
  • 400 grams canned tomatoes
  • 1 white onion
  • 1 jalapeno
  • 2 garlic cloves
  • 1 tbsp oilve oil
  • 1/8 tsp chili flakes
  • 1 tsp cumin
  • 1 tsp smoked paprika
  • 1 tsp salt
  • 1/2 tsp black pepper
  • 1 tbsp cilantro
  • fresh cilantro
  • 200 grams creme fraiche
  • 1 bowl Pico de Gallo
  • 1 bowl Guacamole

Instructions

  1. Wash the cilantro, pluck the leaves from the stalks and chop finely.
  2. Cut the onion into small pieces.
  3. Finely dice the jalapeno.
  4. Fry the tortillas in the pan over a medium heat on both sides so that they are still pliable and can be rolled. Set the tortillas aside with paper towels between each layer.
  5. For the enchilada sauce, sauté the onions and jalapeno in a large pan over a medium heat until the onions are soft and slightly translucent. Next, add the crushed garlic, stir briefly and warm through.
  6. Now increase the heat and add the minced beef to the pan and fry until the meat has turned crispy dark brown.
  7. Now pour the beef stock and chopped tomatoes into the pan and stir everything together. Now add the spices: chili flakes, cumin, salt and pepper. Allow everything to reduce over medium heat for 10-15 minutes until the sauce has a bit thickened. As soon as the sauce has thickened, stir in 1 tablespoon of chopped coriander. Stir and set a side.
  8. In the meantime, you can prepare the guacamole and the pico de gallo.
  9. Preheat the oven to 250°C (480°F) and prepare a baking dish (my used measurements were 20x26cm (8×10 inch)) by pouring 3-4 tablespoons of the enchilada sauce onto the bottom of the baking dish and spread it out.
  10. Now place 2-3 tbsp of the enchilada sauce in the middle of each tortilla, sprinkle 2 tbsp of grated cheese over the top and then roll up the tortilla. Either do it the traditional way from the bottom to the top or fold both sides in at first and then roll from the bottom to the top.
  11. Now place the tortilla rolls in the baking dish on top of the sauce, spread the rest of the sauce on the tortillas and finish with the remaining cheese.
  12. Place the baking dish in the oven and bake for approx. 10-15 minutes or until the cheese has melted and is crispy golden brown in places.
  13. Take the baking dish out of the oven, divide the enchiladas between four plates and top with crème fraîche, pico de gallo, guacamole and fresh coriander.
  • Passive Time: 25 min
  • Cook Time: 35 min

CRAVING MORE?

Follow along here & don’t forget to subscribe to my substack!