


Description
GOOD TO HAVE ON HAND
Ingredients
Units Scale
- a few slices of your favorite baguette or ciabatta
- 250 grams ricotta
- 1 tbsp olive oil
- zest of half a lemon
- 1 tbsp lemon juice
- 500 grams cocktail tomatoes
- 50 milliliters olive oil
- 8 garlic cloves
- 1 tbsp balsamic vinegar
- 1/4 tsp oregano
- 1/4 tsp chili flakes
- a few basil leaves
- salt & pepper to taste
Instructions
- Preheat the oven to 175°C / 347°F.
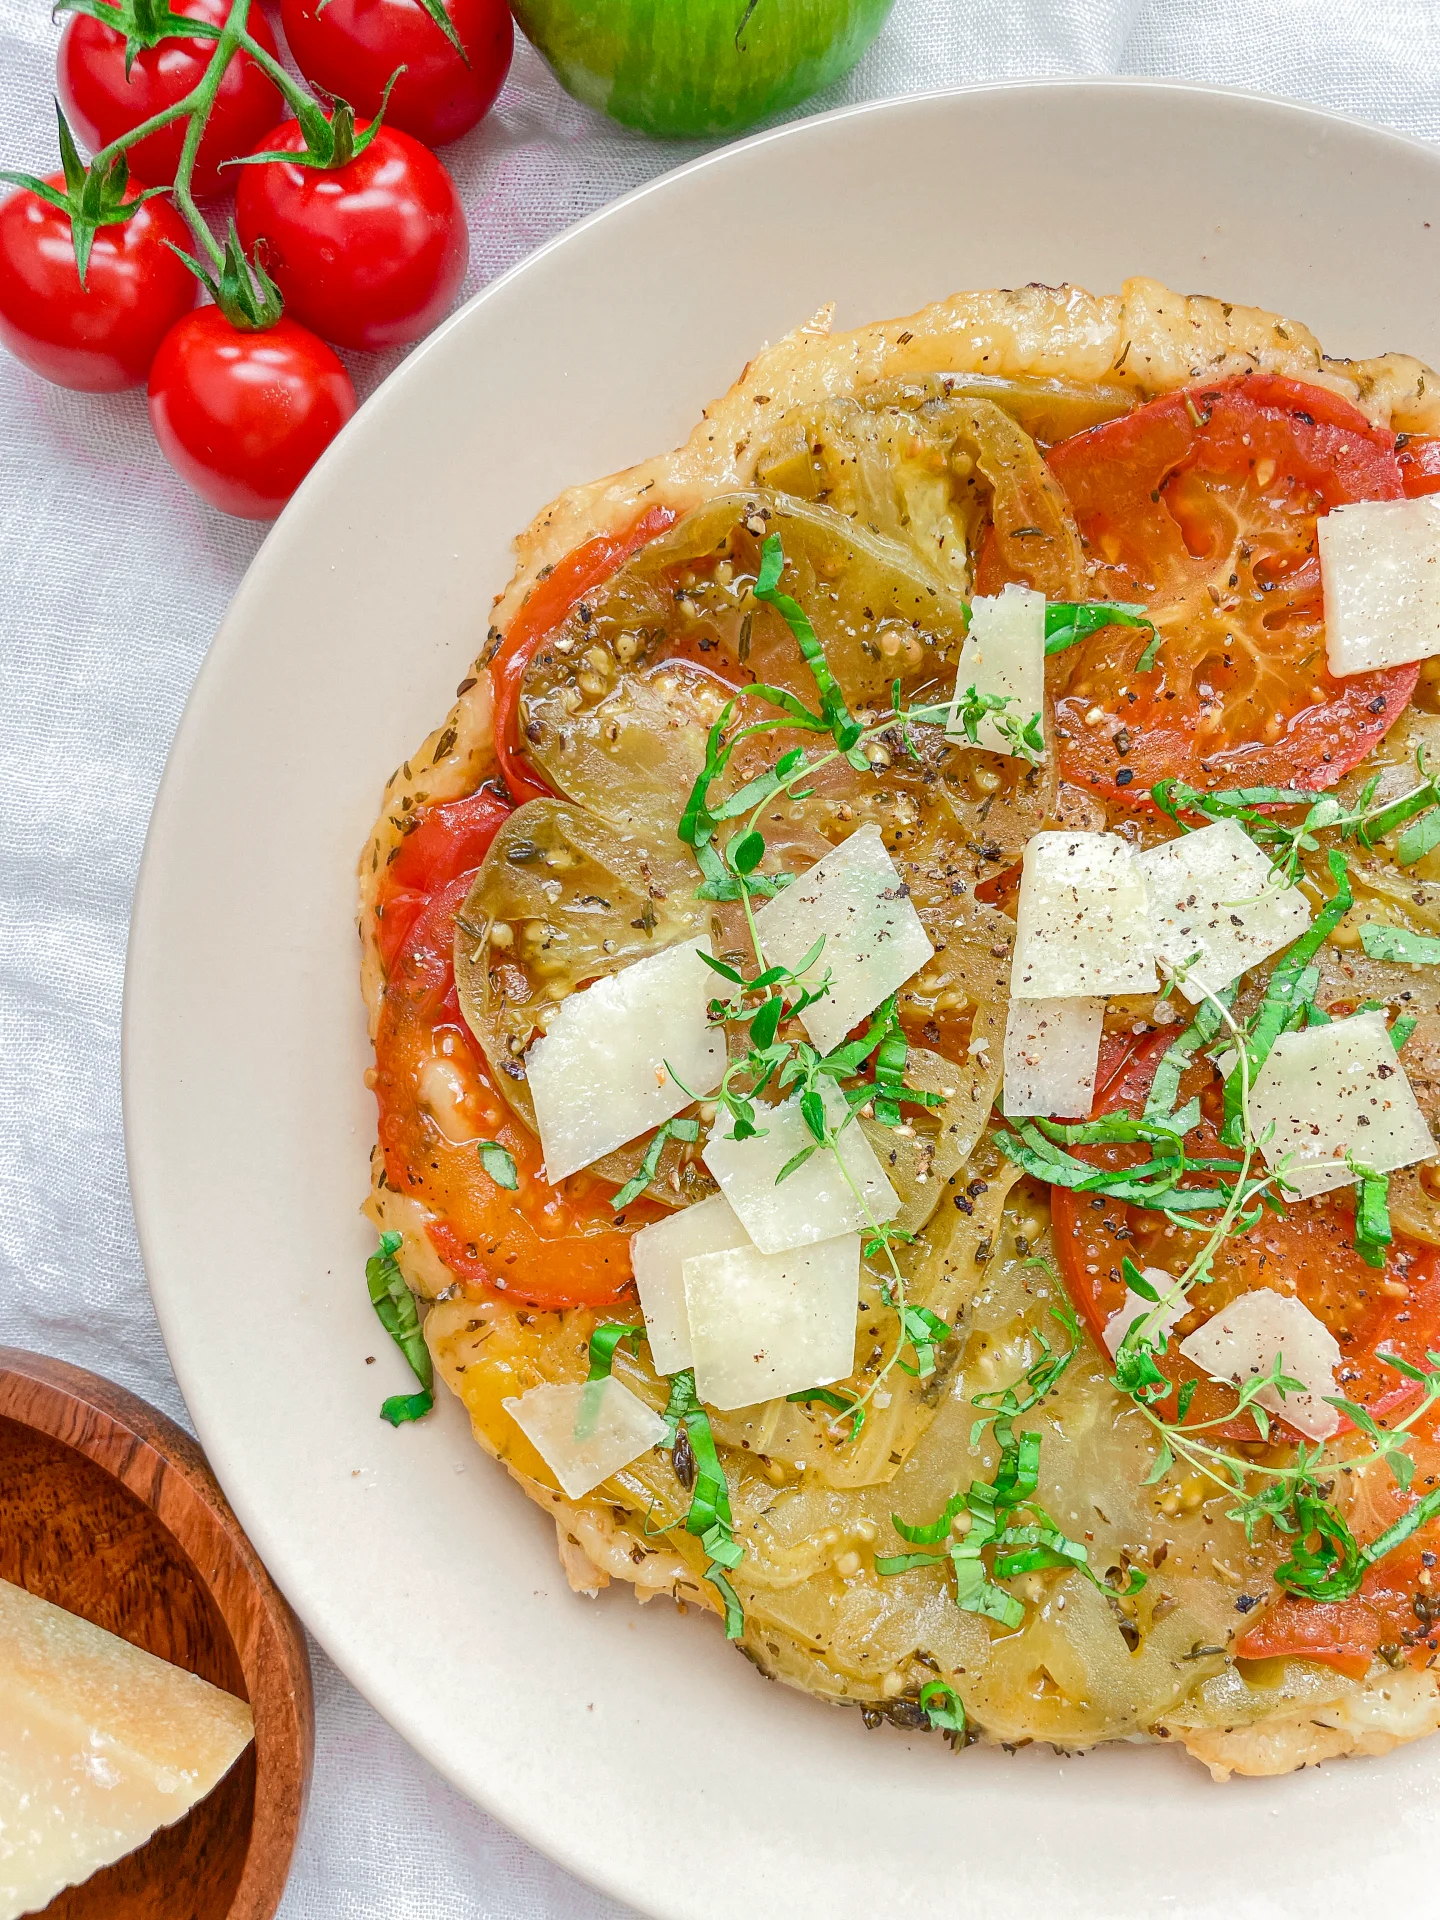
- Wash the tomatoes, quarter them, and place them in an oven-safe dish. Peel and slice the garlic, and add it to the tomatoes. Cut the basil into fine strips and add it to the tomatoes as well. Next, add olive oil, balsamic vinegar, oregano, chili, salt, and pepper, stir well, and bake in the oven for 45 minutes.
- Meanwhile, prepare the ricotta cream. For this, blend the ricotta with lemon zest, lemon juice, 1 tablespoon of olive oil, salt, and pepper in a food processor until smooth. Spread the mixture on a flat plate and store in the refrigerator until further use.
- Slice the baguette and lightly butter each piece. Toast the slices in a pan on both sides until crispy. Tip: I also like to use the liquid that forms in the dish with the tomatoes. Dip one side of the bread into it and then toast it in the pan. Set the baguette aside until further use.
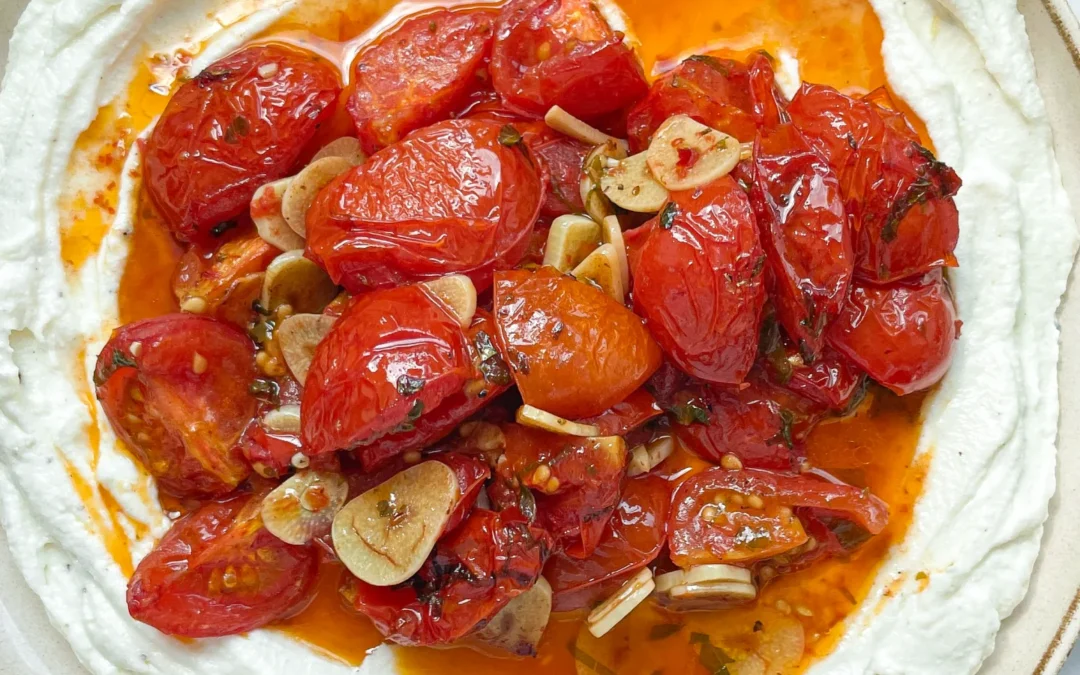
- Take the tomatoes out of the oven, let them cool slightly, and get the ricotta from the refrigerator. Place the tomatoes and their juice on the ricotta, and optionally drizzle with some honey. Serve with the baguette and enjoy 🙂
- Passive Time: 20 min
- Cook Time: 25 min