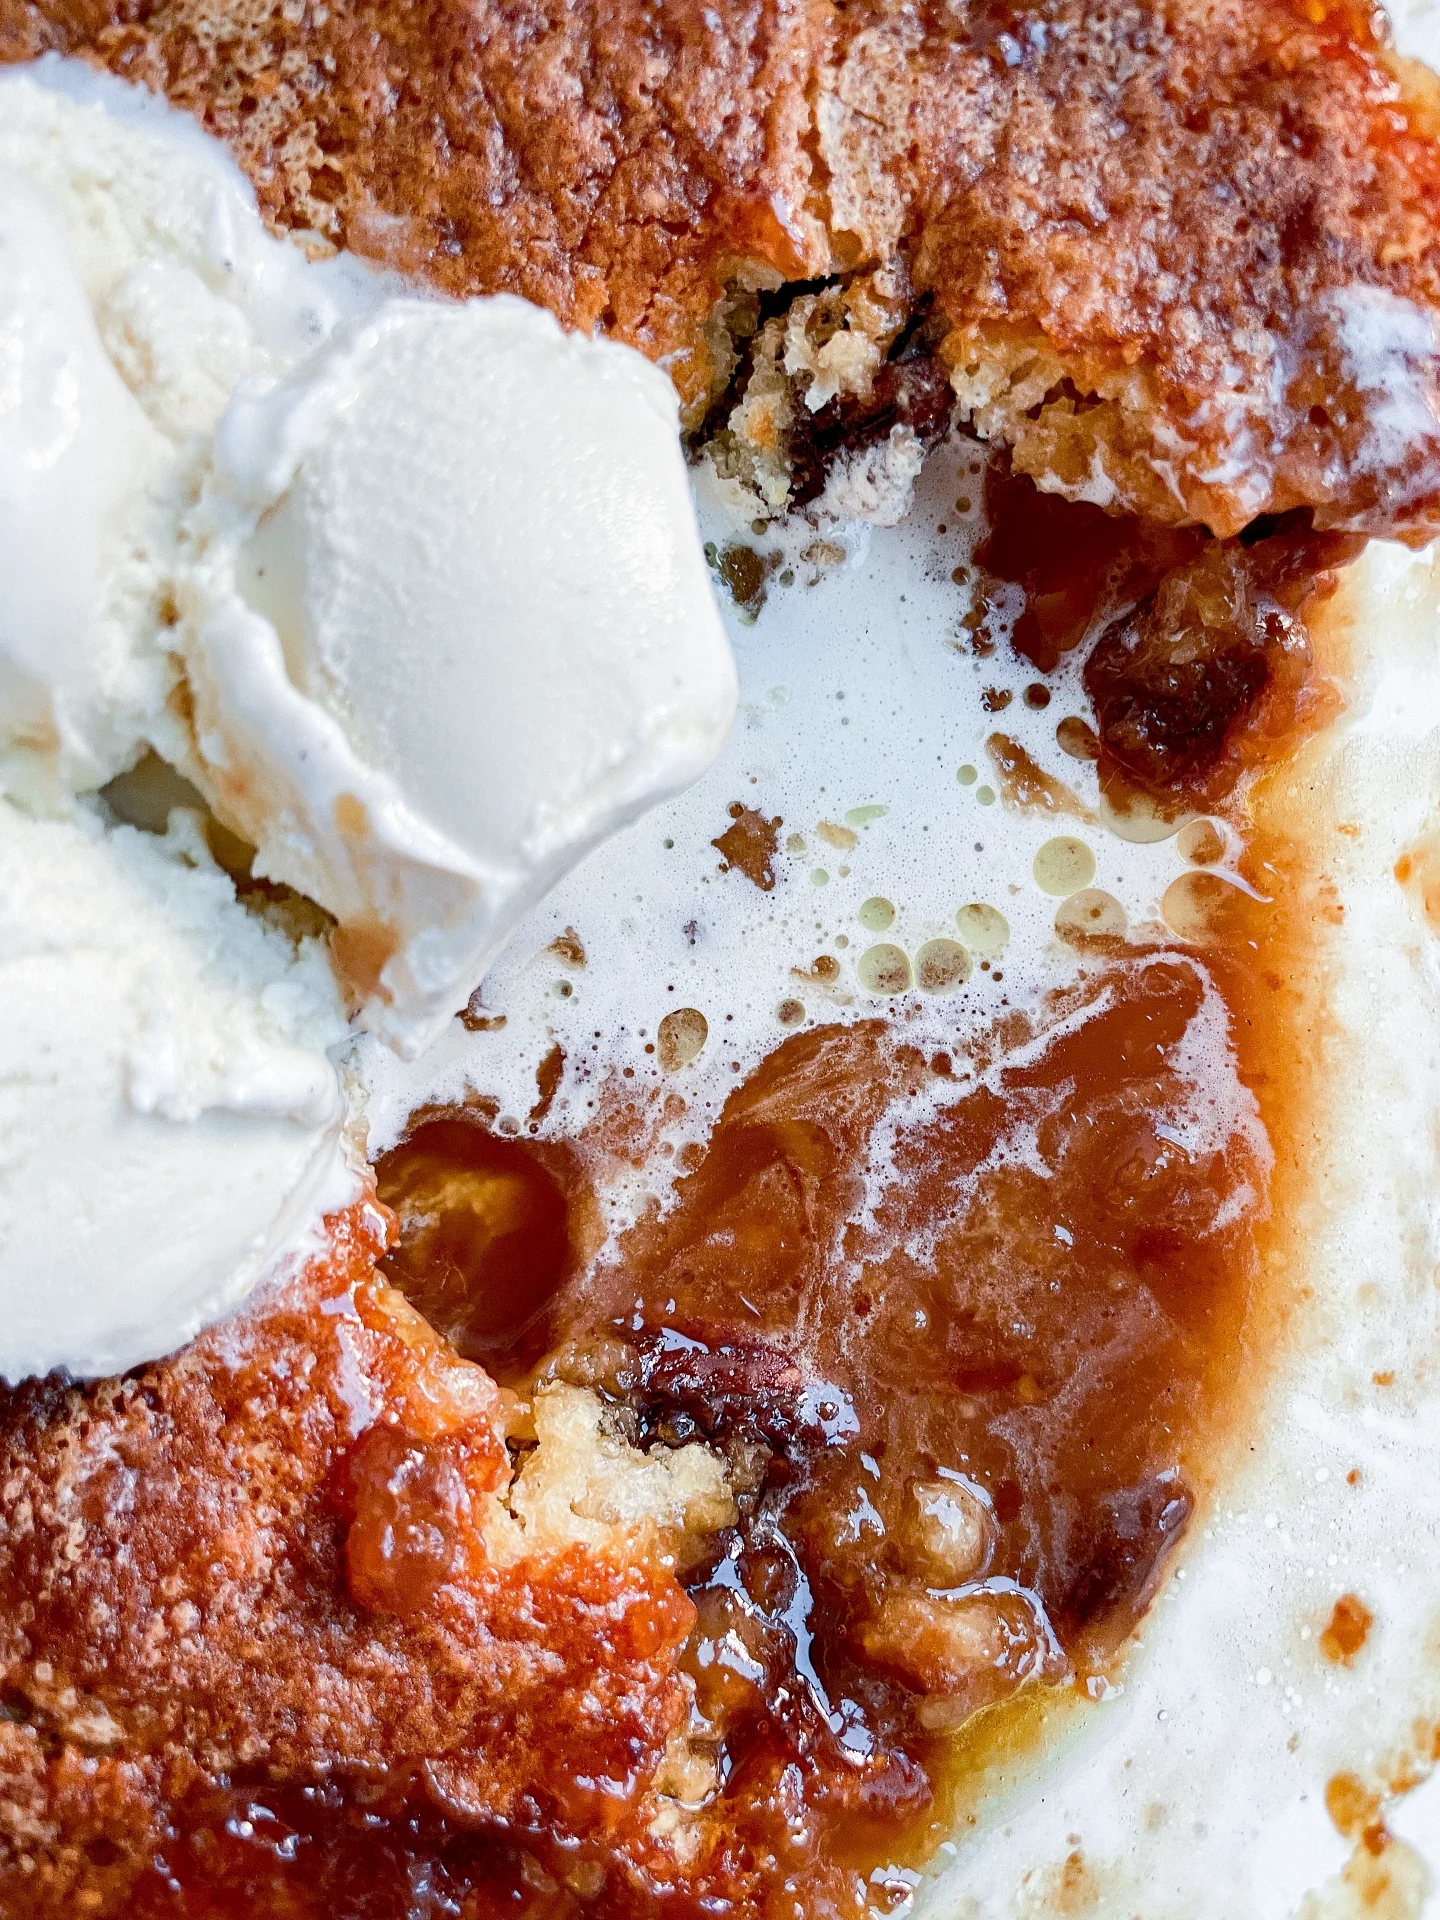


Description
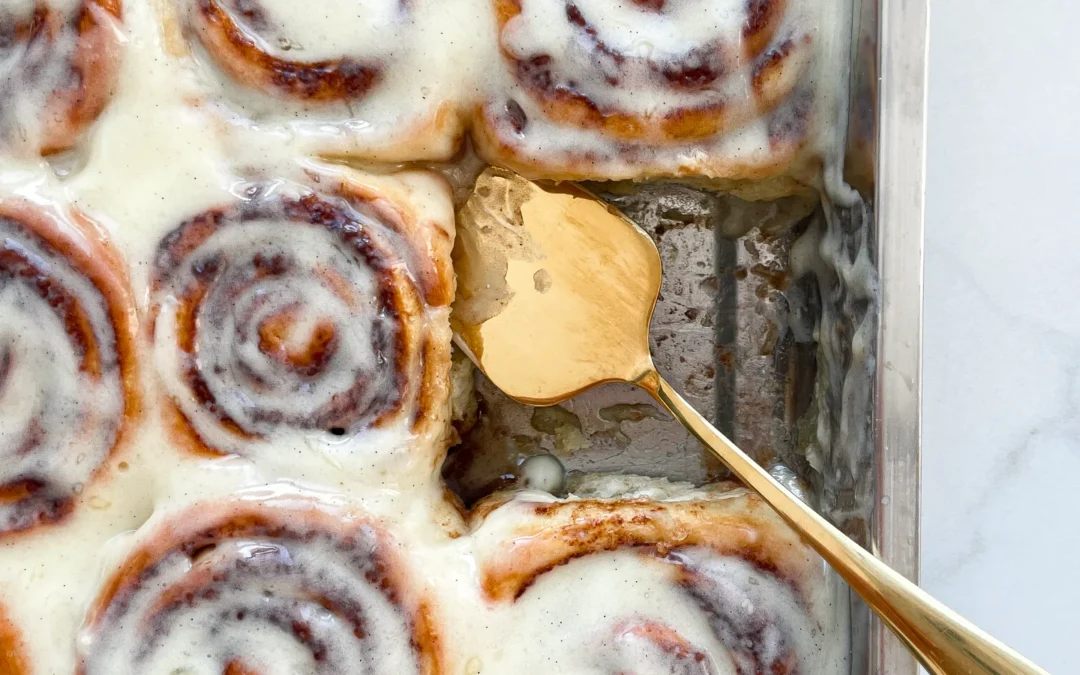
When the days get shorter and autumn rolls in, there’s nothing better than a tray of freshly baked cinnamon rolls. Soft yeast dough, cinnamon, sugar, and a creamy glaze make this recipe my ultimate comfort classic, one that has become a yearly tradition in our home. Cozy, indulgent, and just perfect for marking the start of fall. These cinnamon rolls are fluffy, sweet, and impossible to resist, filling your kitchen with the scent of warm spices. A bake that turns any chilly day into a cozy moment of pure comfort.
GOOD TO HAVE ON HAND
- small bowl
- small whisk
- large bowl
- plastic wrap
- two medium bowls
- rolling pin
- sharp knife
- baking dish
- oven
Ingredients
Units Scale
DOUGH
- 500 grams bread flour (in Germany that's Type 550)
- 170 grams yogurt
- 1/2 tsp salt
- 1 egg
- 130 milliliters full-fat milk
- 1 tbsp white sugar
- 21 grams fresh yeast
- 115 grams butter, room temperature
- 150 grams brown sugar
- 2 tbsp cinnamon
- 1/4 tsp salt
- 100 milliliters heavy cream
- 50 milliliters cinnamon oil (optional)
- 120 grams cream cheese
- 120 grams powdered sugar
- 50 grams butter, room temperature
- 1 tsp vanilla extract
- 1 tsp lemon juice
Instructions
- First, we activate the fresh yeast. Heat 130ml full-fat milk to a temperature between 32°C and 38°C (90°F to 100°F). Add 1 tbsp white sugar and stir well. Crumble in 21g fresh yeast and whisk until fully dissolved. Let the mixture sit for 5 minutes. You should see small bubbles forming on the surface by then.
- Meanwhile, in a large bowl, add 500g bread flour (Type 550 in Germany), 1/2 tsp salt, 170g yogurt, and 1 egg. Pour in the yeast mixture and stir everything together with a wooden spoon. Transfer the dough to a clean work surface and knead by hand for about 10–15 minutes. The goal is to get a smooth and elastic dough. Using an electric mixer will cut the time in half. The dough is ready when you can stretch a piece thin enough to let light through without tearing. Place the dough back in the bowl and cover it with plastic wrap to keep it from drying out. Let it rise in a warm, draft-free spot for about an hour until it doubles in size.
- In the meantime, prepare the filling. Mix together 115g room-temperature butter, 150g brown sugar, 2 tbsp cinnamon, and 1/4 tsp salt into a creamy mixture. Set it aside at room temperature.
- Next, prepare the frosting. Mix together 120g cream cheese, 120g powdered sugar, 50g room-temperature butter, 1 tsp vanilla extract, and 1 tsp lemon juice until smooth and creamy. Store in the fridge until ready to use.
- After the dough has risen for an hour, it should have doubled in size and is ready to work with. Prepare a large baking dish. Transfer the dough to a lightly floured, clean surface and roll it out to a 50×30 cm (about 20×12 inch) rectangle. Spread the butter-sugar-cinnamon mixture evenly over the dough. Then, cut the dough lengthwise into 12 equal strips. Roll each strip into a spiral and place them in the baking dish, forming 3 rows of 4 rolls. Let the rolls rise again for another 30 minutes.
- About 10 minutes before the rising time is up, preheat the oven to 190°C (375°F). Once the rolls have risen, pour 100ml heavy cream and, if you like, 50ml cinnamon oil in between the rolls. Bake for 20–25 minutes until the tops are golden brown. Be careful not to overbake them, as they may become dry.
- Remove the rolls from the oven and let them cool for about 10 minutes. Take the frosting out of the fridge and spread it evenly over the warm rolls. Enjoy!
- Prep Time: 15 min
- Passive Time: 60 min
- Cook Time: 25 min