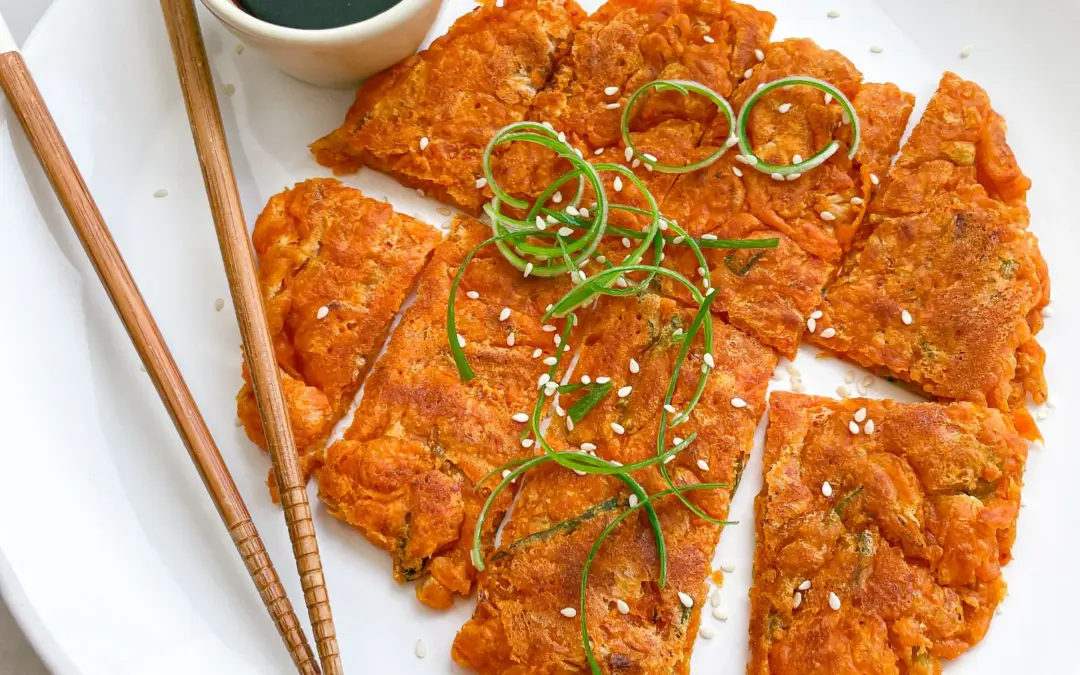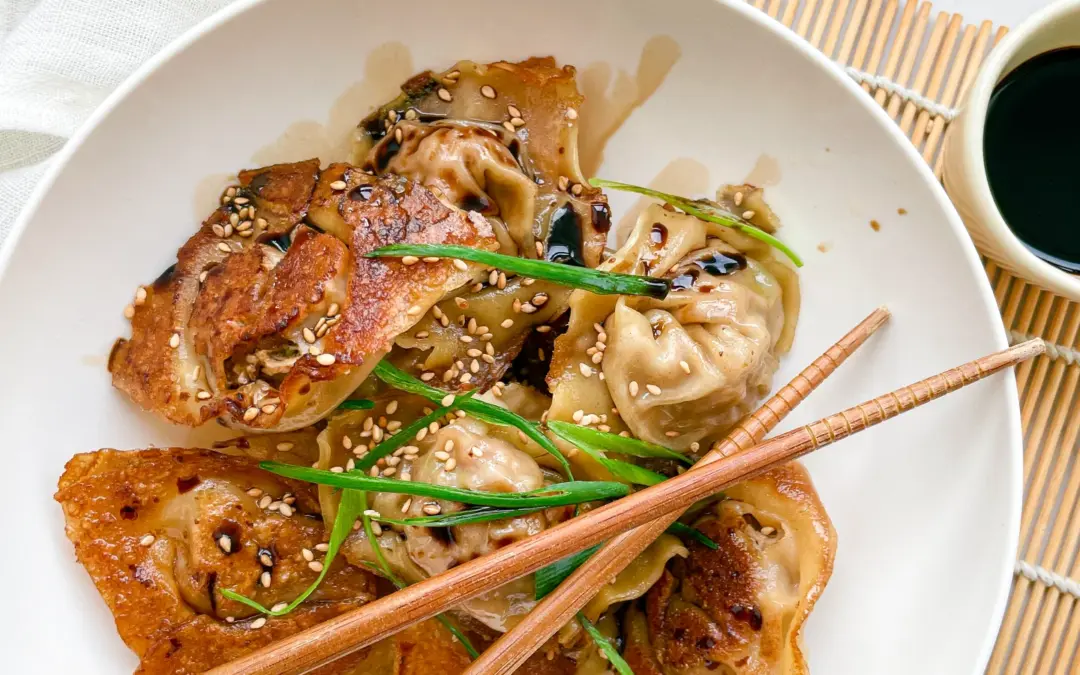
Juicy Pan-Fried Pork Dumplings

Juicy Pan-Fried Pork Dumplings
March 12, 2024 by Kimberly
Dive into the world of flavors with these pan-fried pork Dumplings! Perfectly golden, irresistibly tasty, and just the right crunch to satisfy your cravings.
75 MINUTES
INTERMEDIATE
OMNIVORE
ASIAN
50 PER DUMPLING
COMFORT FOOD / UMAMI
EVERYDAY
DINNER / APPETIZER
ALL YEAR
ABOUT THE RECIPE
Discover the joy of making juicy pan-fried pork Dumplings at home! A staple in Asian cuisine, these dumplings are a perfect blend of juicy filling and crispy skin. Easy to make and incredibly delicious, they’re sure to become a family favorite. Whether you’re a dumpling enthusiast or a first-timer, follow this simple guide to bring a taste of tradition into your kitchen.
How to serve:
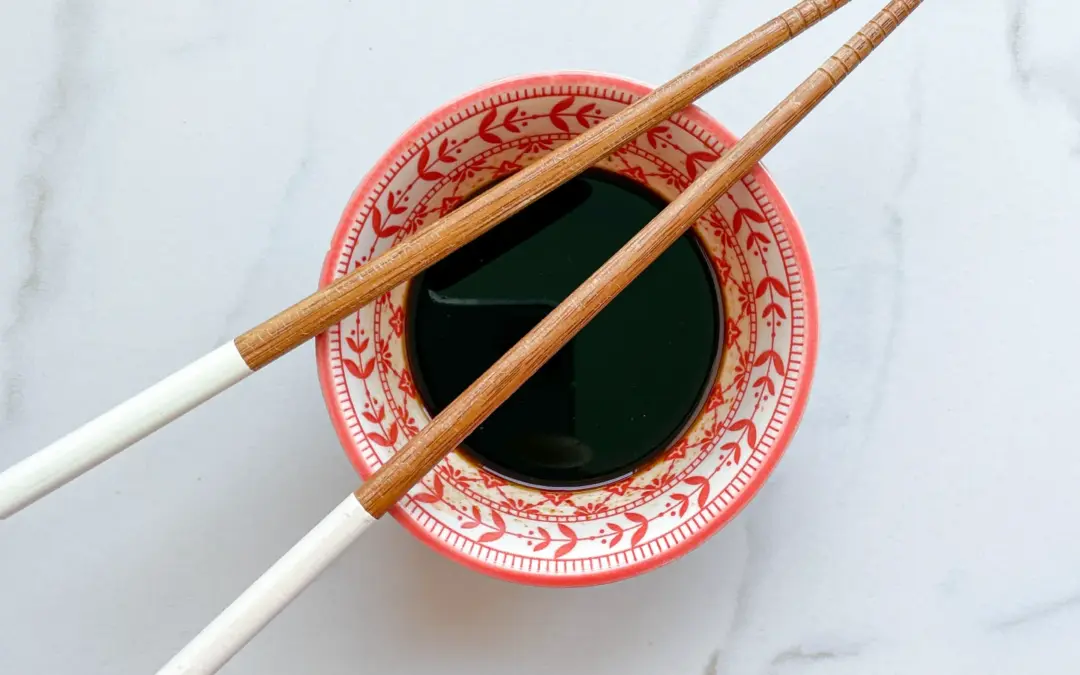
Serve these golden delights with a side of dumpling dipping sauce. These juicy pan-fried pork Dumplings are best enjoyed hot, allowing the flavors to truly shine. They make a fantastic appetizer, a satisfying main, or a delightful side dish. Pair with a fresh cucumber salad or a steaming bowl of soup to complete a mouthwatering meal that’s sure to impress.
How to store:
Store leftover dumplings in an airtight container in the refrigerator for up to three days. Reheat in a pan to retain their crispiness or microwave if in a hurry. You can also freeze them immediately after filling, so you always have fresh dumplings on hand.

Hi, I'm Kimberly.

If you want to get to know me better, click here!


INGREDIENTS
FOR 40 Dumplings
DUMPLINGS
- 40 dumpling wrappers
- 400g minced pork (14 oz)
- 1 tbsp minced ginger
- 4 garlic cloves
- 3 spring onions
- 1 egg
- 1 tbsp soy sauce
- 1 tbsp oyster sauce
- 1 tsp sesame oil
- 1/4 tsp salt
- 1/4 tsp ground pepper
ADDITIONAL
- all-purpose flour
- neutral cooking oil

ACTIVE: 5 min
PASSIVE: –
PREPARATIONS
Recommended Equipment
- sharp knife
- cutting board
- large bowl
- small bowl
- large pan with lid
- Defrost the dumpling wrappers if necessary.
- Peel the ginger, finely chop or grate and add to a large bowl.
- Peel and finely chop or crush the garlic cloves and add to the ginger in the large bowl.
- Separate the spring onions into whites and greens. Cut the white part into fine rings and add to the bowl with the ginger and garlic. Cut the green part into fine strips. Set aside.
ACTIVE: 40 min
PASSIVE: 30 min