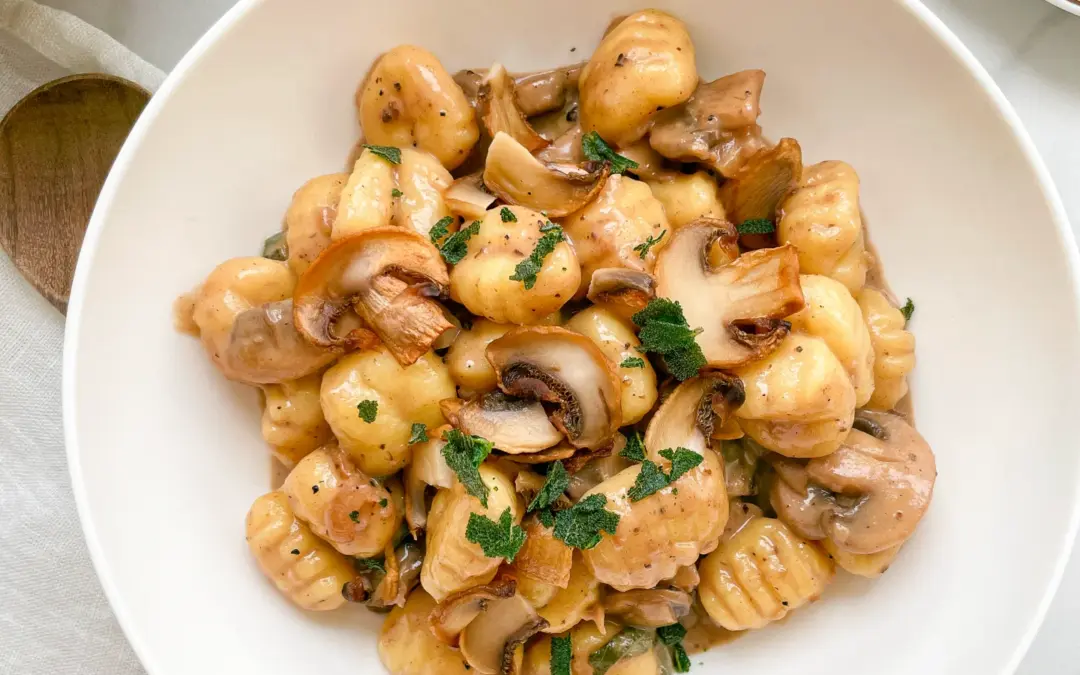
Mushroom Gnocchi with Sage & Truffle

Mushroom Gnocchi with Sage & Truffle
March 10, 2024 by Kimberly
Experience the divine blend of Mushroom Gnocchi with Sage & Truffle! A luxurious, creamy delight that’s perfect for impressing guests or indulging in a gourmet treat.
60 MINUTES
EASY
VEGETARIAN
ITALIAN
599 PER PORTION
CREAMY / UMAMI
EVERYDAY /
DINNER PARTY
DINNER
AUTUMN / WINTER
ABOUT THE RECIPE
Indulge in the luxurious taste of Mushroom Gnocchi with Sage & Truffle, a gourmet dish that combines the earthiness of mushrooms with the sophisticated flavor of truffle and fresh sage. This creamy, dreamy recipe is perfect for a special dinner or when you’re looking to impress. Easy to prepare, it’s a culinary journey that brings a touch of elegance to your dining table.
How to serve:
Serve this Mushroom Gnocchi with a sprinkle of grated Parmesan and a drizzle of truffle oil to enhance the flavors. Pair with a crisp, green salad and a glass of white wine for a complete, refined meal. The gnocchi should be served hot, fresh from the pan, to savor the blend of sage and truffle that makes this dish stand out. Perfect for date nights or family gatherings.
How to store:
Store leftover Mushroom Gnocchi in an airtight container in the refrigerator for up to two days. Reheat gently in a skillet or microwave, adding a splash of cream or water to revive its creamy texture.

Hi, I'm Kimberly.

If you want to get to know me better, click here!


INGREDIENTS
FOR 3 PORTIONS
GNOCCHI
- 600g fresh gnocchi (1.5 lbs)
- 1 tbsp salt
SAUCE
- 400g button mushrooms (14 oz)
- 15g dried porcini mushrooms (0.5 oz)
- 400ml vegetable stock (1.5 cups)
- 100ml heavy cream (3.5 fl oz)
- 100ml dry white wine (3.5 fl oz)
- 2 tbsp neutral cooking oil
- 16 sage leaves
- 4 garlic cloves
- 1 shallot
- 1 tbsp all-purpose flour
- 1 tsp minced truffle in oil
- salt & pepper to taste
TOPPINGS
- 3 sage leaves
- 3 tbsp parmesan
- cured eggyolk (optional)

ACTIVE: 20 min
PASSIVE: –
PREPARATIONS
Recommended Equipment
- sharp knife
- cutting board
- medium-sized bowl
- large frying pan
- medium-sized pot
- Soak dried porcini mushrooms in warm water for about 30 minutes.
- Clean the button mushrooms by brushing or peeling. Cut half of them into coarse pieces and slice the other half.
- Pluck sage leaves from their stems, leave 3-4 whole, and slice the rest into strips.
- Chop the shallot into fine pieces.
- Peel and press or finely chop the garlic cloves.
- Grate the Parmesan cheese.
- Fill a medium-sized pot with water to cook the gnocchi later.
ACTIVE: 25 min
PASSIVE: 15 min