


Description
GOOD TO HAVE ON HAND
- blender
Ingredients
Units Scale
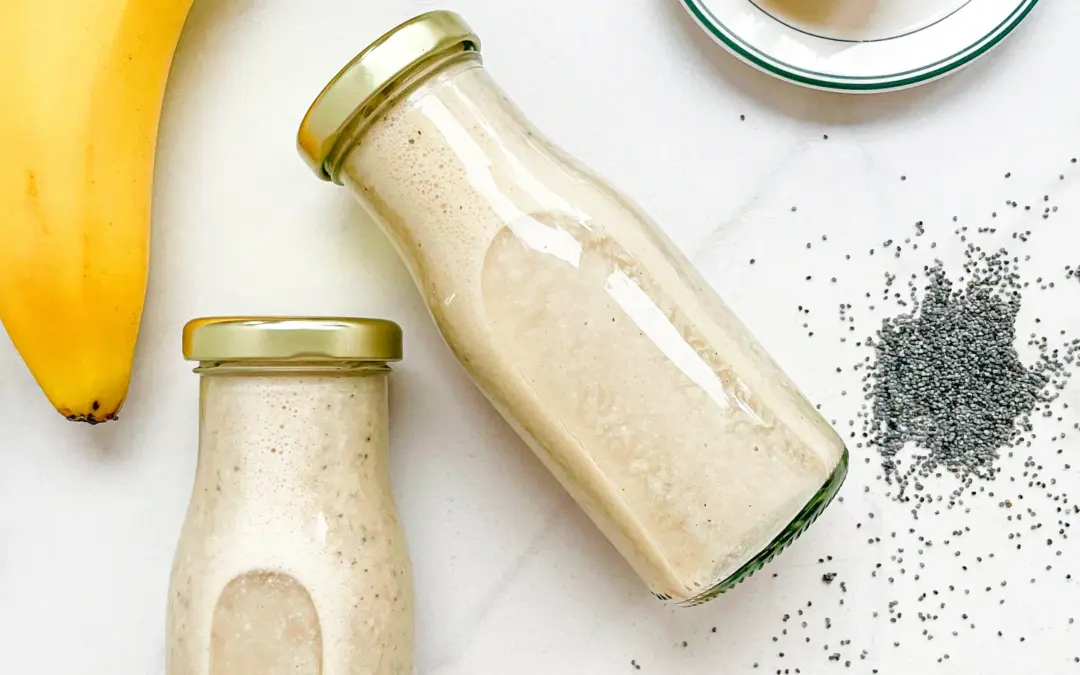
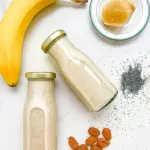
- 1 banana
- 2 tsp almond butter
- 1 tsp lemon juice
- 1 tsp agave syrup
- 1 tbsp marzipan
- 1 tsp poppy seeds
- 1/8 tsp cinnamon
- 200 milliliters water
Instructions
- Peel the banana and put it into the blender in large chunks. Pluck the marzipan into small pieces and add to the blender. Then add the almond butter, lemon juice, agave syrup, poppy seeds, cinnamon and water. Puree everything on the highest setting for 1-2 minutes. Pour into a jar or bottle.
- Cook Time: 5 min