Naan Bread

Naan Bread

Naan Bread

Naan Bread

February 24, 2024 by Kimberly

Discover the joy of homemade Naan Bread! Easy, fluffy, and delicious, it’s the perfect companion for any meal. Make it today and share the love!

80 MINUTES

EASY

VEGETARIAN

INDIAN

223 PER PORTION

FLUFFY

EVERYDAY

BREAD

ALL YEAR

INTRODUCTION

ABOUT THE RECIPE

Dive into the delightful world of Indian cuisine with this easy Naan Bread recipe! Perfect for beginners and seasoned chefs alike, my homemade Naan is fluffy and irresistibly delicious. Whether you’re pairing it with your favorite indian butter chicken or enjoying it as a snack, this versatile bread is a must-try. Get ready to impress your family and friends with your baking skills and bring a piece of India right to your dinner table.

How to serve:
Serve your freshly baked Naan Bread alongside a variety of dishes to elevate your dining experience. It pairs wonderfully with curries, soups, and stews, absorbing all the flavors beautifully. For a modern twist, use it as a base for pizza or as a wrap for sandwiches. Don’t forget to brush it with garlic butter and sprinkle some cilantro on top for that extra burst of flavor.

How to store:
To keep your Naan Bread fresh, wrap it in aluminum foil or store it in an airtight container at room temperature for up to 2 days. For longer storage, freeze the Naan, ensuring it’s well-wrapped, for up to a month.

Hi, I'm Kimberly!

Hi, I'm Kimberly.

A passionate food lover who believes in the magic of homemade deliciousness that spreads love and warmth. Join me on this culinary adventure as I prepare wonderful dishes and let’s spread some happiness together!

Kimberly the Zett Signature

If you want to get to know me better, click here!


Naan Bread
Naan Bread
Naan Bread

„Let’s make a piece of happiness“

INGREDIENTS

FOR 4 PORTIONS

DOUGH

  • 250g all-purpose flour (8.8 oz)
  • 1 tsp baking powder
  • 1/2 tsp salt
  • 30g full-fat yogurt (1 oz)
  • 125ml lukewarm water (1/2 cup)
Naan Bread
}

ACTIVE: 10 min

PASSIVE: 60 min

PREPARATIONS

Recommended Equipment
  • medium-sized bowl
  • cling film
  • frying pan
  • Mix the all-purpose flour, salt and baking powder in a medium-sized bowl. Add the yogurt and water and mix with a spatula or spoon to form a rough dough. Transfer the dough to a clean work surface and knead by hand to form a smooth dough. Wrap in cling film and leave to rest at room temperature for an hour.
    }

    ACTIVE: 10 min

    PASSIVE: –

    COOKING

    1. Unwrap the dough, divide it into four equal pieces on a floured surface and roll out each piece into a 20cm (8 inch) flatbread.

    2. Use a hot pan without fat to fry each side of the flatbread for about two to three minutes. Bubbles will form on the top side, which will fry until golden brown when turned over.

    NOTE: The calorie information may vary depending on the product used, country and region.

    Peanut Caramel Chocolate Protein Bars

    Peanut Caramel Chocolate Protein Bars

    Peanut Caramel Chocolate Protein Bars

    Peanut Caramel Chocolate Protein Bars

    February 17, 2024 by Kimberly

    Energize your day with Protein-Rich Peanut Caramel Chocolate Bars! Perfect for fitness enthusiasts, these bars are a delicious, nutritious twist on your favorite Snickers bar.

    2 HRS 30 MIN

    EASY

    VEGETARIAN

    INT.

    168 PER BAR

    GOOEY
    NUTTY

    EVERYDAY

    SNACK / DESSERT

    ALL YEAR

    INTRODUCTION

    ABOUT THE RECIPE

    These homemade protein-rich Peanut Caramel Chocolate Bars delights are your alternative to a regular peanut bar, packed with protein and full of flavor. They’re crafted for those who love to indulge without compromising their protein goals. Perfect as a post-workout snack or a midday energy booster, these bars are sure to satisfy your sweet tooth and your nutritional needs.

    How to serve:
    They’re an excellent snack after a workout, a sweet companion with your coffee break, or a healthy dessert option. Cut them into smaller pieces for a quick snack or enjoy a full bar for a more substantial energy boost. They’re not just a treat – they’re a satisfying choice to support your active lifestyle.

    How to store:
    Store your bars in an airtight container to keep them fresh. Place them in the refrigerator for a firmer texture or at room temperature for a softer bite. Enjoy them within one week for optimal freshness.

    Hi, I'm Kimberly!

    Hi, I'm Kimberly.

    A passionate food lover who believes in the magic of homemade deliciousness that spreads love and warmth. Join me on this culinary adventure as I prepare wonderful dishes and let’s spread some happiness together!

    Kimberly the Zett Signature

    If you want to get to know me better, click here!


    Peanut Caramel Chocolate Protein Bars
    Peanut Caramel Chocolate Protein Bars
    Peanut Caramel Chocolate Protein Bars

    „Let’s make a piece of happiness“

    INGREDIENTS

    FOR 15 BARS

    LAYER 1

    • 85g protein powder vanilla (2/3 cups)
    • 50g almond flour (1/2 cup)
    • 2 tbsp maple syrup
    • 60ml soy milk (1/4 cup)

    LAYER 2

    • 2 tbsp caramel spread

    LAYER 3

    • 120g crunchy peanut butter (1/2 cup)
    • 2 tbsp coconut oil
    • 2 tbsp maple syrup
    • 1/8 salt

    LAYER 4

    • 150g semi sweet chocolate
    • 1/2 tsp coconut oil
    Peanut Caramel Chocolate Protein Bars
    }

    ACTIVE: 1 min

    PASSIVE: –

    PREPARATIONS

    Recommended Equipment
    • 2 medium sized bowls
    • medium-sized aluminum or glass bowl
    • rectangular flat container
    • baking paper
    • small pot
    • Line a rectangular flat container with baking paper.
      }

      ACTIVE: 30 min

      PASSIVE: 120 min

      COOKING

      1. In a medium bowl, prepare the first layer by mixing the protein powder, almond flour, maple syrup and soy milk into a dense, malleable dough. My recommendation is to place the dough between two layers of baking paper, roll it out and then place it in the container. Because the dough is really sticky. 

      2. Next, spread 2 tablespoons of caramel over the dough layer as a second layer. Then place the container in the freezer for about an hour.

      3. For the third layer, mix the crunchy peanut butter, coconut oil, maple syrup and a pinch of salt together in a medium bowl. After taking the container from the freezer, spread the mixture over the caramel layer evenly. Place the mold back in the freezer for 60 minutes.

      4. Fill a small pot with water, bring to the boil and then remove from the heat. Place a heatproof aluminum or glass bowl over the pot. Melt the chocolate in it together with half a teaspoon of coconut oil, stirring regularly.

      5. Once the chocolate has melted completely, remove the frozen bar mixture from the freezer and cut into 15 bars. Pull each bar individually through the melted chocolate with two forks, drain and place on baking paper or a rack to harden. If the room temperature is too warm, leave the bars to set in the fridge.

      NOTE: The calorie information may vary depending on the product used, country and region.

      Bechamel Sauce

      Bechamel Sauce

      Béchamel Sauce

      Béchamel Sauce

      December 1, 2023 by Kimberly

      Discover the magic of Béchamel Sauce! This creamy, smooth classic is a culinary staple, perfect for enhancing your favorite dishes.

      25 MINUTES

      INTERMEDIATE

      VEGETARIAN

      FRENCH

      147 PER PORTION

      CREAMY

      CLASSICS

      SAUCE

      ALL YEAR

      INTRODUCTION

      ABOUT THE RECIPE

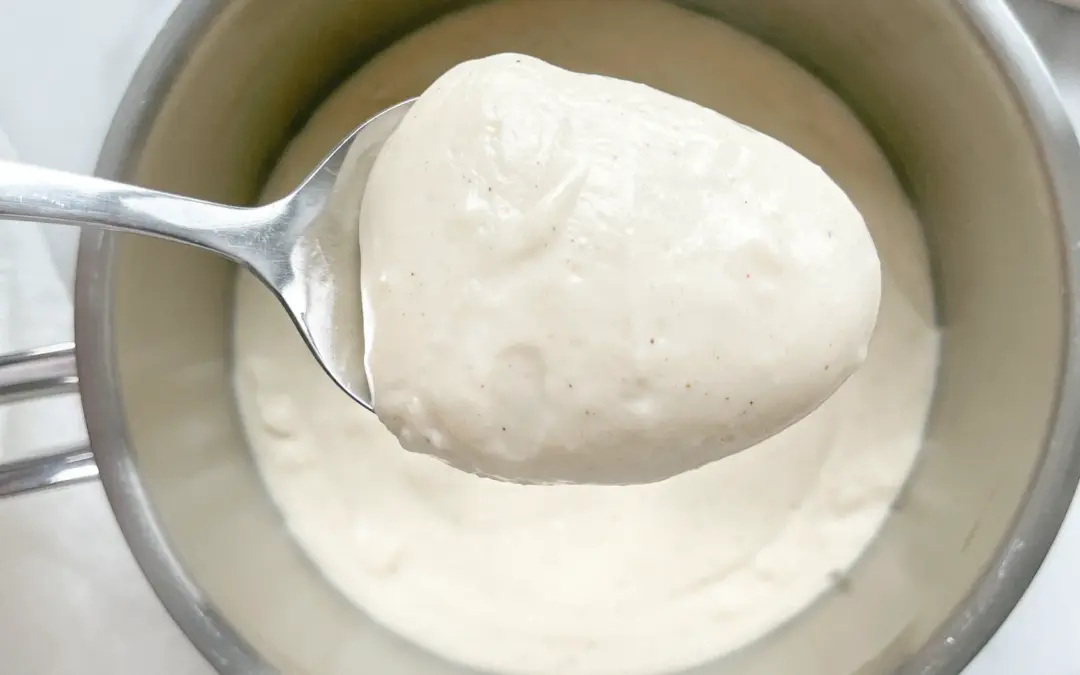
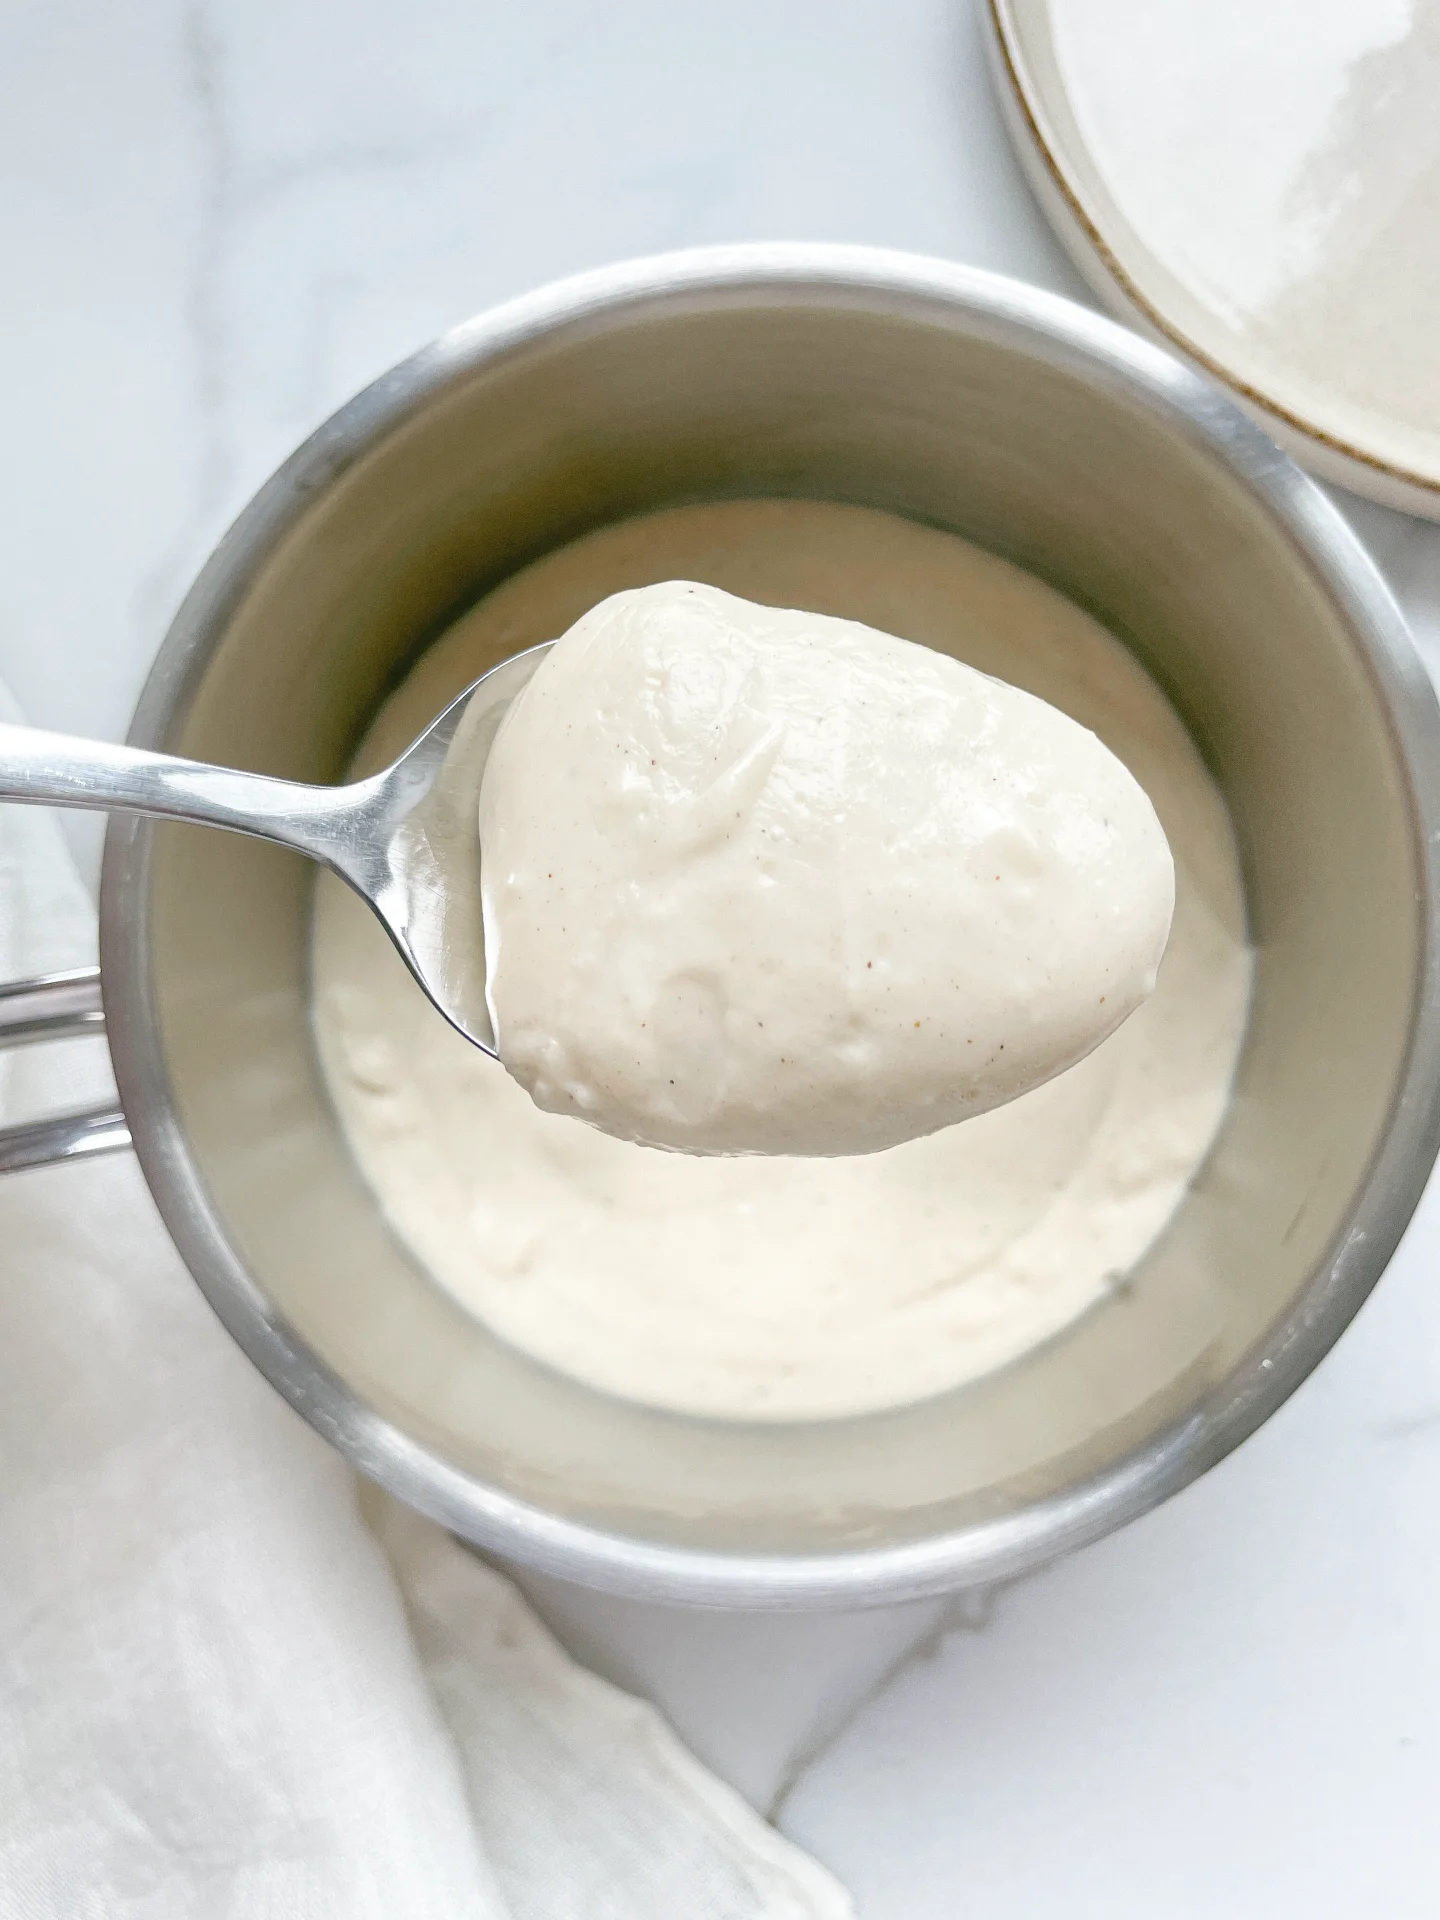
      Embark on a culinary journey with the classic Béchamel Sauce, a cornerstone of French cuisine. This creamy, smooth sauce is not just a recipe – it’s a gateway to elevating your meals. Whether you’re dressing up a lasagna or making a rich, savory Croque Monsieur, Béchamel Sauce brings a touch of elegance and flavor to your dishes. It’s simple to whip up with just a few ingredients.

      How to serve:
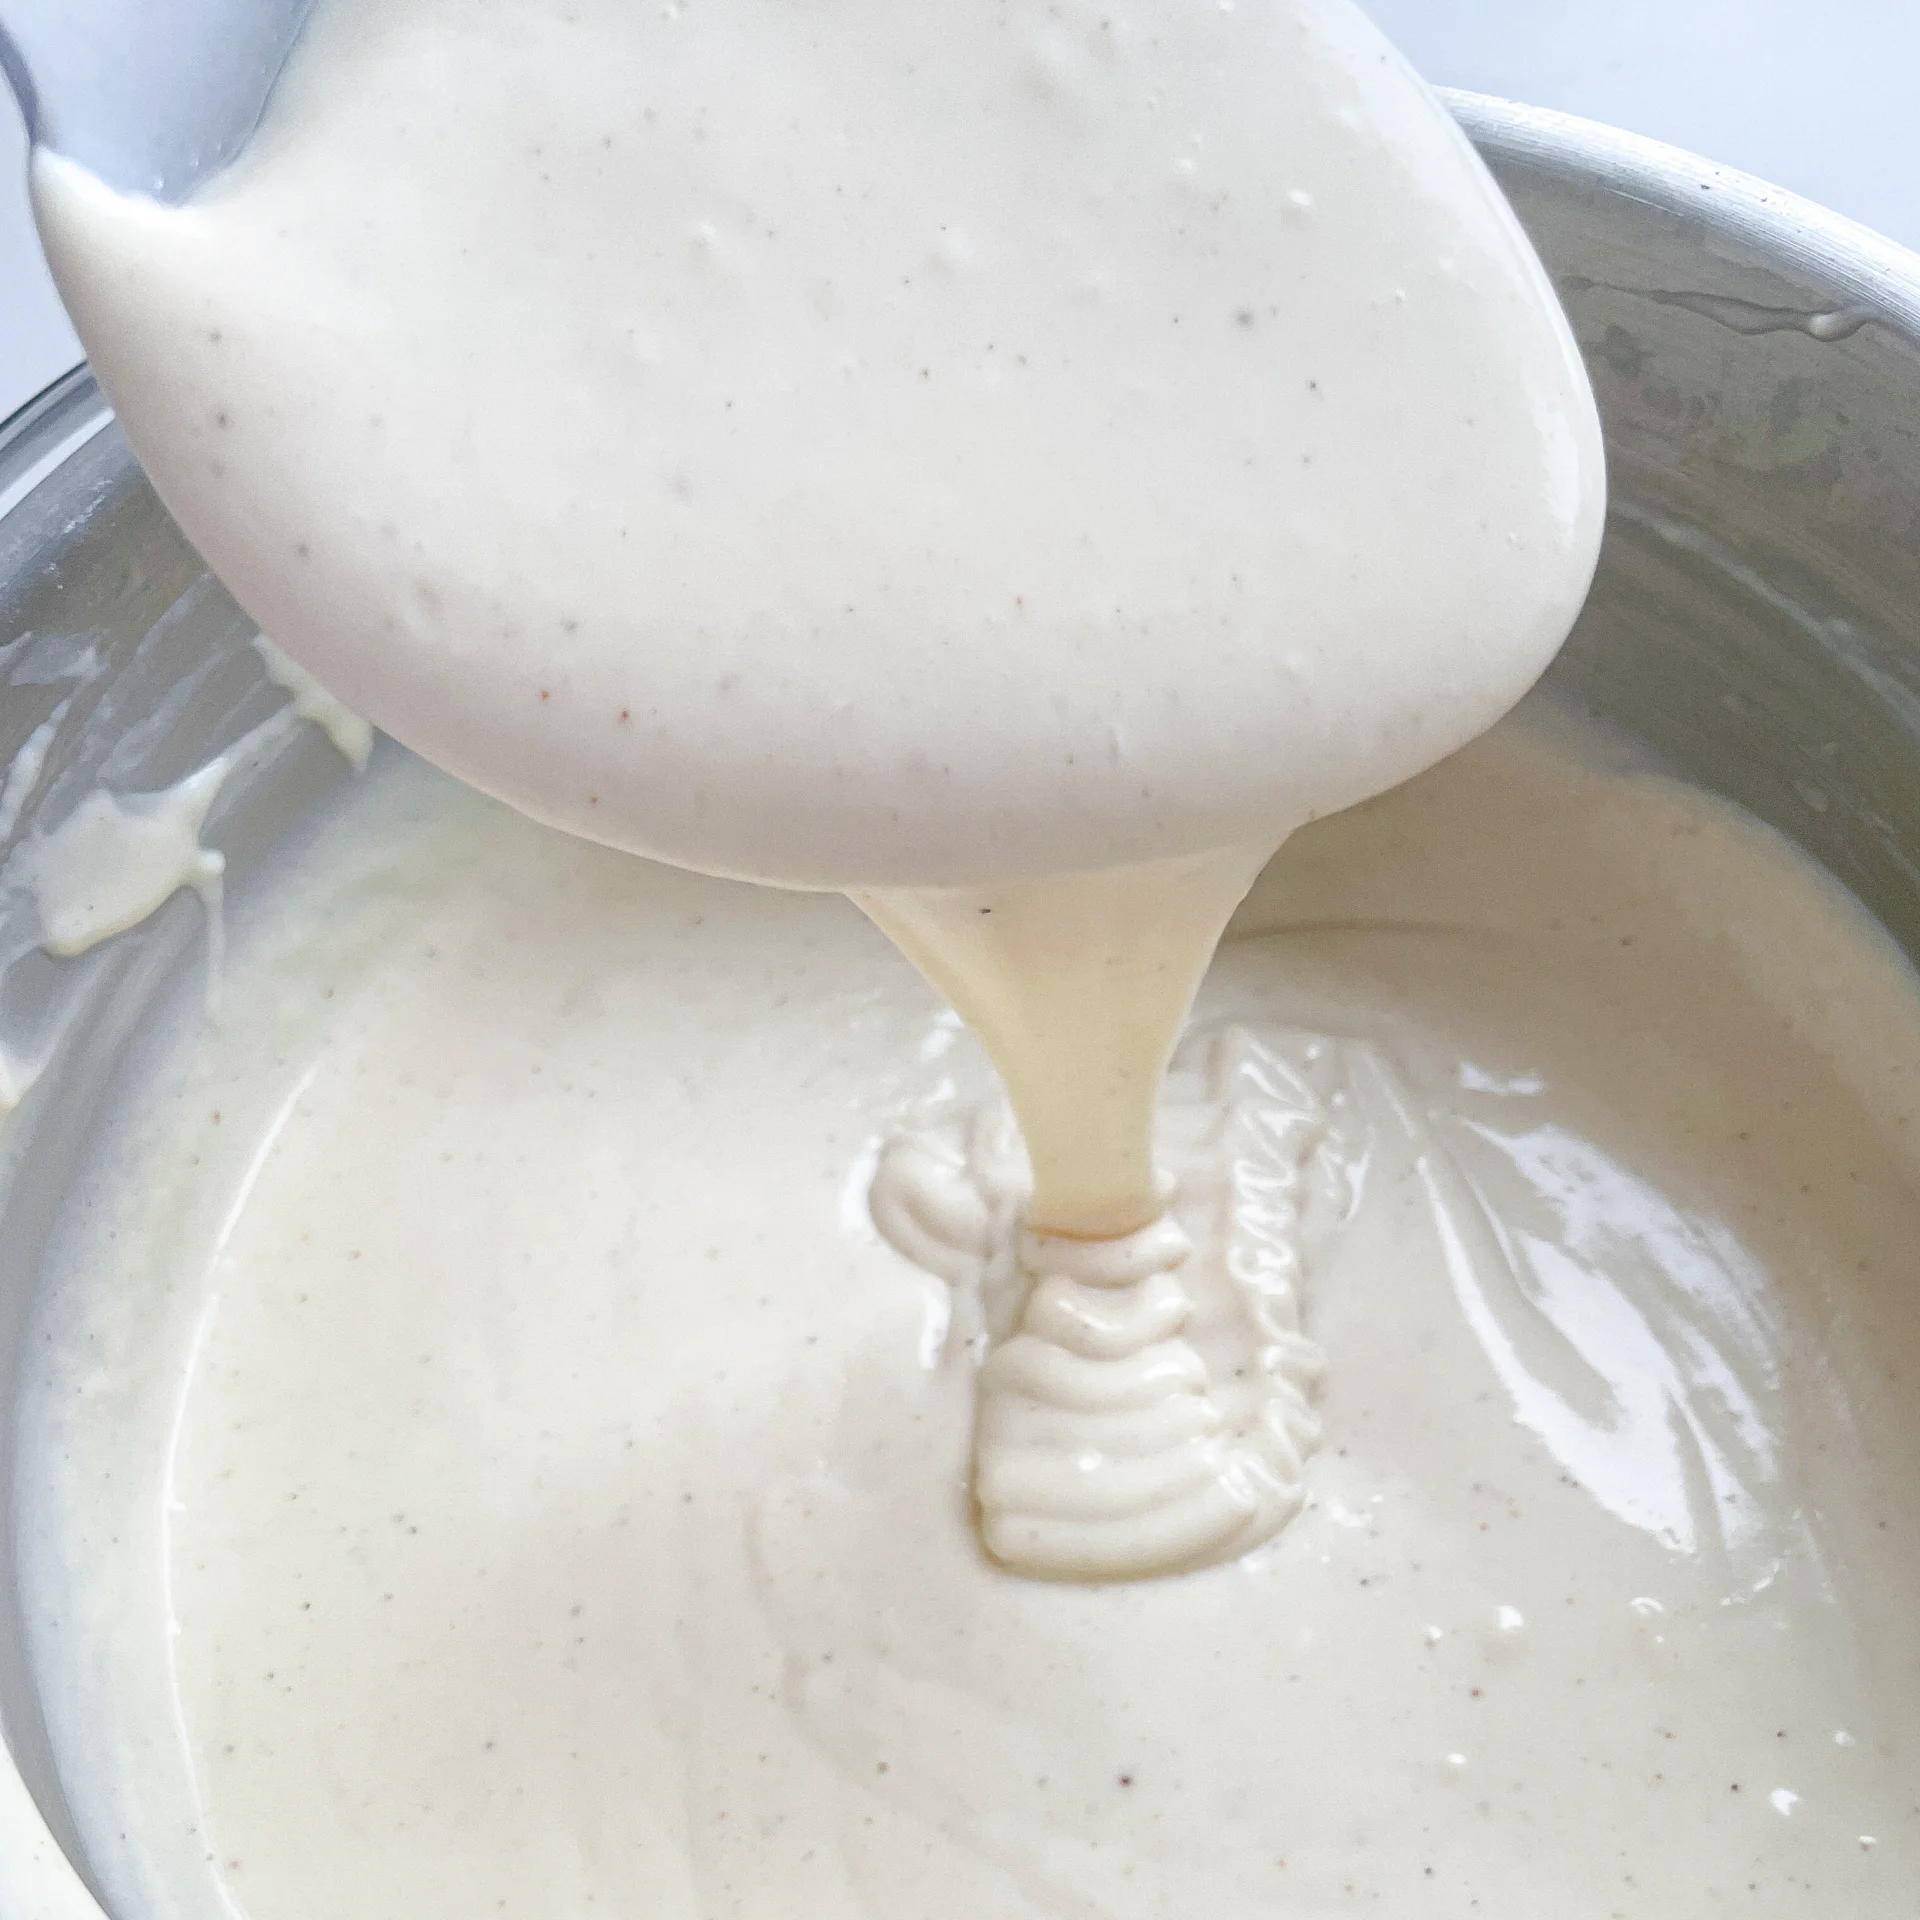
      Pour it over vegetables for a comforting gratin, use it as a base for creamy pasta dishes, or layer it in lasagnas and moussakas for a moist, flavorful experience. It’s also perfect for creating a luxurious mac and cheese. The key is to let the sauce slightly thicken to coat your spoon, ensuring it blends seamlessly with your dish, enhancing every bite.

      How to store:
      To keep your Béchamel Sauce fresh, cool it at room temperature before refrigerating in a tightly sealed container. It lasts up to 3 days.

      Hi, I'm Kimberly!

      Hi, I'm Kimberly.

      A passionate food lover who believes in the magic of homemade deliciousness that spreads love and warmth. Join me on this culinary adventure as I prepare wonderful dishes and let’s spread some happiness together!

      Kimberly the Zett Signature

      If you want to get to know me better, click here!


      Béchamel Sauce

      „Let’s make a piece of happiness“

      INGREDIENTS

      FOR 6 PORTIONS

      SAUCE

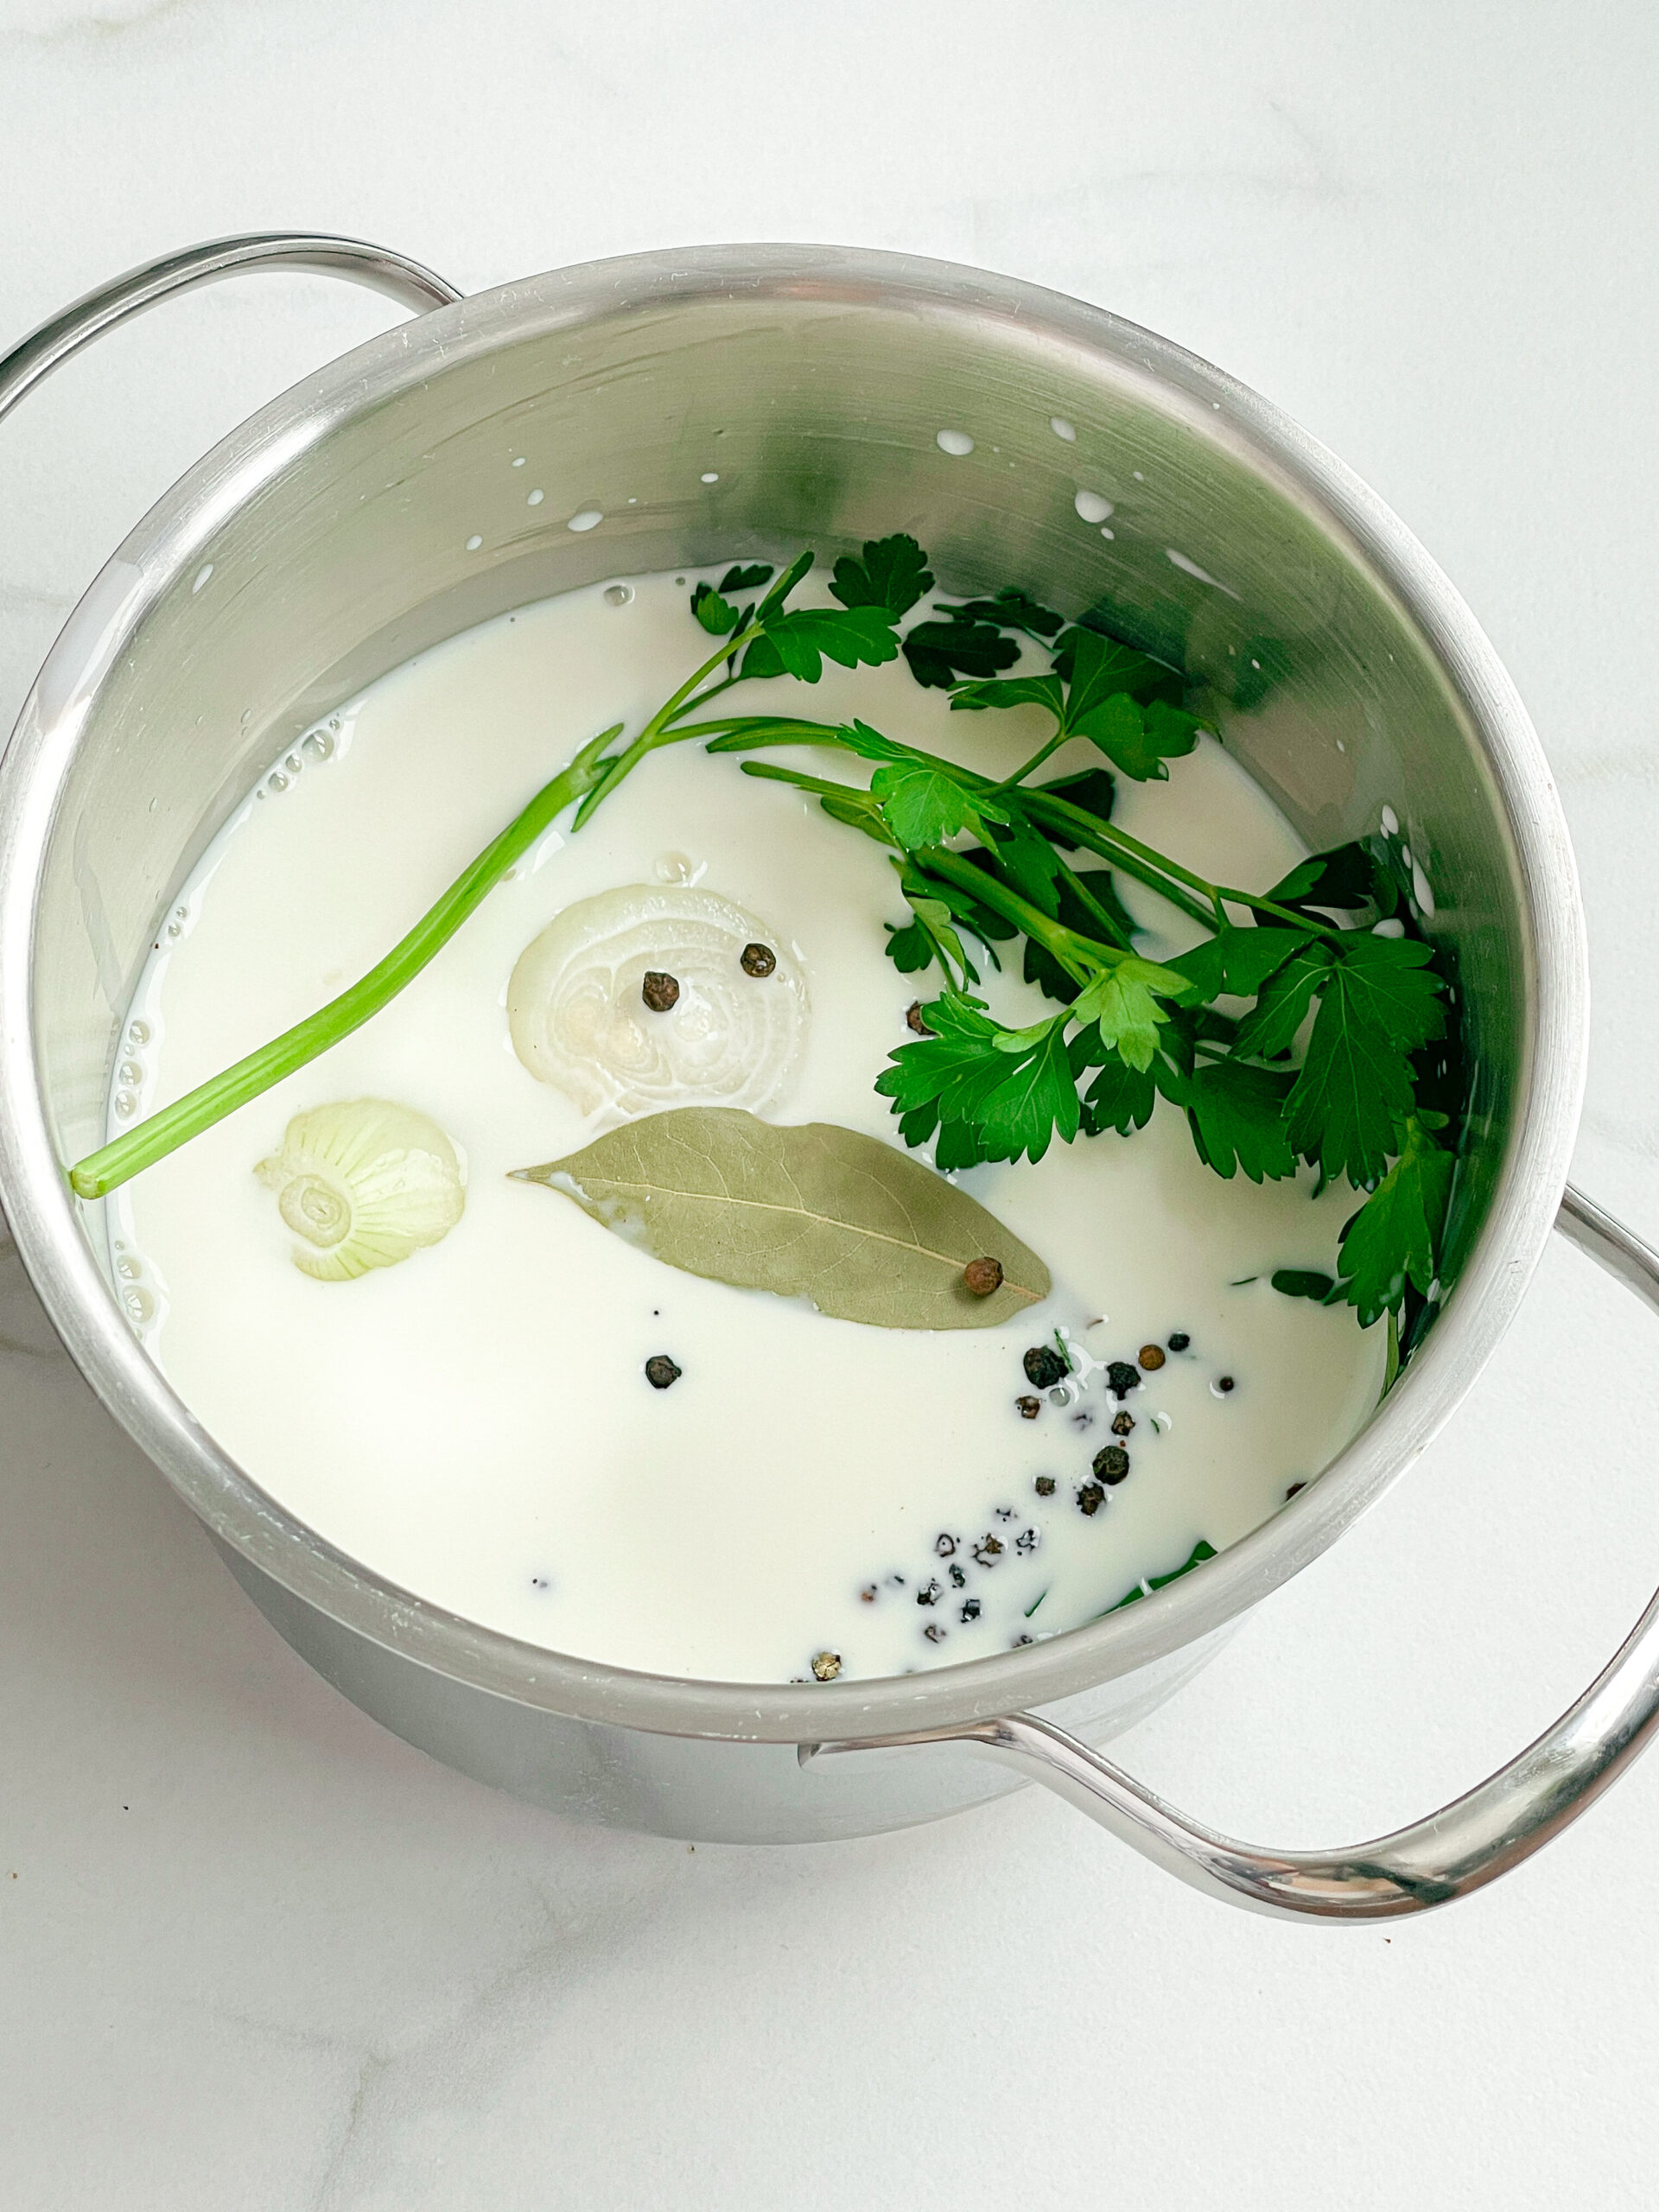
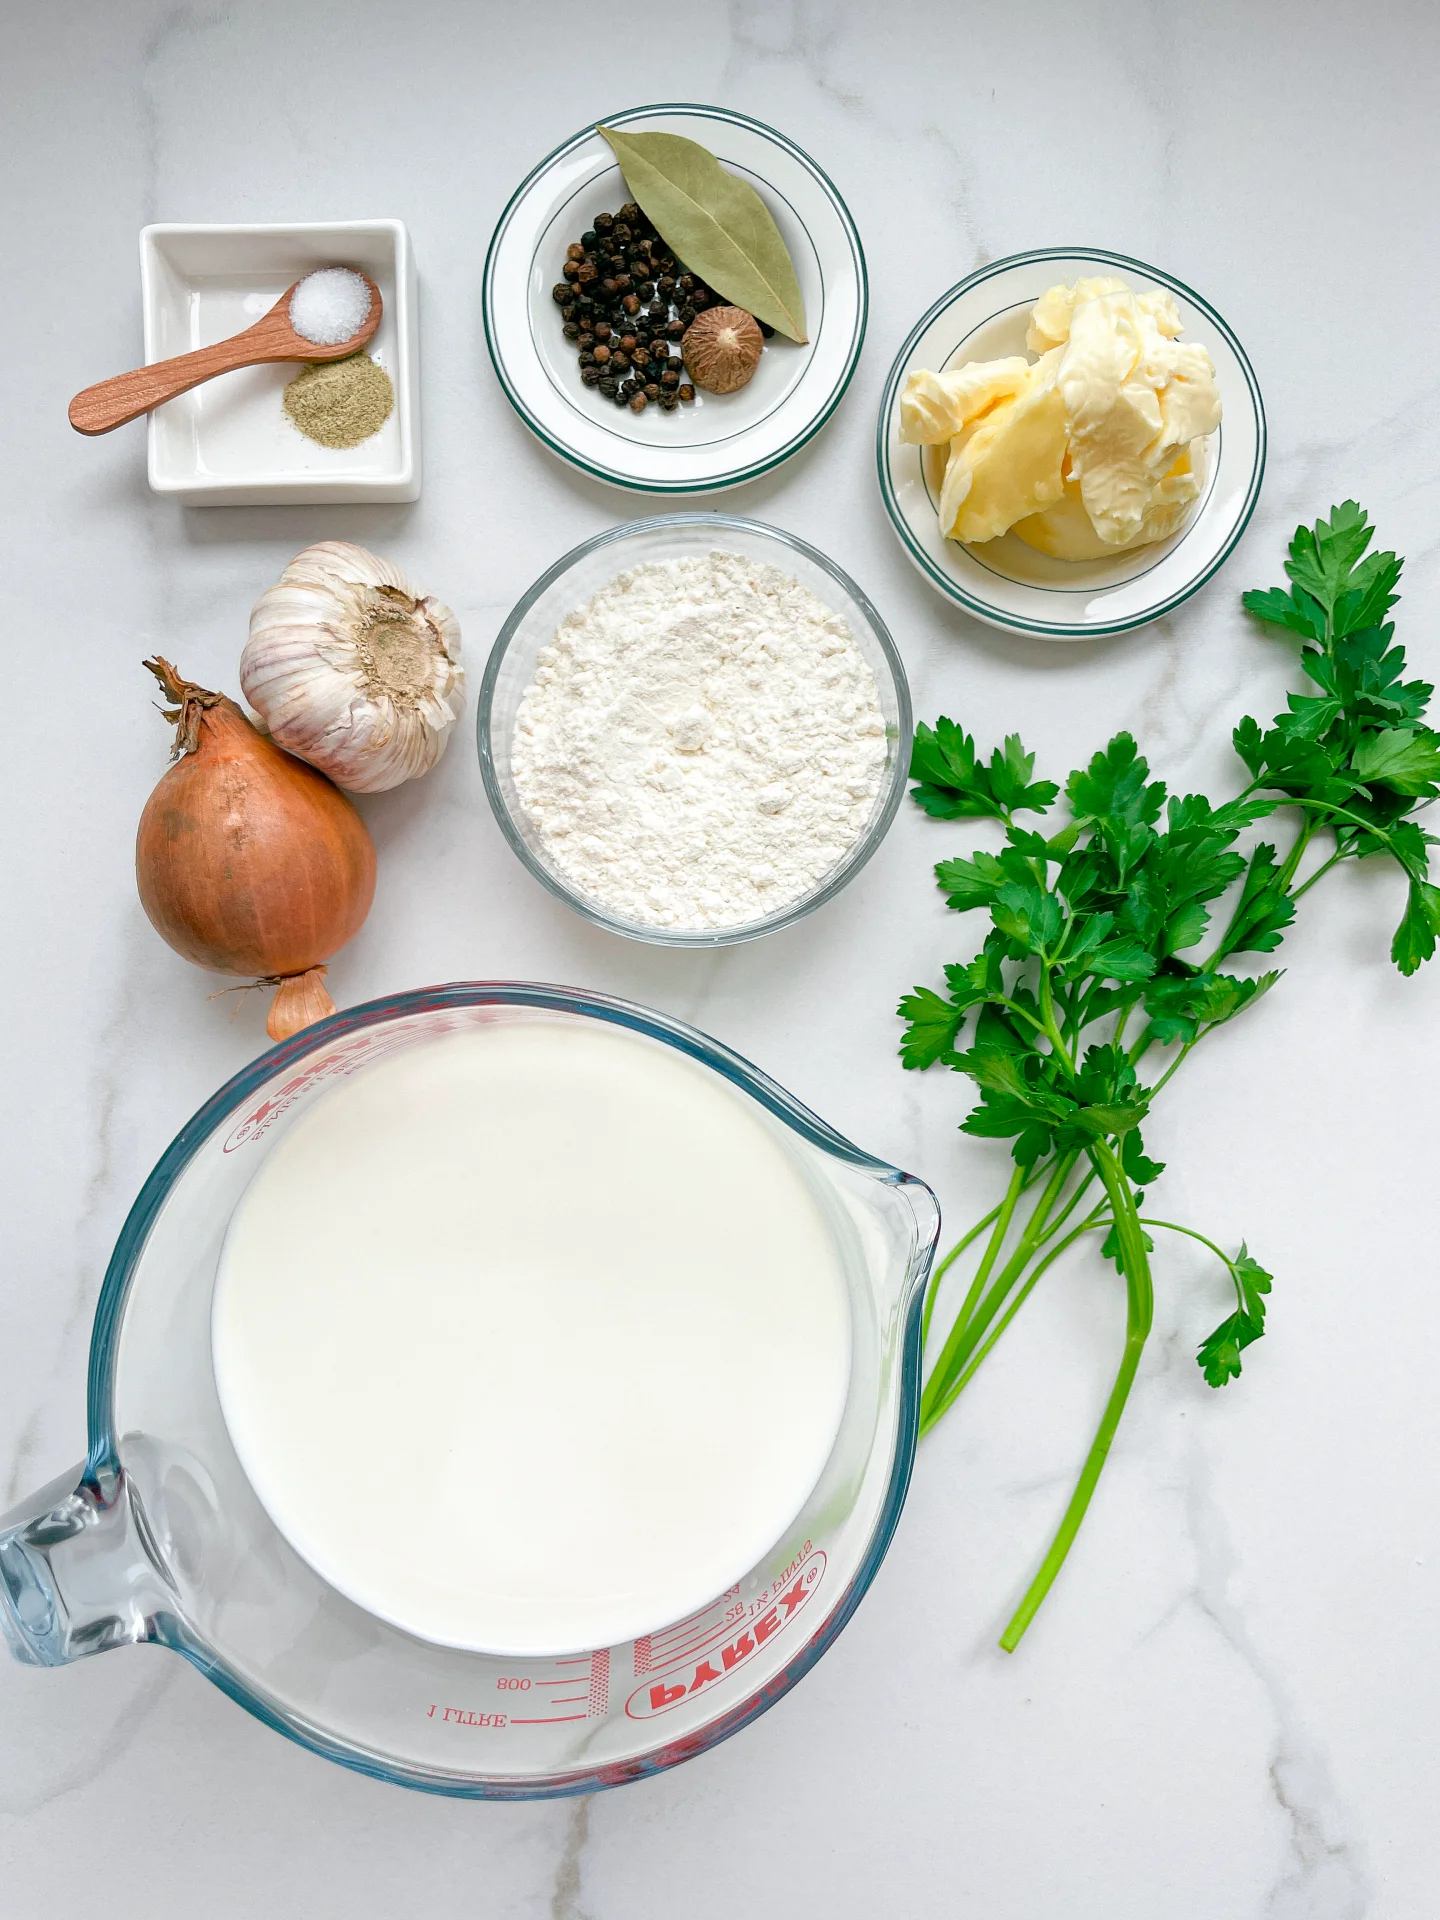
      • 500ml full-fat cow milk (2 cups)
      • 50g unsalted butter (3.5 tbsp)
      • 50g all-purpose flour (5 tbsp)
      • 1/2 nutmeg
      • 1 garlic clove
      • 3/8 tsp salt
      • 1/4 tsp white pepper


      Béchamel Sauce
      }

      ACTIVE: 1 min.

      PASSIVE: –

      PREPARATIONS

      Recommended Equipment
      • small pot
      • whisk
      • small wooden spoon
      • Peel and halve the garlic clove. Set aside.
        }

        ACTIVE: 25 min

        PASSIVE: –

        COOKING

        1. Melt the butter in a pan over a medium heat. Add the garlic clove and fry briefly in the butter. Remove the garlic clove.

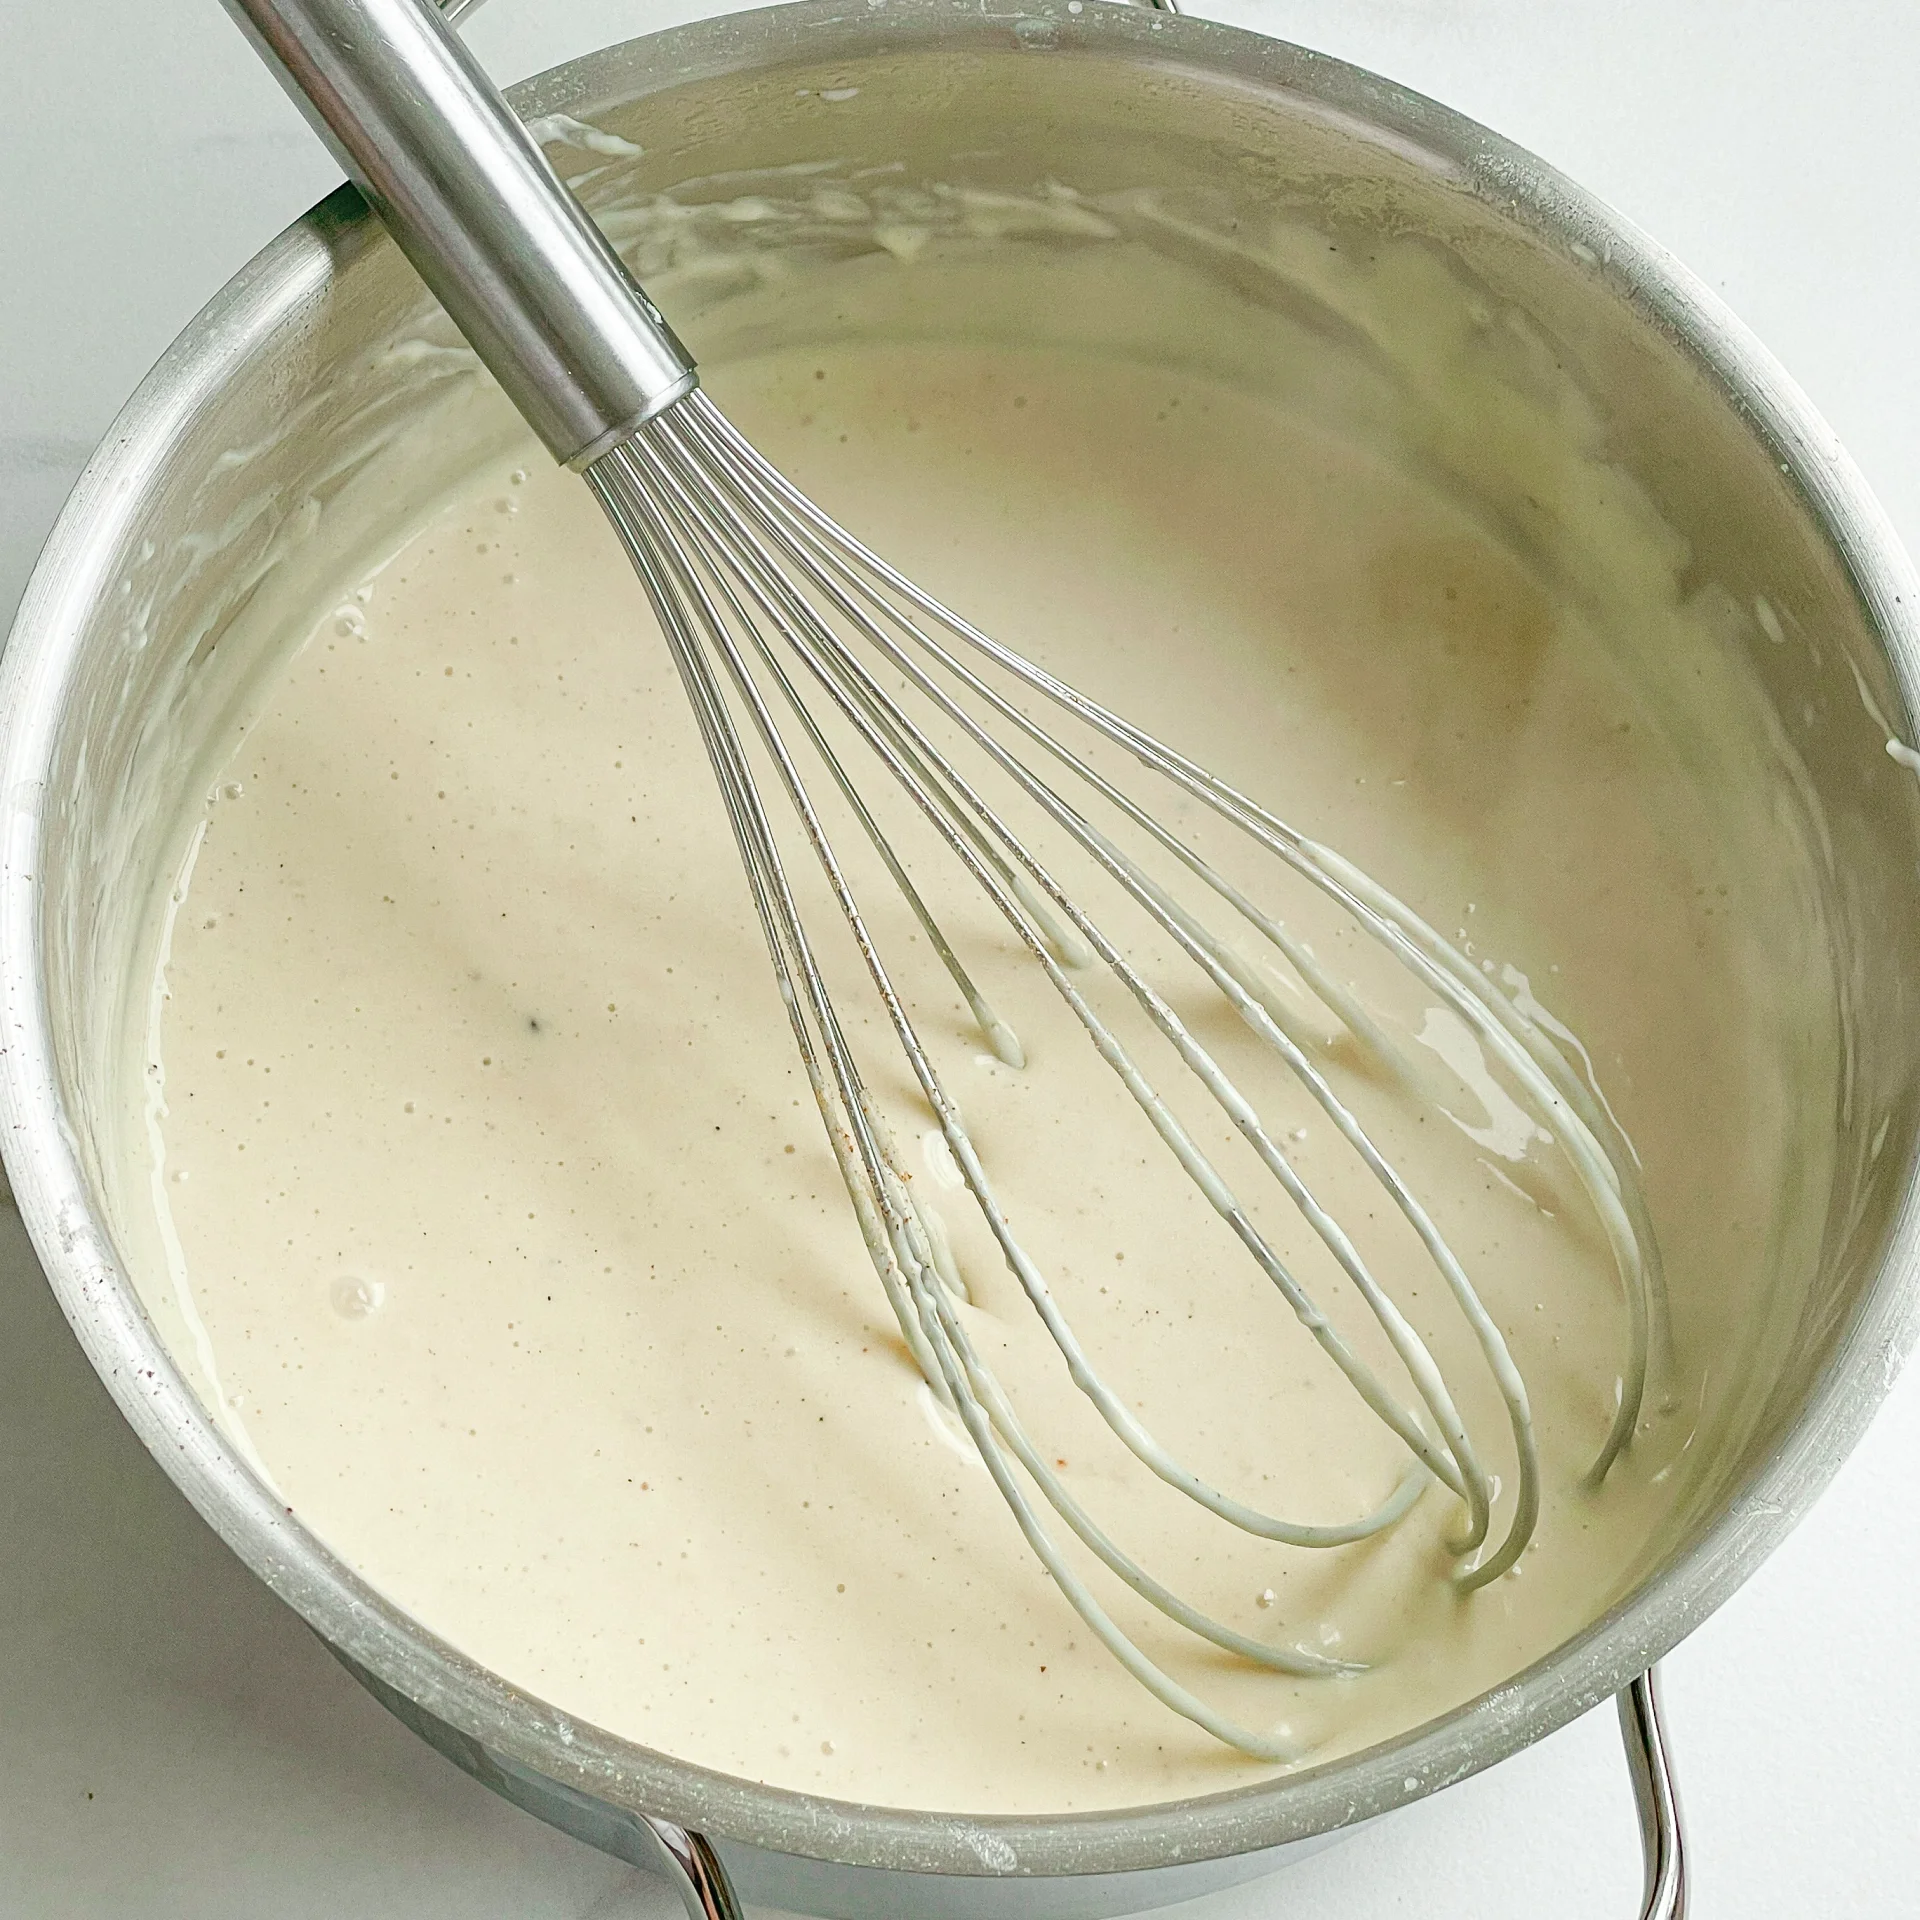
        2. Now add all the flour to the melted butter and stir quickly with a wooden spoon until smooth. The consistency should be like a paste. Remove the pot directly from the heat and stir in the first 100ml of milk with a whisk until smooth. Place the pan back on the stove and bring to a boil briefly, stirring constantly. Now remove the pot from the heat and pour in the next 100ml (3 fl oz) of milk. Stir well, place the pot back on the stove and bring to a boil, stirring constantly. Now do the same with the next 3 rounds of 100ml (3 fl oz). Remove from the heat, pour in, stir, return to the stove, bring to the boil, remove from the heat and so on…

        3. After about 20 minutes, the sauce should have a consistency similar to melted cheese. You should no longer be able to taste the flour. The sauce can now be removed from the heat and seasoned to taste. To do this, grate the nutmeg freshly and add 3/8 teaspoon of salt and 1/4 teaspoon of pepper.

        NOTE: The calorie information may vary depending on the product used, country and region.

        Warm Oven Baked Salad with Yogurt Thyme Honey Dressing

        Warm Oven Baked Salad with Yogurt Thyme Honey Dressing

        Warm Oven Baked Salad with Yogurt Thyme Honey Dressing

        Warm Oven Baked Salad with Yogurt Thyme Honey Dressing

        February 8, 2024 by Kimberly

        Indulge in a scrumptious, warm salad fresh from the oven, enhanced by a sweet and savory honey-thyme yogurt dressing. A delightful, healthy treat!

        35 MINUTES

        EASY

        VEGETARIAN

        INT.

        643 PER PORTION

        CREAMY

        EVERYDAY

        DINNER

        ALL YEAR

        INTRODUCTION

        ABOUT THE RECIPE

        Indulge in the culinary delight of a warm salad recipe, perfect for any season. This oven-baked salad is not just a dish – it’s a journey of flavors, combining the comfort of warm ingredients with the freshness of a salad. Enhanced with a Yogurt Dressing, this recipe brings a wholesome and gourmet touch to your table. The Thyme Honey Dressing adds a unique twist, making it a standout in your Healthy Salad collection.

        How to serve:
        It’s best enjoyed fresh from the oven, with the warmth complementing the cool, creamy Yogurt Dressing. It’s a versatile dish that pairs wonderfully with a variety of mains, making it an excellent addition to your Easy Salad Recipes. Whether as a standalone meal for a light lunch or dinner or as a side for an extensive dinner, this salad is sure to impress. Its rich flavors and gourmet appeal make it a perfect choice for dinner parties or a nutritious family meal.

        How to store:
        When it comes to storage, this Oven Baked Salad with its Flavorful Salads dressing is best enjoyed fresh. However, if you need to store it, keep vegetables and dressing separate from another in an airtight container in the refrigerator. The salad stays fresh for up to one day, but remember, the fresher, the better to maintain its unique texture and taste.

        Hi, I'm Kimberly!

        Hi, I'm Kimberly.

        A passionate food lover who believes in the magic of homemade deliciousness that spreads love and warmth. Join me on this culinary adventure as I prepare wonderful dishes and let’s spread some happiness together!

        Kimberly the Zett Signature

        If you want to get to know me better, click here!


        Warm Oven Baked Salad with Yogurt Thyme Honey Dressing
        Warm Oven Baked Salad with Yogurt Thyme Honey Dressing
        Warm Oven Baked Salad with Yogurt Thyme Honey Dressing

        „Let’s make a piece of happiness“

        INGREDIENTS

        FOR 2 PORTIONS

        VEGETABLES

        • 1 red bell pepper
        • 1 yellow bell pepper
        • 1 red onion
        • 2 big tomatoes
        • 1 cup sugarsnaps
        • 1 bay leaf
        • 1 tsp dried thyme
        • salt & pepper to taste


        BREAD

        • 250g bread or baguette
        • 3 tbsp olive oil
        • 2 tbsp butter
        • 1 garlic clove
        • 1 tbsp chives
        • 1/8 tsp salt
        • 1/8 tsp pepper

        DRESSING

        • 75g yogurt
        • 1 tbsp white wine vinegar
        • 1 tsp honey
        • 1 tbsp parsley
        • salt & pepper to taste
        Warm Oven Baked Salad with Yogurt Thyme Honey Dressing
        }

        ACTIVE: 10 min

        PASSIVE: –
        PREPARATIONS

        Recommended Equipment
        • sharp knife
        • cutting board
        • small bowl
        • medium bowl
        • Preheat the oven to 200°C (400°F)
        • Wash the bell peppers, tomatoes and sugarsnaps and cut into bite-sized pieces.
        • Finely chop the parsley and chives.
        • Peel the onion and cut into semicircles.
        • Cut the bread into slices approx. 1 cm (1/2 inch) thick.
          }

          ACTIVE: 20 min

          PASSIVE: 5 min

          COOKING

          1. Line a baking tray with baking paper and spread the chopped peppers, sugarsnaps, onions and tomatoes on it. Spread 1 tbsp olive oil, 1 tsp dried thyme and 1 bay leaf over the vegetables and mix everything well. Roast in the oven for approx. 15-20 minutes.

          2. In the meantime, to prepare the bread, mix the softened butter with the olive oil in a small bowl and add 1 tbsp of chopped chives. Add 1/8 teaspoon each of pepper and salt and the crushed garlic, stir well and spread evenly over the slices of bread. Place the slices on a rack with baking paper in the oven with the vegetables for the last 5 minutes and bake until golden brown.

          3. For the dressing, mix the yogurt, honey, white wine vinegar, parsley and a pinch each of salt and pepper in a medium bowl and set aside.

          4. Now take the vegetables and bread out the oven and leave to cool briefly. Remove the bay leaf. Place the vegetables in the bowl with the yogurt dressing and toss to combine. Divide the vegetables between two plates and serve with the garlic bread.

          NOTE: The calorie information may vary depending on the product used, country and region.

          Parmesan Risotto with Mixed Mushrooms & Herbs

          Parmesan Risotto with Mixed Mushrooms & Herbs

          Parmesan Risotto with Mixed Mushrooms & Herbs

          Parmesan Risotto with Mixed Mushrooms & Herbs

          February 5, 2024 by Kimberly

          Enjoy a delicious parmesan risotto with mixed mushrooms & herbs, perfect for a cozy, savory meal. It’s a simple, mouthwatering meal that everyone will love!

          80 MINUTES

          EASY

          VEGETARIAN

          ITALIAN

          617 PER PORTION

          COMFORT FOOD / CREAMY / UMAMI

          EVERYDAY

          DINNER

          AUTUMN / WINTER

          INTRODUCTION

          ABOUT THE RECIPE

          Indulge in the comforting flavors of our Parmesan Risotto with Mixed Mushrooms & Herbs, a gourmet Italian Risotto that’s both easy to cook and irresistibly delicious. This creamy mushroom risotto, infused with the richness of Parmesan and the freshness of herbs, is a perfect representation of homemade risotto ideas. It’s a vegetarian risotto dish that combines health and taste in every spoonful.

          How to serve:
          To serve, present this risotto hot, garnished with extra Parmesan and a sprinkle of fresh herbs for a delightful aroma and taste. It pairs wonderfully with a crisp, green salad or a glass of white wine, making it ideal for a cozy family dinner or a sophisticated gathering. Remember, risotto is best enjoyed immediately to savor its creamy texture and rich flavors.

          How to store:
          For storing, keep any leftovers of this healthy mushroom meal in an airtight container in the refrigerator. It will stay fresh for up to two days. When ready to enjoy again, gently reheat it on the stove, adding a little water or broth to maintain its creamy consistency.

          Hi, I'm Kimberly!

          Hi, I'm Kimberly.

          A passionate food lover who believes in the magic of homemade deliciousness that spreads love and warmth. Join me on this culinary adventure as I prepare wonderful dishes and let’s spread some happiness together!

          Kimberly the Zett Signature

          If you want to get to know me better, click here!


          Parmesan Risotto with Mixed Mushrooms & Herbs
          Parmesan Risotto with Mixed Mushrooms & Herbs
          Parmesan Risotto with Mixed Mushrooms & Herbs

          „Let’s make a piece of happiness“

          INGREDIENTS

          FOR 3 PORTIONS

          RISOTTO

          • 200g risotto rice (7 oz)
          • 400ml broth, vegetable or chicken (1 + 1/2 cups)
          • 200ml dry white wine (7 fl oz)
          • 300ml water (1 + 1/4 cups)
          • 100g parmesan (3.5 oz)
          • 1 white onion
          • 2 tbsp olive oil
          • 1 tsp butter
          • salt & pepper to taste


          MUSHROOMS

          • 250g mushrooms of your choice (9 oz) – I used brown champignons, oyster mushrooms & shimeji mushrooms
          • 50ml dry white wine (1/4 cup)
          • 1 stem rosemary
          • 1 stem sage
          • 1 stem thyme
          • 2 tbsp olive oil
          • 1 tsp butter
          • salt & pepper to taste
          Parmesan Risotto with Mixed Mushrooms & Herbs
          }

          ACTIVE: 20 min

          PASSIVE: –

          PREPARATIONS

          Recommended Equipment
          • sharp knife
          • cutting board
          • medium-sized pot
          • medium sized pan
          • Finely grate the Parmesan.
          • Clean the mushrooms and cut half of them into large pieces and the other half into small pieces.
          • Cut the onion into small pieces.
          • Pluck the herb leaves from the stalks and chop finely.
            }

            ACTIVE: 60 min

            PASSIVE: –

            COOKING

            1. Heat 1 tsp butter and 2 tbsp olive oil in a pan. Add the mushrooms and fry for approx. 10 minutes until golden brown. Add the finely chopped herbs, stir and fry briefly. Then deglaze with 50ml white wine and reduce until there is no more liquid in the pan. Season the mushrooms with salt and pepper. Put the pan to aside.

            2. Heat 1 tsp butter and 2 tbsp olive oil in the pan. Sauté the onions until translucent and then add the risotto rice. Stir everything well and sauté for 1-2 minutes. Now deglaze with 100ml (1/2 cup) white wine and reduce over a medium heat until there is no more liquid in the pan.

            3. Now pour 100ml (1/2 cup) of the stock into the rice. Leave to simmer, stirring occasionally, until the liquid has evaporated. Now pour in the next 100ml, stir and leave it to simmer until the rice soaked up the liquid. Proceed in the same way with the remaining 200 ml (1 cup) of stock, adding 100 ml (1/2 cup) at a time and allowing to simmer.

            4. Now add 150ml (1+ 1/4 cup) of the water to the rice and also let it cook until the rice absorbed the water. Next, add 100ml (1/2 cup) of white wine. Finally, add the last 150ml (1+ 1/4 cup) of water and cook now while stirring. The whole process takes about 40 minutes.

            5. Remove the pot from the heat and stir in the Parmesan. Stir well so that the Parmesan melts. Now add half of the fried mushrooms and stir well.

            6. Divide the risotto between plates and top with the other half of the mushrooms. Top with freshly ground pepper and olive oil to taste.

            NOTE: The calorie information may vary depending on the product used, country and region.

            Truffle Mushroom Mascarpone Pasta

            Truffle Mushroom Mascarpone Pasta

            Truffle Mushroom Mascarpone Pasta

            Truffle Mushroom Mascarpone Pasta

            February 2, 2024 by Kimberly

            Experience the luxurious taste of Truffle Mushroom Mascarpone Pasta, a creamy delight that’s simple to prepare and perfect for an unforgettable gourmet experience.

            55 MINUTES

            EASY

            VEGETARIAN

            ITALIAN

            644 PER PORTION

            CREAMY / UMAMI

            DATE NIGHT

            DINNER

            ALL YEAR

            INTRODUCTION

            ABOUT THE RECIPE

            Dive into the world of gourmet cooking with my Truffle Mushroom Mascarpone Pasta, a dish that promises a luxurious taste experience. Perfect for those who adore the rich, earthy flavors of truffles and the creamy texture of mascarpone, this easy Truffle Pasta is a delightful twist on traditional Italian cuisine. Its decadent mushroom blend is sure to impress, offering a quick yet elegant meal option for any occasion.

            You can use broth or stock for this dish. Just note that if you use stock, you will need to season the whole dish more strongly. As always, homemade broth or stock will make the dish taste a thousand times better than store-bought.

            Chopped truffle pieces in oil and truffle oil are a much cheaper and very tasty alternative to fresh truffles. You can order the products online or in a supermarket.

            How to serve:
            To elevate your dining experience, serve it hot, garnished with freshly grated Parmesan and a sprinkle of herbs. Pair it with a light, crisp white wine to complement the richness of the truffles and mascarpone. It’s a Luxury Pasta Dish that’s perfect for intimate dinners or as a sophisticated centerpiece for your gatherings.

            How to store:
            If you have leftovers, let the pasta cool down and then store it in an airtight container. It can be refrigerated for up to 2 days. When ready to enjoy again, gently reheat it on the stove or in the microwave, adding a splash of stock or a dollop of mascarpone to retain its creamy texture. This Truffle Pasta delight remains a tantalizing treat, even as leftovers!

            Hi, I'm Kimberly!

            Hi, I'm Kimberly.

            A passionate food lover who believes in the magic of homemade deliciousness that spreads love and warmth. Join me on this culinary adventure as I prepare wonderful dishes and let’s spread some happiness together!

            Kimberly the Zett Signature

            If you want to get to know me better, click here!


            Truffle Mushroom Mascarpone Pasta
            Truffle Mushroom Mascarpone Pasta
            Truffle Mushroom Mascarpone Pasta

            „Let’s make a piece of happiness“

            INGREDIENTS

            FOR 4 PORTIONS

            PASTA

            • 500g spaghettoni (1 lbs)


            SAUCE

            • 500ml vegetable or chicken broth (2 cups)
            • 100ml white wine (1/2 cup)
            • 100g mascarpone (3.5 oz)
            • 200g mushrooms (7 oz)
            • 70g parmesan (2.5 oz)
            • 2 tsp minced truffle in oil
            • 2 tbsp butter
            • 1 shallot
            • 2 garlic cloves
            • 1-2 stems thyme


            TOPPING

            • truffle oil


            Truffle Mushroom Mascarpone Pasta
            }

            ACTIVE: 10 min

            PASSIVE: –
            PREPARATIONS

            Recommended Equipment
            • sharp knife
            • cutting board
            • large pan
            • large pot
            • Cut the shallot into very small pieces.
            • Cut the mushrooms into very small pieces.
            • Finely grate the parmesan.
            • Peel the garlic cloves.
              }

              ACTIVE: 20 min

              PASSIVE: 25 min

              COOKING

              1. Heat the butter with the truffle oil in a large pan. Sauté the finely chopped shallots over a medium heat for approx. 3 minutes until translucent.

              2. Now add the chopped mushrooms. Allow to brown for a few minutes so that the mushrooms turn golden brown. Add the peeled garlic cloves as whole and one to two stalks of fresh thyme and sauté for 1-2 minutes. Then deglaze with white wine and let it boil for about five minutes on a medium heat, then stir.

              3. Now add the hot chicken stock and cook over a medium heat until only 1/3 is left. This will take about 15 minutes.

              4. In the meantime, cook the pasta in a pan in boiling salted water until al dente.

              5. Now add the mascarpone to the sauce, stir and heat gently. Remove the garlic clove and thyme from the pan. Now add the chopped truffle. Stir well and remove the pan from the heat. Add 1 tbsp of butter to the sauce. Truffle butter is best for this, but normal butter will also work. Season to taste with salt and pepper.

              6. Add the pasta to the sauce in the pan. Stir well. Now add the grated Parmesan and approx. 150 ml of the pasta cooking water to the pan and stir everything until creamy using tongs. This may take a few minutes. Now serve on deep plates. Top with truffle oil and a few mushrooms.

              NOTE: The calorie information may vary depending on the product used, country and region.