


Description
GOOD TO HAVE ON HAND
- mixer
- large bowl
- piping bag with star nozzle (or two spoons)
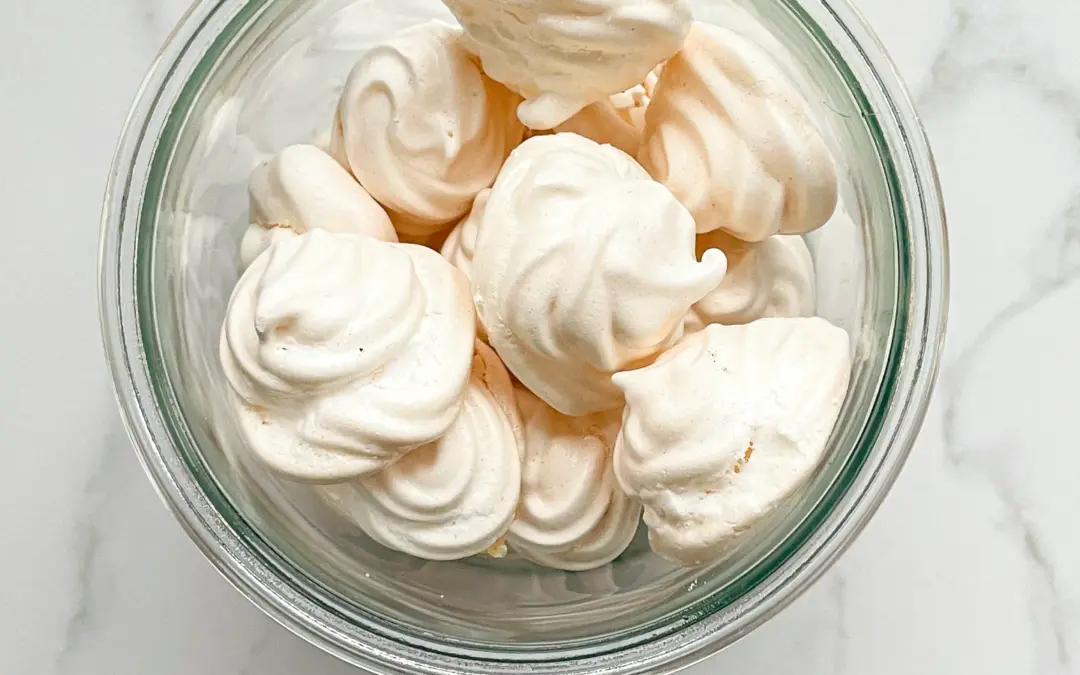
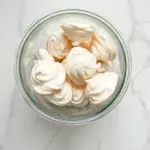
- sealable container
Ingredients
Units Scale
- 6 fresh eggs
- 300 grams sugar
- pinch of salt
Instructions
- Line two baking trays with parchment paper
- Preheat the oven to 100°C (210°F) with convection (fan-assisted)
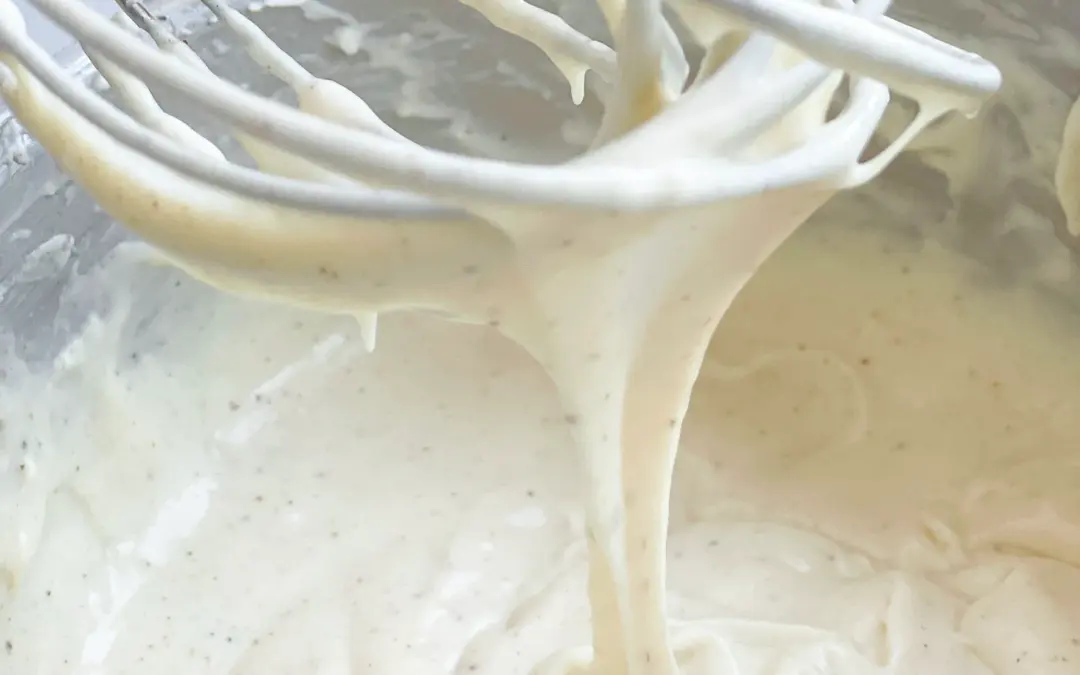
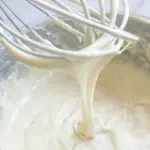
- Separate the egg whites from the yolks and start to whisk the egg whites in a grease-free bowl. Do not throw away the egg yolks. You can make cured egg yolks from them, for example. Once the egg whites start to foam, gradually add the sugar and continue to whisk until stiff. Once the sugar has dissolved and the meringue has become almost blue-white and glossy, you can tell that the meringue is ready when long peaks form on the mixer attachment.
- Next, fill the meringue into a piping bag with a star nozzle. If you do not have a piping bag, you can also shape the meringue with two spoons. Use the piping bag to form small mounds on the parchment paper in circular motions.
- Place the baking trays in the oven and bake for approximately 80-100 minutes (depending on the size). Occasionally open the oven door for a few seconds to allow moisture to escape. Ensure that the meringues do not turn brownish.
- The meringues are ready when they can be easily lifted off the parchment paper. Remove the trays from the oven and let them cool completely.
- Store the meringues in an airtight container to keep them fresh for several months.
- Passive Time: 80 min
- Cook Time: 20 min