Ham & Cheese Scones with Ranch Compound Butter

Ham & Cheese Scones with Ranch Compound Butter

Ham & Cheese Scones with Ranch Compound Butter

Ham & Cheese Scones with Ranch Compound Butter

April 14, 2025 by Kimberly

Flaky, buttery, and loaded with cheddar, ham, and chives. These savory scones are what your brunch dreams are made of. Especially with that ranch butter. Comfort food, but make it interesting.

35 MINUTES

INTERMEDIATE

OMNIVORE

INT.

10 SCONES

COMFORT FOOD

BRUNCH

SANDWICHES

ALL YEAR

INTRODUCTION

ABOUT THE RECIPE

There’s something about warm, cheesy pastries that just hits differently. Especially when they’re packed with melty cheddar, smoky ham, and fresh chives. These golden, flaky scones aren’t your typical dainty teatime snack, they’re the brunch version of it. The kind of thing you bake once and instantly regret ever offering to share.

How to serve
Serve these warm from the oven with a generous slather of the ranch butter melting into every crevice. Add a fried egg on the side if you’re feeling extra, or go classic with a cup of black coffee and your favorite playlist on repeat. They’re great for lazy Sundays, fancy brunch tables, or mid-week I-deserve-this moments. Pro tip: break them in half and turn them into a breakfast sandwich with scrambled eggs or crispy bacon. Zero judgment.

How to store
Store leftovers (if you’re lucky enough to have any) in an airtight container for up to 2 days at room temp. Reheat in the oven for that just-baked vibe.

Hi, I'm Kimberly!

Hi, I'm Kimberly.

A passionate food lover who believes in the magic of homemade deliciousness that spreads love and warmth. Join me on this culinary adventure as I prepare wonderful dishes and let’s spread some happiness together!

Kimberly the Zett Signature

If you want to get to know me better, click here!


Ham & Cheese Scones with Ranch Compound Butter
„Let’s make a piece of happiness“
Print
clock clock iconcutlery cutlery iconflag flag iconfolder folder iconinstagram instagram iconpinterest pinterest iconfacebook facebook iconprint print iconsquares squares iconheart heart iconheart solid heart solid icon
Ham & Cheese Scones with Ranch Compound Butter

Ham & Cheese Scones with Ranch Compound Butter


5 Stars 4 Stars 3 Stars 2 Stars 1 Star

No reviews

  • Author: Kimberly
  • Total Time: 35 min
  • Yield: 10 1x

Description

RECOMMENDED EQUIPMENT

  • box grater
  • mixing bowl
  • sharp knife
  • cutting board
  • round cookie cutter
  • spatula

Ingredients

Units Scale

SCONES

  • 300 grams all-purpose flour
  • 1/2 tsp salt
  • 1/4 tsp pepper
  • 4 tsp backing powder
  • 2 tbsp brown sugar (optional)
  • 90 grams butter, cold
  • 1 egg
  • 160 milliliters full-fat cow milk
  • 150 grams cheddar cheese
  • 150 grams ham
  • 20 grams fresh chives

RANCH COMPOUND BUTTER

  • 125 grams butter, soft
  • 3 tsp dried chives
  • 1 tsp dried parsley
  • 1 tsp dried onion powder
  • 1/2 tsp dried dill
  • 1/2 tsp dried garlic powder
  • 1/81/4 tsp salt
  • 1/8 tsp white pepper

Instructions

  1. Place the butter for the scones in the freezer for 15 minutes. Let the butter for the ranch compound butter soften at room temperature. Line a baking sheet with parchment paper and preheat the oven to 200°C/390°F. Dice the ham into small squares, grate the cheese, and finely slice the chives. Set aside about 1/3 of each to top the scones later.
  2. In a medium bowl, combine the flour, brown sugar, baking powder, salt, and pepper. Grate the cold butter directly into the dry ingredients using a box grater.
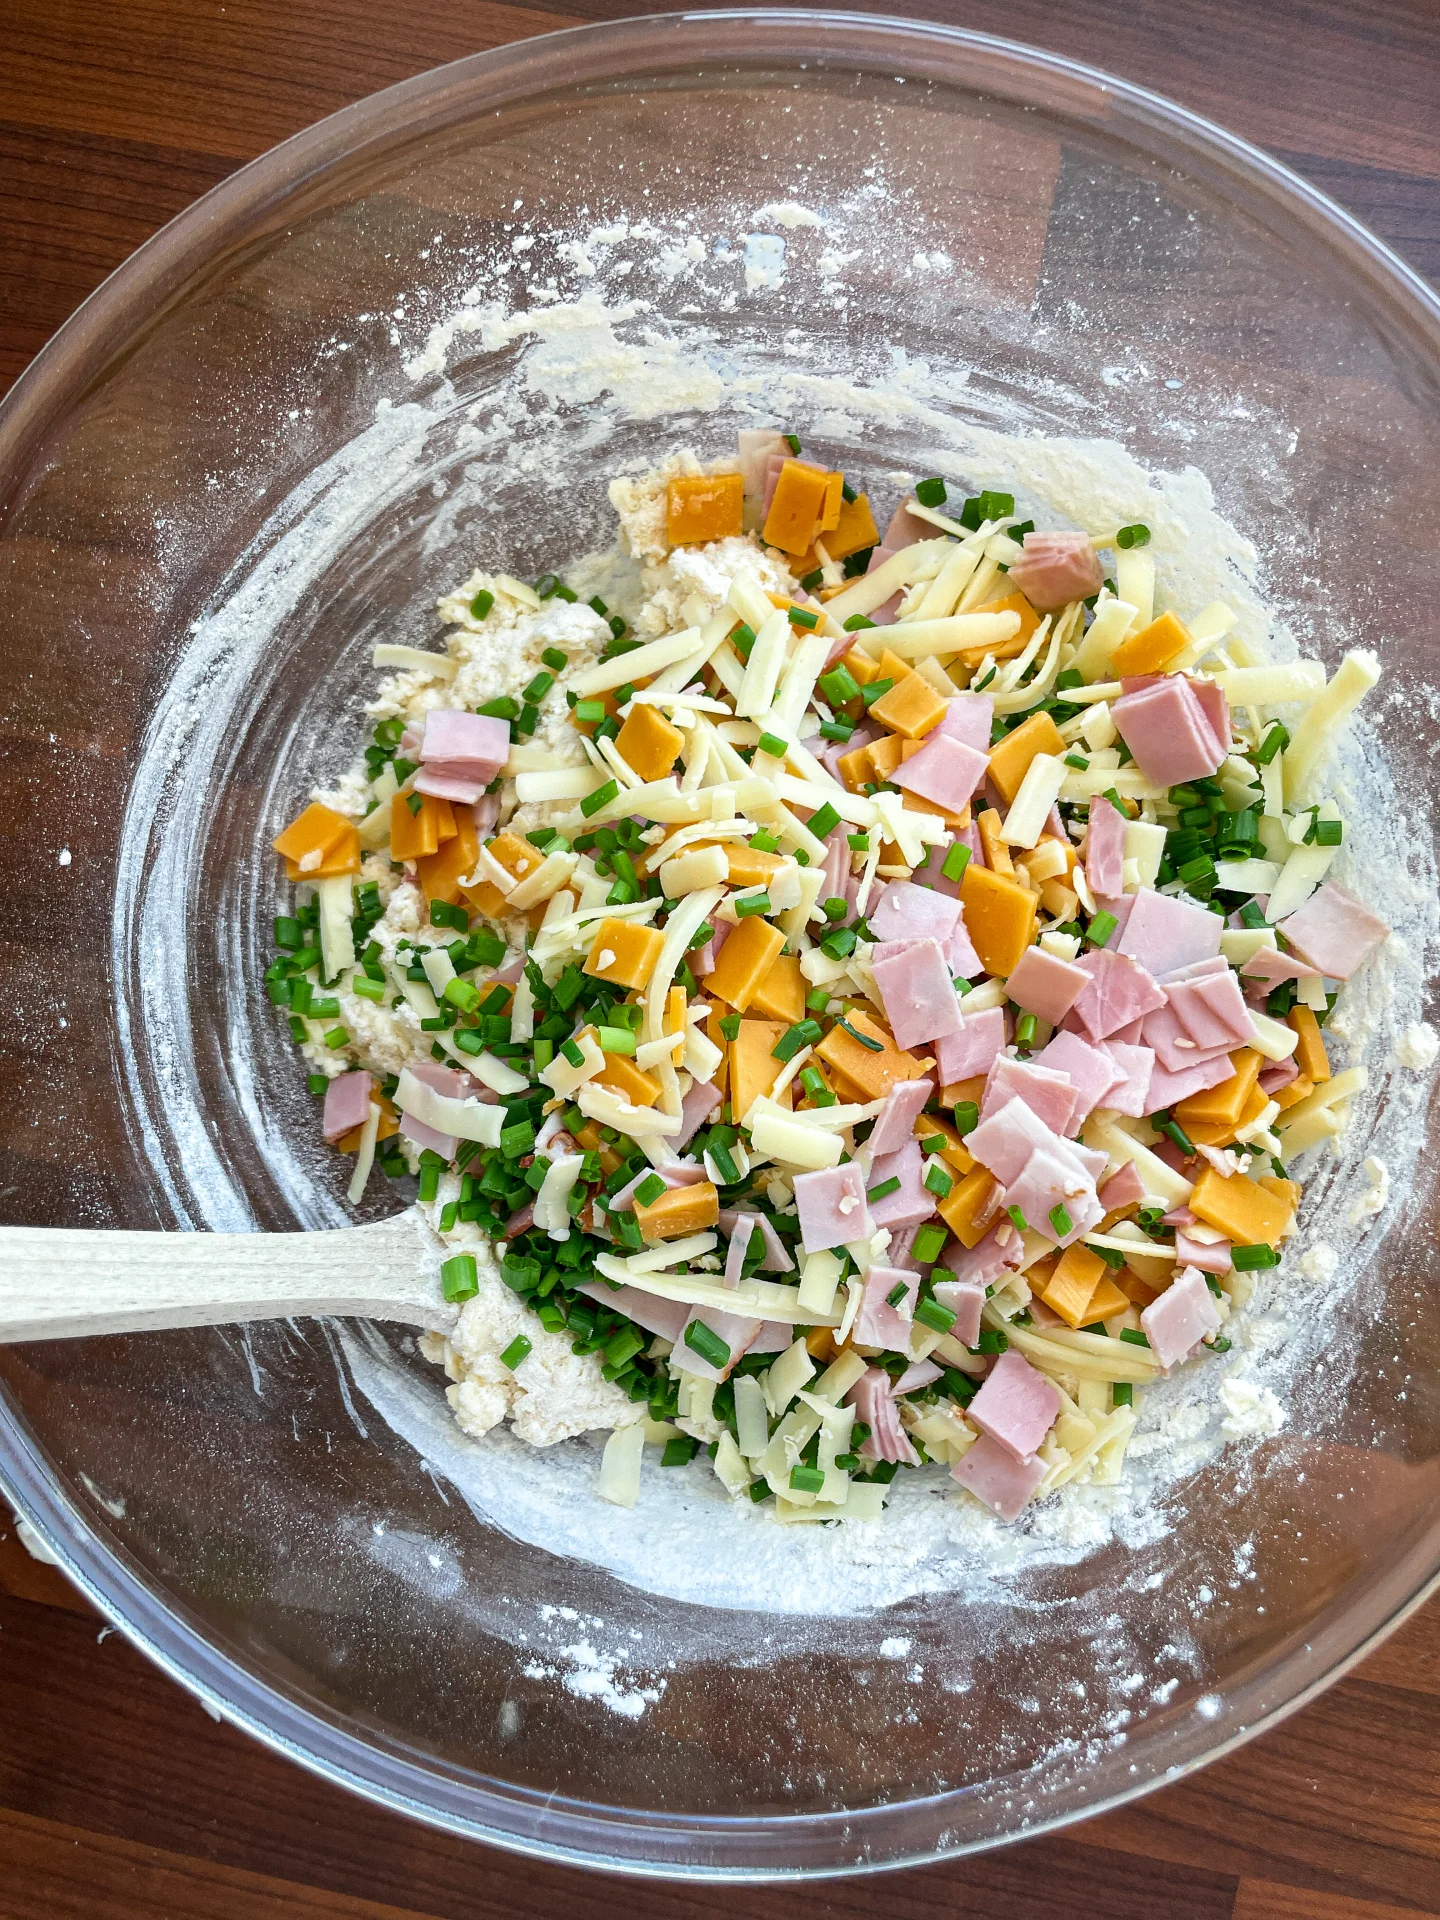
  3. In a small glass or bowl, whisk together the milk and egg, then pour into the dry mixture. Mix with a spoon just until the dough comes together. You should still see streaks of flour. Add the ham, cheese, and chives and gently fold in. Transfer the dough to a clean work surface and shape it into a rectangle (about 20x30cm) using a spatula. Avoid using your hands because keeping the butter cold is key to flaky scones. Sprinkle the remaining ham, cheese, and chives over the top.
  4. Use a round cutter to cut out as many scones as possible. Gather and gently reshape the scraps to cut more until all the dough is used. If you don’t have a cutter, simply slice the dough into triangles. This recipe yields about 10 scones.
  5. Arrange the scones on the baking sheet with a bit of space in between and bake for about 15 minutes until golden. Let cool slightly and serve fresh.
  • Passive Time: 15 min
  • Cook Time: 20 min

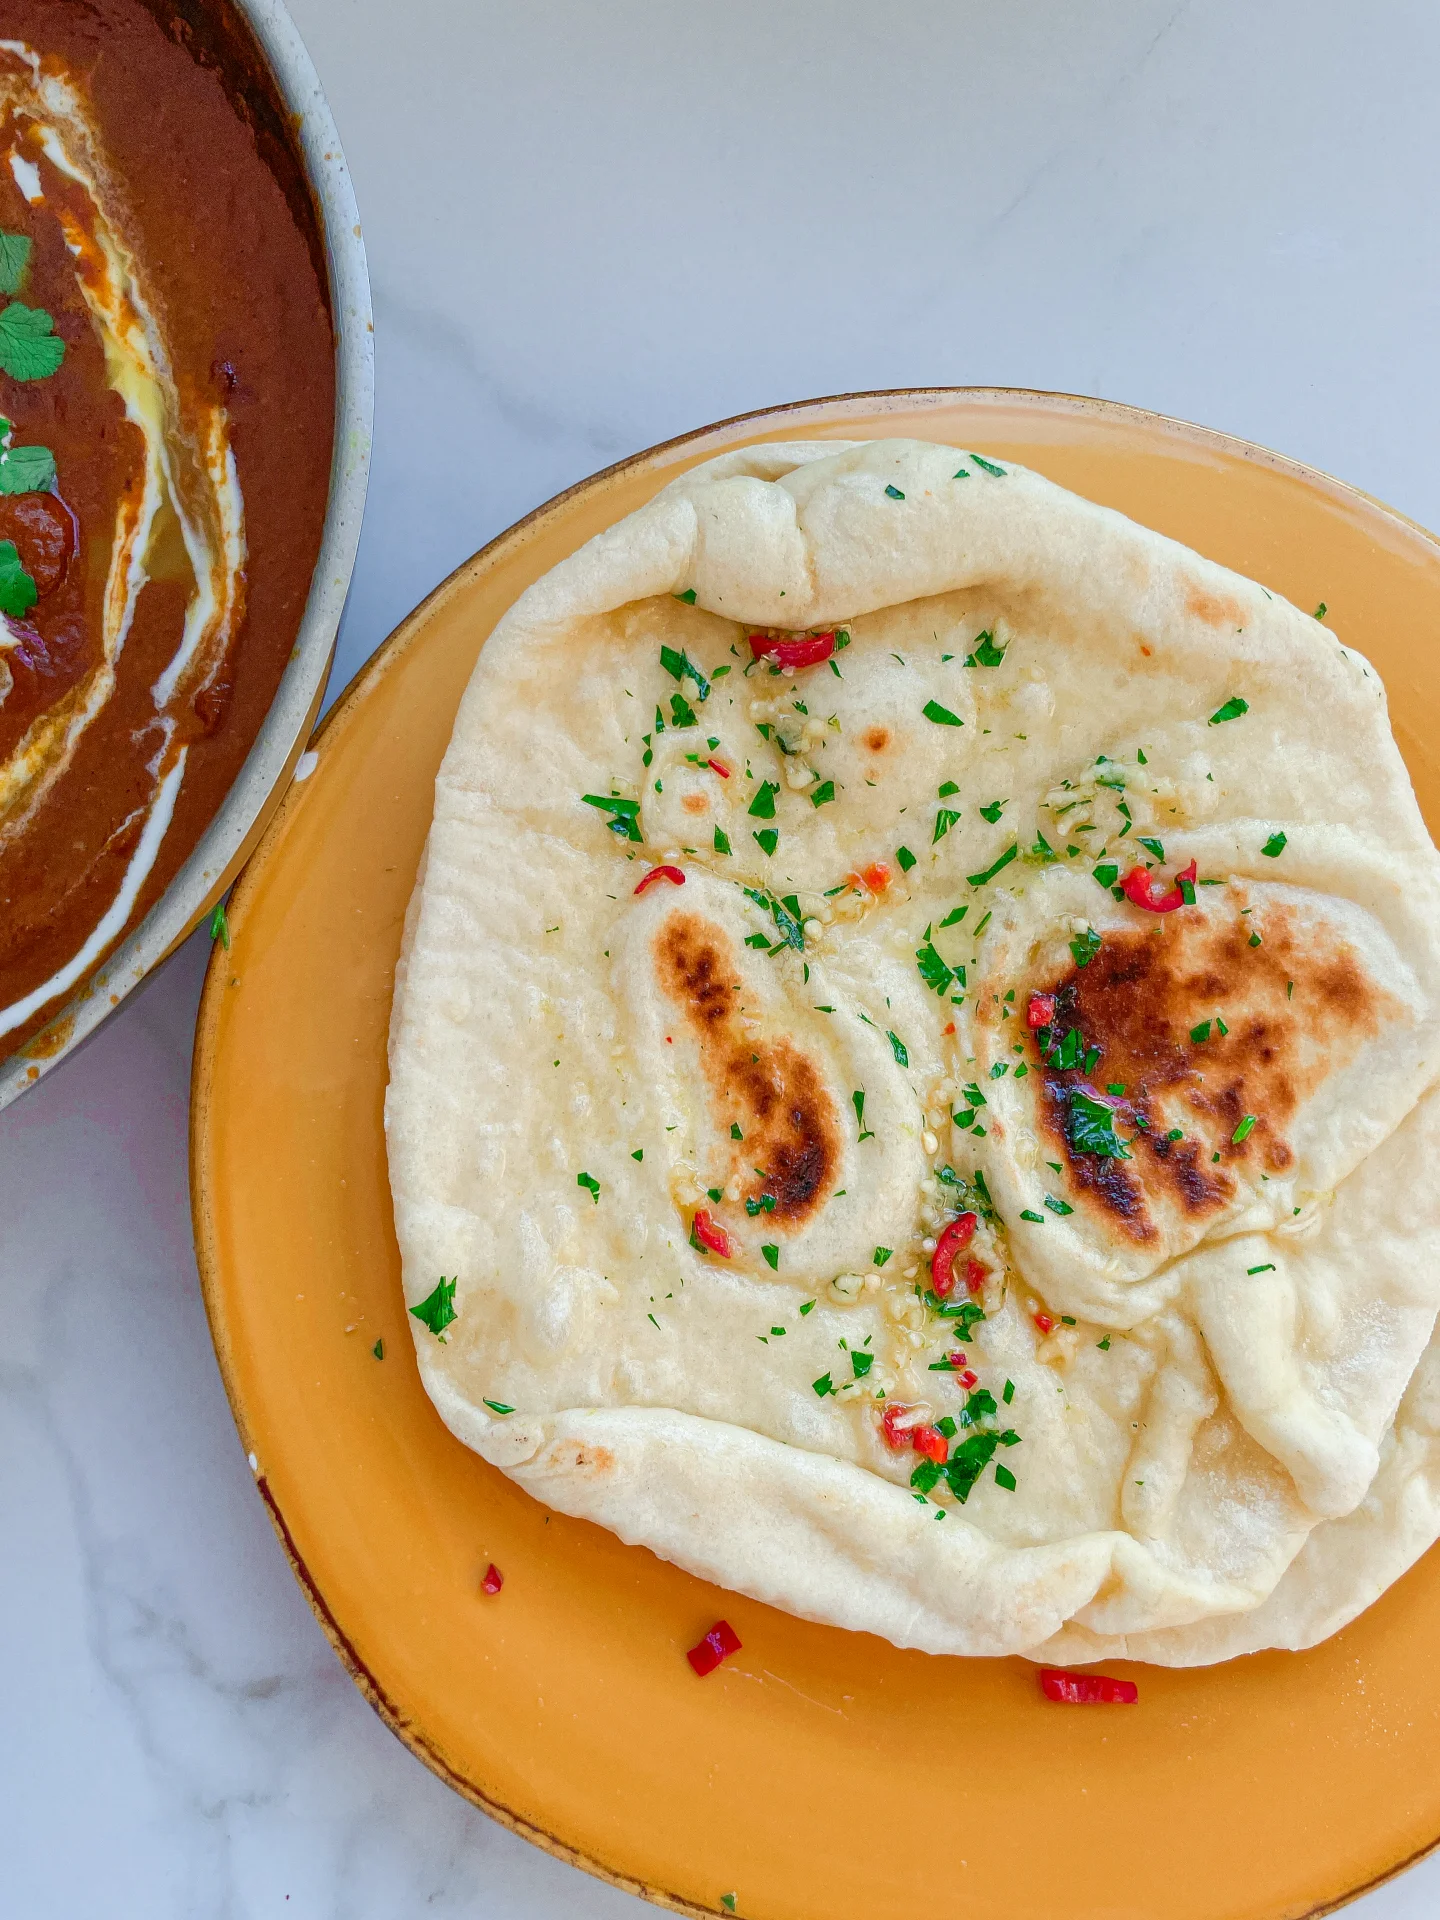
Chili Lime Garlic Naan

Chili Lime Garlic Naan

Chili Lime Garlic Naan

Chili Lime Garlic Naan Bread

March 26, 2025 by Kimberly

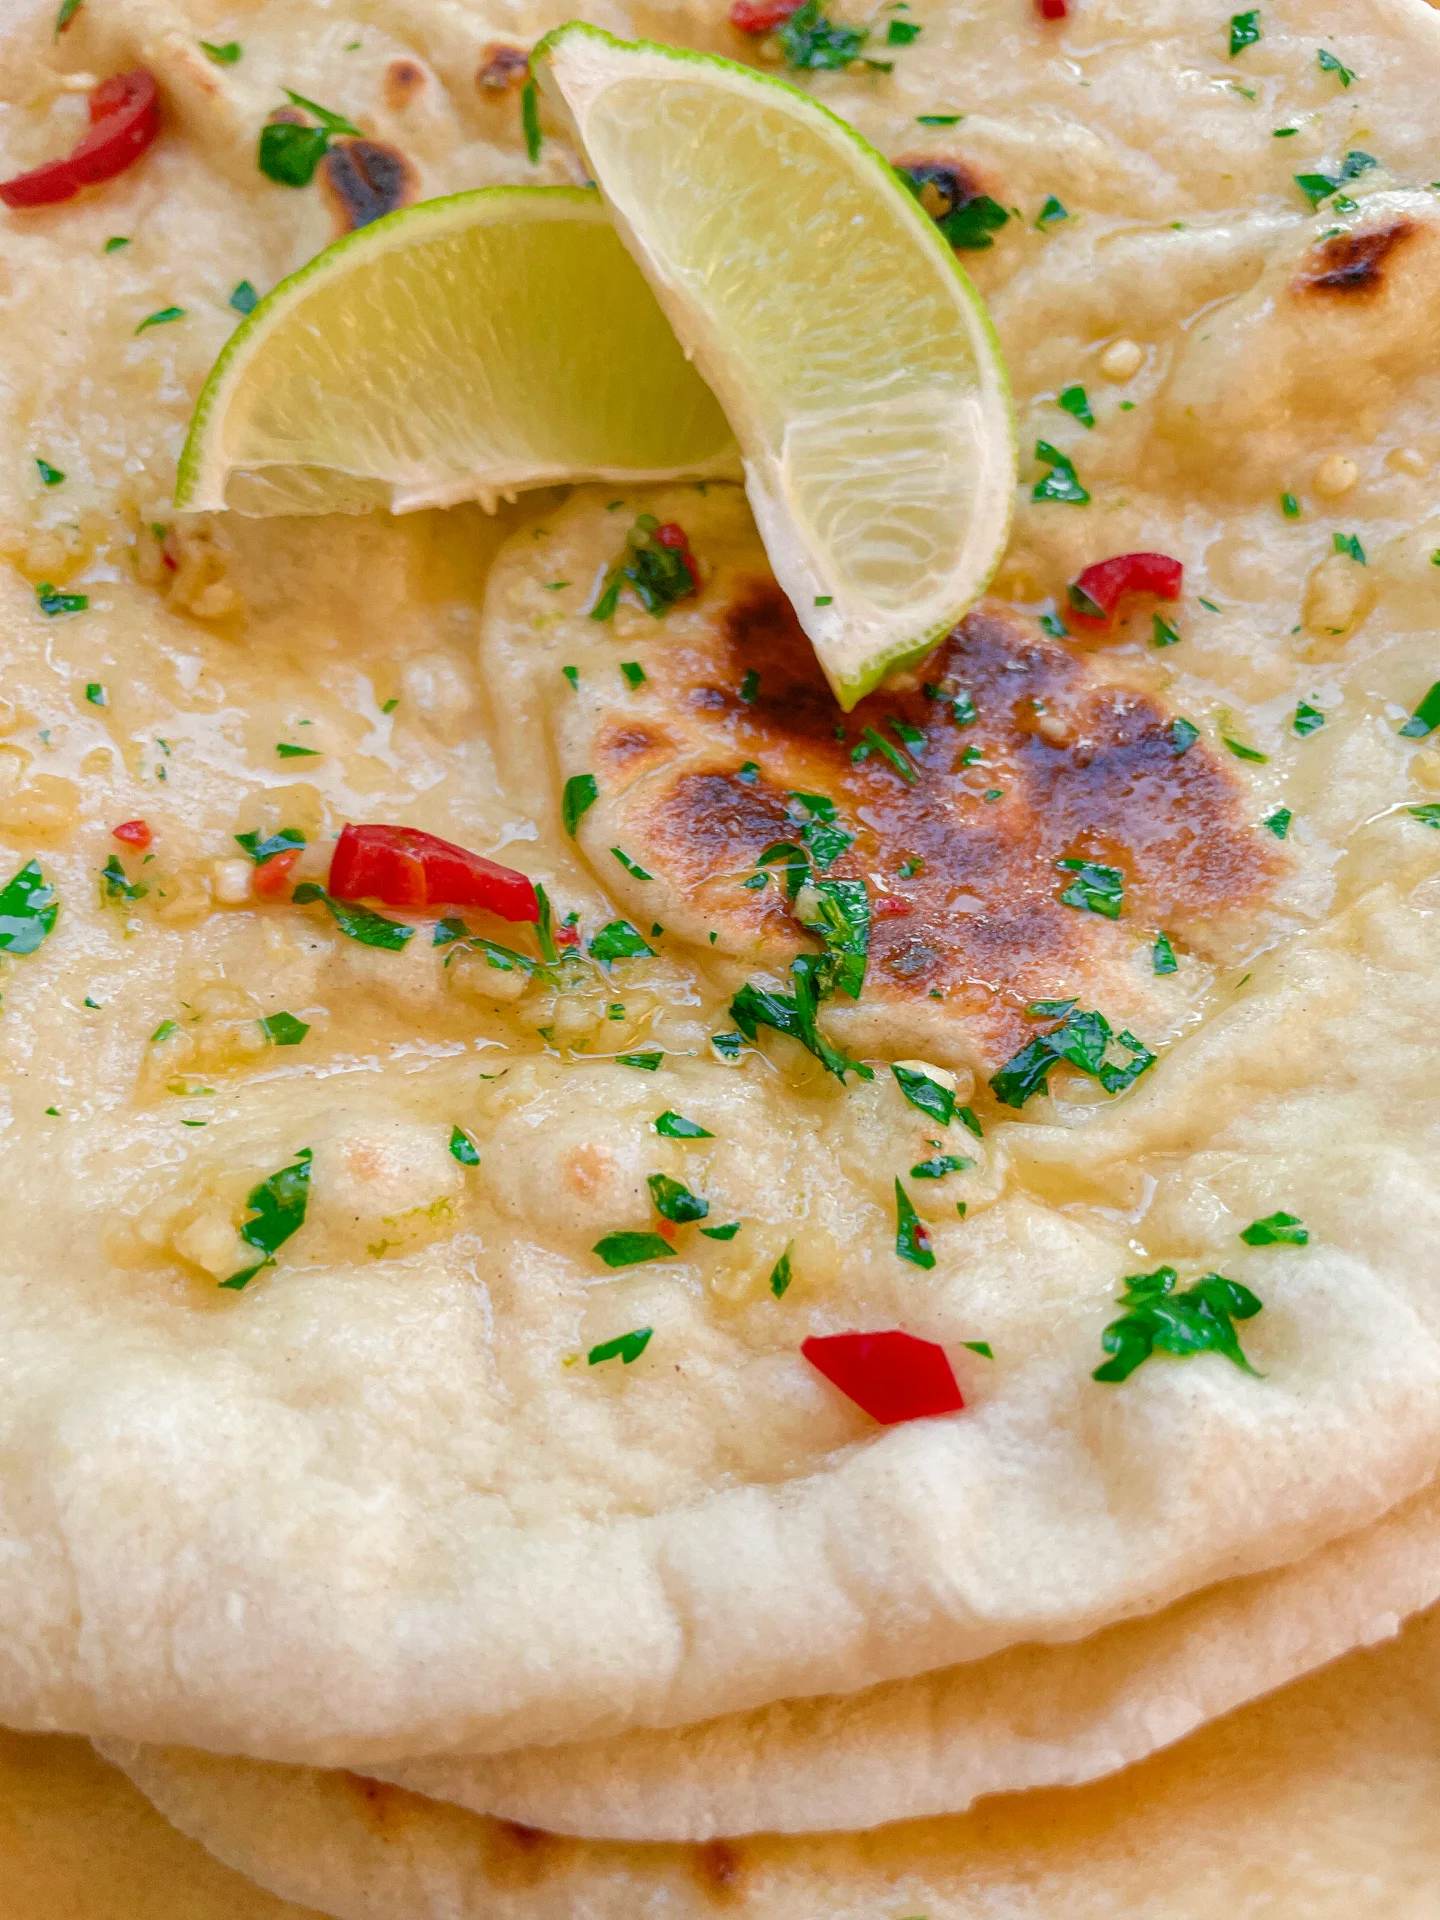
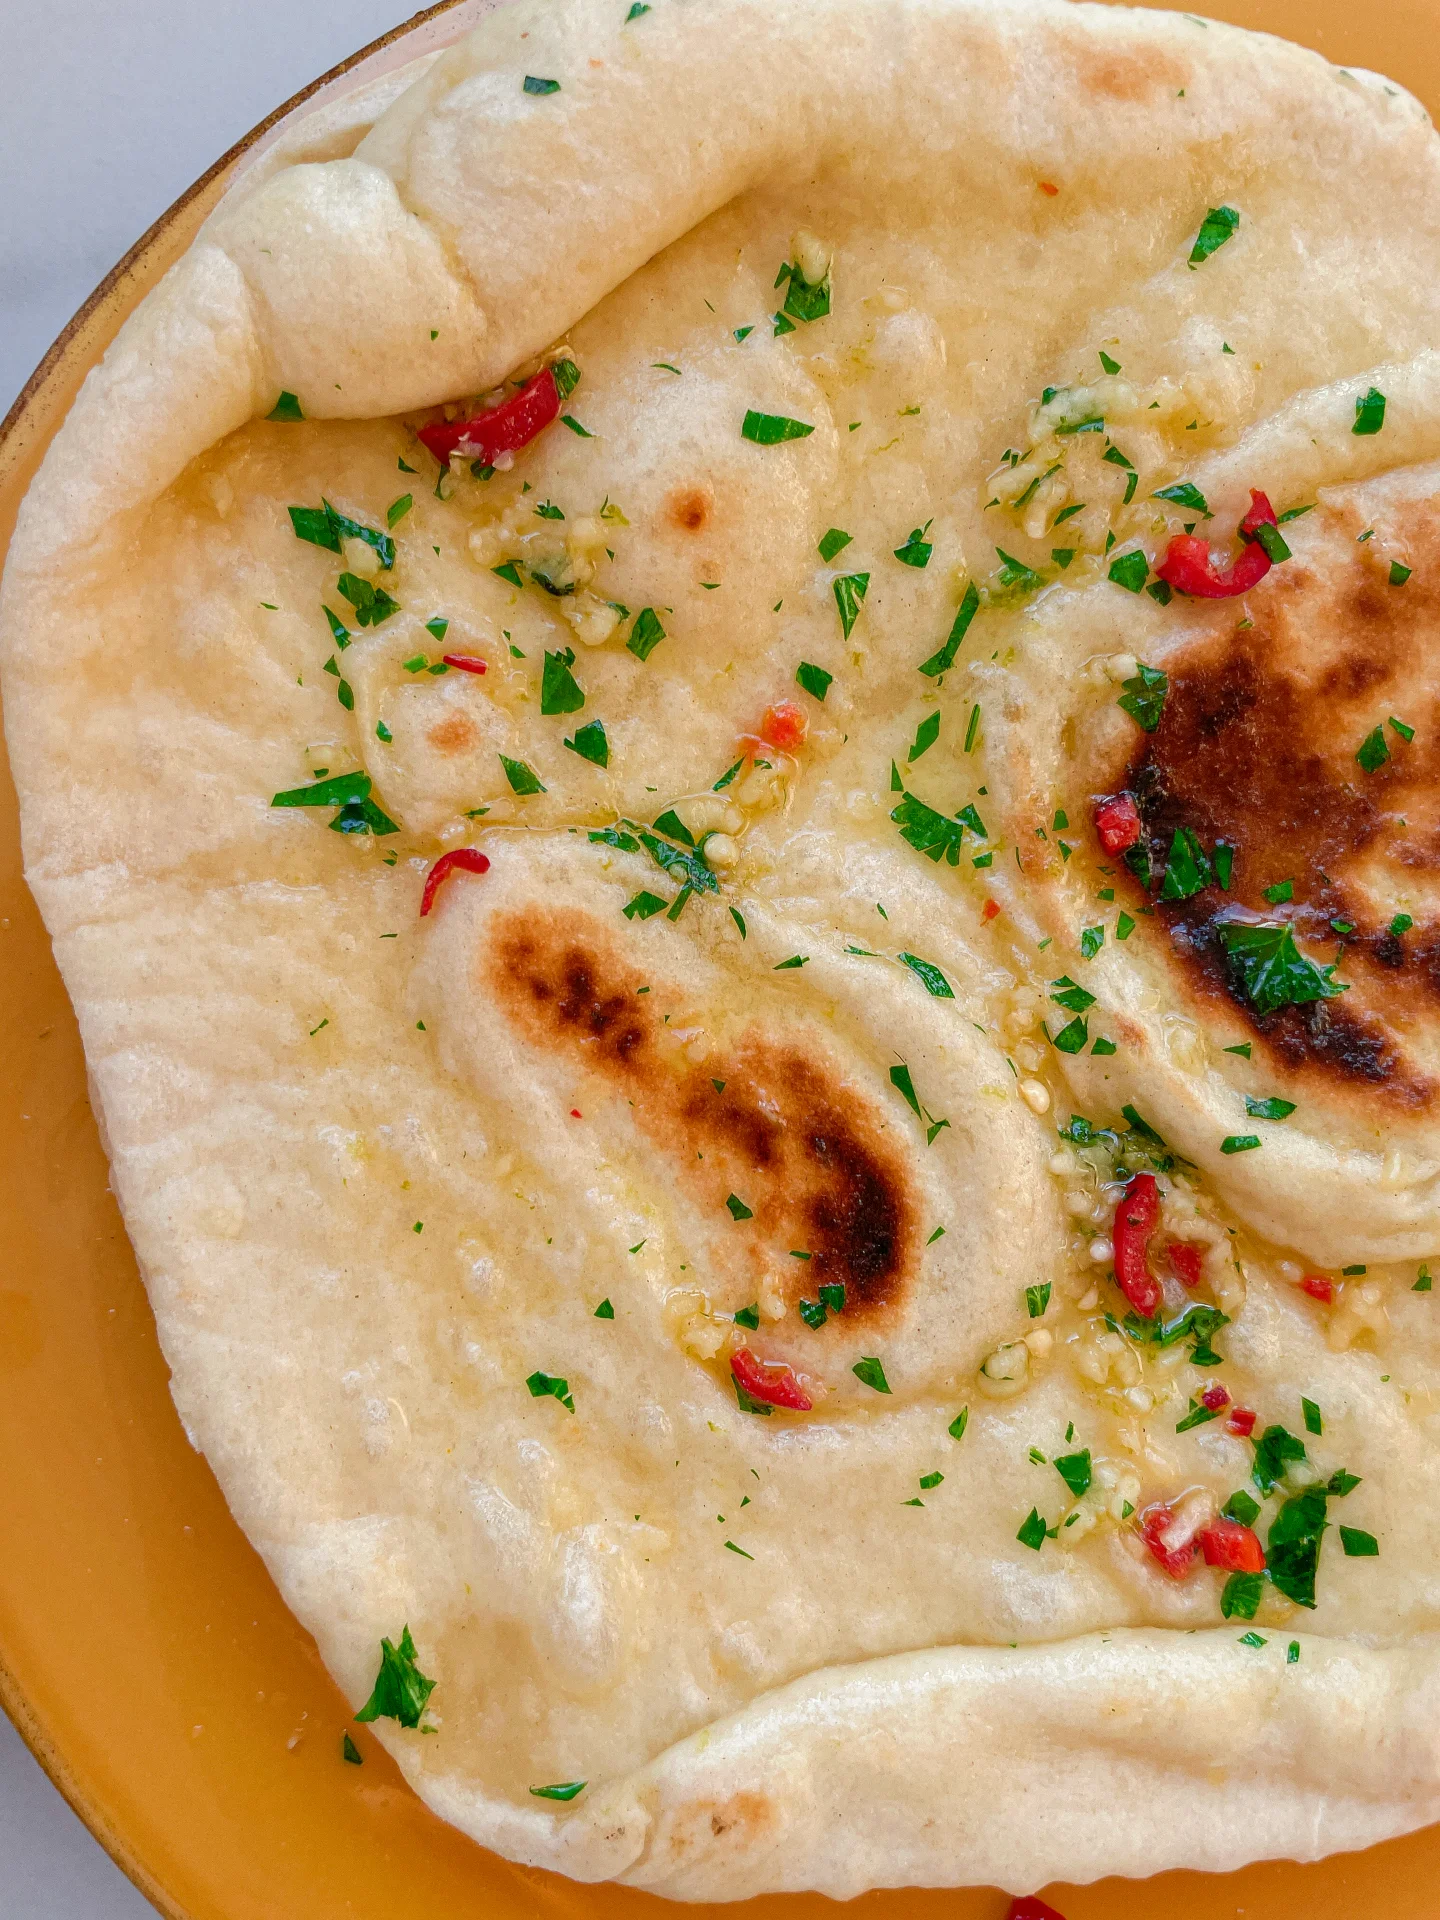
Golden, pillowy, buttery goodness with a little heat, a little zing, and a whole lot of garlic. The kind of flatbread that somehow steals the show, no matter what it’s served with.

90 MINUTES

EASY

VEGETARIAN

INDIAN

6 NAANS

FLUFFY

EVERYDAY

BREAD

ALL YEAR

INTRODUCTION

ABOUT THE RECIPE

Somehow, warm, buttery flatbread just makes life better. This one is extra special: soft, fluffy, brushed with melted butter, garlic, chili, fresh herbs, and a hit of lime zest for that unexpected, almost-too-good touch. It’s got that perfect balance of richness, freshness, and just a little spice, making it dangerously easy to eat. Whether you’re scooping up curry, using it as a base for something wild, or just eating it straight up, this one’s a keeper.

How to serve
This one is best served straight from the pan. Warm, pillowy, and soaked in that garlicky, buttery goodness. It’s the perfect sidekick to just about anything: curries, dips, grilled meats, or even a fancy little cheese plate. But let’s be honest, it’s also pretty great just by itself. Tear it, fold it, dunk it. No rules here.

How to store
If, by some miracle, you have leftovers, wrap them in foil and store at room temp for a day or in the fridge for up to two days. Reheat in a dry pan or warm oven for that fresh-off-the-stove feel.

Hi, I'm Kimberly!

Hi, I'm Kimberly.

A passionate food lover who believes in the magic of homemade deliciousness that spreads love and warmth. Join me on this culinary adventure as I prepare wonderful dishes and let’s spread some happiness together!

Kimberly the Zett Signature

If you want to get to know me better, click here!


Chili Lime Garlic Naan
„Let’s make a piece of happiness“
Print
clock clock iconcutlery cutlery iconflag flag iconfolder folder iconinstagram instagram iconpinterest pinterest iconfacebook facebook iconprint print iconsquares squares iconheart heart iconheart solid heart solid icon
Chili Lime Garlic Naan

Chili Lime Garlic Naan


  • Author: Kimberly
  • Total Time: 90 min

Description

RECOMMENDED EQUIPMENT

  • stand mixer
  • small bowl
  • large bowl
  • plastic wrap

Ingredients

Units Scale

DOUGH

  • 300 grams pizza flour (or any flour that contains at least 12g protein per 100g)
  • 1 tsp dry active yeast
  • 1/2 tsp white sugar
  • 125 milliliters lukewarm water
  • 1 tsp salt
  • 2 tbsp yogurt
  • 1 tbsp avocado oil

GLAZE

  • 12 tbsp butter, melted
  • fresh chili
  • zest of 1 lime
  • fresh parsley
  • 2 garlic cloves

Instructions

  1. Add the dry yeast to lukewarm water, stir in the sugar, and let it sit for a few minutes until it becomes foamy and bubbles form.
  2. In the stand mixer, combine the flour with salt, yogurt, and avocado. Once the yeast mixture is ready, pour it in and knead everything into a smooth dough. It should be slightly sticky but not cling to your fingers or the bowl.
  3. Transfer the dough to a lightly floured bowl, dust the top with a little flour, cover tightly with plastic wrap, and let it rest in a warm place for about 1 hour or until it doubles in size.
  4. While the dough is rising, finely chop a fresh chili and the parsley leaves. Mix them in a bowl with the zest of one lime and two pressed garlic cloves. Set this mixture aside—melted butter will be added later.
  5. Once the dough has risen, divide it into six equal pieces, shape them into balls, and let them rest under a damp towel for another 15 minutes.
  6. In the meantime, heat a cast-iron skillet until it’s very hot.
  7. Roll out each dough ball into a thin, flat round. Cook in the dry, hot skillet for about 2 minutes per side until bubbles form and the bread is fully cooked.
  8. Stir the melted butter into the prepared chili-lime-garlic mixture.
  9. Remove the naan from the pan, brush each one with the flavored butter using a pastry brush, and stack them on top of each other.
  10. Either keep the naan warm in the oven or cover them with a towel until ready to serve.
  • Passive Time: 60 min
  • Cook Time: 30 min

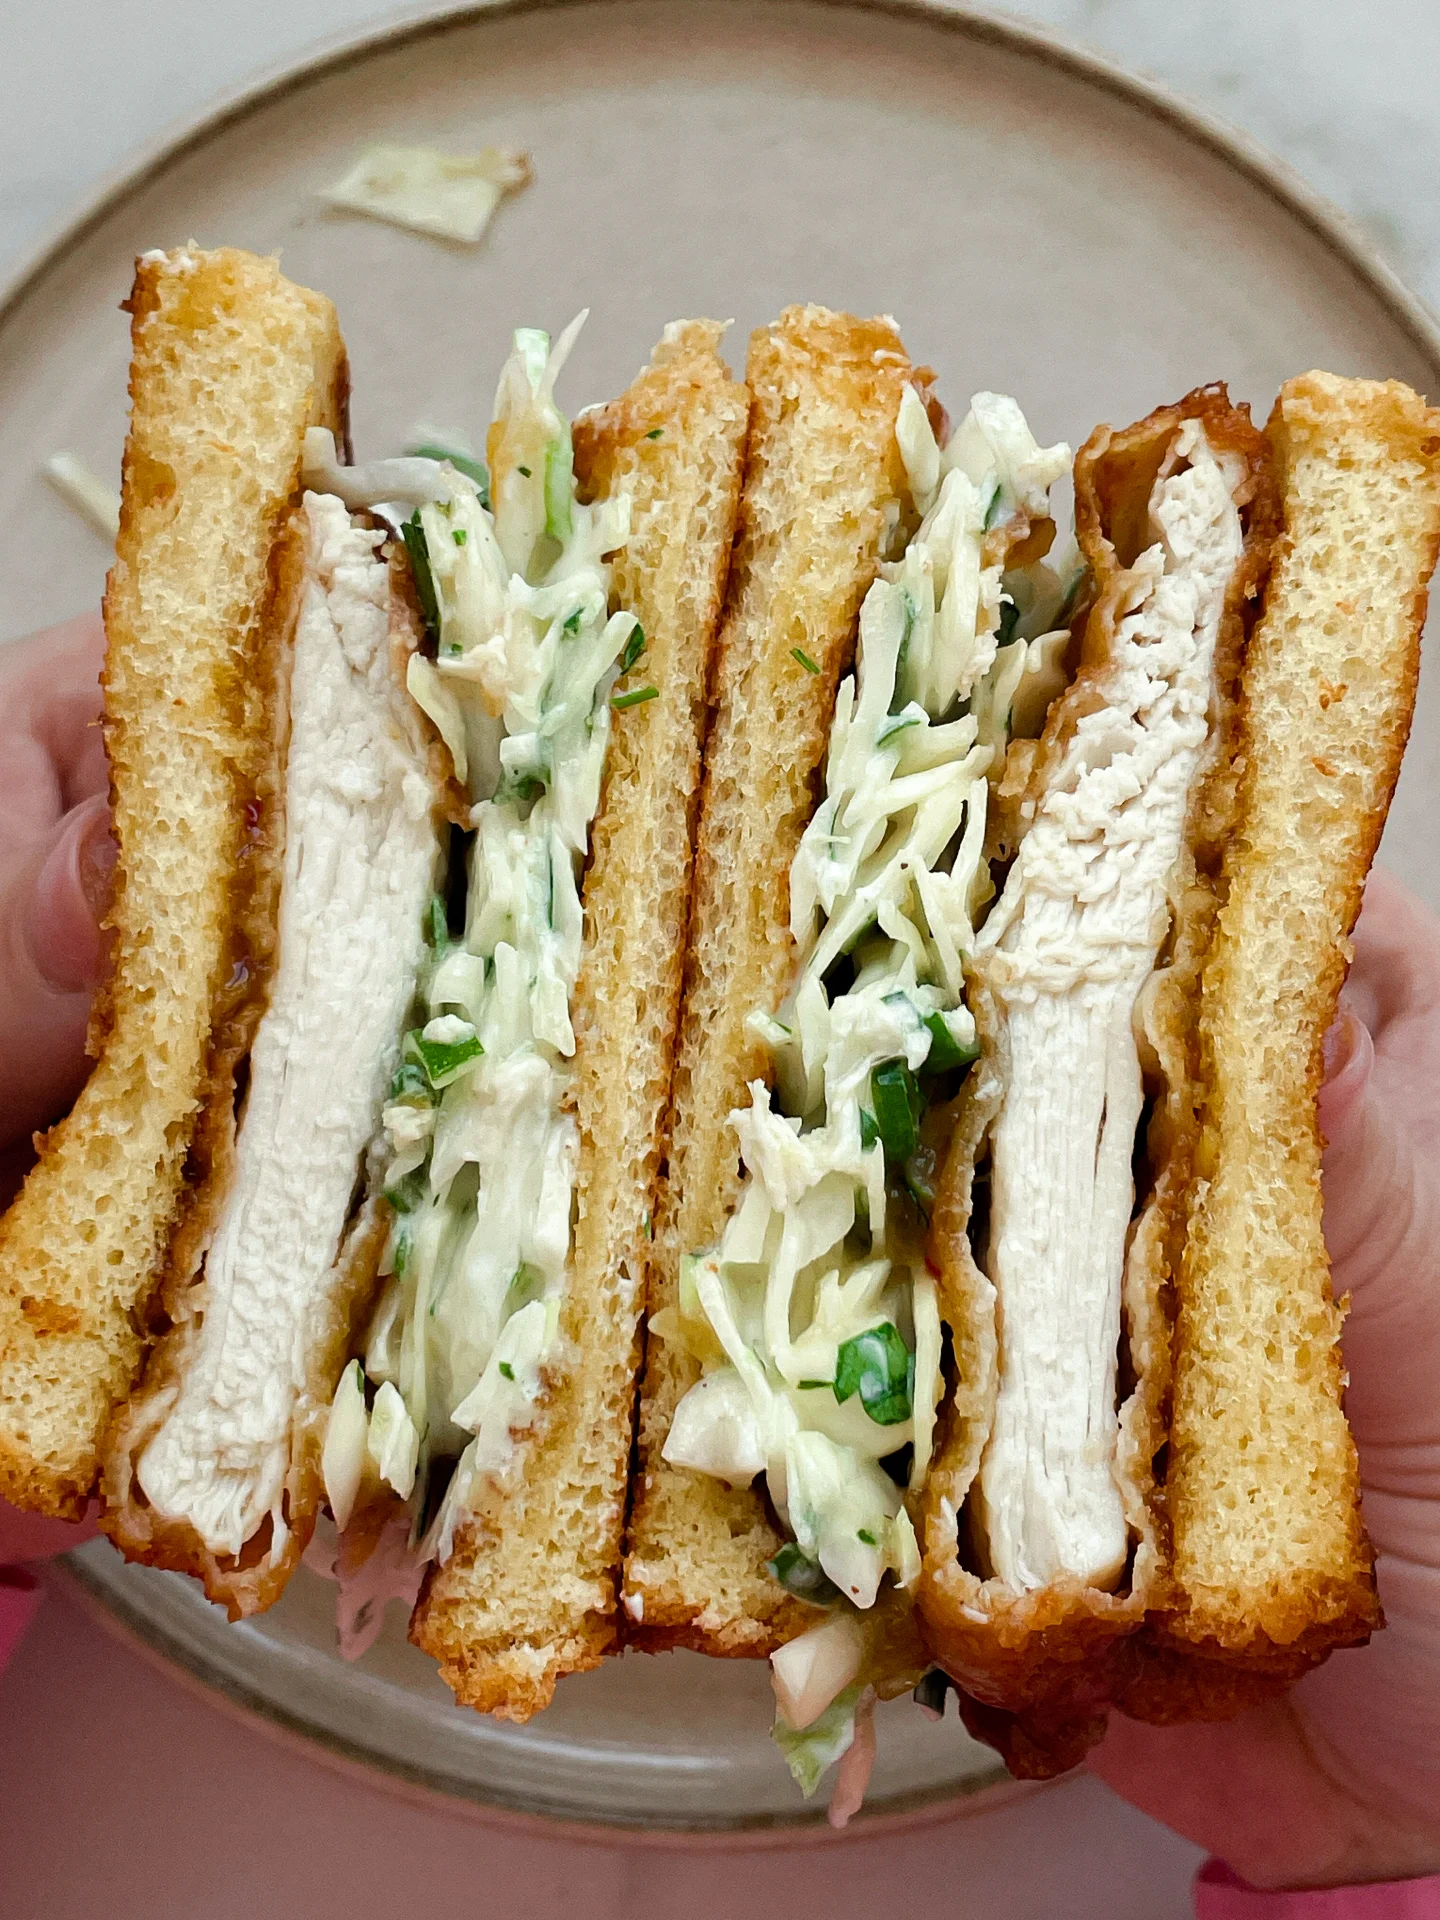
Crispy Sweet & Sour Chicken Brioche Sandwich with Yogurt Lime Slaw

Crispy Sweet & Sour Chicken Brioche Sandwich with Yogurt Lime Slaw

Crispy Sweet & Sour Chicken Brioche Sandwich with Yogurt Lime Slaw

Crispy Sweet & Sour Chicken Brioche Sandwich with Yogurt Lime Slaw

March 16, 2025 by Kimberly

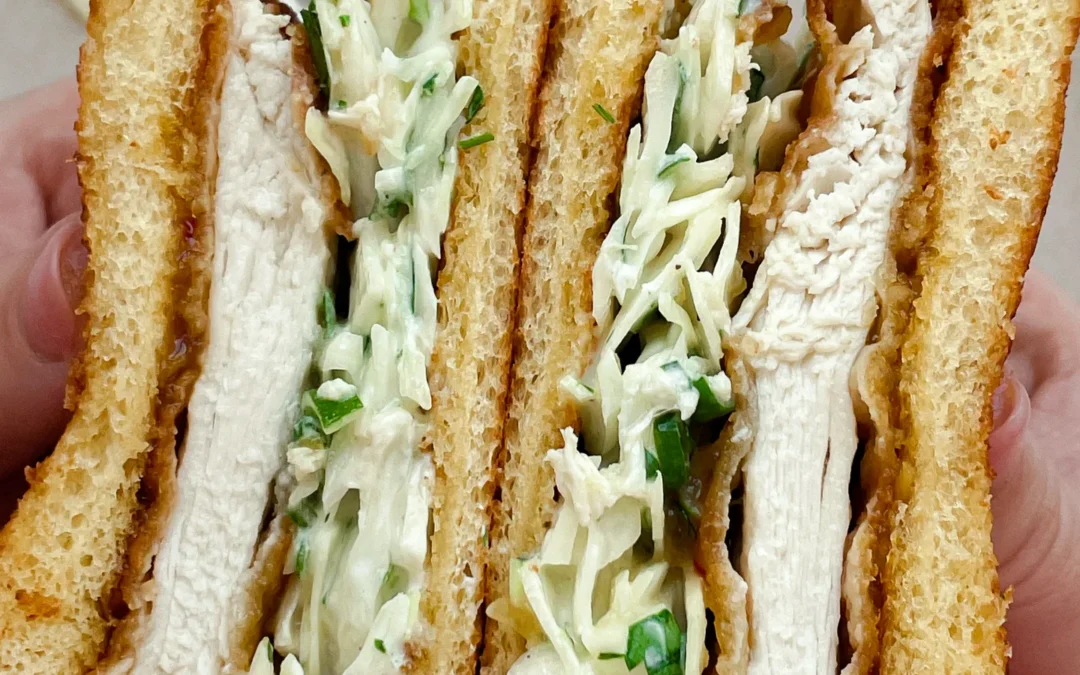
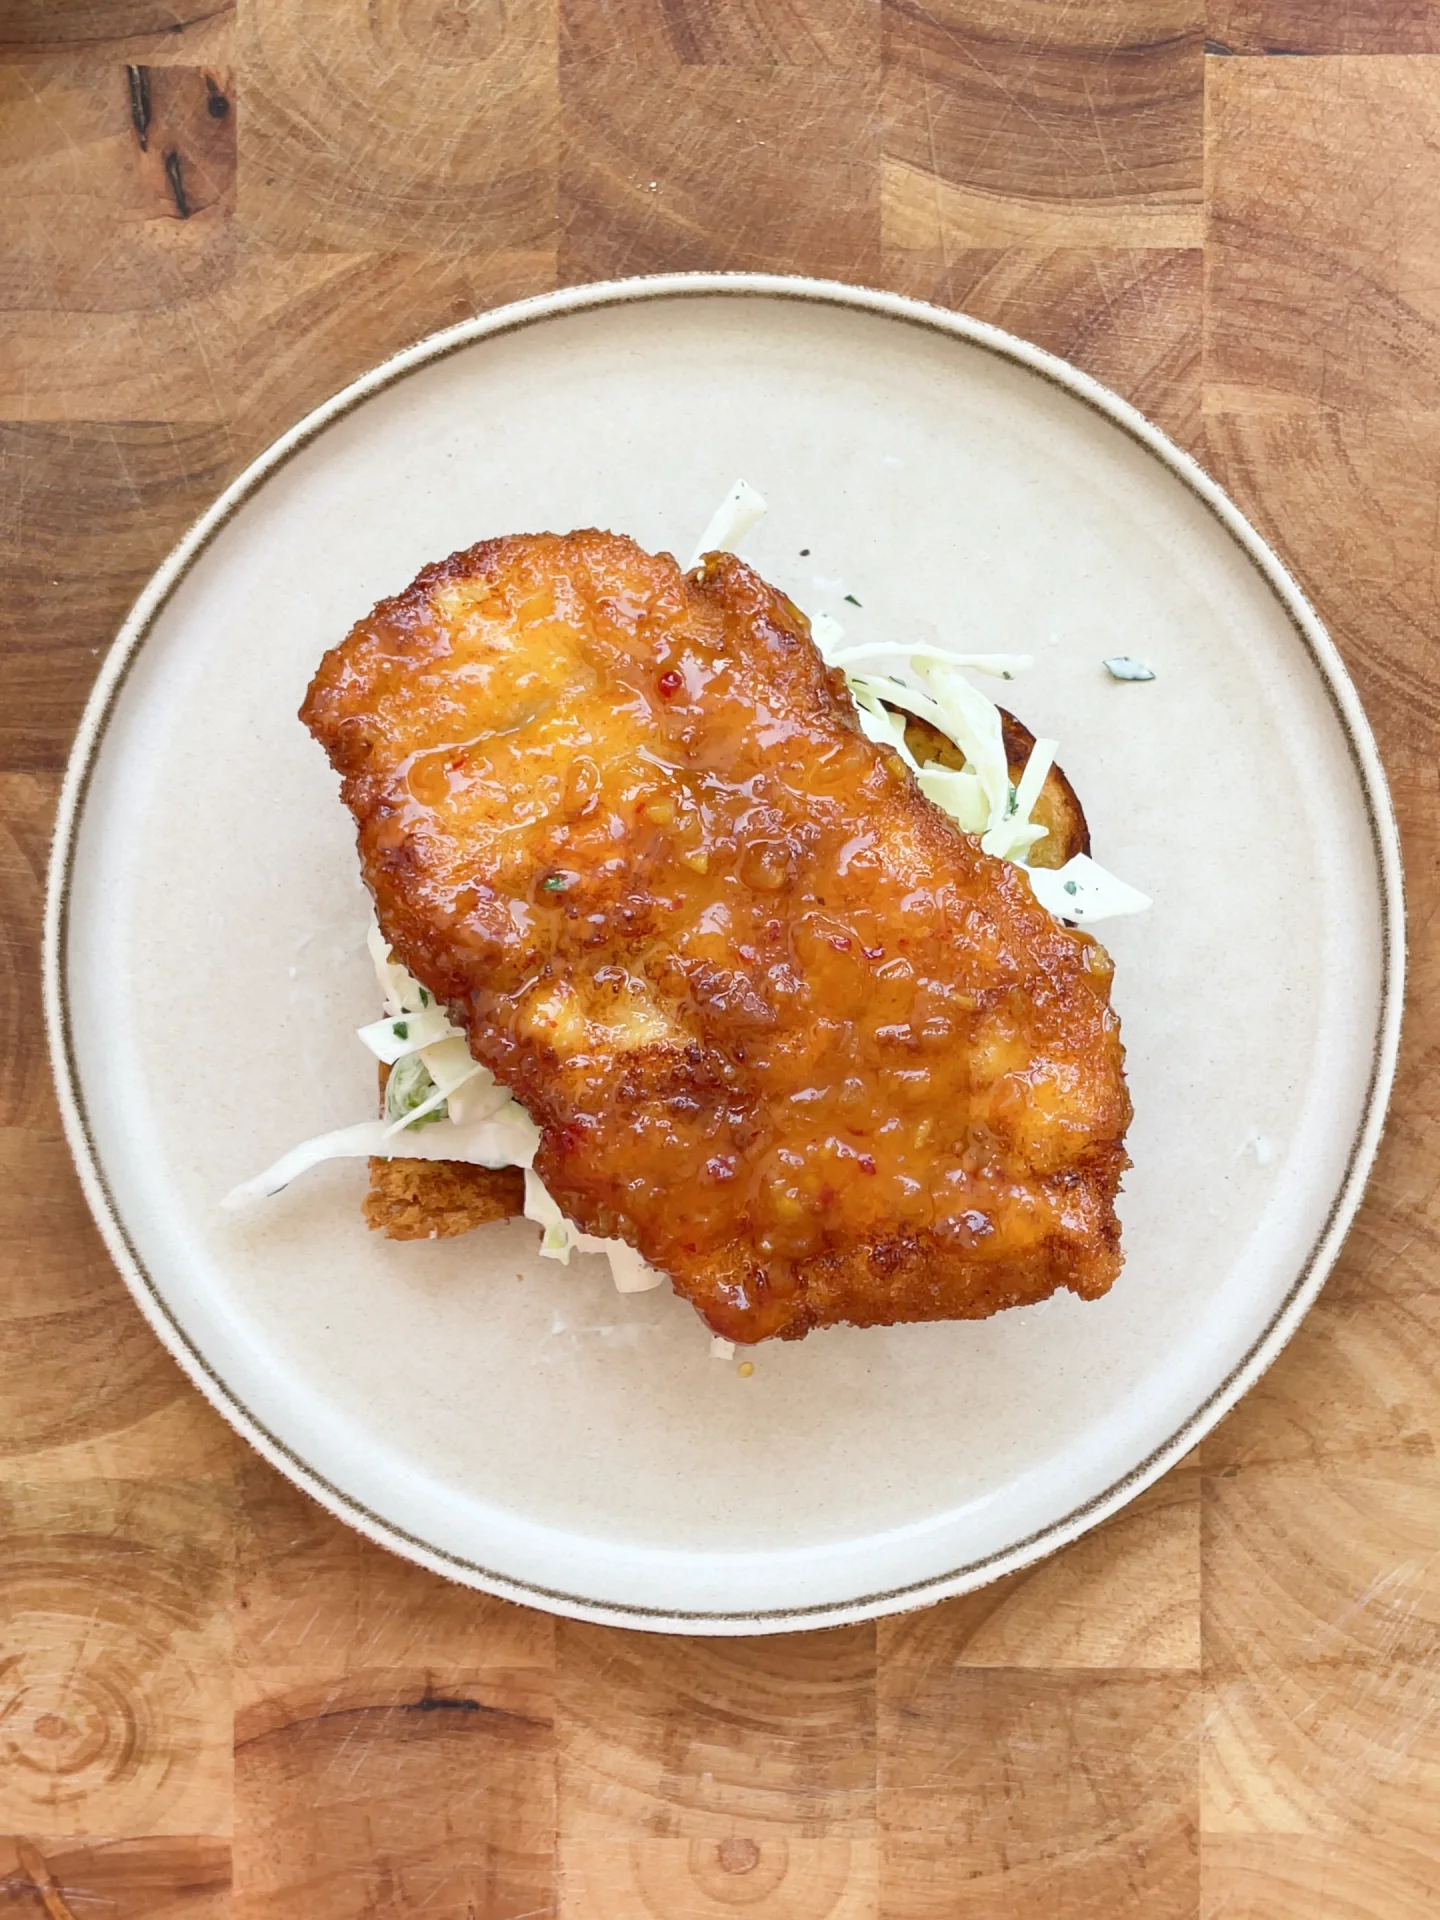
Golden, crispy chicken coated in a sticky sweet & sour glaze, stacked on creamy, crunchy slaw, all between two buttery brioche slices. This sandwich is a power move, crunchy, juicy, tangy, and just the right amount of messy.
30 MINUTES

EASY

OMNIVORE

INT.

2 PORTIONS

CRISPY

EVERYDAY

LUNCH

ALL YEAR

INTRODUCTION

ABOUT THE RECIPE

If you think you’ve had a good chicken sandwich before, think again. This one brings it all: crispy, golden-fried chicken dunked in a sticky, sweet & sour glaze, creamy yogurt slaw for crunch, and buttery brioche slices crisped to perfection. It’s rich, tangy, crunchy, and honestly, slightly addictive. Perfect for those days when a basic sandwich just won’t cut it. This is bold, messy, and worth every bite. Exactly how a sandwich should be.

How to serve
This sandwich is a moment, so let it shine. Serve it hot, straight from the pan, while the chicken is crispy and the glaze is still warm. Pair it with fries, a simple side salad, or even just some extra pickles for a sharp contrast. Feeling fancy? A side of homemade sweet potato fries with a little lime zest would be elite. And if you really want to take things up a notch, a cold beer or a passionfruit lemonade? Unreal.

How to store
This is best eaten fresh, but if you must store it, keep the components separate. Store the fried chicken in an airtight container in the fridge for up to two days, and reheat in the oven for crispiness. The slaw can be stored for a day but will soften over time.

Hi, I'm Kimberly!

Hi, I'm Kimberly.

A passionate food lover who believes in the magic of homemade deliciousness that spreads love and warmth. Join me on this culinary adventure as I prepare wonderful dishes and let’s spread some happiness together!

Kimberly the Zett Signature

If you want to get to know me better, click here!


Crispy Sweet & Sour Chicken Brioche Sandwich with Yogurt Lime Slaw
„Let’s make a piece of happiness“
Print
clock clock iconcutlery cutlery iconflag flag iconfolder folder iconinstagram instagram iconpinterest pinterest iconfacebook facebook iconprint print iconsquares squares iconheart heart iconheart solid heart solid icon
Crispy Sweet & Sour Chicken Brioche Sandwich with Yogurt Lime Slaw

Crispy Sweet & Sour Chicken Brioche Sandwich with Yogurt Lime Slaw


  • Author: Kimberly
  • Total Time: 30 min
  • Yield: 2 1x

Description

RECOMMENDED EQUIPMENT

  • large pan
  • sharp knife
  • cutting board
  • small pot
  • plastic wrap
  • meat mallet
  • three shallow bowls

Ingredients

Units Scale

CHICKEN

  • 200 grams chicken breast
  • 1 tbsp all-purpose flour
  • 1 egg
  • 4 tbsp panko bread crumbs
  • salt & pepper
  • avocado oil, for frying

SWEET & SOUR GLAZE

  • 40 grams passionfruit purée
  • juice from half a lemon
  • 2 garlic cloves
  • 1 tbsp olive oil
  • 1 small yellow onion
  • 1 tsp ginger
  • 45 grams white sugar
  • 1/2 fresh chili
  • 1/4 tsp salt
  • 1/8 tsp sesame oil

YOGURT CILANTRO SLAW

  • 75 grams white cabbage
  • 1 scallion
  • a few leaves fresh parsley
  • juice from half a lemon
  • salt & pepper

OTHER INGREDIENTS

  • 4 slices brioche bread
  • 1 tbsp butter

Instructions

  1. Prepare the passionfruit chutney first. Add passionfruit purée, lime juice, two pressed garlic cloves, olive oil, half a finely chopped onion, finely chopped ginger, white sugar, half a chopped fresh chili, salt, and sesame oil to a small pot. Stir well and let it simmer over medium heat for about 10-15 minutes, until thickened.
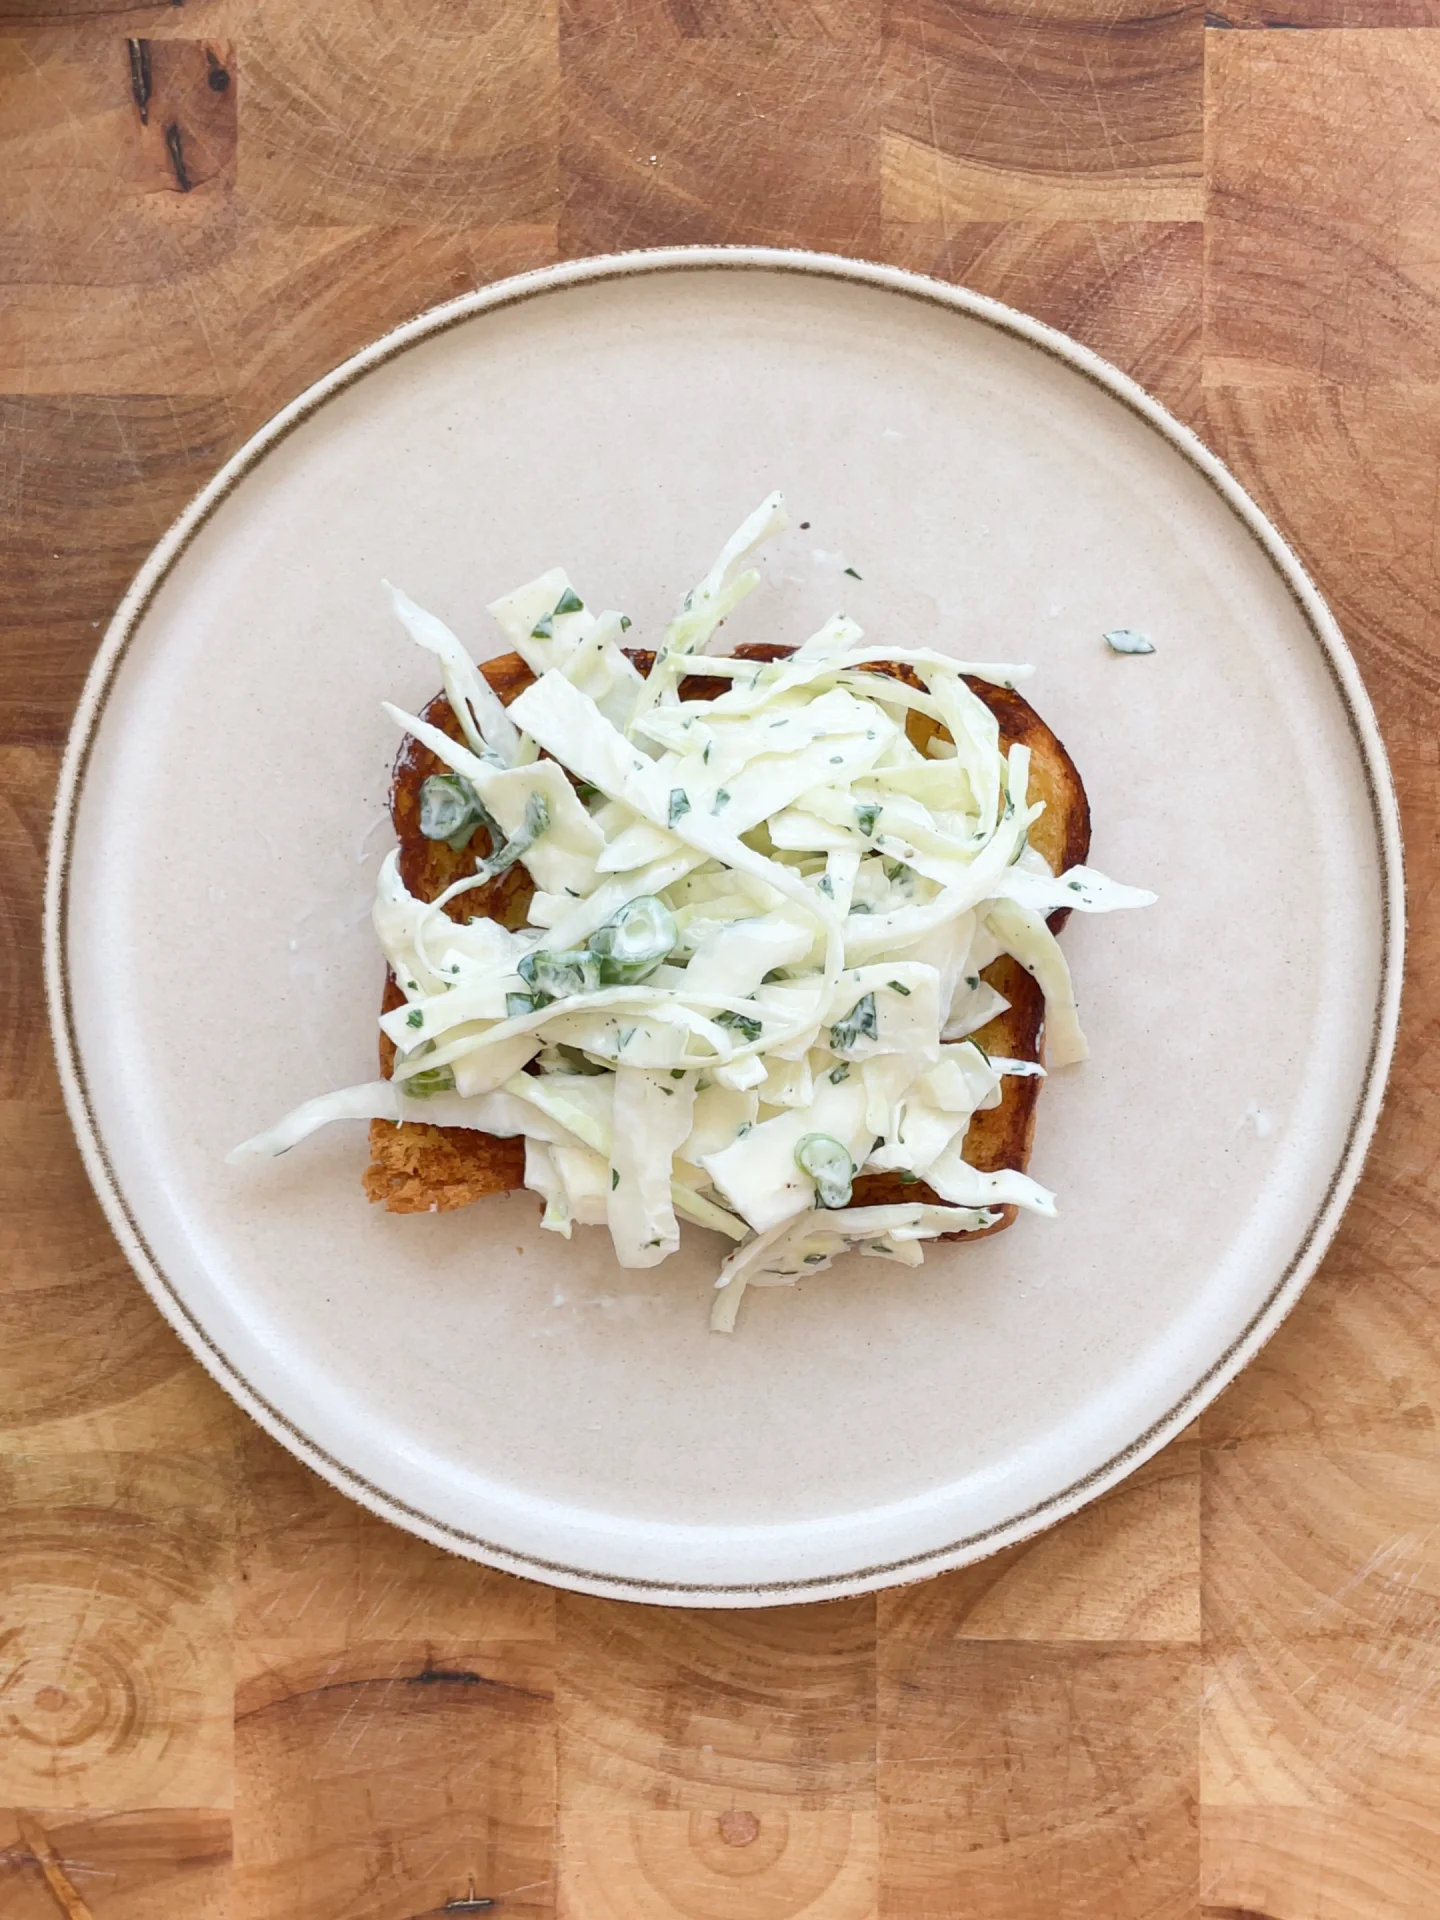
  2. While the chutney simmers, make the slaw. Thinly slice the white cabbage, slice the scallions, and finely chop the parsley. Add everything to a large salad bowl and mix with yogurt, lime juice, salt, and pepper.
  3. Prepare the coating for the chicken. Set up three shallow bowls: Fill one with flour, crack an egg into the second and whisk with some ground pepper, and mix breadcrumbs, panko, and salt in the third. Place the chicken breasts between two layers of plastic wrap and pound them thin. Dredge each piece in flour, dip in the egg, and coat well with the panko mixture, pressing firmly so the breading sticks. Set aside on a plate.
  4. Before frying the chicken, toast the brioche. Spread a thin layer of butter on one side of each brioche slice and toast in a pan until golden and crispy on both sides. Remove from the pan and set aside.
  5. Heat about a finger’s depth of oil in the same pan to 180°C / 356°F. Fry the breaded chicken fillets for 3-4 minutes per side until golden brown and crispy. Transfer to a wire rack to drain excess oil.
  6. Assemble the sandwiches. Spread the prepared slaw onto two slices of toasted brioche.
  7. Pour the passionfruit chutney into a shallow bowl. Dip the crispy fried chicken fillets in the chutney, coating both sides completely, then place them on top of the slaw. Finish with the second slice of brioche. Cut the sandwiches in half and enjoy!
  • Cook Time: 30 min

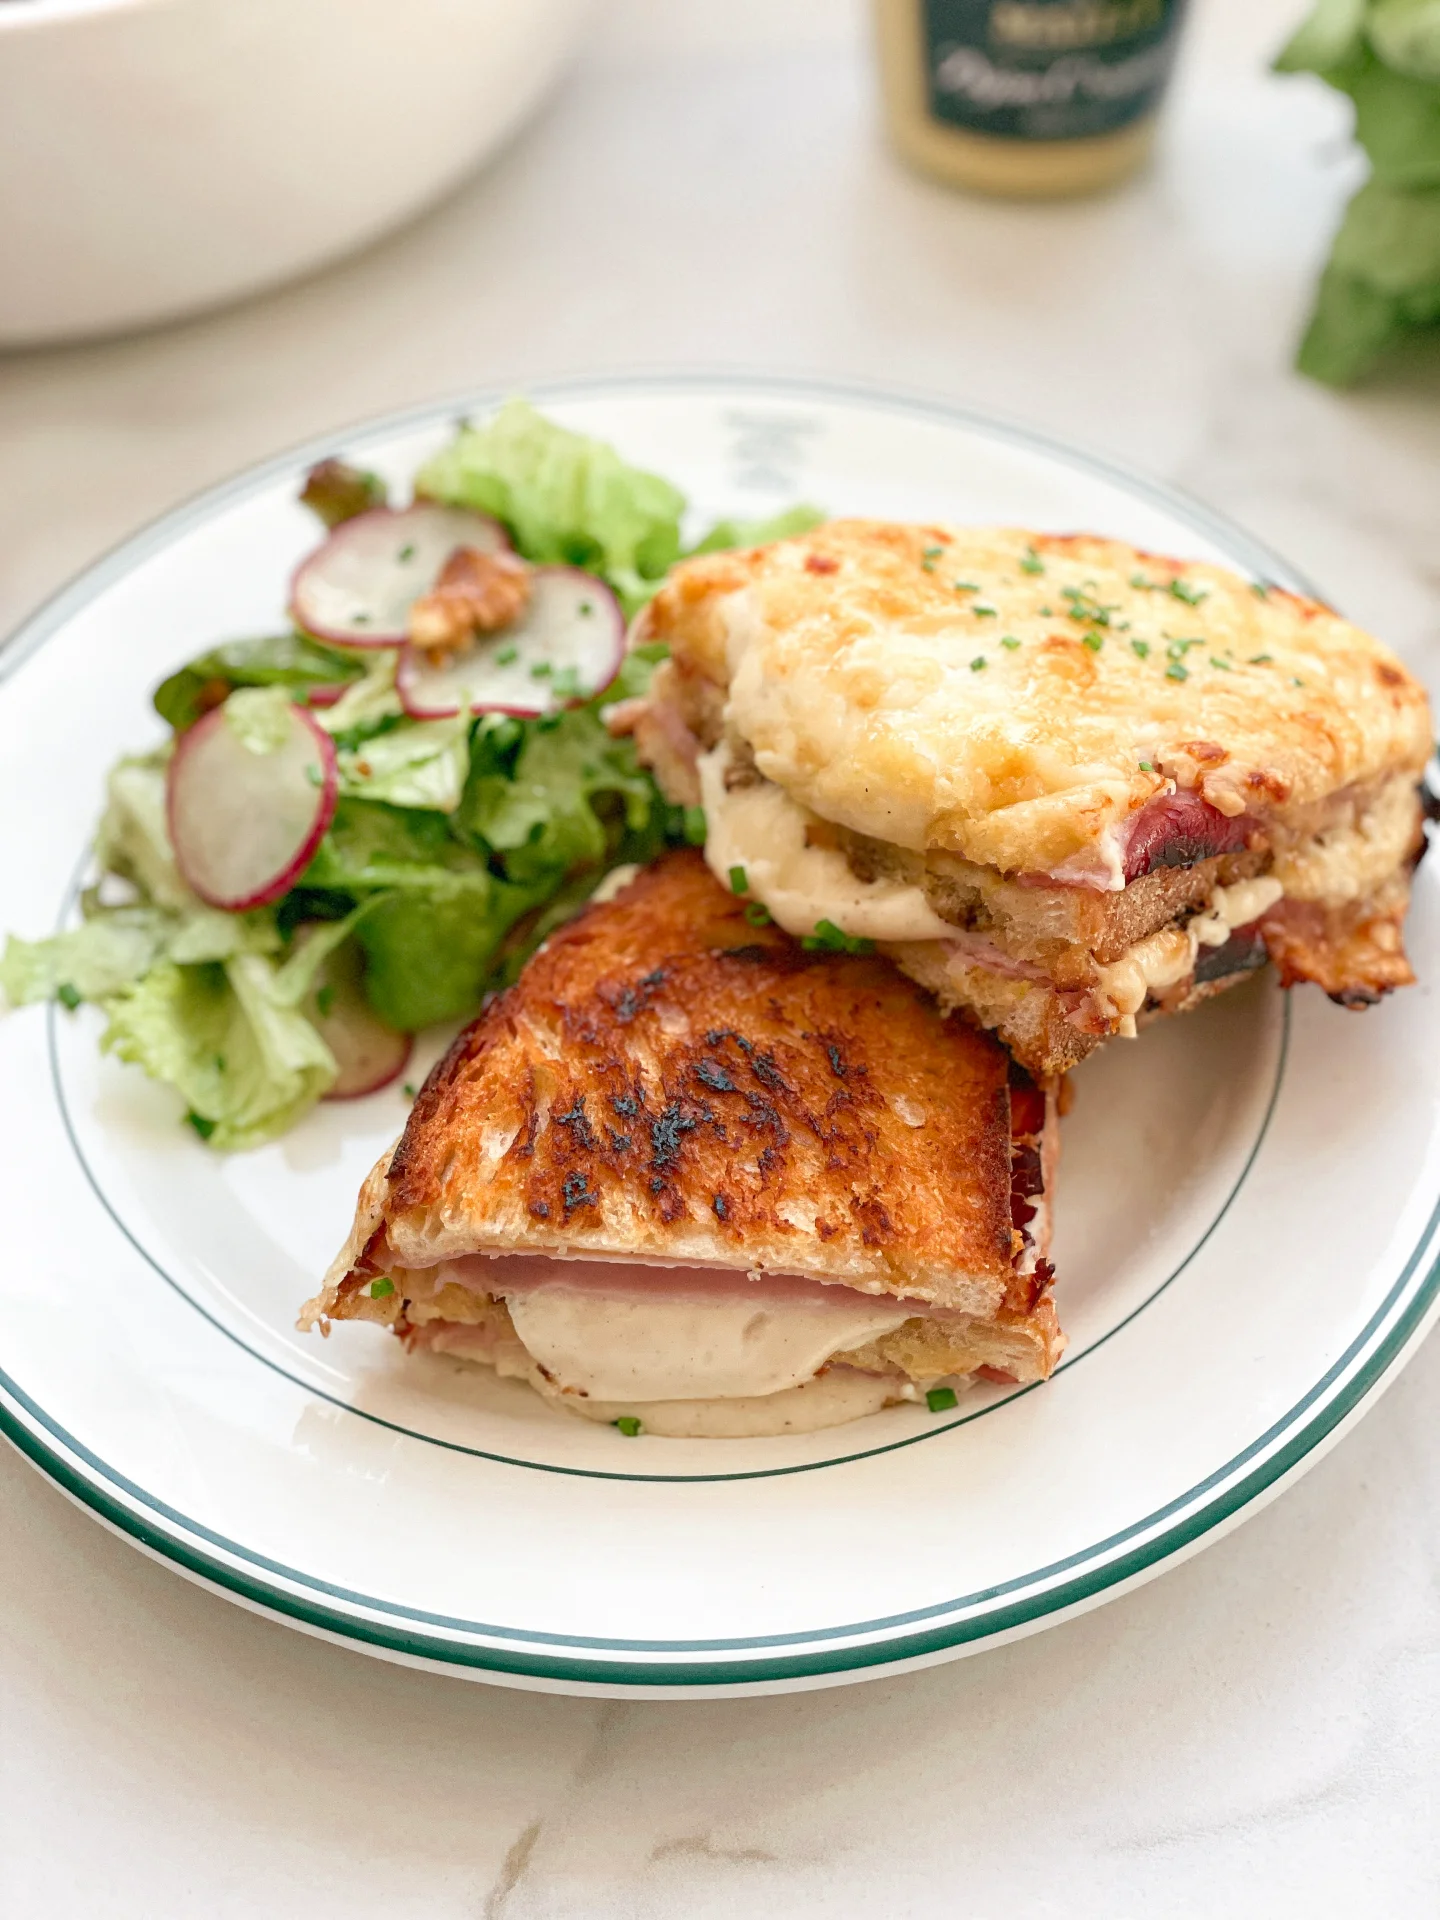
Crispy Sandwich with Egg Salad Spicy Bacon & Caramalized Onions

Crispy Sandwich with Egg Salad Spicy Bacon & Caramalized Onions

Crispy Sandwich with Egg Salad Spicy Bacon & Caramalized Onions

Crispy Sandwich with Egg Salad Spicy Bacon & Caramalized Onions

October 8, 2024 by Kimberly

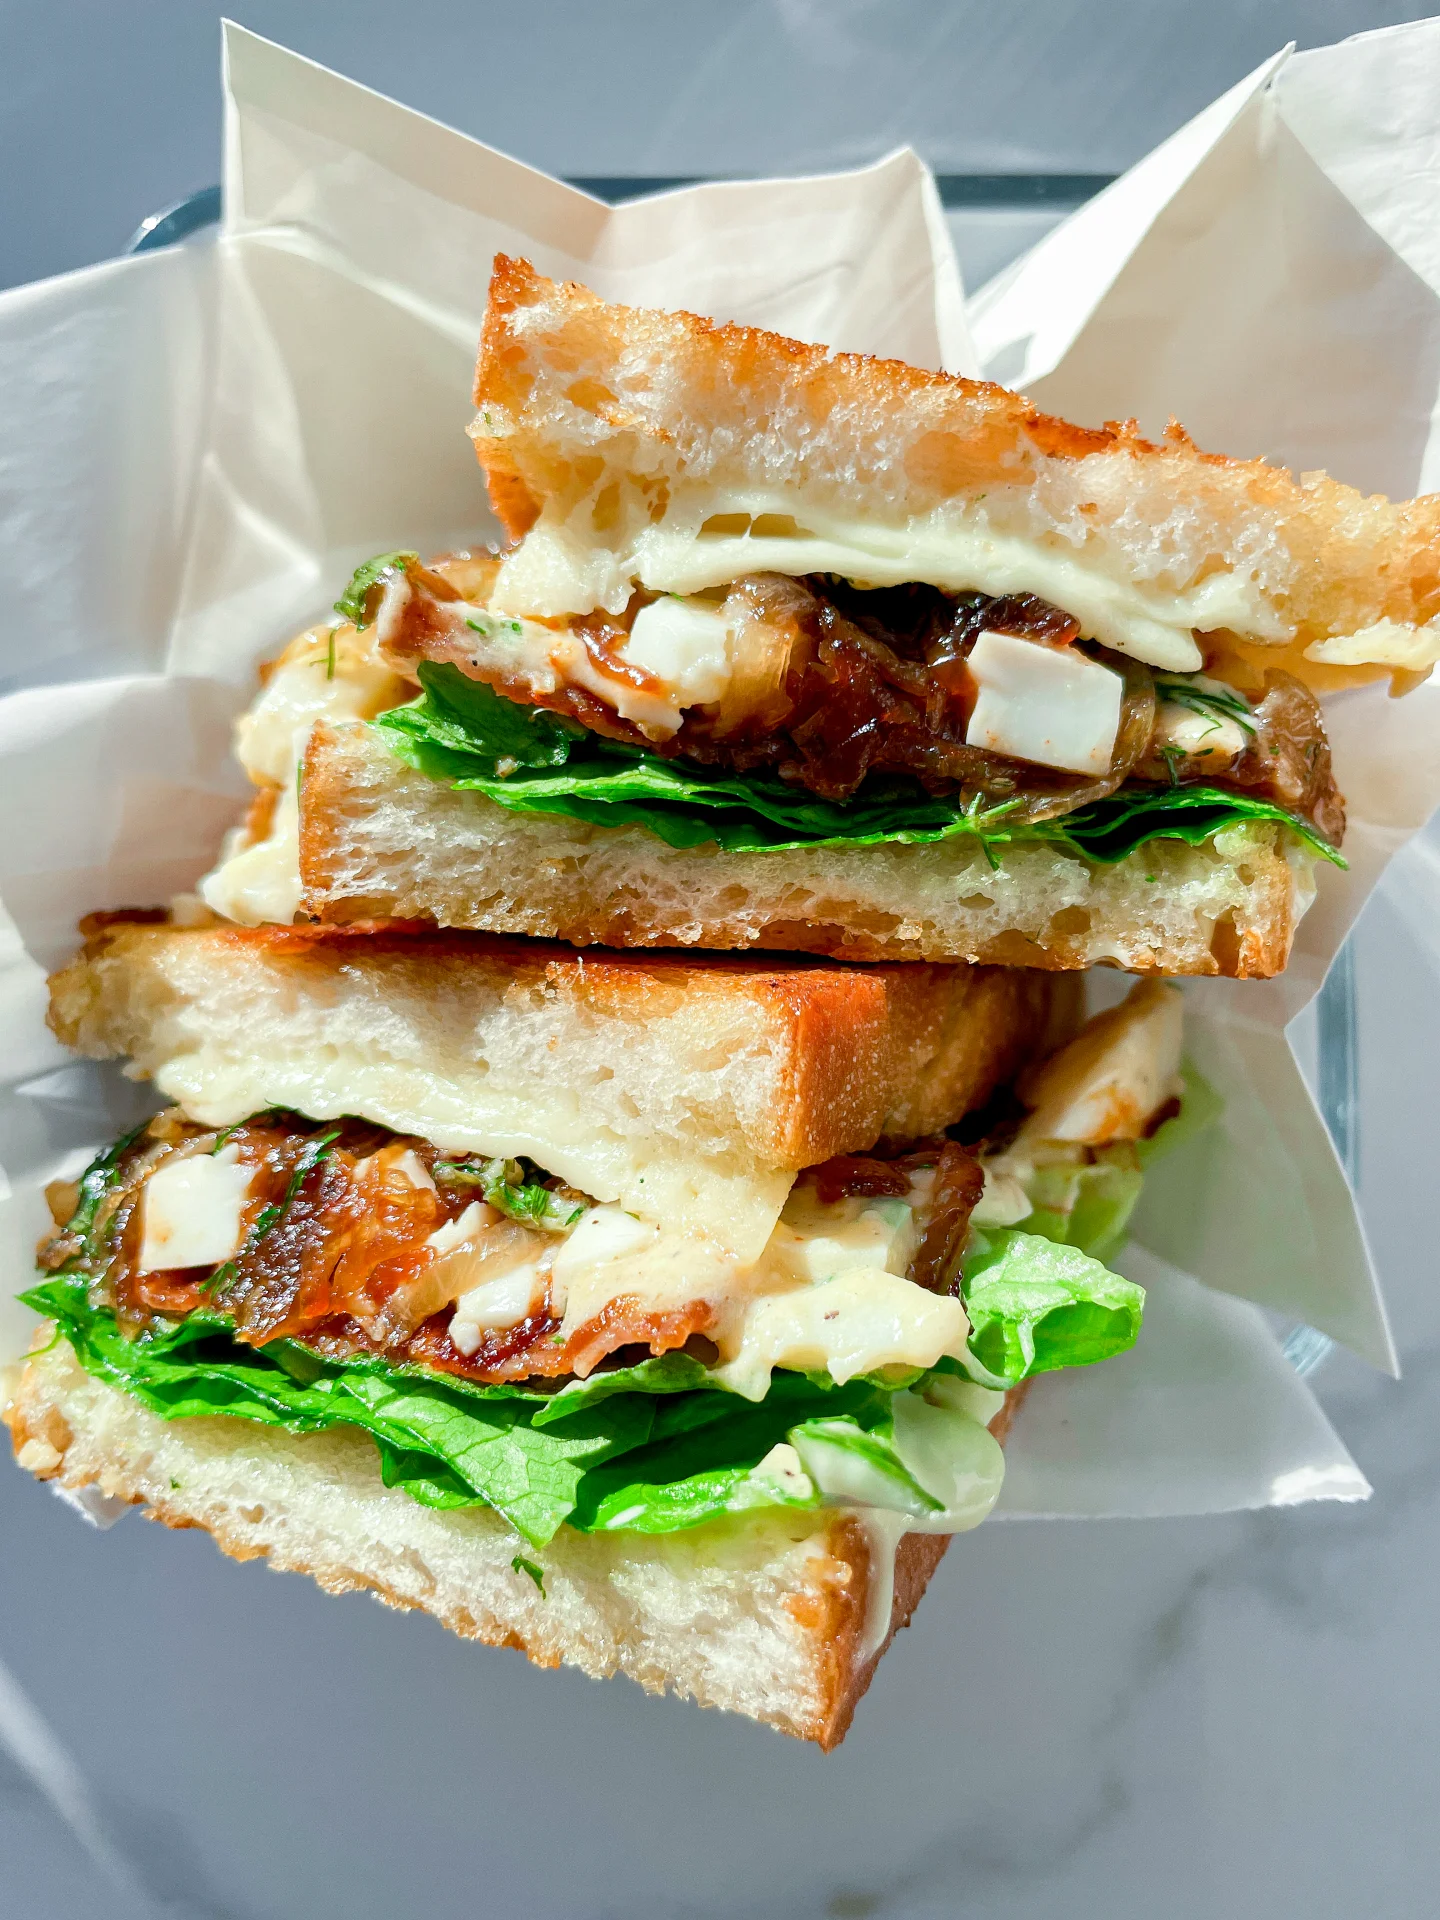
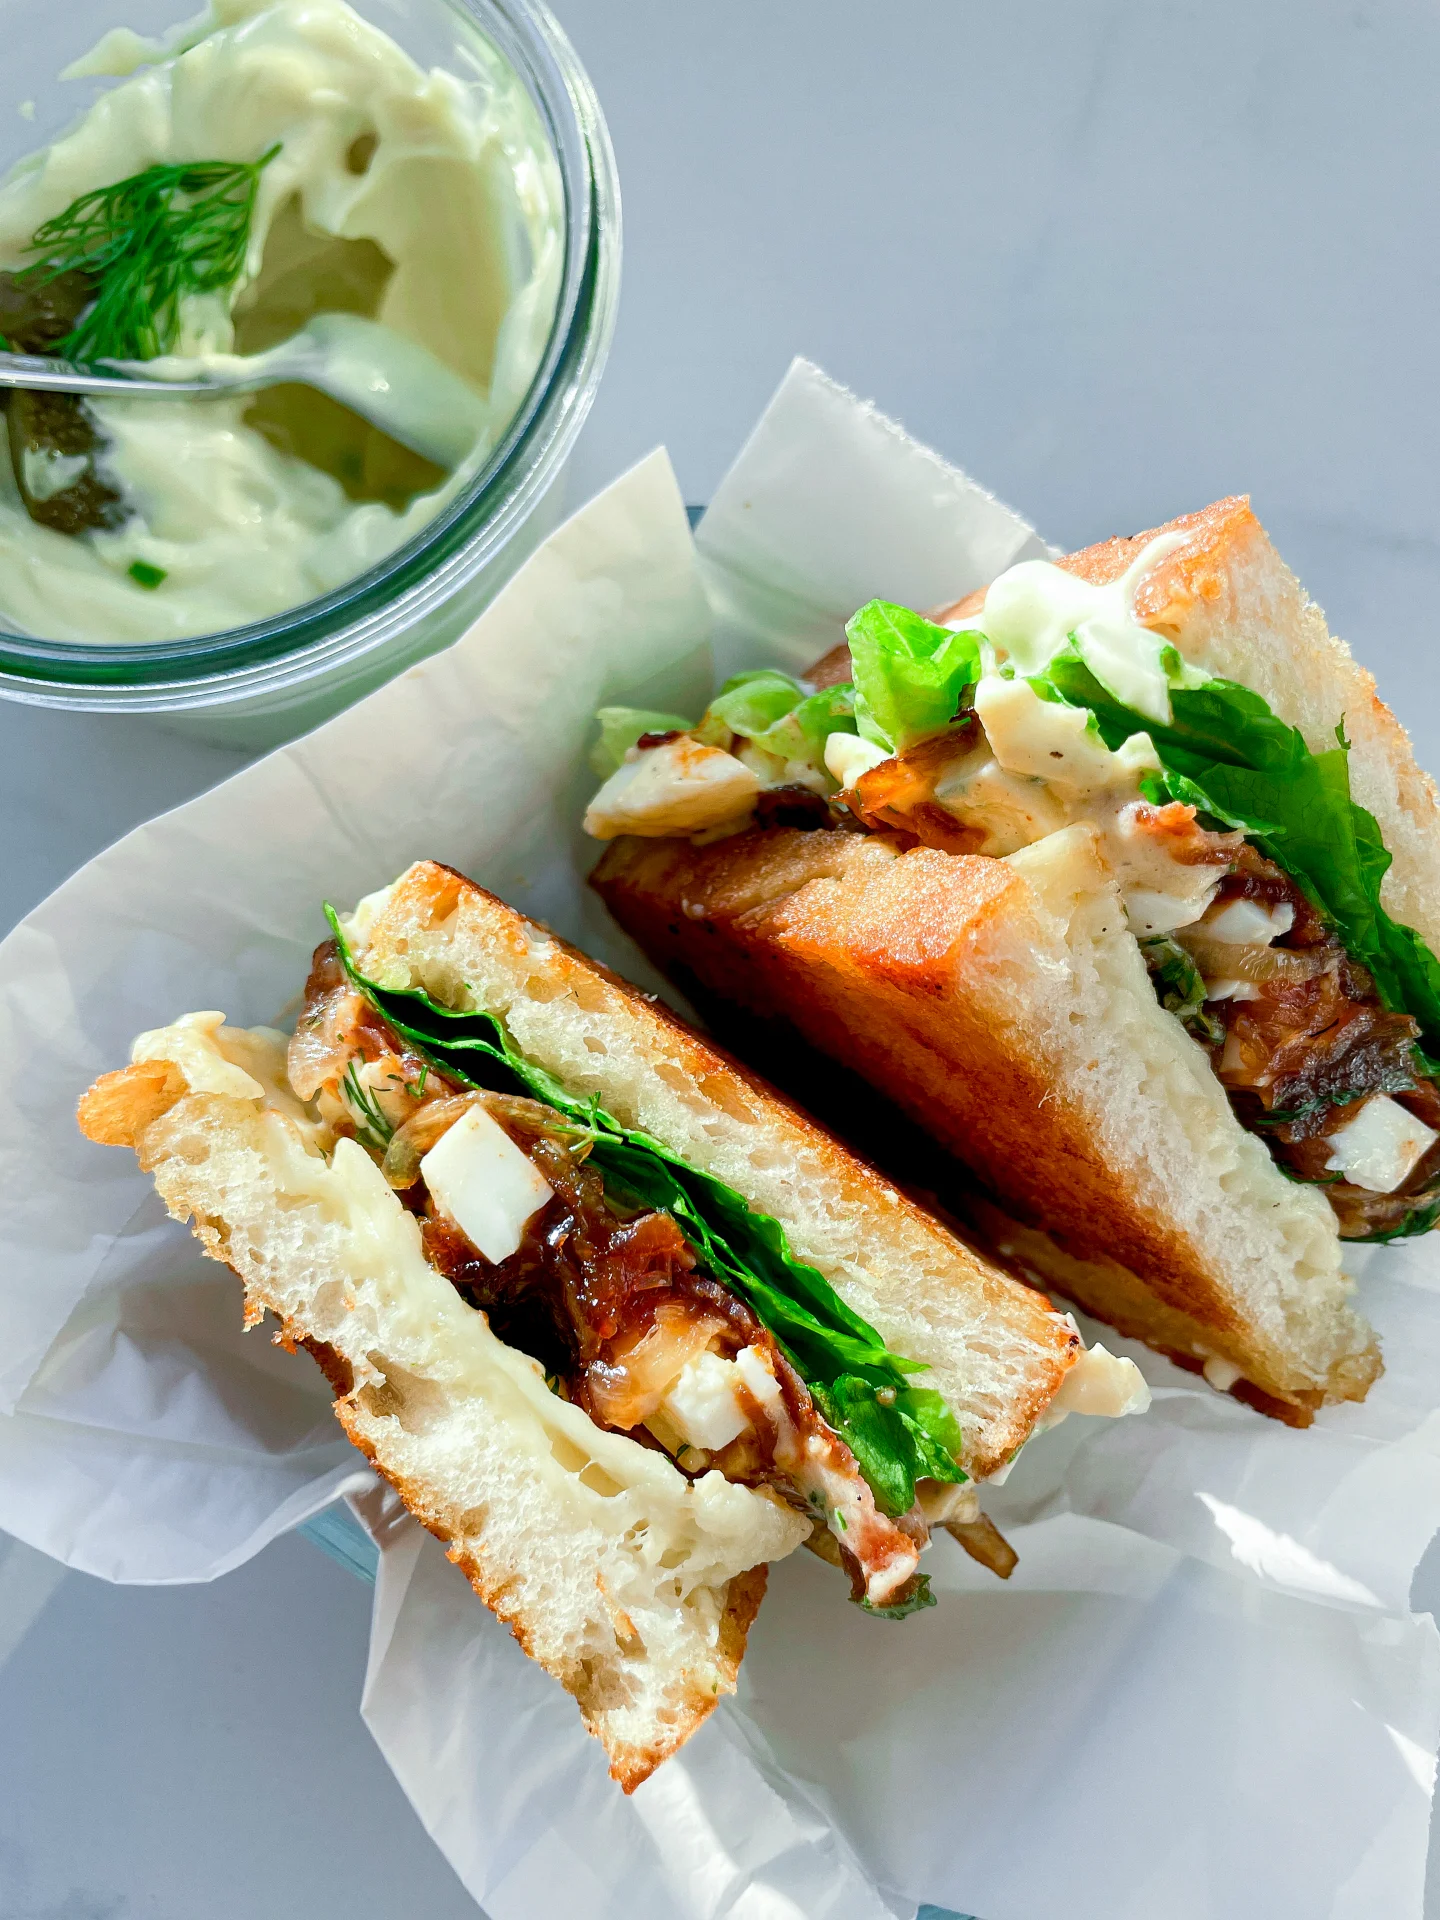
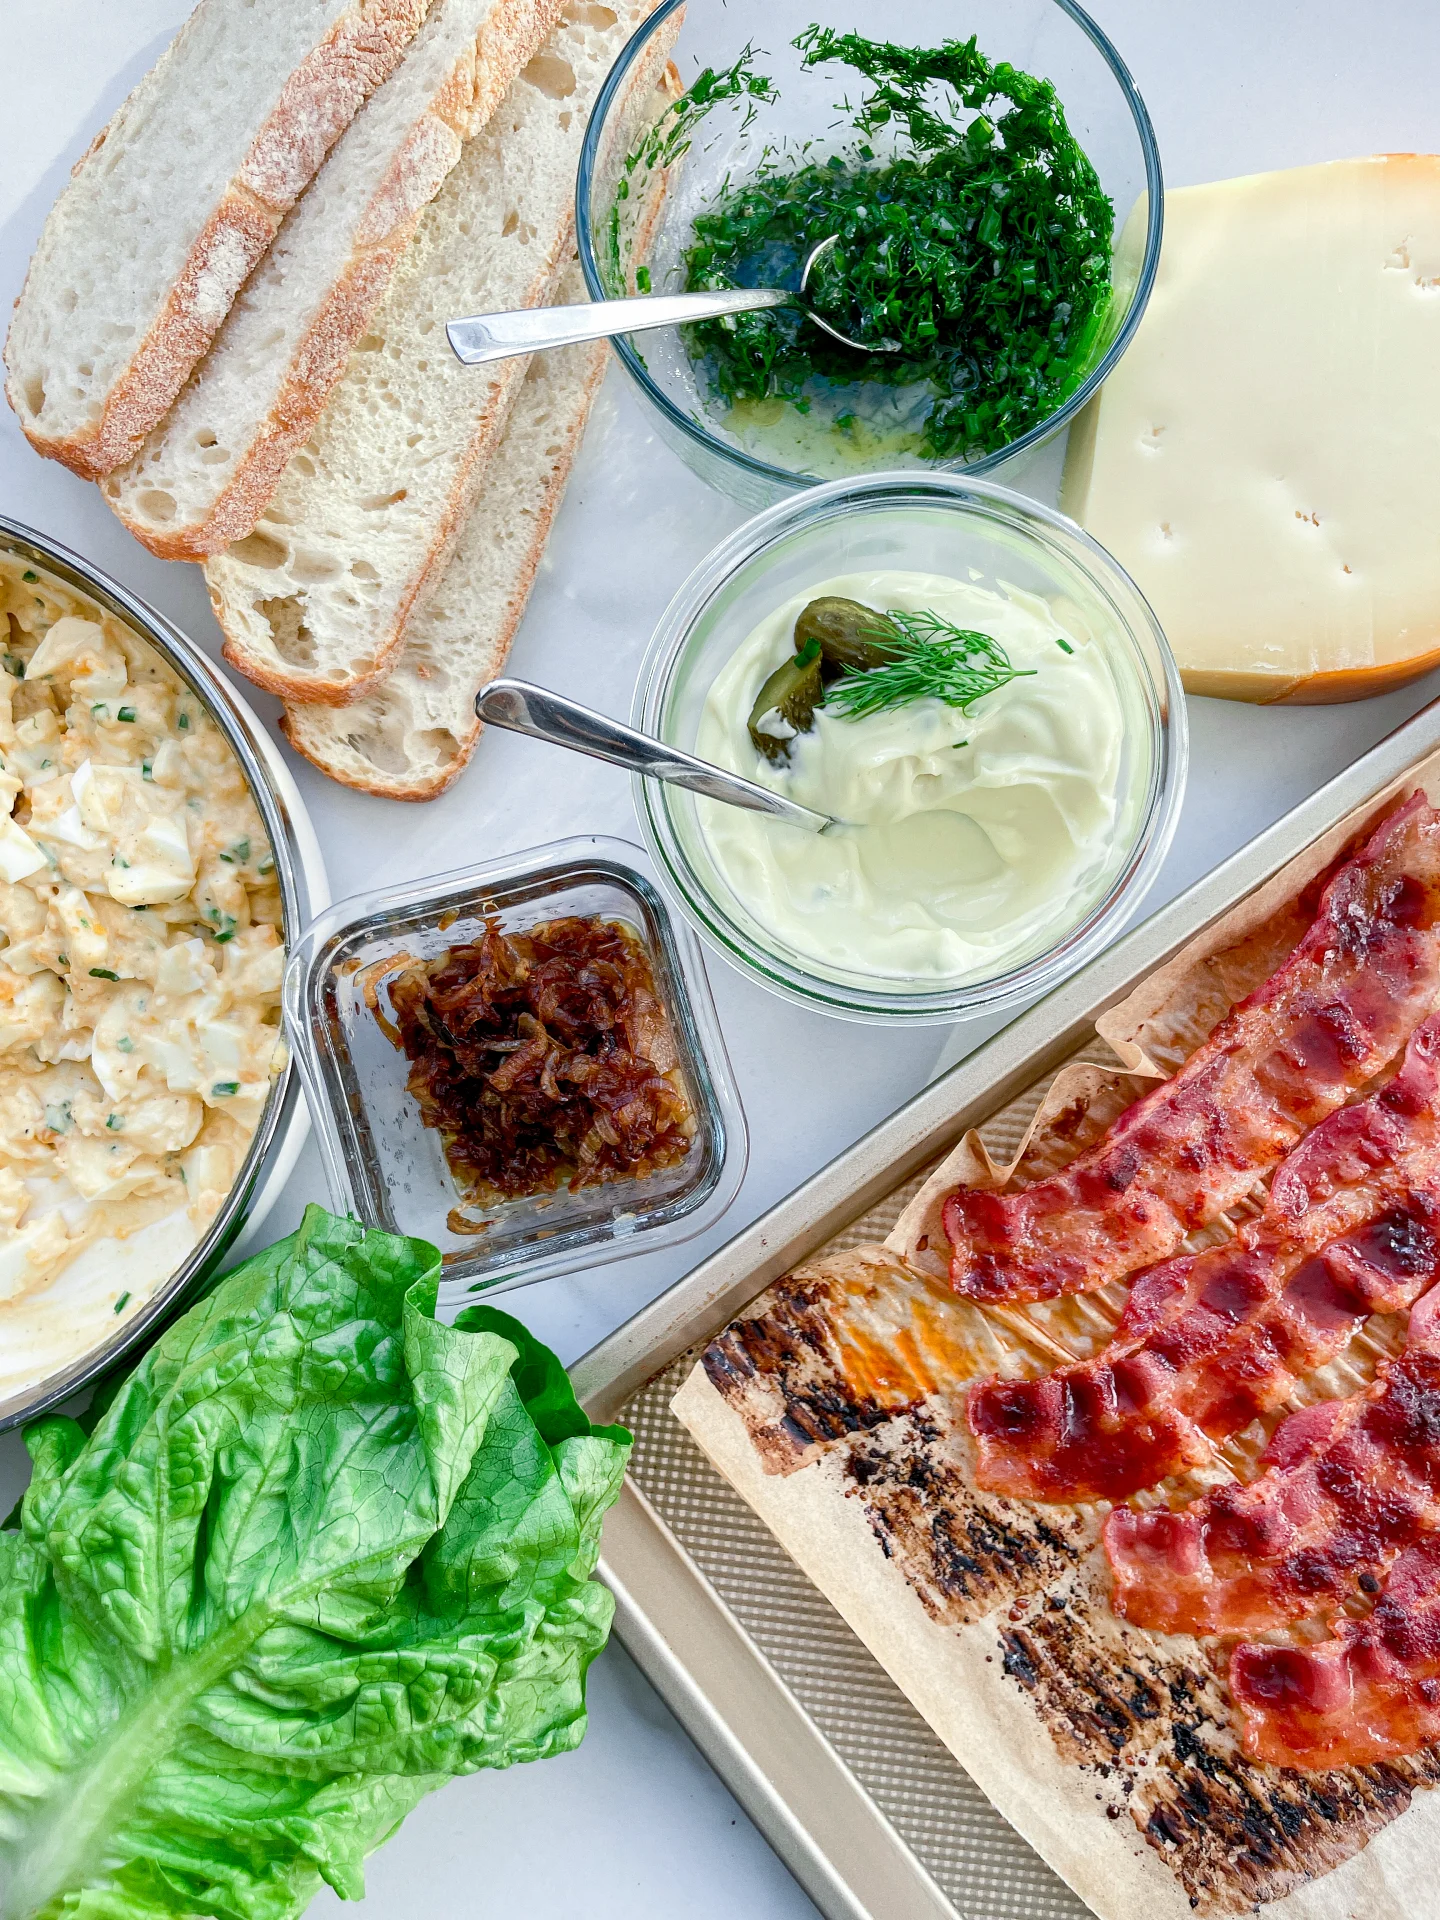
Get ready for a crunchy, savory explosion in every bite! This sandwich layers rich flavors like creamy egg salad, crispy bacon, and caramelized onions with a tangy twist, leaving you totally satisfied.

50 MINUTES

EASY

OMNIVORE

INT.

750 PER SANDWICH

UMAMI
CREAMY
CRISPY

EVERYDAY

SANDWICH

ALL YEAR

INTRODUCTION

ABOUT THE RECIPE

Looking for a sandwich that hits all the right notes? This crispy masterpiece combines rich egg salad, spicy bacon, and sweet caramelized onions with a punchy dill gremolata and creamy, tangy picklenaise (pickle-infused mayo). The balance of crunchy, creamy, spicy, and tangy in every bite will make this sandwich your new go-to for lunch or a snack. It’s a burst of flavor that’ll have you craving it again and again.

How to serve
This sandwich is best served fresh and warm, right after toasting the bread to crispy perfection. Pair it with a side of fresh salad to make it a complete meal. The dill gremolata and picklenaise add an unexpected tangy touch, making it a great option for casual get-togethers or a solo lunch treat.

How to store
If you need to store this sandwich, keep the components separate – store the egg salad, bacon, and caramelized onions in airtight containers in the fridge for up to 2 days. Toast your bread fresh when ready to assemble for the best texture and taste!

Hi, I'm Kimberly!

Hi, I'm Kimberly.

A passionate food lover who believes in the magic of homemade deliciousness that spreads love and warmth. Join me on this culinary adventure as I prepare wonderful dishes and let’s spread some happiness together!

Kimberly the Zett Signature

If you want to get to know me better, click here!


Crispy Sandwich with Egg Salad Spicy Bacon & Caramalized Onions
„Let’s make a piece of happiness“
Print
clock clock iconcutlery cutlery iconflag flag iconfolder folder iconinstagram instagram iconpinterest pinterest iconfacebook facebook iconprint print iconsquares squares iconheart heart iconheart solid heart solid icon
Crispy Sandwich with Egg Salad Spicy Bacon & Caramalized Onions

Crispy Sandwich with Egg Salad Spicy Bacon & Caramalized Onions


  • Author: Kimberly
  • Total Time: 50 minutes
  • Yield: 4 1x

Description

Recommended Equipment

  • small pot
  • medium bowl
  • deep dish
  • sharp knife
  • cutting board
  • small bowl
  • large pan
  • parchment paper

Ingredients

Units Scale

EGG SALAD

  • 4 eggs
  • 1 tsp Dijon mustard
  • 1 tsp white wine vinegar
  • 1 tbsp picklenaise (or regular mayonnaise)
  • chives
  • salt & pepper to taste

GREMOLATA

  • 10 grams fresh dill
  • 5 grams fresh chives
  • 3 tbsp pickle oil (or any other oil you like)
  • 2 garlic cloves
  • juice of 1/2 lemon
  • salt & pepper to taste

CARAMALIZED ONIONS

  • 6 small white onions
  • 2 tbsp balsamic vinegar
  • 1 tsp clarified butter
  • salt

CRISPY BACON

  • 8 slices bacon
  • 4 tsp brown sugar
  • 4 tsp cayennepepper

OTHER INGREDIENTS

  • 60 grams picklenaise (or regular mayonnaise)
  • 8 slices white bread of choice
  • 4 romaine lettuce leaves
  • 60 grams gouda cheese

Instructions

PREPARATIONS

  • Here’s the recipe for the picklenaise. You’ll need about 6-8 tablespoons.
  • Here’s the recipe for the pickle oil. You’ll need about 3 tablespoons.

INSTRUCTIONS

  1. For the egg salad, fill a pot with water and bring it to a boil. Carefully add the eggs and set a timer for 8 minutes. While they cook, prepare a bowl of ice water. After 8 minutes, transfer the eggs to the ice water to stop them from cooking further. Let them cool completely. Peel the eggs, separate the yolks from the whites, and place the yolks in a deep dish. Chop the egg whites into small pieces and set aside. To the yolks, add Dijon mustard, pickle-mayo, salt, pepper, white wine vinegar, and chopped chives. Mix everything together, mashing the yolks with a fork. Finally, fold in the chopped egg whites and mix again. Place the salad in the fridge until you’re ready to use it.
  2. For the gremolata, finely chop the dill and slice the chives into small rings. Mix both in a small bowl with lemon juice and pickle oil. Peel the garlic cloves and grate them into the bowl. Stir everything well and season with salt and pepper. Set aside.
  3. For the caramelized onions, peel the onions and slice them into thin half-rings. Heat a large pan over medium heat, melt 1 teaspoon of butter, then add the onions and a pinch of salt. Stir well and cook for 15-20 minutes, stirring occasionally, until the onions are golden and creamy. Add balsamic vinegar and stir again. Set the onions aside.
  4. Meanwhile, prepare the crispy bacon. Lay the slices on parchment paper and sprinkle them evenly with brown sugar and cayenne pepper. Bake at 200°C / 392°F for about 15 minutes or until the sugar has melted and the bacon is a deep pink.
  5. Butter the outside of the white bread slices and cut the Gouda into thin slices. Wash and dry the lettuce leaves, and get the picklenaise ready.
  6. Heat a pan over low to medium heat and place the buttered bread slices, butter-side down, in the pan. Add Gouda to half of the slices. Cover the pan so the cheese can melt. Remove the bread once the cheese is soft and the bottoms are golden and crispy.
  7. Spread mayo on the plain bread slices and gremolata on the cheesy ones.
  8. Now layer the sandwich in this order: lettuce on the mayo side, followed by egg salad, bacon, and caramelized onions. Top it off with the cheese-gremolata slice. Cut the sandwich in half and enjoy!
  • Cook Time: 50 min

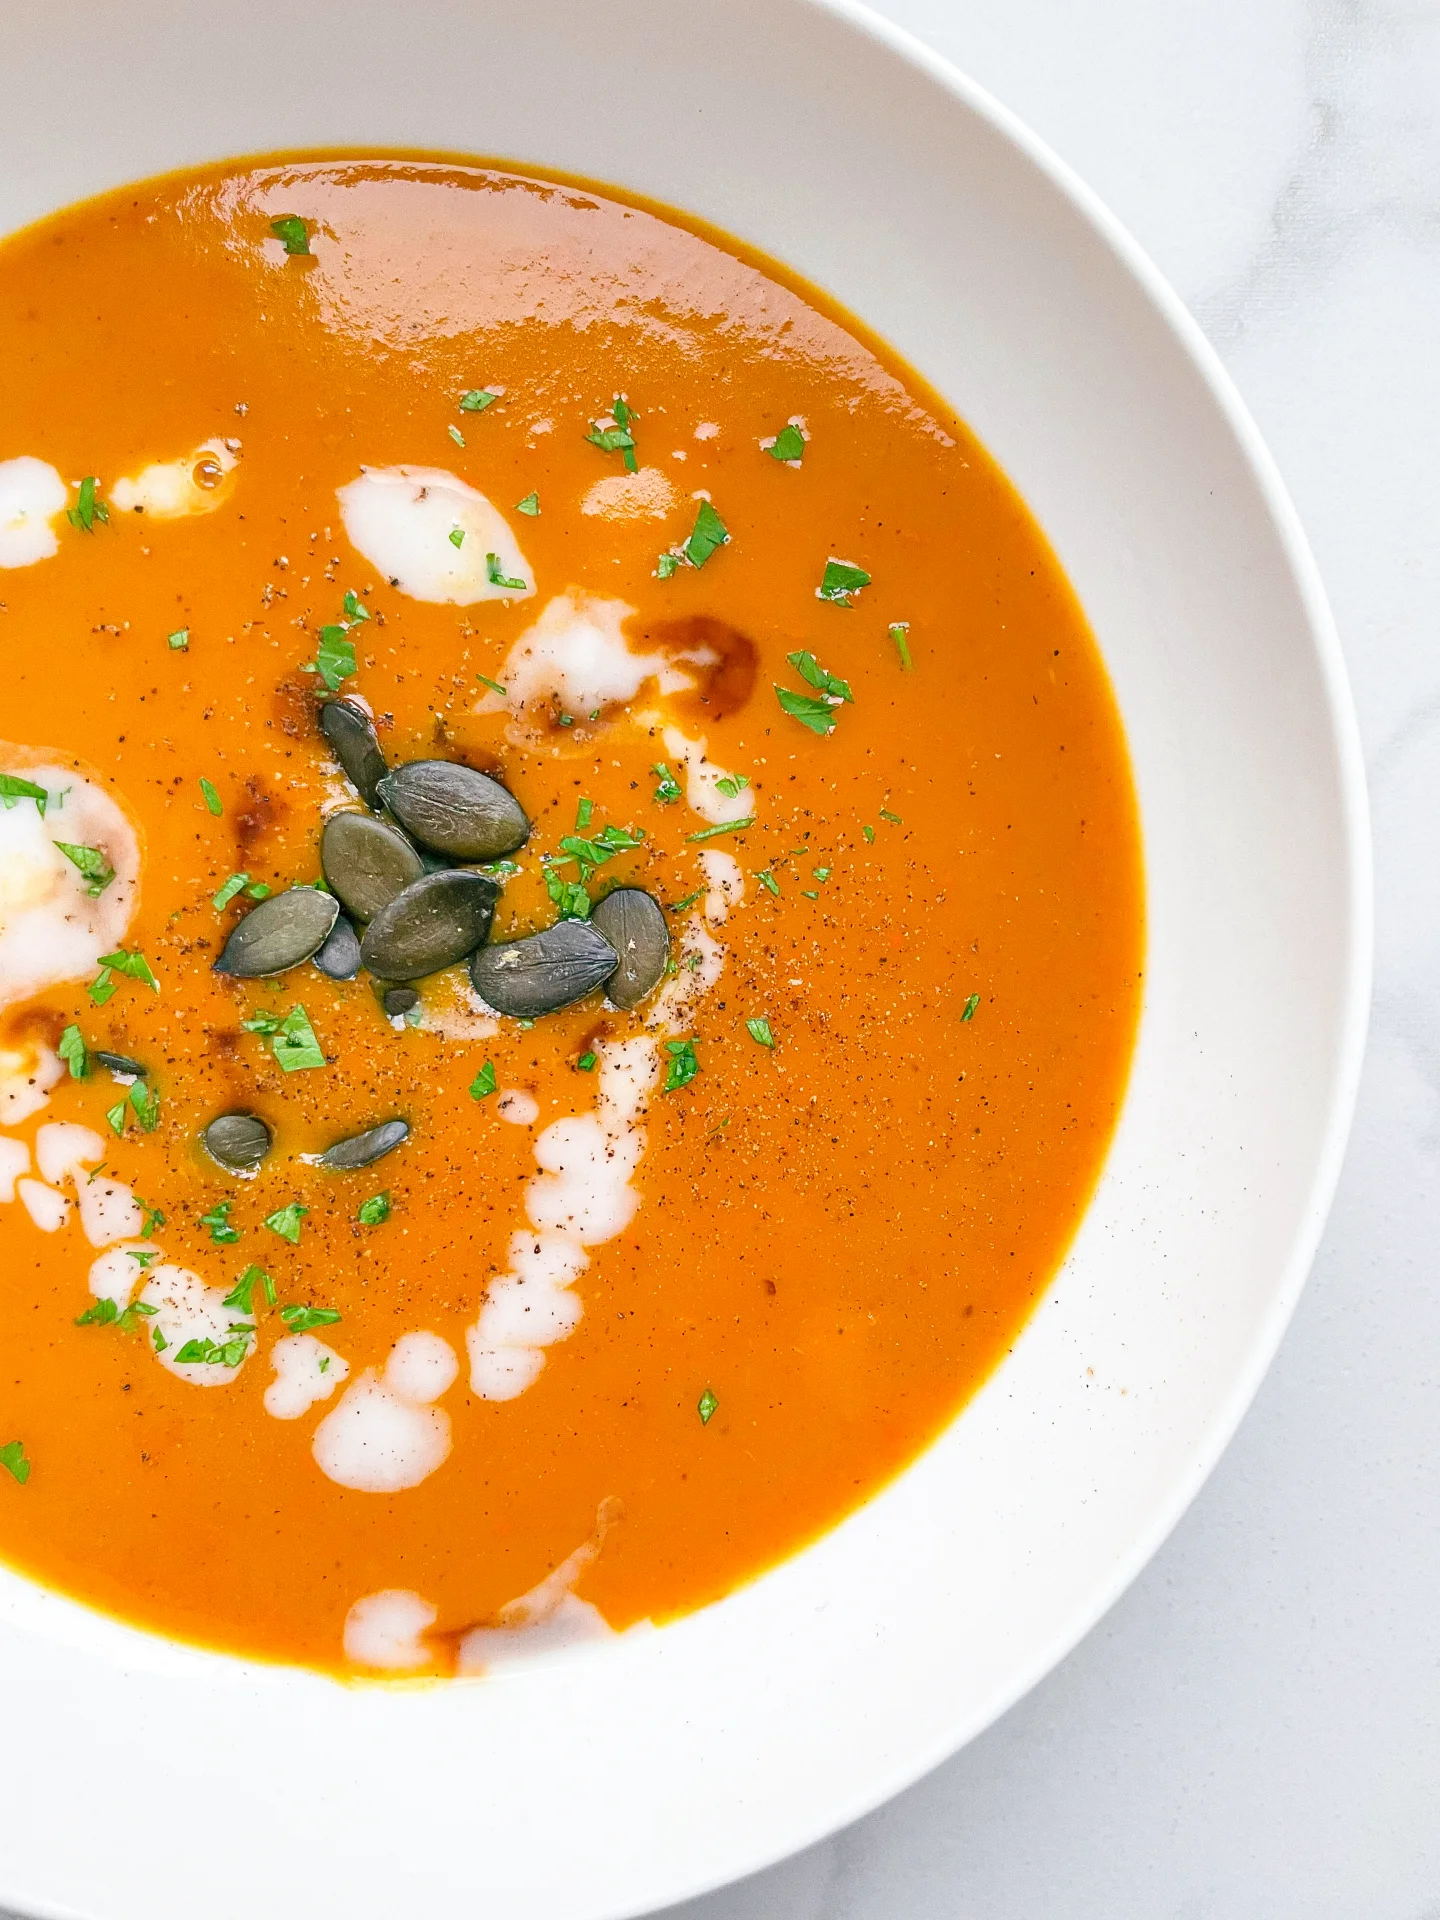
Pumpkin Coconut Soup with Cinnamon Oil & Walnut Sage Grilled Cheese

Pumpkin Coconut Soup with Cinnamon Oil & Walnut Sage Grilled Cheese

Pumpkin Soup with Cinnamon Oil & Walnut Sage Grilled Cheese

Pumpkin Coconut Soup with Cinnamon Oil & Walnut Sage Grilled Cheese

September 30, 2024 by Kimberly

Warm, cozy vibes in every bite! This velvety pumpkin soup with a hint of cinnamon and a crunchy, nutty grilled cheese is basically the ultimate fall comfort food – perfect for cozy nights in.

45 MINUTES

EASY

VEGETARIAN

INT.

819 PER PORTION

CREAMY
COMFORT FOOD

EVERYDAY

SOUP

AUTUM

INTRODUCTION

ABOUT THE RECIPE

This dish is all about wrapping yourself in that cozy, autumn feeling. You’ve got a silky-smooth pumpkin soup with a subtle touch of cinnamon warmth and a grilled cheese that’s not just any sandwich – it’s loaded with a walnut sage pesto twist. This combo is basically fall in a bowl and a sandwich, giving you all the snuggly vibes while keeping things easy in the kitchen.

How to serve
I love serving this soup with the grilled cheese on the side or dipping it straight in for that dreamy melted cheese and creamy soup combo. You can also cut the sandwich into small bites for dipping if you’re feeling fancy. Sprinkle a little extra cinnamon oil on top of the soup for extra depth, and don’t forget some fresh sage leaves as garnish. It’s the perfect dish for a cozy night at home or even as a fun fall dinner party starter.

How to store
If you’ve got leftovers (lucky you!), store the soup in an airtight container in the fridge for up to 3 days. Reheat gently on the stove, adding a splash of water if it’s thickened. The grilled cheese is best fresh, but you can store the walnut sage pesto for about 4-5 days!

Hi, I'm Kimberly!

Hi, I'm Kimberly.

A passionate food lover who believes in the magic of homemade deliciousness that spreads love and warmth. Join me on this culinary adventure as I prepare wonderful dishes and let’s spread some happiness together!

Kimberly the Zett Signature

If you want to get to know me better, click here!


Pumpkin Soup with Cinnamon Oil & Walnut Sage Grilled Cheese
„Let’s make a piece of happiness“
Print
clock clock iconcutlery cutlery iconflag flag iconfolder folder iconinstagram instagram iconpinterest pinterest iconfacebook facebook iconprint print iconsquares squares iconheart heart iconheart solid heart solid icon
Pumpkin Soup with Cinnamon Oil & Walnut Sage Grilled Cheese

Pumpkin Soup with Cinnamon Oil & Walnut Sage Grilled Cheese


  • Author: Kimberly
  • Total Time: 45 min
  • Yield: 4 1x

Description

Recommended Equipment

  • large pot
  • sharp knife
  • cutting board
  • small & large pan
  • food processor
  • cheese grater
  • paper towels
  • hand blender

Ingredients

Units Scale

SOUP

  • 800 grams hokkaido pumpkin
  • 2 tbsp olive oil
  • 1 white onion
  • 2 garlic cloves
  • 500 milliliters vegetable broth
  • 200 grams coconut milk
  • 1 tsp ginger, grated
  • 1/2 nutmeg, grated
  • 1/4 tsp – 1/2 tsp cayenne pepper
  • salt & pepper to taste

PESTO

  • 50 grams walnuts
  • 25 grams olive oil
  • 25 grams parmesan
  • 10 fresh sage leaves
  • 1 garlic clove
  • 1/2 tsp lemon juice
  • salt & pepper to taste

SANDWICH

  • 4 slices bread of choice
  • 100 grams mozzarella
  • 80 grams cheddar
  • 20 grams butter

TOPPING


Instructions

PREPARATIONS

  • Here’s the recipe for cinnamon oil. You’ll need about 4-6 teaspoons for this recipe. If you don’t want to go through the hassle of making the cinnamon oil, you can just add 1/2 teaspoon of ground cinnamon to the soup.

INSTRUCTIONS

  1. First, we’ll prepare the soup. Heat some olive oil in a large pot. In the meantime, peel the onion and roughly chop it. Once the olive oil is hot, add the onion pieces and sauté on medium heat until soft.
  2. While that’s cooking, halve the pumpkin and scoop out the seeds. Cut the pumpkin into large chunks and add to the onions. Peel the garlic and ginger and grate them directly into the pot with the pumpkin. Let everything roast for about 10 minutes, then pour in the vegetable broth. Put the lid on and let it simmer on low heat for about 15-20 minutes until the pumpkin is very soft.
  3. Meanwhile, prepare the pesto. Toast the walnuts in a small pan without any added oil until golden brown. While the walnuts are toasting, finely grate the Parmesan and then add both to a food processor. In the same pan, heat a little olive oil and fry the sage leaves. Let the fried sage drain on a paper towel until crispy, then add it to the food processor as well. Peel the garlic clove and add it to the mix. Add lemon juice and, with the processor running, slowly drizzle in the olive oil. Season with salt and pepper, then set aside.
  4. For the grilled cheese sandwiches, grate the cheddar and press the mozzarella well in paper towels, then slice it thinly. Set aside.
  5. Once the pumpkin is soft, remove the pot from the heat and use a hand blender to purée everything. Add the coconut milk, nutmeg, cinnamon, and cayenne pepper, and season with salt and pepper. Put the pot back on the stove and keep it warm on the lowest heat with the lid on.
  6. Now, spread a thin layer of butter on the bread slices and place them butter-side down in a large pan. Spread 2 teaspoons of walnut-sage pesto on each slice. Distribute the cheese evenly on top of the pesto. Cook on low heat with the lid on for a few minutes until the cheese starts to melt. Once the bread is golden brown on the bottom, place another slice of bread, butter-side up, on top of the cheese and flip the sandwich. Cook for a few more minutes until the second side is golden brown as well.
  7. Serve the soup in deep bowls, topping it with cinnamon oil, cress, and chives. Cut the grilled cheese sandwiches into small squares and place them in the soup, or slice them into strips and serve them on the side.
  • Cook Time: 45 min

Katsu Sando

Katsu Sando

Katsu Sando

Katsu Sando

June 29, 2024 by Kimberly

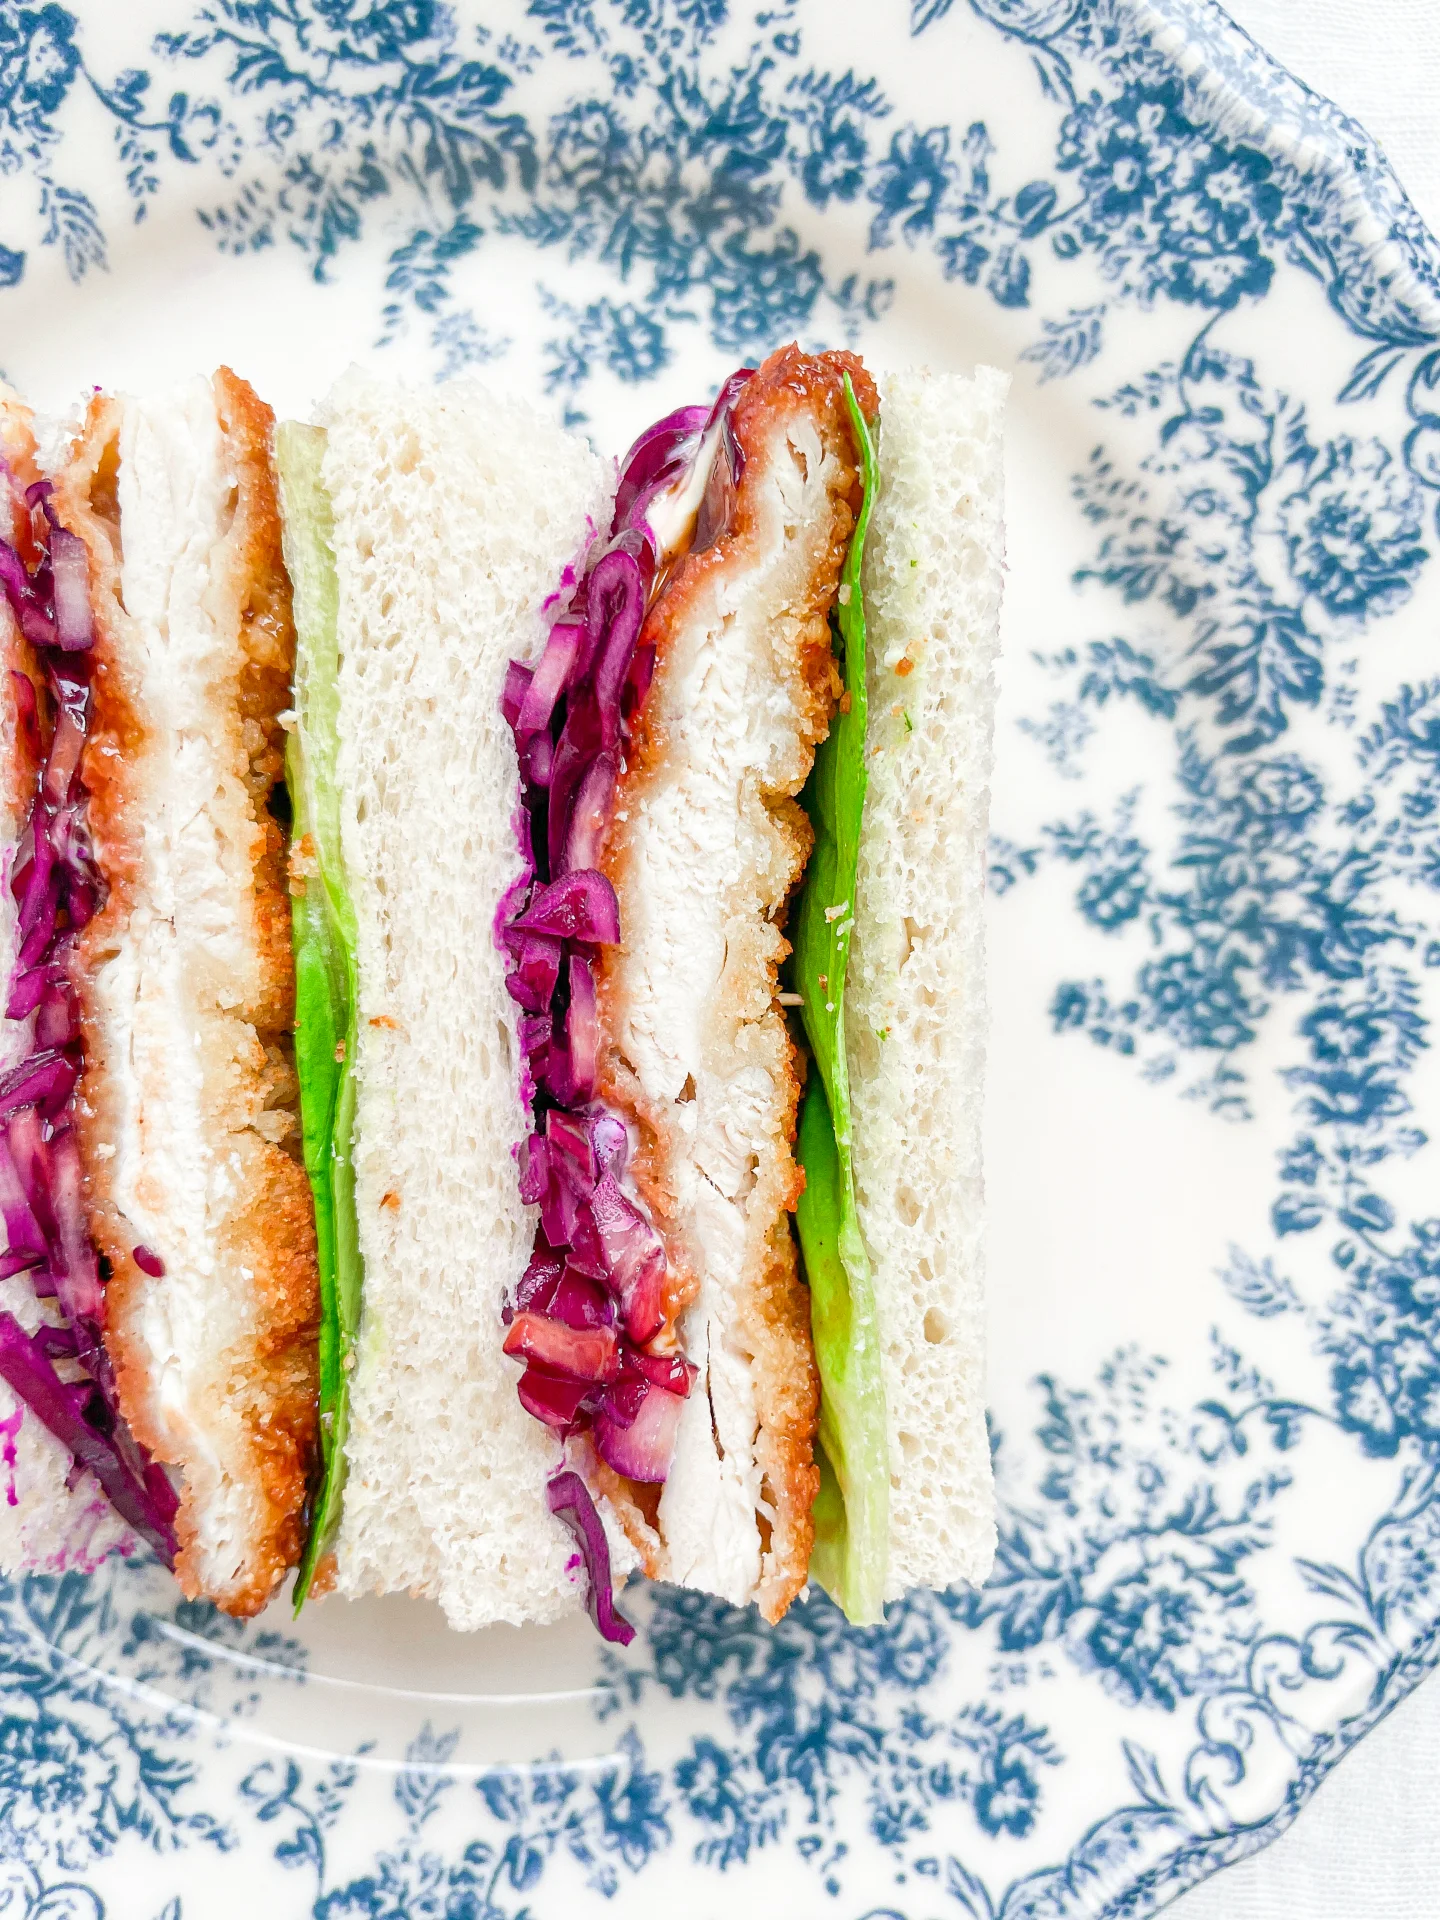
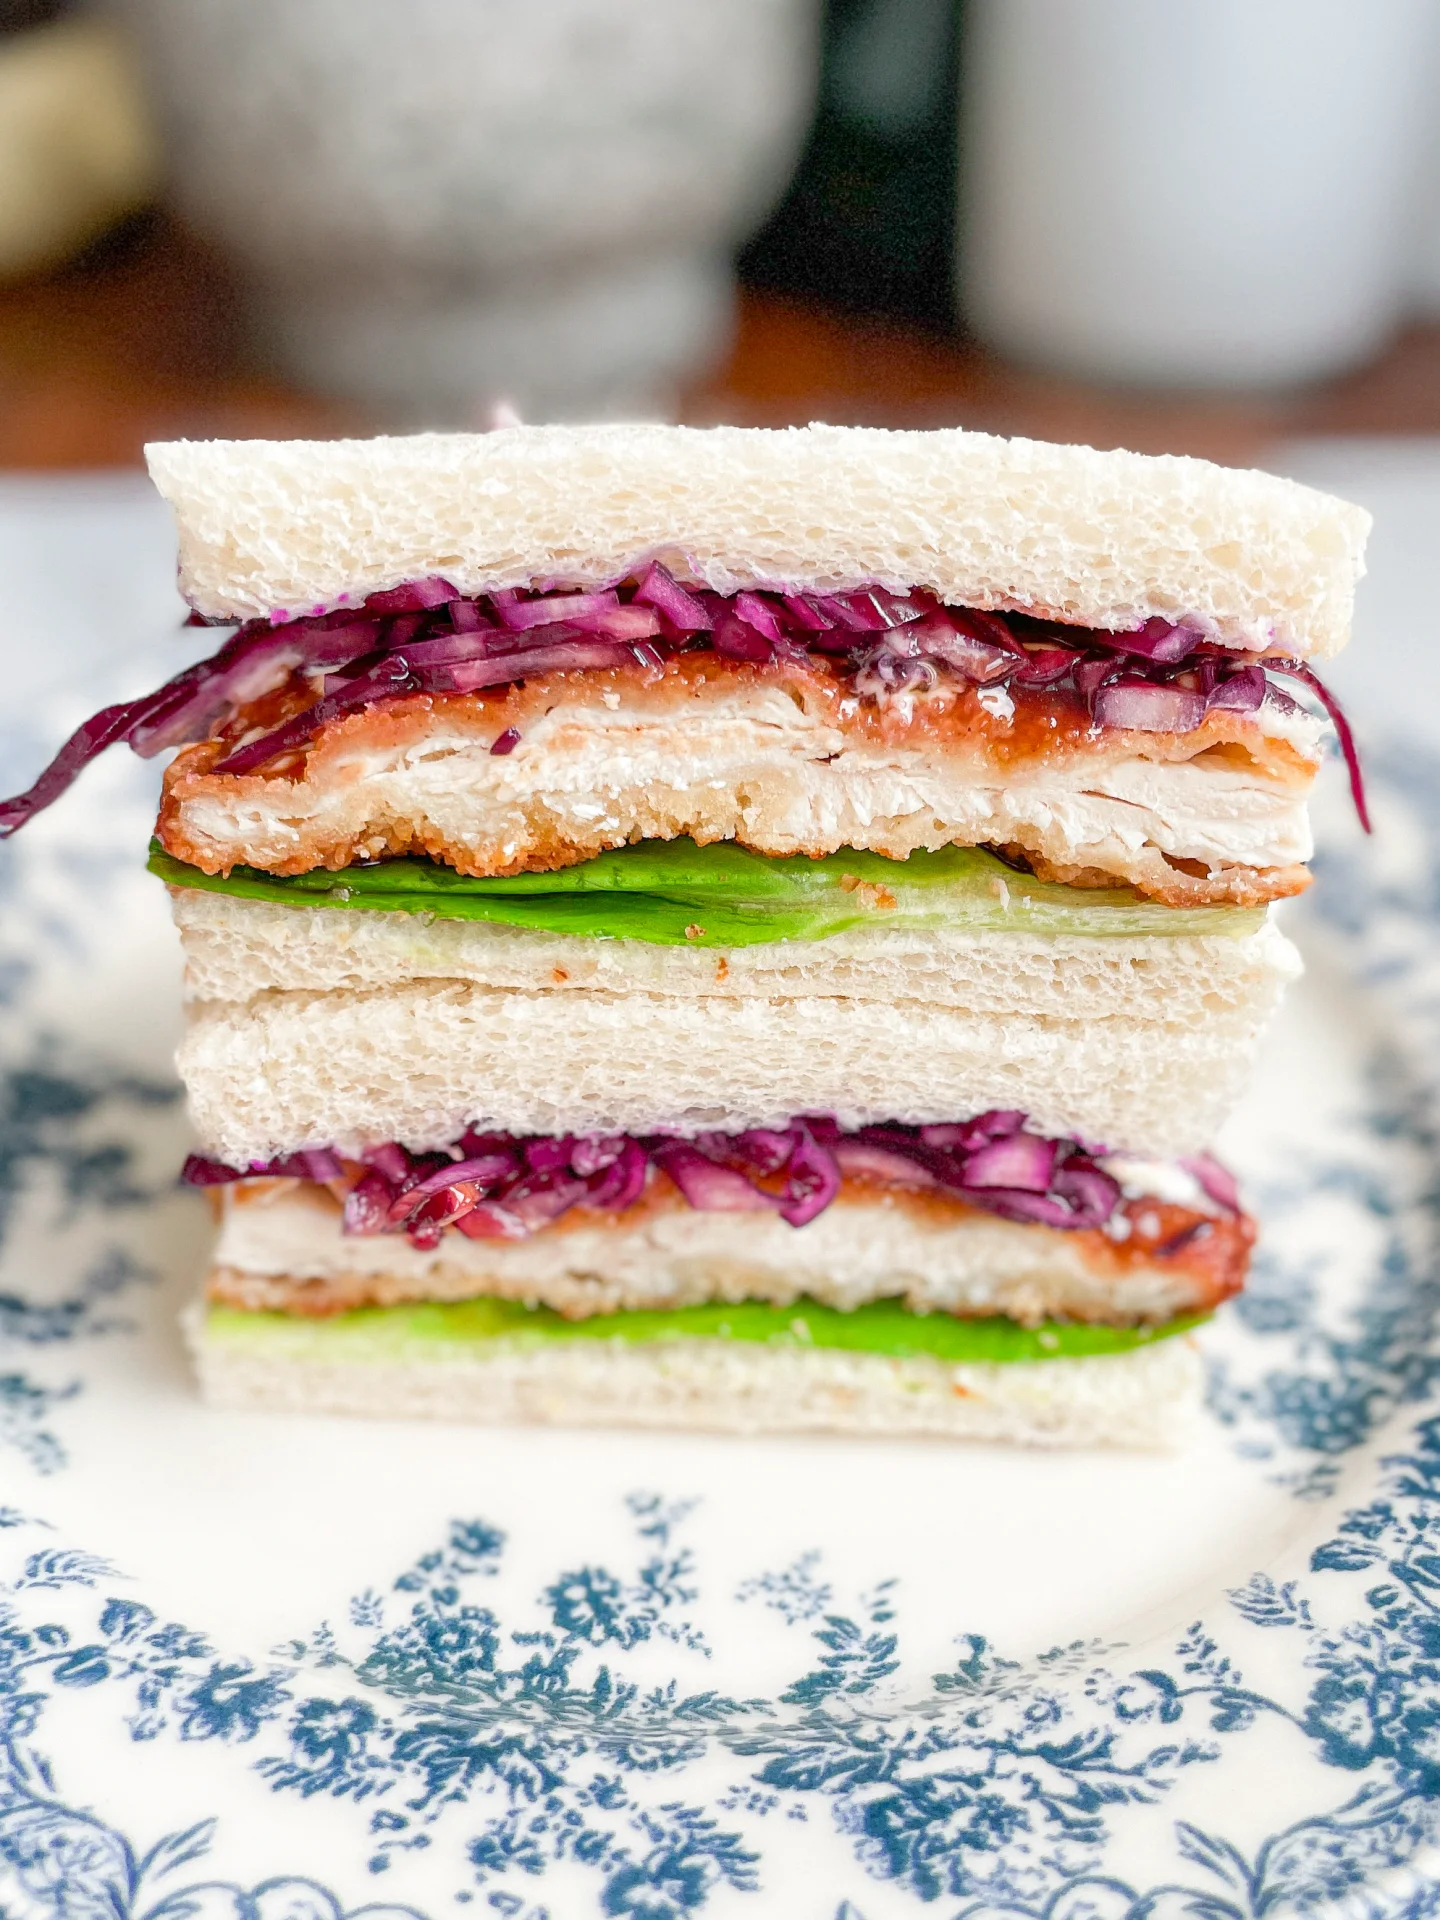
Sink your teeth into the ultimate Katsu Sando – the most popular Japanese sandwich! Crispy chicken, tangy red cabbage, and creamy kewpie mayo nestled between soft bread – every bite is a flavor explosion!

40 MINUTES

EASY

OMNIVORE

JAPANESE

582 PER PORTION

CRISPY
UMAMI

EVERDAY

LUNCH

ALL YEAR

INTRODUCTION

ABOUT THE RECIPE

Brace yourself for the crunch and savor of the Katsu Sando, a Japanese-inspired sandwich that’s taking the culinary world by storm. Featuring crispy panko-crusted chicken, this sandwich packs a punch with every layer of flavor.

How to serve
Perfectly crispy and deliciously juicy, the Katsu Sando is best served immediately after assembly to maintain its textural contrast. Slice it in half to show off the beautiful layers of red cabbage slaw, green butter lettuce, creamy kewpie mayo and tonkatsu sauce.

How to store
While best enjoyed fresh, you can store the prepped ingredients separately in the fridge. The panko chicken can be kept for up to two days.

Hi, I'm Kimberly!

Hi, I'm Kimberly.

A passionate food lover who believes in the magic of homemade deliciousness that spreads love and warmth. Join me on this culinary adventure as I prepare wonderful dishes and let’s spread some happiness together!

Kimberly the Zett Signature

If you want to get to know me better, click here!


Katsu Sando
Katsu Sando
Katsu Sando
„Let’s make a piece of happiness“
Print
clock clock iconcutlery cutlery iconflag flag iconfolder folder iconinstagram instagram iconpinterest pinterest iconfacebook facebook iconprint print iconsquares squares iconheart heart iconheart solid heart solid icon
Katsu Sando

Katsu Sando


  • Author: Kimberly
  • Total Time: 40 minutes
  • Yield: 4 1x

Description

Recommended Equipment

  • sharp knife
  • cutting board
  • medium-sized bowl
  • plastic wrap
  • meat mallet
  • two plates
  • three shallow dishes for breading
  • large frying pan
  • measuring spoons

Ingredients

Units Scale
  • 8 slices white toast
  • 40 grams kewpie mayo
  • 40 grams tonkatsu sauce
  • 250 grams chicken breast
  • 1.5 tbsp all-purpose flour
  • 1 egg
  • 3 tbsp panko bread crumbs
  • 3 tbsp regular bread crumbs
  • 50 grams clarified butter
  • 150 grams red cabbage
  • 1 tsp rice vinegar
  • 1/2 tsp sesame oil
  • 1/4 tsp salt
  • 4 butter lettuce leaves

Instructions

  • Cut the red cabbage into eighths and finely shred or slice one eighth. Place it in a medium-sized bowl and marinate with rice vinegar, sesame oil, and salt. Set aside.
  • Detach 4 leaves from the head of lettuce and wash thoroughly. Pat dry and set aside.
  • Halve the chicken breast lengthwise, then cut each half again crosswise. Place each piece between two layers of plastic wrap and pound to about 0.5 cm / 0.2″ thickness using a meat mallet. Lay the flattened meat on a plate.
  • Set up a breading station with three shallow dishes or bowls. Fill the first dish with 1.5 heaped tablespoons of wheat flour, crack an egg into the second dish and whisk it. In the third dish, mix together 3 heaped tablespoons each of panko and breadcrumbs. Coat each piece of chicken first in flour, shaking off excess, then dip in the egg, and finally, press into the breadcrumb mixture, ensuring it’s well coated on all sides. Place the breaded pieces side by side on a plate.
  • Heat clarified butter in a large frying pan and fry the breaded chicken pieces on both sides until crispy, about 3 minutes per side or until cooked through. Let the meat drain on kitchen paper.
  • Place half of the slices of bread flat on a clean work surface, then place a lettuce leaf on each. Top each with a piece of cooked chicken, followed by a zigzag pattern of Kewpie mayo and Tonkatsu sauce. Add about 2 tablespoons of red cabbage salad on top of the sauces. Finally, top the sandwiches with another slice of bread. If desired, trim the edges all around and cut the sandwiches in half in the middle with a sharp knife.

Notes

The calorie information may vary depending on the product used, country and region.

  • Cook Time: 40 min