


Description
GOOD TO HAVE ON HAND
- sharp knife
- cutting board
- deep plate
- paper towels
- grater
Ingredients
Units Scale
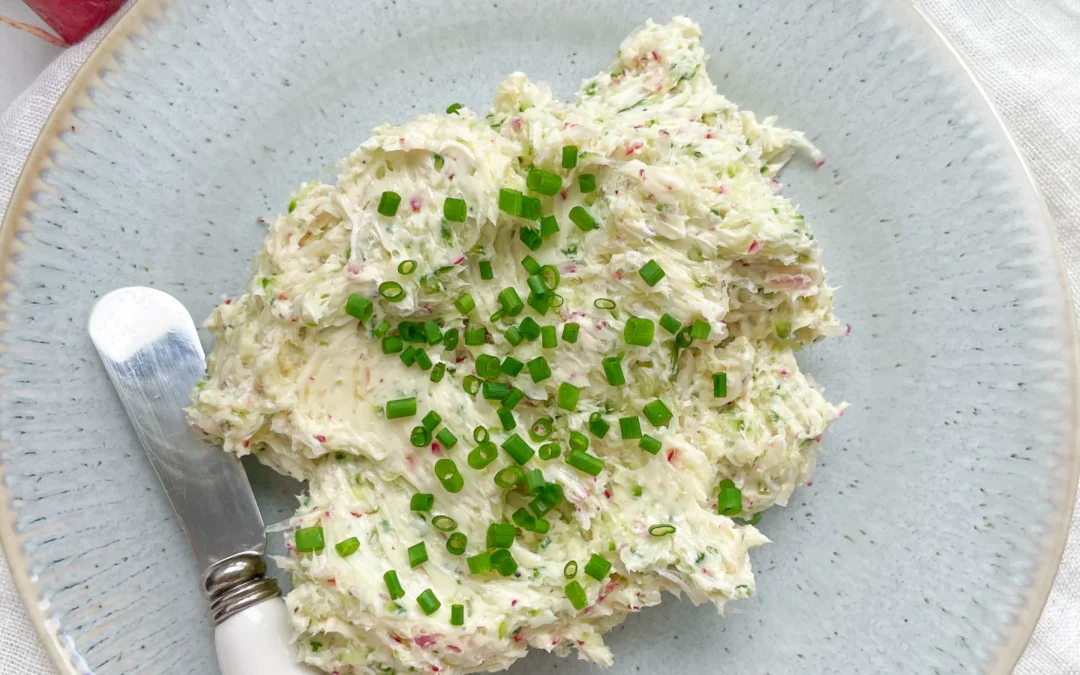
- 4 radishes
- 1/4 cucumber
- 125 grams butter
- chives
- salt to taste
Instructions
- Thoroughly wash the radishes, cucumber, and chives. Set up a deep plate and finely grate the radishes into it. Squeeze out the excess moisture from the grated radishes using paper towels. Repeat the process with the cucumber.
- Finely slice the chives and set them aside.
- Dry the plate, then add the softened butter to it. Incorporate the grated radishes and cucumber, mixing well. Season with salt and sprinkle the sliced chives on top.
Notes
The calorie information may vary depending on the product used, country and region.
- Cook Time: 10 min