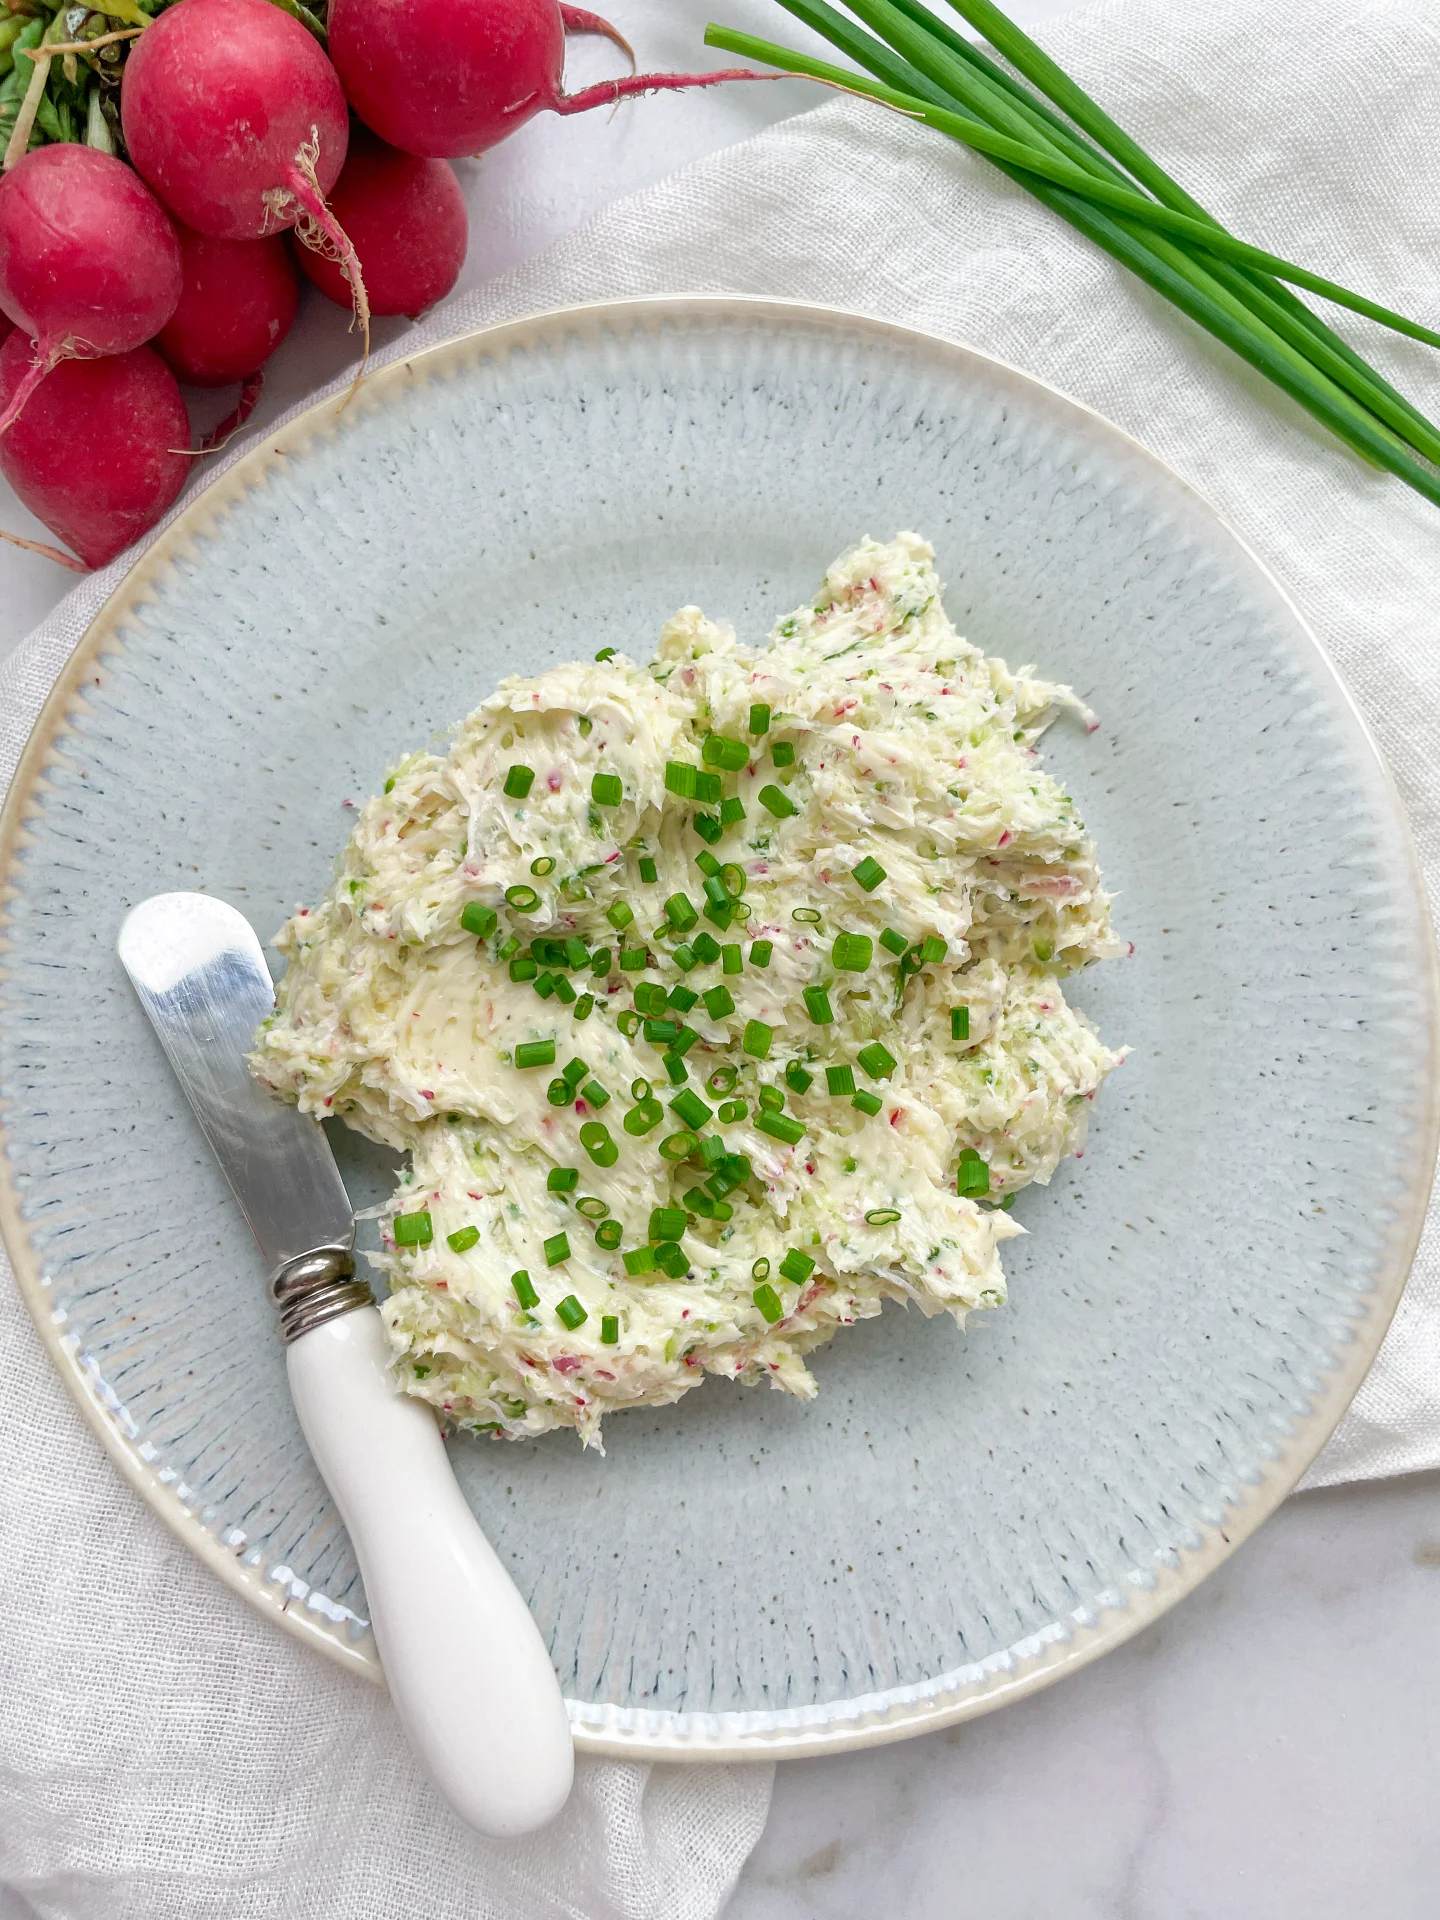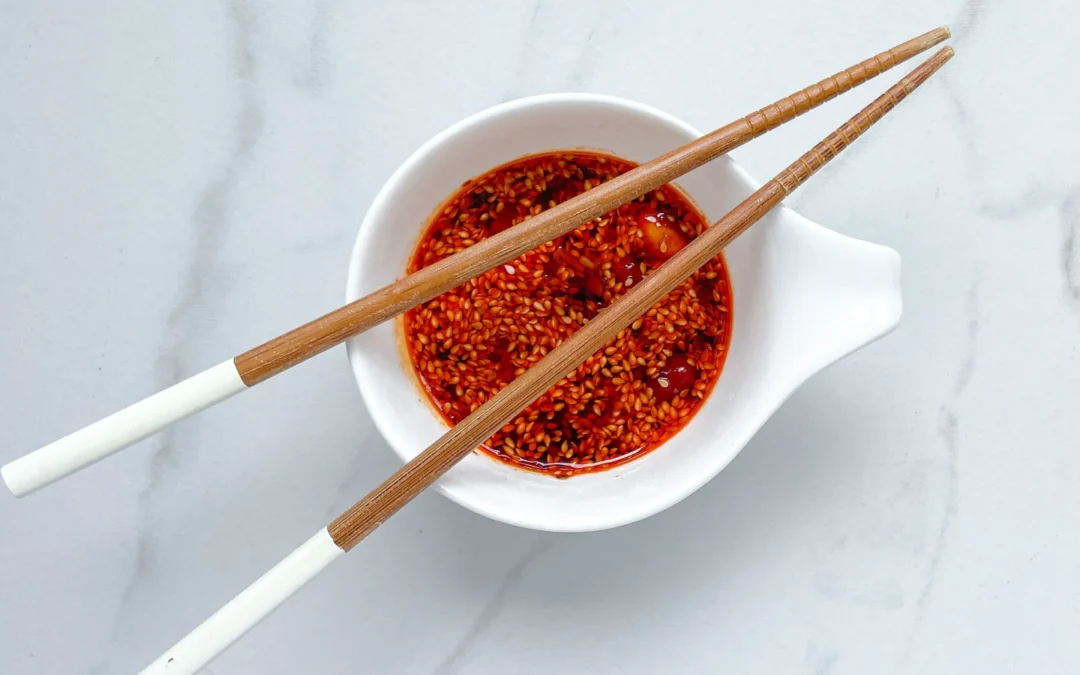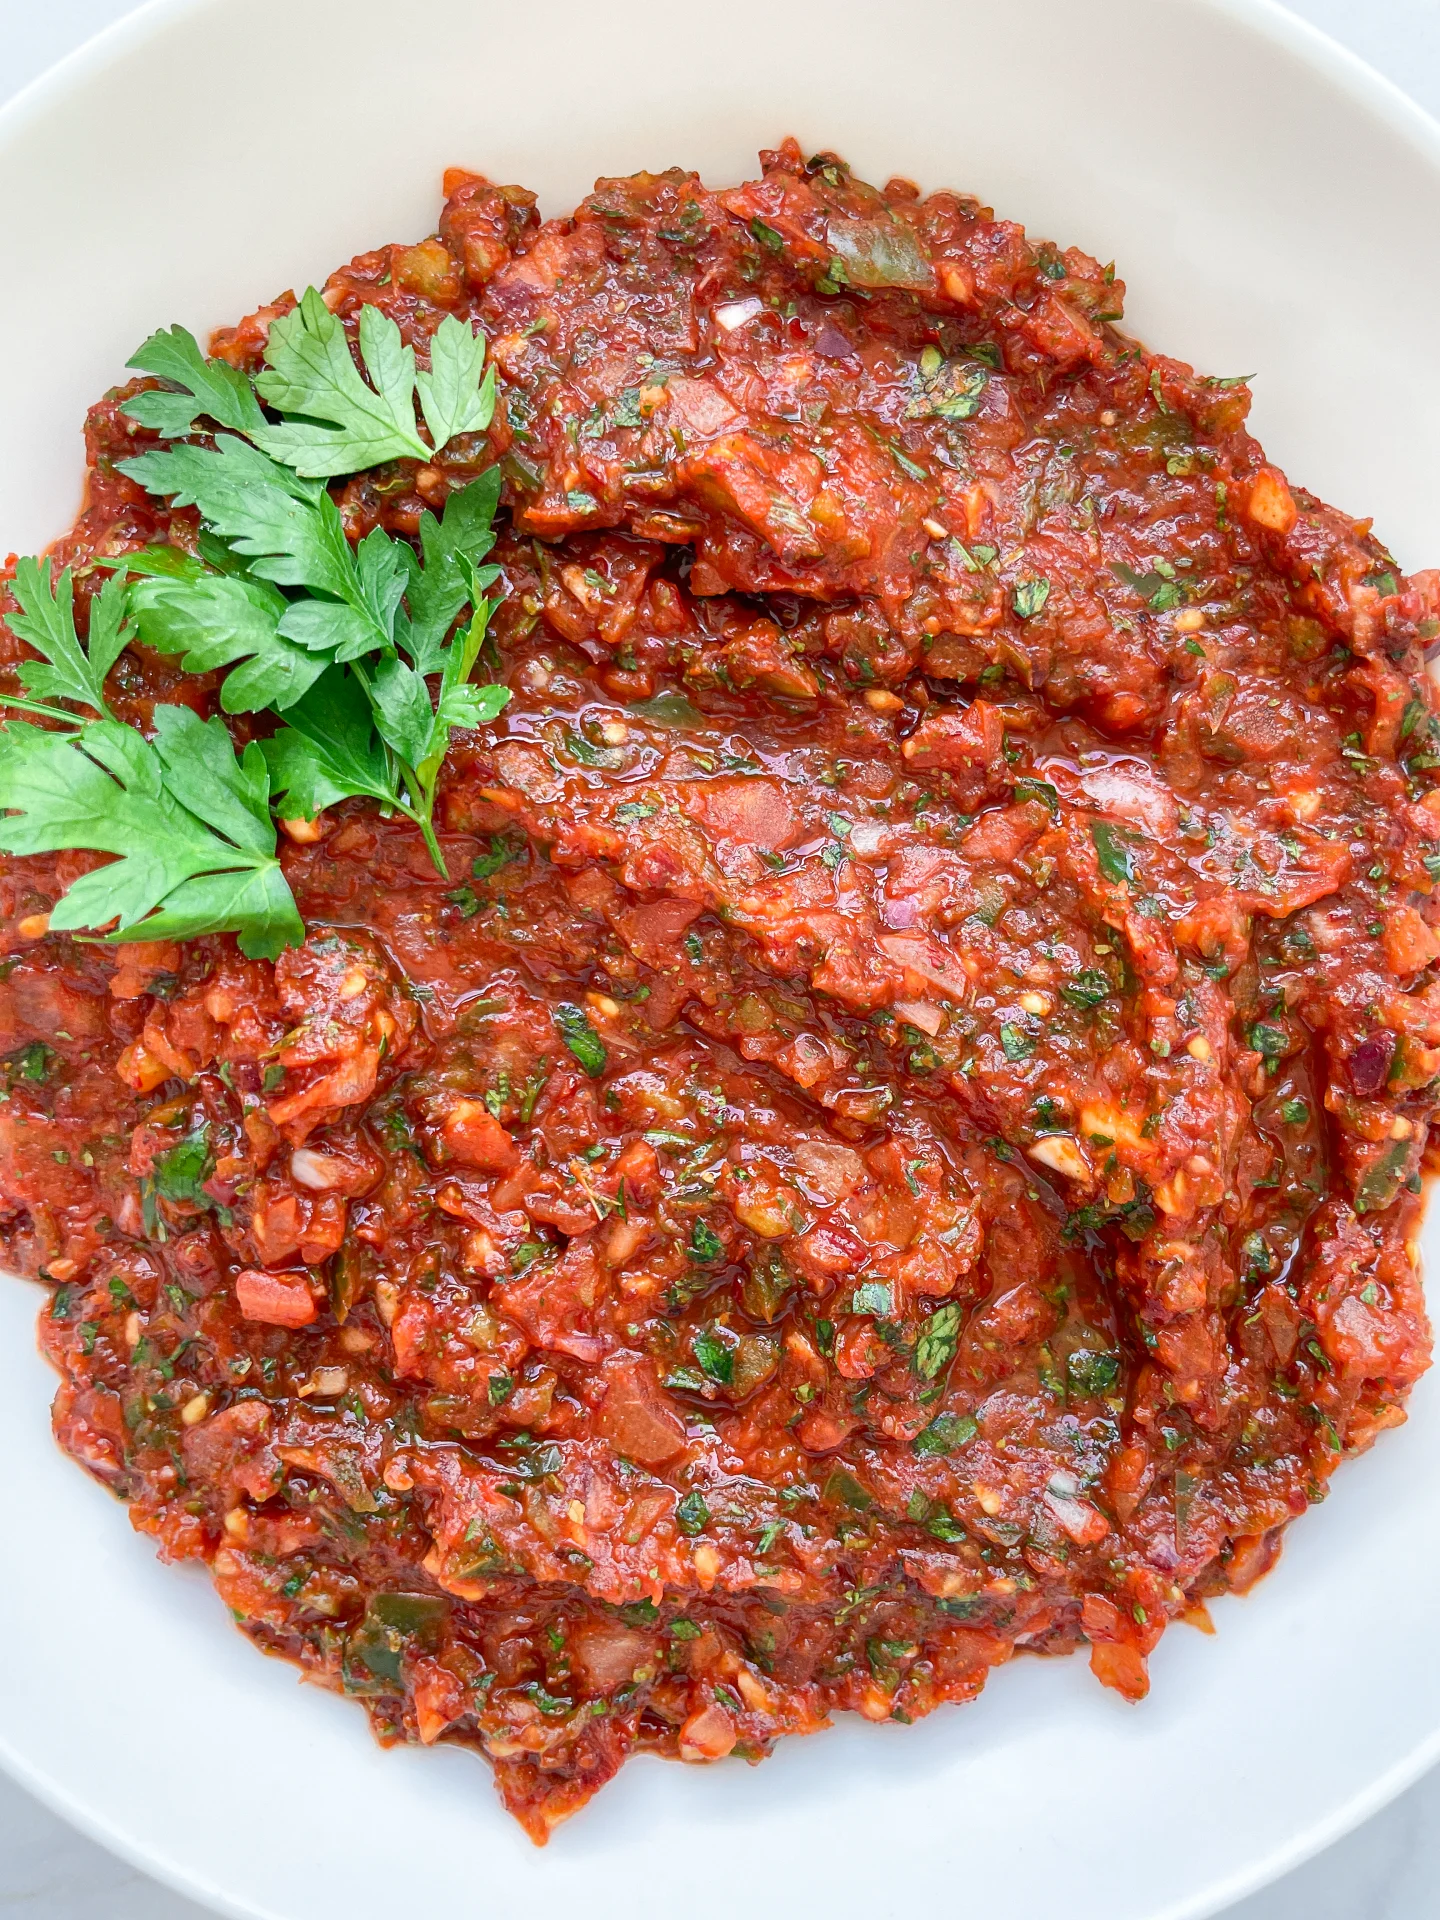


Description
RECOMMENDED EQUIPMENT
- small bowl
- fork
Ingredients
Units Scale
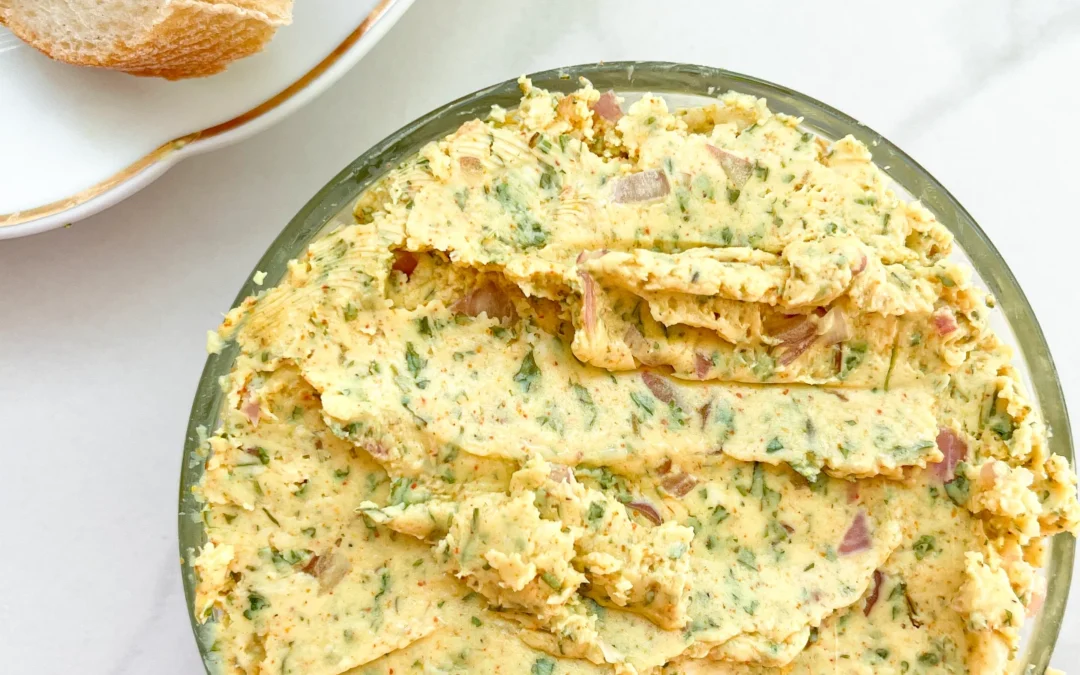
- 150 grams butter
- 1 tbsp dried parsley
- 1/2 tsp curry powder
- 1/4 tsp dried dill
- 1/4 tsp paprika powder
- 1/4 tsp dried marjoram
- 1/4 tsp salt
- 1/4 tsp garlic powder
- 1/8 tsp dried thyme
- 1/8 tsp dried rosemary
- 1/8 tsp ground black pepper
Instructions
- Let the butter come to room temperature. Mix butter and all herbs and spices together in a bowl. Mix everything well. Taste and adjust seasoning as needed. Roll the butter in parchment paper or place it in a bowl.
- Cook Time: 10 min