Cured Egg Yolk

Cured Egg Yolk

Cured Egg Yolk

Cured Egg Yolk

March 22, 2024 by Kimberly

Discover the unique, umami-rich world of cured egg yolks! Elevate your dishes with this simple, gourmet addition. A culinary secret for a luxurious, savory flavor boost!

This website uses affiliate links which may earn commission for purchases made at no additional cost to you.

TOTAL TIME

80 min + 5 days

SERVES

6 yolks

DIET

vegetarian

EVERY RECIPE DESERVES

A Little Love Letter

Embark on a culinary adventure with cured egg yolks, an artisanal delight that transforms ordinary meals into gourmet experiences. This luxurious ingredient, known for its rich umami flavor and silky texture, is surprisingly simple to make at home. Perfect for food enthusiasts looking to add a touch of elegance and depth to their dishes, cured egg yolks will become your new secret weapon in the kitchen.

Grate cured egg yolks over pasta, salads, pizza or soups to add a burst of savory flavor and a touch of sophistication. Use them to enhance the taste of roasted vegetables or to elevate your morning avocado toast. Their rich, salty taste complements a wide range of dishes, making them a versatile addition to your culinary repertoire.

Keep your cured egg yolks in an airtight container in the refrigerator. They can last for up to a month, retaining their flavor and texture. Ensure they are fully dried and cured before storage to maintain their quality.

Hi, I'm Kimberly!

Hi, I'm Kimberly.

A hopeless romantic when it comes to food. Every recipe I share is a love letter to food itself. I’m so glad you’re here. Make yourself at home and stay a while.

Love,
Kimberly

Kimberly the Zett Signature

If you want to get to know me better,
click here!


Cured Egg Yolk
Cured Egg Yolk

LET’S MAKE A PIECE OF HAPPINESS

Print
clock clock iconcutlery cutlery iconflag flag iconfolder folder iconinstagram instagram iconpinterest pinterest iconfacebook facebook iconprint print iconsquares squares iconheart heart iconheart solid heart solid icon
Cured Egg Yolk

Cured Egg Yolk


5 Stars 4 Stars 3 Stars 2 Stars 1 Star

No reviews

  • Author: Kimberly
  • Total Time: 5 days + 20 min
  • Yield: 6

Description

GOOD TO HAVE ON HAND

  • shallow deep dish
  • oven


Ingredients

Units Scale
  • 6 fresh eggs
  • 500 grams to 1000 grams fine-grained salt (depending on the size of your container)

Instructions

  1. Distribute the half of your fine-grained salt evenly in the shallow deep container and form six wells for the egg yolks. You should not be able to see the bottom. The wells should be completely formed out of salt, ensuring that the egg yolks are completely surrounded by salt.
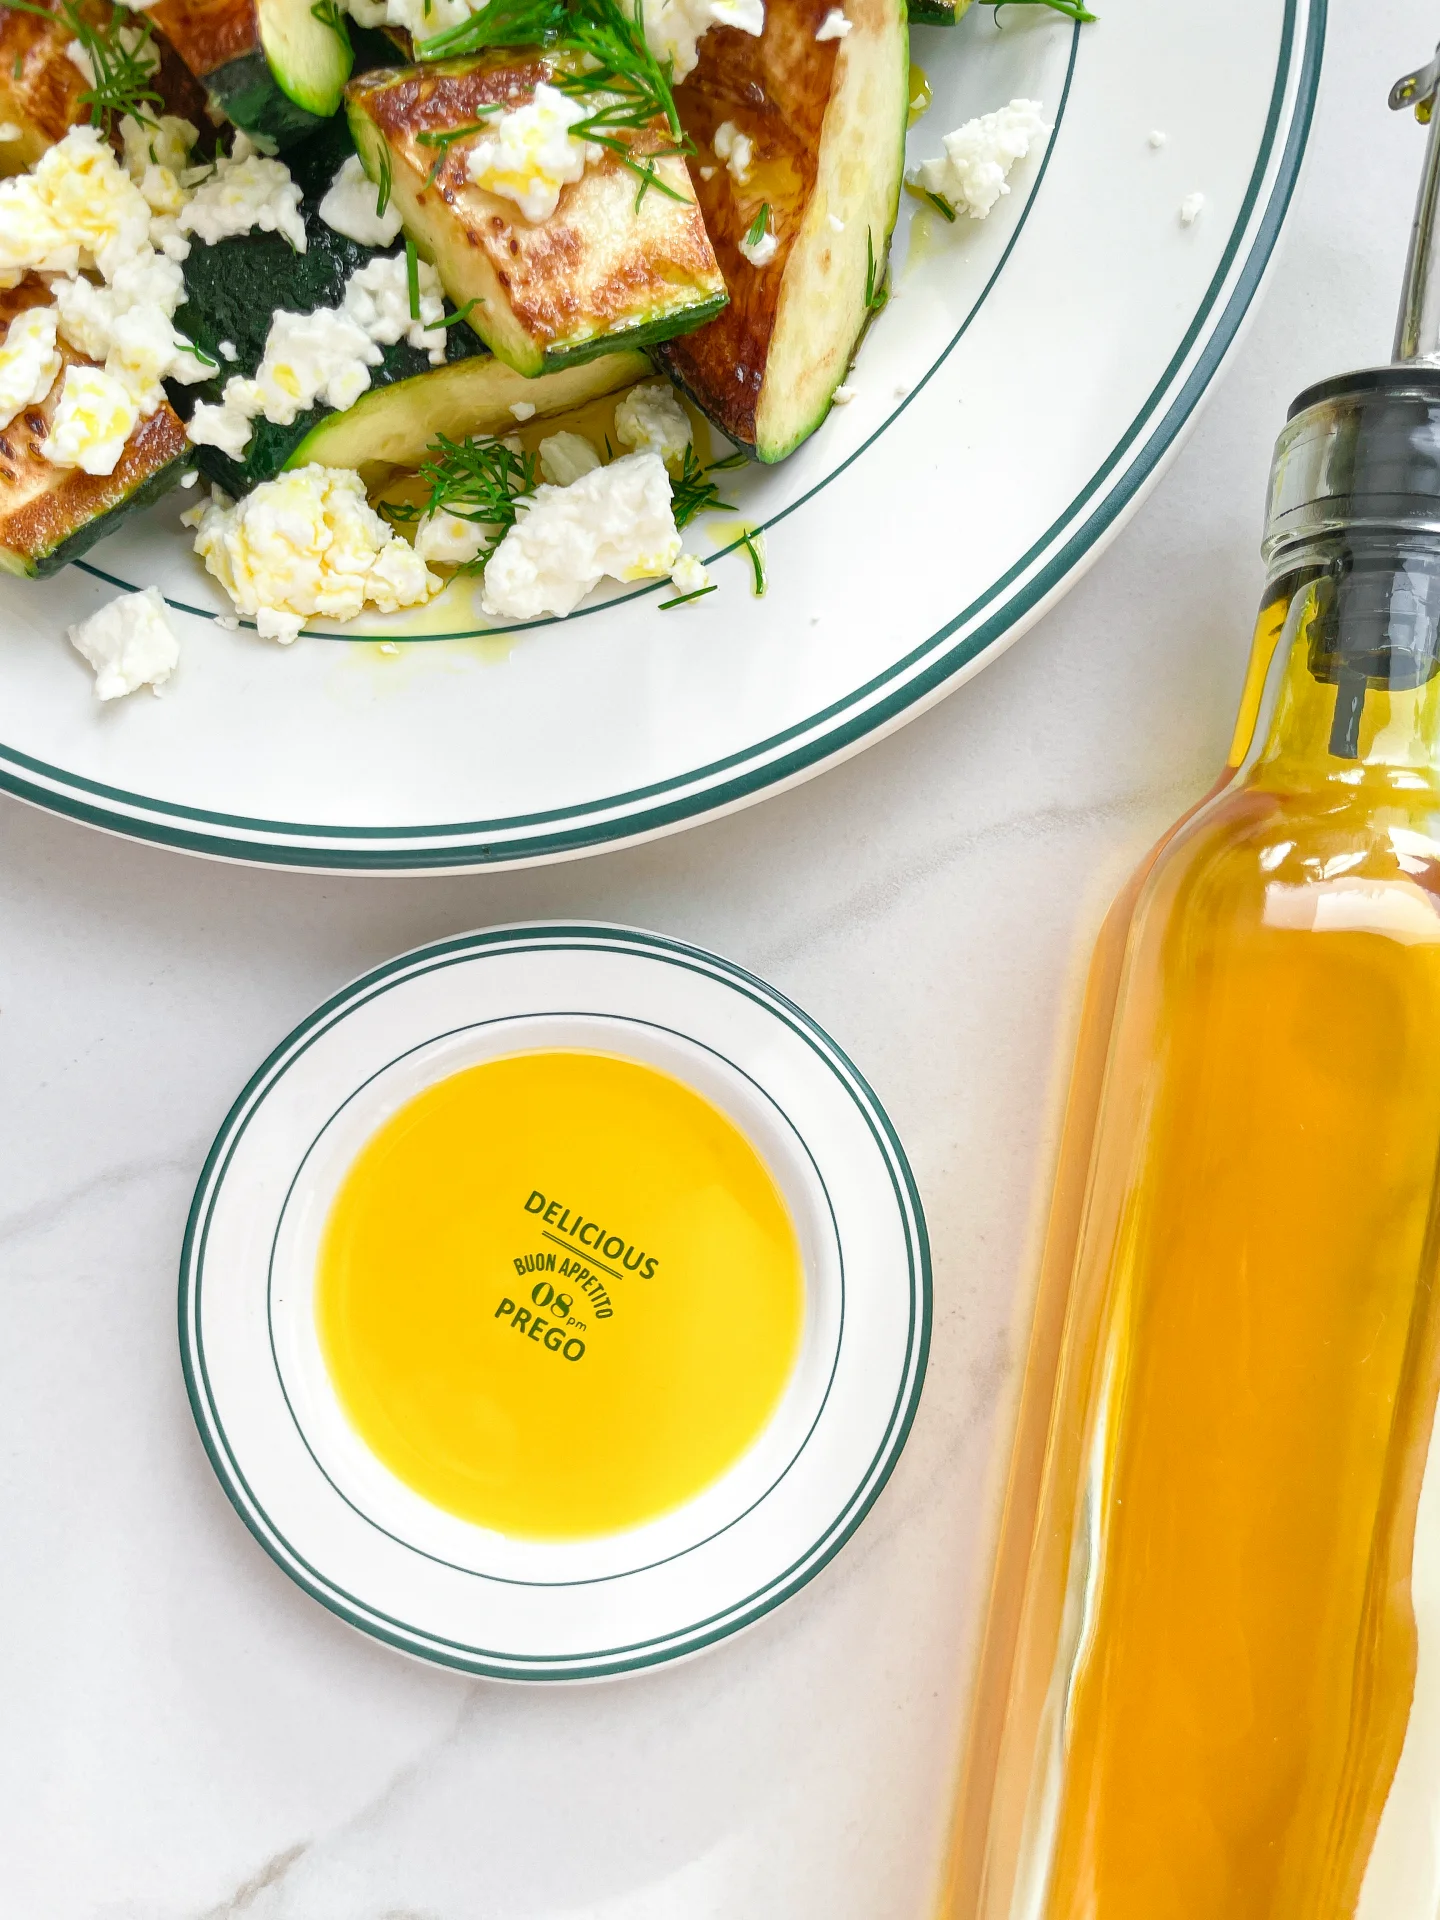
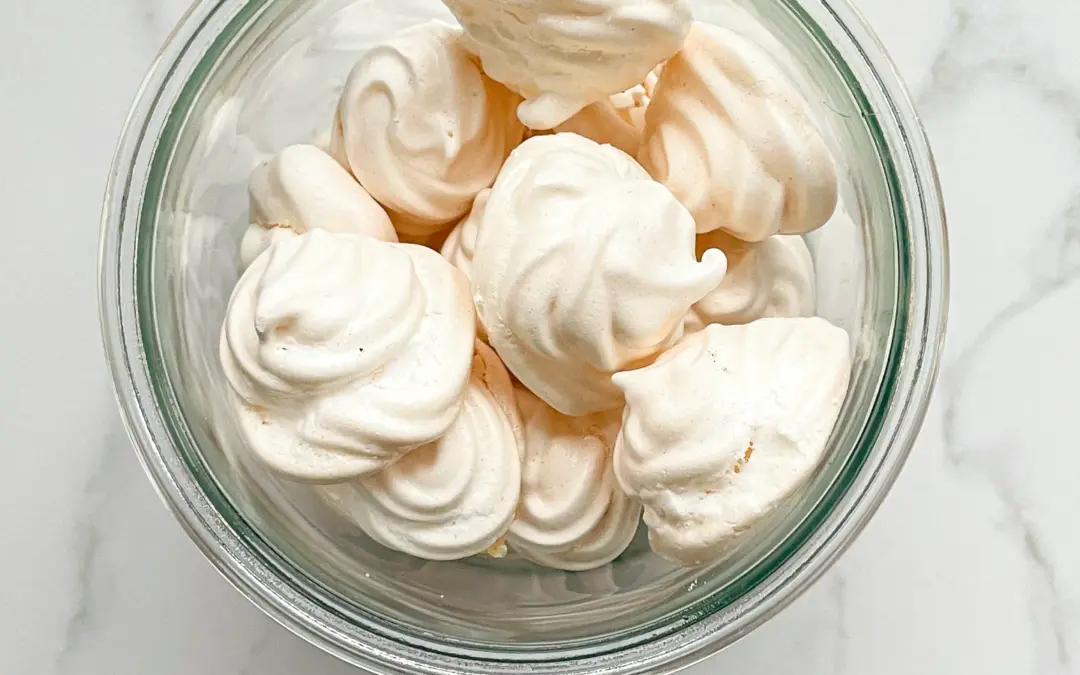
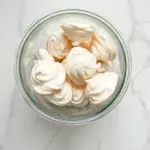
  2. Separate one egg at a time. Carefully let the yolks slide into the wells in the salt. Do not discard the egg whites – they can be used for making meringue or egg white omelet, for example.
  3. Once you have placed all the egg yolks into the wells, cover them with the other half of fine-grained salt and put them in the refrigerator for 5 days.
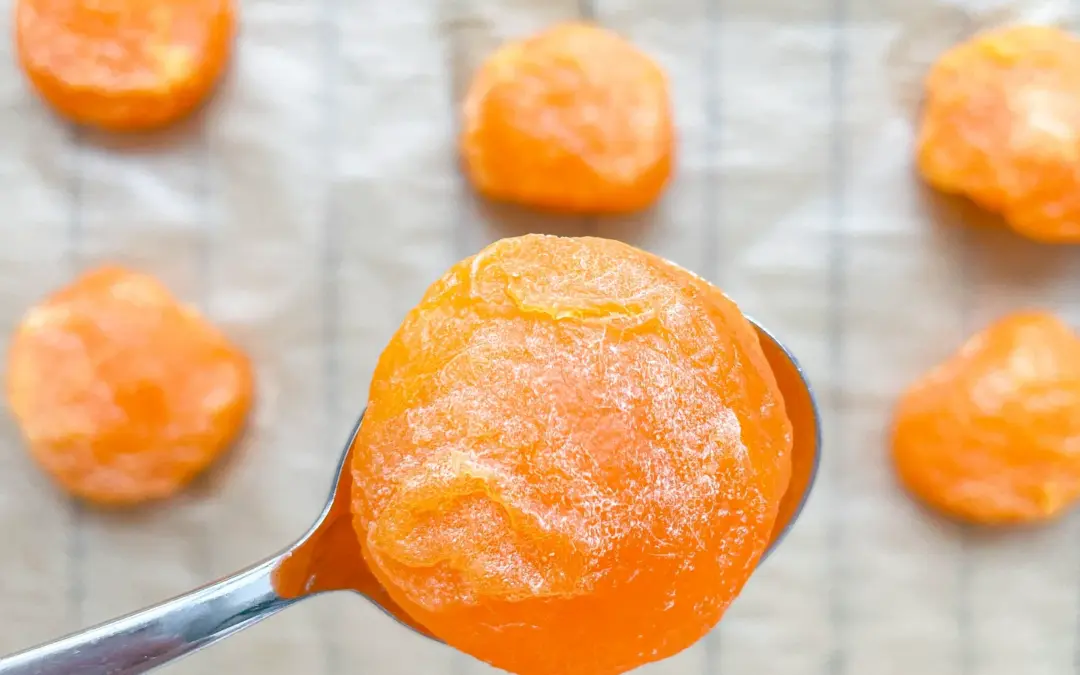
  4. After 5 days, take your container with the egg yolks out of the refrigerator and carefully remove the yolks from the salt. The yolk will now be very sticky and feel a bit like firmer hair gel. Rinse off the remaining salt from each yolk under cold water. Place the egg yolks on a baking rack lined with parchment paper and dry them in the oven at approximately 80°C (175°F) for one hour. Occasionally open the oven door for a few seconds to let all the moisture escape.
  5. Once the egg yolks are fully dried, remove them from the oven and let them cool completely.
  6. The egg yolks are now firm and ready to use. The cured egg yolks can be stored in a sealable glass jar in the refrigerator for 3-4 weeks. And I like to grate a bit of them over every savory dish 🙂
  • Passive Time: 5 days
  • Cook Time: 20 min

CRAVING MORE?

Follow along here & don’t forget to subscribe to my substack!

Basic Meringues

Basic Meringues

Basic Meringues

Basic Meringues

March 9, 2024 by Kimberly

This melt-in-your-mouth meringue is the perfect treat. Enjoy the crisp exterior and soft, marshmallow-like interior. Pure, sugary bliss awaits!

This website uses affiliate links which may earn commission for purchases made at no additional cost to you.

TOTAL TIME

1 hr + 40 min

SERVES

30 pieces

DIET

vegetarian

EVERY RECIPE DESERVES

A Little Love Letter

Dive into the ethereal world of Baiser, the classic French meringue that’s as enchanting as it is sweet. These light, airy treats are a testament to the elegance of simplicity in baking. Perfect for those who love a crisp, sugary crunch with a soft, tender heart. Whether you’re a novice or an expert baker, this easy Meringue recipe will add a touch of sophistication to your dessert repertoire.

Serve your freshly baked Meringue as a standalone sweet treat, or pair it with fresh berries and a dollop of whipped cream for an exquisite dessert. They’re the perfect finale to a sophisticated dinner or a delightful addition to your afternoon tea. For an extra indulgent twist, dip them in dark chocolate or sandwich with lemon curd. Let these delicate confections be the star of your next gathering!

Store your Baiser in an airtight container at room temperature to maintain its crispness. Avoid humidity to keep them from becoming sticky. Enjoy these heavenly meringues within a week for the best texture and flavor experience.

Hi, I'm Kimberly!

Hi, I'm Kimberly.

A hopeless romantic when it comes to food. Every recipe I share is a love letter to food itself. I’m so glad you’re here. Make yourself at home and stay a while.

Love,
Kimberly

Kimberly the Zett Signature

If you want to get to know me better,
click here!


Basic Meringues
Basic Meringues

LET’S MAKE A PIECE OF HAPPINESS

Print
.tasty-recipe-responsive-iframe-container-0fcdb80b { position: relative; overflow: hidden; padding-top: 177.62%; } .tasty-recipe-responsive-iframe-container-0fcdb80b iframe { position: absolute; top: 0; left: 0; width: 100%; height: 100%; border: 0; } clock clock iconcutlery cutlery iconflag flag iconfolder folder iconinstagram instagram iconpinterest pinterest iconfacebook facebook iconprint print iconsquares squares iconheart heart iconheart solid heart solid icon
Basic Meringues

Basic Meringues


  • Author: Kimberly
  • Total Time: 100 min
  • Yield: 30

Description

GOOD TO HAVE ON HAND

  • mixer
  • large bowl
  • piping bag with star nozzle (or two spoons)
  • sealable container


Ingredients

Units Scale
  • 6 fresh eggs
  • 300 grams sugar
  • pinch of salt

Instructions

  1. Line two baking trays with parchment paper
  2. Preheat the oven to 100°C (210°F) with convection (fan-assisted)
  3. Separate the egg whites from the yolks and start to whisk the egg whites in a grease-free bowl. Do not throw away the egg yolks. You can make cured egg yolks from them, for example. Once the egg whites start to foam, gradually add the sugar and continue to whisk until stiff. Once the sugar has dissolved and the meringue has become almost blue-white and glossy, you can tell that the meringue is ready when long peaks form on the mixer attachment.
  4. Next, fill the meringue into a piping bag with a star nozzle. If you do not have a piping bag, you can also shape the meringue with two spoons. Use the piping bag to form small mounds on the parchment paper in circular motions.
  5. Place the baking trays in the oven and bake for approximately 80-100 minutes (depending on the size). Occasionally open the oven door for a few seconds to allow moisture to escape. Ensure that the meringues do not turn brownish.
  6. The meringues are ready when they can be easily lifted off the parchment paper. Remove the trays from the oven and let them cool completely.
  7. Store the meringues in an airtight container to keep them fresh for several months.
  • Passive Time: 80 min
  • Cook Time: 20 min

CRAVING MORE?

Follow along here & don’t forget to subscribe to my substack!

Oeuf Cocotte with Cream & Herbs (Baked Eggs)

Oeuf Cocotte with Cream & Herbs (Baked Eggs)

Oeuf Cocotte with Cream & Herbs

Oeuf Cocotte with Cream & Herbs (Baked Eggs)

March 2, 2024 by Kimberly

Indulge in the heartwarming delight of Oeuf Cocotte! A simple, nutritious, and delicious start to your day. Embrace the taste of French elegance in every bite.

This website uses affiliate links which may earn commission for purchases made at no additional cost to you.

TOTAL TIME

20 min

SERVES

1 portion

DIET

vegetarian

EVERY RECIPE DESERVES

A Little Love Letter

Discover the joy of French cooking with my simple Oeuf Cocotte recipe! Perfect for a delightful breakfast or a cozy brunch, this dish is not only easy to make but also bursting with flavors. Dive into the elegance of French cuisine and impress your family with this gourmet yet straightforward recipe. Ideal for anyone looking to elevate their morning routine!

Serve your Oeuf Cocotte straight from the oven, nestled in their little pots for a touch of French elegance. Accompany them with slices of crusty bread or a fresh salad for a balanced meal. Perfect for a lazy weekend brunch or a special breakfast, these baked eggs will become your go-to. Garnish with fresh herbs or a sprinkle of cheese for that extra flair!

I do not recommend to store the cooked dish. It’s better to enjoy your delicious breakfast creation even on busy mornings straight out of the oven!

Hi, I'm Kimberly!

Hi, I'm Kimberly.

A hopeless romantic when it comes to food. Every recipe I share is a love letter to food itself. I’m so glad you’re here. Make yourself at home and stay a while.

Love,
Kimberly

Kimberly the Zett Signature

If you want to get to know me better,
click here!


Oeuf Cocotte with Cream & Herbs

LET’S MAKE A PIECE OF HAPPINESS

Print
.tasty-recipe-responsive-iframe-container-ddd8ebe9 { position: relative; overflow: hidden; padding-top: 177.62%; } .tasty-recipe-responsive-iframe-container-ddd8ebe9 iframe { position: absolute; top: 0; left: 0; width: 100%; height: 100%; border: 0; } clock clock iconcutlery cutlery iconflag flag iconfolder folder iconinstagram instagram iconpinterest pinterest iconfacebook facebook iconprint print iconsquares squares iconheart heart iconheart solid heart solid icon
Oeuf Cocotte with Cream & Herbs

Oeuf Cocotte with Cream & Herbs (Baked Eggs)


  • Author: Kimberly
  • Total Time: 20 min
  • Yield: 1

Description

GOOD TO HAVE ON HAND

  • sharp knife
  • cutting board
  • small ovenproof dish


Ingredients

Units Scale
BAKED EGGS
  • 2 eggs
  • 1 tbsp cream
  • 1.5 tsp herb cream cheese
TOPPINGS
  • 30 grams baguette
  • chives
  • salt & pepper

Instructions

  1. Crack two eggs into a small ovenproof dish. Spread a tablespoon of cream on top, as well as 1.5 teaspoons of herb cream cheese. Place the dish in the oven at 180°C (350°F) for about 18 minutes.
  2. Meanwhile, cut the chives into rolls and the baguette into slices.
  3. When the eggs are ready, take them out of the oven and top with salt, pepper and chives. Chive oil also goes very well. Enjoy with fresh baguette for dipping.
  • Passive Time: 15 min
  • Cook Time: 5 min

CRAVING MORE?

Follow along here & don’t forget to subscribe to my substack!

Sandwich with Ham Tomato Fried Egg & Pickle Salsa (Strammer Max)

Sandwich with Ham Tomato Fried Egg & Pickle Salsa (Strammer Max)

Sandwich with Ham Tomato Fried Egg and Pickle Salsa (Strammer Max)

Sandwich with Ham Tomato Fried Egg and Pickle Salsa (Strammer Max)

December 24, 2023 by Kimberly

A variation on „Strammer Max“: ham and eggs on bread with a little twist. Simple, tasty and a delicious breakfast.

This website uses affiliate links which may earn commission for purchases made at no additional cost to you.

TOTAL TIME

15 min

SERVES

2 portions

DIET

omnivore

EVERY RECIPE DESERVES

A Little Love Letter

The „Stramme Max“ is originally a German dish traditionally served as a slice of sourdough bread with ham and fried eggs. There are countless variations and modifications, as it is super simple and makes a delicious breakfast. Here you will find my version as a slightly crisper one with fresh tomatoes and my pickle & red onion salsa as well as a freshly baked ciabatta bun. Let’s enjoy this bun of happiness.

To serve Strammer Max, start by toasting a slice of your favorite bread. Fry eggs to your desired doneness. Place the ham and eggs on the toasted bread. Add a touch of freshness with sliced tomatoes and a zesty pickle and red onion salsa. Serve it open-faced for a picturesque presentation.

While Strammer Max is best enjoyed fresh, you can prepare components in advance. Store ham and eggs separately in airtight containers in the refrigerator. Assemble just before serving to maintain the ideal texture. If you have leftover Strammer Max, refrigerate it, but be aware that the bread may lose its crispiness upon reheating.

Hi, I'm Kimberly!

Hi, I'm Kimberly.

A hopeless romantic when it comes to food. Every recipe I share is a love letter to food itself. I’m so glad you’re here. Make yourself at home and stay a while.

Love,
Kimberly

Kimberly the Zett Signature

If you want to get to know me better,
click here!


Sandwich with Ham Tomato Fried Egg and Pickle Salsa (Strammer Max)

LET’S MAKE A PIECE OF HAPPINESS

Print
.tasty-recipe-responsive-iframe-container-b6529bee { position: relative; overflow: hidden; padding-top: 177.62%; } .tasty-recipe-responsive-iframe-container-b6529bee iframe { position: absolute; top: 0; left: 0; width: 100%; height: 100%; border: 0; } clock clock iconcutlery cutlery iconflag flag iconfolder folder iconinstagram instagram iconpinterest pinterest iconfacebook facebook iconprint print iconsquares squares iconheart heart iconheart solid heart solid icon
Sandwich with Ham Tomato Fried Egg and Pickle Salsa (Strammer Max)

Sandwich with Ham Tomato Fried Egg & Pickle Salsa (Strammer Max)


  • Author: Kimberly
  • Total Time: 15 min
  • Yield: 2

Description

GOOD TO HAVE ON HAND

  • sharp knife
  • cutting board
  • small pan


Ingredients

Units Scale
  • 1 ciabatta bun
  • 1 tbsp butter
  • 4 tbsp pickles & red onion salsa
  • 50 grams deli ham
  • 2 tsp sweet mustard
  • 2 eggs
  • 1 tomato
  • chives
  • salt
  • pepper

Instructions

  1. Prepare the pickles & red onion salsa.
  2. Cut the ciabatta bun lengthwise down the middle.
  3. Cut the tomato into thin slices.
  4. Cut the chives into rolls.
  5. Melt 1 teaspoon of butter in a pan, crack in 2 eggs and fry over a medium heat until the egg whites are fully cooked but the yolks are still runny.
  6. Meanwhile, spread the rest of the butter and sweet mustard on the bun halves. Now place the ham and tomato slices on top of it.
  7. Place the fried egg on top, season with salt and pepper and top with the pickles and red onion salsa and some fresh chives.
  • Cook Time: 15 min

CRAVING MORE?

Follow along here & don’t forget to subscribe to my substack!

Gluten-Free Bread From Nuts & Seeds

Gluten-Free Bread From Nuts & Seeds

Gluten-Free Bread From Nuts & Seeds

Gluten-Free Bread From Nuts & Seeds

December 7, 2023 by Kimberly

Enjoy a nutty, seedy bread made with just nuts, seeds, salt, oil, and eggs. Each bite is rich and hearty, providing a delicious and wholesome flavor experience. And I promise: you can’t taste the egg at all!

This website uses affiliate links which may earn commission for purchases made at no additional cost to you.

TOTAL TIME

1 hr + 10 min

SERVES

18 slices

DIET

vegetarian

EVERY RECIPE DESERVES

A Little Love Letter

Experience a nutritious bread crafted solely from nuts, seeds, salt, oil, and eggs. This wholesome blend delivers a rich and hearty flavor, providing a satisfying, protein-packed option for those seeking a gluten-free and flavorful bread. Simple yet nutritious, it ensures a fulfilling treat without compromising on taste. And the best is: you can’t taste the egg at all!

Enjoy this nutritious bread in different ways! Toast it with simple butter for breakfast or pair it with cheese and fruits for a tasty snack. The rich, nutty flavor also goes well with soups and salads, adding a satisfying crunch. Whether on its own or part of a snack spread, this bread suits everyone’s taste, making it a yummy addition to any meal.

Store this nutritious bread in a bread box, preferably wrapped in parchment paper to prevent moisture buildup. For extended freshness, freeze it in slices with parchment paper between layers. Thaw in the refrigerator and toast for a delicious experience whenever you’re ready to enjoy.

Hi, I'm Kimberly!

Hi, I'm Kimberly.

A hopeless romantic when it comes to food. Every recipe I share is a love letter to food itself. I’m so glad you’re here. Make yourself at home and stay a while.

Love,
Kimberly

Kimberly the Zett Signature

If you want to get to know me better,
click here!


Gluten-Free Bread From Nuts & Seeds

LET’S MAKE A PIECE OF HAPPINESS

Print
.tasty-recipe-responsive-iframe-container-adfe142a { position: relative; overflow: hidden; padding-top: 177.62%; } .tasty-recipe-responsive-iframe-container-adfe142a iframe { position: absolute; top: 0; left: 0; width: 100%; height: 100%; border: 0; } clock clock iconcutlery cutlery iconflag flag iconfolder folder iconinstagram instagram iconpinterest pinterest iconfacebook facebook iconprint print iconsquares squares iconheart heart iconheart solid heart solid icon
Gluten-Free Bread From Nuts & Seeds

Gluten-Free Bread From Nuts & Seeds


  • Author: Kimberly
  • Total Time: 70 min
  • Yield: 18 slices

Description

RECOMMENDED EQUIPMENT

  • medium sized bowl
  • ovenproof dish (I used a loaf pan 25x10cm (10×4 inch))

Ingredients

Units Scale
  • 5 eggs
  • 1/2 tsp salt
  • 50 milliliters olive oil
  • 100 grams flaxseeds
  • 200 grams mixes nuts
  • 100 grams sunflower seeds
  • 50 grams pumpkin seeds
  • 50 grams white sesame

Instructions

  1. Preheat the oven to 160°C (320°F).
  2. Line the loaf tin with baking paper.
  3. Whisk the 5 eggs with 1/2 tsp salt in a bowl. Meanwhile, add the 50ml (10 tsp) olive oil and mix well.
  4. Pour 100g (1/2 cup + 2 tbsp) flaxseeds , 200g (1 cup + 1/3 cup) mixed nuts, 100g (1/2 cup + 1/4 cup) sunflower seeds, 50g (1/4 cup) pumpkin seeds and 50g (1/3 cup + 2 tsp) white sesame seeds into the bowl with the egg mixture and mix everything together.
  5. Pour the entire mixture onto the baking paper in the loaf tin and spread evenly.
  6. Bake in the oven on the middle shelf for 60 minutes. The bread can be eaten warm, but make sure that the slices are not cut too thinly. Once the bread has cooled, thin slices can also be cut.
  • Passive Time: 60 min
  • Cook Time: 10 min

CRAVING MORE?

Follow along here & don’t forget to subscribe to my substack!