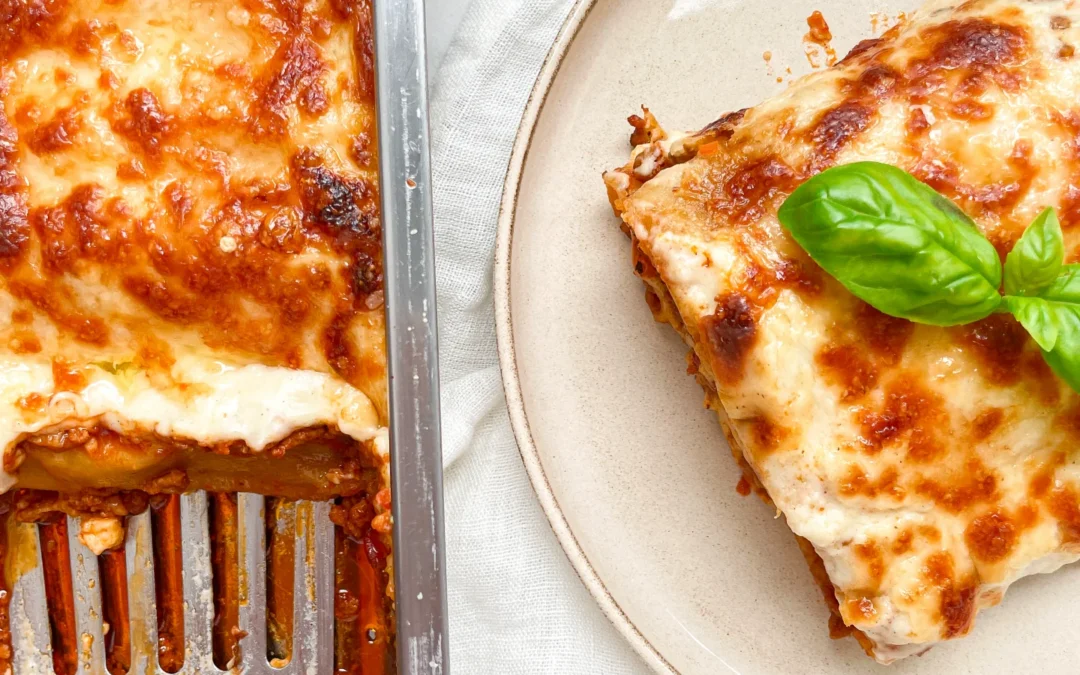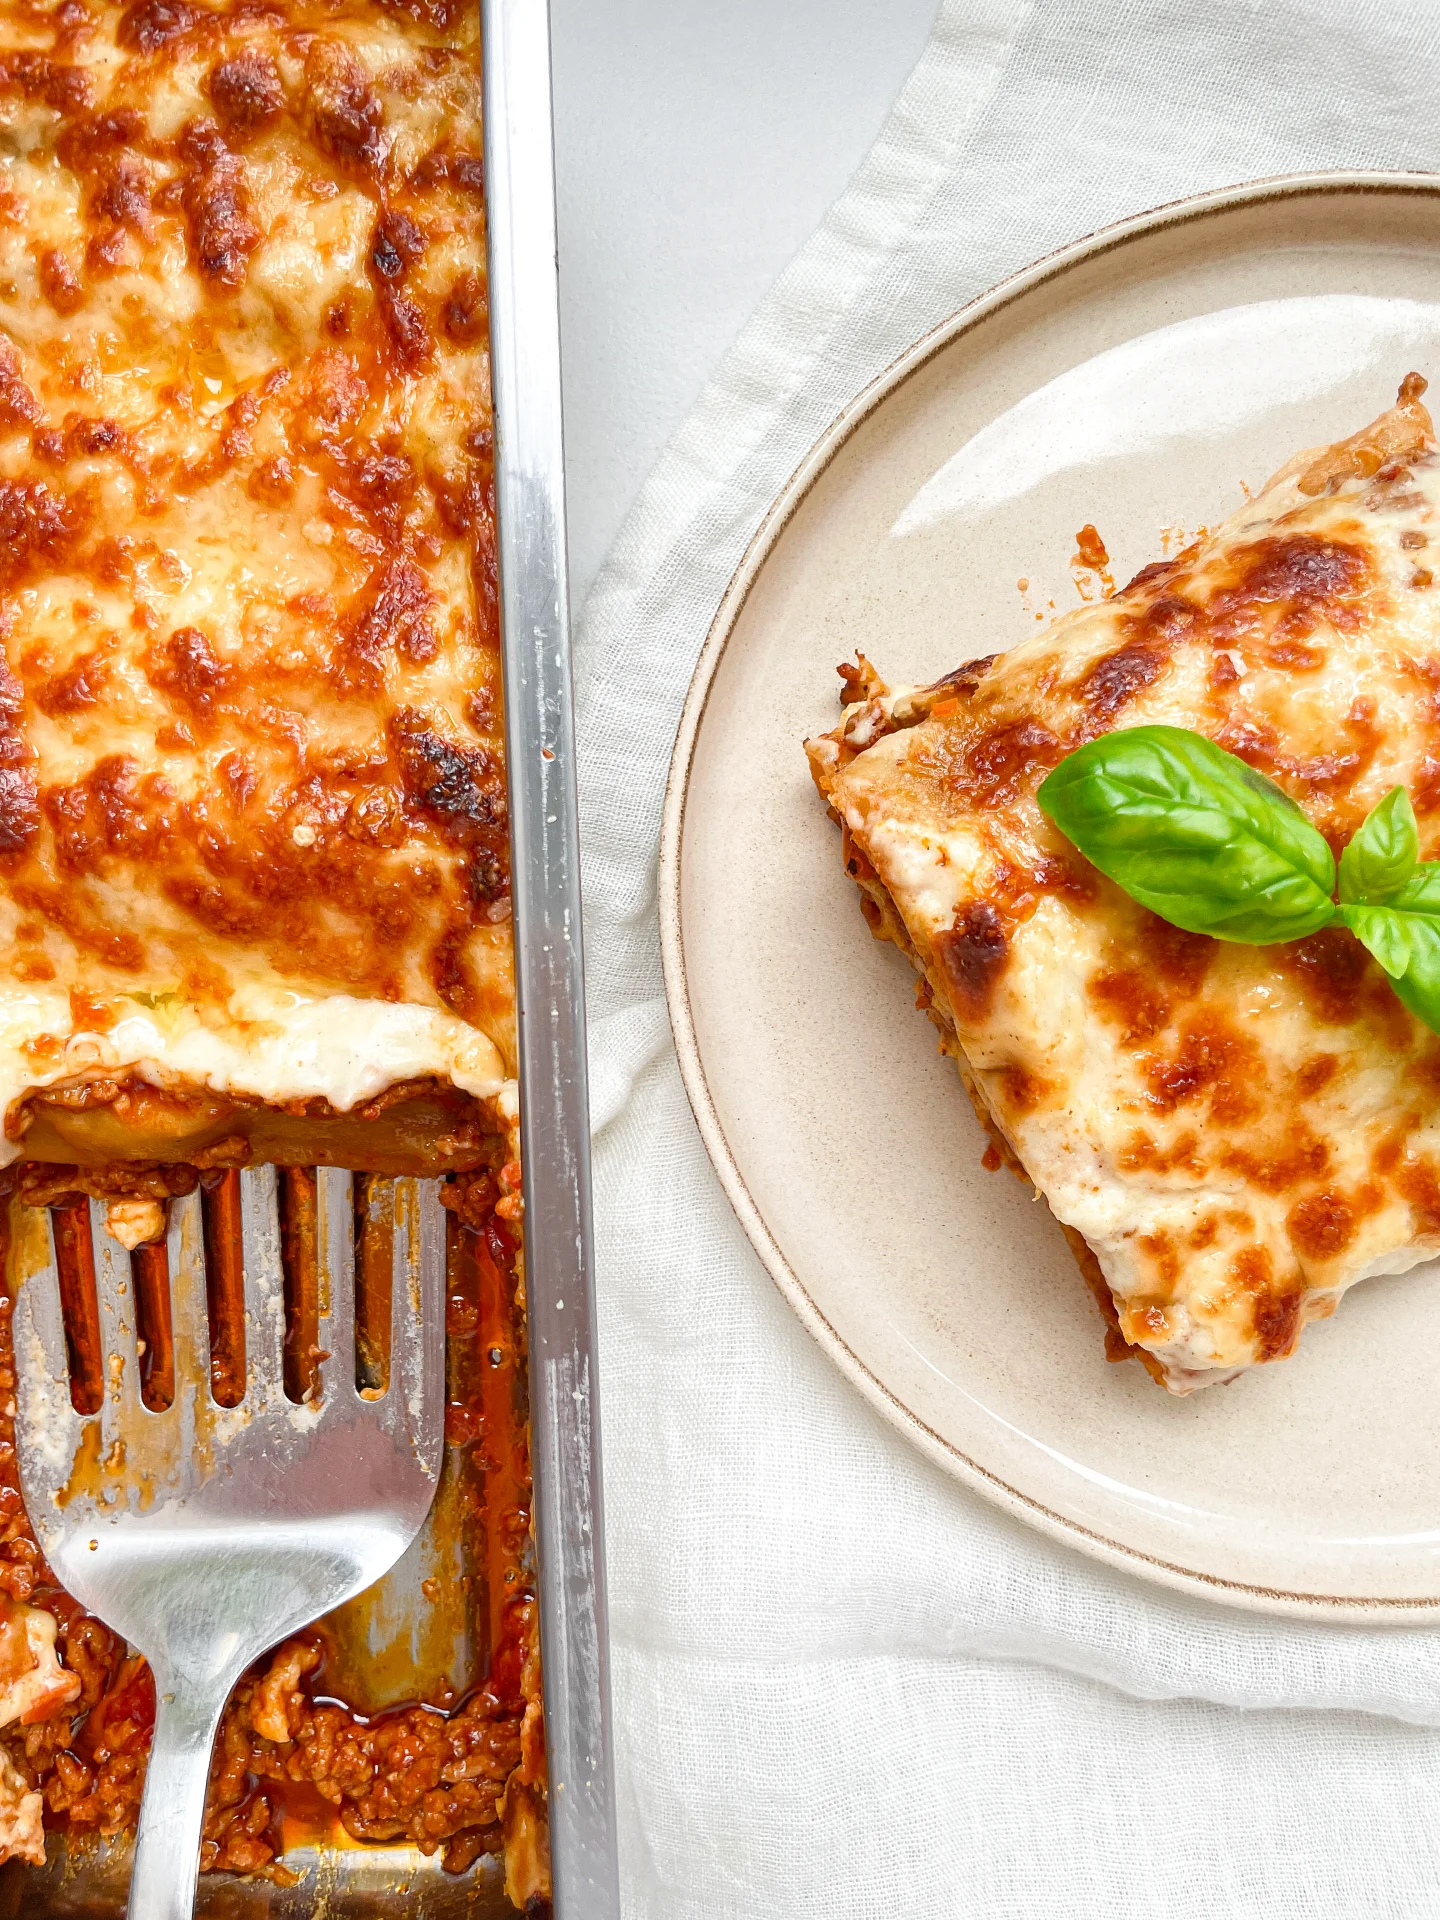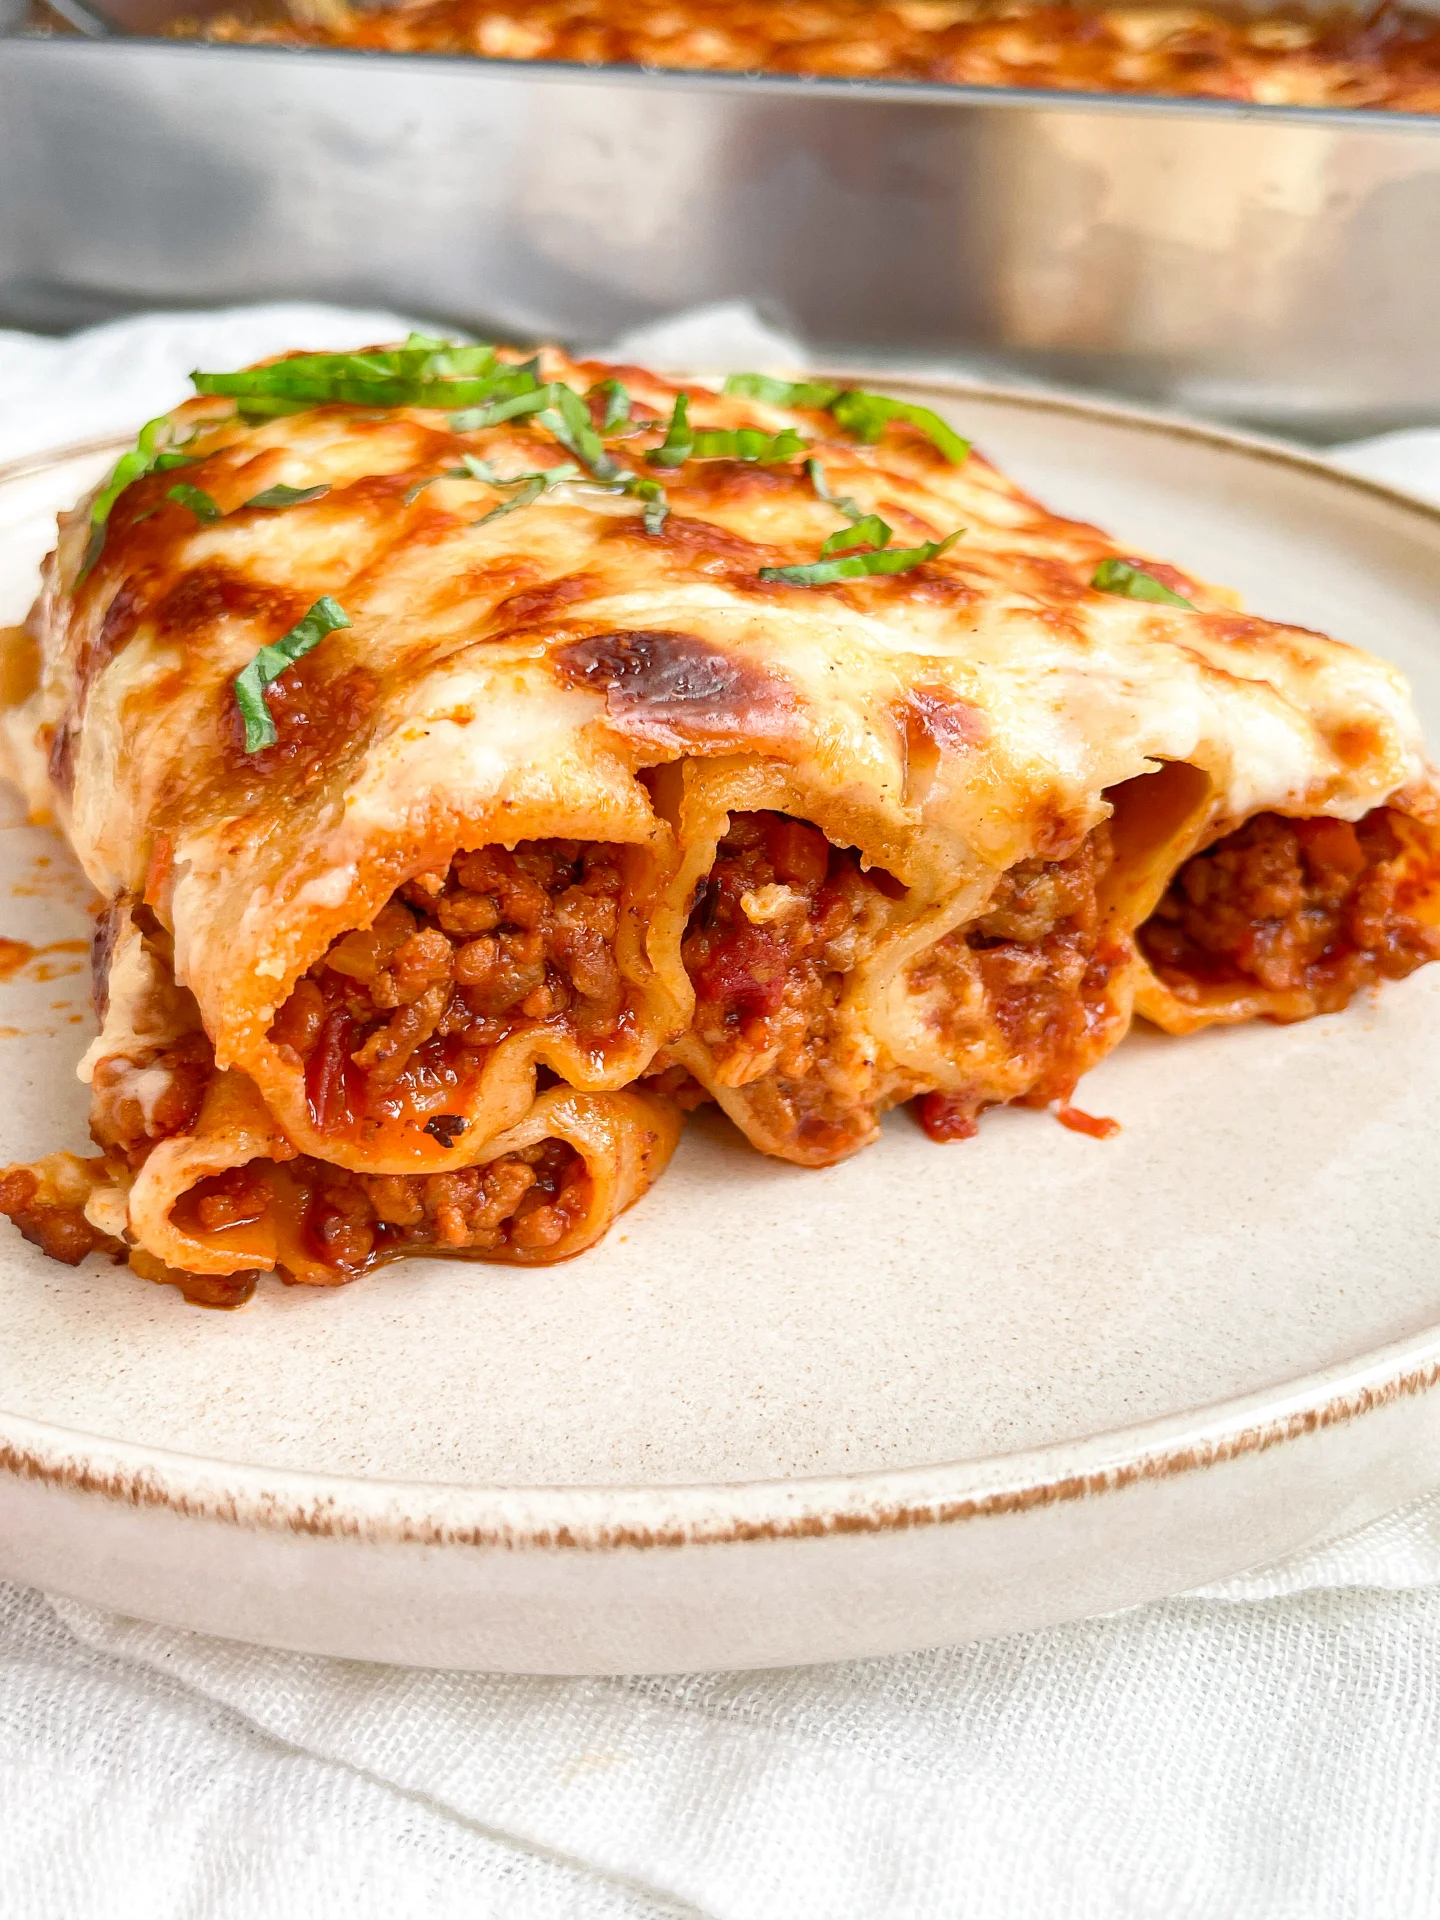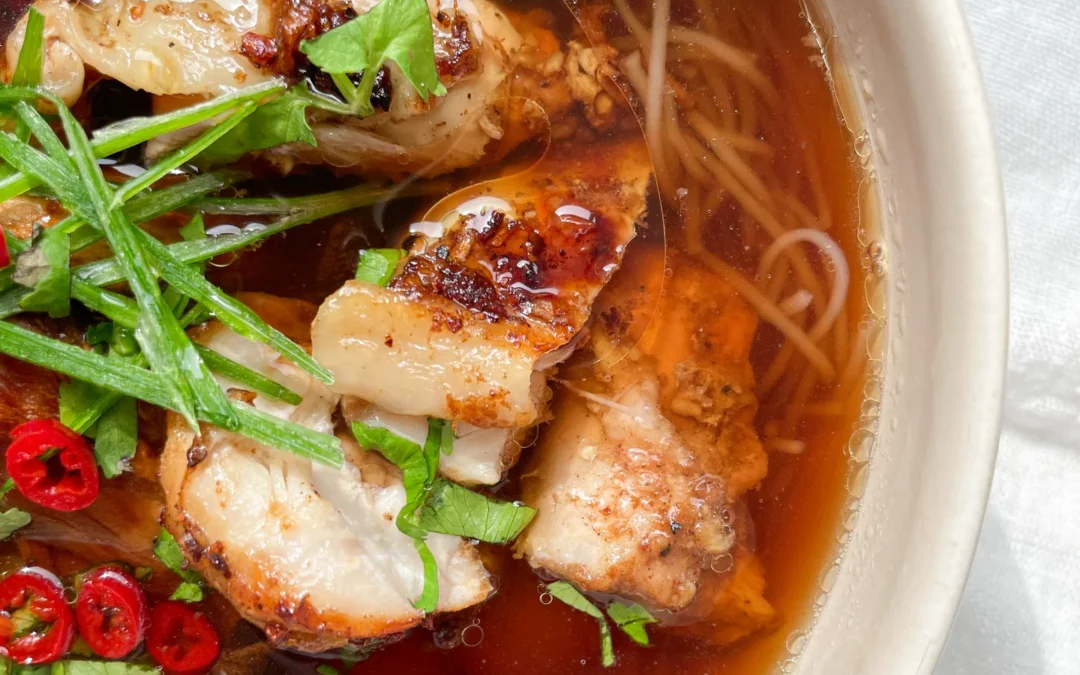
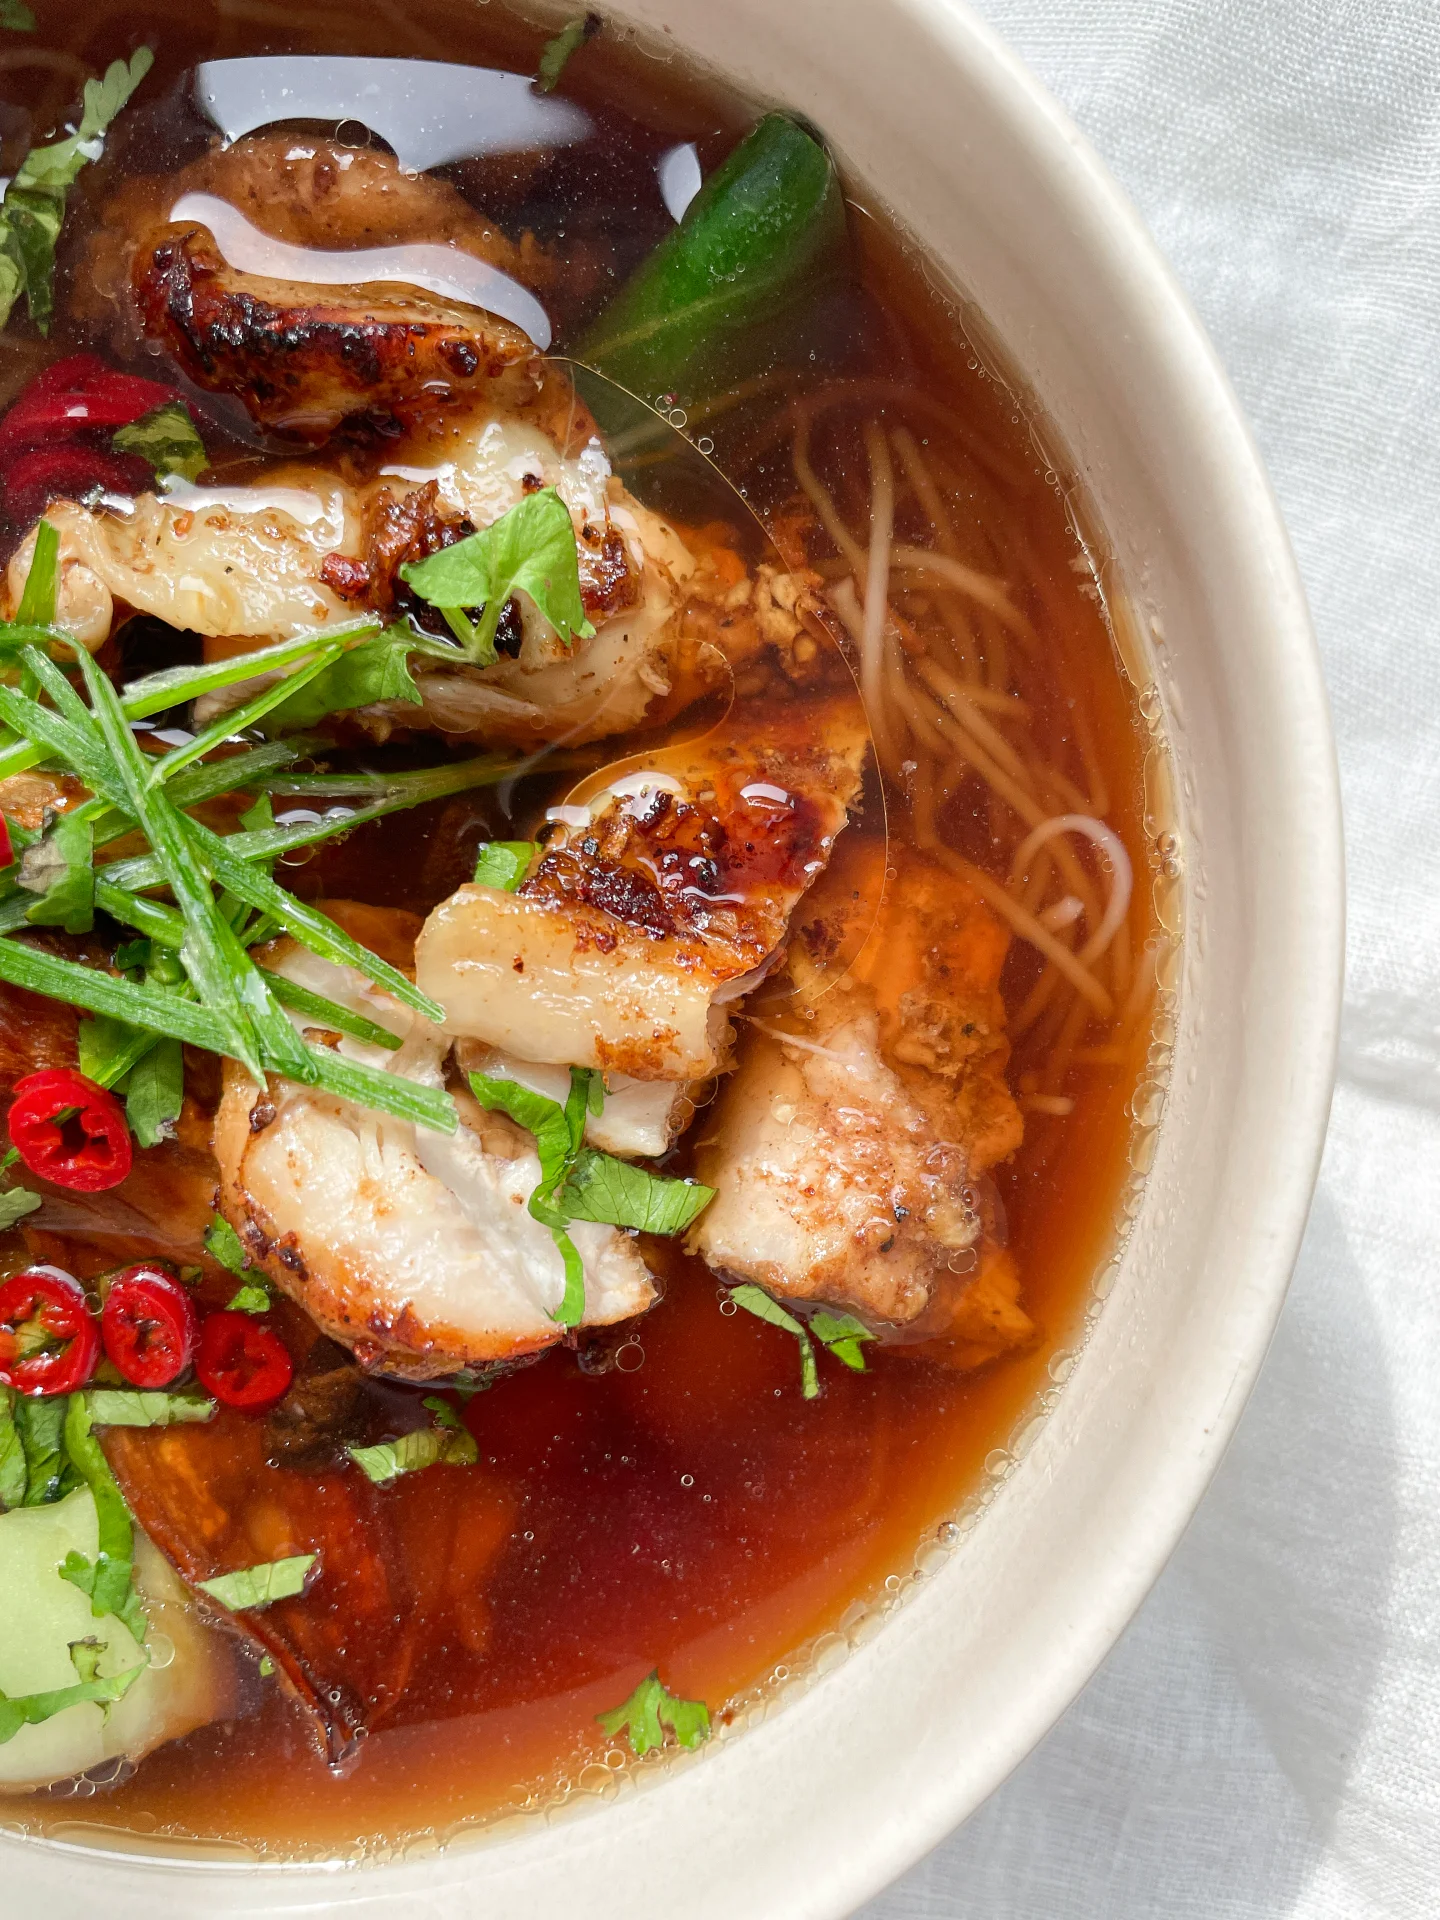


Five Spice Roasted Chicken & King Oyster Mushroom Soup

Five Spice Roasted Chicken & King Oyster Mushroom Soup

Five Spice Roasted Chicken & King Oyster Mushroom Soup

Five Spice Roasted Chicken & King Oyster Mushroom Soup

July 31, 2024 by Kimberly

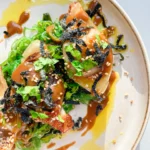
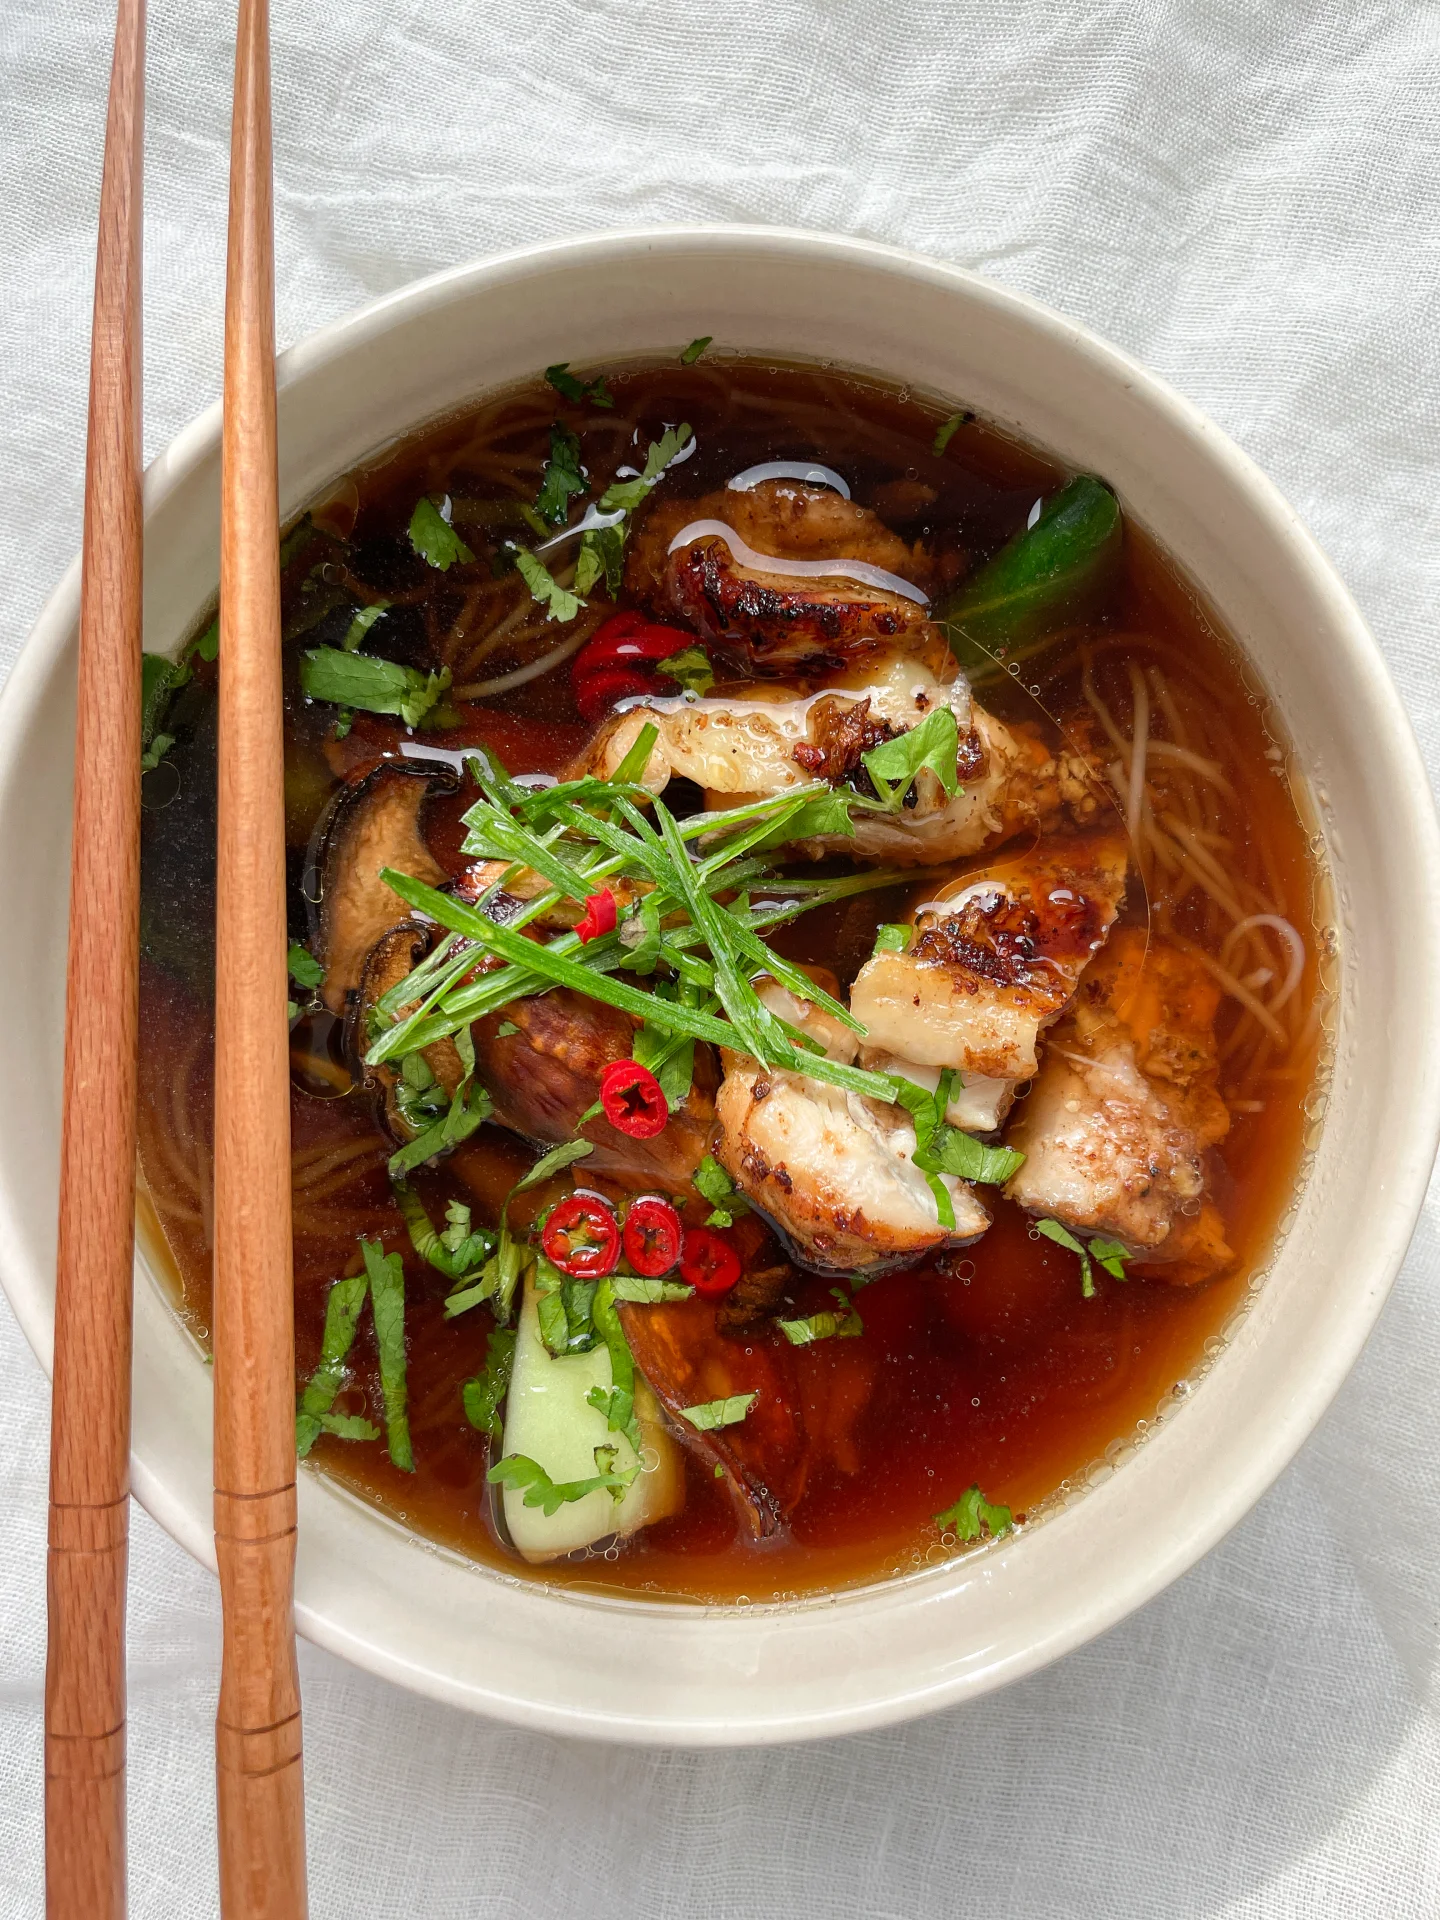
Looking for a dish that brings comfort and delight in every spoonful? This Five Spice Chicken Soup offers just that! Experience a burst of flavors and cozy warmth with this delicious soup! It’s a hug in a bowl that’s perfect for any day.

This website uses affiliate links which may earn commission for purchases made at no additional cost to you.

TOTAL TIME

70 min

SERVES

2 portions

DIET

omnivore

EVERY RECIPE DESERVES

A Little Love Letter

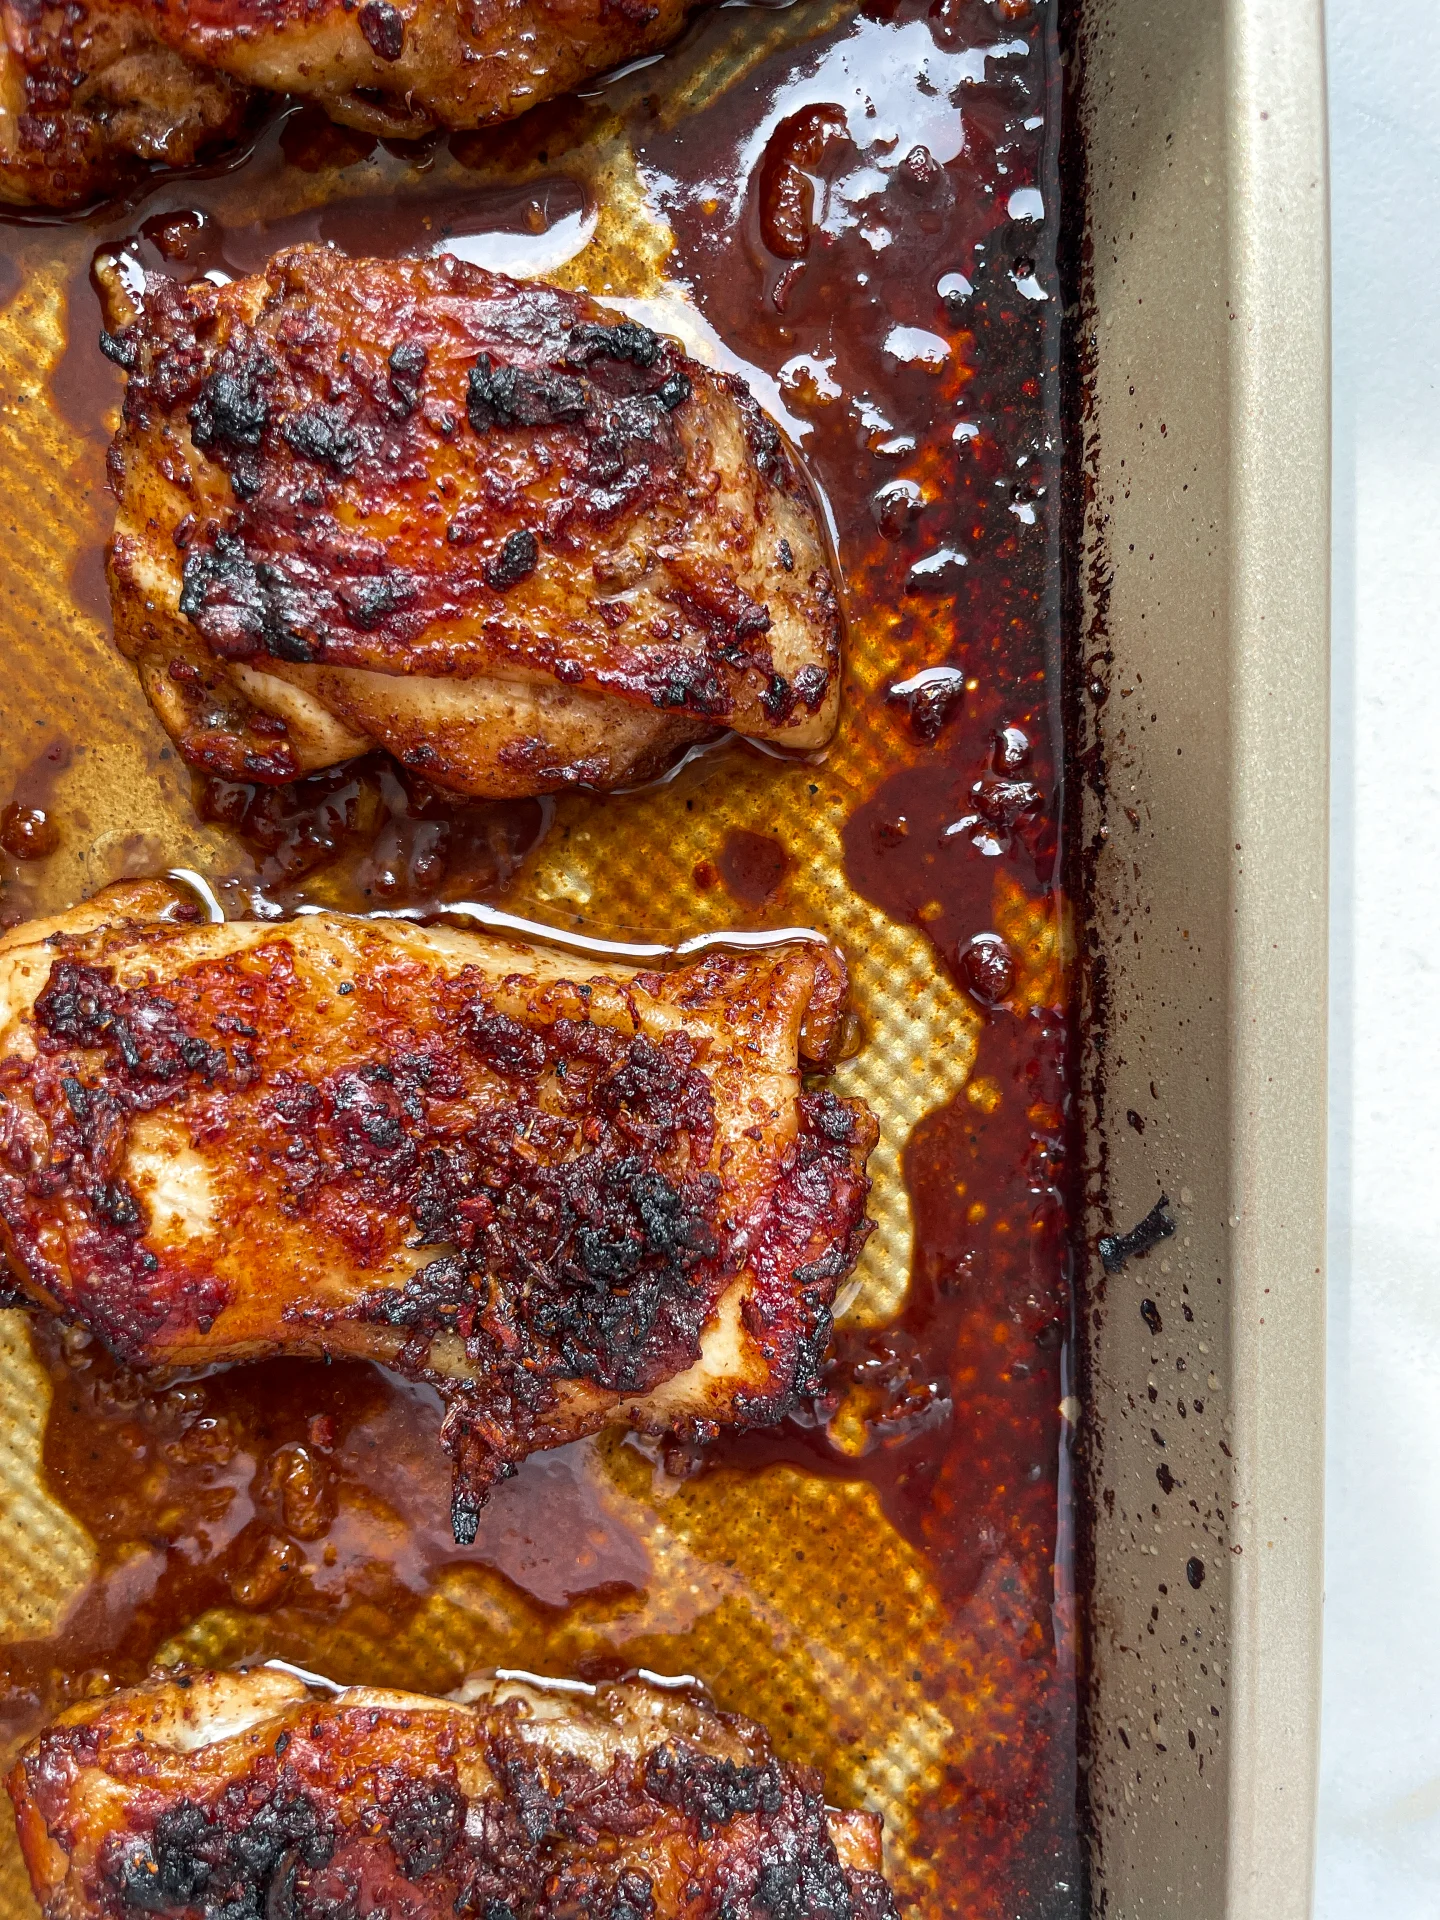
This soup is a symphony of flavors, blending the warmth of roasted chicken thighs, the earthy taste of king oyster mushrooms, and the refreshing crunch of pak choi with the delicate texture of glass noodles. It’s the perfect way to enjoy a cozy, hearty meal that feels like a warm hug on a chilly day.

Serve this delightful Five Spice Chicken Soup hot, right after it’s cooked, to savor the full depth of its flavors. Garnish with fresh cilantro and a squeeze of lime for an extra burst of freshness. It’s perfect for a cozy dinner or a hearty lunch, sure to impress your family and friends.

Store any leftovers in an airtight container in the fridge for up to 2 days. Reheat gently on the stovetop or in the microwave.

Hi, I'm Kimberly!

Hi, I'm Kimberly.

A hopeless romantic when it comes to food. Every recipe I share is a love letter to food itself. I’m so glad you’re here. Make yourself at home and stay a while.

Love,
Kimberly

Kimberly the Zett Signature

If you want to get to know me better,
click here!


Five Spice Roasted Chicken & King Oyster Mushroom Soup

LET’S MAKE A PIECE OF HAPPINESS

Print
clock clock iconcutlery cutlery iconflag flag iconfolder folder iconinstagram instagram iconpinterest pinterest iconfacebook facebook iconprint print iconsquares squares iconheart heart iconheart solid heart solid icon
Five Spice Roasted Chicken & King Oyster Mushroom Soup

Five Spice Roasted Chicken & King Oyster Mushroom Soup


5 Stars 4 Stars 3 Stars 2 Stars 1 Star

No reviews

  • Author: Kimberly
  • Total Time: 70 min
  • Yield: 2-3 1x

Description

Recommended Equipment

  • sharp knife
  • cutting board
  • medium bowl
  • medium pot
  • oven
  • sieve
  • small pot

Ingredients

Units Scale
BROTH
  • 1 liter vegetable stock (homemade or store-bought)
  • 1 yellow onion
  • thumb-width piece of ginger
  • 3 tbsp soy sauce
  • 1 tsp sesame oil
  • 2 tsp lemongrass oil (or any other oil you like)
  • 1 tsp rice vinegar
  • 2 garlic cloves
  • 1 tbsp fish sauce
  • 2 anise stars
  • 1 cinnamon stick
  • 2 cloves
  • 1 cardamom capsule
  • 1/2 tsp cilantro seeds
CHICKEN
  • 500 grams boneless, skin-on chicken thighs
  • 2 tbsp broth
  • 2 garlic cloves
  • 1.5 tsp Chinese Five Spice
  • 1 tsp rice vinegar
  • 1/2 tsp sesame oil
  • 3 tbsp lemongrass oil (or any other oil you like)
  • 1 tbsp honey
  • a piece of ginger
  • 1/2 tsp finely grated black pepper
  • juice from half a lemon
  • 1 tbsp dark soy sauce
KING OYSTER MUSHROOMS
  • 4 king oyster mushrooms
  • 1 tbsp lemongrass oil (or any other oil you like)
  • 1 tbsp soy sauce
TOPPINGS
  • 1 bok choi
  • 80 grams glass noodles
  • 2 tsp lemongrass oil (or any other oil you like)
  • fresh cilantro
  • lime
  • fresh chili
  • green part of spring onions

Instructions

PREPARATIONS

  • Here is the recipe for the lemongrass oil. You’ll need about 1/4 of the amount for this recipe.
  • Here is the recipe for the vegetable stock. You’ll need one liter of it for this soup but do not add salt.
  • Here is the recipe for the Chinese Five Spice. You’ll need about half of it for this recipe.

INSTRUCTIONS

  1. Rinse the chicken thighs and pat dry with paper towels. Set aside.
  2. For the marinade, peel the garlic cloves and ginger and grate them into a shallow dish. Add Five Spice Seasoning, pepper, honey, rice vinegar, sesame oil, lemongrass oil, lemon juice, and dark soy sauce. Mix well.
  3. Rub the chicken thighs with the marinade on all sides. Refrigerate for 30 minutes.
  4. Meanwhile, prepare the broth. Quarter the onion, peel and halve the garlic clove, and slice the ginger with the skin on. Set aside. In a medium pot, roast star anise, cinnamon stick, cardamom capsule, coriander seeds, and dried cloves on medium heat for 1-2 minutes until fragrant. Add a bit of sesame oil and lemongrass oil, then add the onion, garlic, and ginger. Fry for about 5 minutes. Add the vegetable broth and simmer with the lid on for 30 minutes.
  5. Meanwhile slice the king oyster mushrooms lengthwise into thick slices and place them on a baking sheet lined with parchment paper. Drizzle with lemongrass oil and soy sauce, then roast in the oven at 250°C / 480°F for 20 minutes.
  6. Strain the broth through a fine mesh strainer and toss the spices. Pour the broth back into the pot and keep it warm on low heat and add soy sauce, rice vinegar and fish sauce.
  7. Remove the mushrooms from the oven and set aside. Place the chicken in a small baking dish, skin side up, and add 2 tbsp of the broth to the remaining marinade. Spread the marinade on the chicken and roast in the oven at 200°C for 35 minutes.
  8. Prepare the toppings. Break off the bok choy leaves from the stem, wash, and halve lengthwise. Coarsely chop the cilantro, slice the fresh chili into rings, and cut the green part of the scallions into thin strips.
  9. Bring a small pot of water to a boil. Cook the glass noodles for 5 minutes until soft. Drain and set aside.
  10. Get the chicken out of the oven and let rest for about 5 minutes. Slice into bite-sized strips and set aside.
  11. To serve, place the glass noodles in deep bowls, pour the broth over them, add bok choy, and place the king oyster mushrooms on top. Finish with the chicken and garnish with cilantro, scallions, and fresh chili as desired.
  • Passive Time: 40 min
  • Cook Time: 30 min
CRAVING MORE?

Follow along here & don’t forget to subscribe to my substack!

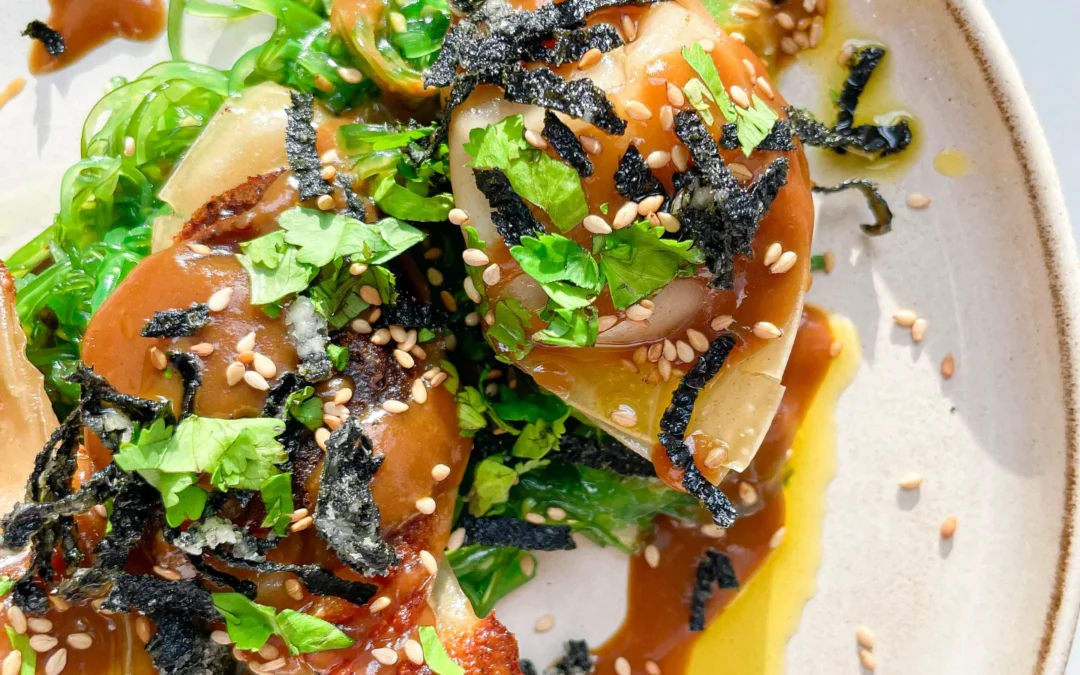
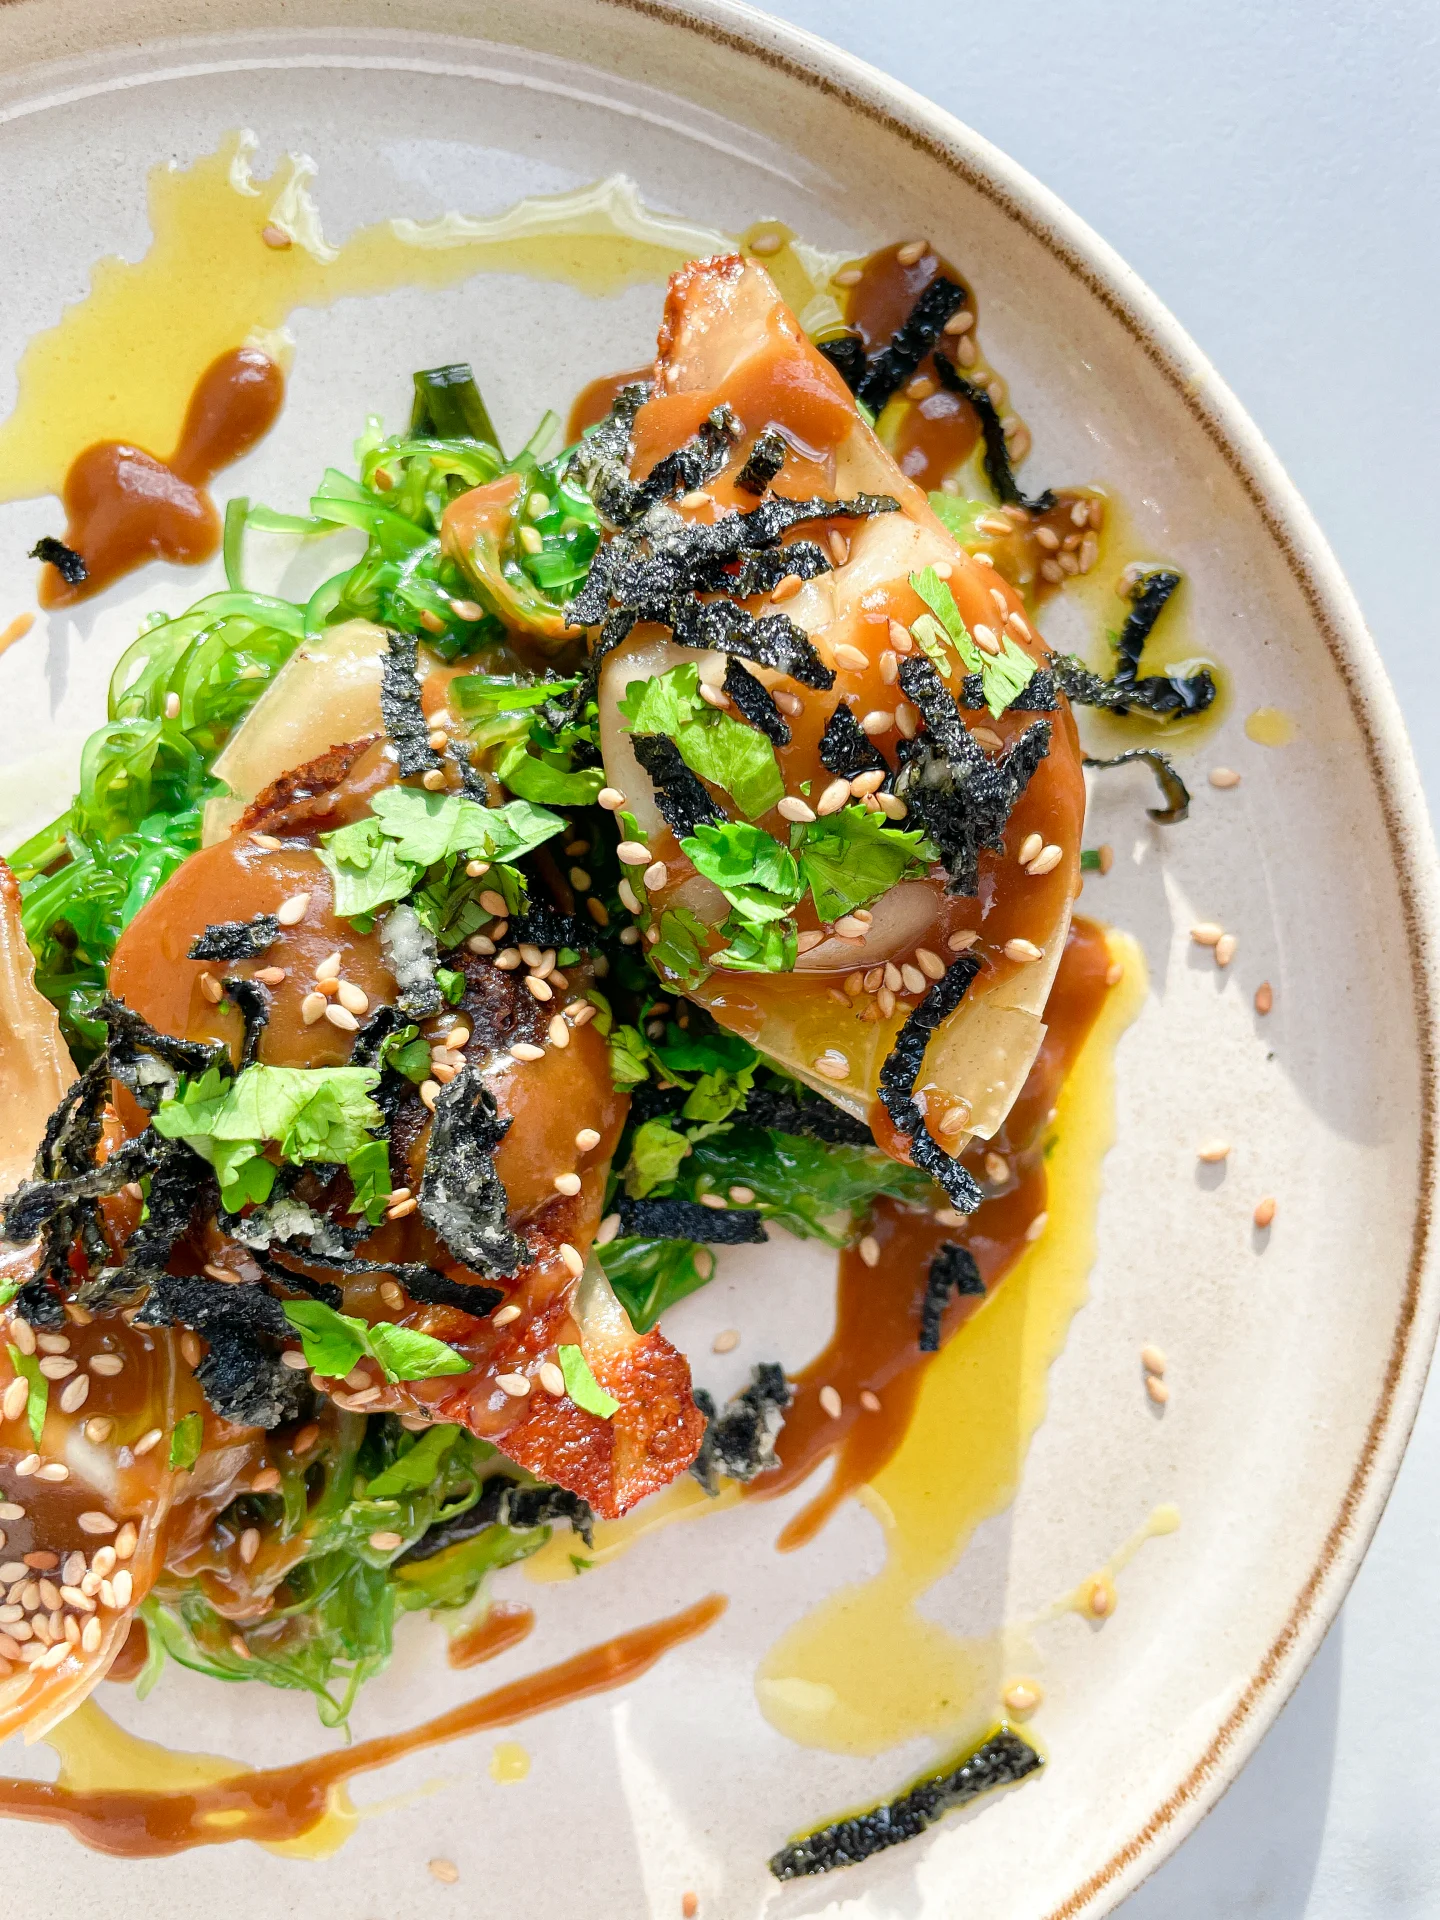
Crispy Pork Gyoza, Miso Ginger Oil Glaze & Fried Seaweed

Crispy Pork Gyoza, Miso Ginger Oil Glaze & Fried Seaweed

Crispy Pork Gyoza, Miso Ginger Oil Glaze & Fried Seaweed

Crispy Pork Gyoza, Miso Ginger Oil Glaze & Fried Seaweed

July 29, 2024 by Kimberly

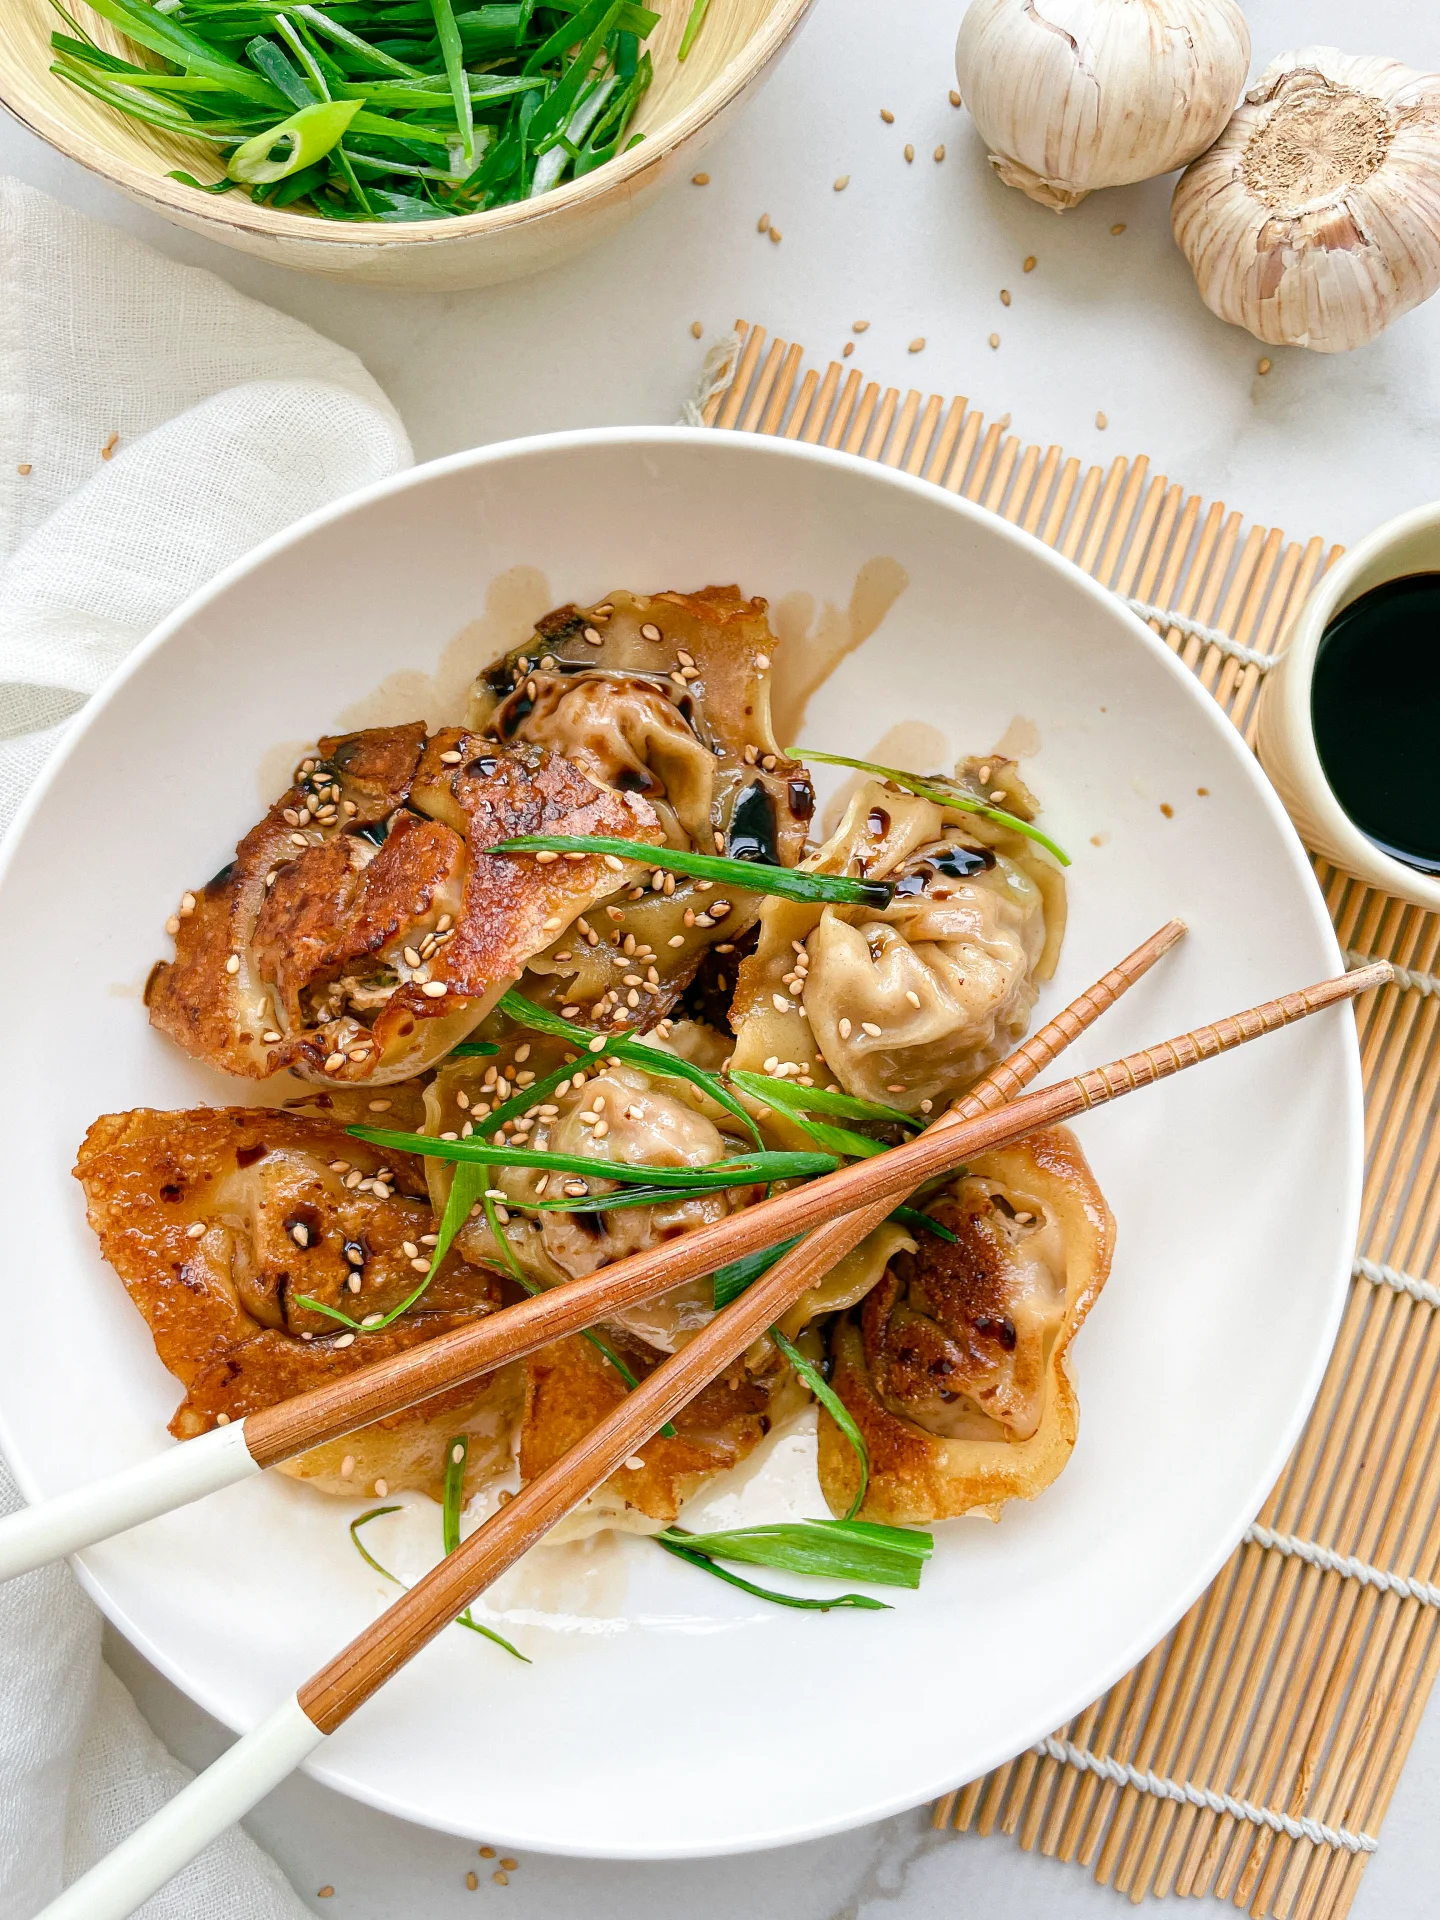
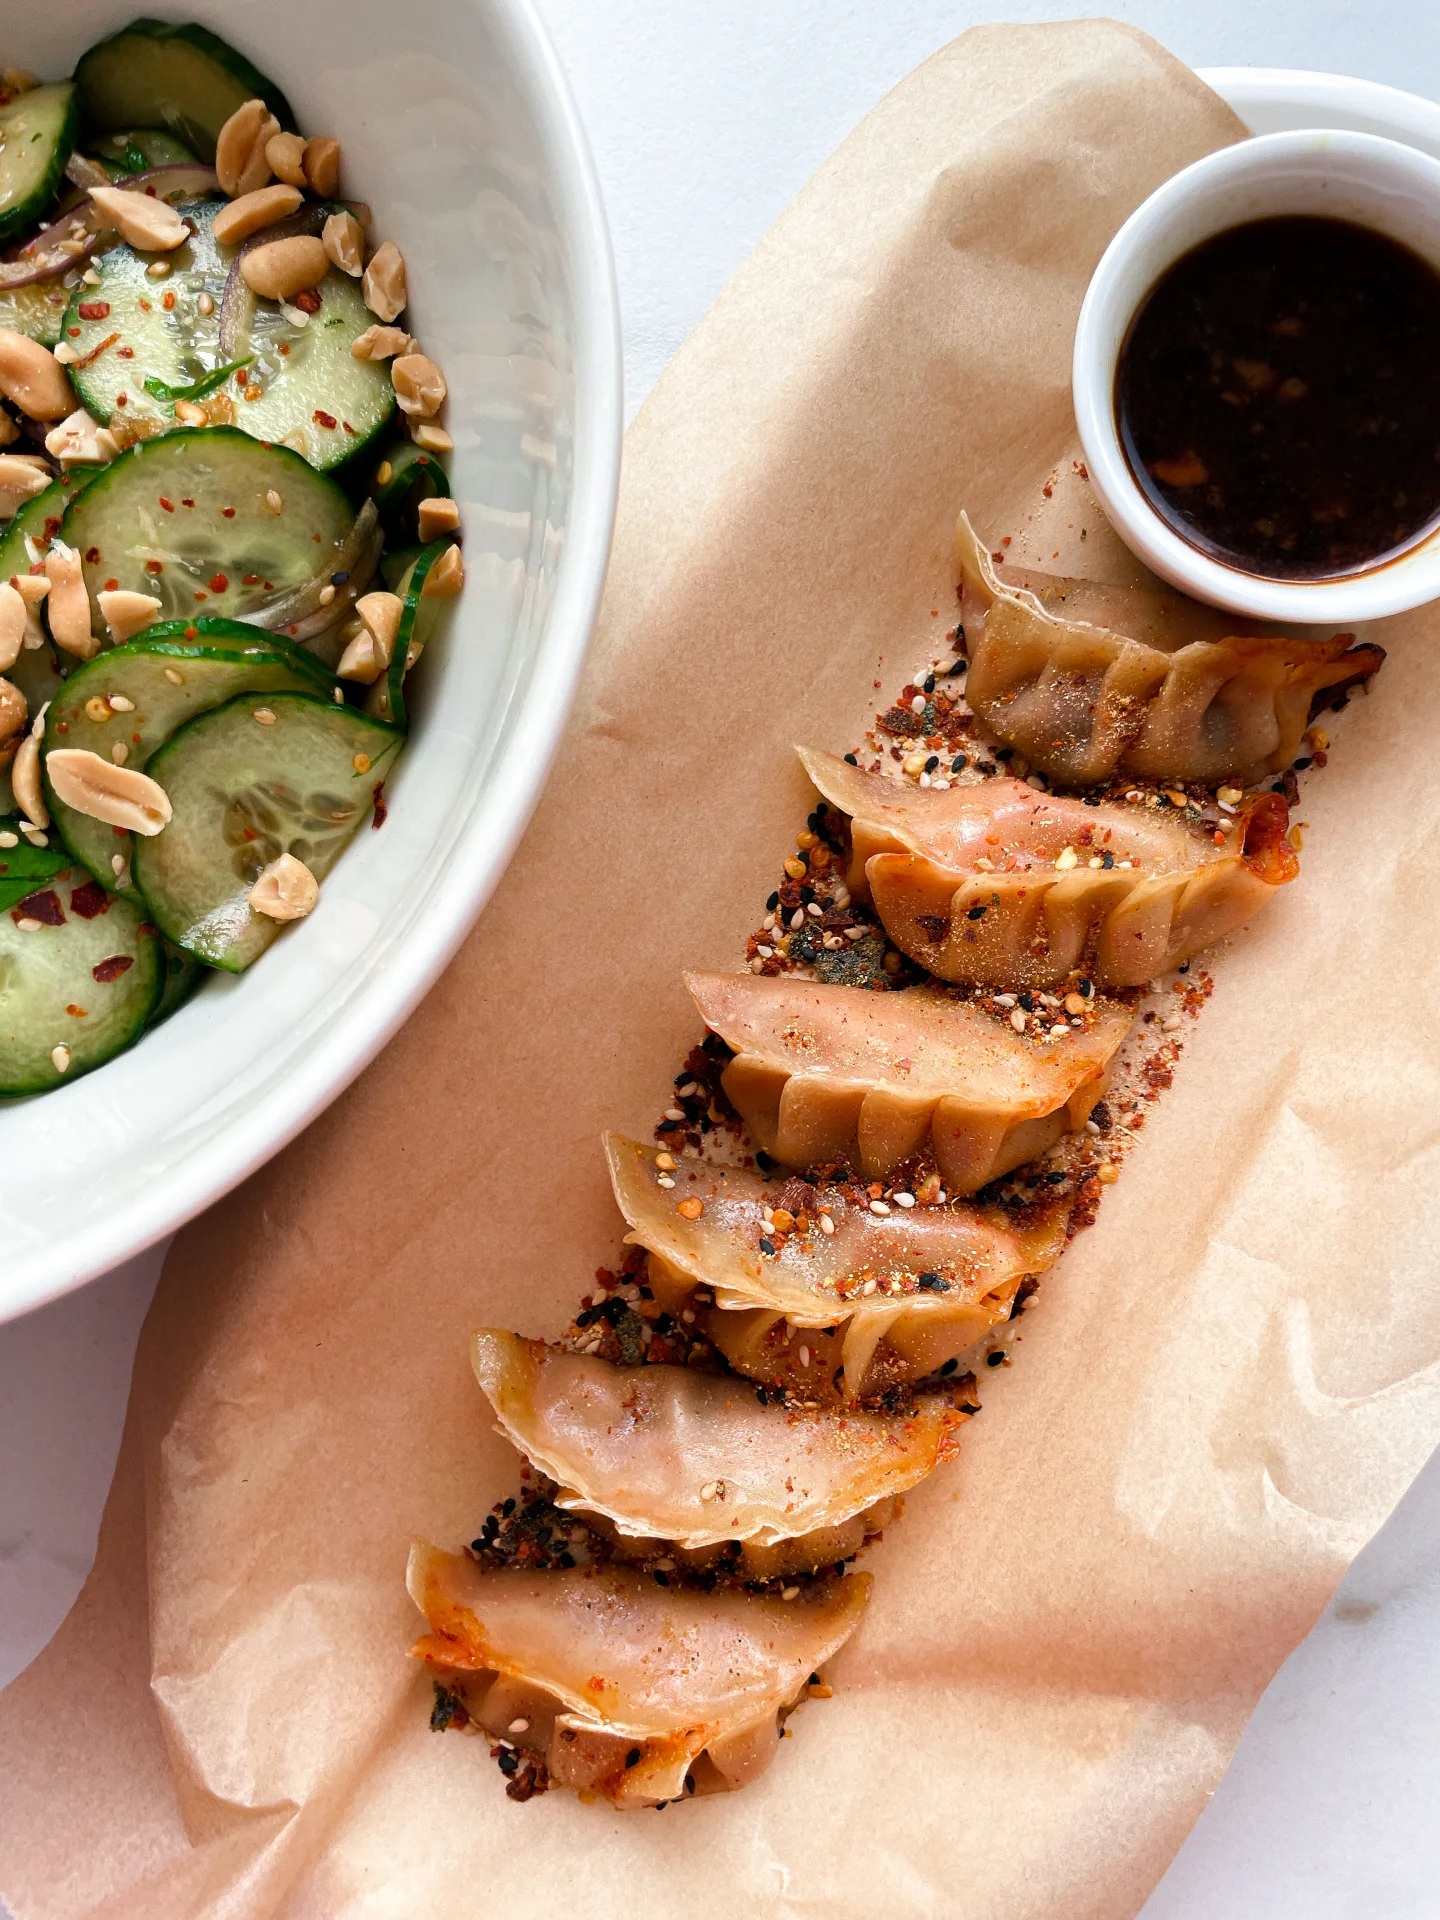
Dive into crispy pork gyoza with miso ginger oil glaze and fried seaweed – a flavor explosion that’s crunchy, savory, and totally irresistible. Perfect for any foodie adventure!

This website uses affiliate links which may earn commission for purchases made at no additional cost to you.

TOTAL TIME

40 min

SERVES

4 portions

DIET

vegan

EVERY RECIPE DESERVES

A Little Love Letter

Ready to elevate your appetizer game? Try these crispy pork gyoza drizzled with a mouth-watering miso ginger oil glaze, paired with crunchy fried seaweed. This dish is a fusion of amazing textures and flavors that will take your taste buds on an unforgettable journey. Perfect for impressing guests or enjoying a gourmet snack at home, these gyoza are a must-have for any cooking enthusiast.

Serve these crispy pork gyoza hot from the pan, generously drizzled with the miso ginger oil glaze for a savory kick. Pair them with the fried seaweed for an added crunch that perfectly complements the soft, flavorful gyoza. Garnish with sesame seeds and green onions for extra flavor and visual appeal. These gyoza make a fantastic appetizer, party snack, or light meal.

Store leftover gyoza in an airtight container in the fridge for up to three days. Reheat them in a hot pan to keep their crispiness. The miso ginger oil glaze can be stored separately in a sealed jar.

Hi, I'm Kimberly!

Hi, I'm Kimberly.

A hopeless romantic when it comes to food. Every recipe I share is a love letter to food itself. I’m so glad you’re here. Make yourself at home and stay a while.

Love,
Kimberly

Kimberly the Zett Signature

If you want to get to know me better,
click here!


Crispy Pork Gyoza, Miso Ginger Oil Glaze & Fried Seaweed

LET’S MAKE A PIECE OF HAPPINESS

Print
clock clock iconcutlery cutlery iconflag flag iconfolder folder iconinstagram instagram iconpinterest pinterest iconfacebook facebook iconprint print iconsquares squares iconheart heart iconheart solid heart solid icon
Crispy Pork Gyoza, Miso Ginger Oil Glaze & Fried Seaweed

Crispy Pork Gyoza, Miso Ginger Oil Glaze & Fried Seaweed


  • Author: Kimberly
  • Total Time: 40 min
  • Yield: 4 1x

Description

Recommended Equipment

  • sharp knife
  • cutting board
  • medium bowl
  • large plate
  • three small bowls
  • measuring spoons
  • large pan with lid
  • scissors
  • small pan or pot

Ingredients

Units Scale
  • 20 Gyoza wrapper, homemade or store-bought
  • 1 tbsp high heat oil
  • 80 milliliters cold water
  • 400 grams seaweed salad (optional)
FILLING
  • 250 grams ground pork
  • 4 garlic cloves
  • 1 tsp sesame oil
  • 1 tsp ginger oil
  • 1 spring onion
  • 1.5 tbsp Hoisin sauce
  • 1 tsp soy sauce
  • 1/4 tsp Chinese Five Spice
  • 1 small egg
MISO GLAZE
  • 2 tbsp miso paste
  • 1 tbsp mirin
  • 1 tsp honey
  • 2 tsp soy sauce
  • 2 tsp ginger oil
  • 3 tbsp warm water
TOPPINGS
  • 1 Nori sheet
  • 1 tsp cornstarch
  • 2 tsp cold water
  • fresh cilantro
  • ginger oil

Instructions

PREPARATIONS

  • Here’s the recipe for Gyoza dough. You’ll need about 20 sheets, cut them into squares rather than rounds. Or, just get ready-made Gyoza wrappers from the Asian market.
  • Here’s the recipe for ginger oil. You’ll need about 2-3 tablespoons.
  • Here’s the recipe for Chinese Five Spice. You’ll need 1/4 teaspoon.

INSTRUCTIONS

  1. First, prepare the Gyoza filling. Peel and finely grate the garlic cloves into a medium bowl. Then, slice the spring onion into thin rings and add to the garlic. Next, add the ground pork, ginger oil, sesame oil, hoisin sauce, Chinese Five Spice, and the egg. Mix everything well.
  2. Take a large plate and sprinkle some flour on it. This will be the resting place for the filled Gyoza so they don’t stick to the plate. Also, prepare a small bowl with some cold water and have your Gyoza dough ready.
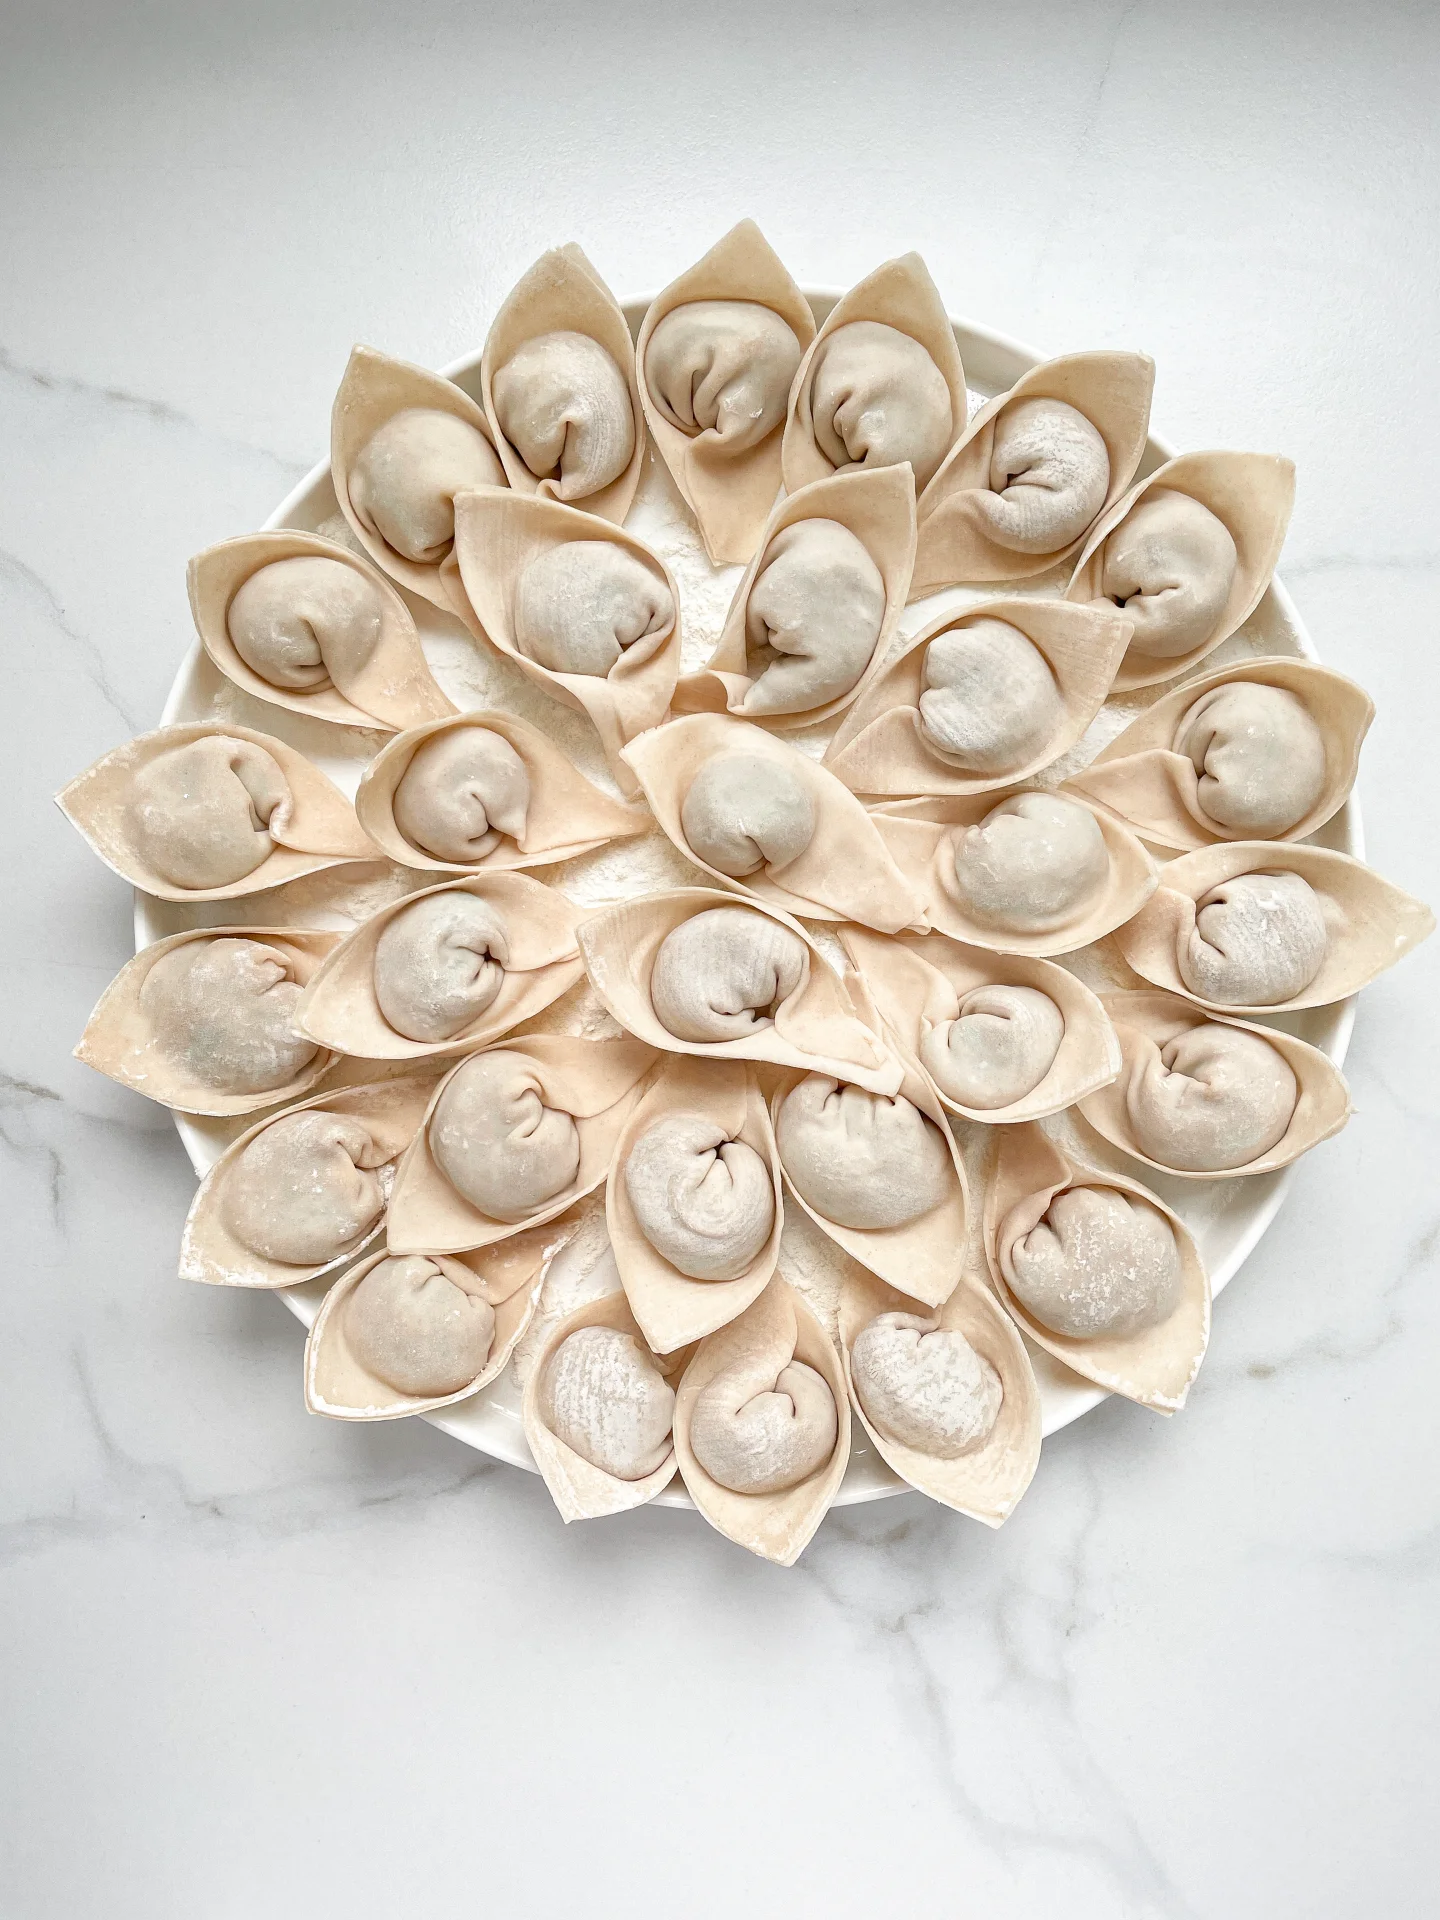
  3. Fill each Gyoza wrapper with 1 teaspoon of the pork filling. Dab a little water around the edge of the wrapper, fold it diagonally to seal, and press out all the air so the filling is well enclosed. Wet one side of the long edge, fold it over, and press firmly. Place on the floured plate. Repeat until all the filling is used up.
  4. Heat 1 tbsp of high-heat oil in a large pan over medium heat and add the Gyoza. Fry for a few minutes until the bottoms are crispy. Lower the heat and add about 100ml / 1/3 cup of cold water to the pan (be careful, it may splatter if the oil is too hot). Cover the pan with a lid and let the Gyoza steam.
  5. Meanwhile, fold the Nori sheet three times in the middle and cut it into thin strips with scissors. Mix the Nori strips with cornstarch in a small bowl. Add a bit of water and stir well. Heat about 1 cm of high-heat oil in a small pan or pot to around 180°C / 356°F. Fry the Nori strips for 2-3 minutes, then remove and drain on paper towels.
  6. The Gyoza should now be a bit translucent and the filling cooked through. Remove the lid and turn the heat back to medium to crisp up the Gyoza again.
  7. Meanwhile, make the Miso Glaze. In a small bowl, mix Mirin, honey, soy sauce, and ginger oil. Heat for a few seconds in the microwave (or in a small pan) until it simmers. Stir in the Miso paste well, add 3 tbsp warm water to thin it a bit and set aside.
  8. Finely chop the fresh coriander and set aside.
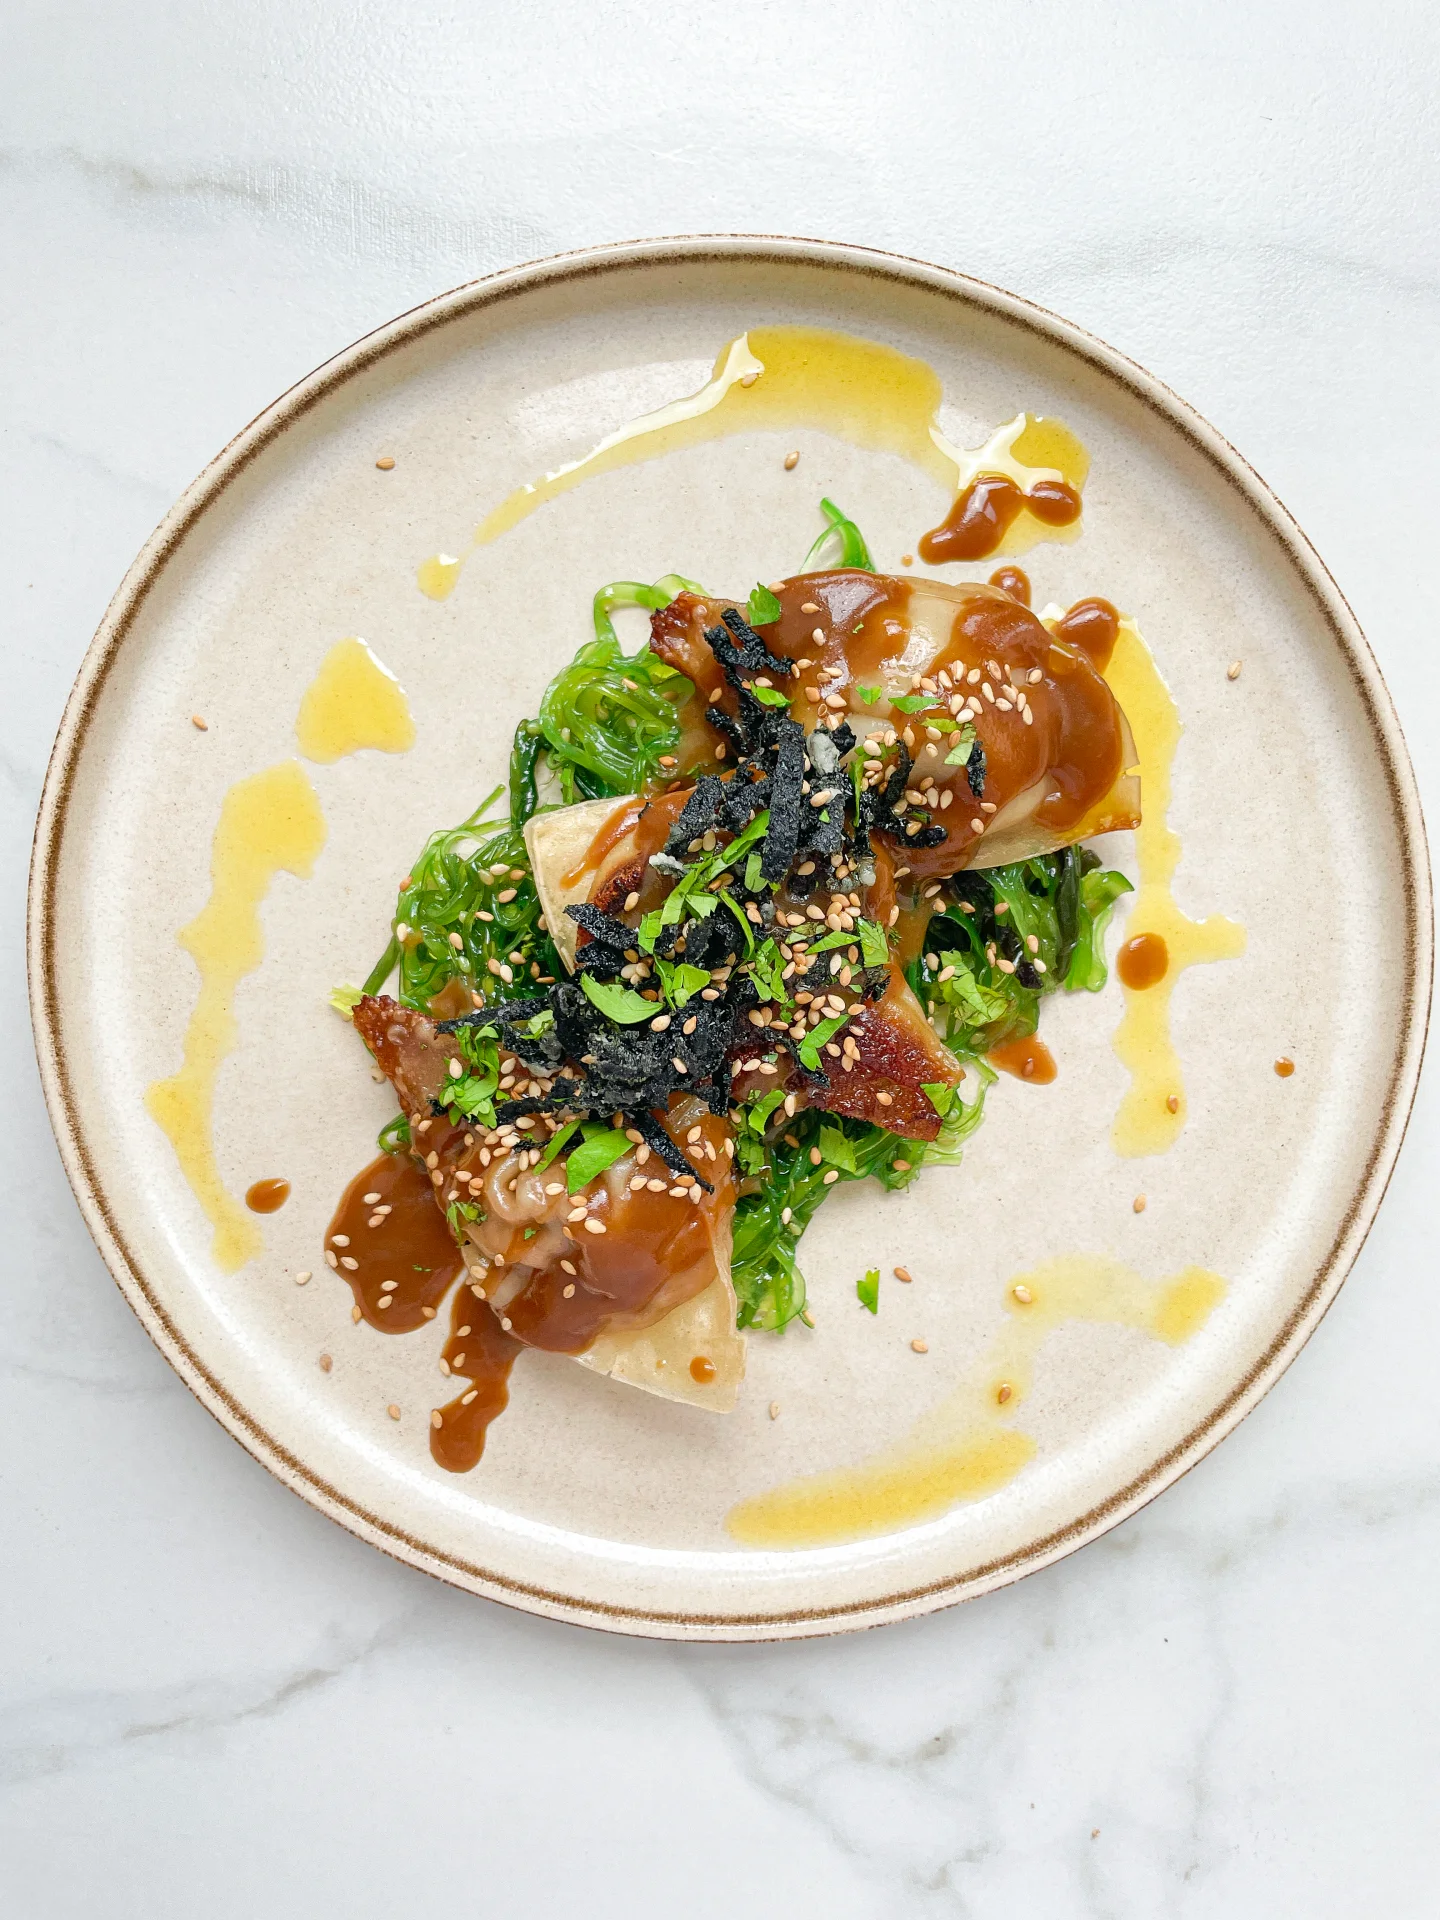
  9. Optionally, place seaweed salad in the center of the plate, arrange 5 Gyoza on top. Drizzle with Miso Glaze and top with fried Nori strips, chopped coriander, and toasted sesame seeds. Finish with a splash of ginger oil and serve immediately.
  • Cook Time: 40 min
CRAVING MORE?

Follow along here & don’t forget to subscribe to my substack!

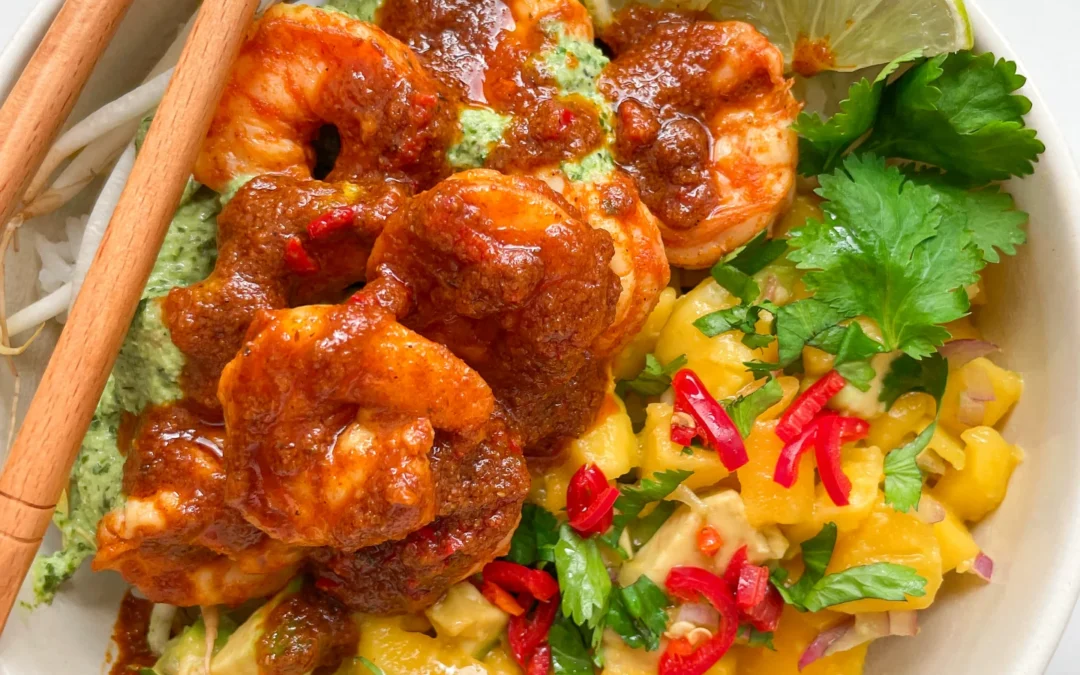
Spicy Rice Shrimp Bowl & Mango Avocado Salsa

Spicy Rice Shrimp Bowl & Mango Avocado Salsa

Spicy Rice Shrimp Bowl & Mango Avocado Salsa

Spicy Rice Shrimp Bowl & Mango Avocado Salsa

July 23, 2024 by Kimberly

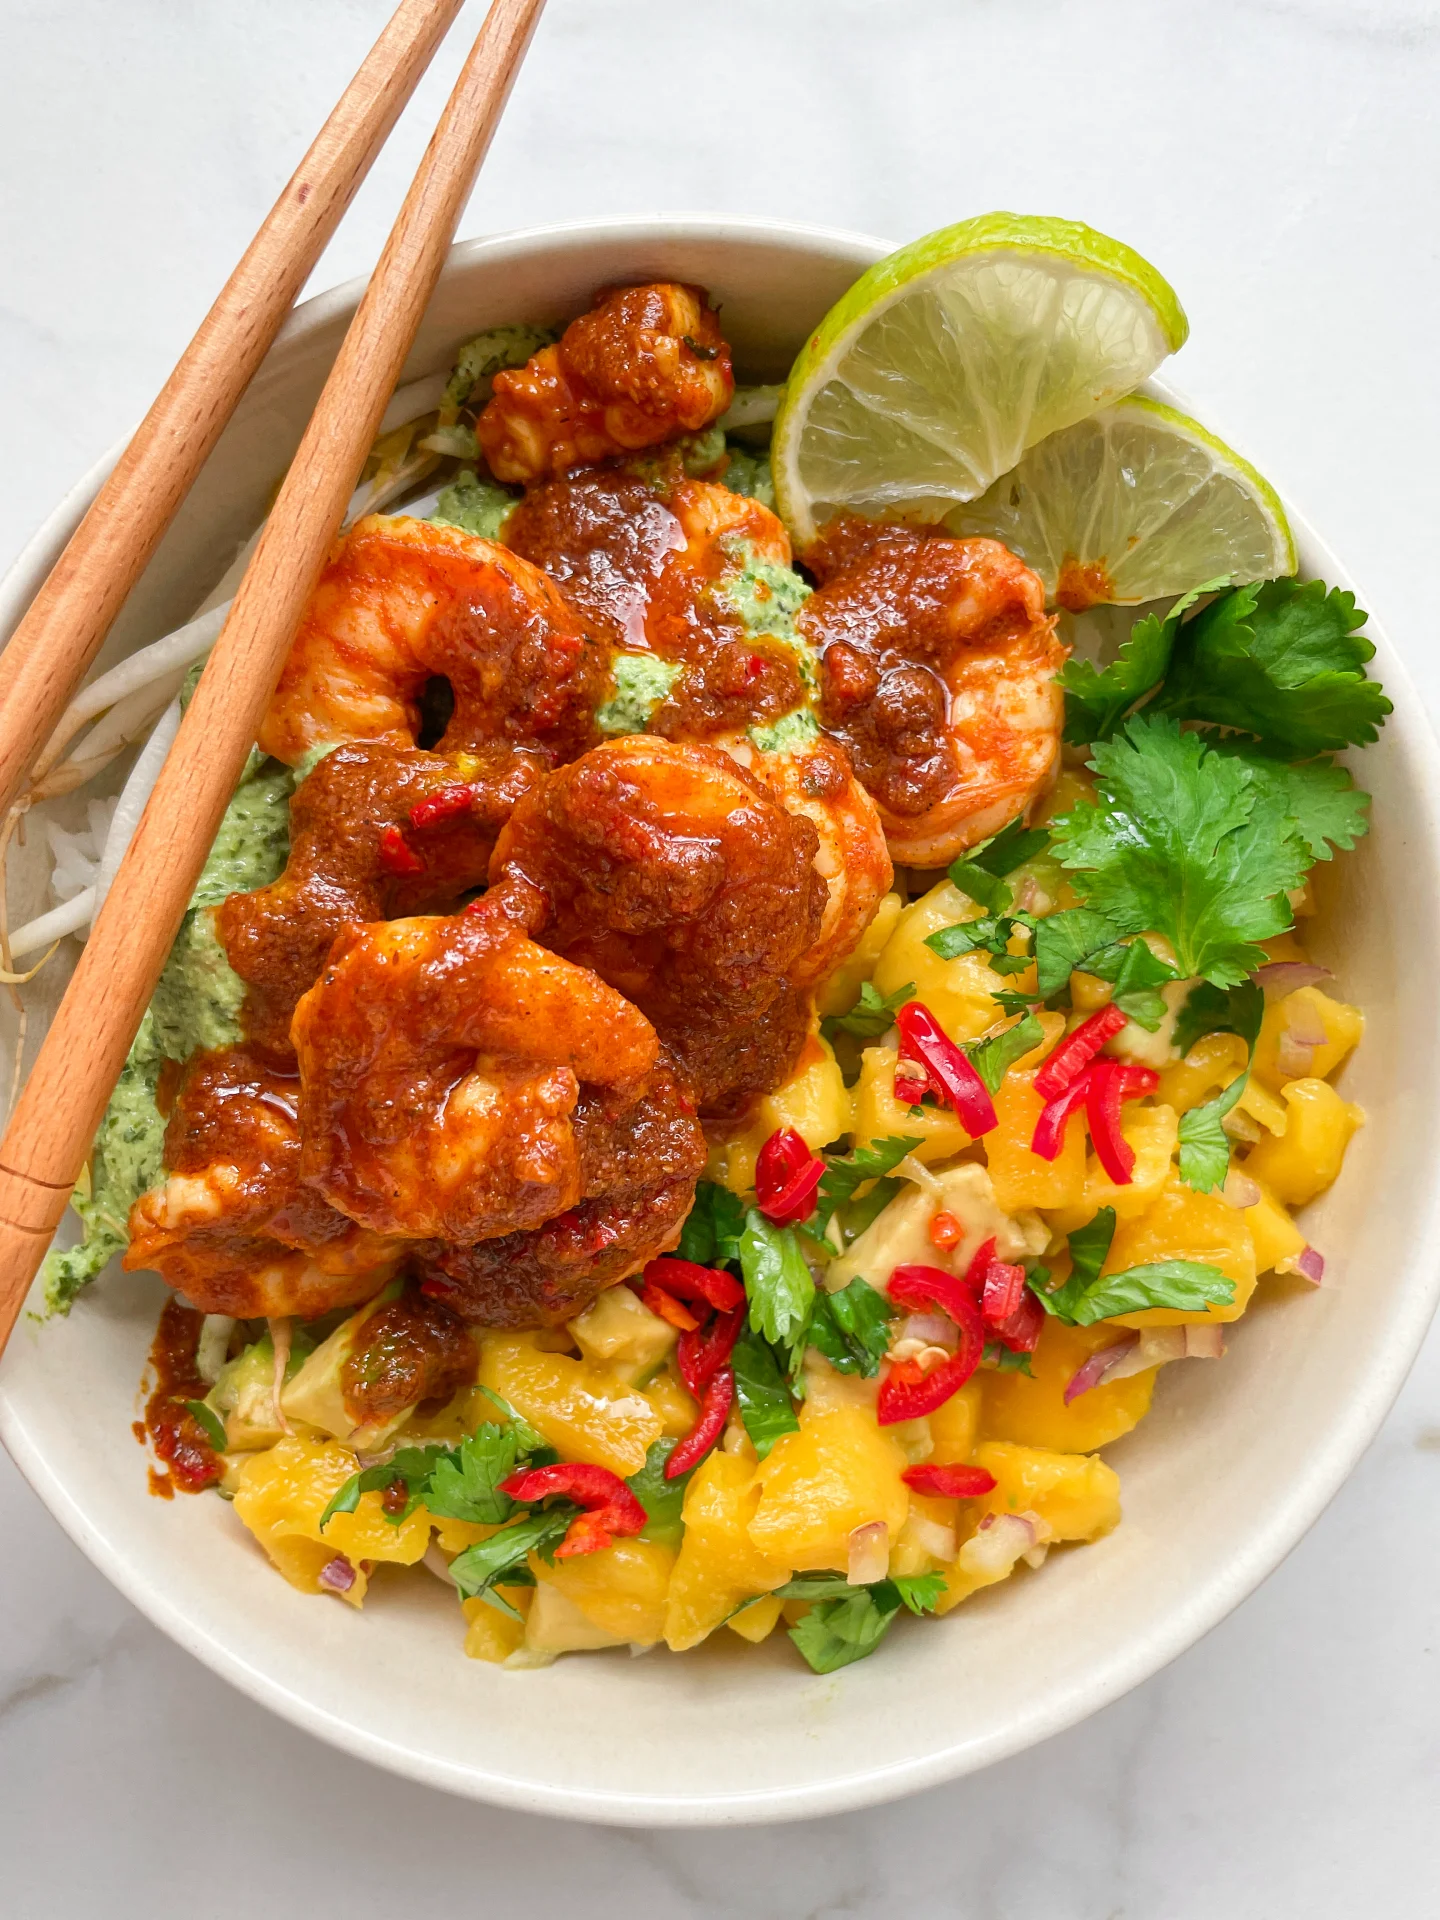
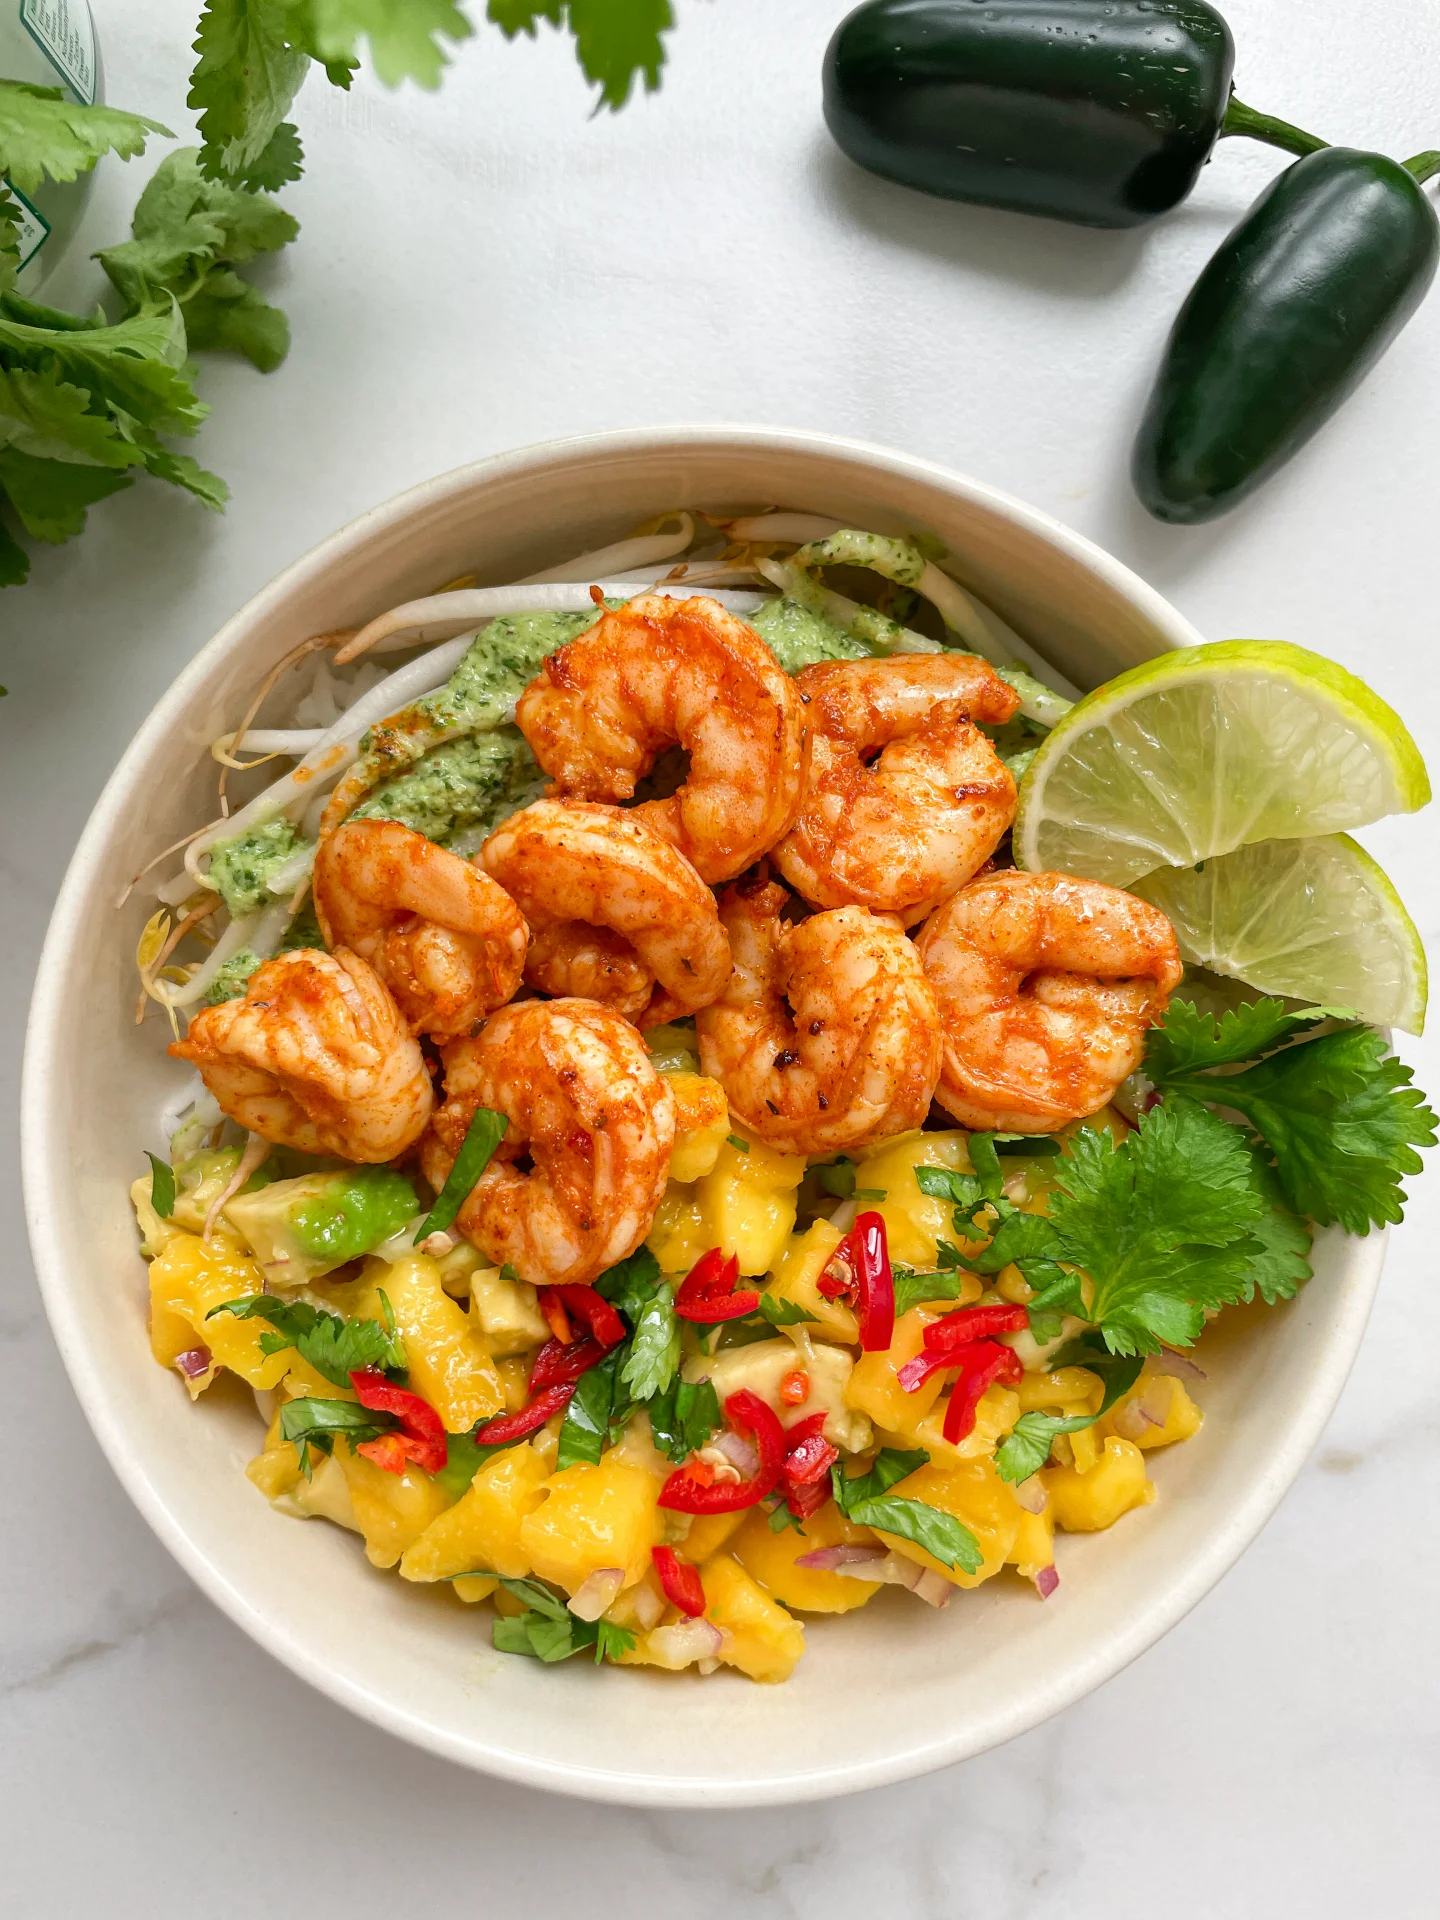
Turn up the heat with this zesty rice shrimp bowl, packed with jalapeños and chili, and cooled by a fresh mango avocado salsa. It’s a fiery favorite with a tropical twist!

This website uses affiliate links which may earn commission for purchases made at no additional cost to you.

TOTAL TIME

40 min
SERVES

2 portions


DIET

vegan
EVERY RECIPE DESERVES

A Little Love Letter

Ignite your palate with this Spicy Rice Shrimp Bowl, complemented by a refreshing Mango Avocado Salsa! This dish is a thrilling blend of hot, spicy flavors and cool, sweet contrasts, perfect for those who love a bit of adventure in their meals.

Serve this fiery shrimp bowl fresh and hot, letting the cool mango avocado salsa contrast beautifully with the heat from the shrimp. It’s fantastic for a quick dinner or a vibrant, impressive dish at your next gathering. Add a dollop of cilantro-yogurt sauce for a creamy finish and add some sprouts for added crunch!

Best enjoyed fresh, but if you have leftovers, store them in separate airtight containers in the refrigerator. The rice and shrimp keep well for up to two days, while the salsa is best consumed within a day to maintain its freshness.

Hi, I'm Kimberly!

Hi, I'm Kimberly.

A hopeless romantic when it comes to food. Every recipe I share is a love letter to food itself. I’m so glad you’re here. Make yourself at home and stay a while.

Love,
Kimberly

Kimberly the Zett Signature

If you want to get to know me better,
click here!


Spicy Rice Shrimp Bowl & Mango Avocado Salsa

LET’S MAKE A PIECE OF HAPPINESS

Print
clock clock iconcutlery cutlery iconflag flag iconfolder folder iconinstagram instagram iconpinterest pinterest iconfacebook facebook iconprint print iconsquares squares iconheart heart iconheart solid heart solid icon
Spicy Rice Shrimp Bowl & Mango Avocado Salsa

Spicy Rice Shrimp Bowl & Mango Avocado Salsa


  • Author: Kimberly
  • Total Time: 40 min
  • Yield: 2-3 1x

Description

Recommended Equipment

  • small bowl
  • measuring spoons
  • medium pot
  • tall container
  • immersion blender
  • sharp knife
  • cutting board
  • medium frying pan

Ingredients

Units Scale
  • 300 grams shrimps, raw peeled deveined
  • 2 small hands mung bean sprouts
  • 160 grams basmati rice
MARINADE
  • juice of half a lemon
  • 2 tbsp jalapeño oil
  • 1/2 fresh chili
  • 1 tsp cumin
  • 1 tsp salt
  • 1/2 tsp smoked paprika
  • 1/2 tsp garlic powder
  • 1/2 tsp cajun seasoning
  • 1/4 tsp onion powder
  • 1/4 tsp white pepper
  • 1/8 tsp cayenne pepper
CILANTRO YOGURT SAUCE
  • 3 tbsp yogurt
  • 1 tbsp jalapeño pulp from the production process of the jalapeño oil
  • juice of half a lemon
  • 1 garlic clove
  • 5 grams fresh cilantro
  • 5 grams fresh parsley
  • pinch of salt
  • pinch of pepper
MANGO AVOCADO SALAD
  • 1/2 ripe mango
  • 1/2 ripe avocado
  • 1 small red onion
  • juice of half a lemon
  • pinch of salt
TOPPINGS
  • fresh cilantro
  • lime slices
  • fresh chili

Instructions

PREPARATIONS
This dish is made with my Jalapeño Oil. If you want to replace it, you can use olive oil instead and for the pulp in the cilantro-yogurt sauce, use 1-2 fresh jalapeños + 1 tablespoon of olive oil.

INSTRUCTIONS

  1. In a small bowl, add cumin, salt, smoked paprika, garlic powder, onion powder, pepper, cayenne, and Cajun seasoning. Finely chop half of a fresh chili and add it to the spices. Finally, add 2 tablespoons of Jalapeño Oil and the juice of half a lime, and mix everything into a creamy paste. Wash the shrimp, pat dry, and place in a bowl. Add the creamy marinade and mix well to evenly coat all the shrimp. Set aside at room temperature.
  2. Wash and let your rice cook according to the package instructions.
  3. Meanwhile, in a tall container, blend yogurt, the pulp from making the Jalapeño Oil, 1-2 peeled garlic cloves, cilantro, parsley, salt, and pepper with an immersion blender until smooth. Set aside.
  4. Next, peel the mango, avocado, and red onion. Chop everything into small pieces and put in a medium bowl. Mix with the juice of half a lime and a little salt, and set aside.
  5. Wash and pat dry the mung bean sprouts and set aside.
  6. Heat 2 tablespoons of Jalapeño Oil in a frying pan and add the shrimp along with the remaining marinade. Briefly fry the shrimp on both sides and let the sauce reduce at the same time.
  7. In a deep bowl, distribute the rice, place mung bean sprouts on one side and the mango-avocado salad on the other. Add 1-2 tablespoons of the green cilantro-yogurt sauce to the sprouts, then lay the shrimp on top and drizzle with the sauce from the pan. You can also top it off with fresh lime juice, fresh cilantro, and fresh chili.
  • Cook Time: 40 min

CRAVING MORE?

Follow along here & don’t forget to subscribe to my substack!

Katsu Sando

Katsu Sando

Katsu Sando

Katsu Sando

June 29, 2024 by Kimberly

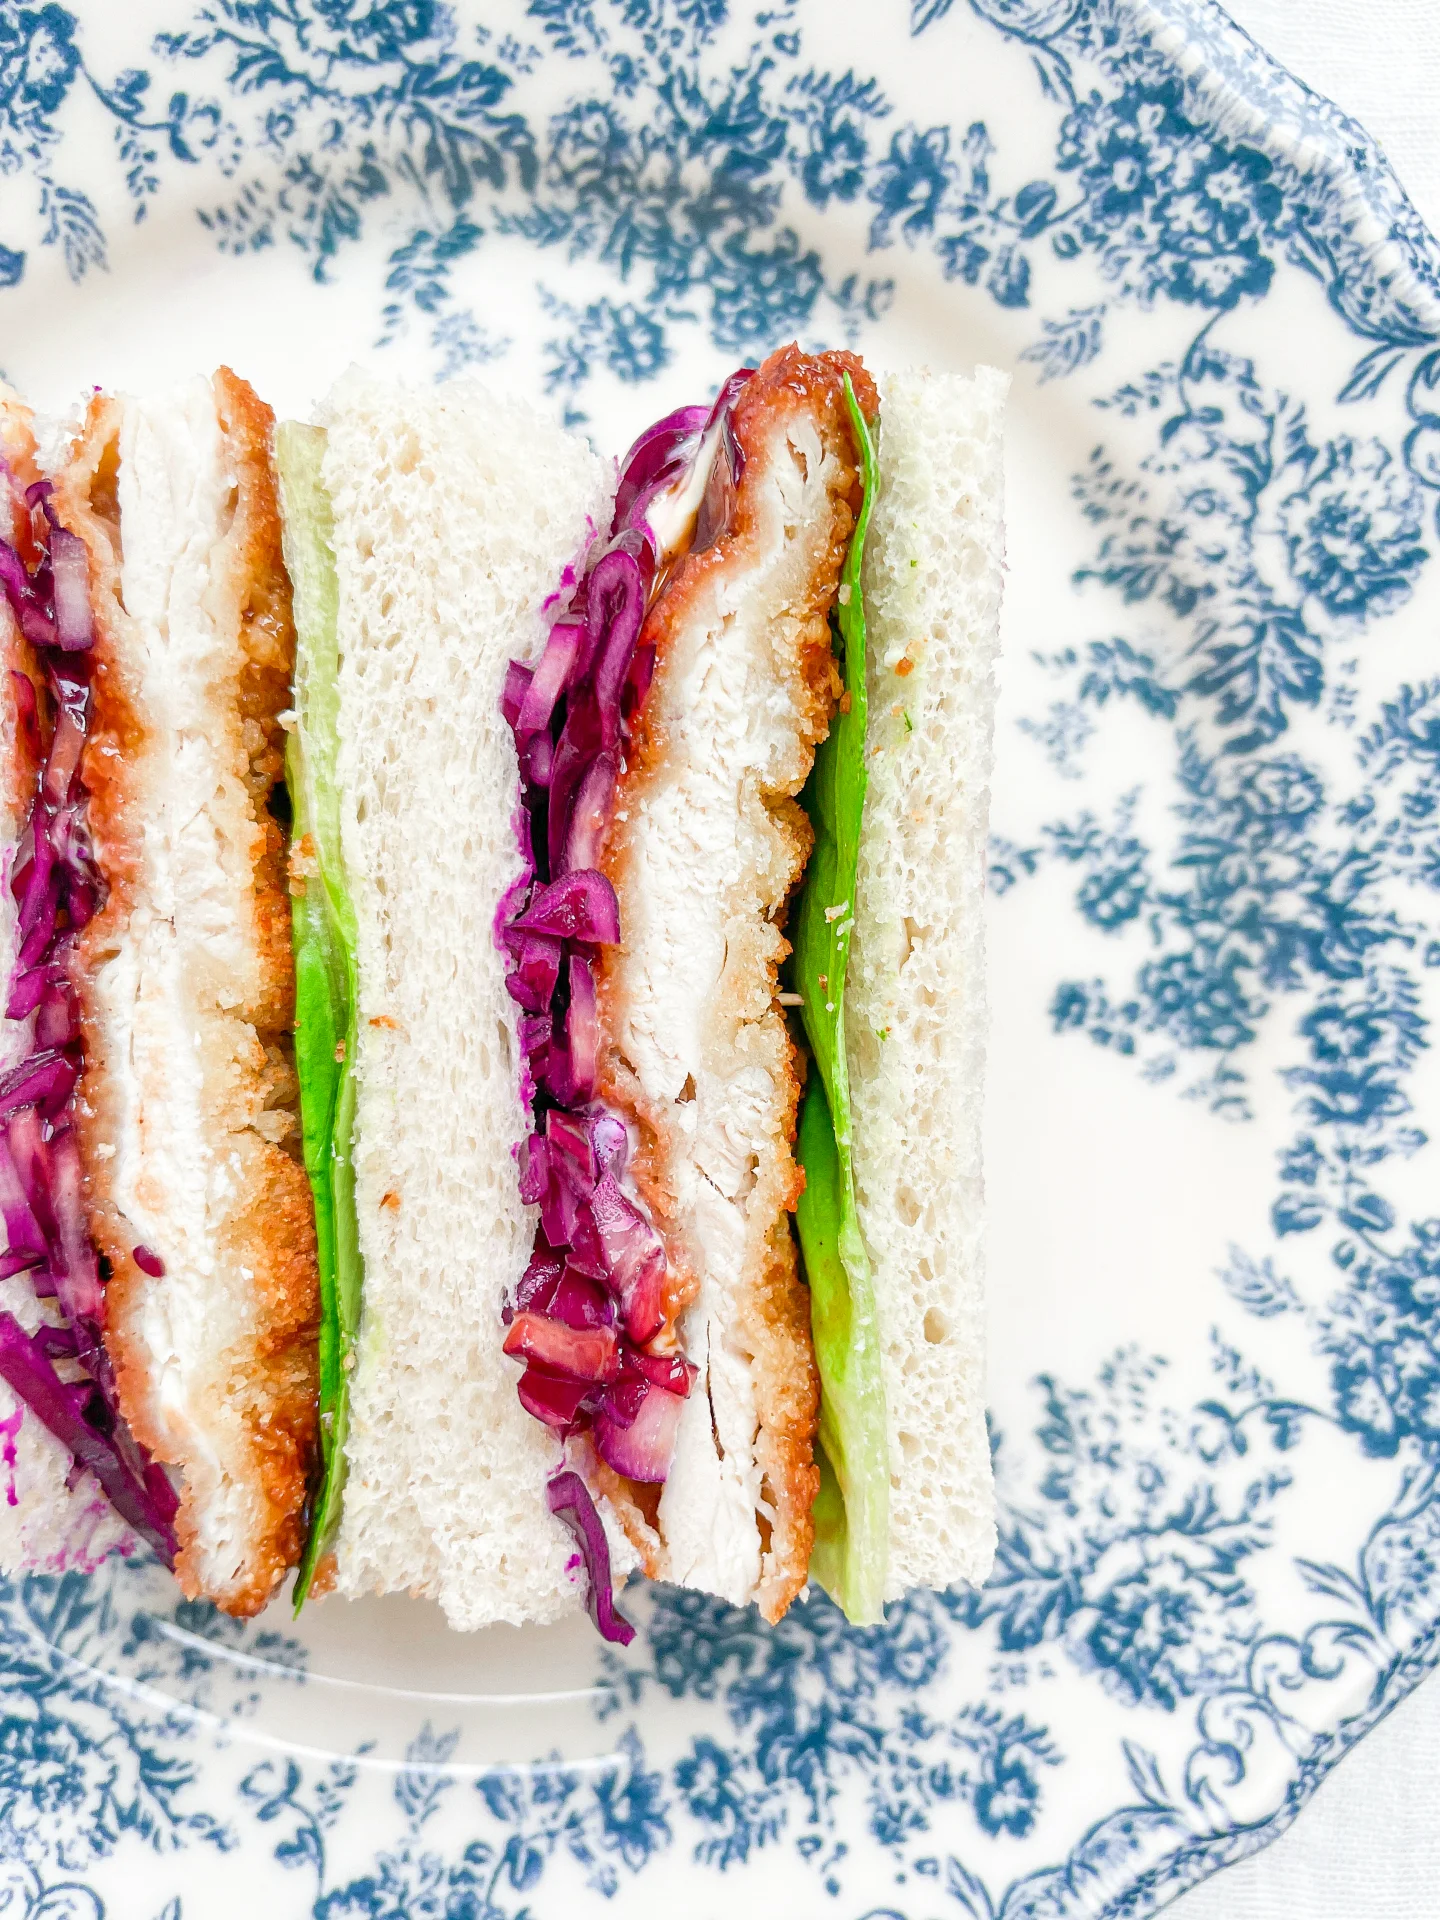
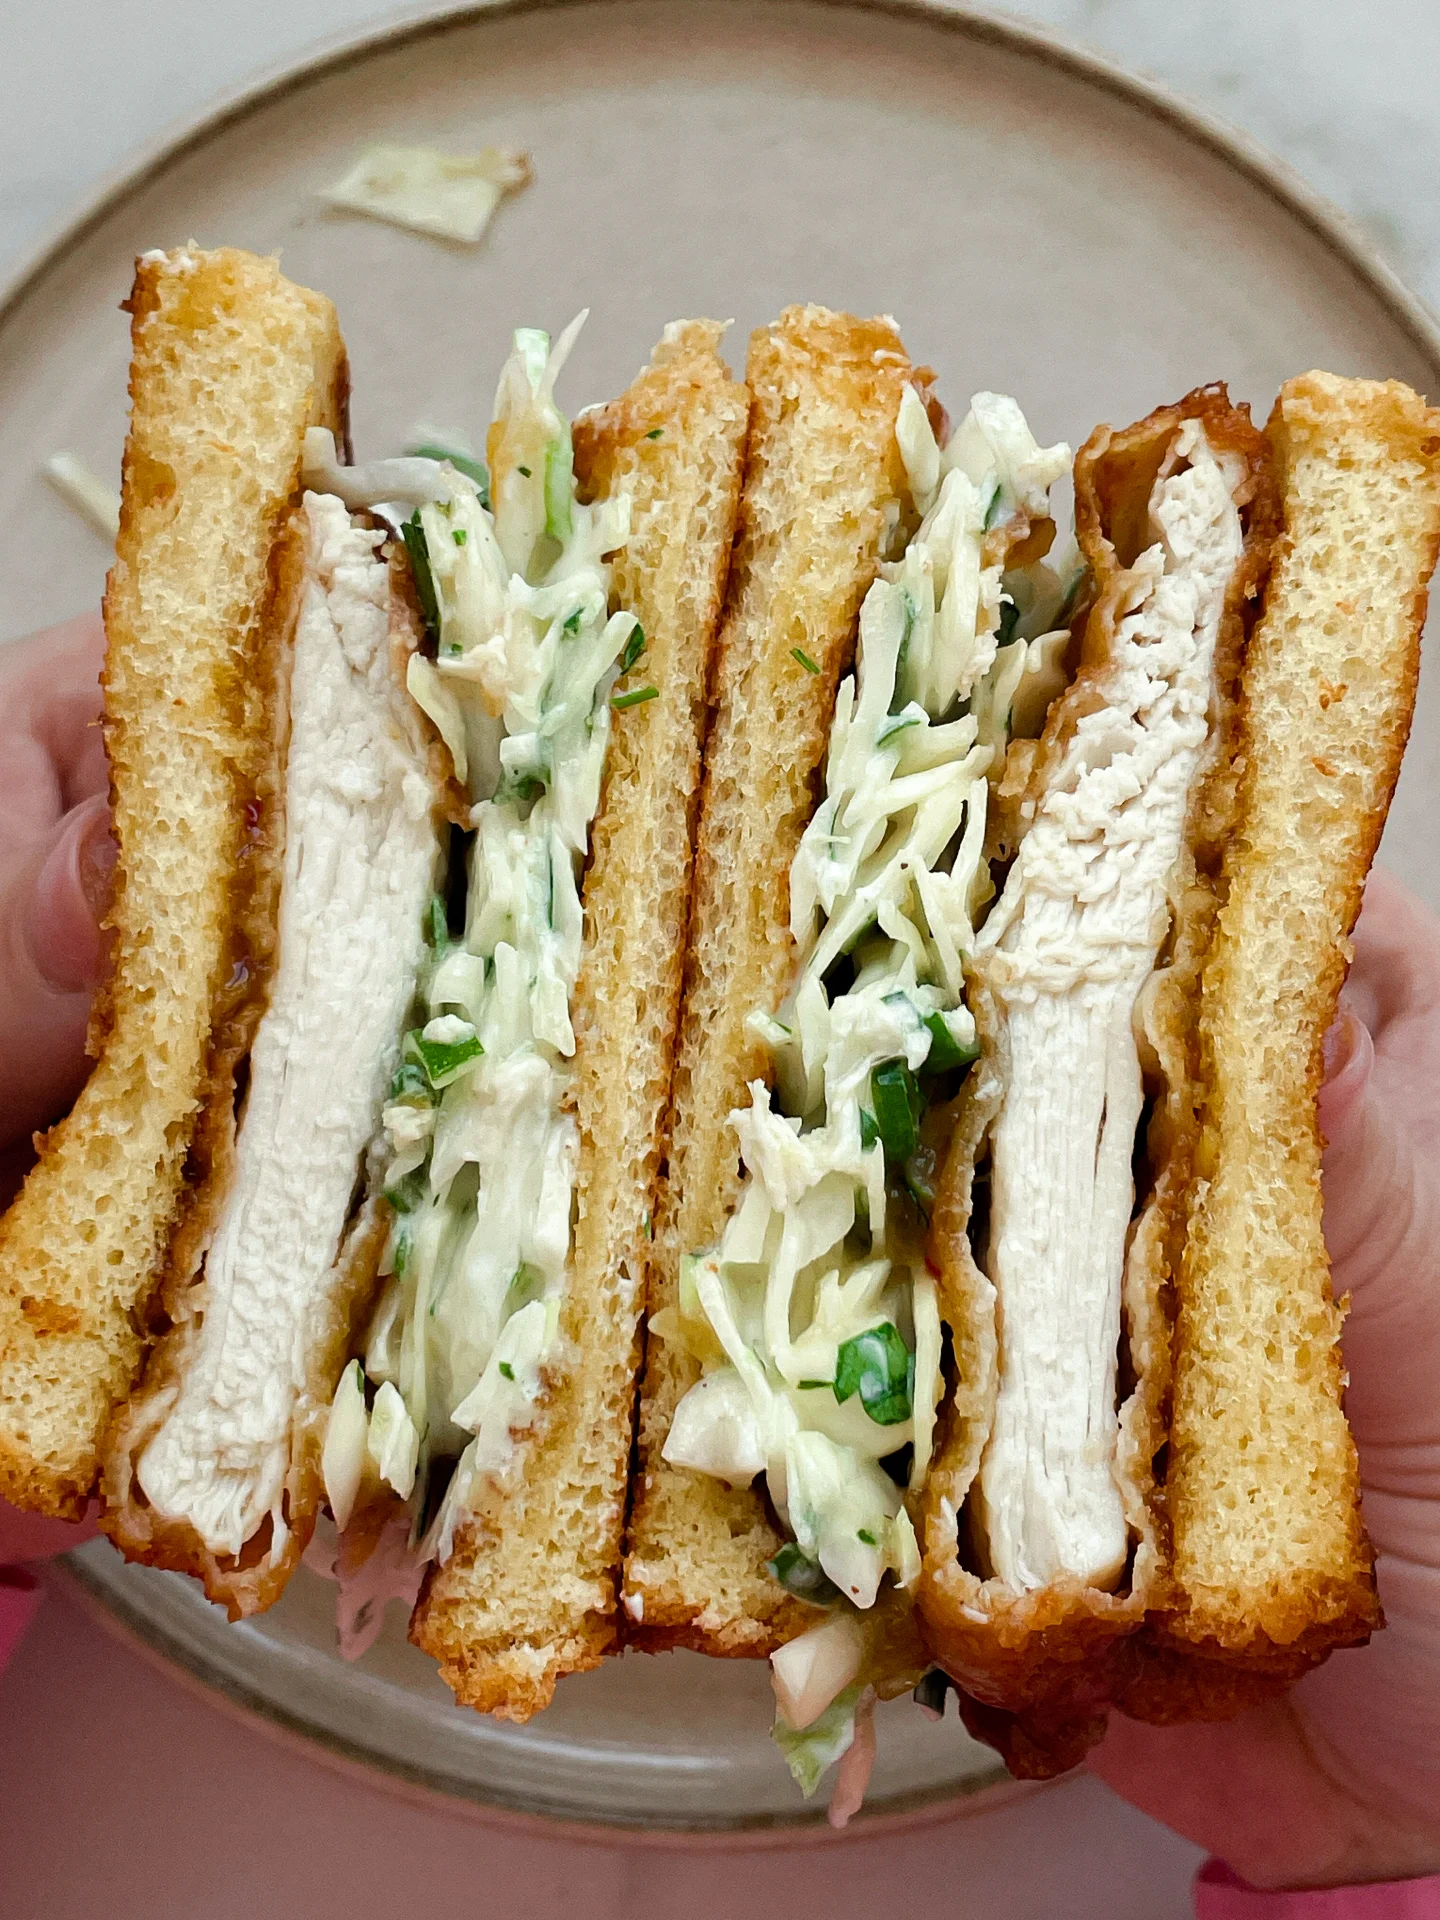
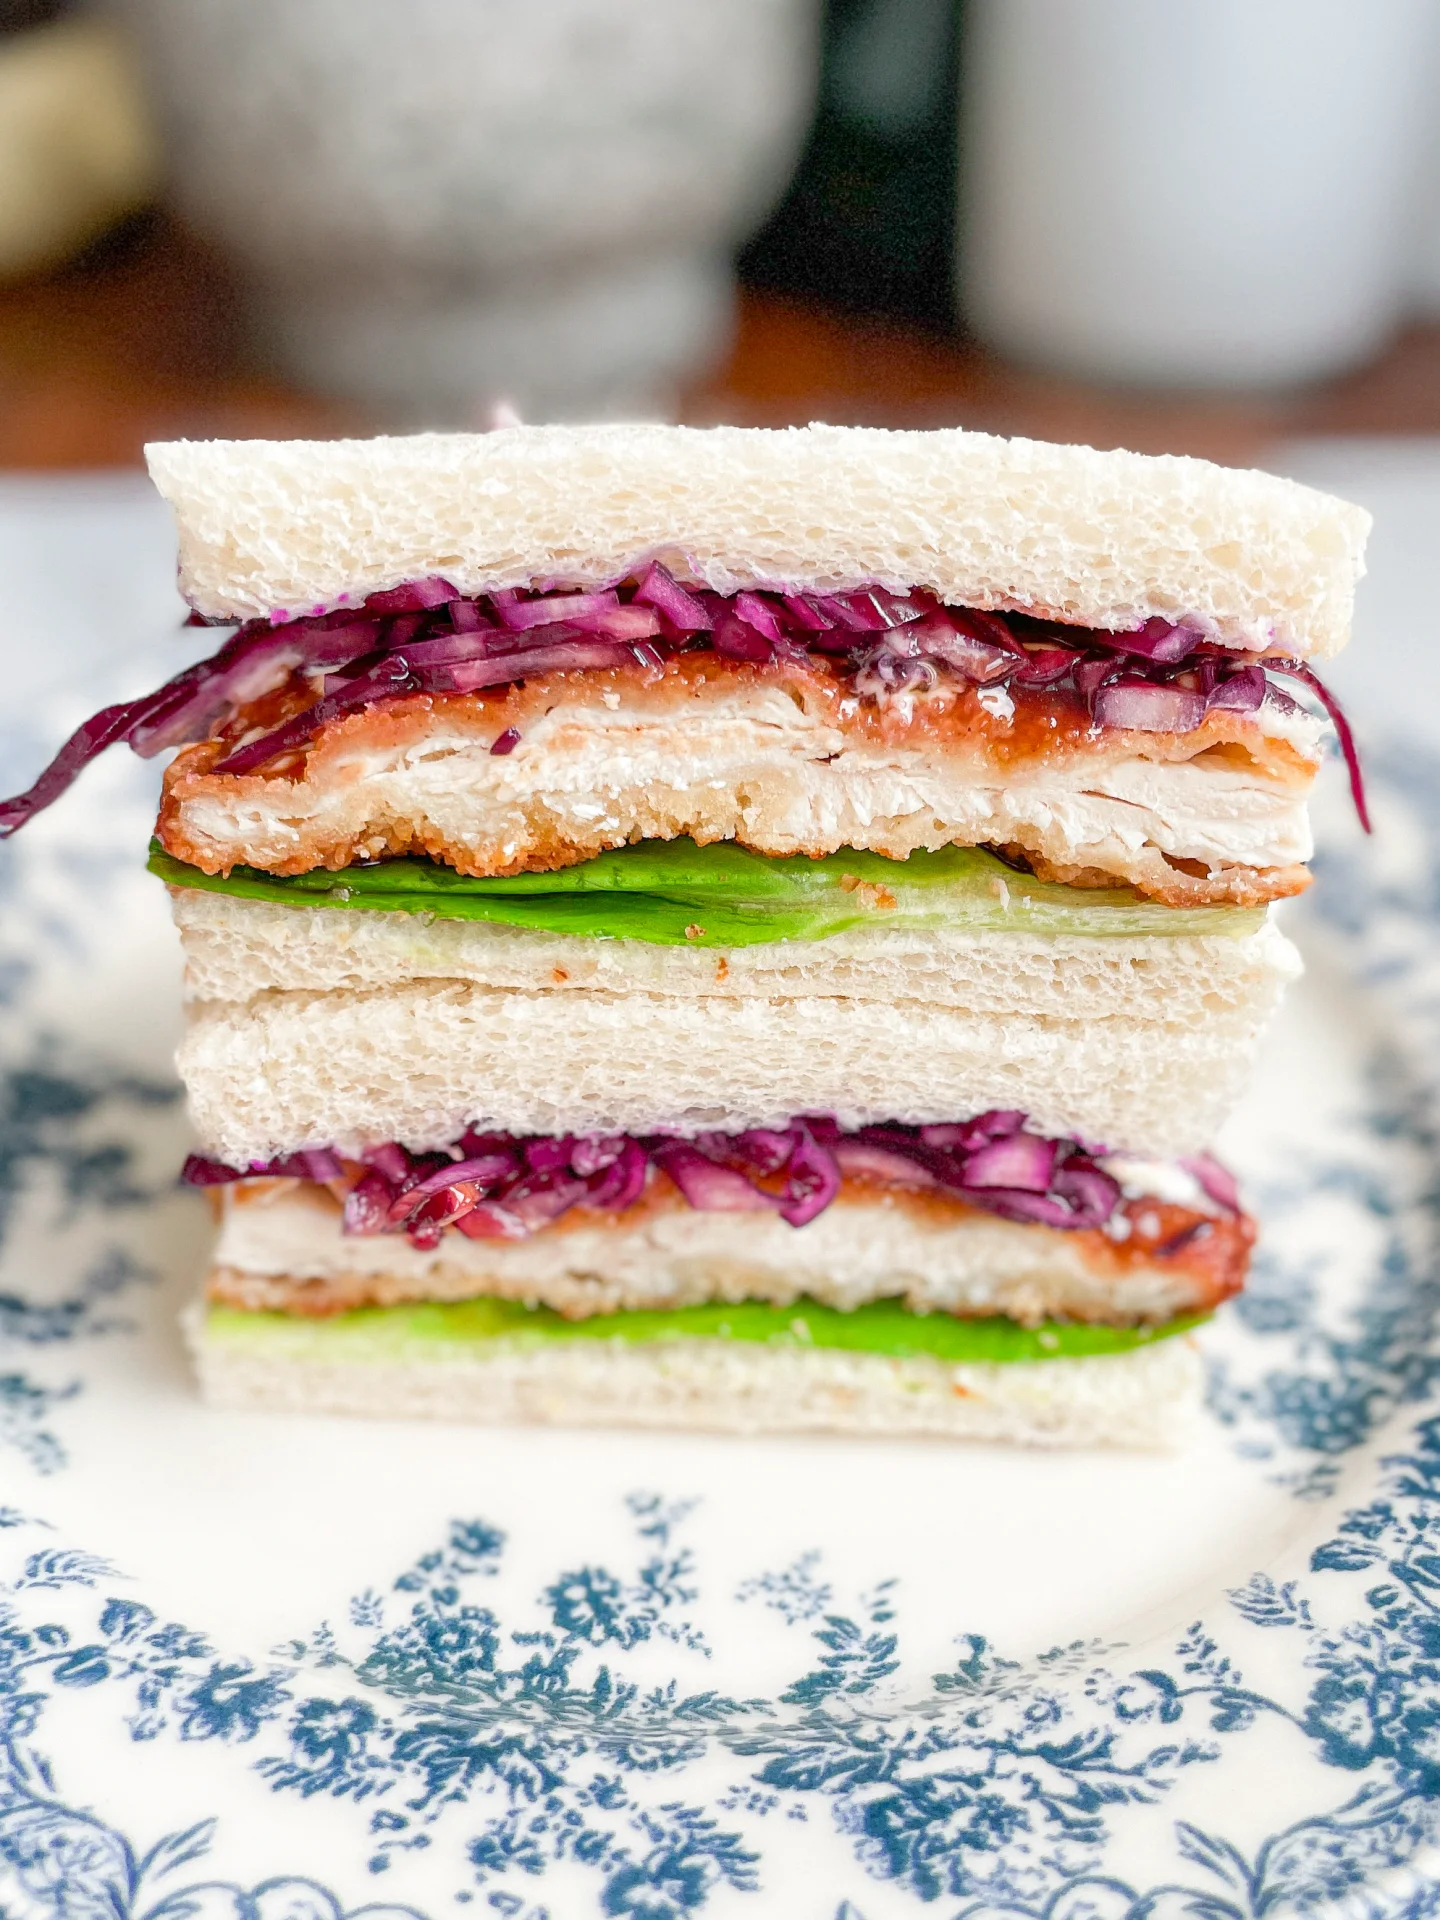
Sink your teeth into the ultimate Katsu Sando – the most popular Japanese sandwich! Crispy chicken, tangy red cabbage, and creamy kewpie mayo nestled between soft bread – every bite is a flavor explosion!

This website uses affiliate links which may earn commission for purchases made at no additional cost to you.

TOTAL TIME

40 min

SERVES

4 sandwiches

DIET

omnivore

EVERY RECIPE DESERVES

A Little Love Letter

Brace yourself for the crunch and savor of the Katsu Sando, a Japanese-inspired sandwich that’s taking the culinary world by storm. Featuring crispy panko-crusted chicken, this sandwich packs a punch with every layer of flavor.

Perfectly crispy and deliciously juicy, the Katsu Sando is best served immediately after assembly to maintain its textural contrast. Slice it in half to show off the beautiful layers of red cabbage slaw, green butter lettuce, creamy kewpie mayo and tonkatsu sauce.

While best enjoyed fresh, you can store the prepped ingredients separately in the fridge. The panko chicken can be kept for up to two days.

Hi, I'm Kimberly!

Hi, I'm Kimberly.

A hopeless romantic when it comes to food. Every recipe I share is a love letter to food itself. I’m so glad you’re here. Make yourself at home and stay a while.

Love,
Kimberly

Kimberly the Zett Signature

If you want to get to know me better,
click here!


Katsu Sando
Katsu Sando

LET’S MAKE A PIECE OF HAPPINESS

Print
clock clock iconcutlery cutlery iconflag flag iconfolder folder iconinstagram instagram iconpinterest pinterest iconfacebook facebook iconprint print iconsquares squares iconheart heart iconheart solid heart solid icon
Katsu Sando

Katsu Sando


  • Author: Kimberly
  • Total Time: 40 minutes
  • Yield: 4 1x

Description

GOOD TO HAVE ON HAND

  • sharp knife
  • cutting board
  • medium-sized bowl
  • plastic wrap
  • meat mallet
  • two plates
  • three shallow dishes for breading
  • large frying pan
  • measuring spoons


Ingredients

Units Scale
  • 8 slices white toast
  • 40 grams kewpie mayo
  • 40 grams tonkatsu sauce
  • 250 grams chicken breast
  • 1.5 tbsp all-purpose flour
  • 1 egg
  • 3 tbsp panko bread crumbs
  • 3 tbsp regular bread crumbs
  • 50 grams clarified butter
  • 150 grams red cabbage
  • 1 tsp rice vinegar
  • 1/2 tsp sesame oil
  • 1/4 tsp salt
  • 4 butter lettuce leaves

Instructions

  • Cut the red cabbage into eighths and finely shred or slice one eighth. Place it in a medium-sized bowl and marinate with rice vinegar, sesame oil, and salt. Set aside.
  • Detach 4 leaves from the head of lettuce and wash thoroughly. Pat dry and set aside.
  • Halve the chicken breast lengthwise, then cut each half again crosswise. Place each piece between two layers of plastic wrap and pound to about 0.5 cm / 0.2″ thickness using a meat mallet. Lay the flattened meat on a plate.
  • Set up a breading station with three shallow dishes or bowls. Fill the first dish with 1.5 heaped tablespoons of wheat flour, crack an egg into the second dish and whisk it. In the third dish, mix together 3 heaped tablespoons each of panko and breadcrumbs. Coat each piece of chicken first in flour, shaking off excess, then dip in the egg, and finally, press into the breadcrumb mixture, ensuring it’s well coated on all sides. Place the breaded pieces side by side on a plate.
  • Heat clarified butter in a large frying pan and fry the breaded chicken pieces on both sides until crispy, about 3 minutes per side or until cooked through. Let the meat drain on kitchen paper.
  • Place half of the slices of bread flat on a clean work surface, then place a lettuce leaf on each. Top each with a piece of cooked chicken, followed by a zigzag pattern of Kewpie mayo and Tonkatsu sauce. Add about 2 tablespoons of red cabbage salad on top of the sauces. Finally, top the sandwiches with another slice of bread. If desired, trim the edges all around and cut the sandwiches in half in the middle with a sharp knife.

Notes

The calorie information may vary depending on the product used, country and region.

  • Cook Time: 40 min

CRAVING MORE?

Follow along here & don’t forget to subscribe to my substack!

Cannelloni

Cannelloni

Cannelloni

Cannelloni

June 27, 2024 by Kimberly

Imagine biting into perfectly baked Cannelloni, stuffed with rich, savory beef filling, all wrapped in a golden, crispy bechamel parmesan top. It’s comfort food heaven in every bite!

This website uses affiliate links which may earn commission for purchases made at no additional cost to you.

TOTAL TIME

2 hrs + 55 min

SERVES

6 portions

DIET

omnivore

EVERY RECIPE DESERVES

A Little Love Letter

Cannelloni, the classic Italian comfort dish, is a true crowd-pleaser with its hearty fillings and rich, creamy sauce. Perfect for gatherings, it promises to be the star of your dining table.

Serve your Cannelloni fresh out of the oven, topped with parmesan for that irresistible cheese pull. Accompany it with a simple green salad and a glass of delicious red wine for an authentic Italian dining experience. Whether it’s a cozy family dinner or a more festive occasion, cannelloni adapts to both, pleasing everyone who takes a bite.

Leftover Cannelloni can be refrigerated in an airtight container for up to three days, making it a fantastic make-ahead dish. Simply reheat in the oven until thoroughly warm and enjoy!

Hi, I'm Kimberly!

Hi, I'm Kimberly.

A hopeless romantic when it comes to food. Every recipe I share is a love letter to food itself. I’m so glad you’re here. Make yourself at home and stay a while.

Love,
Kimberly

Kimberly the Zett Signature

If you want to get to know me better,
click here!


Cannelloni
Cannelloni

LET’S MAKE A PIECE OF HAPPINESS

Print
clock clock iconcutlery cutlery iconflag flag iconfolder folder iconinstagram instagram iconpinterest pinterest iconfacebook facebook iconprint print iconsquares squares iconheart heart iconheart solid heart solid icon
Cannelloni

Cannelloni


  • Author: Kimberly
  • Total Time: 2 hrs 55 min
  • Yield: 6 1x

Description

GOOD TO HAVE ON HAND

  • sharp knife
  • cutting board
  • vegetable peeler
  • large pot
  • baking dish
  • medium-sized pot
  • whisk
  • medium-sized bowl
  • piping bag


Ingredients

Units Scale
  • 24 cannelloni roles
  • 40 grams parmesan
  • 125 grams mozzarella
  • fresh basil
BEEF SAUCE
  • 500 grams minced beef
  • 500 grams minced pork
  • 700 milliliters beef stock
  • 1 tbsp butter
  • 1 tbsp clarified butter
  • 1 white onion
  • 1/2 celery stick
  • 1 carrot
  • 4 garlic cloves
  • 100 milliliters dry white wine
  • 800 grams canned tomatoes
  • 2 tbsp tomato paste
  • 1/2 tsp oregano
  • 1/4 tsp cinnamon
  • 1/4 tsp chili flakes
  • 1 tsp salt
  • 1/4 tsp black pepper
BECHAMEL SAUCE
  • 500 milliliters full-fat cow milk
  • 50 grams butter
  • 50 grams all-purpose flour
  • 1/8 tsp white pepper
  • 3/8 tsp salt
  • freshly grated nutmeg to taste

Instructions

  1. Peel the carrots, onion, and garlic, and chop them along with the celery into very small pieces. Set aside.
  2. Melt the clarified butter in a large pot and thoroughly brown the minced meat until a nice crust forms on the bottom. Then remove the meat from the pot and set it aside in a bowl.
  3. Now add the carrots, onion, garlic, and celery to the pot with 1 tbsp butter and sauté for about 5 minutes until soft. Deglaze with white wine and scrape up the crusty from the bottom. Return the ground meat to the pot along with tomato paste and a pinch of salt. Sauté for 1-2 minutes.
  4. Add beef broth and canned tomatoes and simmer over medium heat for about 1 hour without a lid. The consistency should be creamy-thick, neither too liquid nor too solid, just firm enough so that it doesn’t run out of the cannelloni when filling them. Now add oregano, salt, pepper, chili, and cinnamon, and season well. Set the filling aside to cool slightly.
  5. Meanwhile, prepare the béchamel sauce. The recipe can be found here: Béchamel Sauce. Once prepared, set it aside. Preheat the oven to 200°C / 392°F.
  6. Set up your cannelloni filling station. You’ll need the meat filling in the pot, a piping bag, a baking dish, and a spoon. Place about 4 tablespoons of the meat filling at the bottom of the baking dish. Fill your piping bag with a few tablespoons of the filling and pipe it into the cannelloni. I recommend not overfilling the piping bag to maintain control. Fill all the cannelloni one by one and arrange them in a single layer over the sauce in your baking dish. Spread the remaining sauce over the cannelloni.
  7. Next, pour the béchamel over the cannelloni, ensuring all gaps are filled with sauce. Top with grated mozzarella and Parmesan.
  8. Cover the baking dish with aluminum foil and bake for 30 minutes. After 30 minutes, remove the foil, increase the oven temperature to 220°C / 428°F, and bake for an additional 15 minutes until the cheese is crispy. Optionally, you can slice fresh basil into fine strips and sprinkle over the cannelloni.

Notes

The calorie information may vary depending on the product used, country and region.

  • Passive Time: 1 hour 45 min
  • Cook Time: 60 min

CRAVING MORE?

Follow along here & don’t forget to subscribe to my substack!

Ham & Cheese Croissant

Ham & Cheese Croissant

Ham&Cheese Croissant

Ham & Cheese Croissant

December 6, 2023 by Kimberly

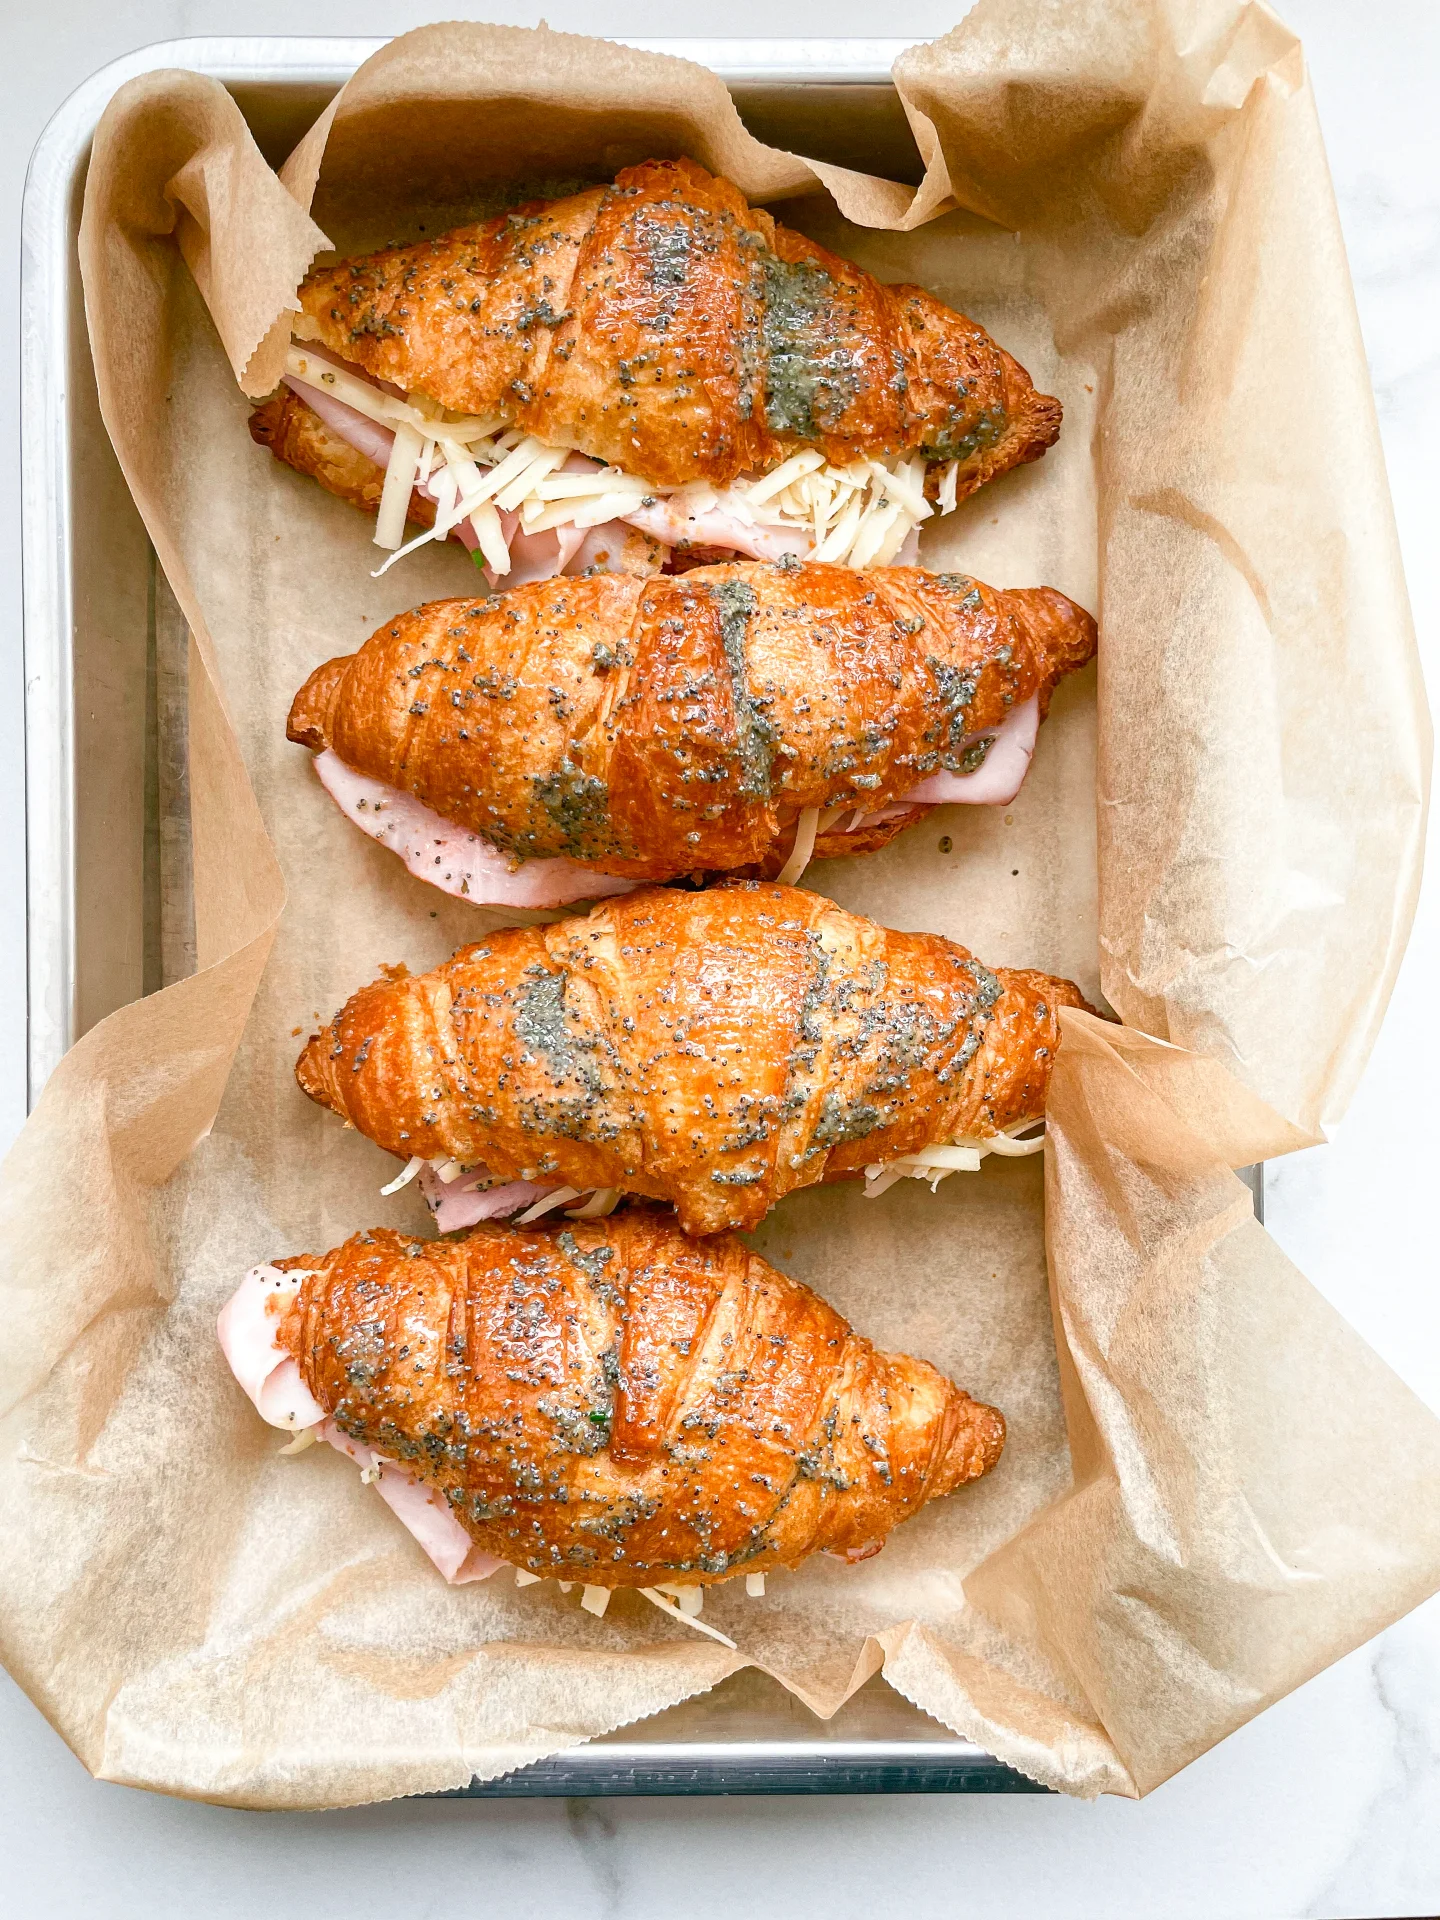
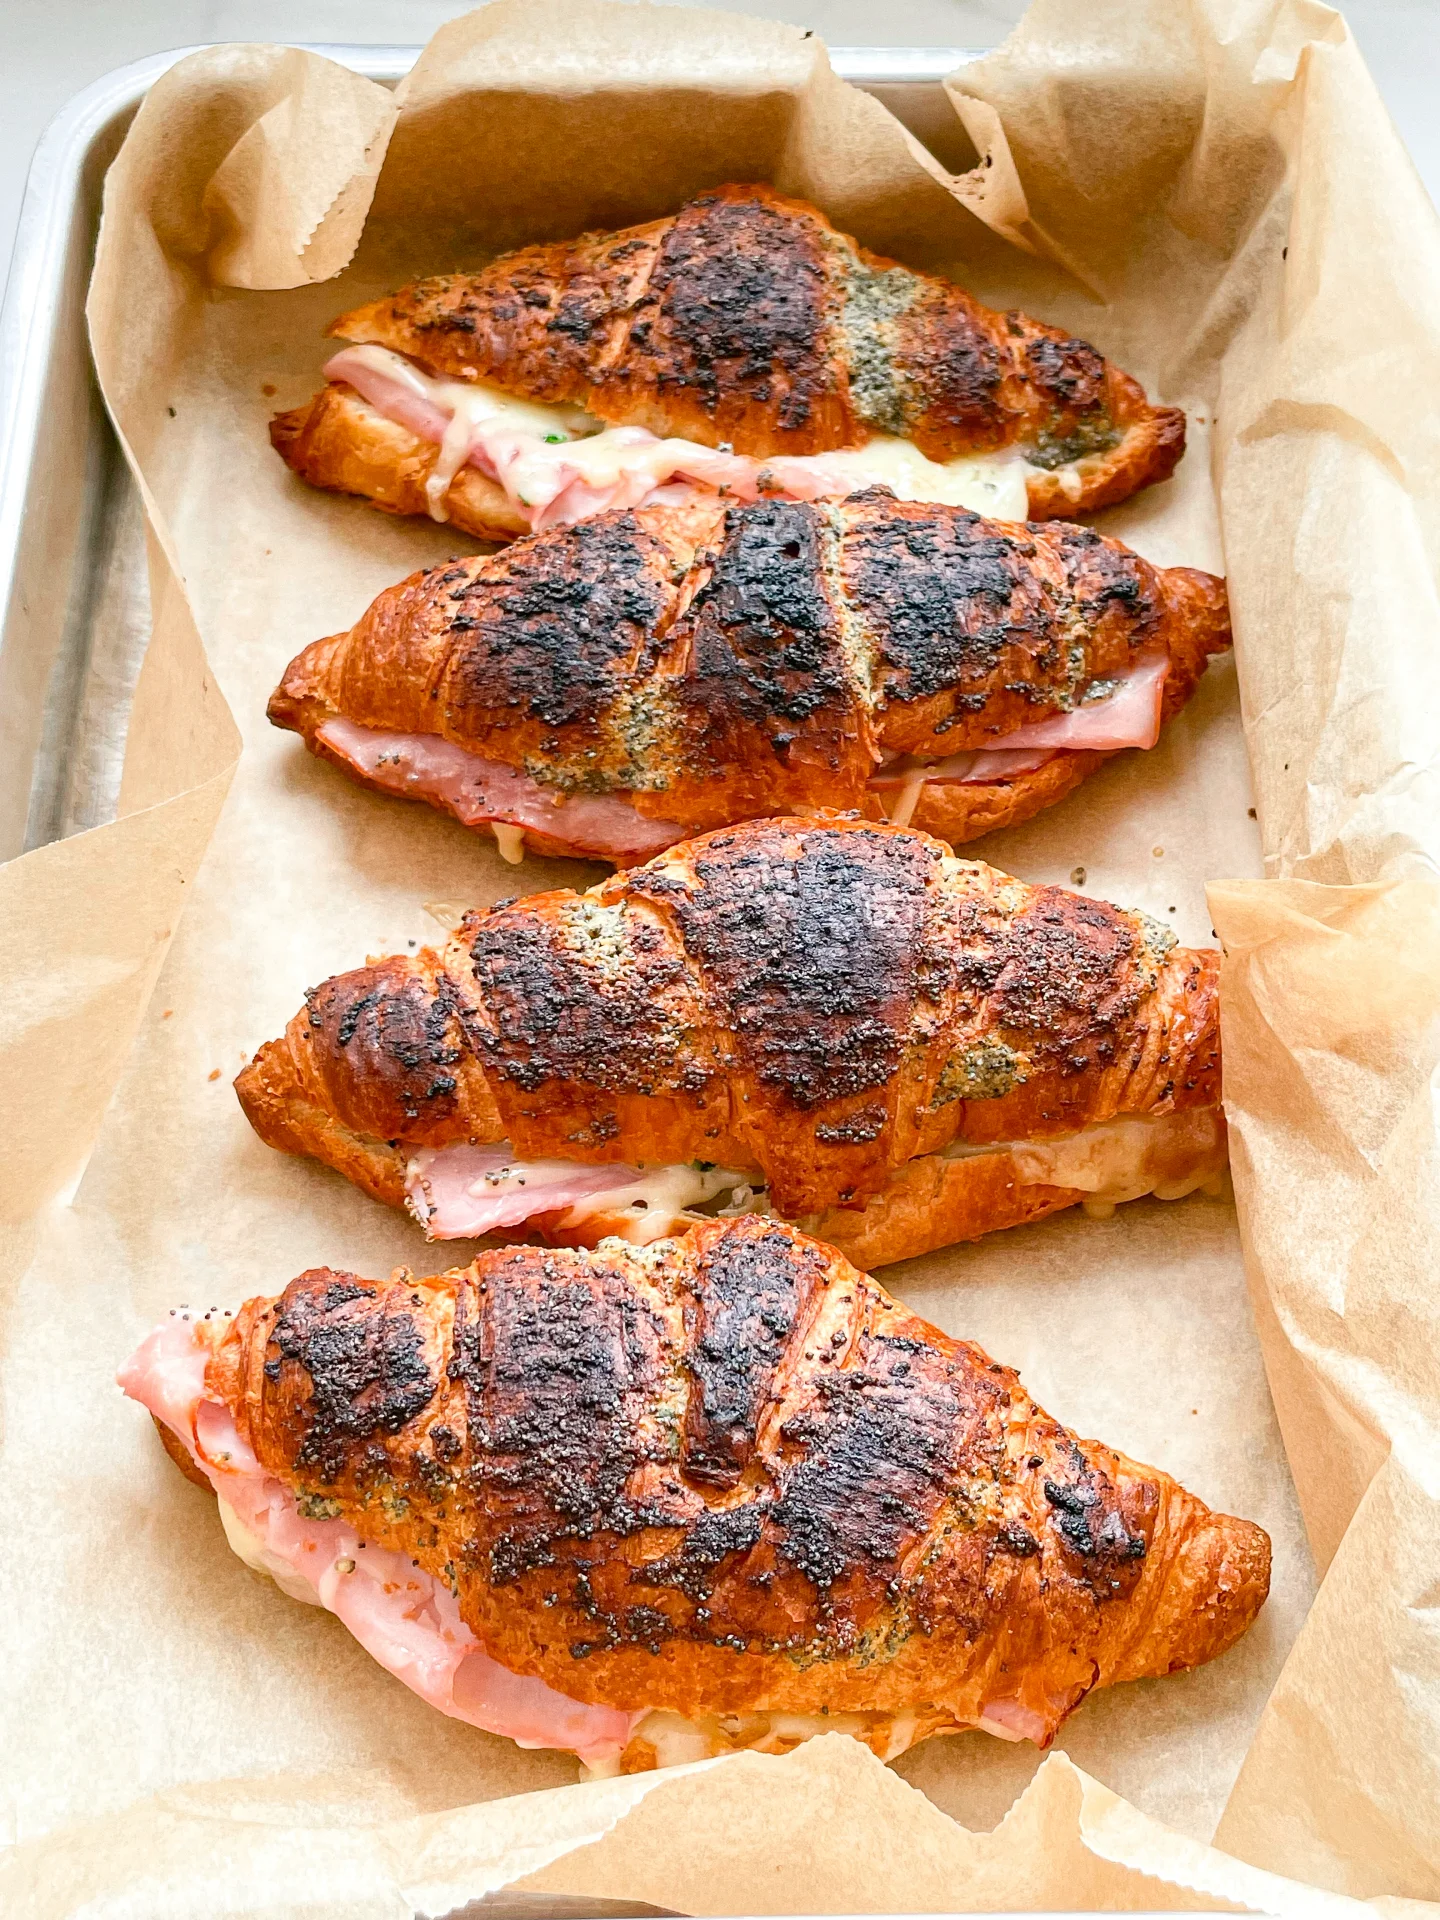
This Ham & Cheese Croissant brings together buttery crispness, melted cheese, and a flavorful cream that adds sweetness, savoriness, and depth. Perfect as a quick breakfast, a hearty snack, or warm finger food for guests. These croissants come together in minutes and taste irresistible straight from the oven. If you’re looking for an easy, impressive comfort recipe everyone will love, this ham and cheese croissant is about to become your new favorite.

This website uses affiliate links which may earn commission for purchases made at no additional cost to you.

TOTAL TIME

15 min


SERVES

4 croissants


DIET

omnivore

EVERY RECIPE DESERVES

A Little Love Letter

There are recipes that stay with you for so long, they eventually feel like part of your own biography. My Ham & Cheese Croissant is one of those. Maybe because, at its core, it has always been there, long before I knew cooking even had rules.

As a kid, all I ever wanted was to invent something. And in my mind, I was absolutely convinced: I did. My “invention” was a slice of ham folded in half, a slice of cheese tucked inside, and the whole thing pan-fried on both sides. I swear, I felt like the greatest chef alive. Today, that childhood creation has gotten a little upgrade: a crisp, buttery croissant filled with good ham, melted cheese, and a creamy topping that ties everything together. Sweetness, savoriness, a little depth, that balance is what makes this so unbelievably good. It’s comfort food without feeling heavy. Quick to make, yet it still feels like a tiny moment of luxury.

I serve it in the morning when I want to treat myself. At lunch, when hunger suddenly hits harder than expected. And most of all when friends are coming over. Slice the croissants, add ham and cheese, sprinkle in some chives, close them, spread the cream on top, pop them in the oven and a few minutes later, the whole kitchen smells like warm, buttery happiness. It’s the perfect “I thought of you” kind of recipe. Maybe that’s the real magic of this recipe: That a childhood fantasy turned into a snack that makes people happy and just a little bit in love.

Hi, I'm Kimberly!

Hi, I'm Kimberly.

A hopeless romantic when it comes to food. Every recipe I share is a love letter to food itself. I’m so glad you’re here. Make yourself at home and stay a while.

Love,
Kimberly

Kimberly the Zett Signature

If you want to get to know me better,
click here!


Ham&Cheese Croissant

LET’S MAKE A PIECE OF HAPPINESS

Print
clock clock iconcutlery cutlery iconflag flag iconfolder folder iconinstagram instagram iconpinterest pinterest iconfacebook facebook iconprint print iconsquares squares iconheart heart iconheart solid heart solid icon
Ham&Cheese Croissant

Ham & Cheese Croissant


5 from 1 review

  • Author: Kimberly
  • Total Time: 15 min
  • Yield: 4 1x

Description

This Ham & Cheese Croissant brings together buttery crispness, melted cheese, and a flavorful cream that adds sweetness, savoriness, and depth. Perfect as a quick breakfast, a hearty snack, or warm finger food for guests. These croissants come together in minutes and taste irresistible straight from the oven. If you’re looking for an easy, impressive comfort recipe everyone will love, this ham and cheese croissant is about to become your new favorite.

GOOD TO HAVE ON HAND

  • small bowl
  • bread knife
  • cheese grater
  • kitchen basting brush


Ingredients

Units Scale
  • 4 croissants
  • 60 grams cheese of your choice (I used Gruyére)
  • 100 grams deli ham
  • 1 tsp chives
GLAZE
  • 1 tbsp butter
  • 1 tsp poppy seeds
  • 1/2 tsp brown sugar
  • 1/2 tsp dijon mustard
  • 1/4 tsp garlic powder
  • 1/4 tsp onion powder
  • 1/4 tsp salt

Instructions

PREPARATIONS

  • Grate Gruyère cheese.
  • Cut the chives into thin rolls.
  • Melt 1 tbsp butter in a small bowl in the microwave or in a saucepan.
  • Preheat the oven to 150°C / 302°F

INSTRUCTIONS

  1.  Add the following ingredients to the melted butter: onion powder, garlic powder, salt, brown sugar, poppy seeds and Dijon mustard. Mix well and set aside.
  2. Slice the croissants lengthwise, but not all the way through. Now place the ham inside and top with the grated Gruyère. Sprinkle with chives. Fold the croissants closed and brush the tops with the glaze. Place them in a baking dish or directly on a baking tray.
  3. Bake the croissants for 7 minutes until the cheese has melted then turn on the broiler for 2-3 minutes until golden brown and crispy.
@kimberlyzett

I'd do anything for a ham and cheese croissant 🥐 recipe is on my website thezett.com #croissant #hamcheesecroissant #breakfastgoals

♬ sonido original - Vibes by Ley
  • Passive Time: 5 min
  • Cook Time: 10 min

CRAVING MORE?

Follow along here & don’t forget to subscribe to my substack!