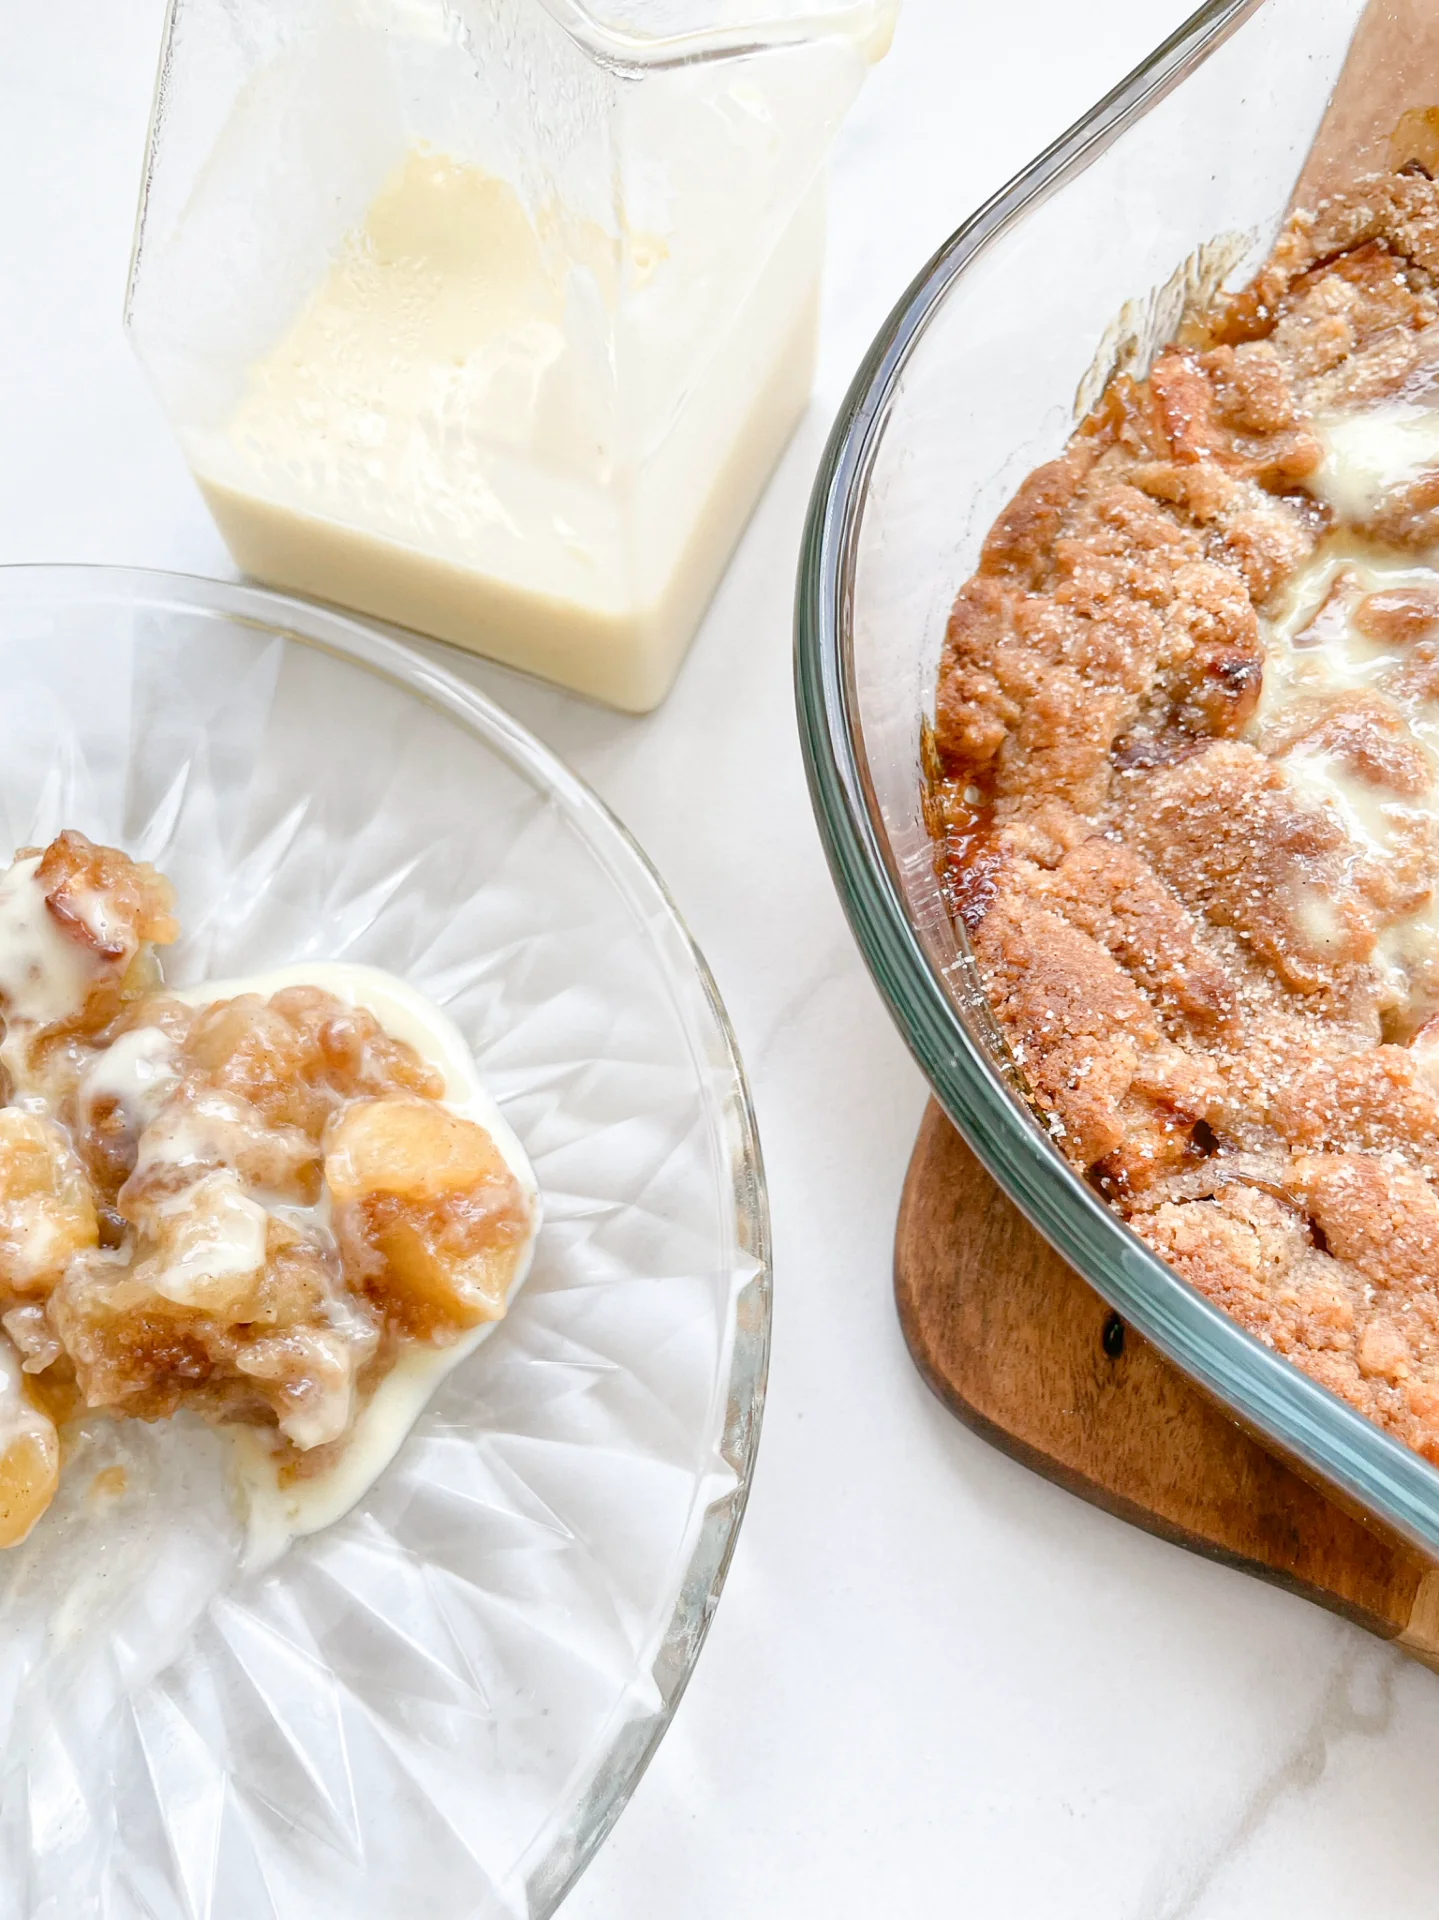


Description
Recommended Equipment
- small saucepan
- whisk
- electric hand mixer
- tall container
- piping bag
Ingredients
Units Scale
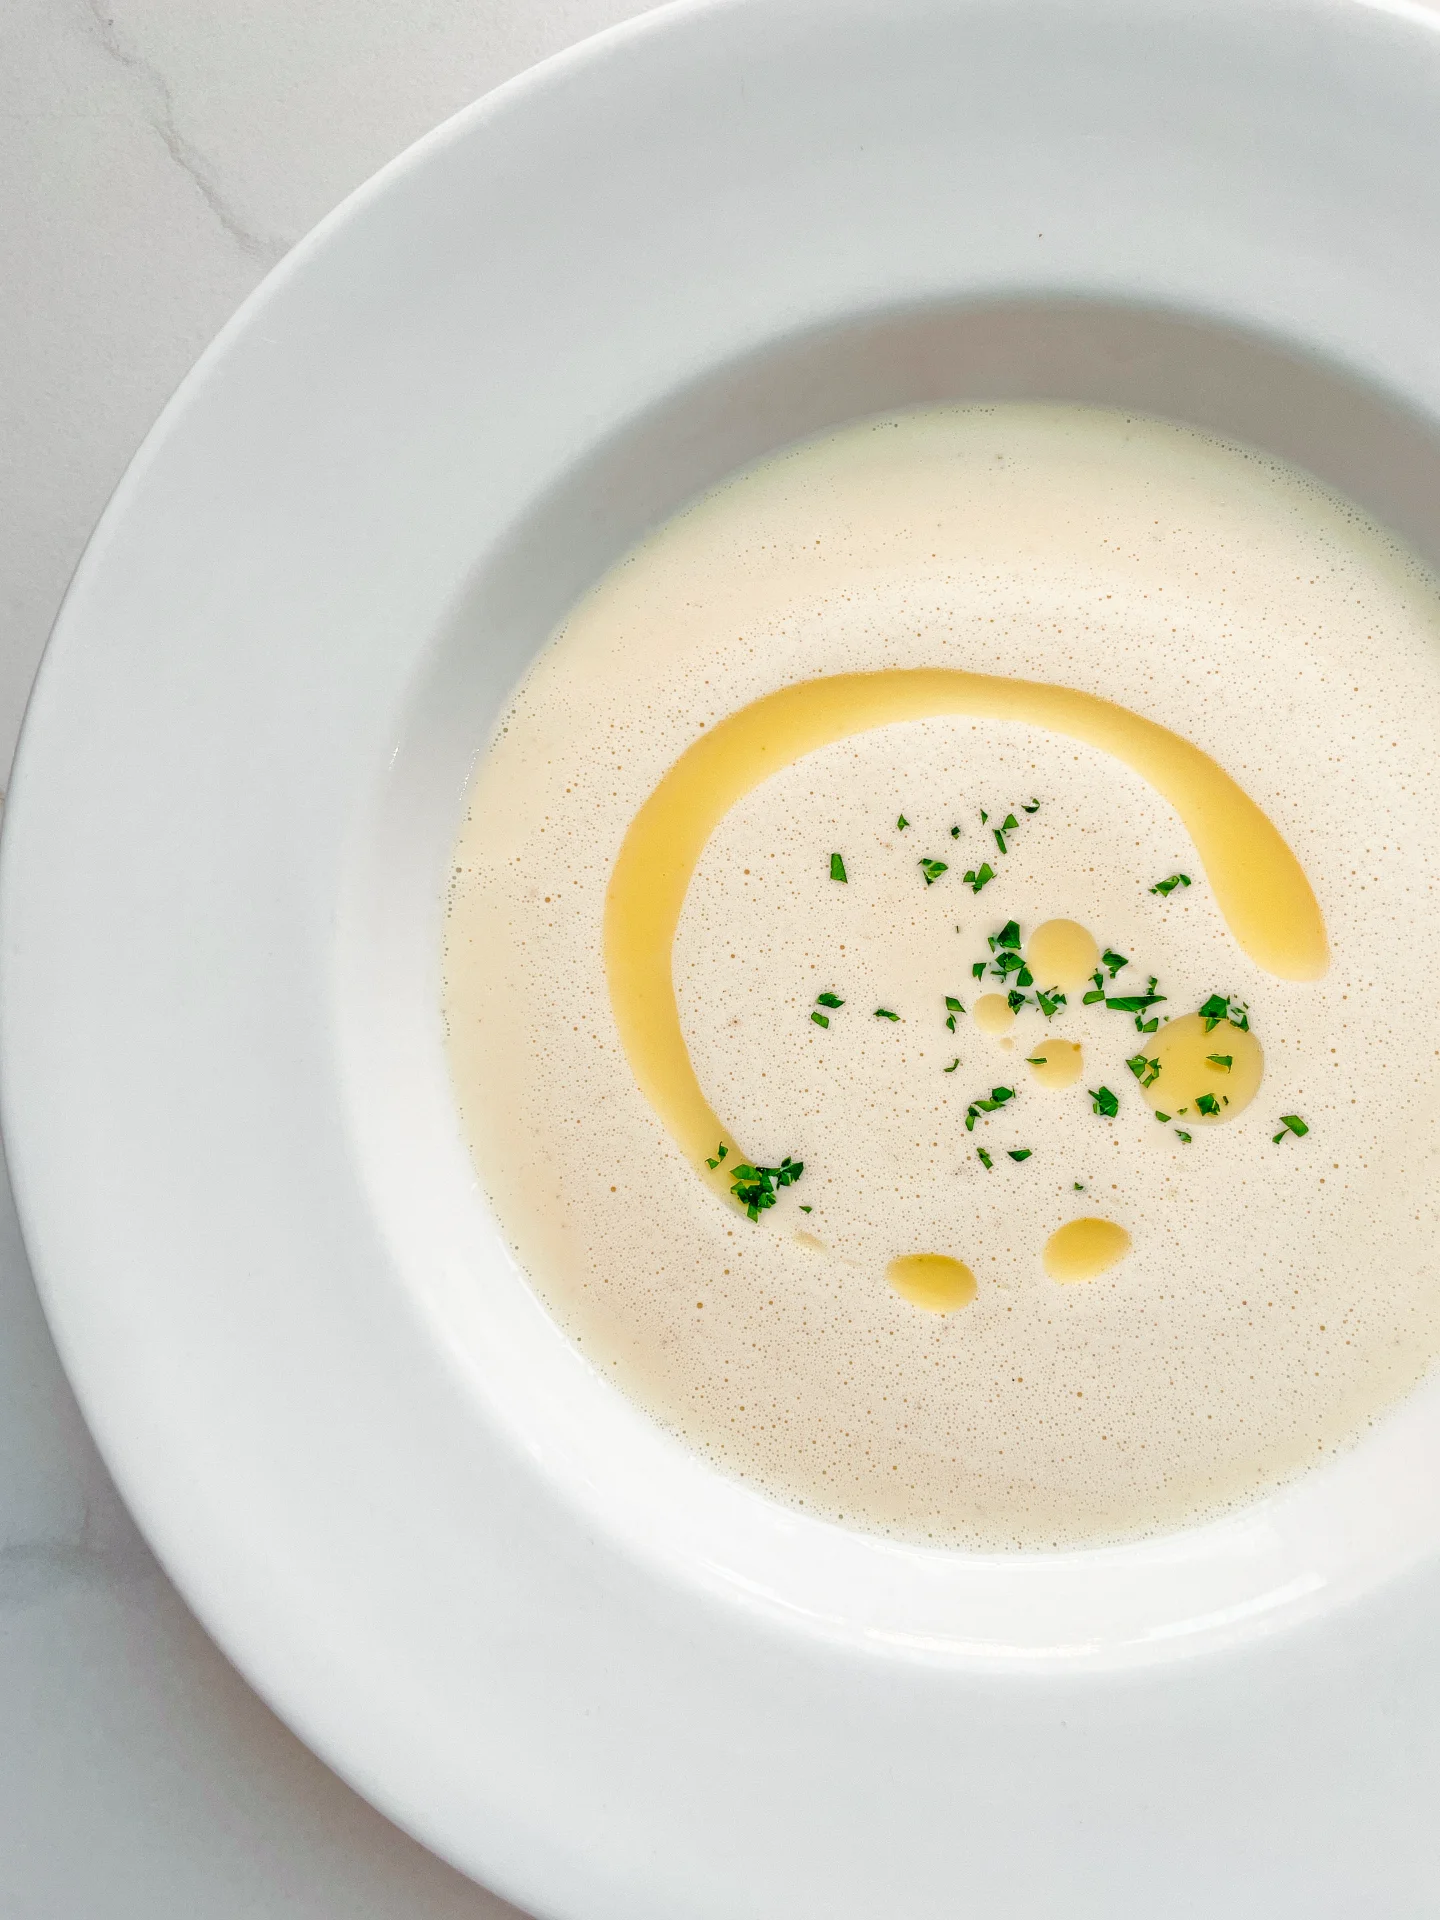
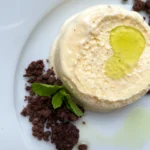
EGGNOG
- 250 milliliter full-fat cow milk
- 150 milliliter advocaat
- 100 milliliter orange juice
- 14 grams vanilla sugar
- 15 grams vanilla pudding instant powder
- pinch of salt
- 200 milliliter heavy cream
- pinch of cinnamon
Instructions
- Cook Time: 10 min