There are recipes that feel less like baking and more like holding onto a little piece of childhood. For me, that’s cinnamon rolls. As you might know, I was born and raised in Germany. And when I was a kid, American products were nowhere to be found in German stores. Reese’s? Never heard of them. Five Guys? Not a clue. We had amazing German bakeries, of course, where they offered raisin swirls, streusel buns, all sorts of cakes, breads, but never those soft, fluffy, cream-covered rolls I had only seen in American movies.
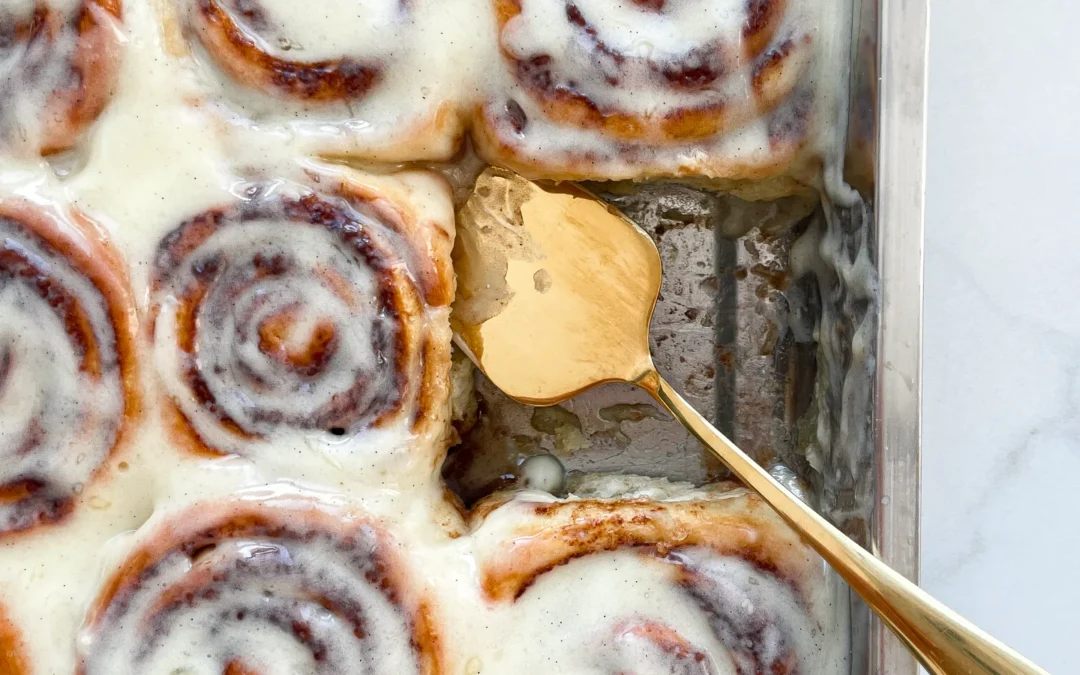
Even back then, I was already a little food enthusiast, but I couldn’t imagine what cinnamon rolls might taste like. Sweet and soft, for sure, but beyond that? So at some point, since they simply didn’t exist in Germany, I created my very own cinnamon roll recipe, exactly the way my childhood self would have dreamed them. Pillowy, fluffy, full of cinnamon and sugar, with a creamy glaze that melts into the warm rolls.
And maybe that’s why I love them so much to this day, because they carry that little spark of wonder with them. The rolls are delicious, of course, but they’re also a reminder that food can hold stories, dreams, and even a sense of belonging. It’s a recipe that turned from imagination into reality.
Today, they’ve become a tradition. Every autumn, I pull out this recipe again. The kitchen filling with the scent of cinnamon, everyone at home knowing that cinnamon roll season has officially begun. I love to enjoy them with a big latte or a German Eggnog, lit a cozy candle, and suddenly the world feels just a little more whole again.


")
")