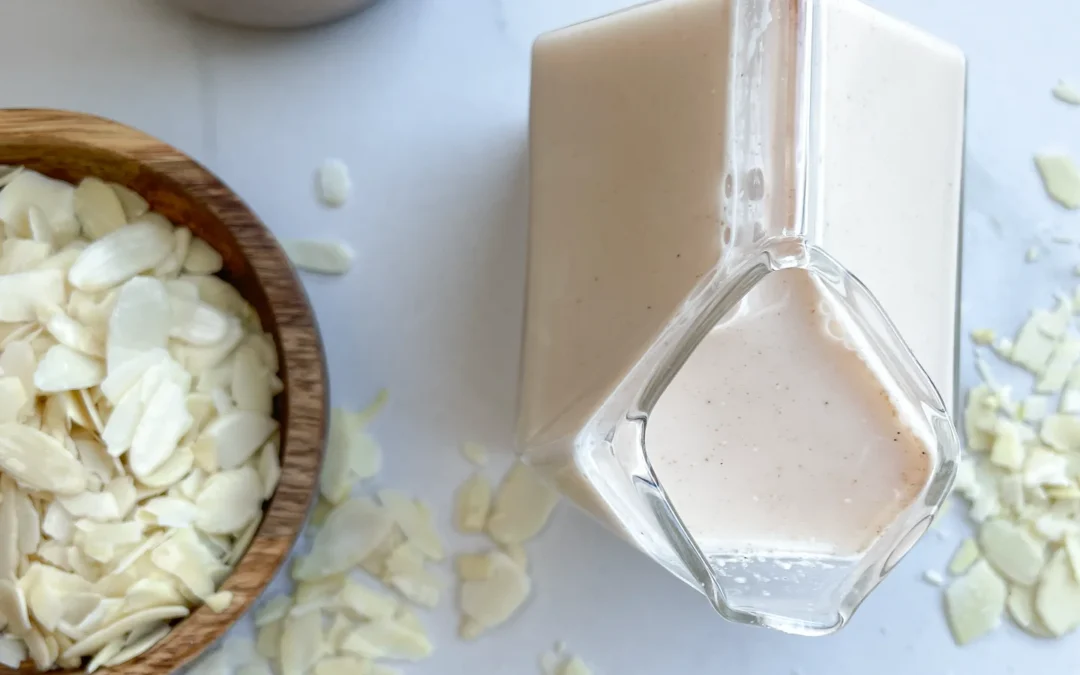
There’s something incredibly satisfying about making your own almond milk. Not only is it super creamy and fresh, but it’s also free from additives, so you’re just getting pure, nutty goodness. Whether you’re dairy-free, vegan, or just a fan of plant-based alternatives, this homemade version brings a taste and texture you just can’t get from store-bought. It’s smooth, lightly nutty, and perfect for adding a cozy, wholesome touch to your morning coffee or favorite smoothie!
How to serve
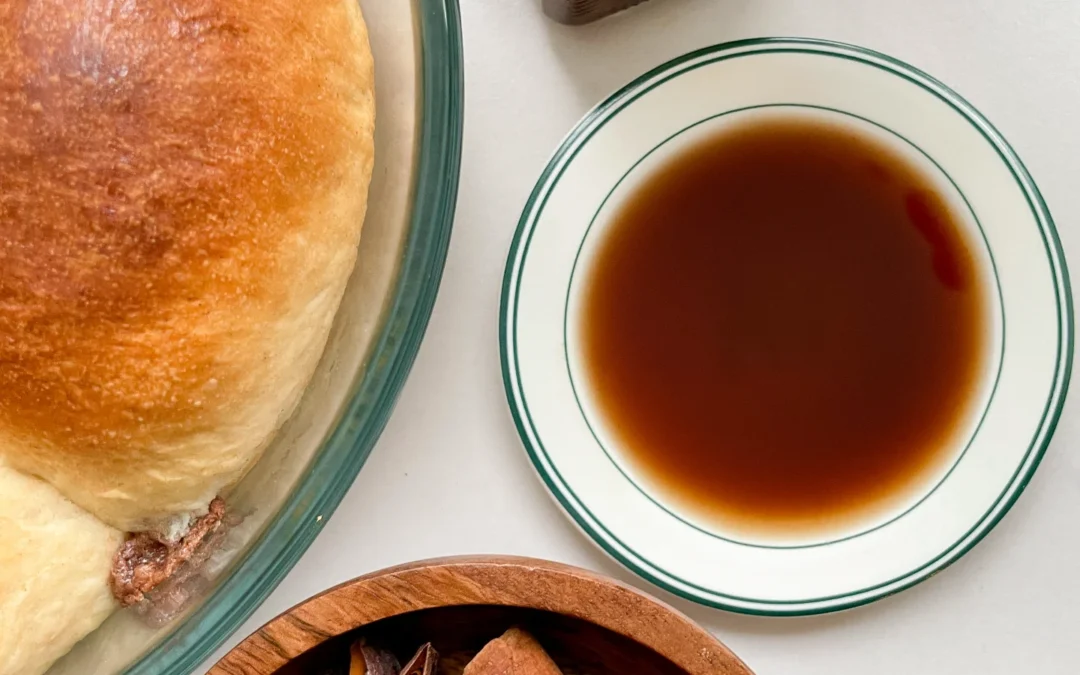
This fresh, creamy almond milk is incredibly versatile. Pour it over your morning cereal, blend it into smoothies, or enjoy it with your coffee for a nutty, silky texture. You can even use it in baking or cooking as a dairy-free substitute. Try adding a pinch of cinnamon, vanilla, or a tiny drizzle of maple syrup if you want a little extra flavor boost. It’s a great way to elevate everyday recipes with a homemade touch!
How to store
Homemade almond milk keeps best in the fridge for up to 4 days. Just pour it into a clean, airtight container or glass bottle, give it a shake before serving, and keep it nice and cold for freshness.