Carrot Cake & Cream Cheese Frosting

Carrot Cake & Cream Cheese Frosting

Carrot Cake & Cream Cheese Frosting

Carrot Cake & Cream Cheese Frosting

March 26, 2024 by Kimberly

Indulge in the joy of Easter with this divine Carrot Cake & Cream Cheese Frosting, a perfect blend of spices, sweetness, and celebration in every bite!

110 MINUTES

INTERMEDIATE

VEGETARIAN

INT.

240 PER PORTION

CREAMY
SWEET

EASTER

CAKE

SPRING
SUMMER

INTRODUCTION

ABOUT THE RECIPE

Dive into the world of baking with this mouth-watering Carrot Cake Recipe, perfectly paired with Cream Cheese Frosting. Whether you’re a seasoned baker or a newbie, this Easy Carrot Cake will guide you to creating the most delectable dessert. It combines a moist, spice-infused cake layer with rich, creamy frosting for a taste that’s truly unforgettable. Get ready to impress at any gathering with this ultimate carrot cake delight.

How to serve:
Slice it up for a heartwarming dessert, afternoon tea treat, or a celebratory centerpiece. Its Cream Cheese Icing melts in your mouth, pairing beautifully with the cake’s textures and flavors. Elevate your presentation by garnishing with chopped nuts or these little cute carrots made of colored cream cheese frosting. For an extra touch of elegance, serve chilled on a decorative plate, letting each bite transport you to dessert heaven.

How to store:
Store it in an airtight container in the fridge. Enjoy your delicious creation for up to a week, ensuring each slice is as moist and flavorful as the first.

Hi, I'm Kimberly!

Hi, I'm Kimberly.

A passionate food lover who believes in the magic of homemade deliciousness that spreads love and warmth. Join me on this culinary adventure as I prepare wonderful dishes and let’s spread some happiness together!

Kimberly the Zett Signature

If you want to get to know me better, click here!


Carrot Cake & Cream Cheese Frosting
„Let’s make a piece of happiness“

INGREDIENTS

FOR 1 CAKE WITH 16 SLICES

CAKE BATTER

  • 150g all-purpose flour (1 cup + 2 tbsp)
  • 1/2 tsp orange zest
  • 1 tsp baking powder
  • 1 tsp baking soda
  • 2 eggs
  • 100g white sugar (1/2 cup)
  • 100g brown sugar (1/2 cup)
  • 80g rapeseed oil (1/2 cup)
  • 1 tsp vanilla extract
  • 200g carrots (1.5 cups)
  • 1/8-1/4 tsp nutmeg
  • 1/2 tsp cloves
  • 1/8 tsp salt
  • 1.5 tsp cinnamon

FROSTING

  • 200g cream cheese (7 oz)
  • 3 tbsp butter
  • 200g powdered sugar (7 oz)
  • pinch of salt
  • 1 tsp vanilla extract
  • green & orange food color
Carrot Cake & Cream Cheese Frosting
}

ACTIVE: 10 min

PASSIVE: –

PREPARATIONS

Recommended Equipment
  • mortar and pestle
  • cake pan with a diameter of 24cm (9 inches)
  • peeler
  • grater
  • sieve
  • medium-sized bowl
  • large bowl
  • hand mixer
  • spatula
  • two small bowls
  • piping bag (or two small Ziplock bags)
  • Preheat the oven to 176°C (350°F)
  • Use a mortar and pestle to grind the cloves.
  • Grease the cake pan with 1 teaspoon of butter.
  • Peel the carrots and grate one half of the carrots coarsley and the other half into thin shreds.
}

ACTIVE: 20 min

PASSIVE: 80 min

COOKING

1. Sift flour, cinnamon, cloves, and baking soda through a sieve into a medium-sized bowl. Grate 1/4 teaspoon of fresh nutmeg into it. Set aside.

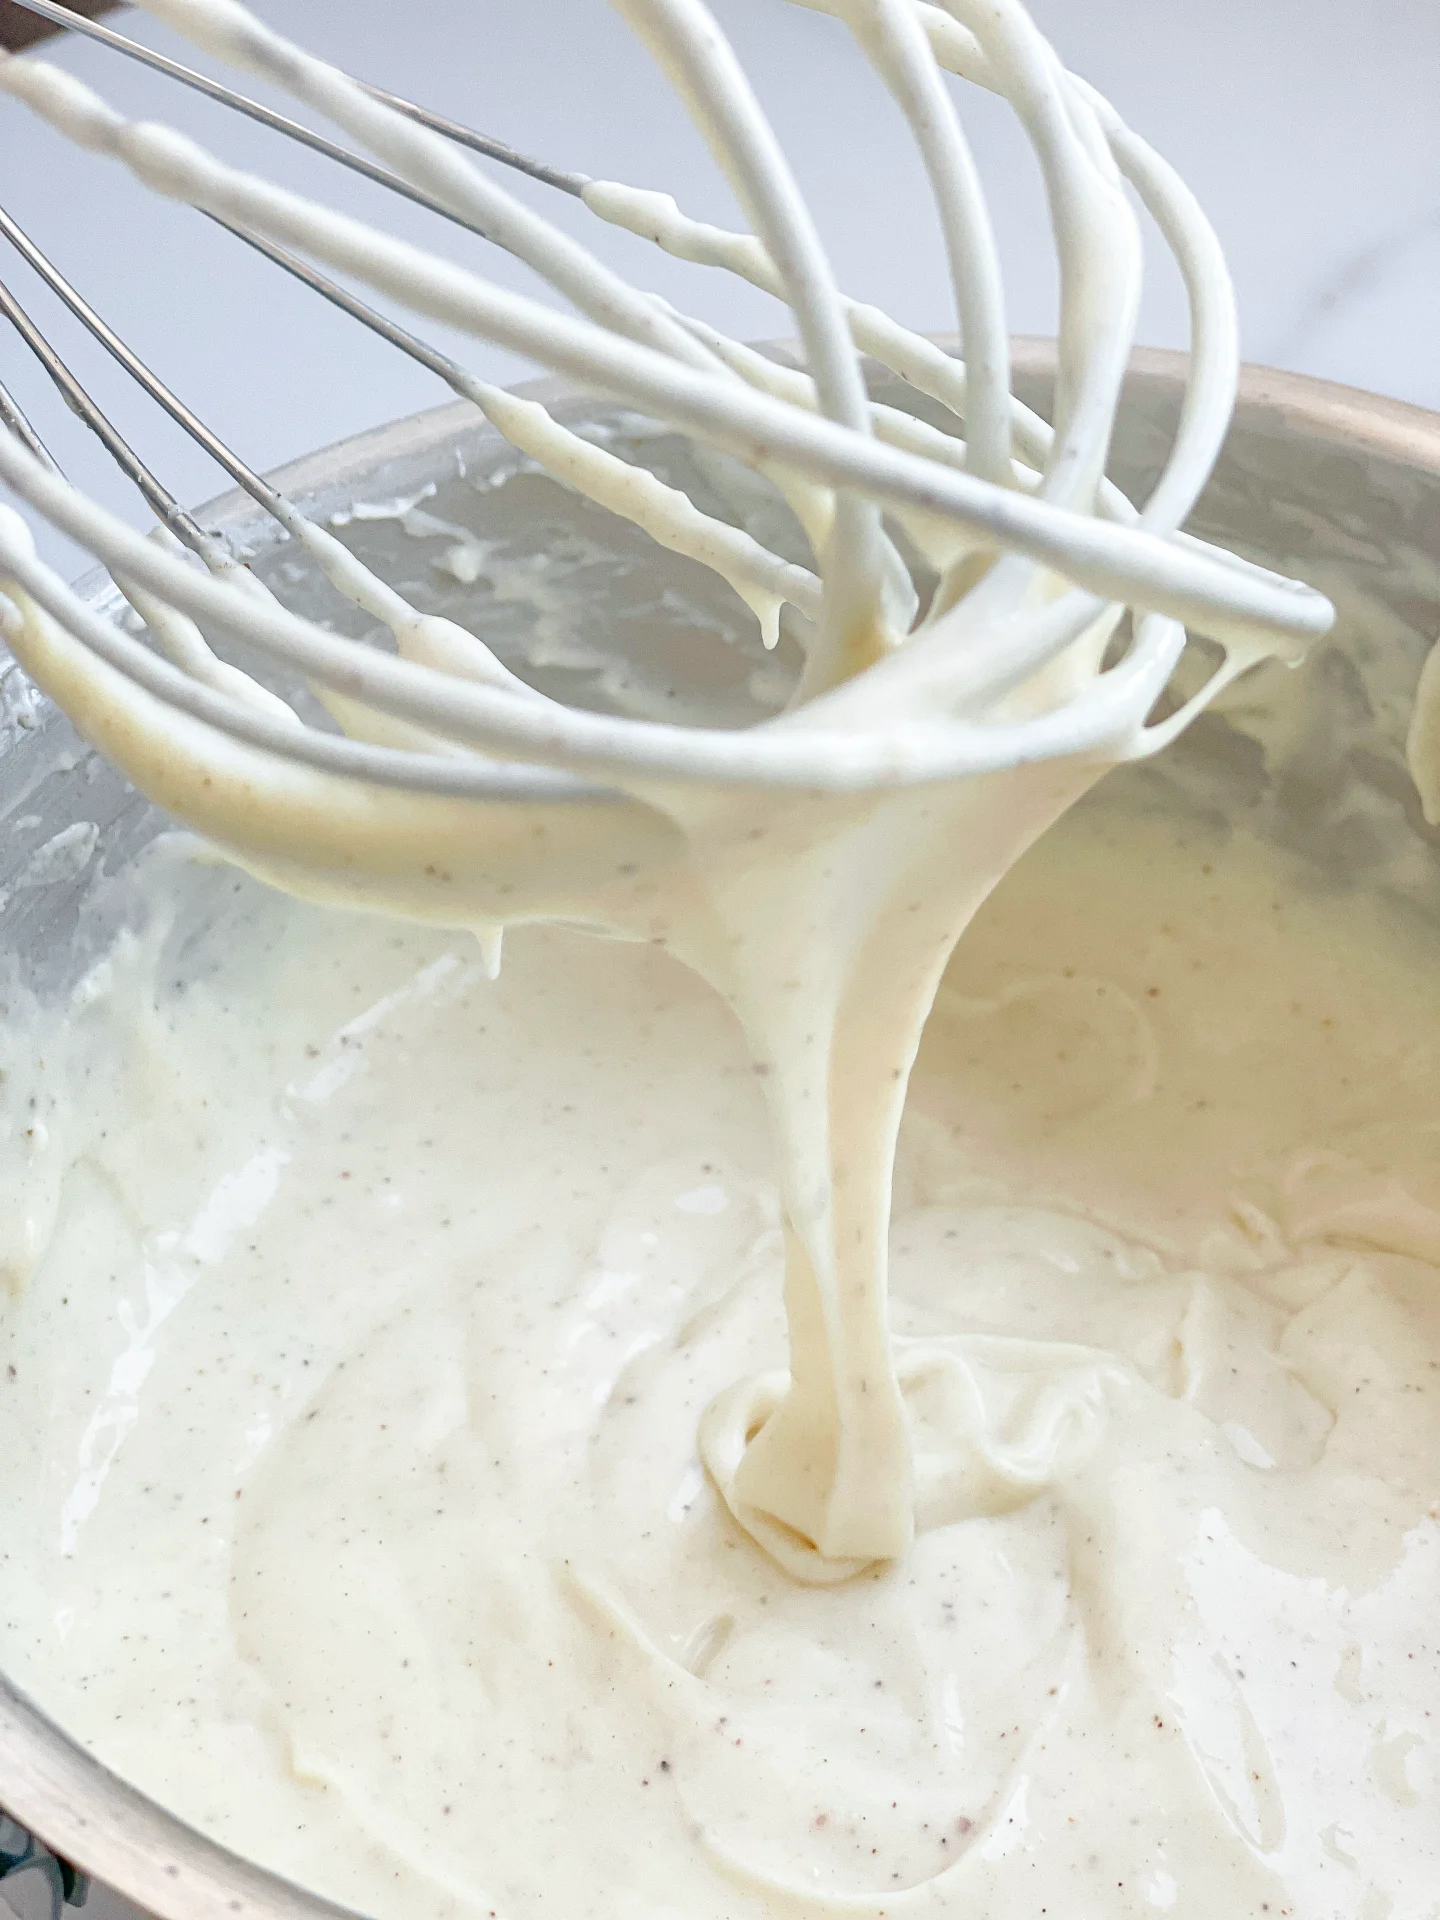
2. In a large bowl, mix sugar, oil, and vanilla extract. Then add the eggs and beat everything together briefly.

3. Next, gradually add the flour mixture and stir well. Finally, fold in the carrots.

4. Pour the batter evenly into the cake pan and bake for 20 minutes or until a toothpick inserted into the center comes out clean.

5. Let the cake cool in the pan on a rack for about 60 minutes, then invert it onto a cake stand or plate.

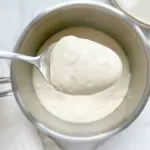
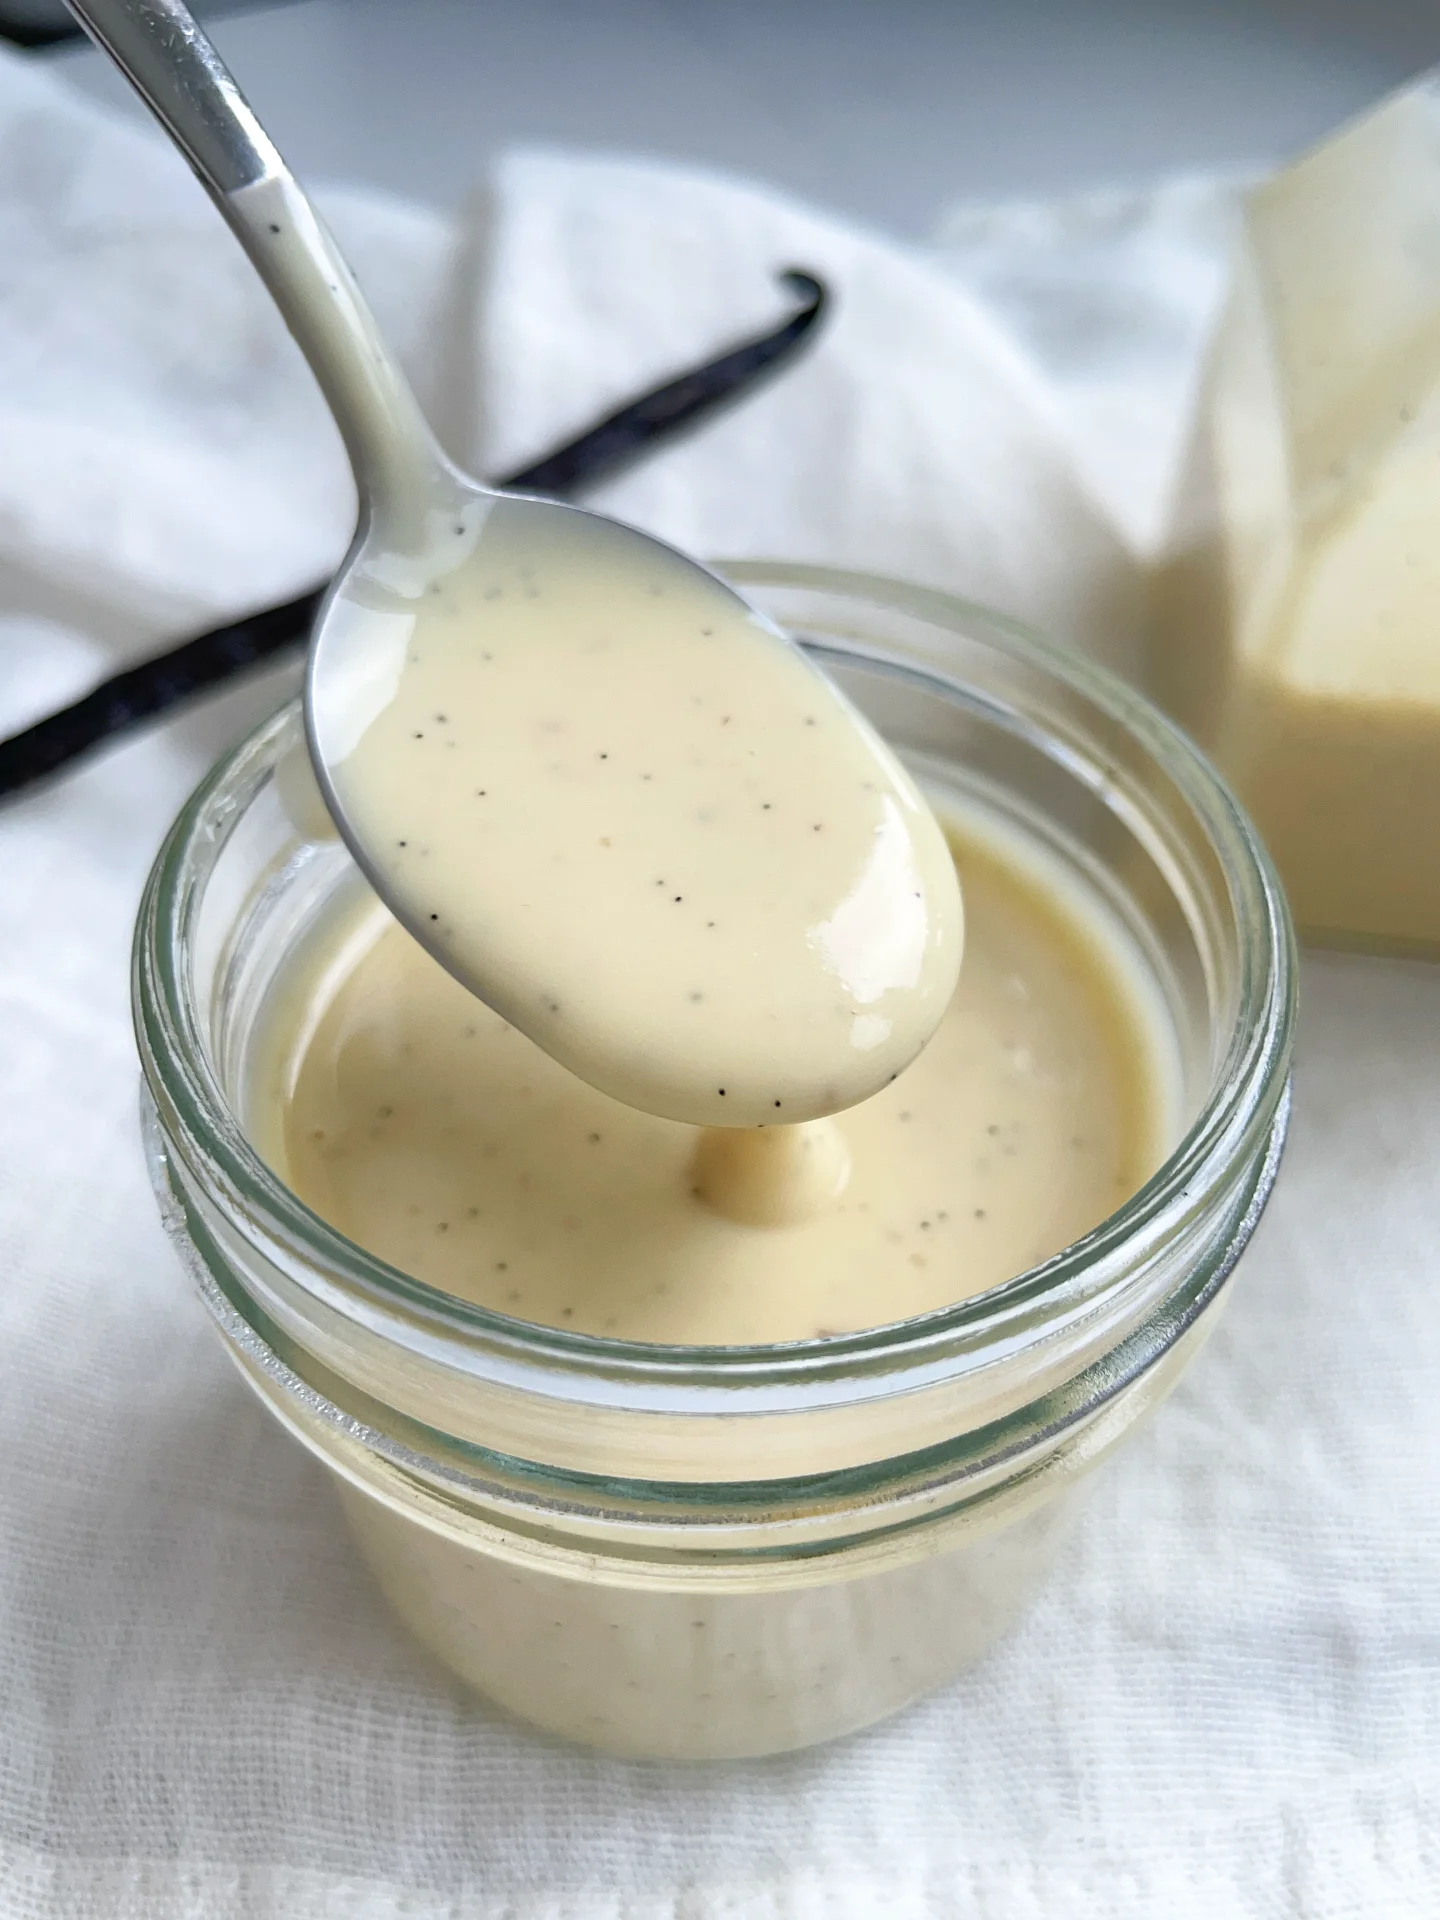
6. Meanwhile, prepare the frosting. Using a hand mixer, beat cream cheese and butter until fluffy and firm. Gradually add powdered sugar and vanilla extract, continuing to beat until it reaches a firm consistency. Take 1-2 tablespoons of the frosting and put them into two small separate bowls.

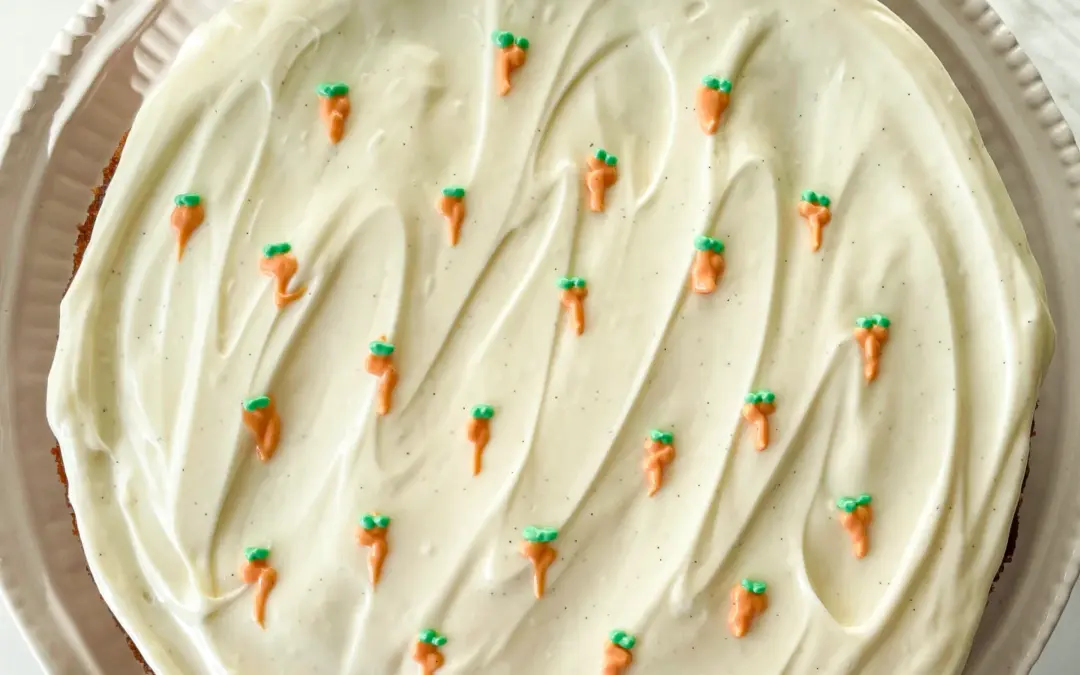
7. Once the cake is cool, spread the frosting over the cake and smooth it out.

8. Now color the remaining frosting in the two small bowls with green and orange food coloring to the desired intensity. Fill each colored frosting into a small plastic bag and cut a tiny opening in the corner of each bag. Then, with very light pressure, draw the carrot design on the white frosting. Keep the cake in the fridge until serving.

NOTE: The calorie information may vary depending on the product used, country and region.

Lemon Blue Cheese Dip

Lemon Blue Cheese Dip

Blue Cheese Dip

Lemon Blue Cheese Dip

March 23, 2024 by Kimberly

Indulge in the creamy, tangy bliss of Blue Cheese Dip! Perfect for game nights or elegant appetizers, this dip transforms any snack into a gourmet delight.

10 MINUTES

EASY

VEGETARIAN

US AMERICAN

224 PER PORTION

CREAMY / ZESTY

EVERYDAY

DIPS & SPREADS

ALL YEAR

INTRODUCTION

ABOUT THE RECIPE

Dive into the irresistible creaminess of Blue Cheese Dip, a must-have for any gathering or quiet night in. This dip combines the rich, tangy flavors of blue cheese with a smooth, spreadable texture that’s simply unmatched. Whether you’re hosting a party or just treating yourself, this dip is a game-changer.

How to serve:
Blue Cheese Dip is versatile, perfect alongside crispy veggies, as a bold wing accompaniment, or as a unique burger topping. Its robust flavor elevates simple crackers to gourmet status and transforms potato chips into a delicacy. Experiment with it as a spread for a zesty twist on sandwiches.

How to store:
Keep your Blue Cheese Dip fresh and flavorful by storing it in an airtight container in the fridge. It stays perfect for up to 3 days, making it a great make-ahead option for effortless entertaining or snacking.

Hi, I'm Kimberly!

Hi, I'm Kimberly.

A passionate food lover who believes in the magic of homemade deliciousness that spreads love and warmth. Join me on this culinary adventure as I prepare wonderful dishes and let’s spread some happiness together!

Kimberly the Zett Signature

If you want to get to know me better, click here!


Blue Cheese Dip
Blue Cheese Dip
Blue Cheese Dip
„Let’s make a piece of happiness“

INGREDIENTS

FOR 4 PORTIONS

DIP

  • 100g blue cheese – I used Roquefort (3.5 oz)
  • 35g mayonnaise (1/4 cup)
  • 100g creme fraiche (1/2 cup)
  • 1-2 tbsp buttermilk
  • 1 tbsp lemon juice
  • dill, salt & pepper to taste
Blue Cheese Dip
}

ACTIVE: –

PASSIVE: –

PREPARATIONS

Recommended Equipment
  • medium-sized bowl
  • none
}

ACTIVE: 10 min

PASSIVE: –

COOKING

1. In a medium-sized bowl, mix crème fraîche, mayonnaise, and buttermilk. Now add the blue cheese in small chunks and mix thoroughly until there are no big lumps of cheese visible.

2. Then season the mixture with lemon juice, salt, pepper, and fresh dill to taste.

3. For an especially intense flavor, the dip can be prepared in advance and should be stored in the fridge before serving.

NOTE: The calorie information may vary depending on the product used, country and region.

Infused Béchamel Sauce

Infused Béchamel Sauce

Infused Béchamel Sauce

Infused Béchamel Sauce

March 13, 2024 by Kimberly

Discover the magic of infused béchamel sauce! This recipe blends rich, creamy milk with fragrant herbs to elevate your favorite dishes. A symphony of flavor awaits!

95 MINUTES

INTERMEDIATE

VEGETARIAN

FRENCH

213 PER PORTION

COMFORT FOOD / CREAMY

CLASSIC

SAUCE

ALL YEAR

INTRODUCTION

ABOUT THE RECIPE

Dive into the heartwarming world of homemade sauces with my infused béchamel sauce! This isn’t just any sauce – it’s a creamy, dreamy blend that transforms ordinary meals into gourmet experiences. By infusing milk with a bouquet of herbs, the classic béchamel is taken to new heights. Perfect for those looking to add a touch of elegance to their culinary creations.

How to serve:
Serve this infused béchamel sauce over pasta or your favorite vegetables. It pairs beautifully with lasagna, turning a simple dish into a lavish feast. Drizzle it over roasted potatoes or steamed broccoli to add a creamy, herby twist. Whether it’s a family dinner or a special occasion, this sauce brings sophistication and depth to any meal.

How to store:
Keep your infused béchamel sauce fresh by storing it in an airtight container in the refrigerator. It will stay delicious for up to 3 days.

Hi, I'm Kimberly!

Hi, I'm Kimberly.

A passionate food lover who believes in the magic of homemade deliciousness that spreads love and warmth. Join me on this culinary adventure as I prepare wonderful dishes and let’s spread some happiness together!

Kimberly the Zett Signature

If you want to get to know me better, click here!


Infused Béchamel Sauce
„Let’s make a piece of happiness“

INGREDIENTS

FOR 6-8 PORTIONS

INFUSED MILK

  • 700ml full-fat cow milk (3 cups)
  • 1 white onion
  • 3-4 parsley stems
  • 1 bay leaf
  • 1 tsp black pepper corns

BÉCHAMEL SAUCE

  • 70g butter (2.5 oz)
  • 70g all-purpose flour (2.5 oz)
  • 1 garlic clove
  • 1/2 tsp salt
  • 3/8 tsp white pepper
  • 1/2 nutmeg
Infused Béchamel Sauce
}

ACTIVE: 2 min

PASSIVE: –

PREPARATIONS

Recommended Equipment
  • sharp knife
  • cutting board
  • small pot
  • medium-sized pot
  • wooden spoon
  • whisk
  • grater
  • strainer
  • pouring jug
  • Peel the onion and cut it in half.
  • Peel the garlic clove and cut it into quarters.
}

ACTIVE: 35 min

PASSIVE: 60 min

COOKING

1. In a small pot, bring the milk to a simmer with the onion halves, parsley, bay leaf, and peppercorns over medium heat. Lower the temperature and let it simmer gently for 10 minutes.

2. After 10 minutes, remove the pot from the heat and let it sit, covered, for about 60-90 minutes to infuse.

3. Place a strainer over a measuring cup and pour the milk through it. Discard the solids. Set the strained milk aside.

4. In a medium-sized pot, melt the butter over medium heat. Add the quartered garlic clove and let it sizzle in the butter briefly, then remove it.

5. Add all the flour to the melted butter and stir quickly with a wooden spoon until smooth. The mixture should resemble a paste. Take the pot off the heat and whisk in the first 100ml (1/2 cup) of milk until smoothly combined. Return the pot to the stove and bring to a brief boil while stirring constantly – this will happen quickly. Remove from the heat again and add the next 100ml (1/2 cup) of milk. Stir well, return to the heat, and let it come to a boil again. Continue this process with the remaining milk, adding 100ml (1/2 cup) at a time: remove from heat, add milk, stir, return to heat, bring to boil, and repeat.

6. After about 25 minutes, the sauce should be similar in consistency to melted cheese and you shouldn’t taste the flour anymore. Now, take the sauce off the heat and season it. Grate in some fresh nutmeg and add 3/8 tsp of salt and 1/4 tsp of pepper.

NOTE: The calorie information may vary depending on the product used, country and region.

Mushroom Gnocchi with Sage & Truffle

Mushroom Gnocchi with Sage & Truffle

Mushroom Gnocchi with Sage & Truffle

Mushroom Gnocchi with Sage & Truffle

March 10, 2024 by Kimberly

Experience the divine blend of Mushroom Gnocchi with Sage & Truffle! A luxurious, creamy delight that’s perfect for impressing guests or indulging in a gourmet treat.

60 MINUTES

EASY

VEGETARIAN

ITALIAN

599 PER PORTION

CREAMY / UMAMI

EVERYDAY /
DINNER PARTY

DINNER

AUTUMN / WINTER

INTRODUCTION

ABOUT THE RECIPE

Indulge in the luxurious taste of Mushroom Gnocchi with Sage & Truffle, a gourmet dish that combines the earthiness of mushrooms with the sophisticated flavor of truffle and fresh sage. This creamy, dreamy recipe is perfect for a special dinner or when you’re looking to impress. Easy to prepare, it’s a culinary journey that brings a touch of elegance to your dining table.

How to serve:
Serve this Mushroom Gnocchi with a sprinkle of grated Parmesan and a drizzle of truffle oil to enhance the flavors. Pair with a crisp, green salad and a glass of white wine for a complete, refined meal. The gnocchi should be served hot, fresh from the pan, to savor the blend of sage and truffle that makes this dish stand out. Perfect for date nights or family gatherings.

How to store:
Store leftover Mushroom Gnocchi in an airtight container in the refrigerator for up to two days. Reheat gently in a skillet or microwave, adding a splash of cream or water to revive its creamy texture.

Hi, I'm Kimberly!

Hi, I'm Kimberly.

A passionate food lover who believes in the magic of homemade deliciousness that spreads love and warmth. Join me on this culinary adventure as I prepare wonderful dishes and let’s spread some happiness together!

Kimberly the Zett Signature

If you want to get to know me better, click here!


Mushroom Gnocchi with Sage & Truffle
„Let’s make a piece of happiness“

INGREDIENTS

FOR 3 PORTIONS

GNOCCHI

  • 600g fresh gnocchi (1.5 lbs)
  • 1 tbsp salt

SAUCE

  • 400g button mushrooms (14 oz)
  • 15g dried porcini mushrooms (0.5 oz)
  • 400ml vegetable stock (1.5 cups)
  • 100ml heavy cream (3.5 fl oz)
  • 100ml dry white wine (3.5 fl oz)
  • 2 tbsp neutral cooking oil
  • 16 sage leaves
  • 4 garlic cloves
  • 1 shallot
  • 1 tbsp all-purpose flour
  • 1 tsp minced truffle in oil
  • salt & pepper to taste

TOPPINGS

  • 3 sage leaves
  • 3 tbsp parmesan
  • cured eggyolk (optional)
Mushroom Gnocchi with Sage & Truffle
}

ACTIVE: 20 min

PASSIVE: –

PREPARATIONS

Recommended Equipment
  • sharp knife
  • cutting board
  • medium-sized bowl
  • large frying pan
  • medium-sized pot
  • Soak dried porcini mushrooms in warm water for about 30 minutes.
  • Clean the button mushrooms by brushing or peeling. Cut half of them into coarse pieces and slice the other half.
  • Pluck sage leaves from their stems, leave 3-4 whole, and slice the rest into strips.
  • Chop the shallot into fine pieces.
  • Peel and press or finely chop the garlic cloves.
  • Grate the Parmesan cheese.
  • Fill a medium-sized pot with water to cook the gnocchi later.
}

ACTIVE: 25 min

PASSIVE: 15 min

COOKING

1. Heat 2 tablespoons of neutral oil in the pan and fry the whole sage leaves in it. Remove and place on a paper towel.

2. Then add the sliced sage leaves to the pan along with the chopped shallot and the pressed garlic cloves. Fry for a few minutes on medium heat until the onions have become translucent.

3. Meanwhile, drain the porcini mushrooms and cut them into coarse pieces.

4. Now add the button mushrooms to the pan and allow them to brown without adding more fat or salt. A nice crust should form at the bottom of the pan. Once the mushrooms have turned golden brown, sprinkle 1 tablespoon of flour over them and stir until no more flour is visible. Deglaze with white wine and let it reduce briefly until the mushroom mixture has become creamy.

5. Then add the vegetable broth and the dried porcini mushrooms. Let everything simmer for about 15-20 minutes until the sauce has thickened nicely.

6. In the meantime, bring the water for the gnocchi to a boil and cook the gnocchi according to the package instructions.

7. Now add the cream and 1 teaspoon of chopped truffle to the mushroom sauce and mix well. Season with salt and pepper. Transfer the gnocchi directly from the pot to the pan with and stir well so that all gnocchi are covered with sauce.

8. Serve the gnocchi on three deep plates, sprinkle the fried sage and Parmesan over it. If desired, top with cured egg yolk.

NOTE: The calorie information may vary depending on the product used, country and region.

Oeuf Cocotte with Cream & Herbs (Baked Eggs)

Oeuf Cocotte with Cream & Herbs (Baked Eggs)

Oeuf Cocotte with Cream & Herbs

Oeuf Cocotte with Cream & Herbs (Baked Eggs)

March 2, 2024 by Kimberly

Indulge in the heartwarming delight of Oeuf Cocotte! A simple, nutritious, and delicious start to your day. Embrace the taste of French elegance in every bite.

20 MINUTES

EASY

VEGETARIAN

FRENCH

365 PER PORTION

CREAMY

EVERYDAY

BREAKFAST / BRUNCH

ALL YEAR

INTRODUCTION

ABOUT THE RECIPE

Discover the joy of French cooking with my simple Oeuf Cocotte recipe! Perfect for a delightful breakfast or a cozy brunch, this dish is not only easy to make but also bursting with flavors. Dive into the elegance of French cuisine and impress your family with this gourmet yet straightforward recipe. Ideal for anyone looking to elevate their morning routine!

How to serve:
Serve your Oeuf Cocotte straight from the oven, nestled in their little pots for a touch of French elegance. Accompany them with slices of crusty bread or a fresh salad for a balanced meal. Perfect for a lazy weekend brunch or a special breakfast, these baked eggs will become your go-to. Garnish with fresh herbs or a sprinkle of cheese for that extra flair!

How to store:
I do not recommend to store the cooked dish. It’s better to enjoy your delicious breakfast creation even on busy mornings straight out of the oven!

Hi, I'm Kimberly!

Hi, I'm Kimberly.

A passionate food lover who believes in the magic of homemade deliciousness that spreads love and warmth. Join me on this culinary adventure as I prepare wonderful dishes and let’s spread some happiness together!

Kimberly the Zett Signature

If you want to get to know me better, click here!


Oeuf Cocotte with Cream & Herbs
„Let’s make a piece of happiness“

INGREDIENTS

FOR 1 PORTION

BAKED EGGS

  • 2 eggs
  • 1 tbsp cream
  • 1.5 tsp herb cream cheese

TOPPINGS

  • 30g baguette
  • chives
  • salt & pepper
Oeuf Cocotte with Cream & Herbs
}

ACTIVE: –

PASSIVE: –

PREPARATIONS

Recommended Equipment
  • sharp knife
  • cutting board
  • small ovenproof dish
  • none
}

ACTIVE: 5 min

PASSIVE: 15 min

COOKING

1. Crack two eggs into a small ovenproof dish. Spread a tablespoon of cream on top, as well as 1.5 teaspoons of herb cream cheese. Place the dish in the oven at 180°C (350°F) for about 18 minutes.

2. Meanwhile, cut the chives into rolls and the baguette into slices.

3. When the eggs are ready, take them out of the oven and top with salt, pepper and chives. Chive oil also goes very well. Enjoy with fresh baguette for dipping.

NOTE: The calorie information may vary depending on the product used, country and region.

Sour Cream & Caramalized Onion Skillet Chicken

Sour Cream & Caramalized Onion Skillet Chicken

Sour Cream & Caramalized Onion Skillet Chicken

Sour Cream & Caramalized Onion Skillet Chicken

February 27, 2024 by Kimberly

Dive into the creamy delight of Sour Cream & Caramelized Onion Skillet Chicken! Perfect for a cozy dinner, this dish combines rich flavors with tender chicken. Enjoy the taste of home!

70 MINUTES

EASY

OMNIVORE

GERMAN

684 PER PORTION

CREAMY /
COMFORT FOOD

EVERYDAY

DINNER

AUTUMN / WINTER

INTRODUCTION

ABOUT THE RECIPE

Indulge in the comfort of Sour Cream & Caramelized Onion Skillet Chicken, your new favorite dinner solution! This one-pan wonder combines juicy chicken, rich sour cream, and sweet caramelized onions for a delightful meal. Perfect for busy weeknights or a comforting weekend treat, this easy-to-make dish brings gourmet flavors to your kitchen table without the fuss.

How to serve:
Serve this luscious Sour Cream & Caramelized Onion Skillet Chicken with fluffy mashed potatoes or steamed rice to soak up the creamy sauce. A side of green beans or a crisp salad adds freshness to your meal, creating a balanced and satisfying dinner. Don’t forget a slice of crusty bread for the ultimate comfort food experience, ideal for gathering family and friends around the table.

How to store:
Store any leftovers in an airtight container in the refrigerator for up to three days. Reheat gently in a pan over low heat to preserve the creamy texture and rich flavors of your delicious skillet chicken.

Hi, I'm Kimberly!

Hi, I'm Kimberly.

A passionate food lover who believes in the magic of homemade deliciousness that spreads love and warmth. Join me on this culinary adventure as I prepare wonderful dishes and let’s spread some happiness together!

Kimberly the Zett Signature

If you want to get to know me better, click here!


Sour Cream & Caramalized Onion Skillet Chicken
„Let’s make a piece of happiness“

INGREDIENTS

FOR 2 PORTIONS

CHICKEN

  • 400g chicken breasts (14 oz)
  • 1 tsp clarified butter

SOUR CREAM & ONION SAUCE

  • 1 tsp butter
  • 3 big onions
  • 4 garlic cloves
  • 200ml heavy cream
  • 200ml vegetable broth
  • 1/2 tsp dried thyme
  • 1/2 tsp dried marjoram
  • 1/2 tsp dried oregano
  • salt & pepper to taste

BEURRE MANIÉ

  • 1 tsp butter
  • 1 tsp all-purpose flour
Sour Cream & Caramalized Onion Skillet Chicken
}

ACTIVE: 5 min

PASSIVE: –

PREPARATIONS

Recommended Equipment
  • sharp knife
  • cutting board
  • small bowl
  • 2 pans (one of them ovenproof)
  • Peel, halve and cut the onions into thin semicircles.
  • Peel and finely chop or press the garlic.
  • Mix 1 teaspoon of butter and 1 teaspoon of flour in a small bowl until creamy. This is the beurre manié that you will use to bind the sauce later.
  • Preheat the oven to 200°C (400°F)
}

ACTIVE: 20 min

PASSIVE: 45 min

COOKING

1. In a large pan, heat 1 tablespoon of butter and sauté the onions until they have gained a bit of color, for about 15 minutes. Then add the garlic. Stir everything well and sauté for 1-2 minutes.

2. Now add the vegetable broth and deglaze the pan. Let everything simmer for about 5 minutes on medium heat. Now add the heavy cream. Stir everything well. Add the beurre manié, stir well and bring to a boil until the sauce has thickened. Now add salt, pepper, thyme, oregano, and marjoram, stir to combine, let it come to a boil briefly, and set aside.

3. In an ovenproof skillet, heat 1 teaspoon of clarified butter and sear the chicken breasts on both sides. Do not fully cook the meat, as it will finish cooking in the oven and then become really tender.

4. Now spread the entire onion & cream sauce over and between the chicken in the skillet. Smooth out and bake in the oven uncovered for about 30 minutes until done.

5. Remove the skillet from the oven and enjoy the chicken and sour cream caramelized onions with rice, pasta, potatoes, mashed potatoes, or just simply bread.

NOTE: The calorie information may vary depending on the product used, country and region.