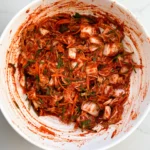
Homemade Kimchi

Homemade Kimchi

Homemade Kimchi

Homemade Kimchi

April 2, 2025 by Kimberly

Slightly chaotic, deeply flavorful, and kind of addictive. This spicy little side dish doesn’t ask for attention, it demands it. Make it once and suddenly you’re that person who ferments things.

45 MINUTES
+ 2 DAYS

EASY

VEGAN

KOREAN

1 JAR

UMAMI

WEEKNIGHT

CONDIMENTS

ALL YEAR

INTRODUCTION

ABOUT THE RECIPE

This is one of those recipes that feels a little chaotic while you’re making it. You’re chopping cabbage, blending weird things together, your kitchen smells slightly suspicious, and then magic. A few days later, you have the tangy, spicy, crunchy goodness that is homemade kimchi. It’s bold, a little wild, and honestly kind of addictive. If you’ve never made fermented food before, this is your sign. It’s easier than it looks and way more fun.

How to serve
Kimchi is one of the most iconic Korean staples for a reason. It’s a powerhouse of flavor and a probiotic dream that happens to be absolutely delicious with basically anything. My favorite way to eat this? Straight from the jar, if I’m being honest. But if we’re being civilized: layer it into rice bowls, stir into fried rice, top a savory pancake, or tuck it into sandwiches. Kimchi also loves melted cheese…trust me on this one. It’s the punchy, spicy friend that turns boring meals into actual moments. And once you start adding it to things, you won’t want to stop.

How to store
Store your kimchi in a clean, airtight container in the fridge once it’s done fermenting (after about 2–3 days). It’ll keep for weeks, actually, it gets more flavorful the longer it sits. Just make sure to use a clean fork every time, and you’re golden.

Hi, I'm Kimberly!

Hi, I'm Kimberly.

A passionate food lover who believes in the magic of homemade deliciousness that spreads love and warmth. Join me on this culinary adventure as I prepare wonderful dishes and let’s spread some happiness together!

Kimberly the Zett Signature

If you want to get to know me better, click here!


Homemade Kimchi
Homemade Kimchi
„Let’s make a piece of happiness“
Print
clock clock iconcutlery cutlery iconflag flag iconfolder folder iconinstagram instagram iconpinterest pinterest iconfacebook facebook iconprint print iconsquares squares iconheart heart iconheart solid heart solid icon
Homemade Kimchi

Homemade Kimchi


5 Stars 4 Stars 3 Stars 2 Stars 1 Star

No reviews

  • Author: Kimberly
  • Total Time: 2 days + 45 min

Description

RECOMMENDED EQUIPMENT

  • two large mixing bowls
  • a sharp knife
  • cutting board
  • blender
  • small saucepan
  • airtight container for storage

Ingredients

Units Scale
VEGGIES
  • 1 napa cabbage
  • 2 carrots
  • 6 green onions
  • 4 liter cold water
  • 100 grams sea salt
CHILI PASTE
  • 2 yellow onions
  • 1 apple or nashi pear
  • 1 garlic bulb
  • 1 thumb-sized piece of ginger
  • 2 tbsp fish sauce
  • 1 tbsp soy sauce
  • 1 tbsp mini shrimp
  • 4 tbsp water
  • 8 tbsp gochugaru (Korean chili flakes)
RICE FLOUR SLURRY
  • 3 tbsp rice flour
  • 200 milliliter water

Instructions

  1. Quarter the napa cabbage lengthwise, then chop it into bite-sized pieces. Place it in one of the large bowls and cover completely with cold water. Add a generous amount of sea salt and mix well with your hands or a spoon. To keep the cabbage submerged, weigh it down with a plate and something heavy. Let it soak for 30–45 minutes.
  2. While the cabbage is soaking, peel and julienne the carrots. Thinly slice the green part of the scallions. Set both aside, they’ll be folded into the paste later.
  3. Peel the apple, onion, garlic, and ginger. Toss everything into a blender with a splash of water. If you’re using mini shrimp, add those now. Pour in the fish sauce and soy sauce, then blend until smooth and pulpy.
  4. Transfer the paste to your second large bowl. Stir in the gochugaru (Korean chili flakes) until the mixture is a vibrant, rich red and has a spreadable texture.
  5. In a small saucepan, combine water and rice flour to make the slurry. Heat gently, stirring constantly, until it thickens into a sticky, glue-like consistency. Let it cool for a few minutes, then stir it into the chili paste mixture.
  6. Add the sliced carrots and scallions to the paste. Stir well until everything is evenly coated and combined.
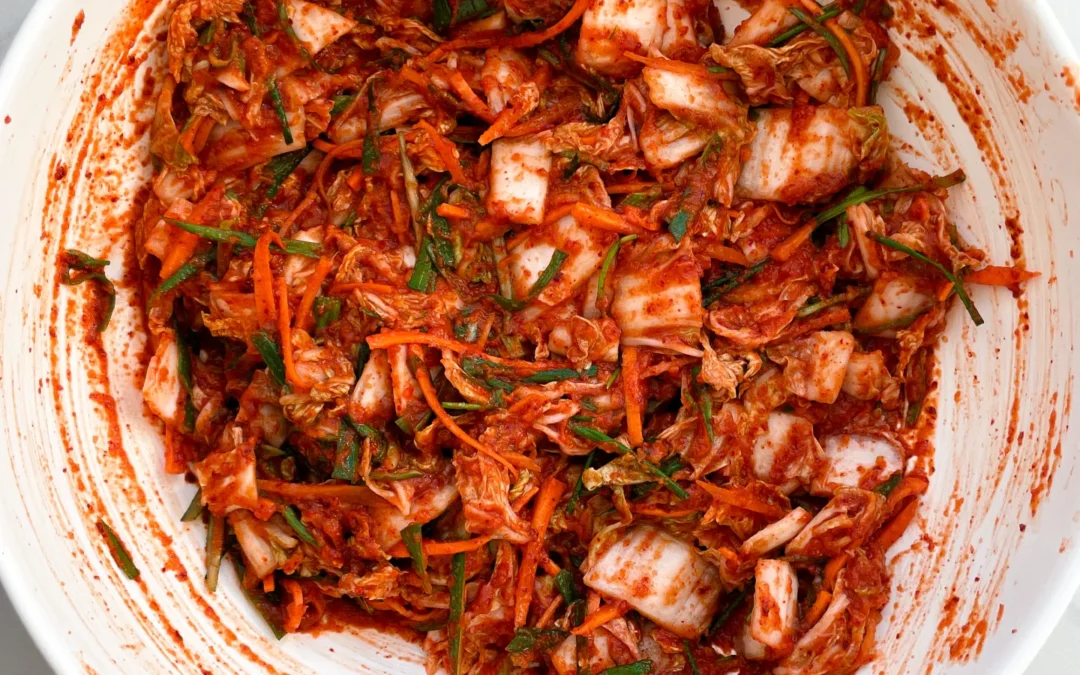
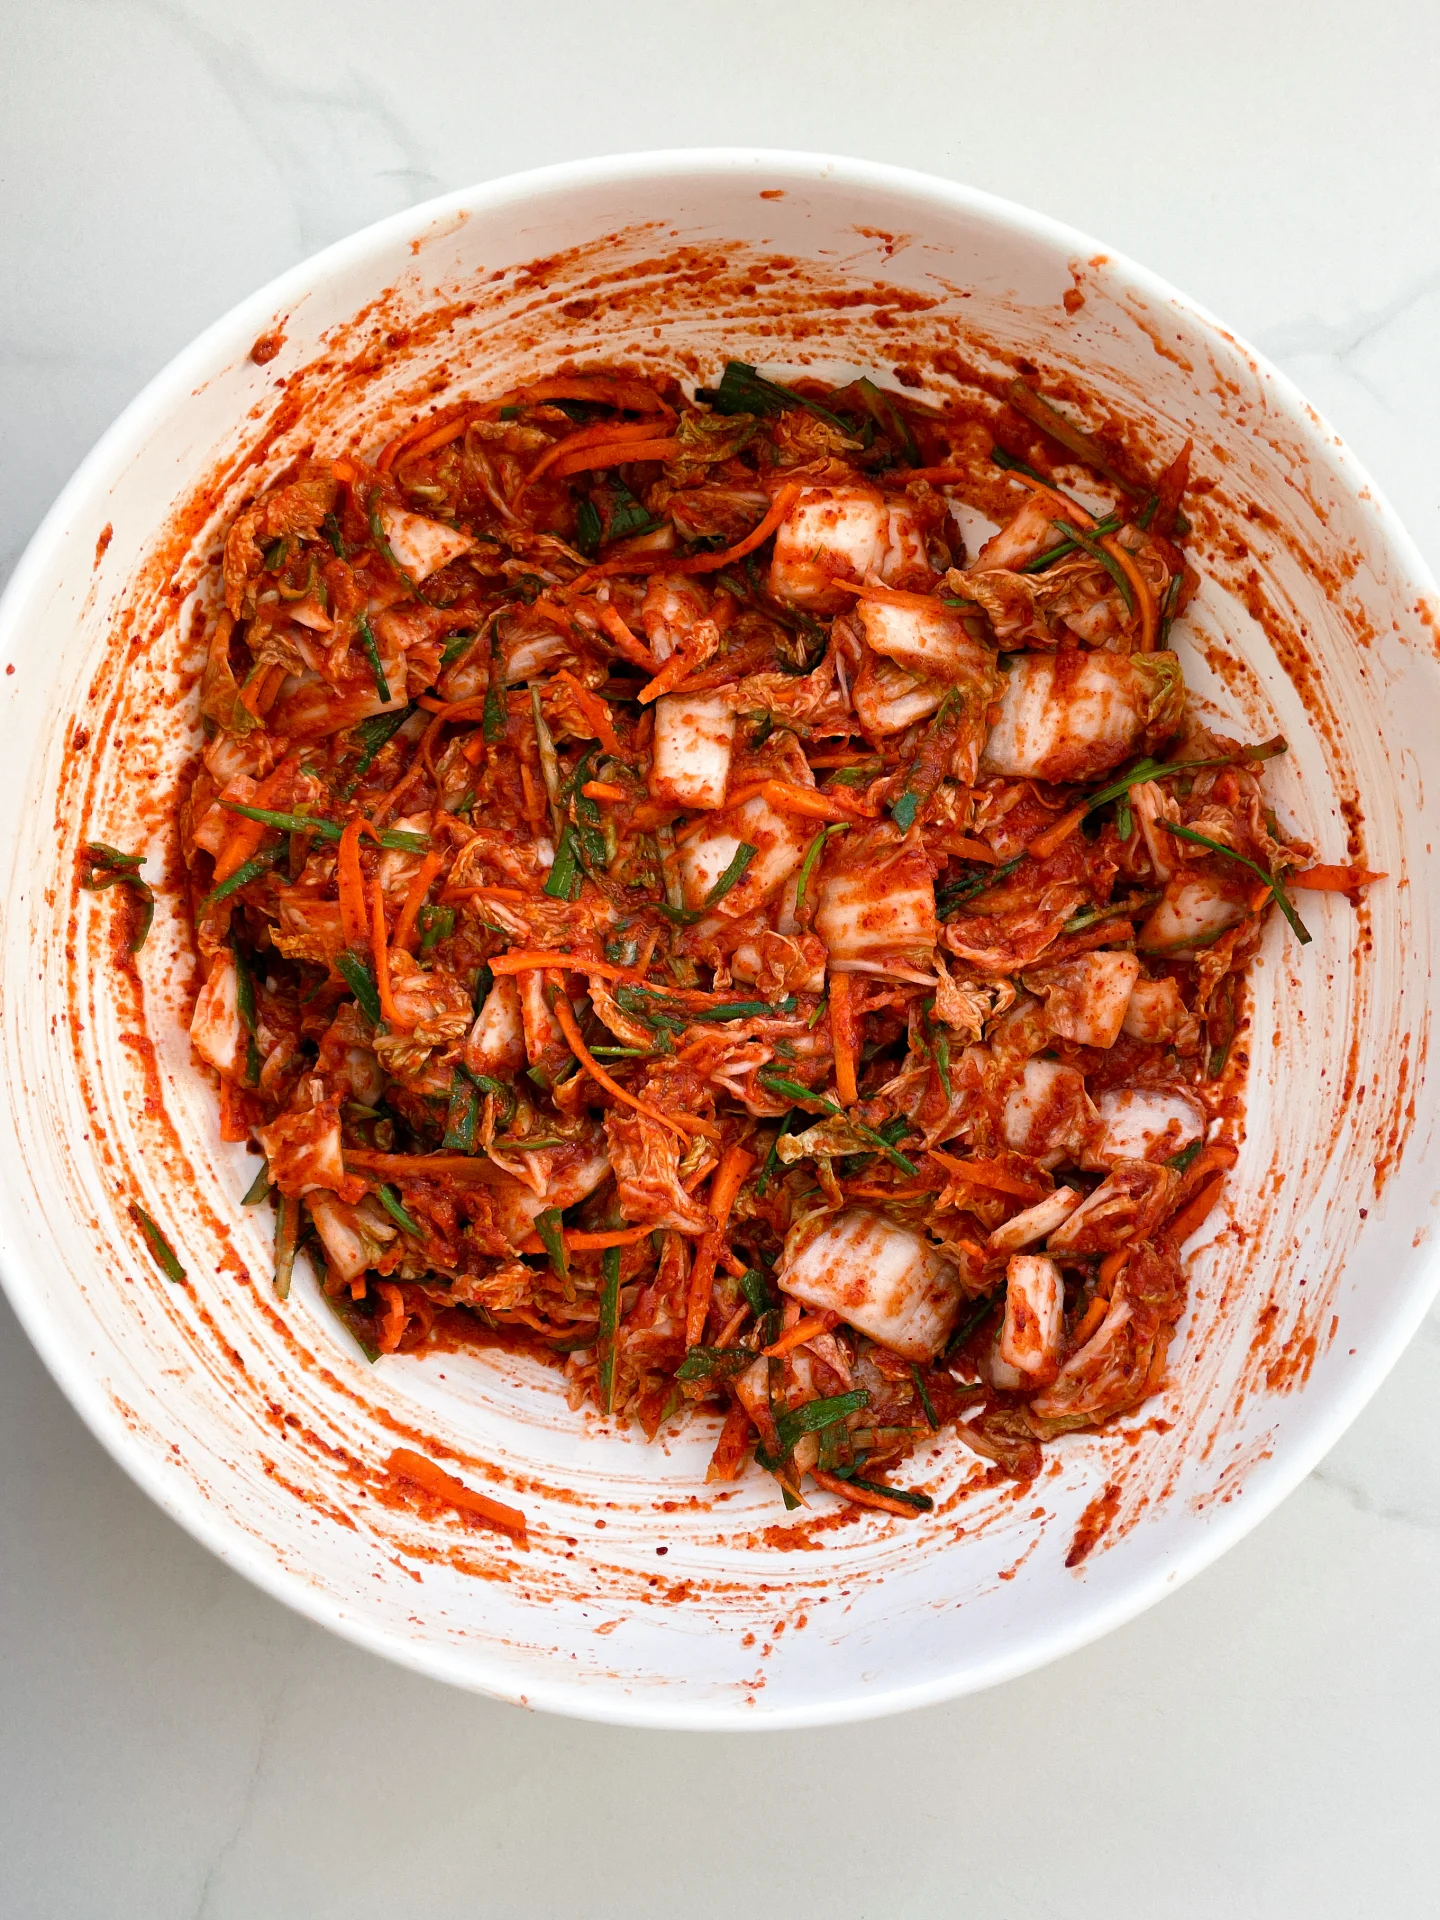
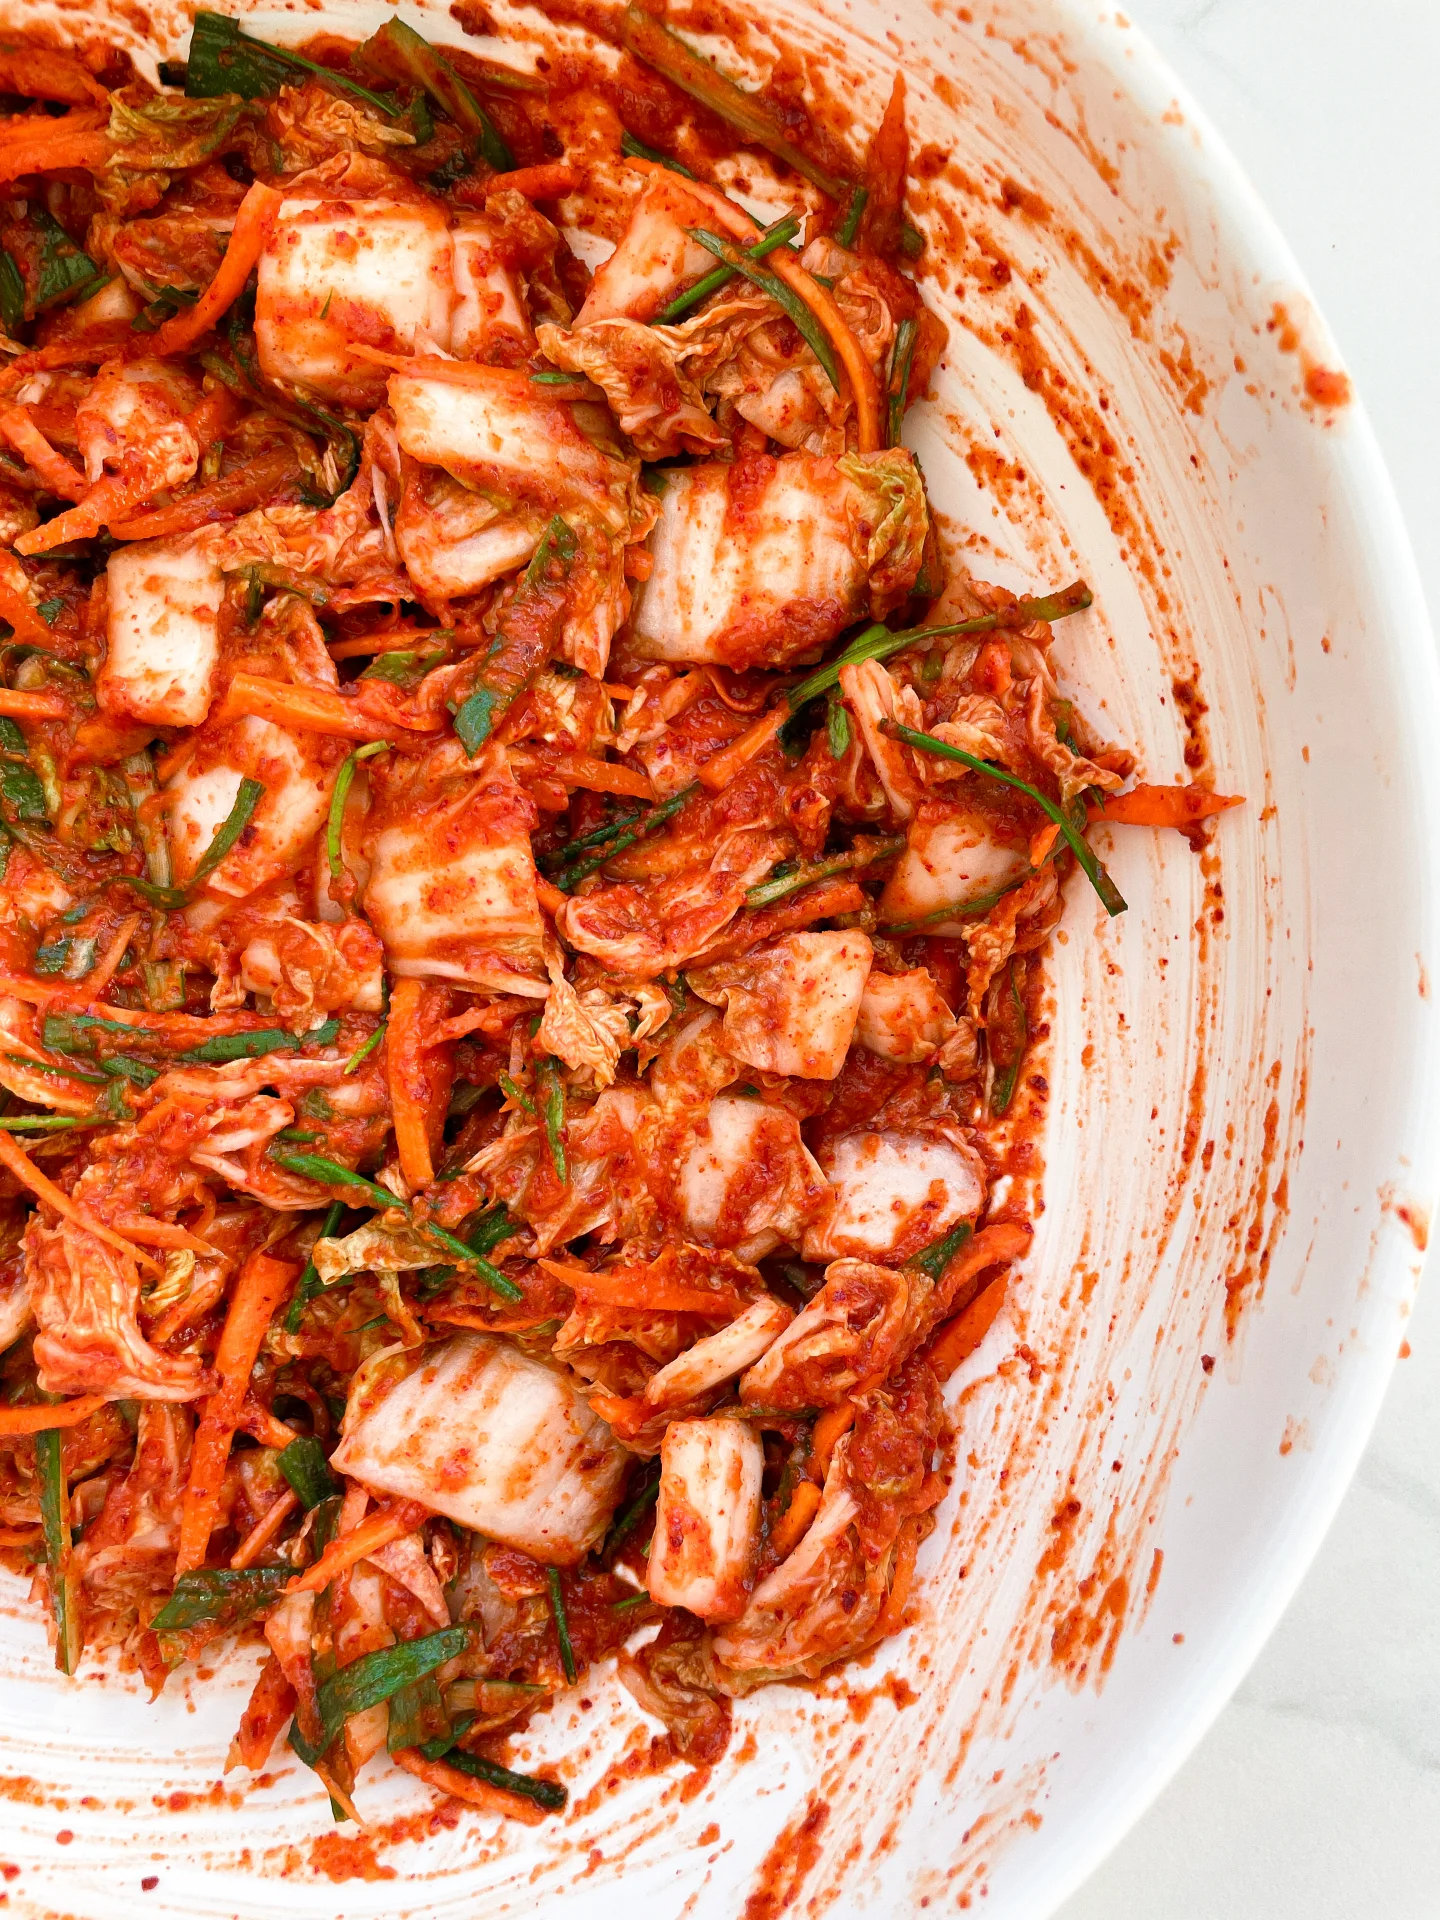
  7. Drain the soaked cabbage, rinse it under cold water, and gently squeeze out the excess liquid. Add it to the bowl with the red paste and (with gloves, highly recommended!) mix everything thoroughly until all the cabbage is coated.
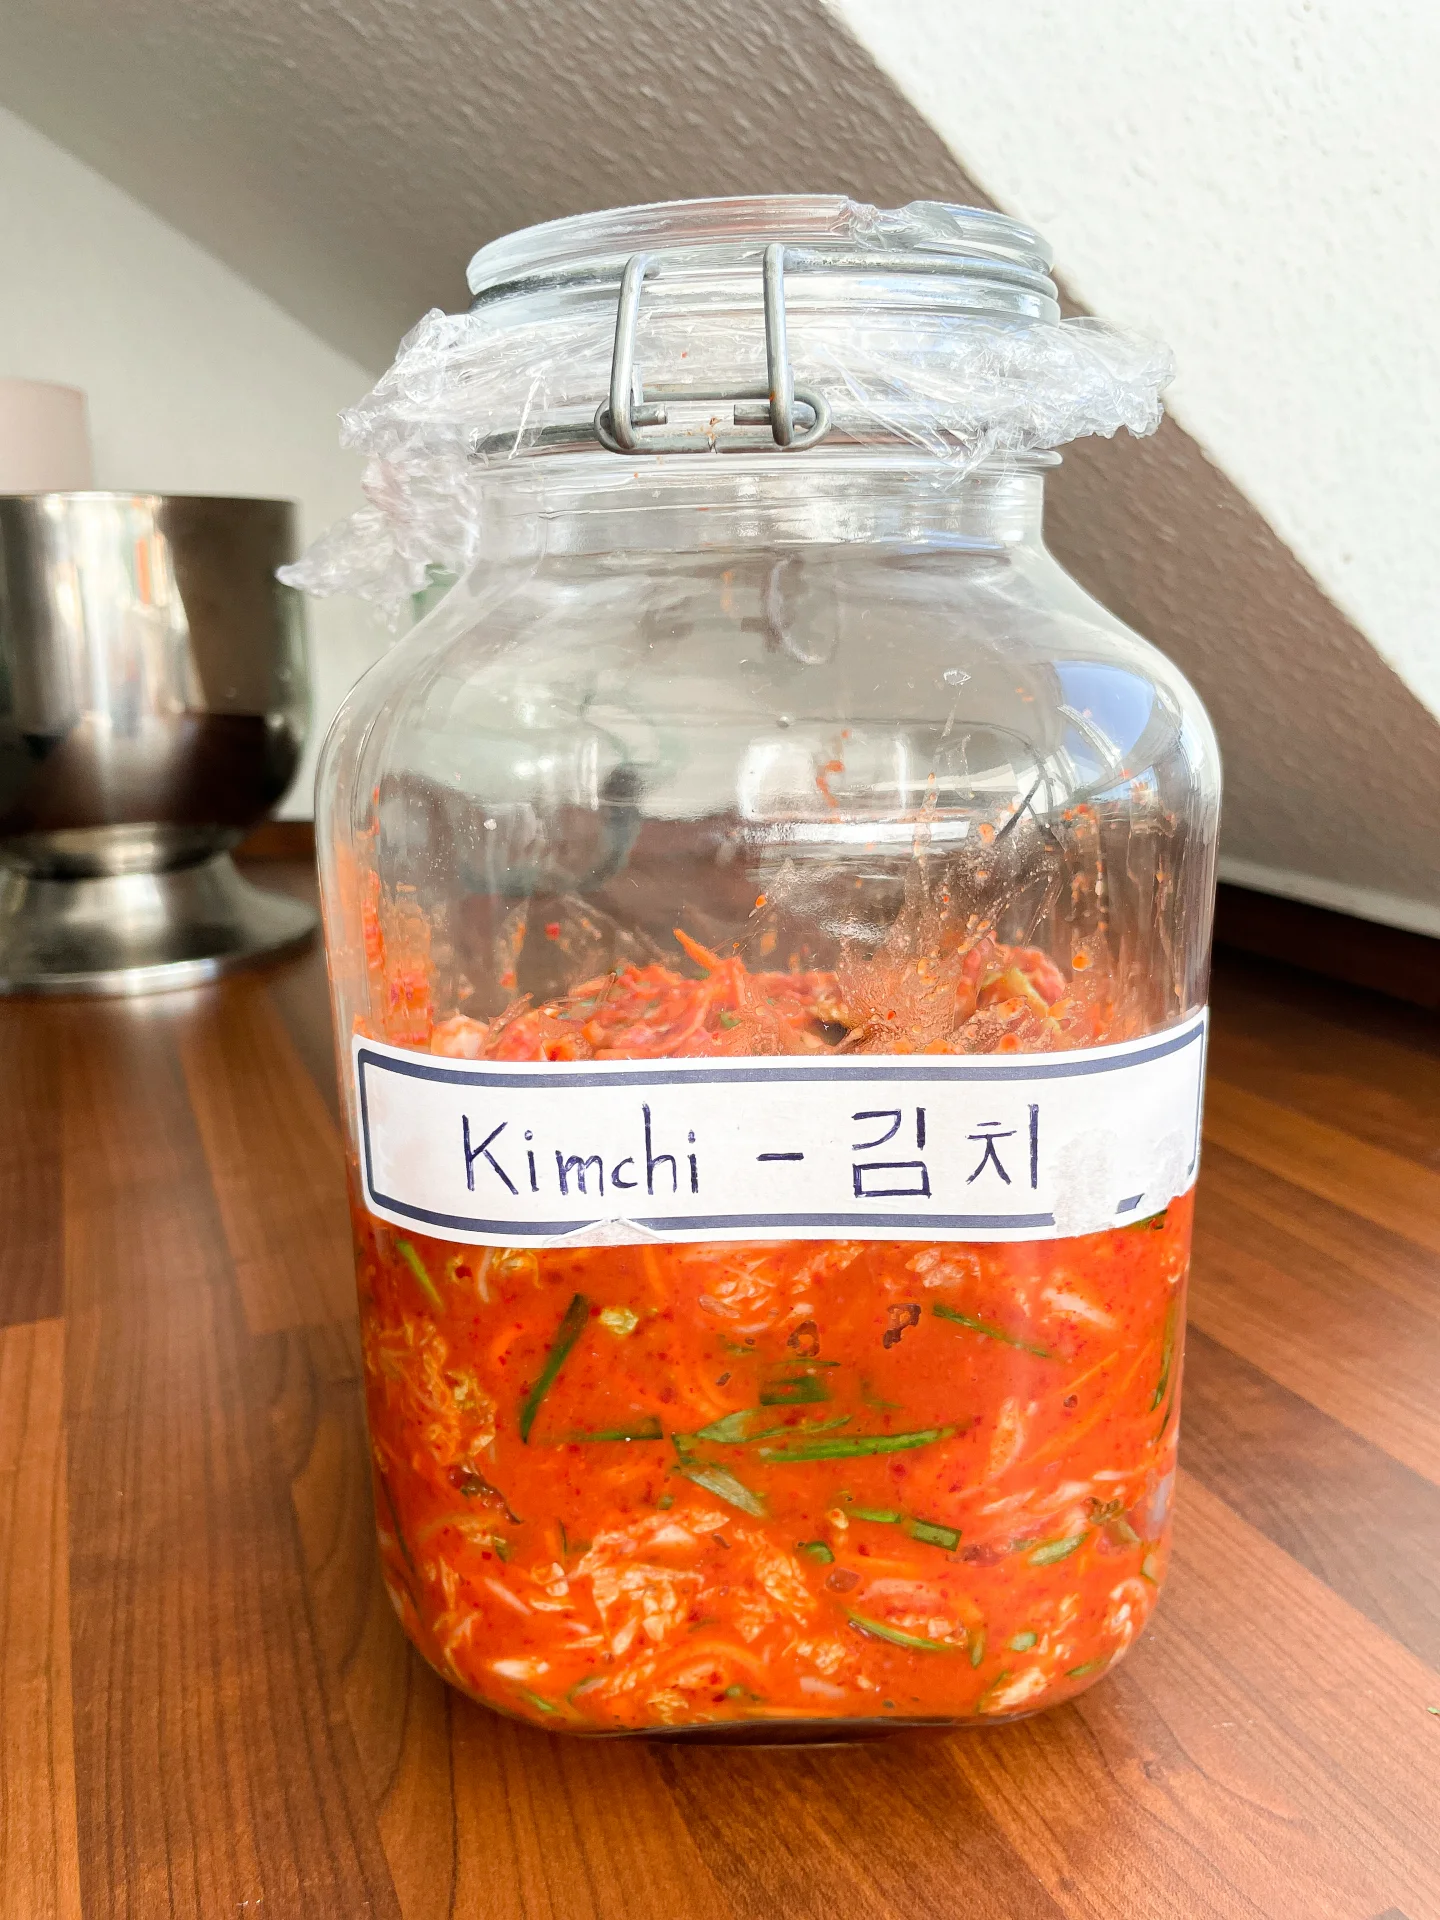
  8. Spoon the kimchi mixture into a clean, airtight container. Press it down firmly to eliminate air pockets. Wipe the edges, cover with plastic wrap, and seal tightly. Leave it at room temperature for about two days to ferment.
  9. After two days, your kimchi will be lightly fermented and ready to taste. If you like it funkier and more sour, give it another day on the counter. After that, pop it in the fridge, it’ll keep for several weeks and just keeps getting better.
  • Passive Time: 2 days
  • Cook Time: 45 min

Potato Salad with Eggs Bacon Pickles & Caramalized Onions

Potato Salad with Eggs Bacon Pickles & Caramalized Onions

Potato Salad with Eggs Bacon Pickles & Caramalized Onions

Potato Salad with Eggs Bacon Pickles & Caramalized Onions

November 24, 2023 by Kimberly

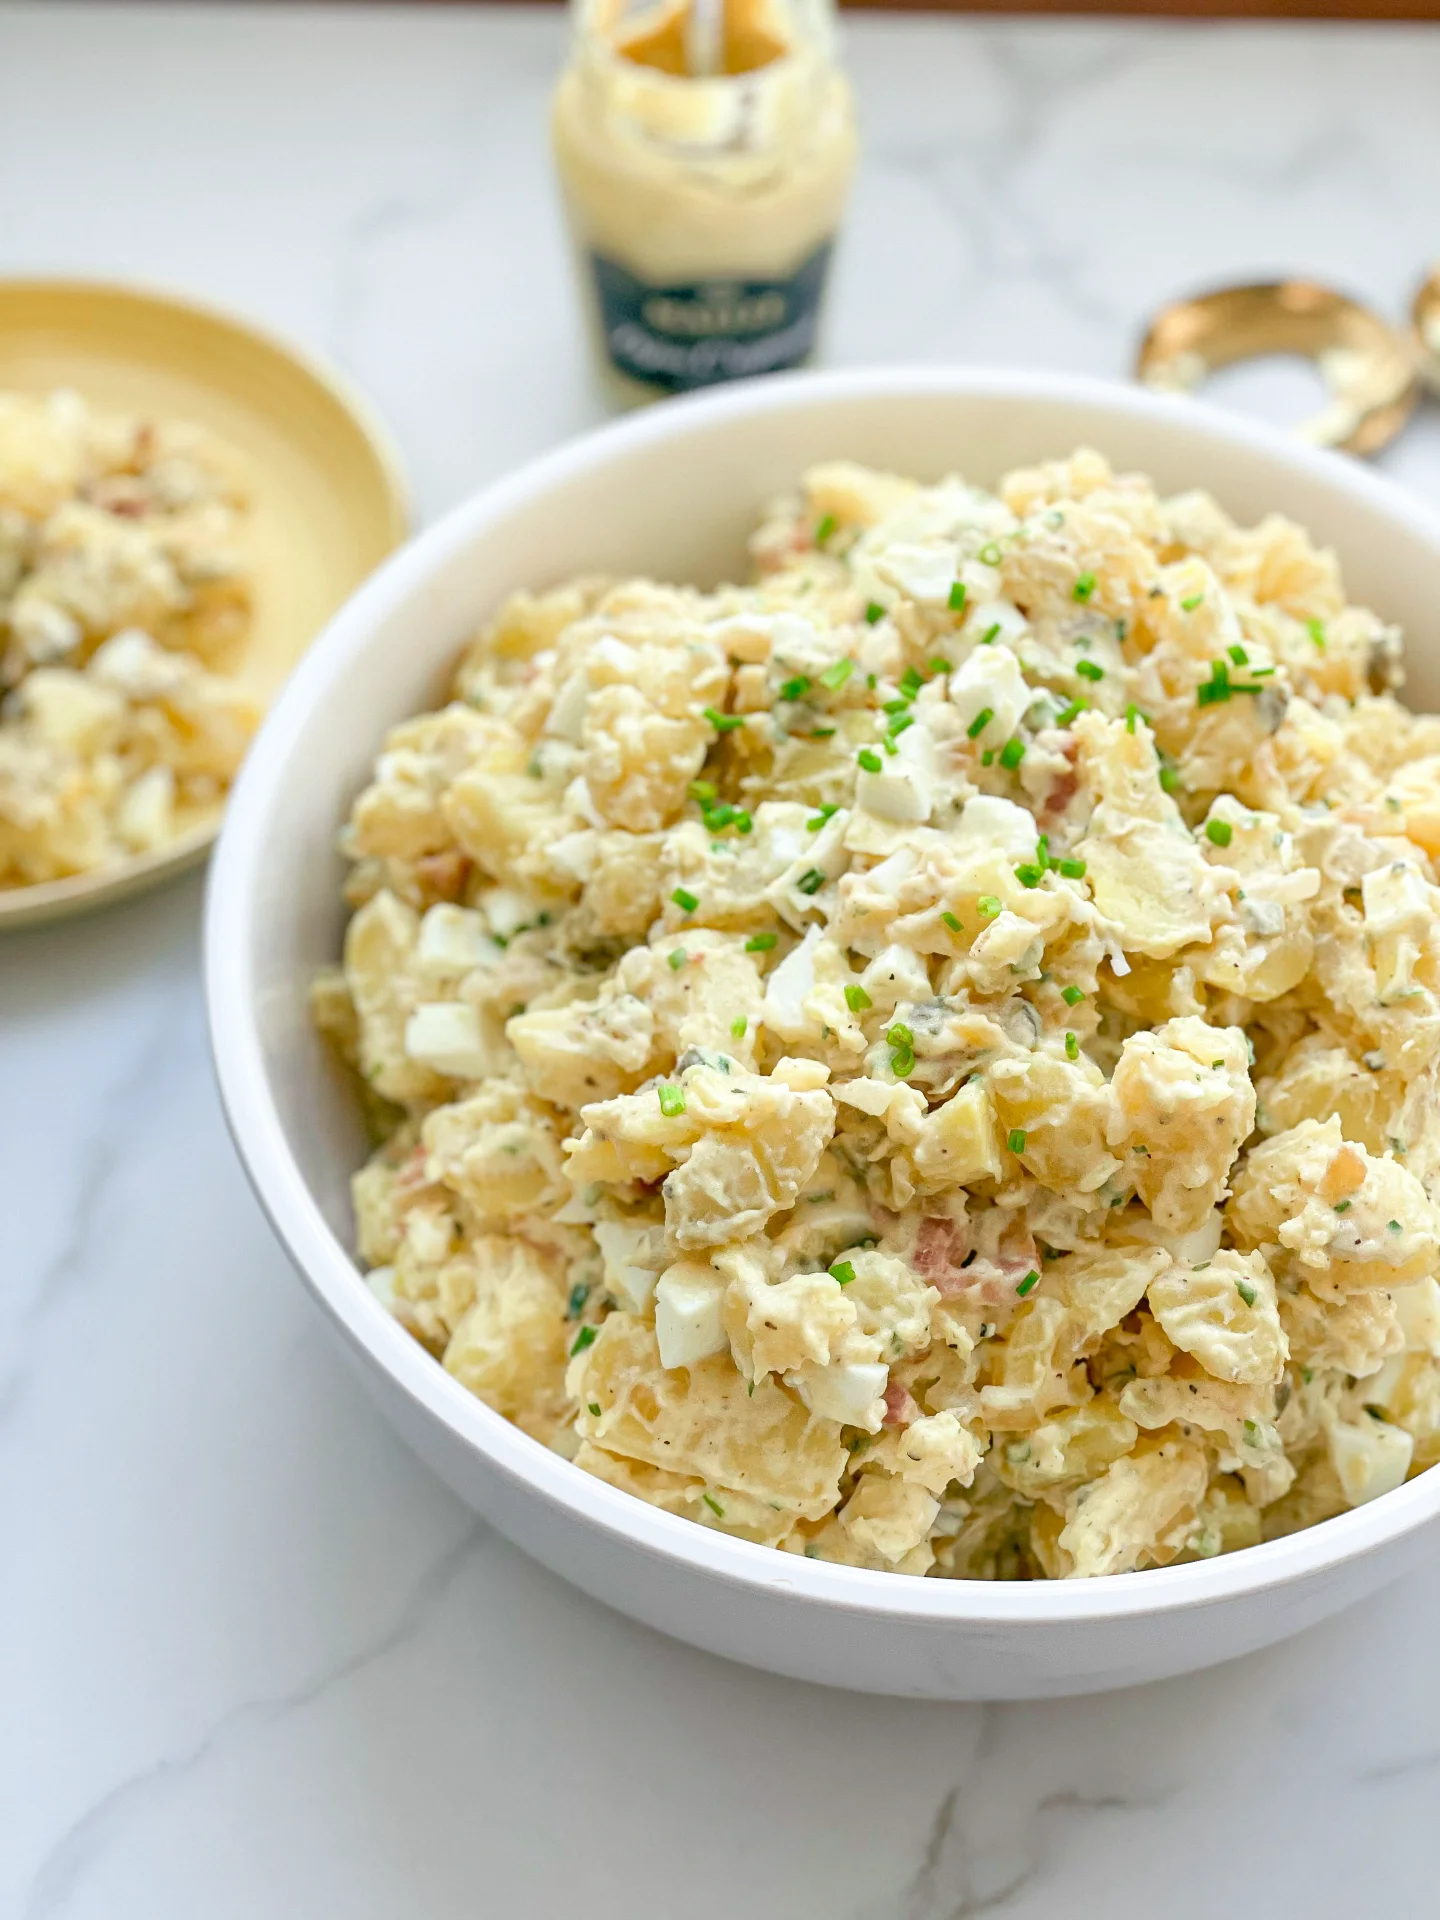
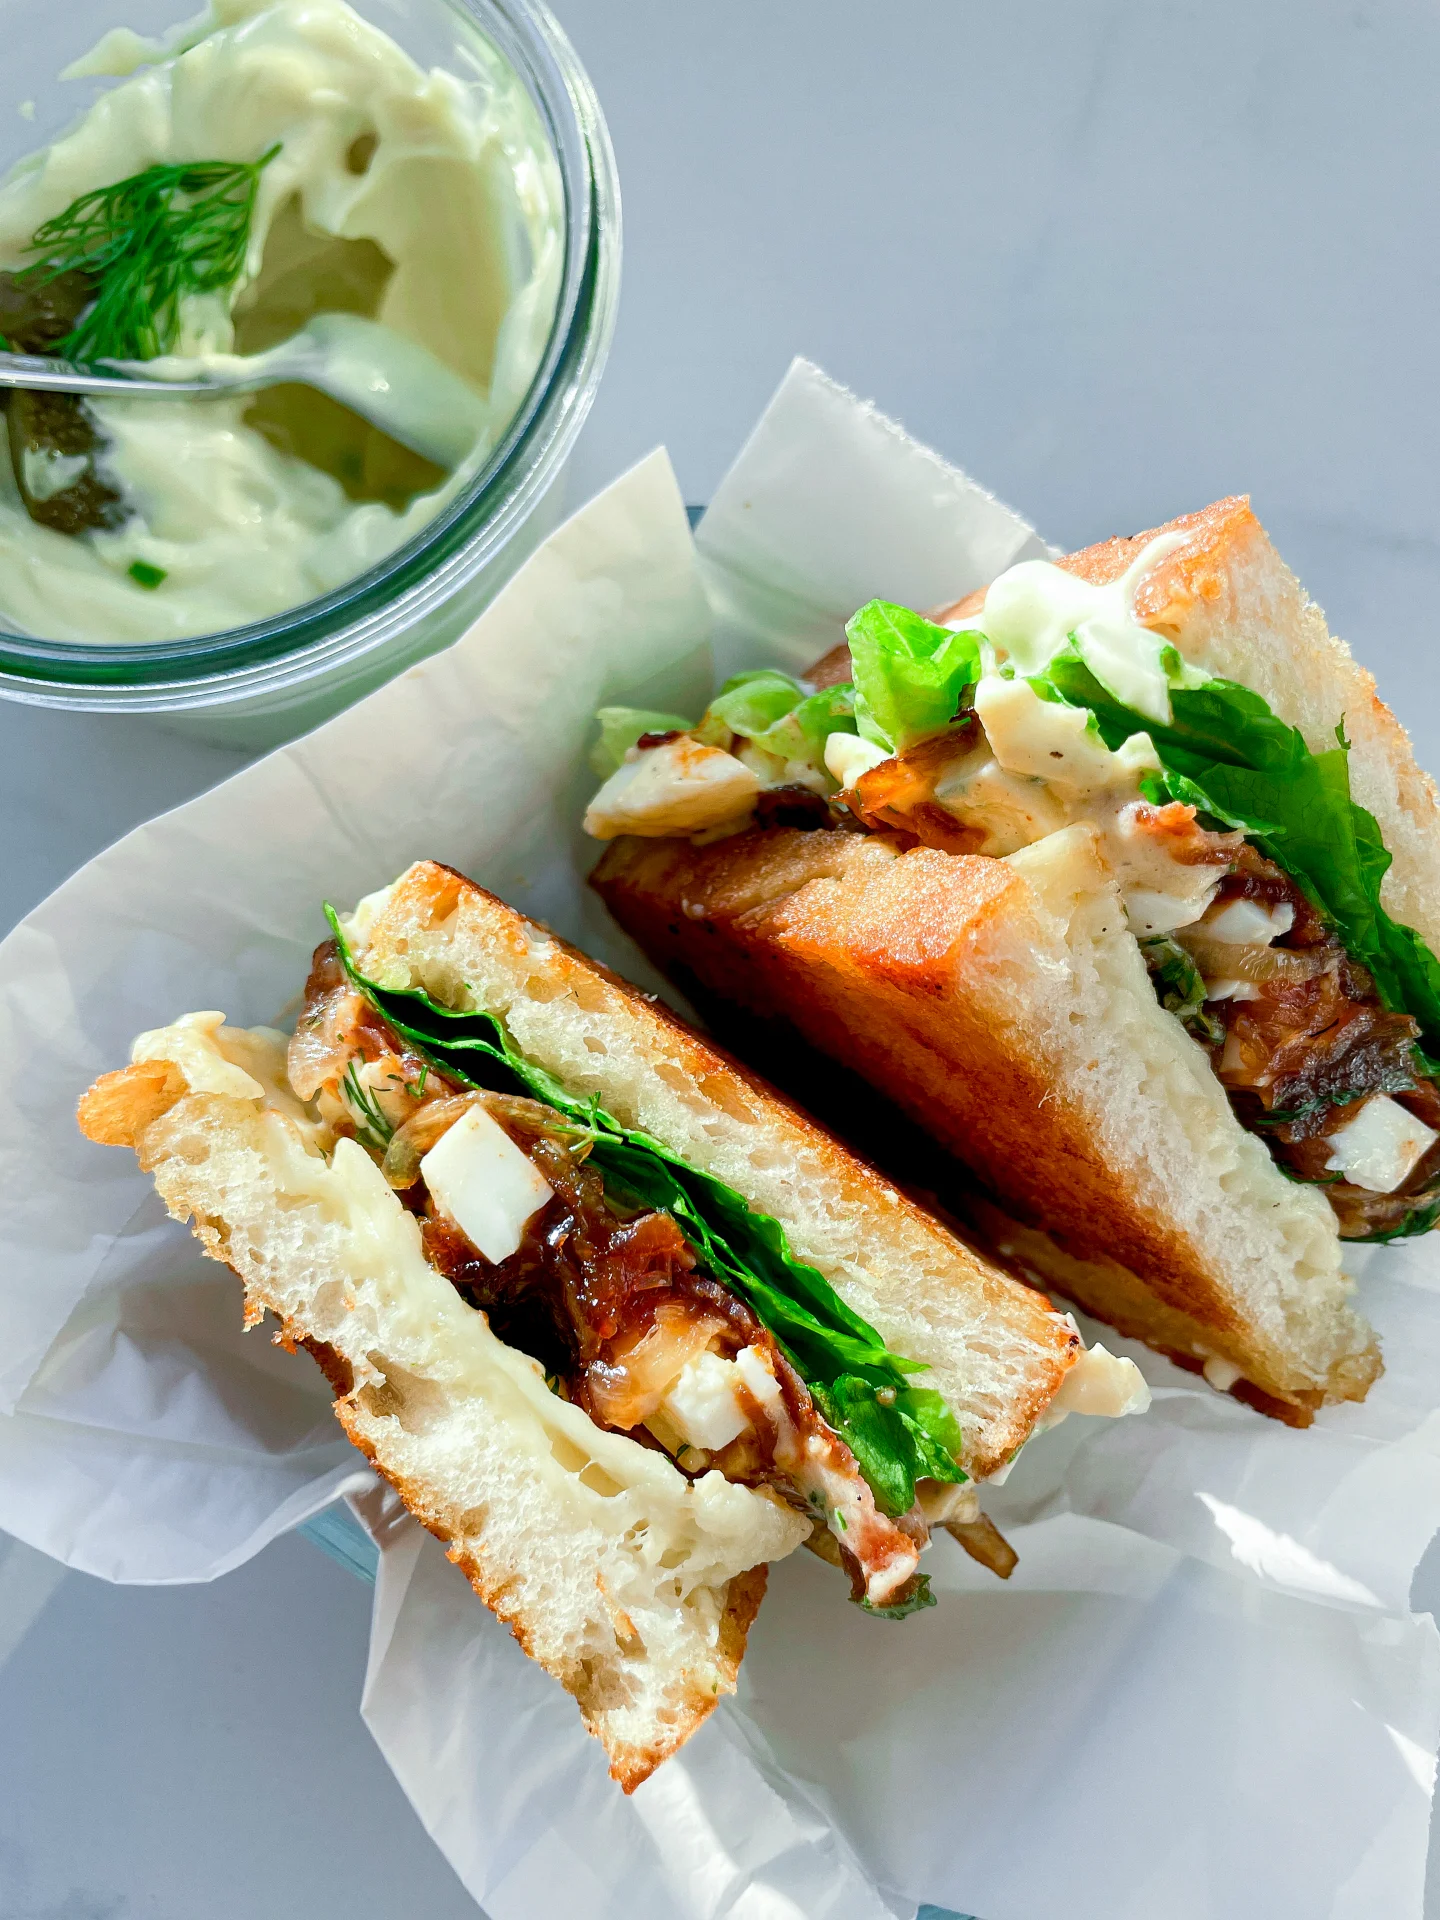
Dive into a delicious story with our creamy potato salad! Imagine boiled eggs, smoky bacon, tangy pickles, and sweet caramelized onions coming together for a magical taste in every bite.

80 MINUTES

EASY

OMNIVORE

GERMAN

569 PER PORTION

CREAMY
TANGY

EVERYDAY

SALAD

ALL YEAR

INTRODUCTION

ABOUT THE RECIPE

Step into a world of flavor with this Potato Salad featuring the perfect quartet of ingredients – eggs, bacon, pickles, and caramelized onions. This delightful twist on a classic dish promises a harmonious blend of creamy textures and mouthwatering tastes.

How to serve
Present this Potato Salad on a festive platter, allowing the vibrant colors and aromas to captivate your guests. Garnish with fresh chives for a burst of color. Ideal as a side dish for barbecues or picnics, this salad also shines as a standalone star at family gatherings. Serve chilled and watch as each forkful becomes a symphony of flavors. 

How to store
To maintain the salad’s freshness, store any leftovers in an airtight container in the refrigerator for up to three days. Gently toss before serving to restore its creamy consistency. While this salad is best enjoyed fresh, you can prepare it a day ahead and refrigerate, adding the bacon just before serving to retain its crispiness.

Hi, I'm Kimberly!

Hi, I'm Kimberly.

A passionate food lover who believes in the magic of homemade deliciousness that spreads love and warmth. Join me on this culinary adventure as I prepare wonderful dishes and let’s spread some happiness together!

Kimberly the Zett Signature

If you want to get to know me better, click here!


Potato Salad with Eggs Bacon Pickles & Caramalized Onions

„Let’s make a piece of happiness“

Print
clock clock iconcutlery cutlery iconflag flag iconfolder folder iconinstagram instagram iconpinterest pinterest iconfacebook facebook iconprint print iconsquares squares iconheart heart iconheart solid heart solid icon
Potato Salad with Eggs Bacon Pickles & Caramalized Onions

Potato Salad with Eggs Bacon Pickles & Caramalized Onions


  • Author: Kimberly
  • Total Time: 80 min
  • Yield: 8 portions

Description

RECOMMENDED EQUIPMENT
  • sharp knife
  • chopping board
  • peeler
  • large pot
  • small pot
  • large pan
  • large salad bowl
  • medium bowl

Ingredients

Units Scale
SALAD COMPONENTS
  • 1 kilogramm potatoes
  • 250 grams bacon
  • 200 grams onion
  • 1 tbsp butter
  • 150 grams pickles
  • 8 eggs
DRESSING
  • 200 grams mayonnaise
  • 4-6 tbsp white wine vinegar
  • 3 tbsp chives
  • 4 tsp Dijon mustard
  • salt & pepper to taste

Instructions

PREPARATIONS

  • Peel the potatoes and cut into medium-sized pieces.
  • Peel the onions and cut into small pieces.
  • Cut the pickles into small pieces.
  • Cut the chives into small rolls.

INSTRUCTIONS

  1. Cook the potatoes in a large pot filled with salted water until done.
  2. Meanwhile, fill a small pot with water and bring to the boil. As soon as the water boils, add the eggs and cook for 8 minutes until firm. Drain the potatoes and eggs and set both aside to cool. It’s best to let the eggs cool in an ice bath to prevent them from cooking further.
  3. Caramelize the onions in 1 tbsp butter and a bit of salt in a pan for about 30 minutes. Remove the onions from the pan and fry the bacon until crispy. There may be a residue – the best way to deglaze this is with a dash of white wine or stock to release the wonderful aromas from the bottom of the pan.
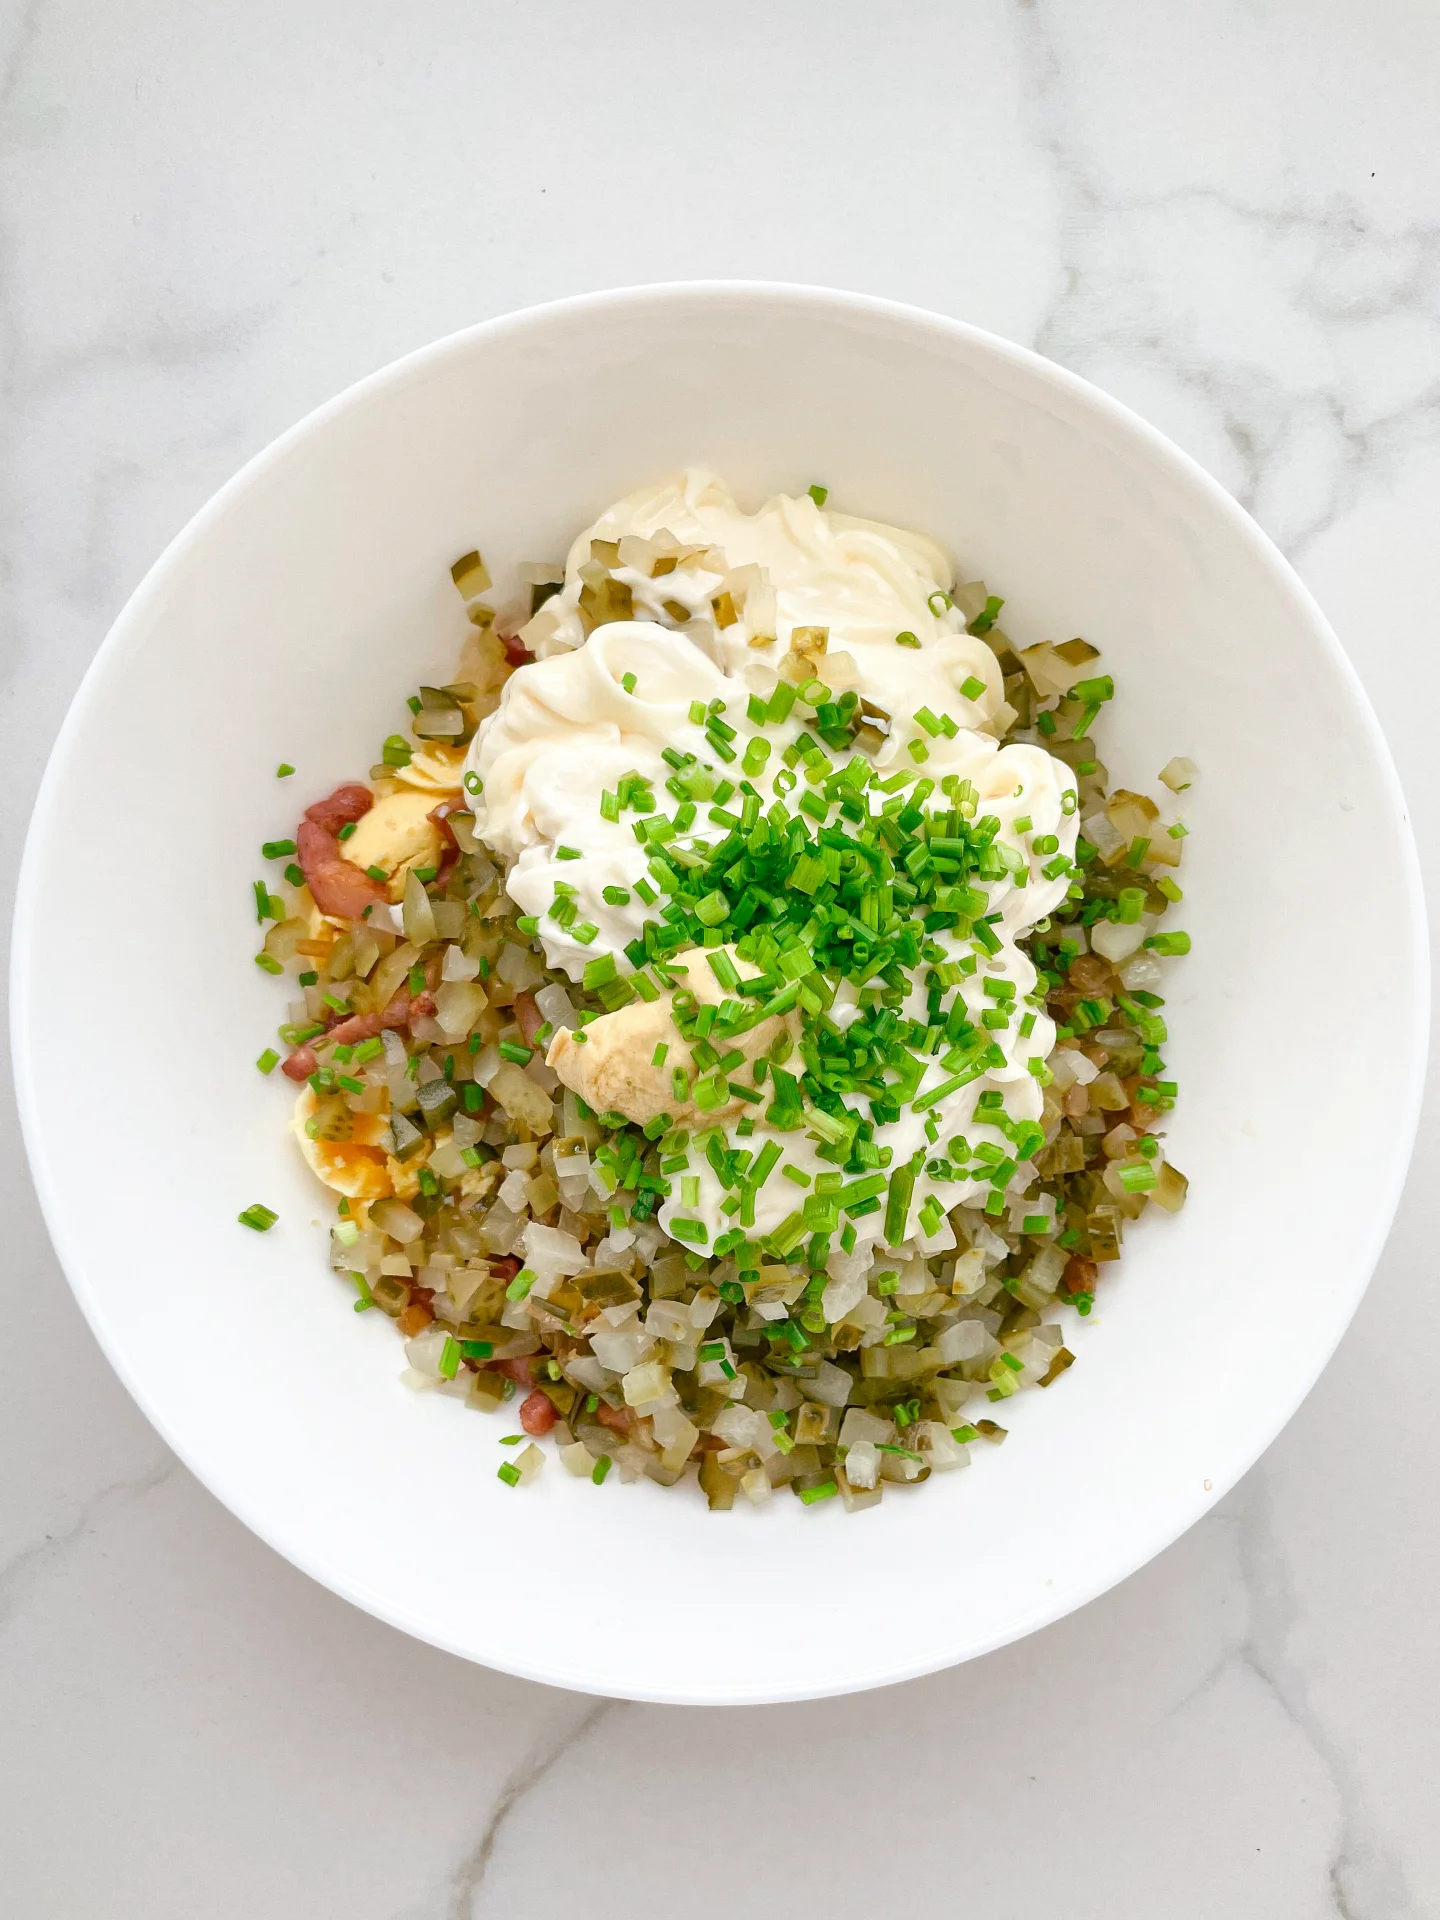
  4. Now peel the eggs and separate the yolks from the whites. Cut the egg whites into small pieces and set aside. Place the egg yolks in a medium-sized bowl. Add the fried bacon, caramelized onions, chives, pickles, dijon mustard, mayonnaise and white wine vinegar to the bowl. Stir everything together and season to taste with salt and pepper. Fold in the chopped egg white pieces. The mixture should taste very over-seasoned, as the potatoes will take away a lot of the flavor when they are mixed in later.
  5. When the potatoes are cooled cut them in coarse pieces, add them to the salad cream and mix everything well. Season to taste and serve.
  • Prep Time: 20 min
  • Passive Time: 40 min
  • Cook Time: 20 min
Pink Grapefruit Oil

Pink Grapefruit Oil

Pink Grapefruit Oil

Pink Grapefruit Oil

October 30, 2024 by Kimberly

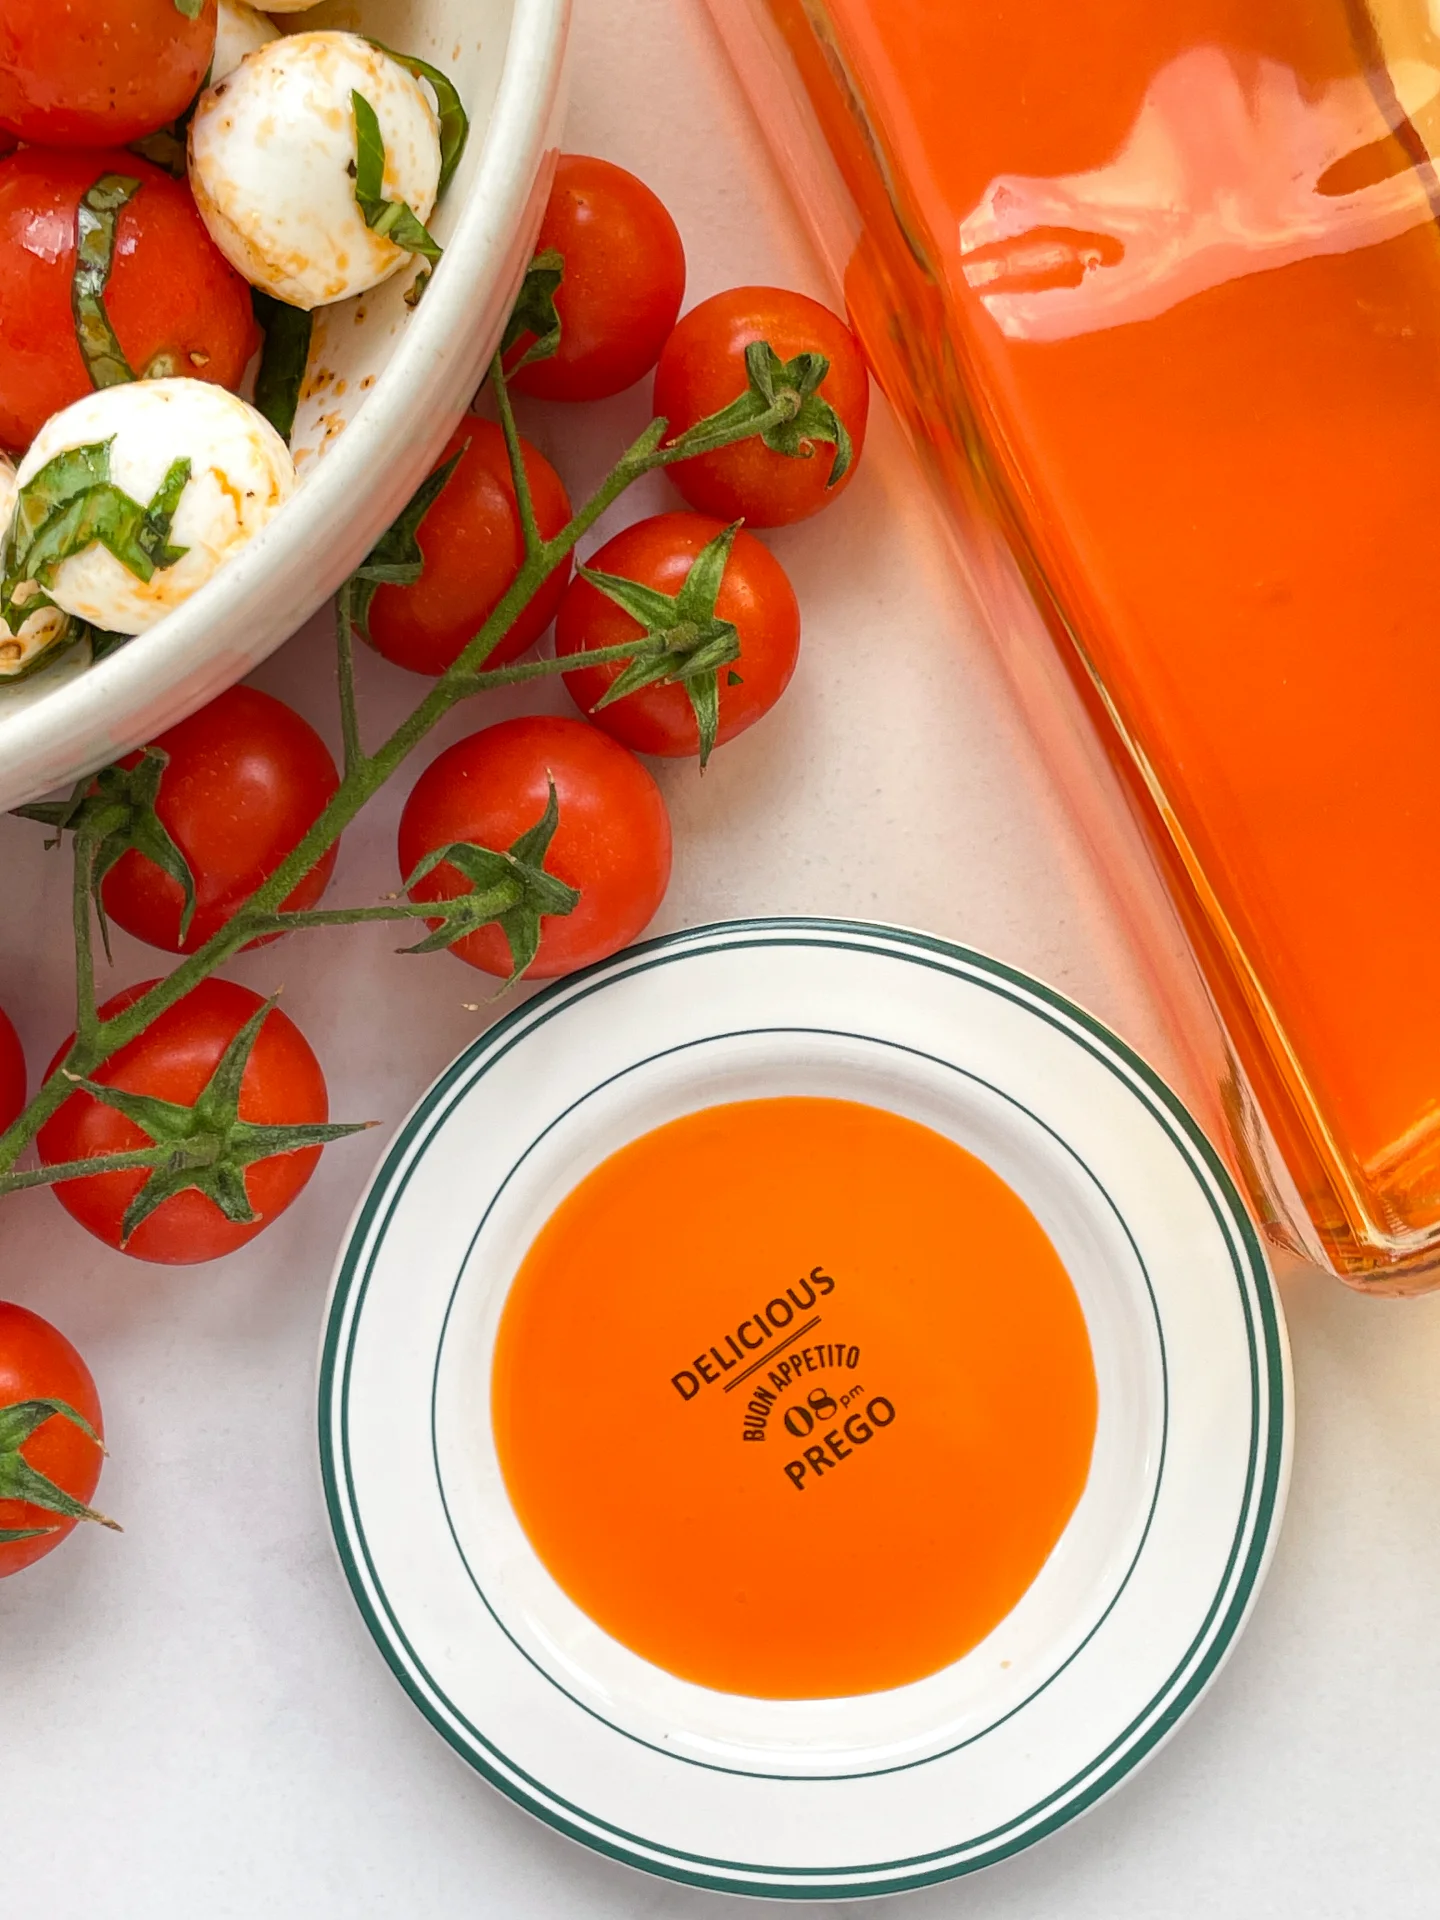
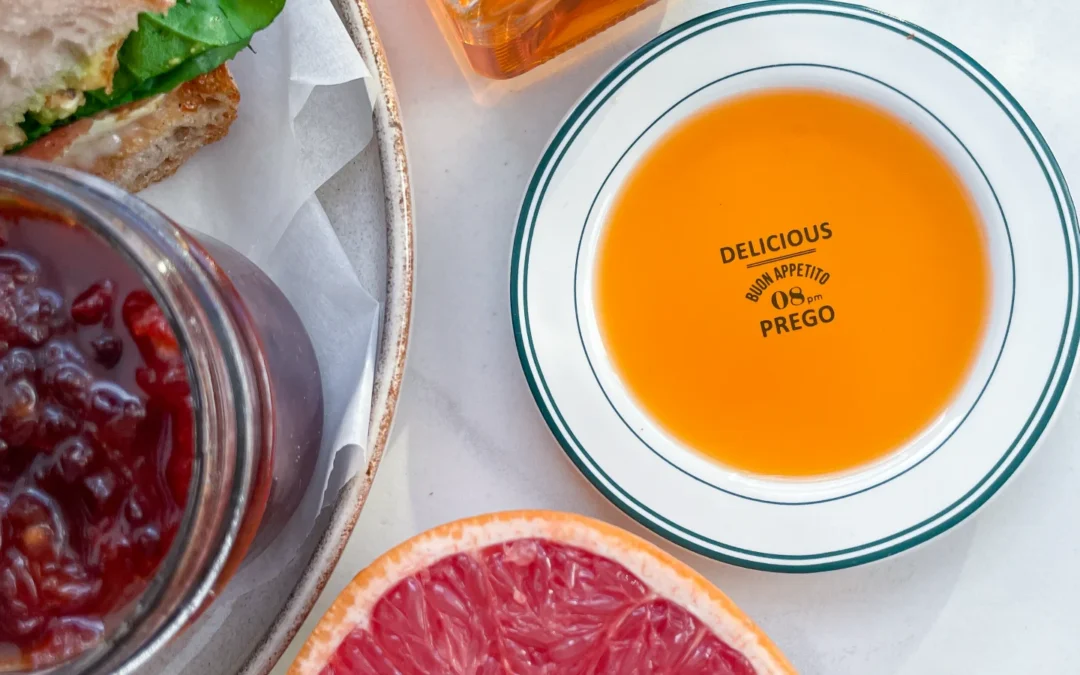
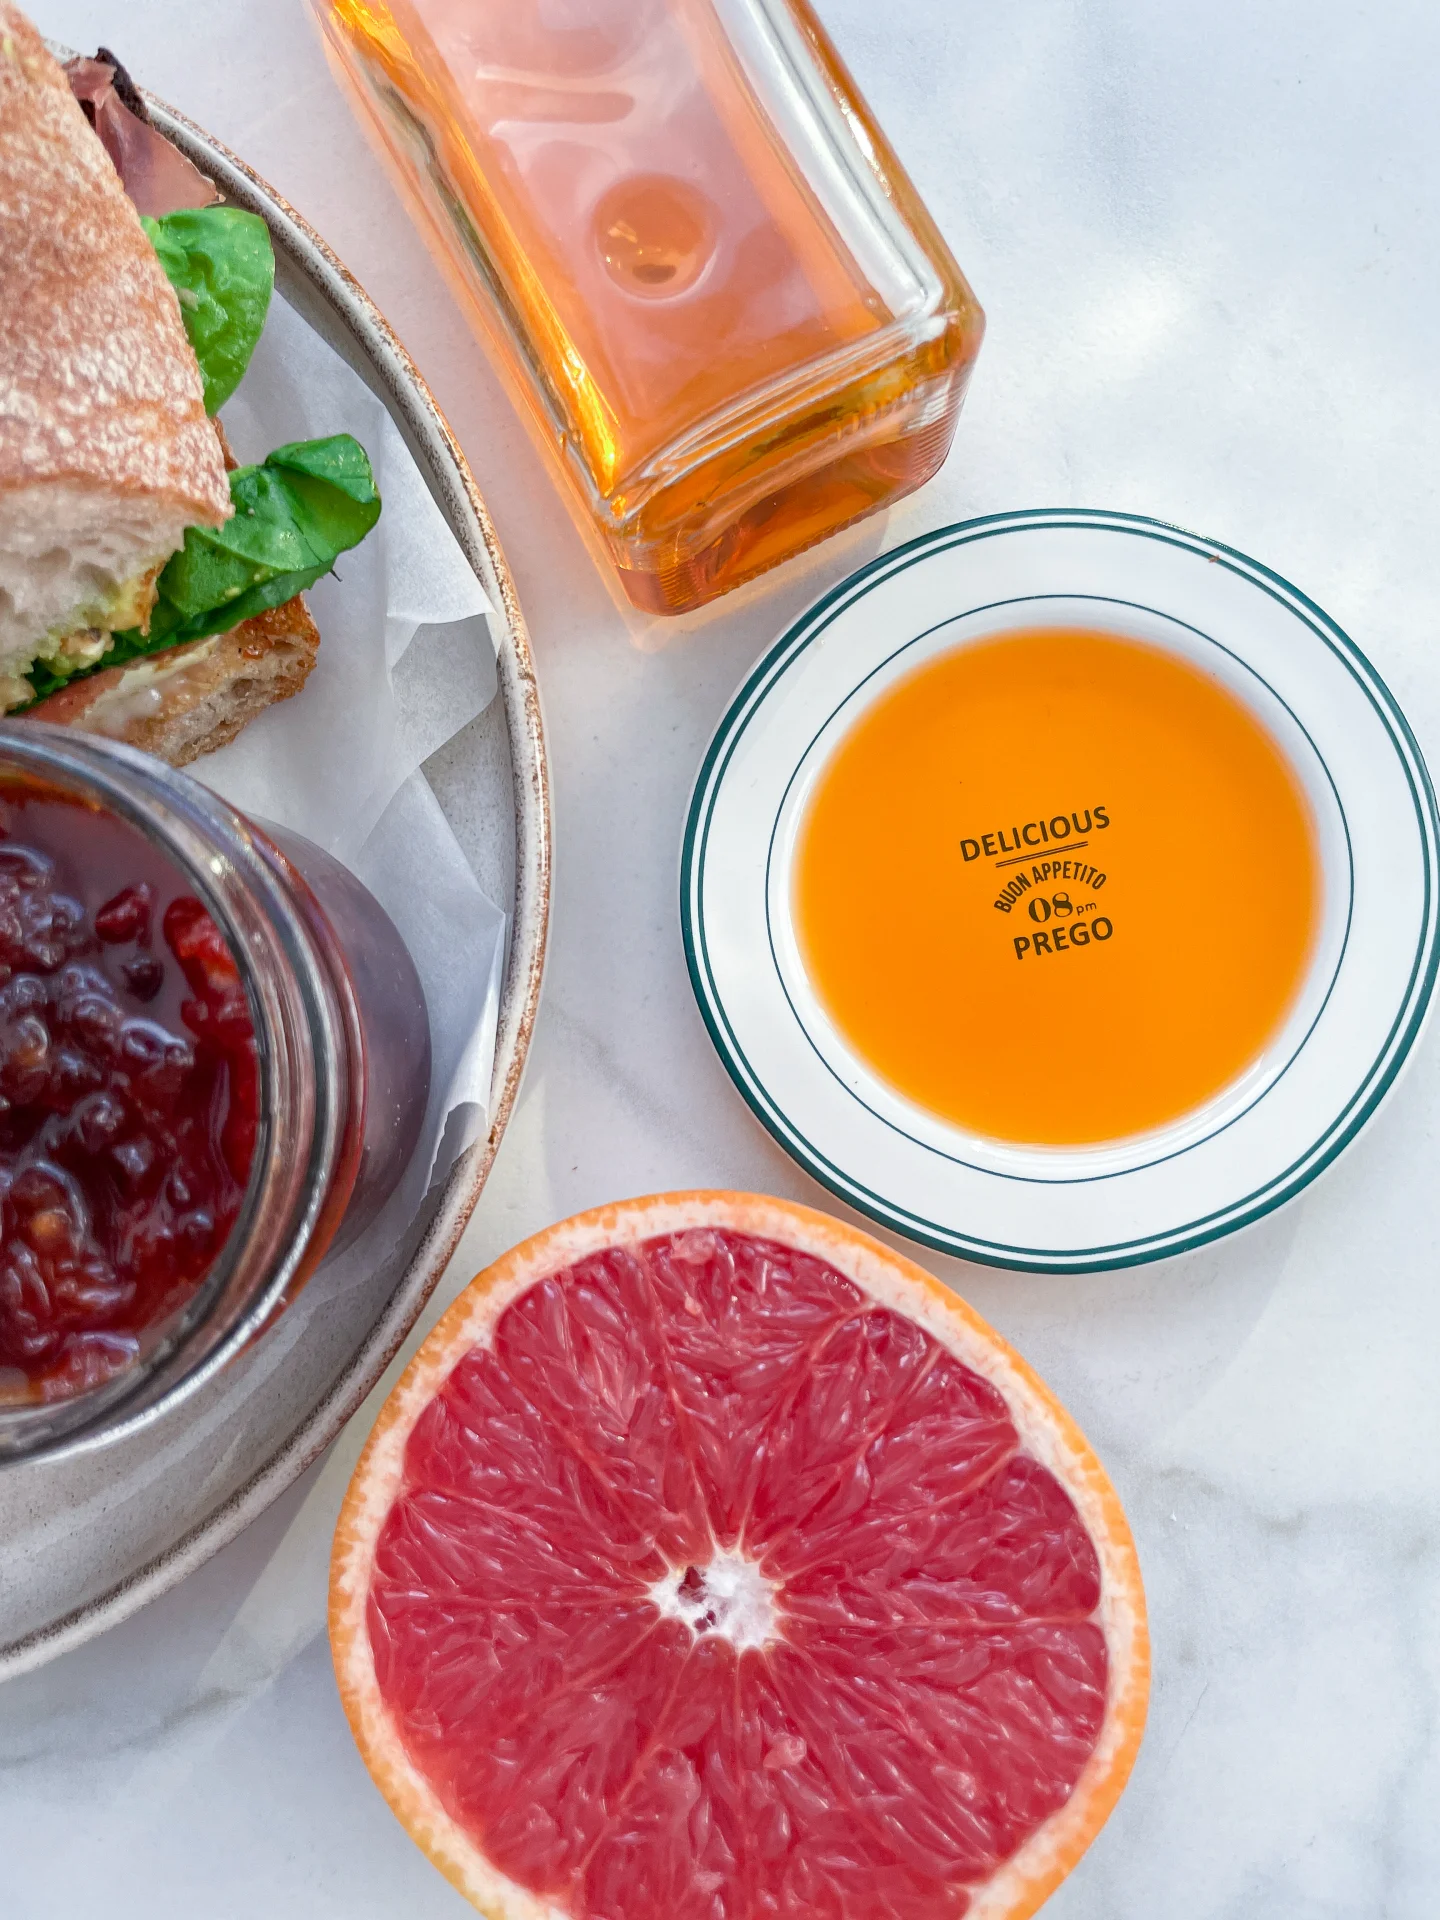
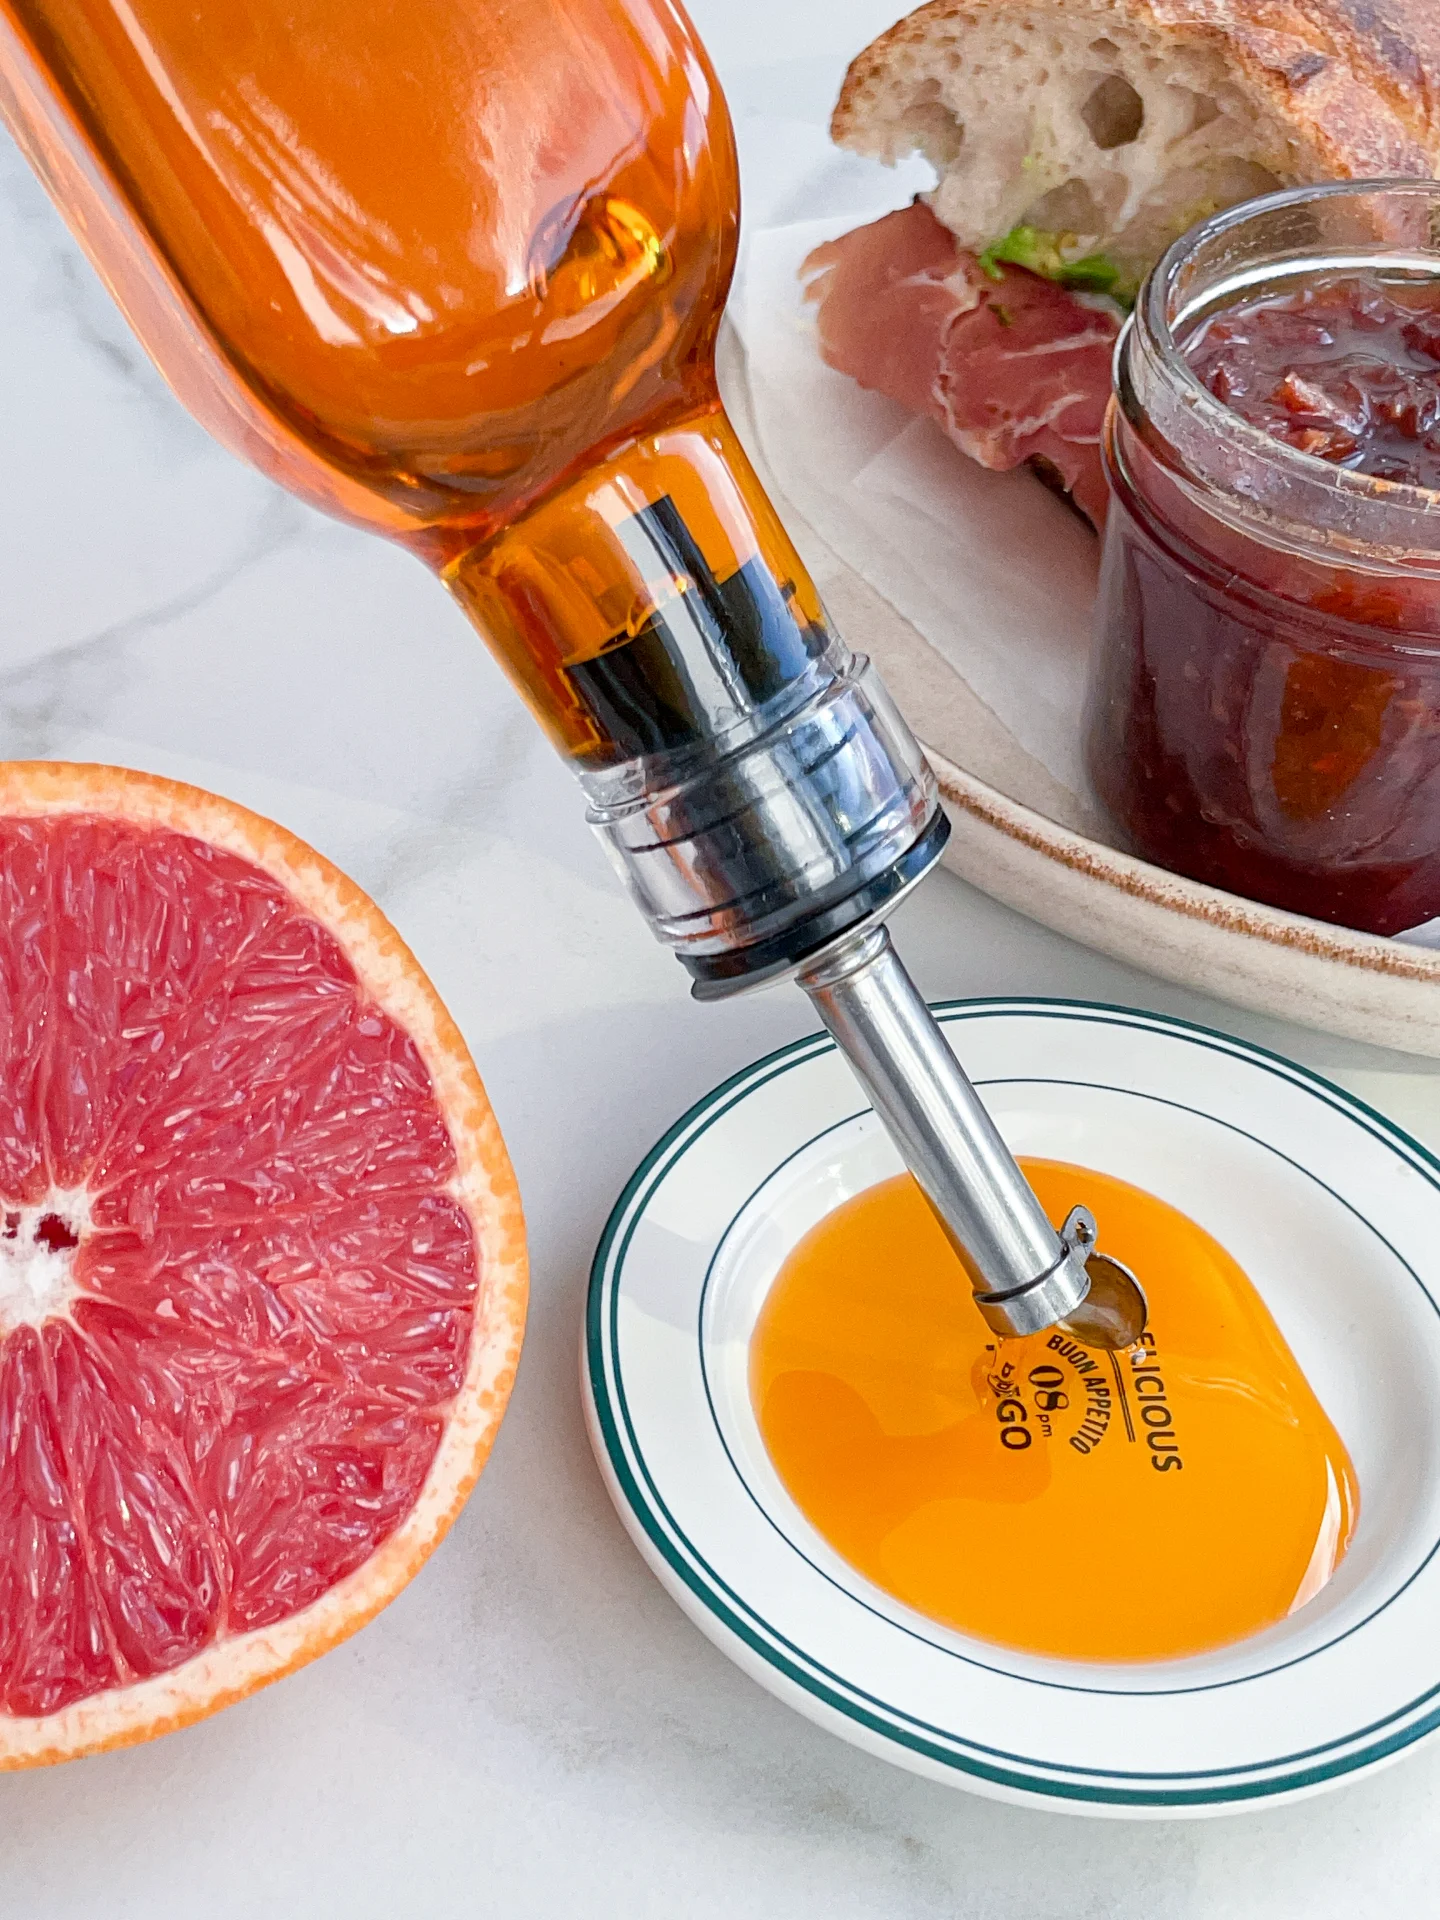
This bright, zesty oil brings a burst of citrusy sunshine to any dish! Imagine the fresh, tangy flavor that instantly lifts salads, dressings, or seafood with a unique, refreshing twist.

60 MINUTES

ADVANCED

VEGAN

INT.

40 PER TSP

SWEET
TANGY

MICHELIN

OIL

ALL YEAR

INTRODUCTION

ABOUT THE RECIPE

There’s something so fun and fresh about adding a homemade twist to your meals, and this grapefruit-infused oil is all that and more. Imagine splashing this bright, citrusy oil over salads, seafood, or roasted veggies – it’s an instant flavor boost that’s both refreshing and light. It’s one of those recipes that feels fancy without the fuss. You’ll want to keep this one handy in the kitchen!

How to serve
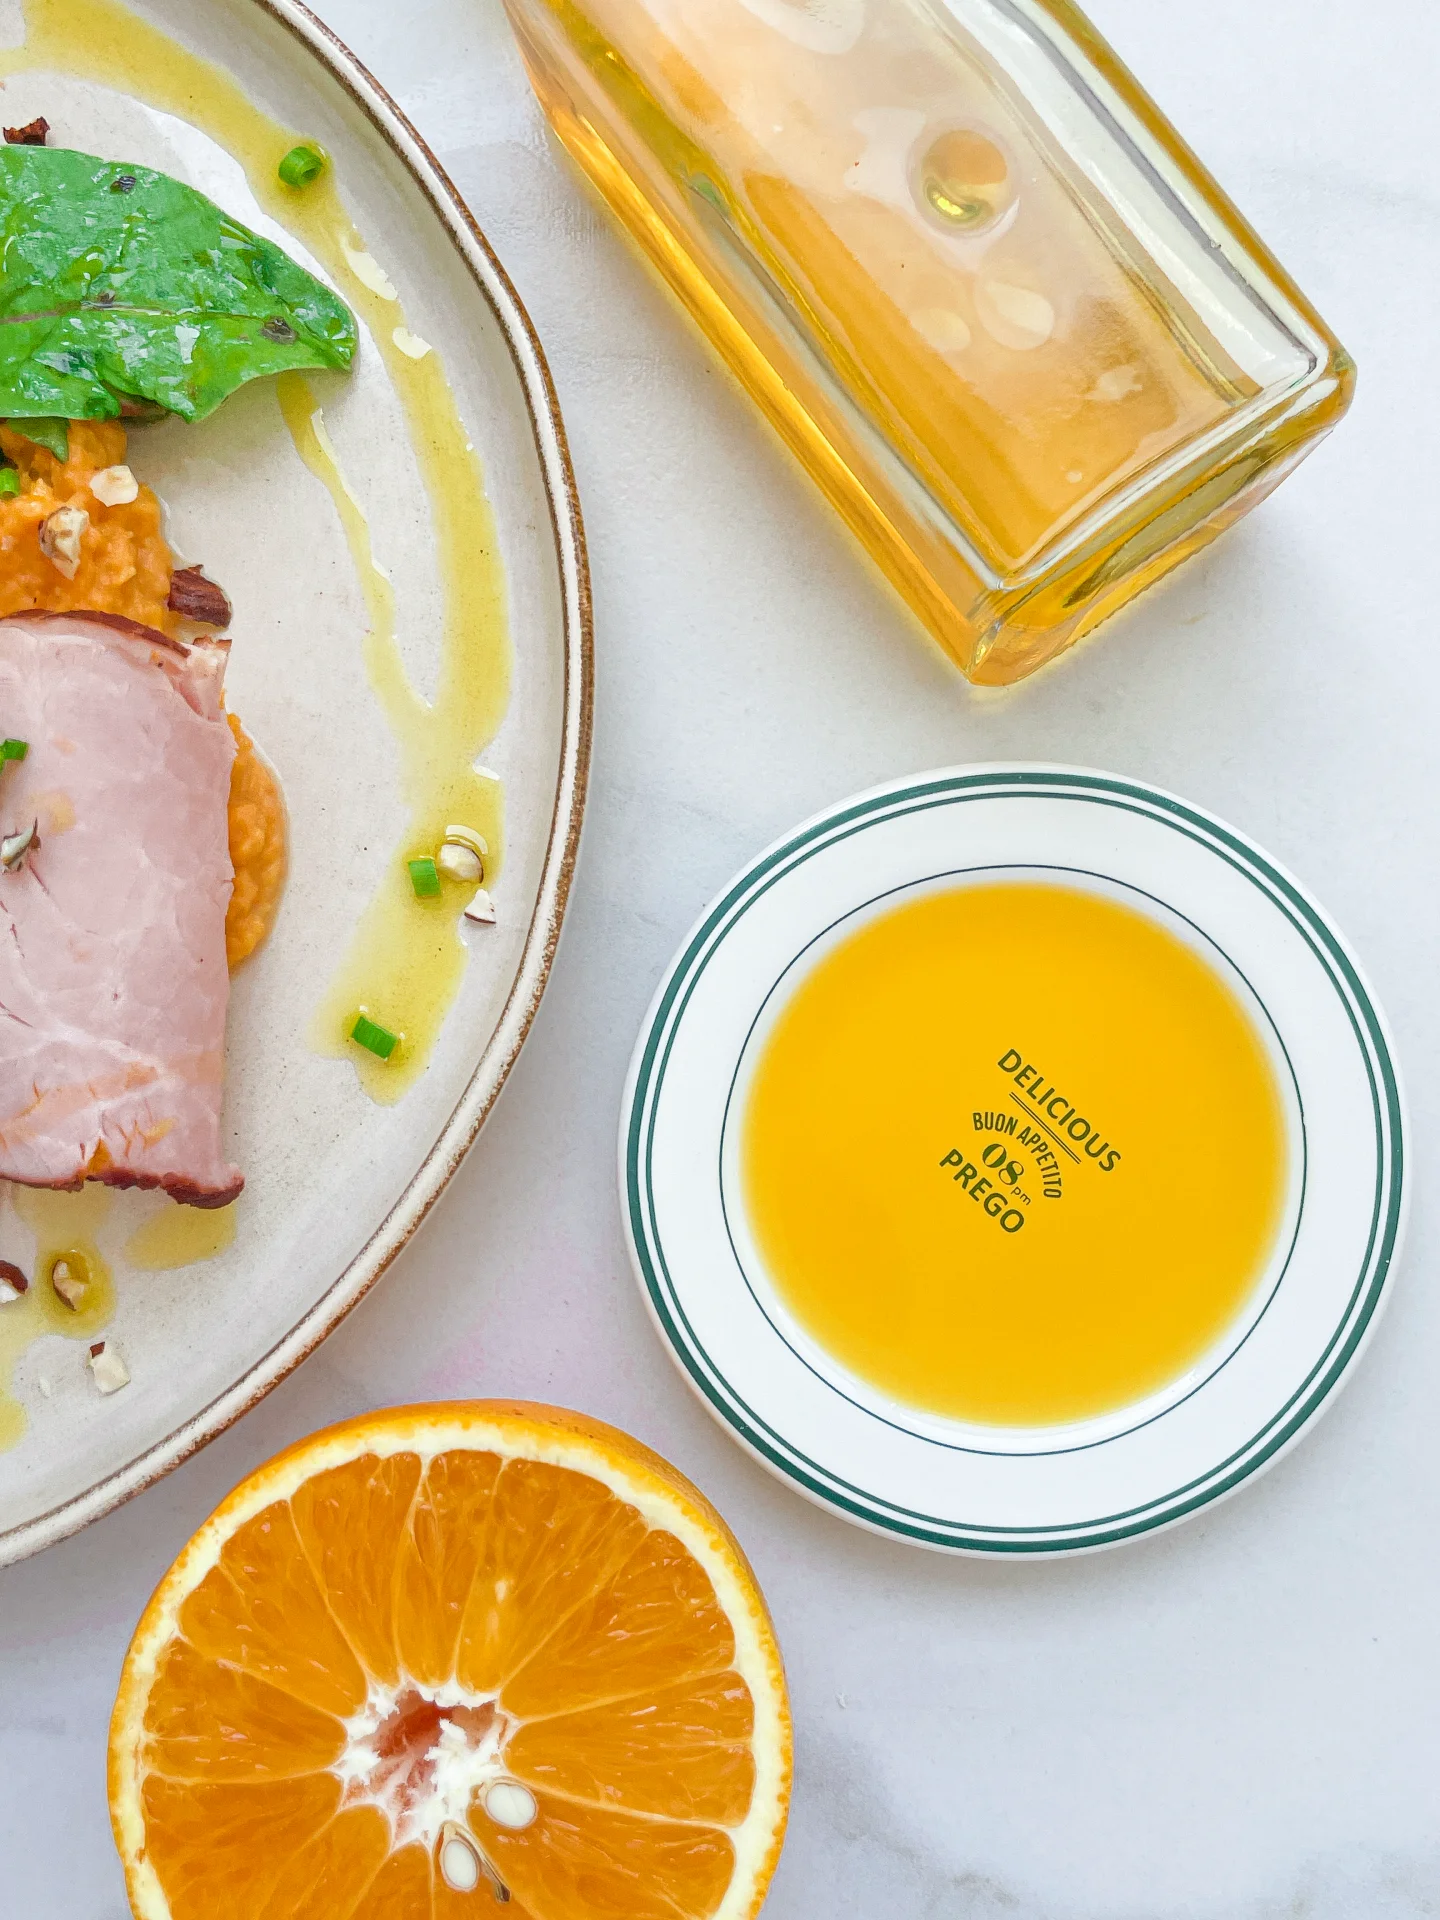
This citrus-infused oil is super versatile! Drizzle it over a crisp salad for a fresh, tangy kick, or use it as a base for marinades that need a fruity pop. It’s fantastic over grilled fish or shrimp, adding a lively twist to each bite. Try mixing it with a bit of vinegar and herbs to make a standout dressing that’s as vibrant as it is delicious. It’s perfect for those dishes where you need a little something to bring it all together! But if you really want to bring it to the next level, you’ve got to try it in this Pink Grapefruit Cardamom Chutney!

How to store
Store this oil in a sealed glass jar or oil bottle in the fridge, where it’ll keep for about one week. Give it a good shake before each use to keep the flavor fresh.

Hi, I'm Kimberly!

Hi, I'm Kimberly.

A passionate food lover who believes in the magic of homemade deliciousness that spreads love and warmth. Join me on this culinary adventure as I prepare wonderful dishes and let’s spread some happiness together!

Kimberly the Zett Signature

If you want to get to know me better, click here!


Pink Grapefruit Oil
Pink Grapefruit Oil
Pink Grapefruit Oil
„Let’s make a piece of happiness“
Print
.tasty-recipe-responsive-iframe-container-96fcdd08 { position: relative; overflow: hidden; padding-top: 56.3%; } .tasty-recipe-responsive-iframe-container-96fcdd08 iframe { position: absolute; top: 0; left: 0; width: 100%; height: 100%; border: 0; } clock clock iconcutlery cutlery iconflag flag iconfolder folder iconinstagram instagram iconpinterest pinterest iconfacebook facebook iconprint print iconsquares squares iconheart heart iconheart solid heart solid icon
Pink Grapefruit Oil

Pink Grapefruit Oil


  • Author: Kimberly
  • Total Time: 60 min
  • Yield: 1 cup / 250 ml

Description

RECOMMENDED EQUIPMENT

  • blender
  • medium-sized saucepan
  • whisk
  • a bowl which the medium saucepan fits into
  • 2 medium-sized bowls
  • 2 fine sieves
  • oil bottle
  • ice cubes
  • coffee filter

Ingredients

Units Scale
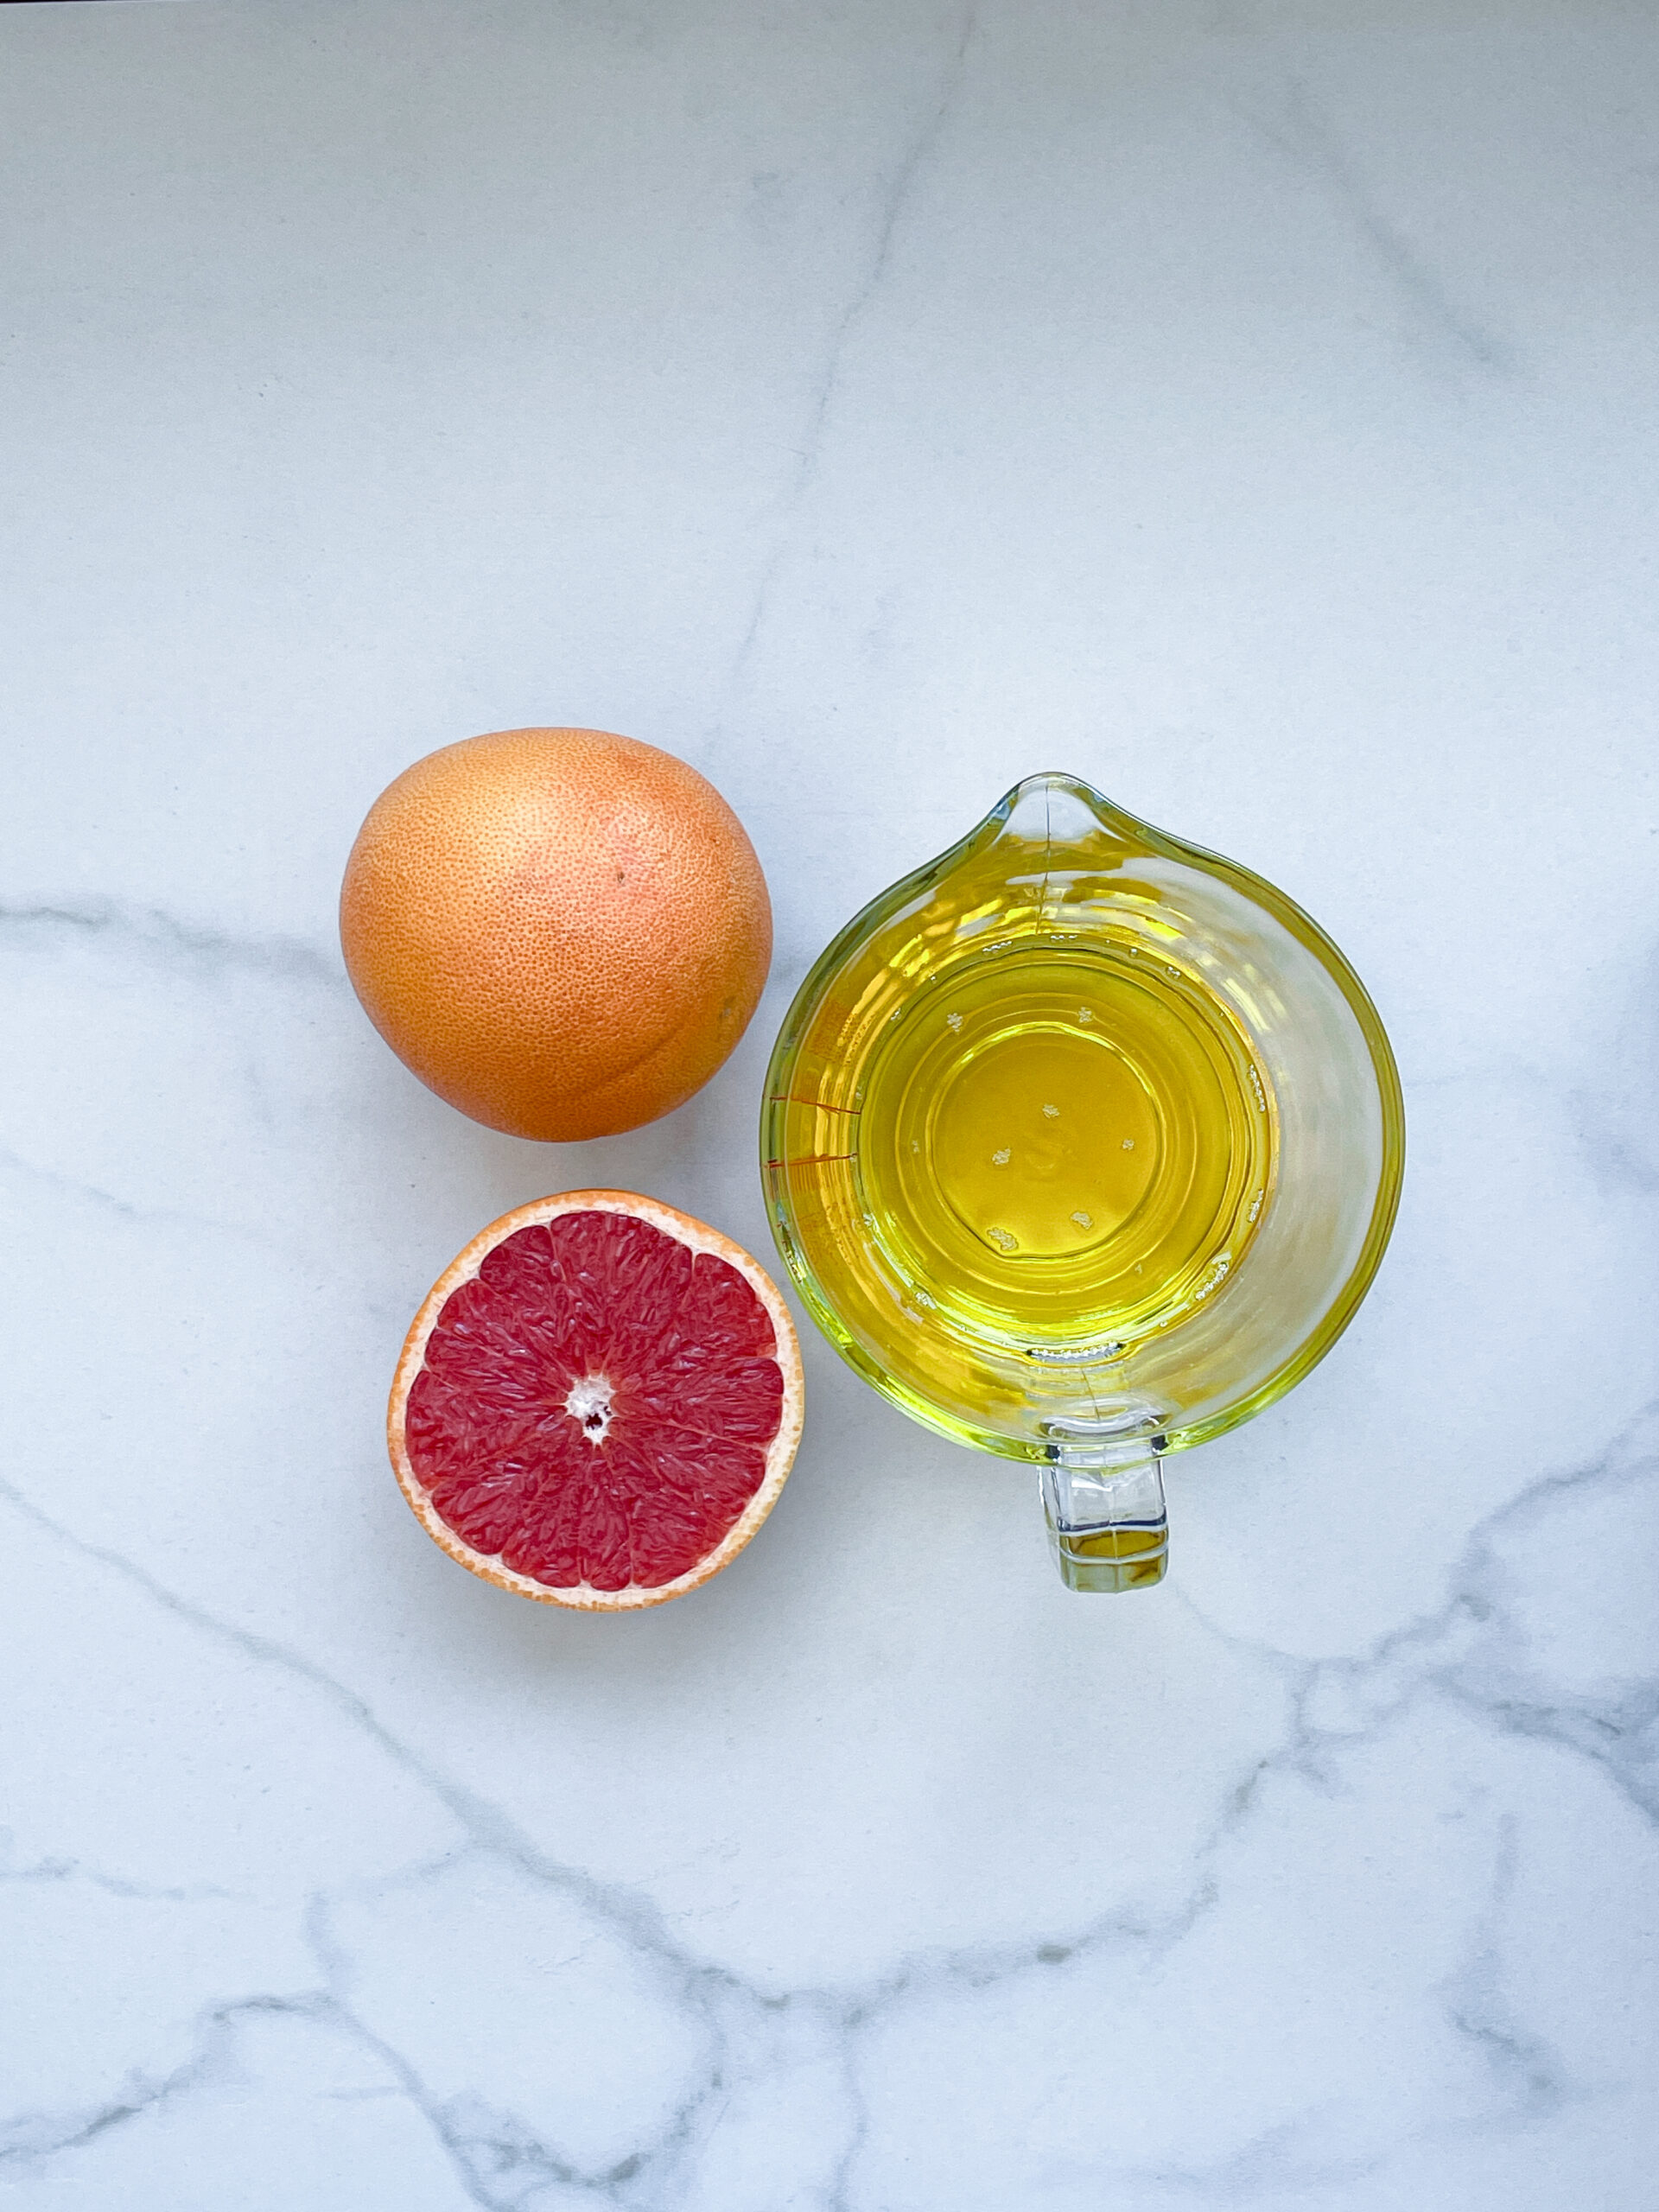
  • 1 pink grapefruit
  • 250 milliliters avocado oil

Instructions

  1. Zest the grapefruit, making sure no white pith is attached. Separate the grapefruit flesh from the white skin. Discard the white skin, and add the zest and flesh to the blender. Pour in the oil. Blend on the highest setting until only tiny pieces of the grapefruit are visible.
  2. Pour the mixture from the blender into a medium-sized pot and heat it over medium heat to a temperature of about 102°-103°C (215°-217°F), and maintain this temperature for the next 30 minutes. Stir occasionally, making sure the temperature remains steady and nothing gets burned.
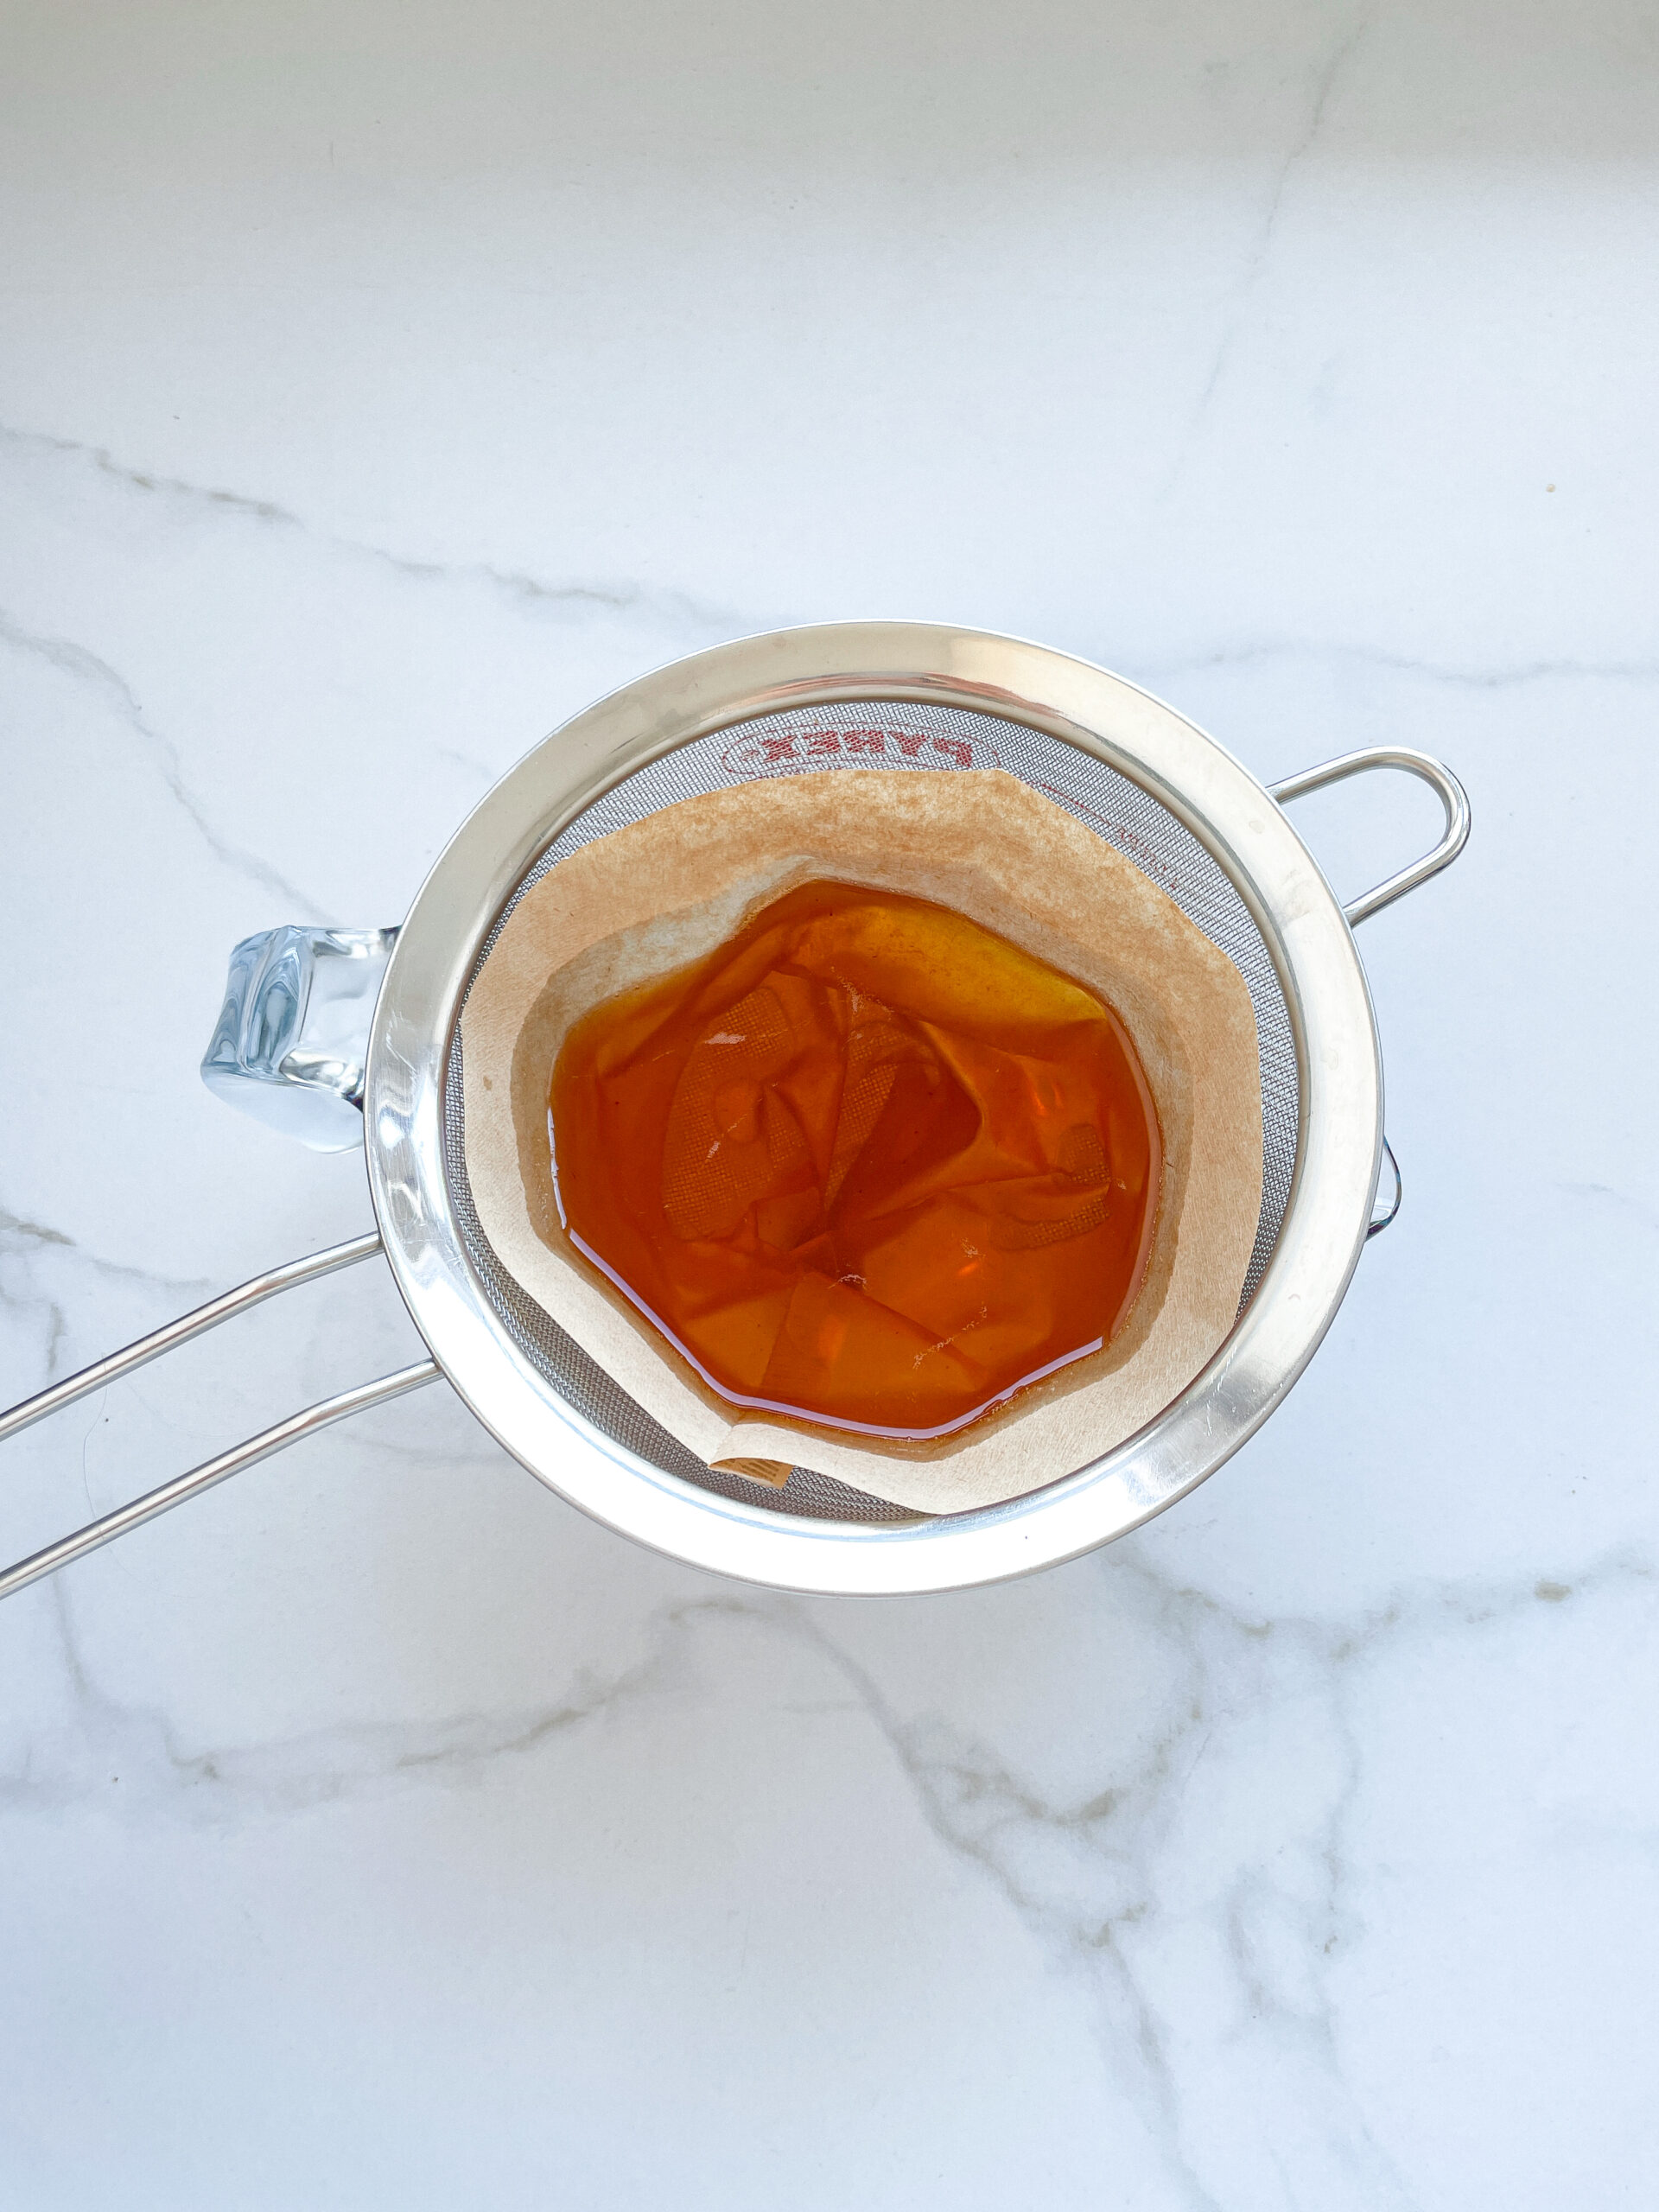
  3. Prepare a bowl large enough to fit a medium-sized pot, and fill it with cold water and a handful of ice cubes. Also, hang a fine sieve strainer over one medium-sized bowl and another fine sieve strainer, with a coffee filter inside it, over another medium-sized bowl.
  4. Now, place the pot in the ice water and stir to cool the oil quickly. Once the oil is almost cold, remove the pot from the water and let it sit for about 20 minutes so that the oil gets more infused.
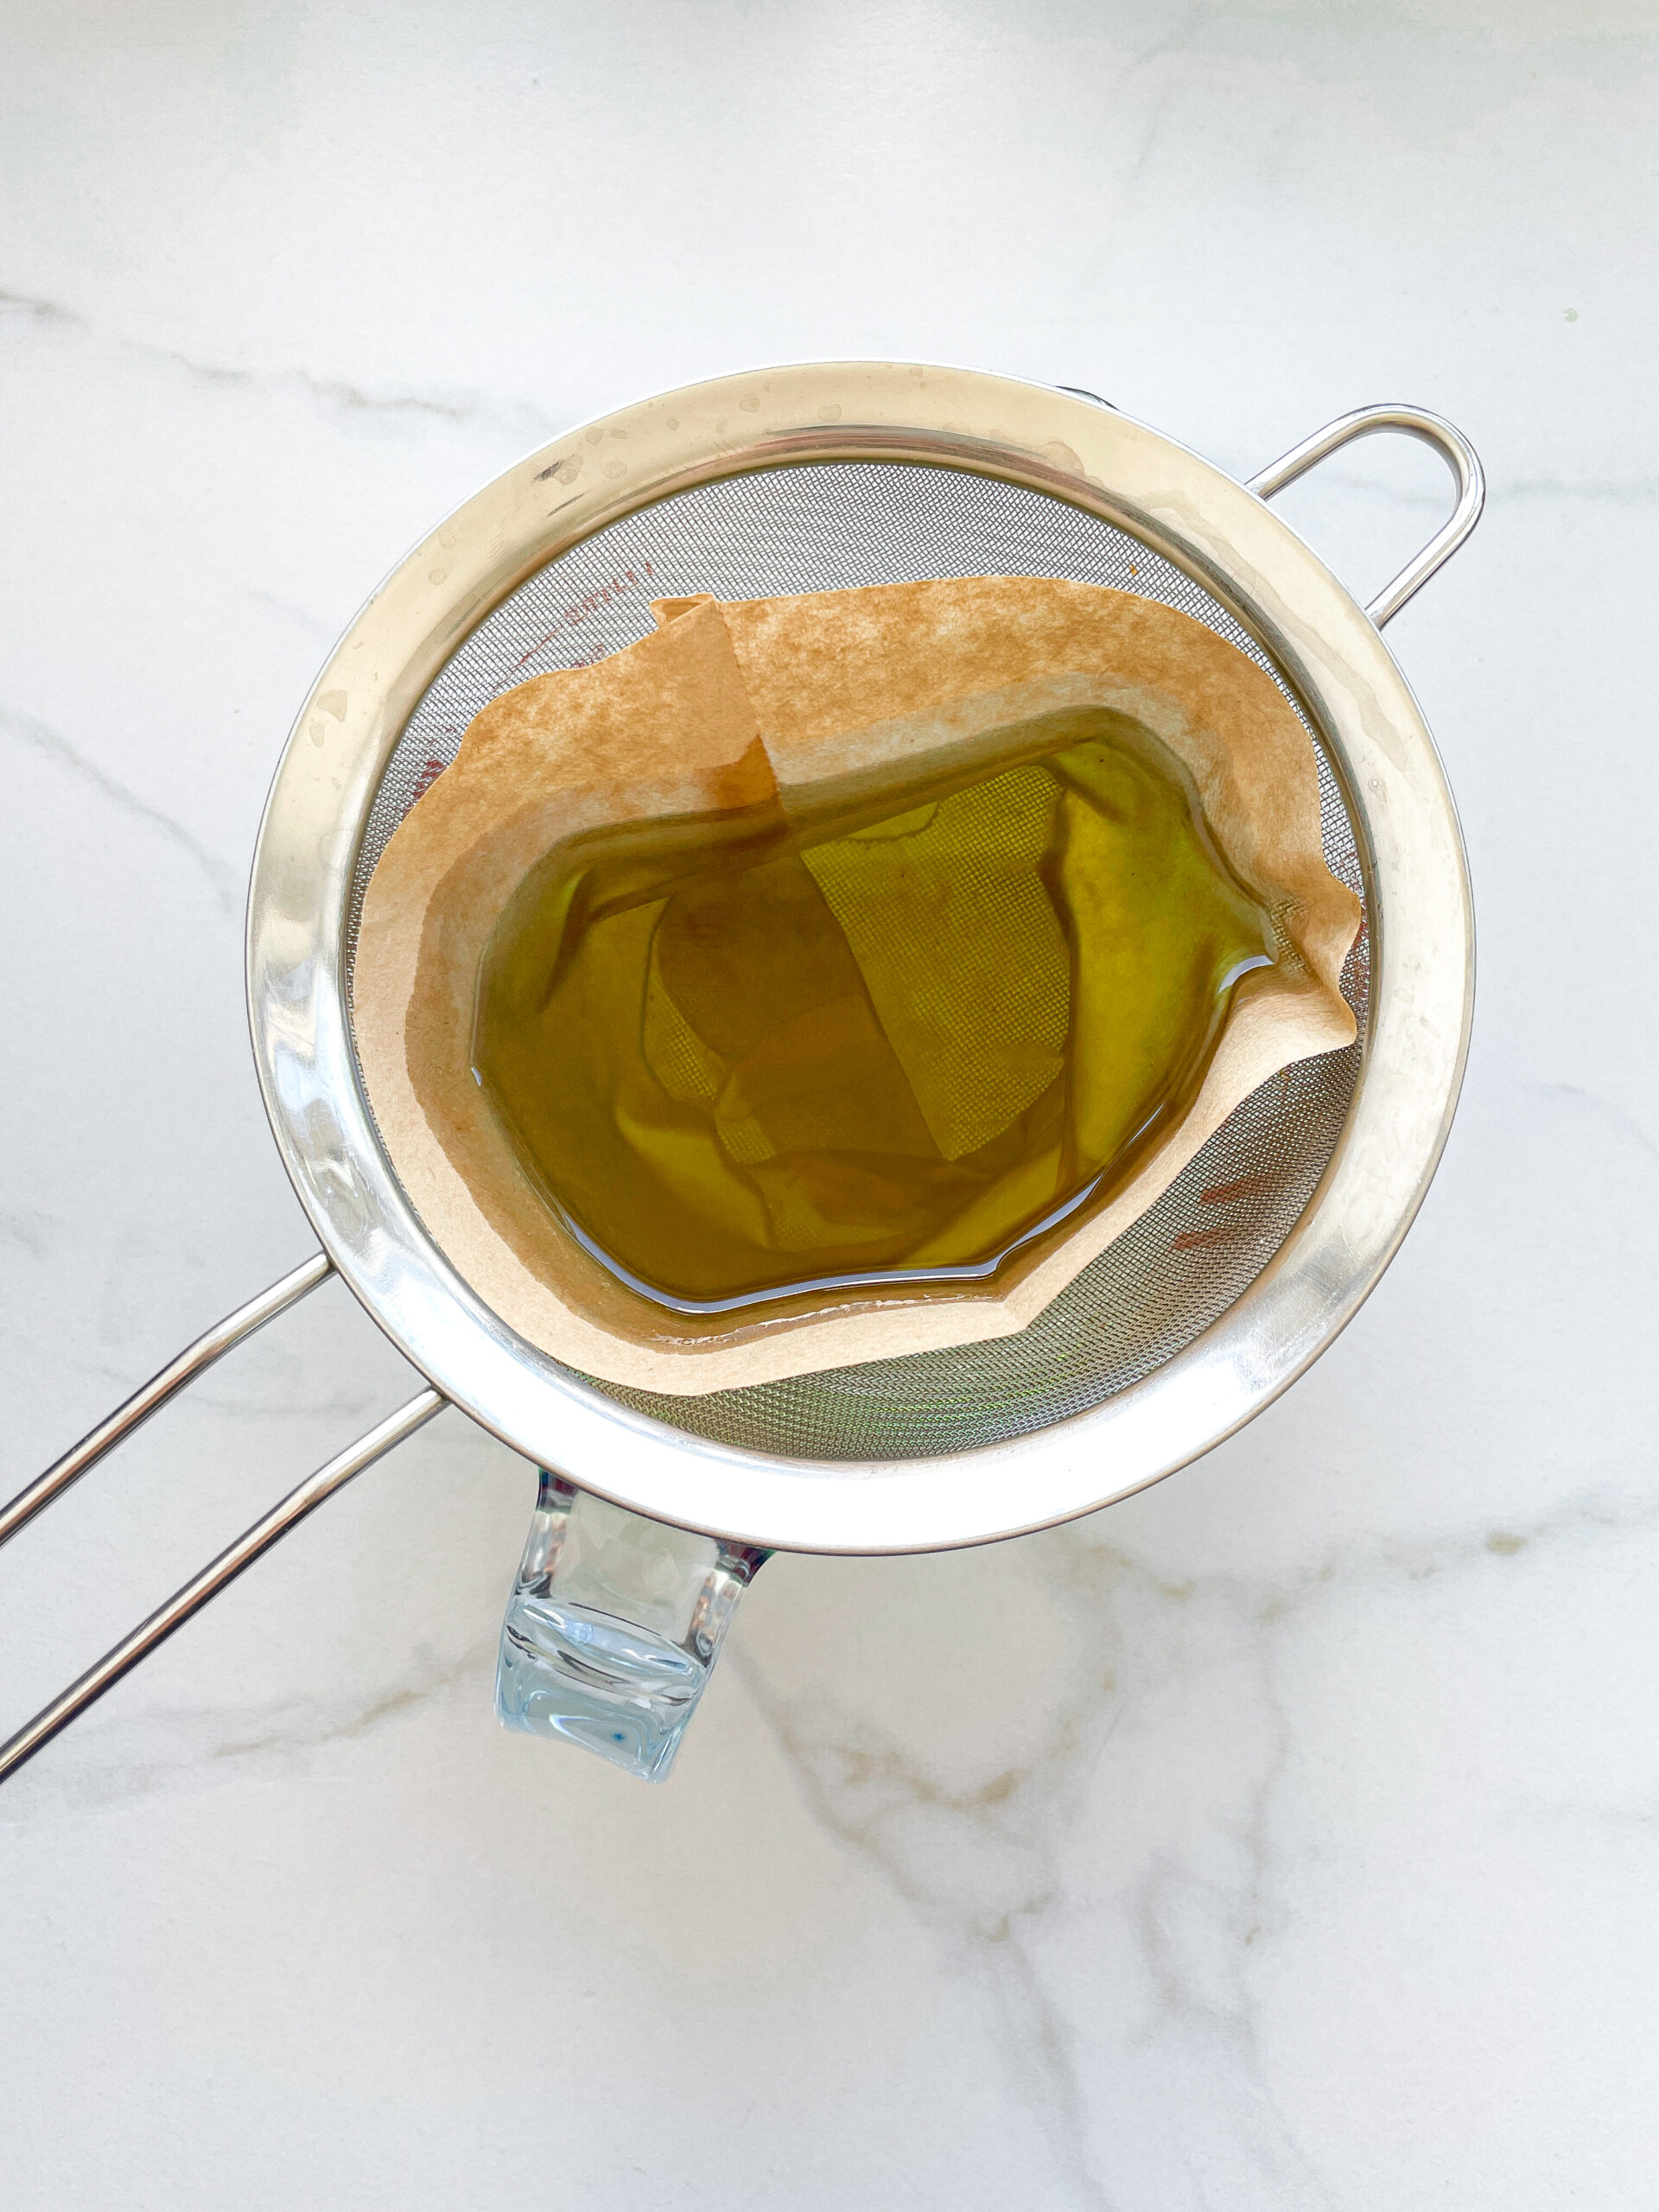
  5. After the 20 minutes, pour the oil into the prepared fine sieve to catch the coarse particles.
  6. Then, pour the oil into the second sieve, which is equipped with a coffee filter, to catch the remaining finer particles.
  7. Allow the oil to drip through for about 1 hour or maybe less depending on how many remaining particles are in the coffee filter. Once all the oil has passed through the coffee filter, transfer the collected amount of oil into an oil bottle. Store in the refrigerator for up to 1-2 weeks.
  • Prep Time: 10 min
  • Passive Time: 20 min
  • Cook Time: 30 min

Baked Goat Cream Cheese & Hot Pepper Jelly

Baked Goat Cream Cheese & Hot Pepper Jelly

Baked Goat Cream Cheese & Hot Pepper Jelly

Baked Goat Cream Cheese & Hot Pepper Jelly

October 20, 2024 by Kimberly

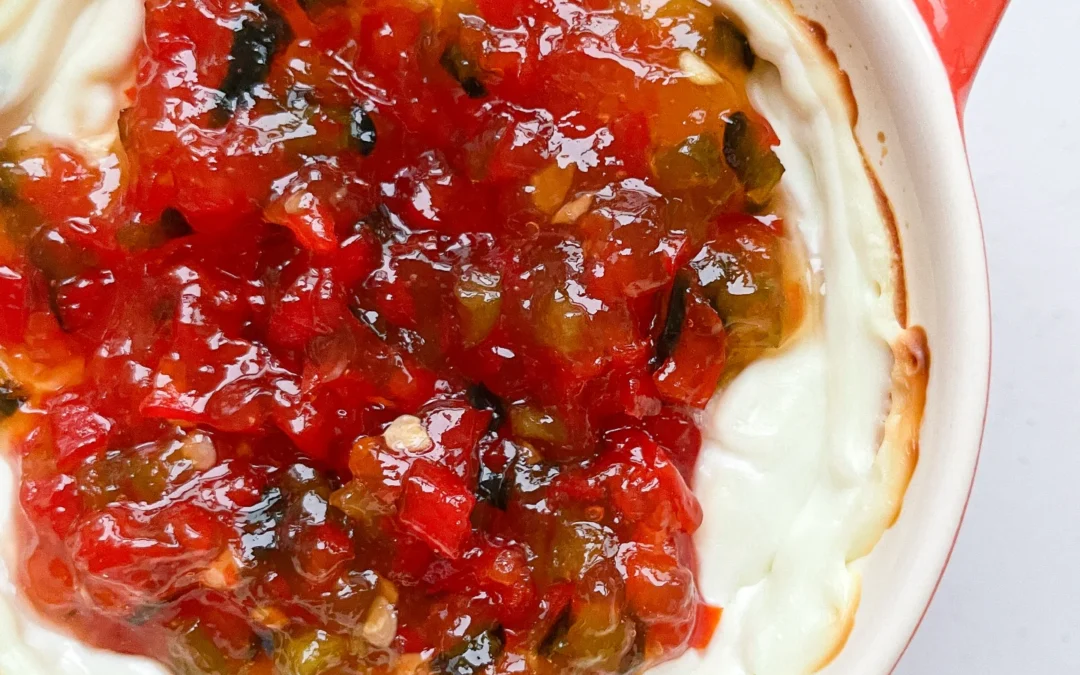
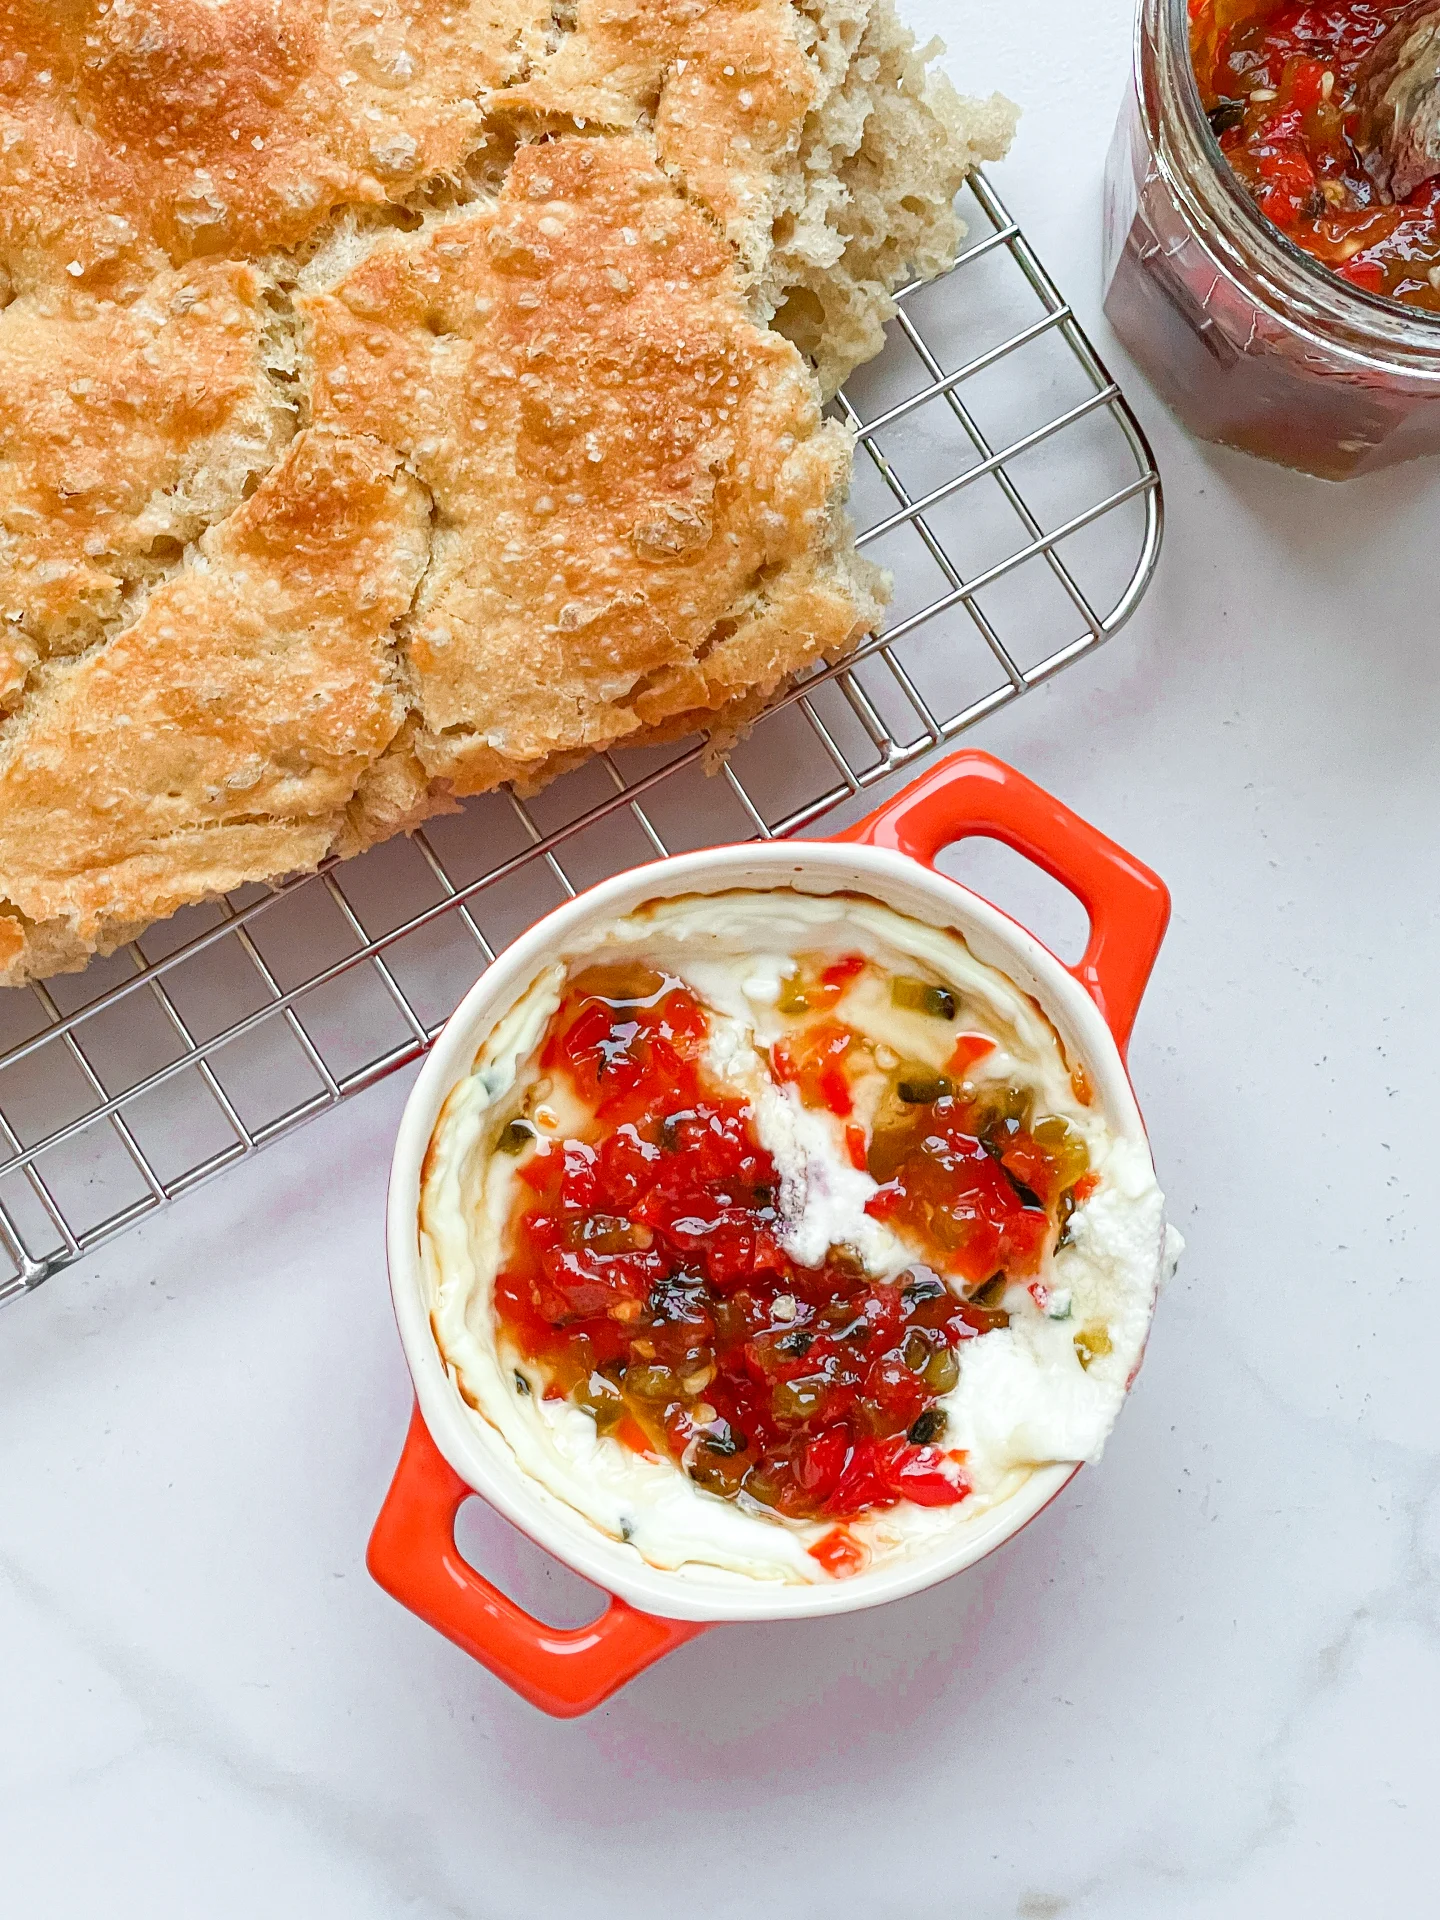
Imagine a warm, melty goat cream cheese, topped with a sweet-spicy hot pepper jelly as a dip for your favorite potato chips. It’s a burst of flavor that feels like a cozy, fiery hug.

40 MINUTES

EASY

VEGETARIAN

INT.

421 PER PORTION

CREAMY
TANGY
SWEET

EVERYDAY

APPETIZER
SNACK

AUTUMN
WINTER

INTRODUCTION

ABOUT THE RECIPE

This baked goat cream cheese dish is the perfect combo of creamy, tangy, and sweet with a little kick. The warm, melty center and the hot pepper jelly on top brings the perfect balance of sweet and spicy. It’s one of those appetizers that makes everyone go “wow” after the first bite, but it’s surprisingly easy to make. Whether you’re hosting friends or just treating yourself to something special, this warm, cozy snack is the ultimate crowd-pleaser.

How to serve
Serve this baked goat cheese dish with crispy crackers, warm slices of baguette, or even fresh veggies like cucumber or carrots for a light crunch. The sweet-spicy jelly on top works perfectly with some fresh herbs like thyme or chives. It’s an easy, yet impressive appetizer for dinner parties, game nights, or even a cozy night in. Trust me, people will be coming back for seconds – so maybe make a double batch!

How to store
If you have leftovers (which, let’s be real, you probably won’t), just pop the baked goat cheese in an airtight container in the fridge. It keeps for about 2 days and can be easily reheated in the oven.

Hi, I'm Kimberly!

Hi, I'm Kimberly.

A passionate food lover who believes in the magic of homemade deliciousness that spreads love and warmth. Join me on this culinary adventure as I prepare wonderful dishes and let’s spread some happiness together!

Kimberly the Zett Signature

If you want to get to know me better, click here!


Baked Goat Cream Cheese & Hot Pepper Jelly
„Let’s make a piece of happiness“
Print
.tasty-recipe-responsive-iframe-container-de9d2336 { position: relative; overflow: hidden; padding-top: 56.3%; } .tasty-recipe-responsive-iframe-container-de9d2336 iframe { position: absolute; top: 0; left: 0; width: 100%; height: 100%; border: 0; } clock clock iconcutlery cutlery iconflag flag iconfolder folder iconinstagram instagram iconpinterest pinterest iconfacebook facebook iconprint print iconsquares squares iconheart heart iconheart solid heart solid icon
Baked Goat Cream Cheese & Hot Pepper Jelly

Baked Goat Cream Cheese & Hot Pepper Jelly


5 from 1 review

  • Author: Kimberly
  • Total Time: 20 min
  • Yield: 40 min

Description

Recommended Equipment

  • jar with a screw-on lid
  • sharp knife
  • cutting board
  • small pot
  • tongs
  • small plate
  • food processor

Ingredients

Units Scale
HOT PEPPER JELLY
  • 1/2 red bell pepper
  • 1/4 green bell pepper
  • 1/2 jalapeno
  • 1/2 fresh chili pepper
  • 75 grams preserving sugar
  • 30 grams apple cider vinegar
CHEESE
  • 150 grams cream cheese
  • 100 grams goat cream cheese
  • 1 garlic clove
  • 1 tbsp fresh chives
  • salt to taste
OTHER INGREDIENTS
  • bread, cracker or veggie sticks for dipping

Instructions

  1. For the hot pepper jelly, first pour boiling water over the jar and lid, and let them sit for about 10 minutes. Meanwhile, chop the red pepper, green pepper, jalapeno, and chili into small pieces. Put them in a small pot. Next, add the preserving sugar and apple cider vinegar, and stir well. Bring everything to a boil over medium-high heat and let it simmer for about 10 minutes. Use tongs to carefully remove the jar and lid from the hot water and let them drain. Set aside.
  2. Now, test if the jelly is ready by placing half a teaspoon of the mixture on a plate and tilting it back and forth. If it thickens and doesn’t run like water, it’s done and can be carefully poured into the sterilized jar. Let it cool in the fridge until further use.
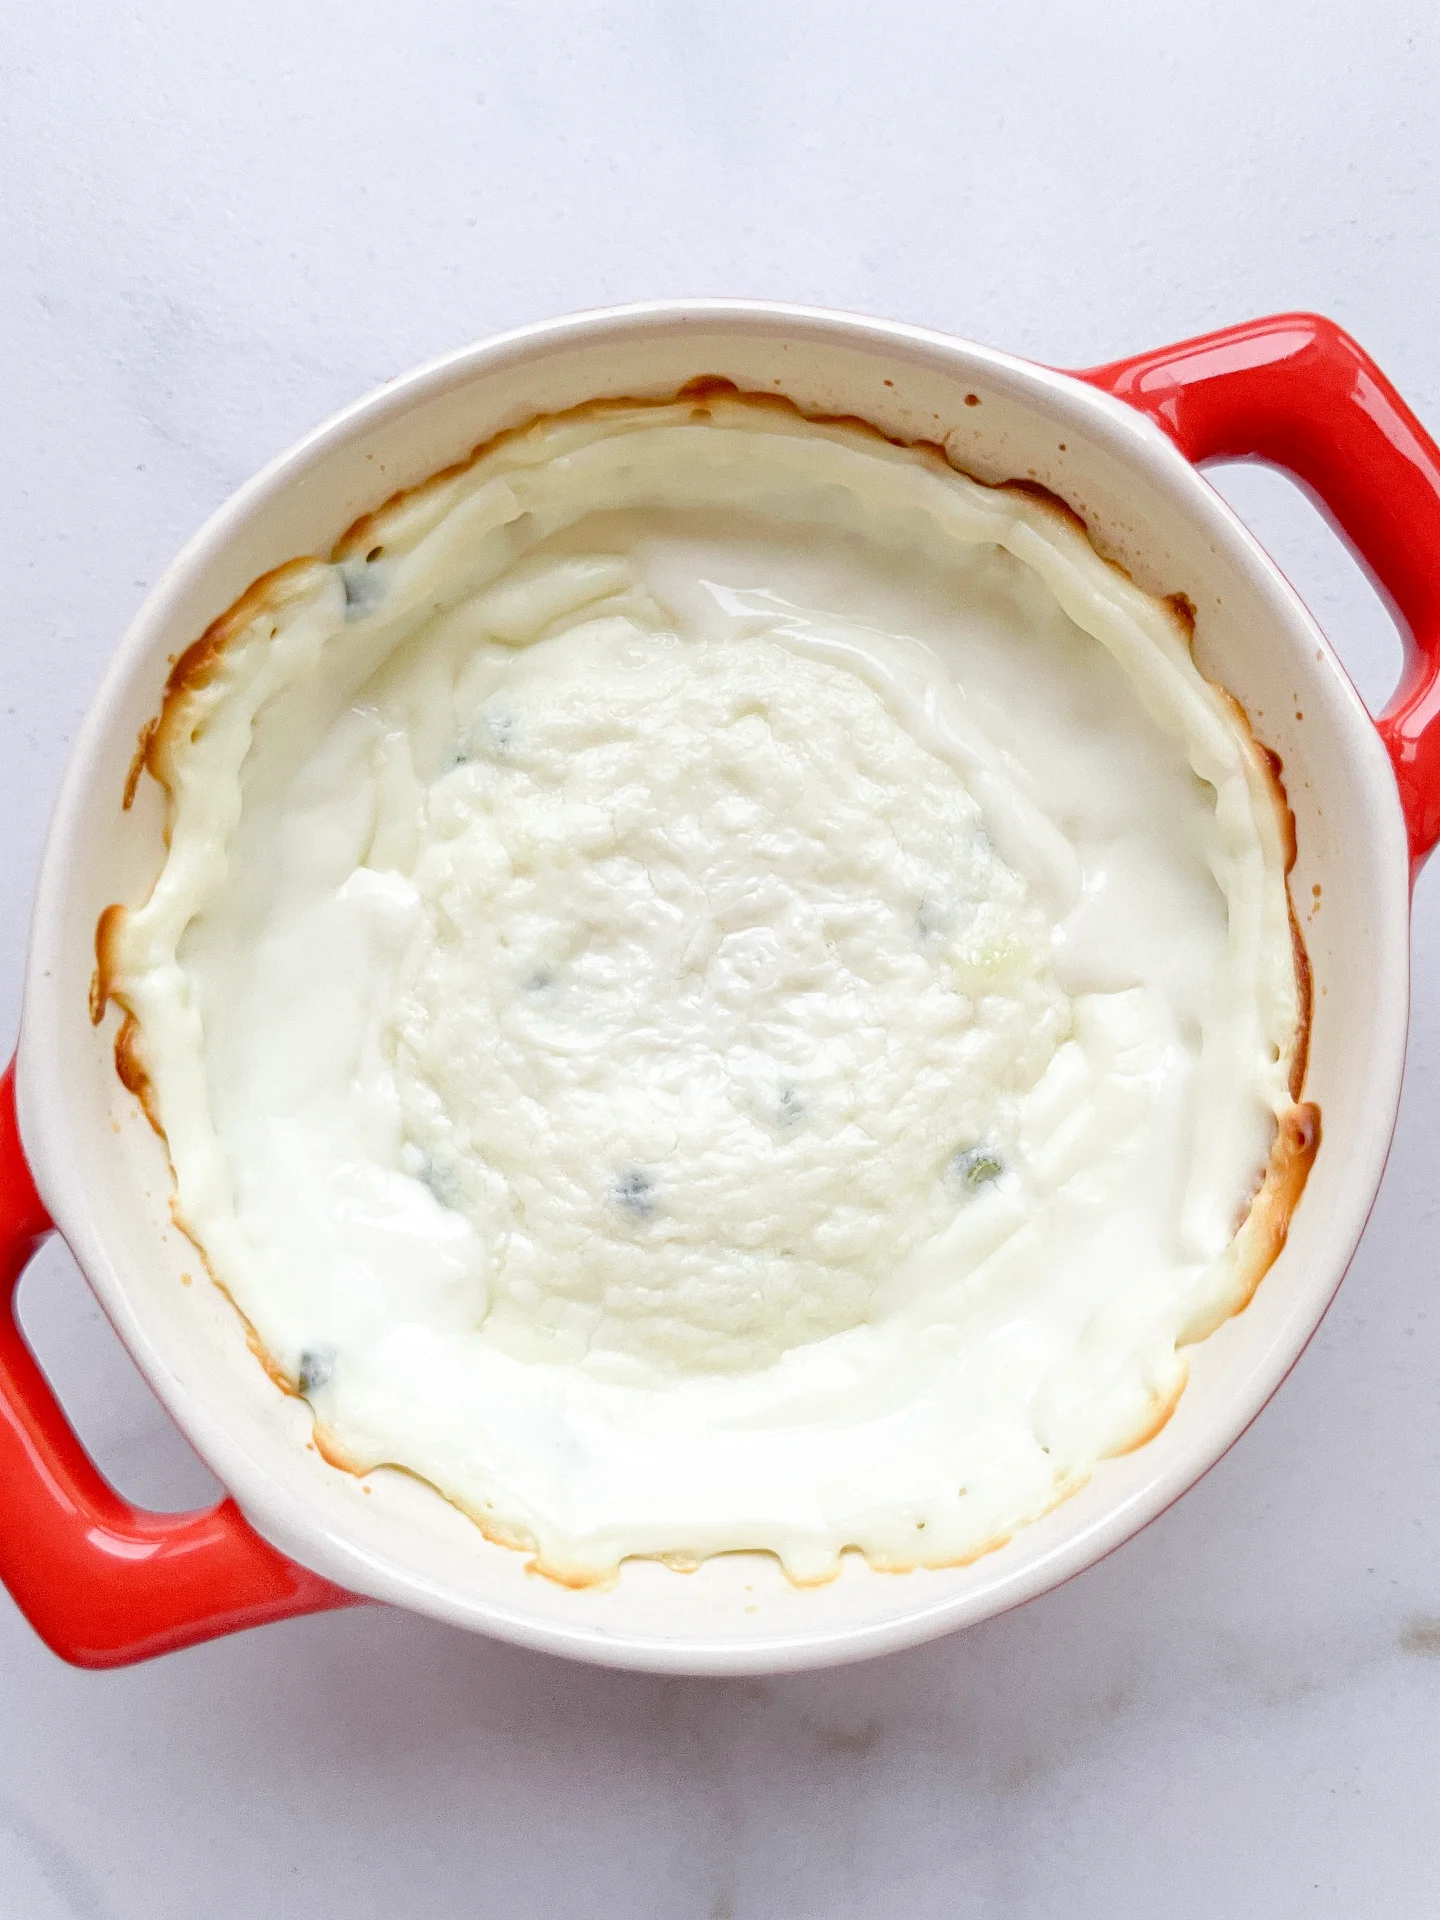
  3. Preheat the oven to 200°C / 400°F. For the cheese cream, peel the garlic clove and finely chop the chives. Add both to a food processor along with the cream cheese, goat cheese, and a pinch of salt. Blend until smooth. Transfer the cream to a small ovenproof dish with a lid (or cover with foil) and bake for about 15 minutes. Then remove the lid and bake for another 5 minutes until the top is slightly browned. Take it out of the oven and let it cool briefly.
  4. Finally, spread the hot pepper jelly over the cheese and serve with bread or chips.

Notes

  • If you don’t have preserving sugar on hand, use 60-65g of regular sugar with 1-1.5g of pectin and 5ml of lemon juice instead of 75g preserving sugar.
  • Cook Time: 20 min

Pickle Oil

Pickle Oil

Pickle Oil

Pickle Oil

September 18, 2024 by Kimberly

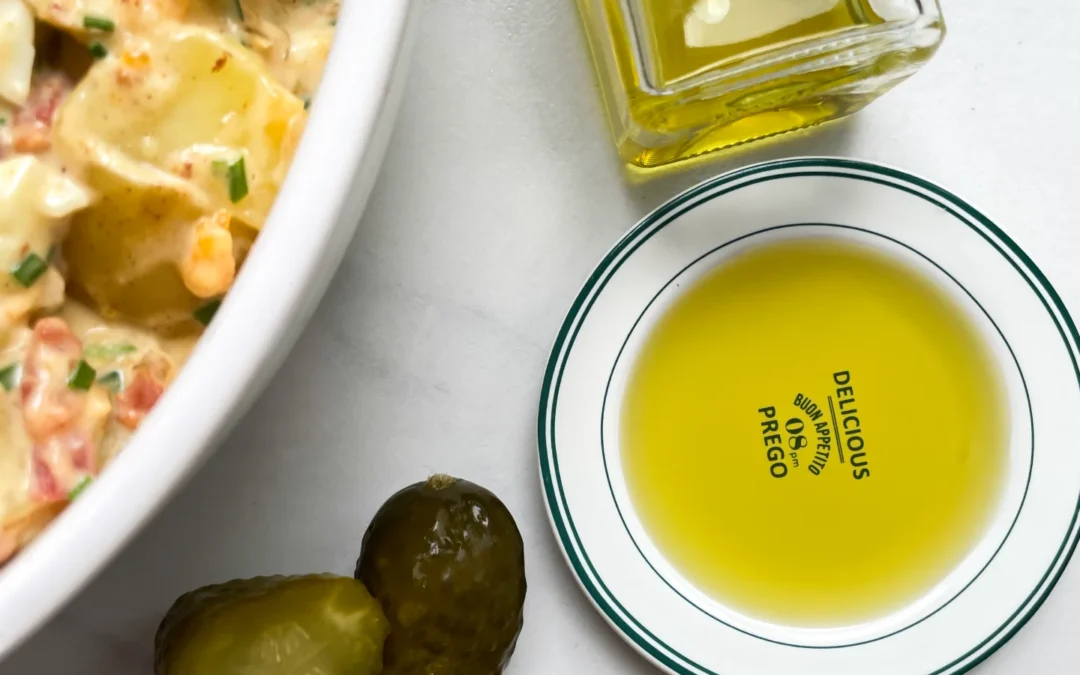
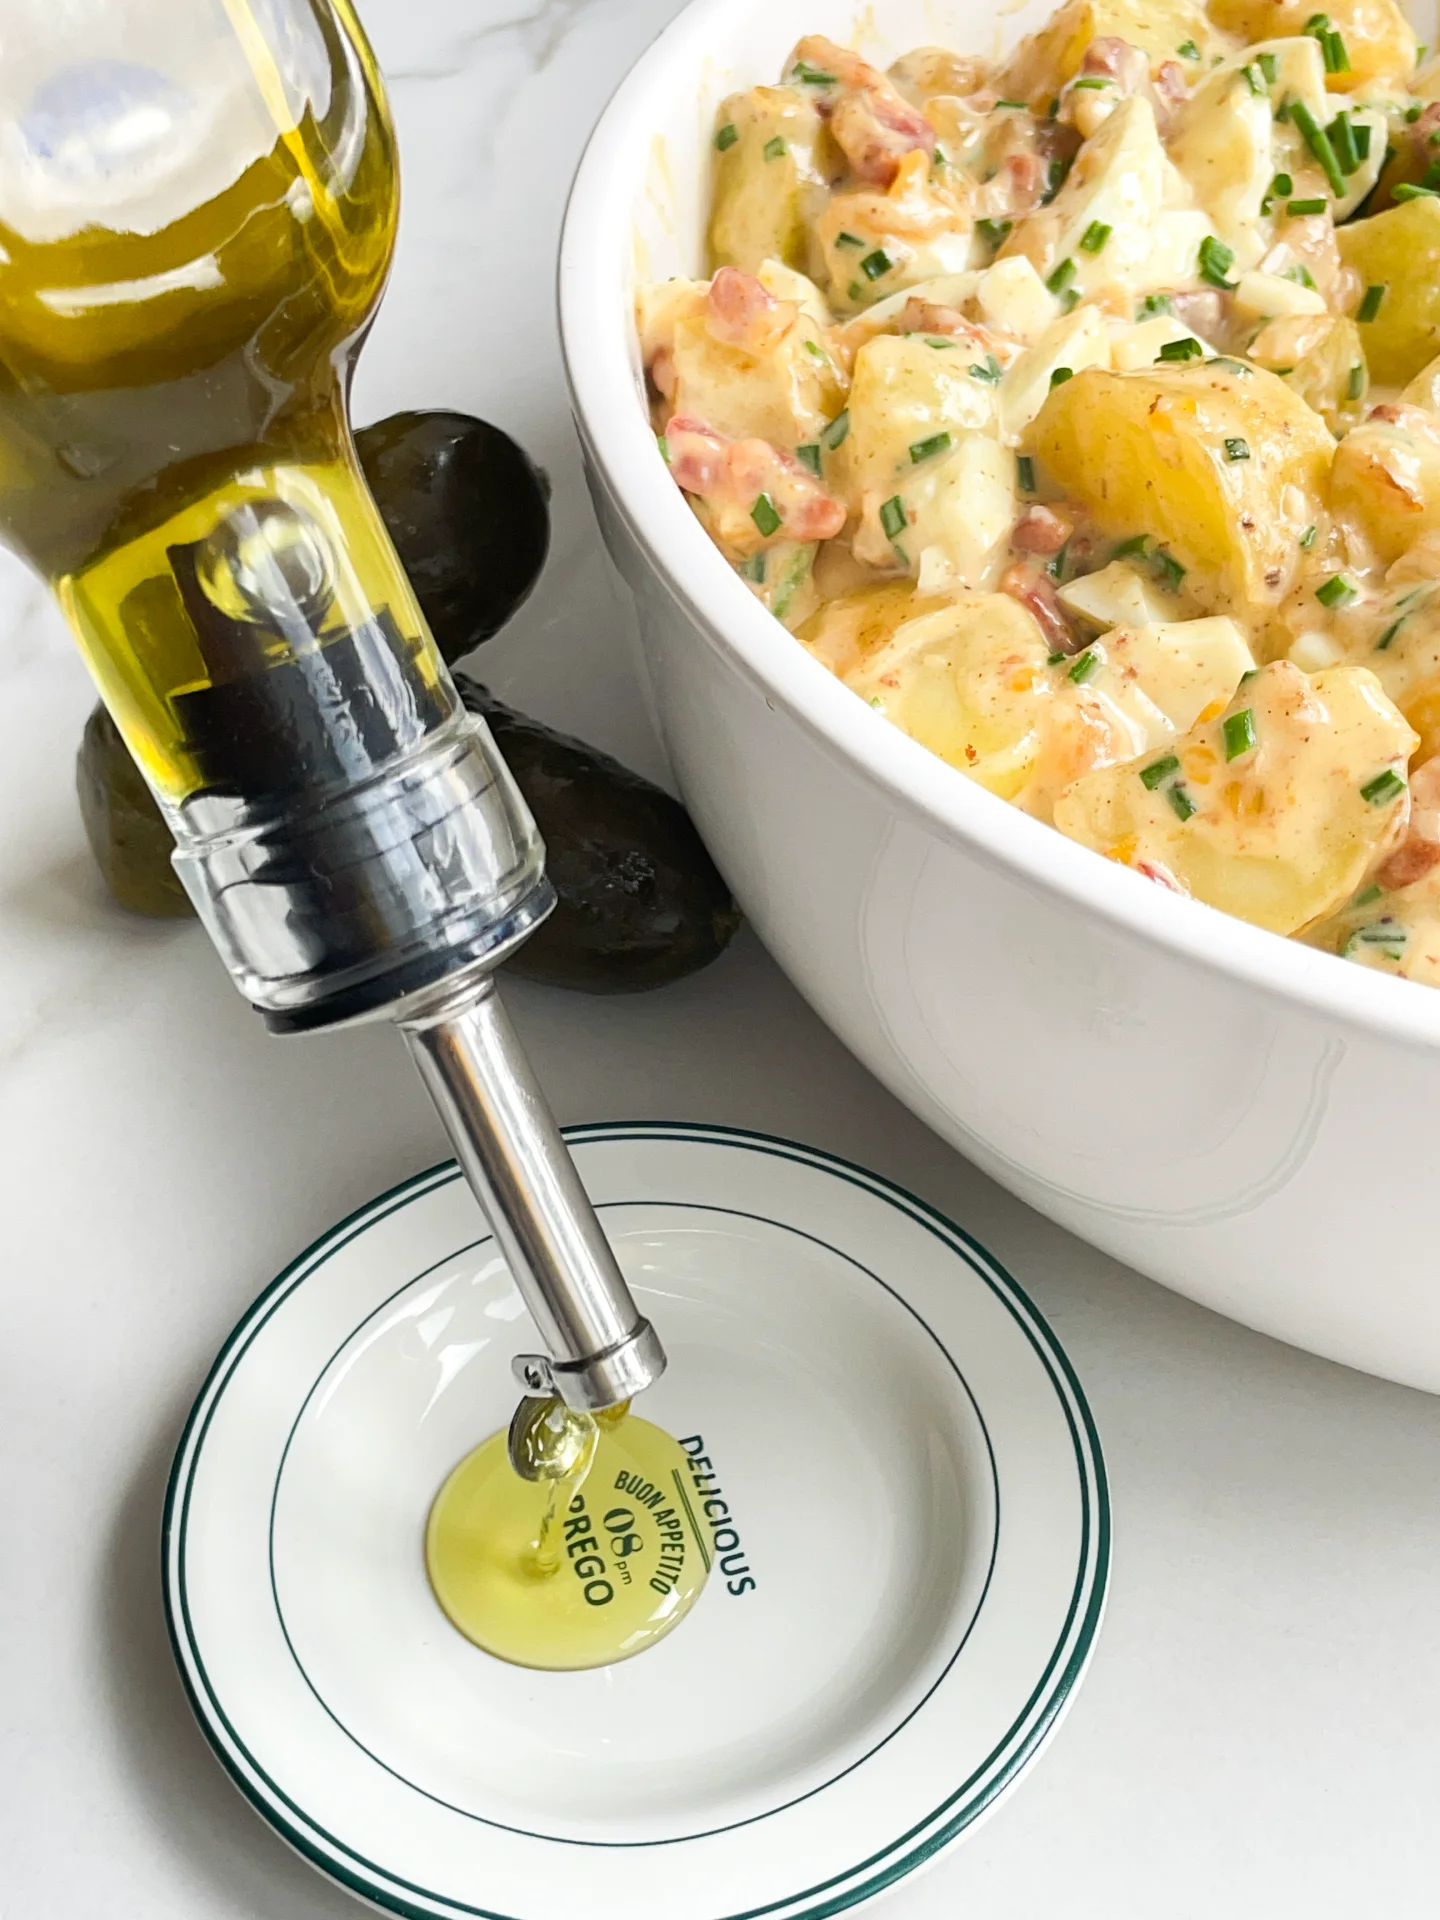
Imagine a drizzle of tangy, savory oil infused with a burst of pickled goodness. This magical blend elevates any dish, adding a bright, crunchy kick that’ll have you craving more!

60 MINUTES

ADVANCED

VEGAN

INT.

40 PER TSP

TANGY

MICHELIN

OIL

ALL YEAR

INTRODUCTION

ABOUT THE RECIPE

Ever wanted to add a little magic to your meals? This flavorful pickle oil does just that! It’s like a tangy explosion in your mouth with every drizzle. Perfect for sprucing up salads, roasted veggies, or even a simple sandwich. You can whip it up in no time and store it for later. Whether you’re cooking for friends or just want to jazz up a weekday lunch, this oil is your secret weapon.

How to serve
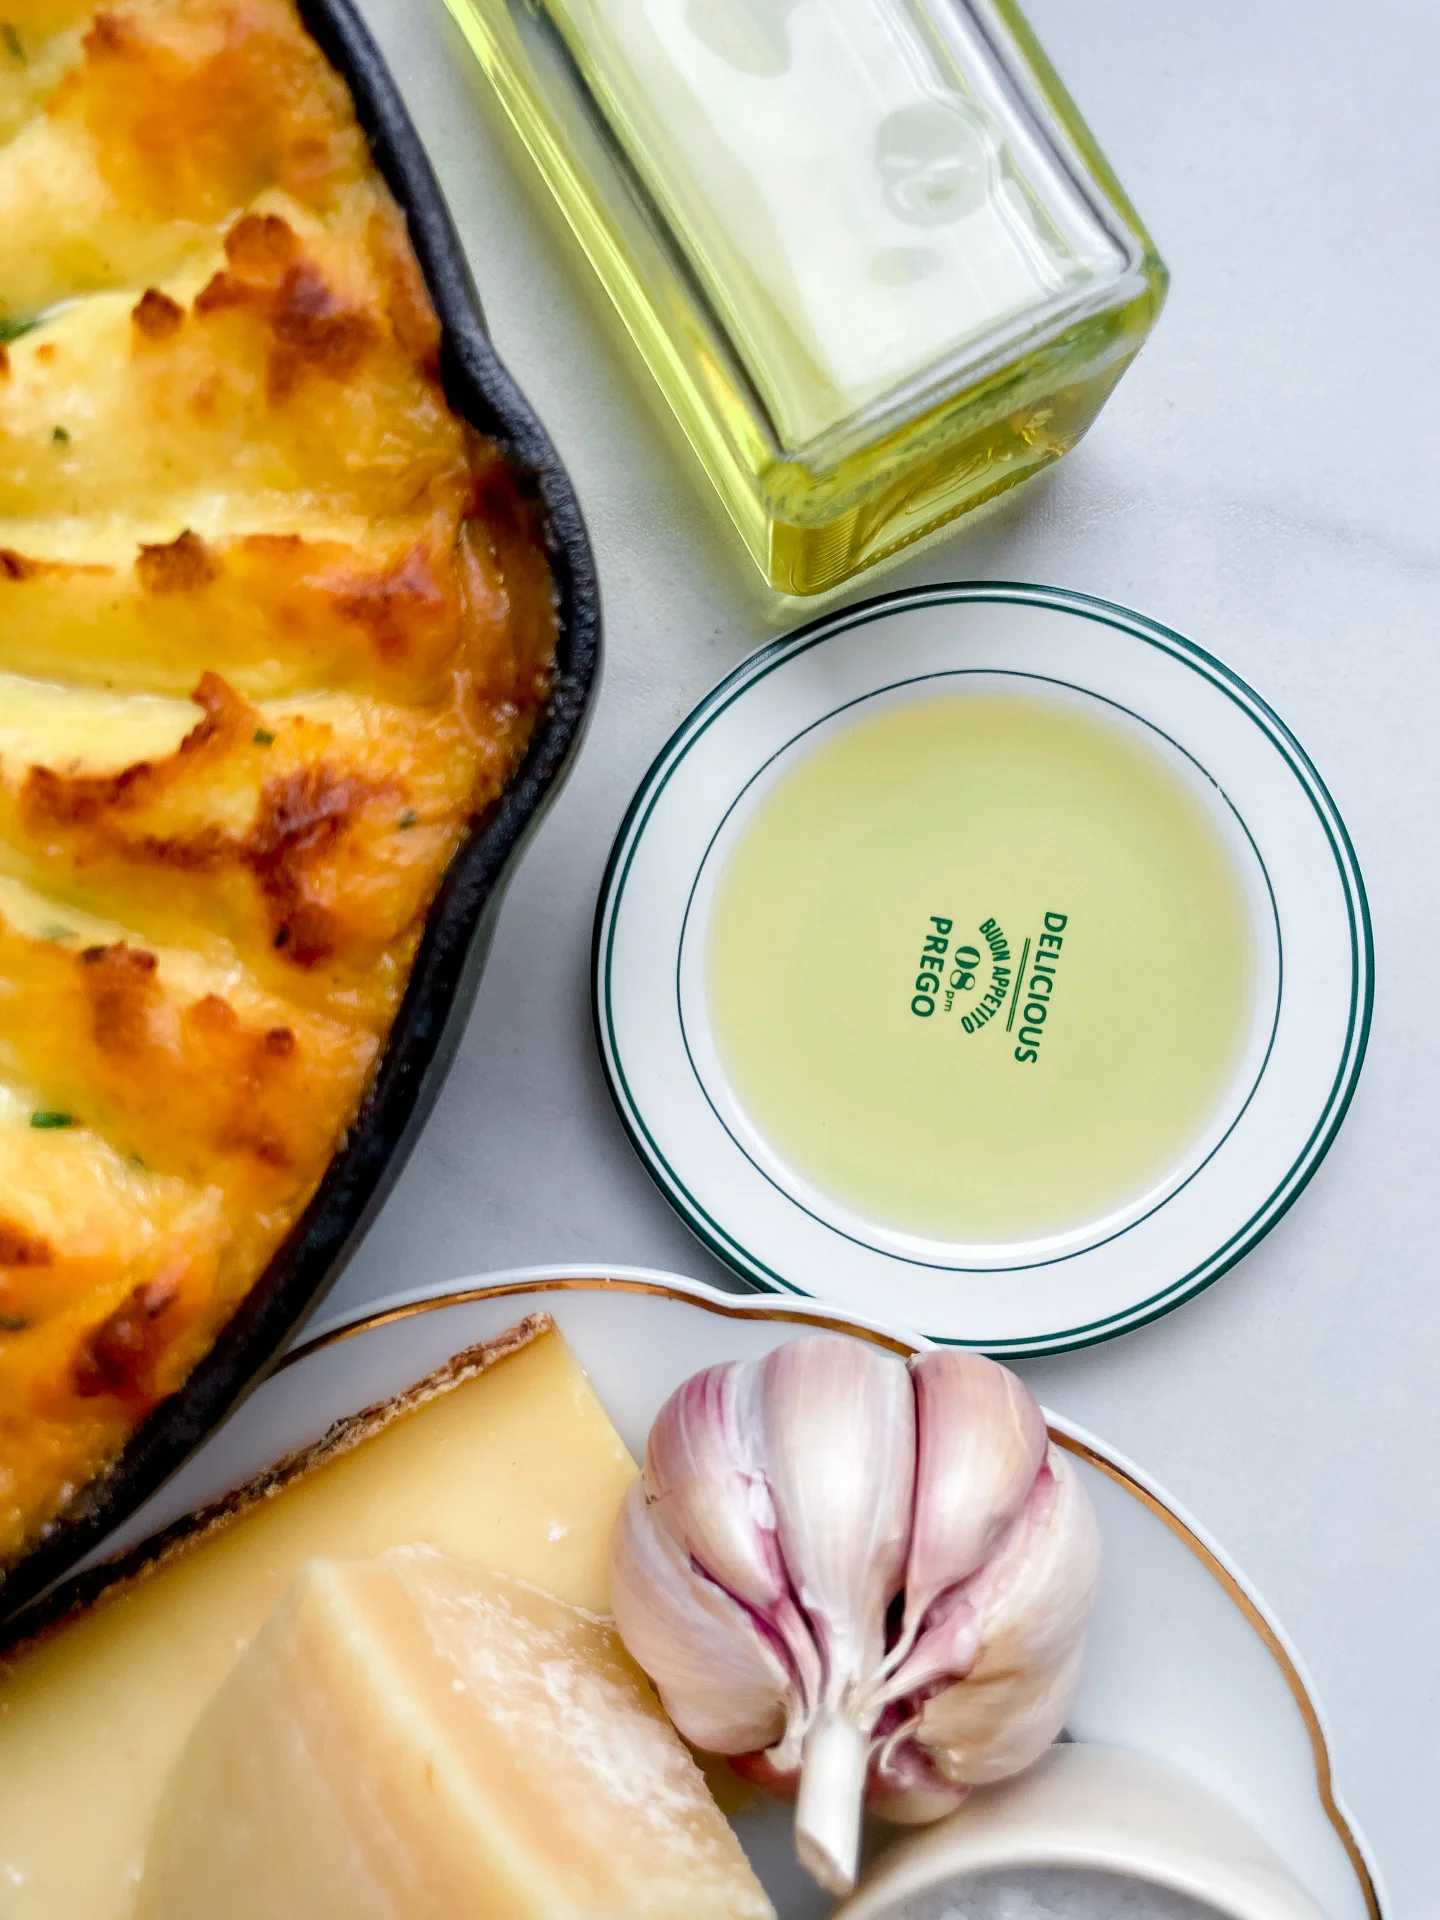
This oil shines when you drizzle it over fresh greens, turning any simple salad into something gourmet. It’s also amazing as a finishing touch for roasted vegetables or grilled meats, giving them that extra tang and complexity. Dip fresh, crusty bread in it for an easy, crowd-pleasing appetizer. And trust me, it’s killer as a sandwich spread or mixed into your favorite marinades. Basically, you can add it anywhere you want a little zing!

How to store
Store your pickle oil in an airtight container, like a mason jar, in the fridge for up to two weeks. Make sure to give it a little shake before using to get all those flavors evenly distributed. The longer it sits, the more the flavors intensify!

Hi, I'm Kimberly!

Hi, I'm Kimberly.

A passionate food lover who believes in the magic of homemade deliciousness that spreads love and warmth. Join me on this culinary adventure as I prepare wonderful dishes and let’s spread some happiness together!

Kimberly the Zett Signature

If you want to get to know me better, click here!


Pickle Oil
Pickle Oil
Pickle Oil
„Let’s make a piece of happiness“
Print
.tasty-recipe-responsive-iframe-container-0ad6f69a { position: relative; overflow: hidden; padding-top: 56.3%; } .tasty-recipe-responsive-iframe-container-0ad6f69a iframe { position: absolute; top: 0; left: 0; width: 100%; height: 100%; border: 0; } clock clock iconcutlery cutlery iconflag flag iconfolder folder iconinstagram instagram iconpinterest pinterest iconfacebook facebook iconprint print iconsquares squares iconheart heart iconheart solid heart solid icon
Pickle Oil

Pickle Oil


  • Author: Kimberly
  • Total Time: 60 min
  • Yield: 1 cup / 250 ml

Description

RECOMMENDED EQUIPMENT

  • blender
  • medium-sized saucepan
  • whisk
  • a bowl which the medium saucepan fits into
  • 2 medium-sized bowls
  • 2 fine sieves
  • oil bottle
  • ice cubes
  • coffee filter

Ingredients

Units Scale
  • 150 grams pickles
  • 250 milliliters rapeseed oil

Instructions

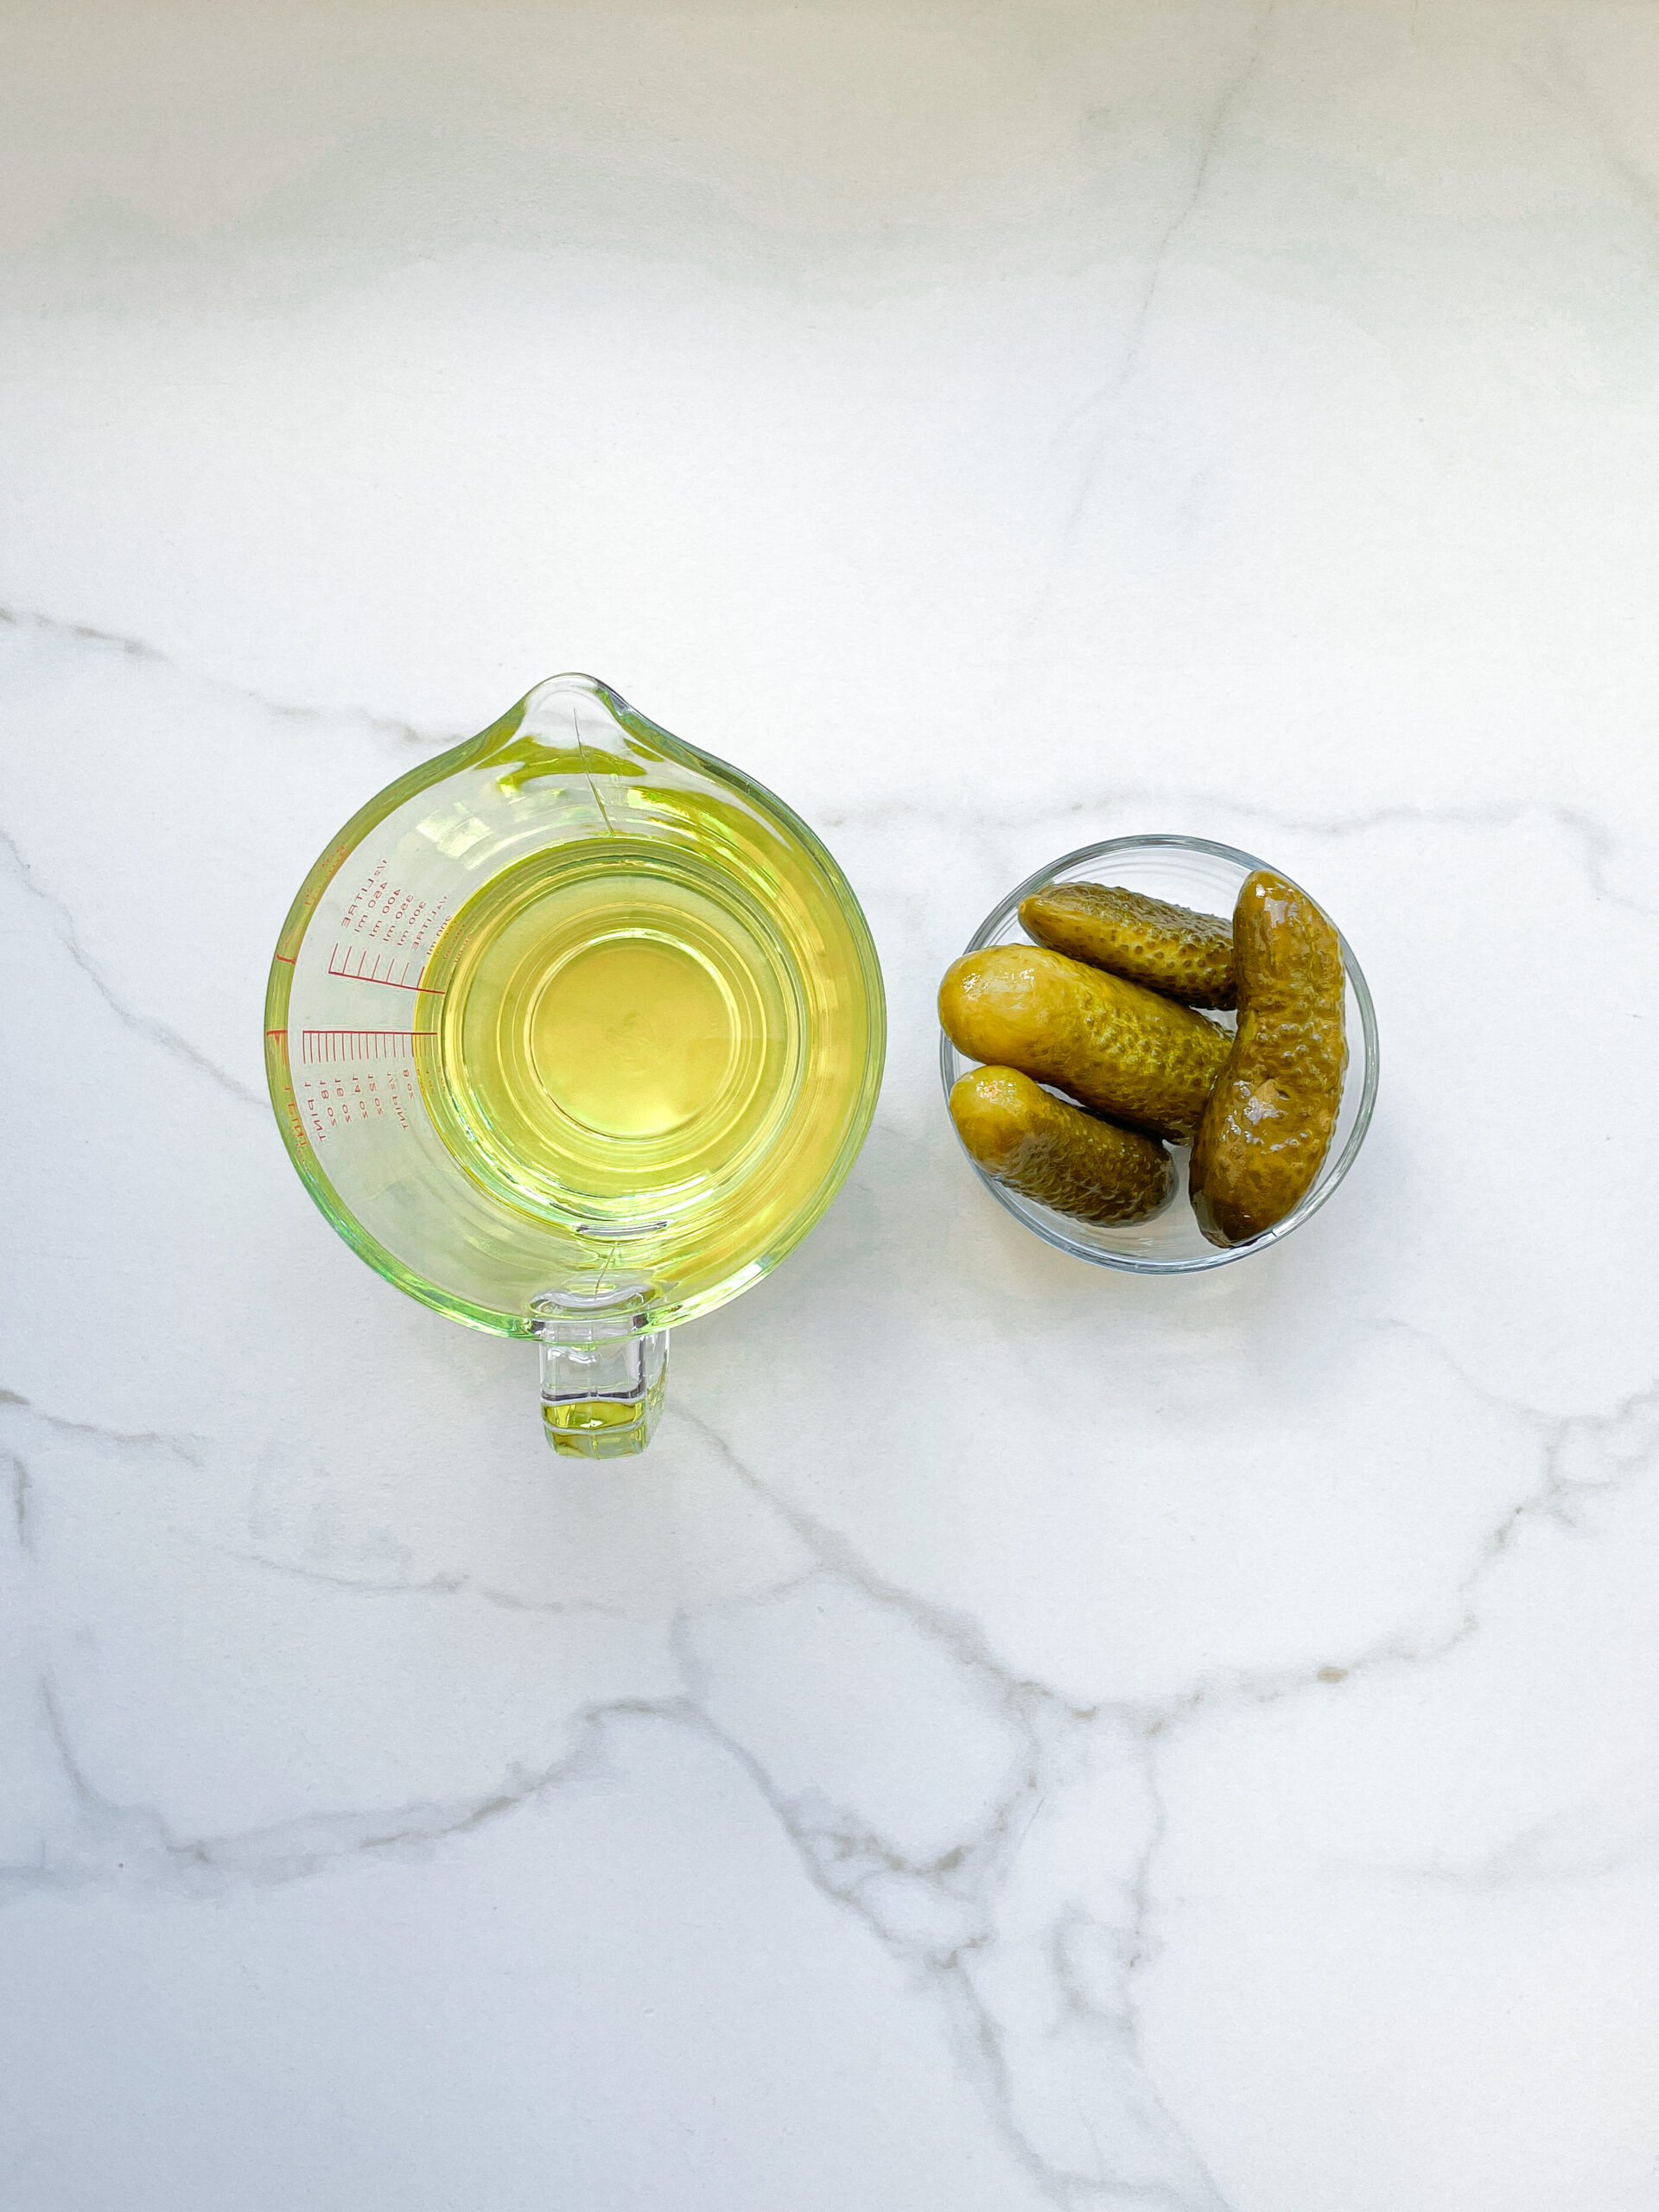
  1. Put the pickles into the blender. Pour in the oil. Blend on the highest setting until only tiny pieces of the pickles are visible.
  2. Pour the mixture from the blender into a medium-sized pot and heat it over medium heat to a temperature of about 104°C (220°F), and maintain this temperature for the next 30 minutes. Stir occasionally, making sure the temperature remains steady and nothing gets burned.
  3. Prepare a bowl large enough to fit a medium-sized pot, and fill it with cold water and a handful of ice cubes. Also, hang a fine mesh strainer over one medium-sized bowl and another fine mesh strainer, with a coffee filter inside it, over another medium-sized bowl.
  4. Now, place the pot in the ice water and stir to cool the oil quickly. Once the oil is almost cold, remove the pot from the water.
  5. Pour the oil into the prepared fine mesh strainer to catch the coarse particles.
  6. Then, pour the oil into the second fine mesh strainer, which is equipped with the coffee filter, to catch the remaining finer particles.
  7. Allow the oil to drip through for about half an hour or maybe less depending on how many remaining particles are in the coffee filter. Once all the oil has passed through the coffee filter, transfer the collected amount of oil into an oil bottle. Store in the refrigerator for up to 1-2 weeks.
  • Passive Time: 30 min
  • Cook Time: 30 min

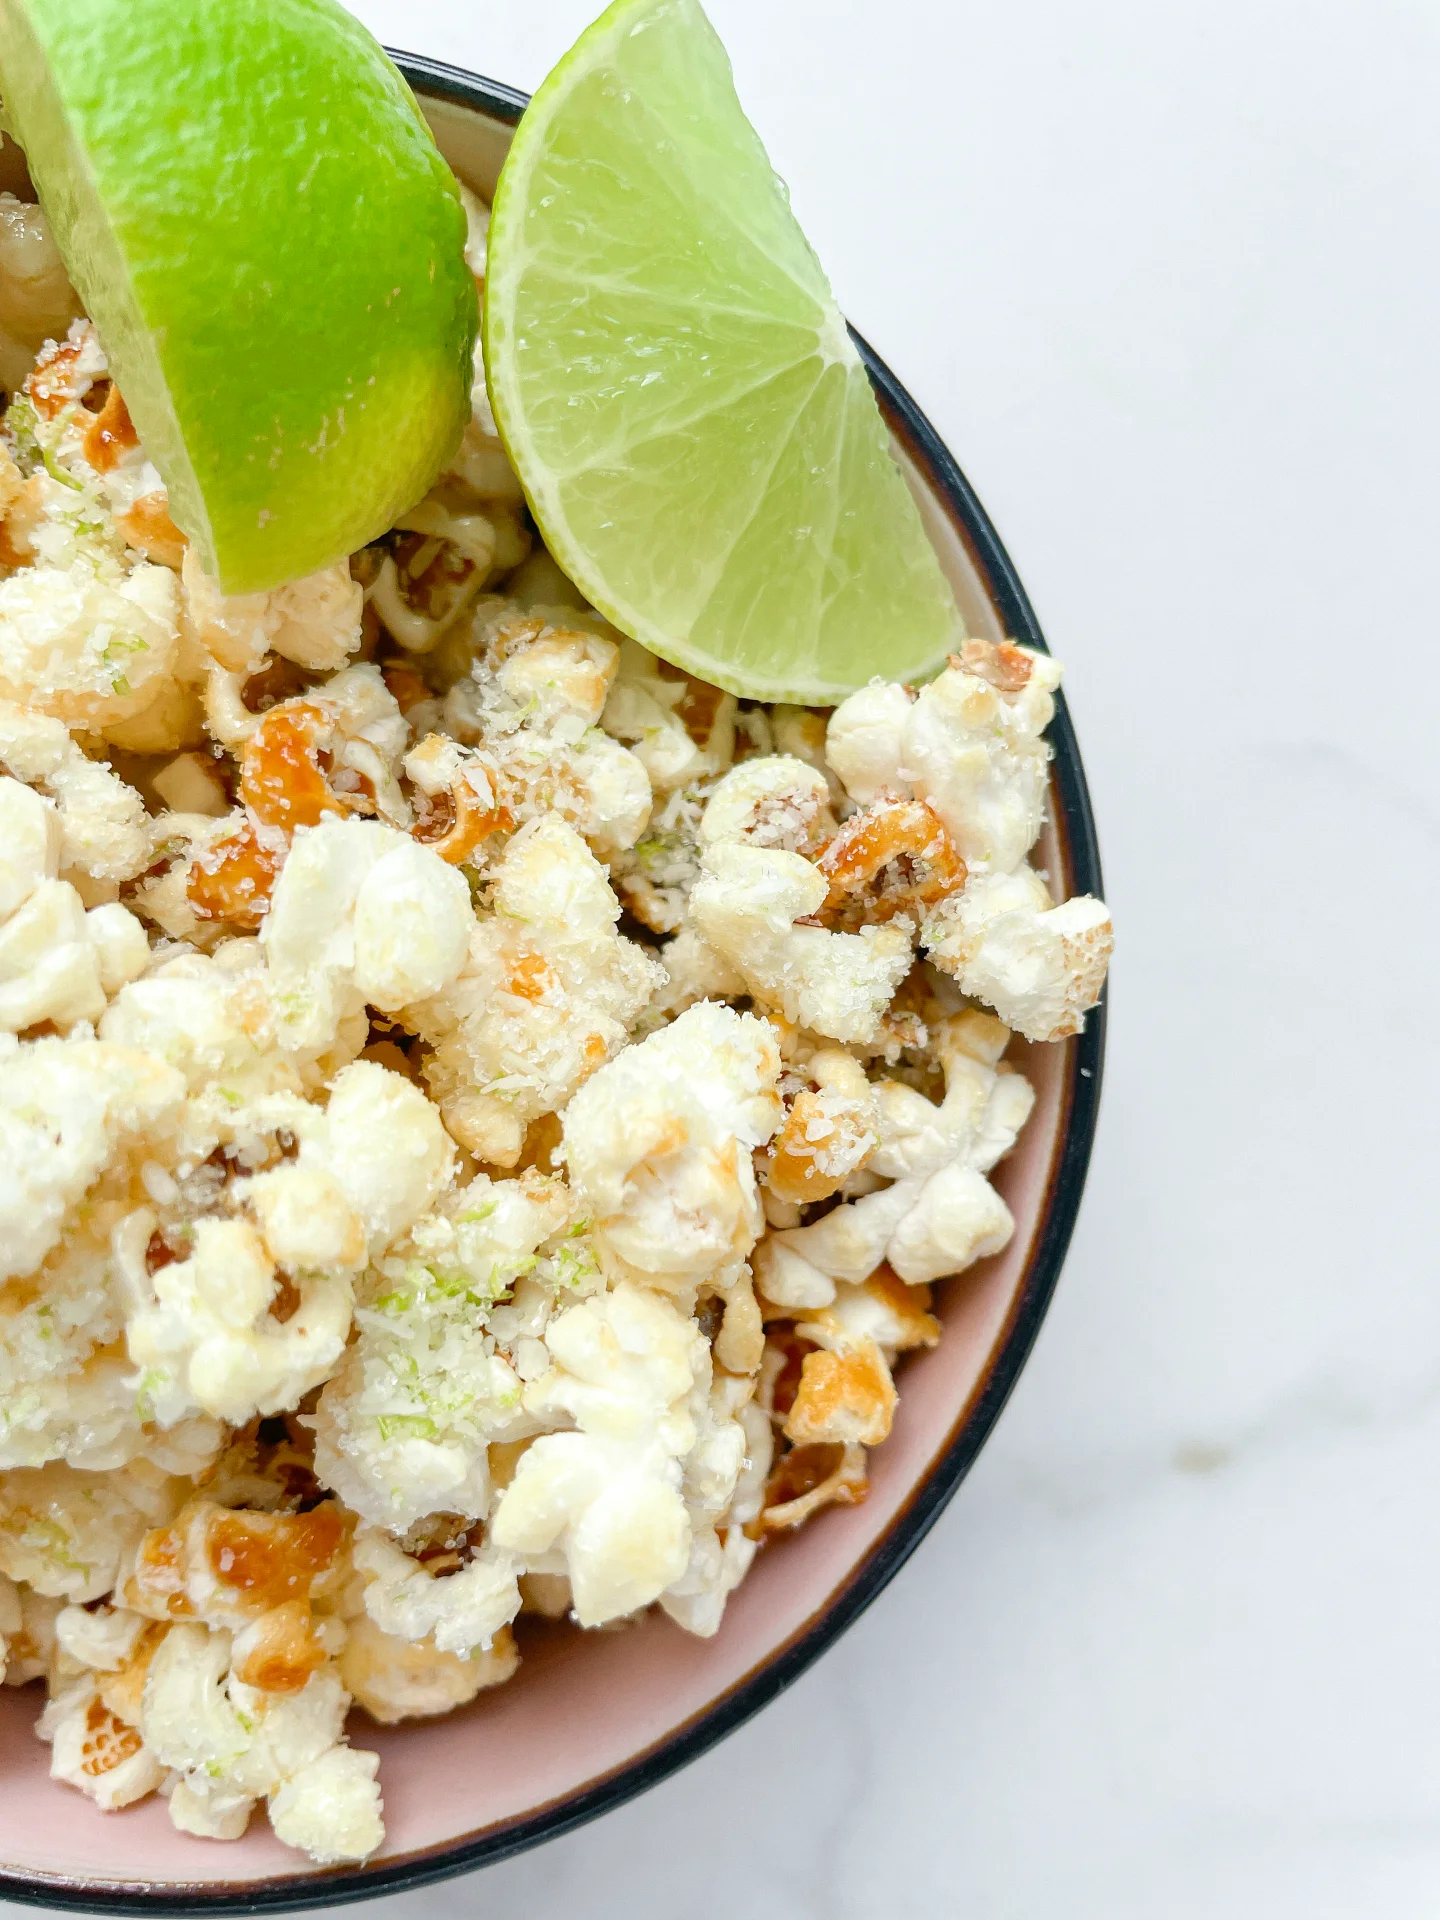
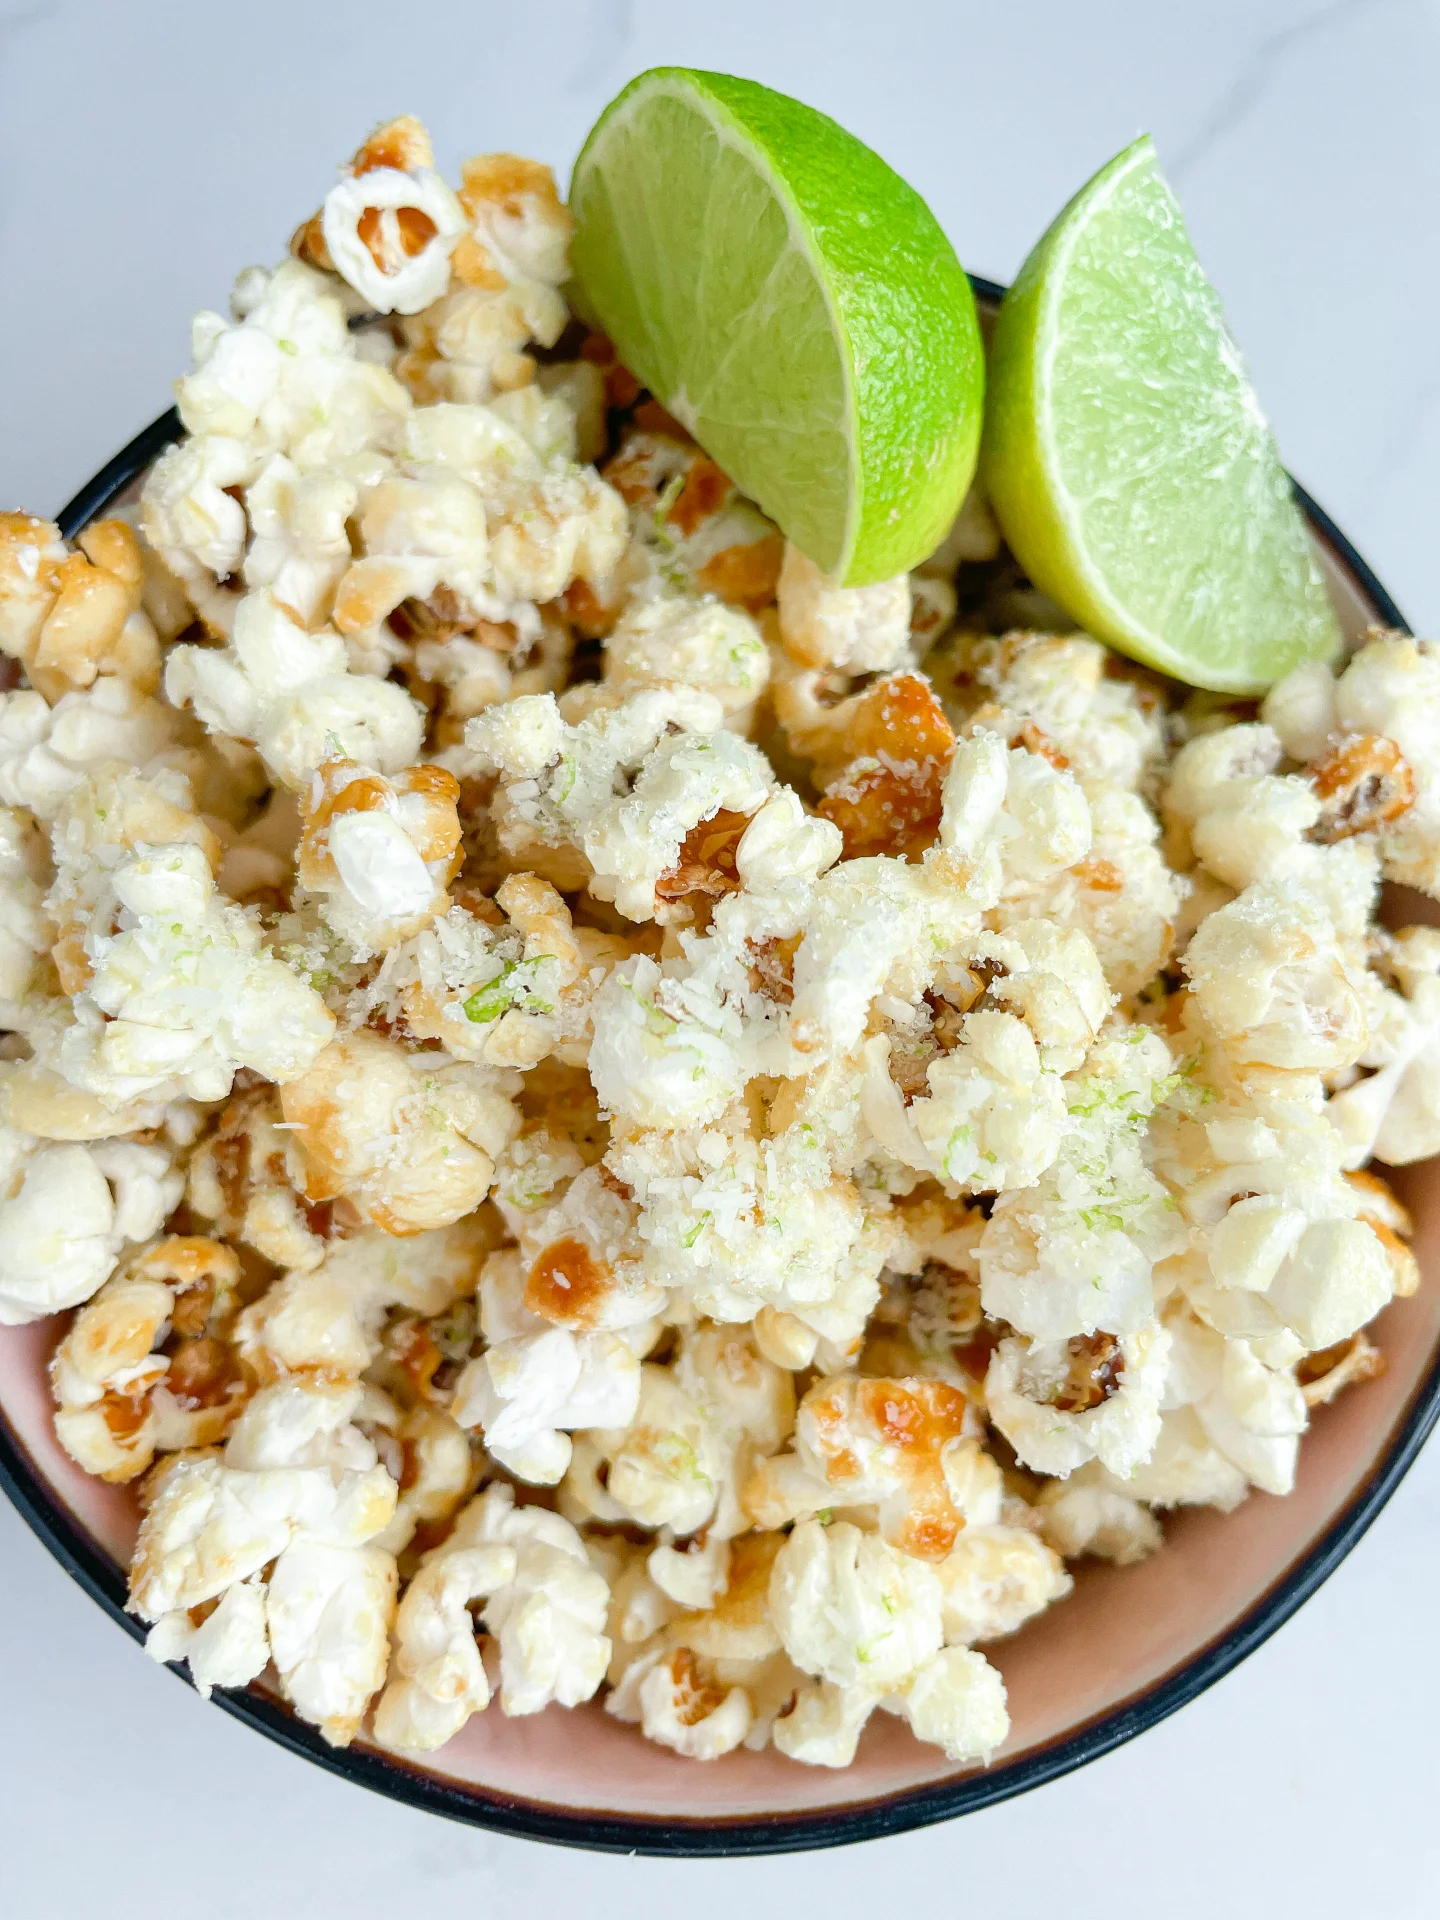
Coconut Lime Popcorn

Coconut Lime Popcorn

Coconut Lime Popcorn

Coconut Lime Popcorn

August 28, 2024 by Kimberly

Indulge in this tropical popcorn treat! The refreshing burst of lime and the rich coconut flavor make every bite a mini vacation. Perfect for cozy movie nights or fun gatherings.

20 MINUTES

EASY

VEGAN

INT.

387 PER PORTION

CRUNCHY
ZESTY

EVERYDAY

DESSERT

SPRING
SUMMER

INTRODUCTION

ABOUT THE RECIPE

Ready to take your snack game to the next level? This coconut and lime flavored popcorn is a game-changer. Imagine the zingy taste of lime combined with the rich, creamy flavor of coconut. It’s a tropical twist on your favorite snack that’s perfect for movie nights, parties, or just because. Quick to make and absolutely delicious, this popcorn will become your go-to treat for every occasion!

How to serve
It’s perfect for a cozy movie night at home, adding a tropical vibe to your entertainment. For a party, place it in colorful bowls for a festive touch. You can also pack it into little snack bags for a sweet and tangy treat on the go. This popcorn pairs wonderfully with a cold drink, making it an ideal companion for both casual and special moments.

How to store
Simply let it cool completely before placing it in an airtight container. It stays fresh and crunchy for up to three days.

Hi, I'm Kimberly!

Hi, I'm Kimberly.

A passionate food lover who believes in the magic of homemade deliciousness that spreads love and warmth. Join me on this culinary adventure as I prepare wonderful dishes and let’s spread some happiness together!

Kimberly the Zett Signature

If you want to get to know me better, click here!


Coconut Lime Popcorn
„Let’s make a piece of happiness“
Print
.tasty-recipe-responsive-iframe-container-80ff159f { position: relative; overflow: hidden; padding-top: 56.3%; } .tasty-recipe-responsive-iframe-container-80ff159f iframe { position: absolute; top: 0; left: 0; width: 100%; height: 100%; border: 0; } clock clock iconcutlery cutlery iconflag flag iconfolder folder iconinstagram instagram iconpinterest pinterest iconfacebook facebook iconprint print iconsquares squares iconheart heart iconheart solid heart solid icon
Coconut Lime Popcorn

Coconut Lime Popcorn


  • Author: Kimberly
  • Total Time: 20 min
  • Yield: 2

Description

RECOMMENDED EQUIPMENT

  • medium pot with lid
  • grater
  • food processor
  • large bowl

Ingredients

Units Scale
  • 60 grams popcorn kernels
  • 30 grams lime coconut oil
  • 60 grams white sugar
TOPPING
  • zest from one lime
  • 1 tbsp shredded coconut
  • 1 tbsp white sugar

Instructions

PREPARATIONS

  • Here you can find the recipe for the lime coconut oil. You need 30g / 1 oz of the oil.
  1. In a medium pot, combine lime-coconut oil, sugar, and popcorn kernels, ensuring all kernels are coated with sugar and oil.
  2. Place the pot on the stove with the lid on and set to medium heat. Wait until the first kernel pops.
  3. While waiting, zest a lime and place the zest in a food processor. Add 1 tablespoon of sugar and 1 tablespoon of shredded coconut. Pulse a few times until the mixture is fragrant. Set aside.
  4. As the kernels start to pop, occasionally shake and gently swirl the pot to ensure even heating. After about 3-5 minutes, all kernels should be popped, and the sugar should have turned a light amber color.
  5. Carefully open the lid and pour the popcorn into a large bowl.
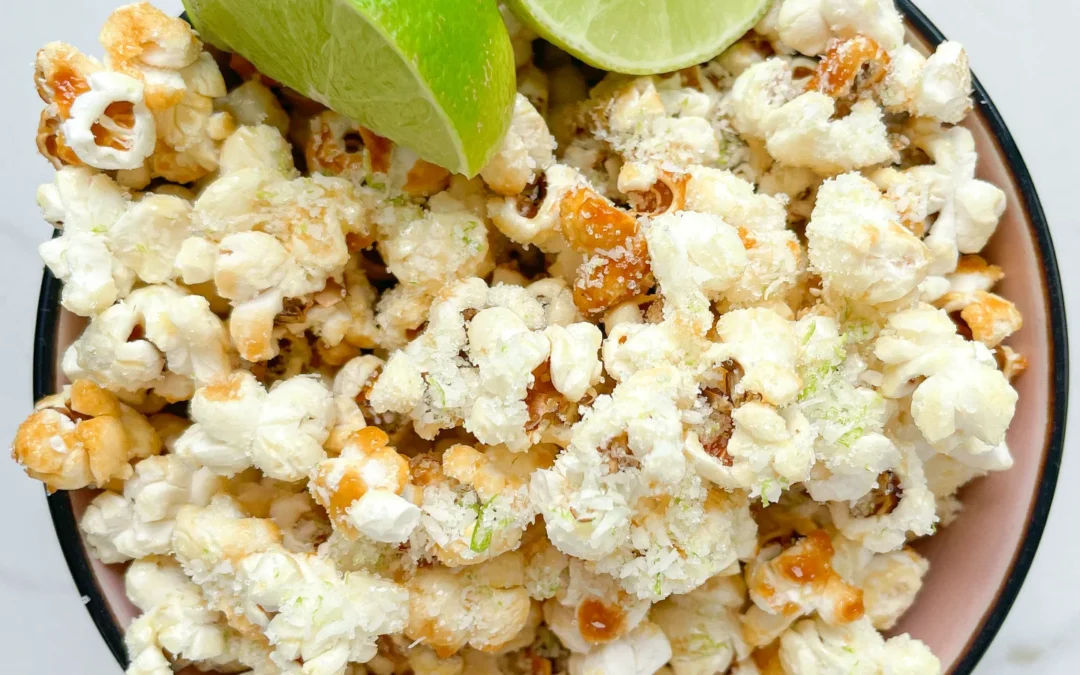
  6. Immediately sprinkle the topping over the popcorn and mix well to coat the popcorn evenly. Divide the popcorn into two bowls and enjoy!
  • Passive Time: 10 min
  • Cook Time: 10 min