


Description
Recommended Equipment
- sharp knife
- cutting board
- salad bowl
- two small bowls
- sieve
- small pot with lid
- three shallow bowls for breading
- large pan
Ingredients
Units Scale
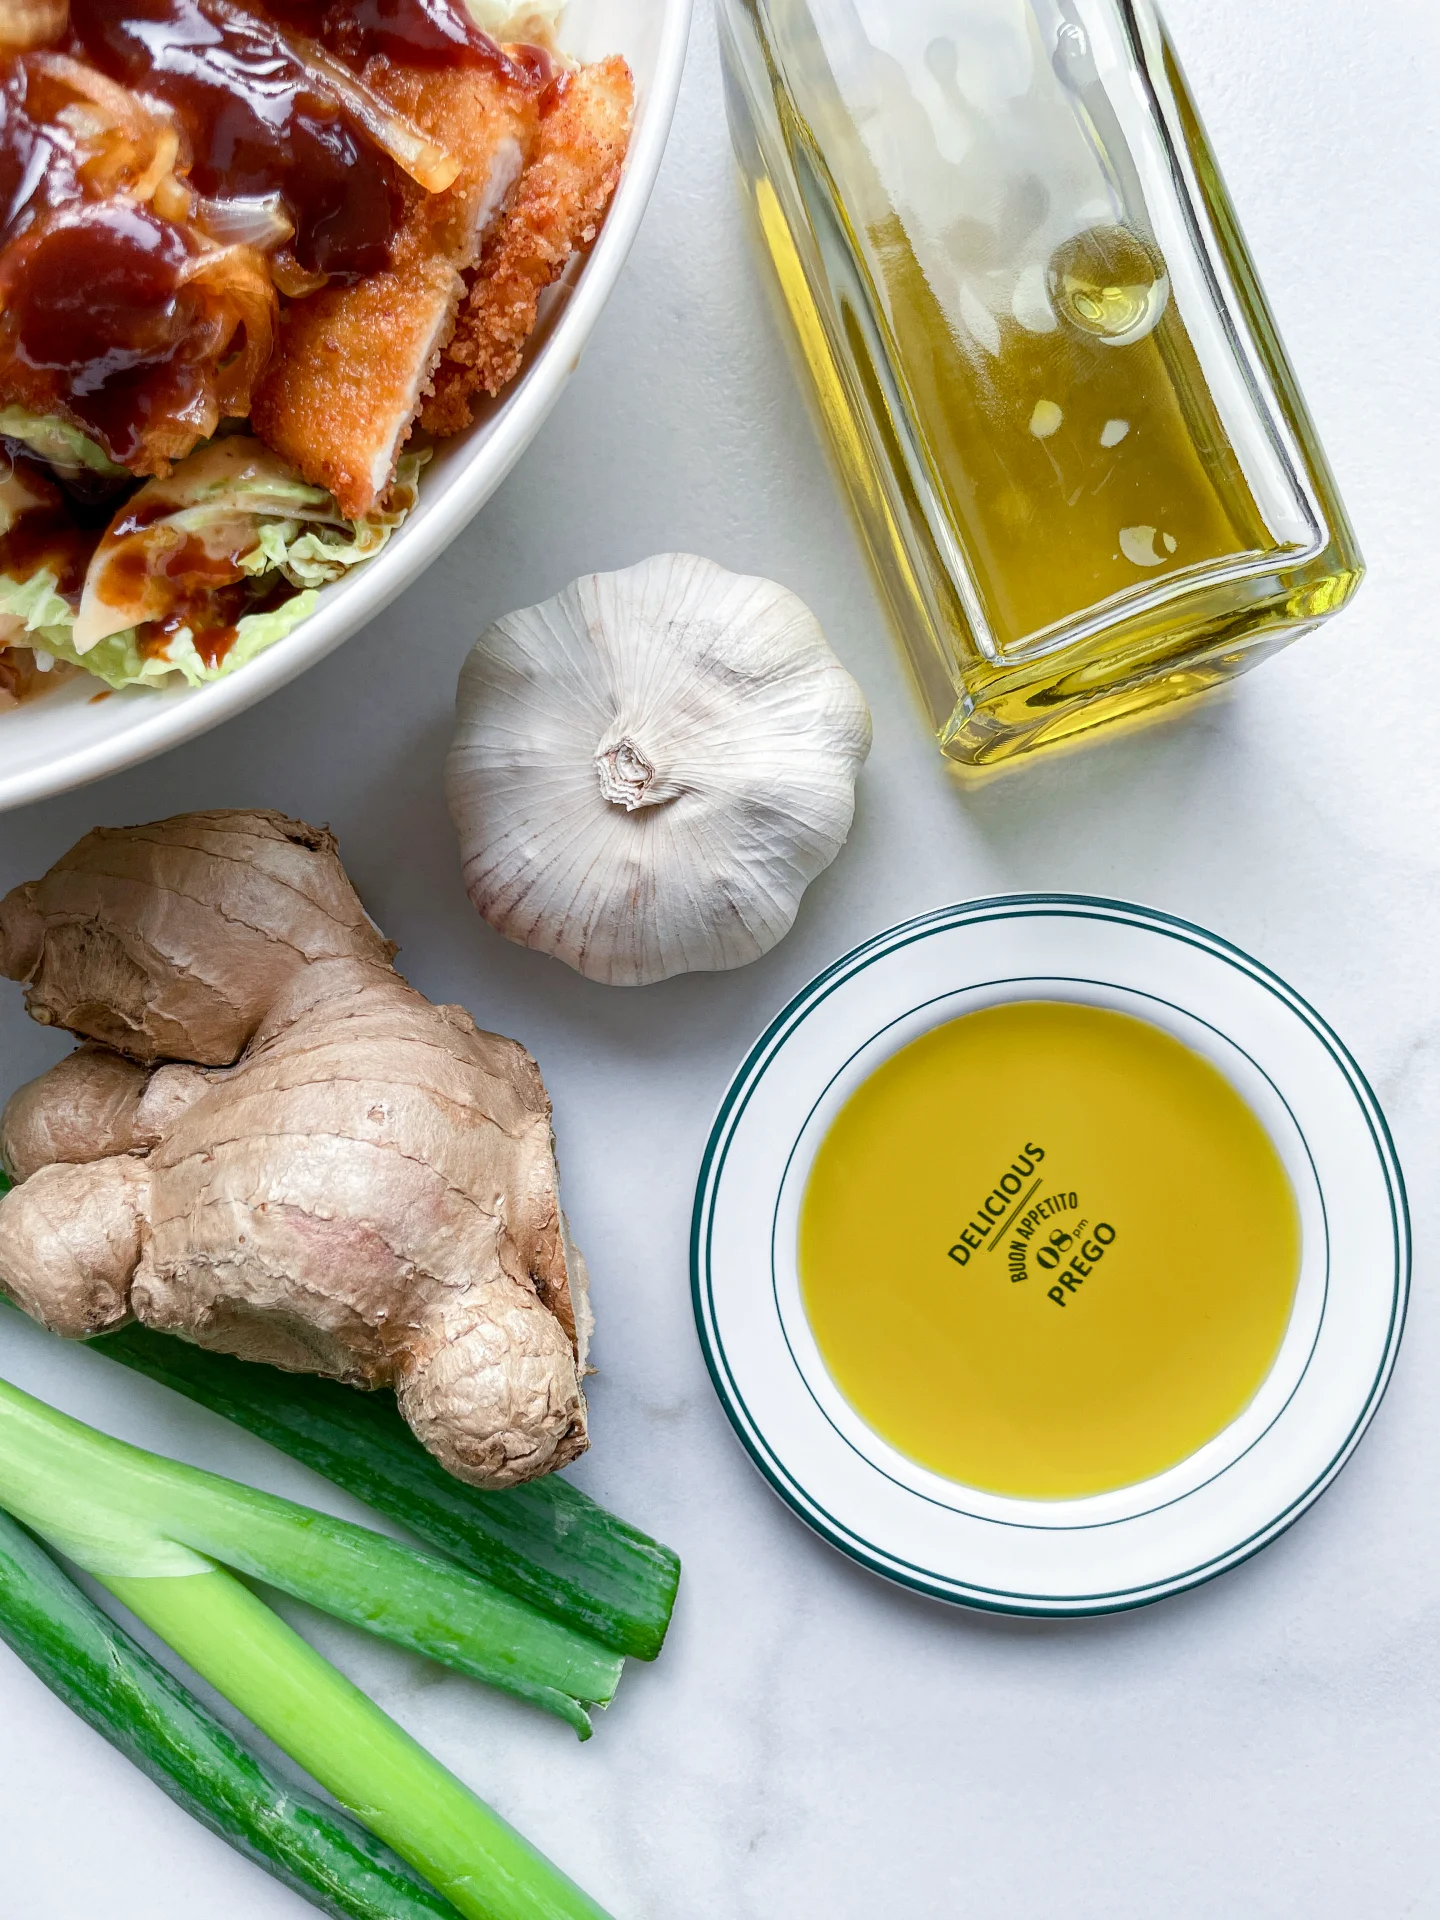
CRISPY CHICKEN
- 400 grams chicken breast
- 2 tbsp all-purpose flour
- 1 egg
- 4 tbsp panko
- 4 tbsp bread crumbs
- clarified butter for frying
- 3 tbsp peanut butter
- 1 tbsp soy sauce
- 1/2 tbsp rice vinegar
- 1 tsp sesame oil
- 1 tbsp honey
- juice of 1/2 a lemon
- 1 garlic clove
- 1 piece of ginger as the same size as the garlic clove
- 1 tsp fish sauce
- 1 tbsp sweet & sour sauce
- 100 milliliters coconut milk
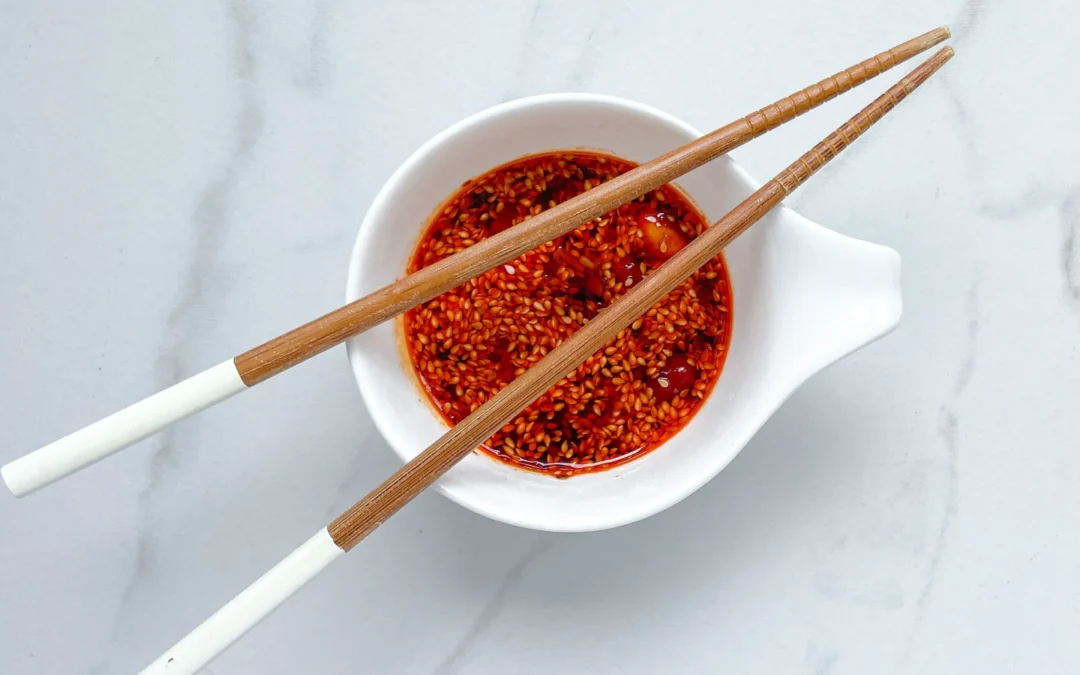
- 1/2 tsp chili flakes
- 150 grams red cabbage
- 150 grams white cabbage
- 100 grams edamame
- 1 spring onion
- 2 tbsp cilantro
- 1/2 tbsp sesame seeds
- 1/2 tbsp rice vinegar
- 1 tbsp honey
- 2 tbsp soy sauce
- 1/4 tsp ginger powder
- 1/4 tsp garlic powder
- juice of 1/2 a lemon
Instructions
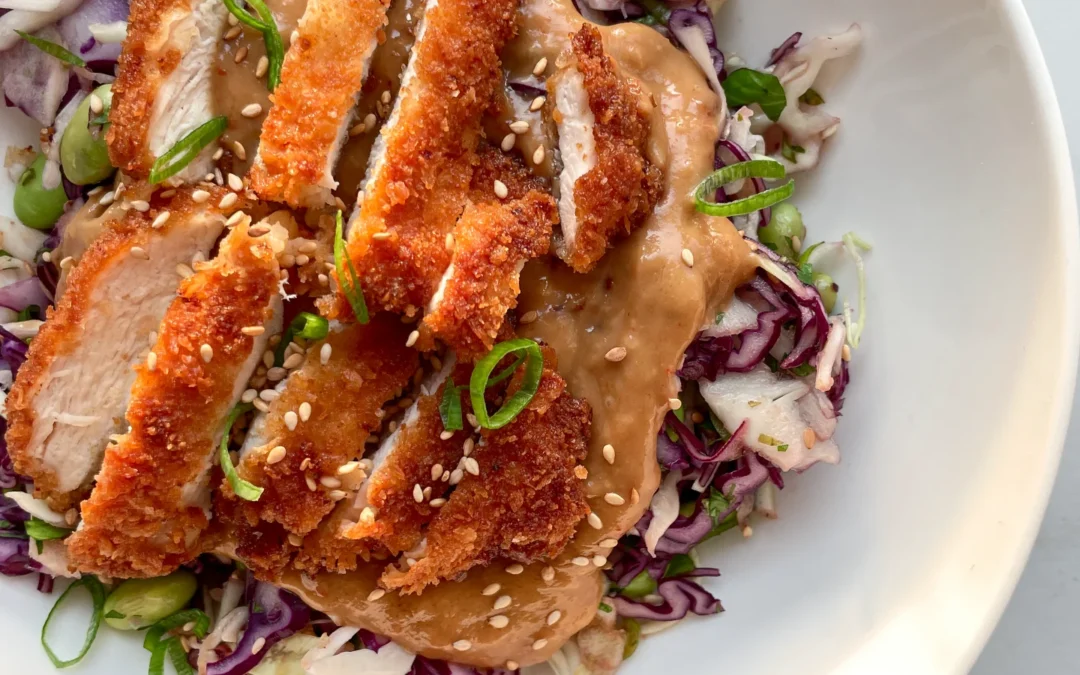
- First, we’ll prepare the slaw. Slice the red and white cabbage into thin strips, wash them thoroughly, dry them, and put them in a salad bowl. Place the frozen edamame in a heatproof bowl and pour boiling water over them. Let them sit for 5 minutes. In the meantime, slice the spring onions into thin rings and pick the cilantro leaves off the stems, chopping them finely. Add both to the cabbage. Drain the edamame and add them to the slaw as well. Mix everything well and set it aside.
- Next, grab a small bowl to prepare the dressing for the salad. Mix rice vinegar, honey, soy sauce, lime juice, sesame seeds, garlic powder, and ginger powder. Don’t pour the dressing over the slaw just yet—set it aside for now.
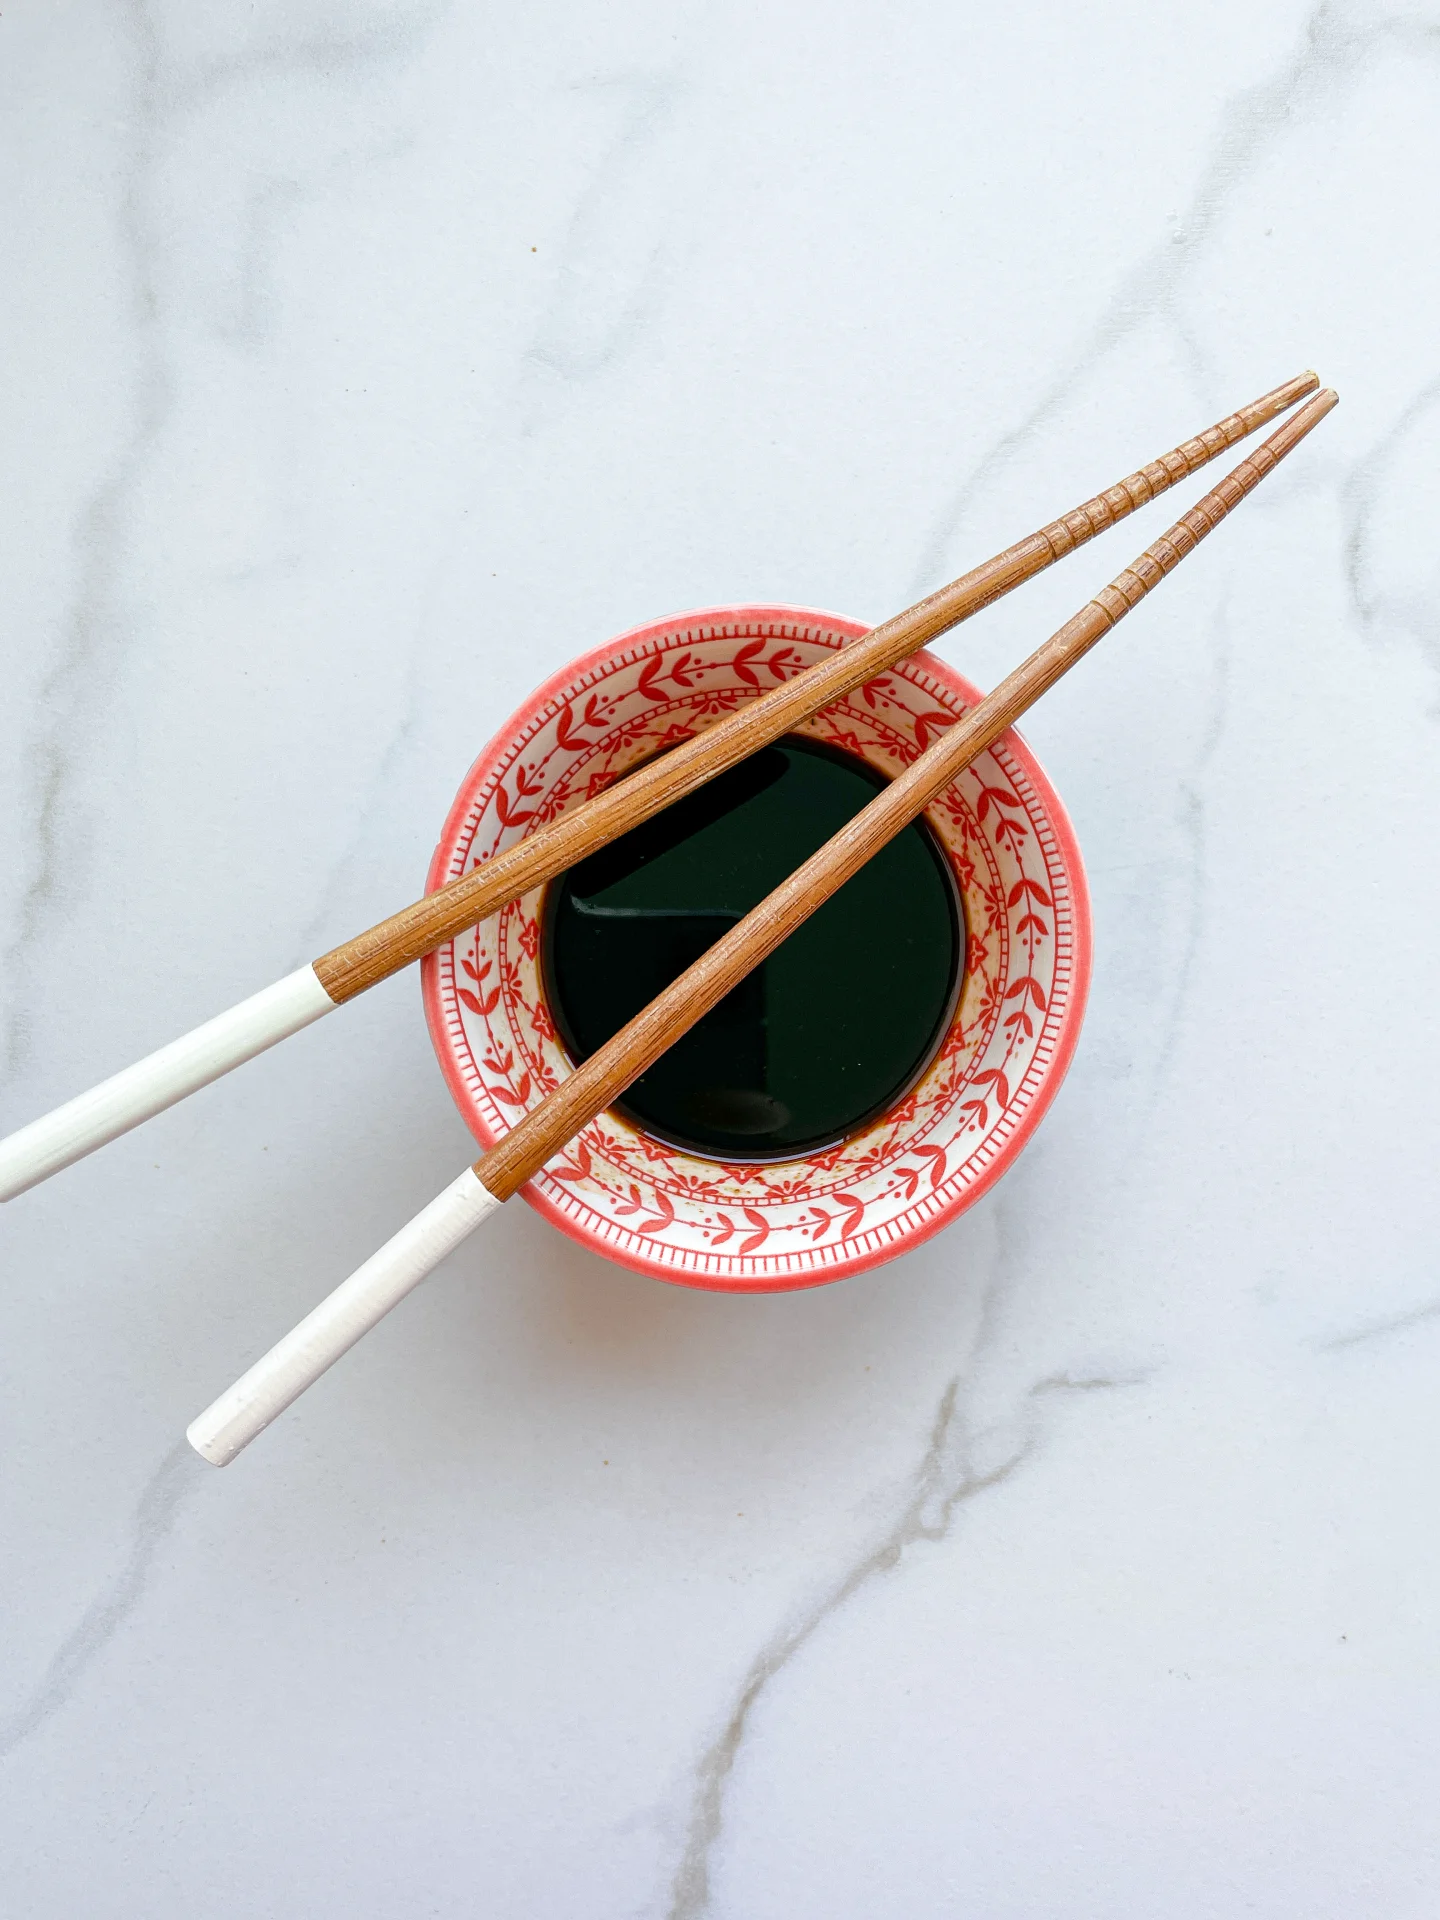
- Now, let’s make the peanut coconut sauce. Peel and grate the garlic and ginger, then sauté them in some sesame oil in a small pot. Add the following ingredients: soy sauce, rice vinegar, honey, sweet & sour sauce, lime juice, fish sauce, chili, and coconut milk. Stir everything well. If the sauce is too thick, just thin it out with a little water. Keep it warm on very low heat with the lid on.
- Set up a breading station with flour, egg, and a mix of panko and breadcrumbs. Coat the chicken in flour, shake off the excess, then dip it in the egg, making sure it’s well-covered. Finally, press it into the panko and breadcrumb mixture, ensuring the breading sticks well on all sides. Fry the chicken in a large pan with a bit of clarified butter over medium heat until crispy and cooked through. Slice the chicken into strips.
- Pour the dressing over the slaw and mix everything well. Distribute the salad onto deep plates, then drizzle the peanut coconut sauce over it. Finally, place the crispy chicken strips on top of the sauce. Optionally, garnish with sesame seeds and spring onions.
- Cook Time: 30 min