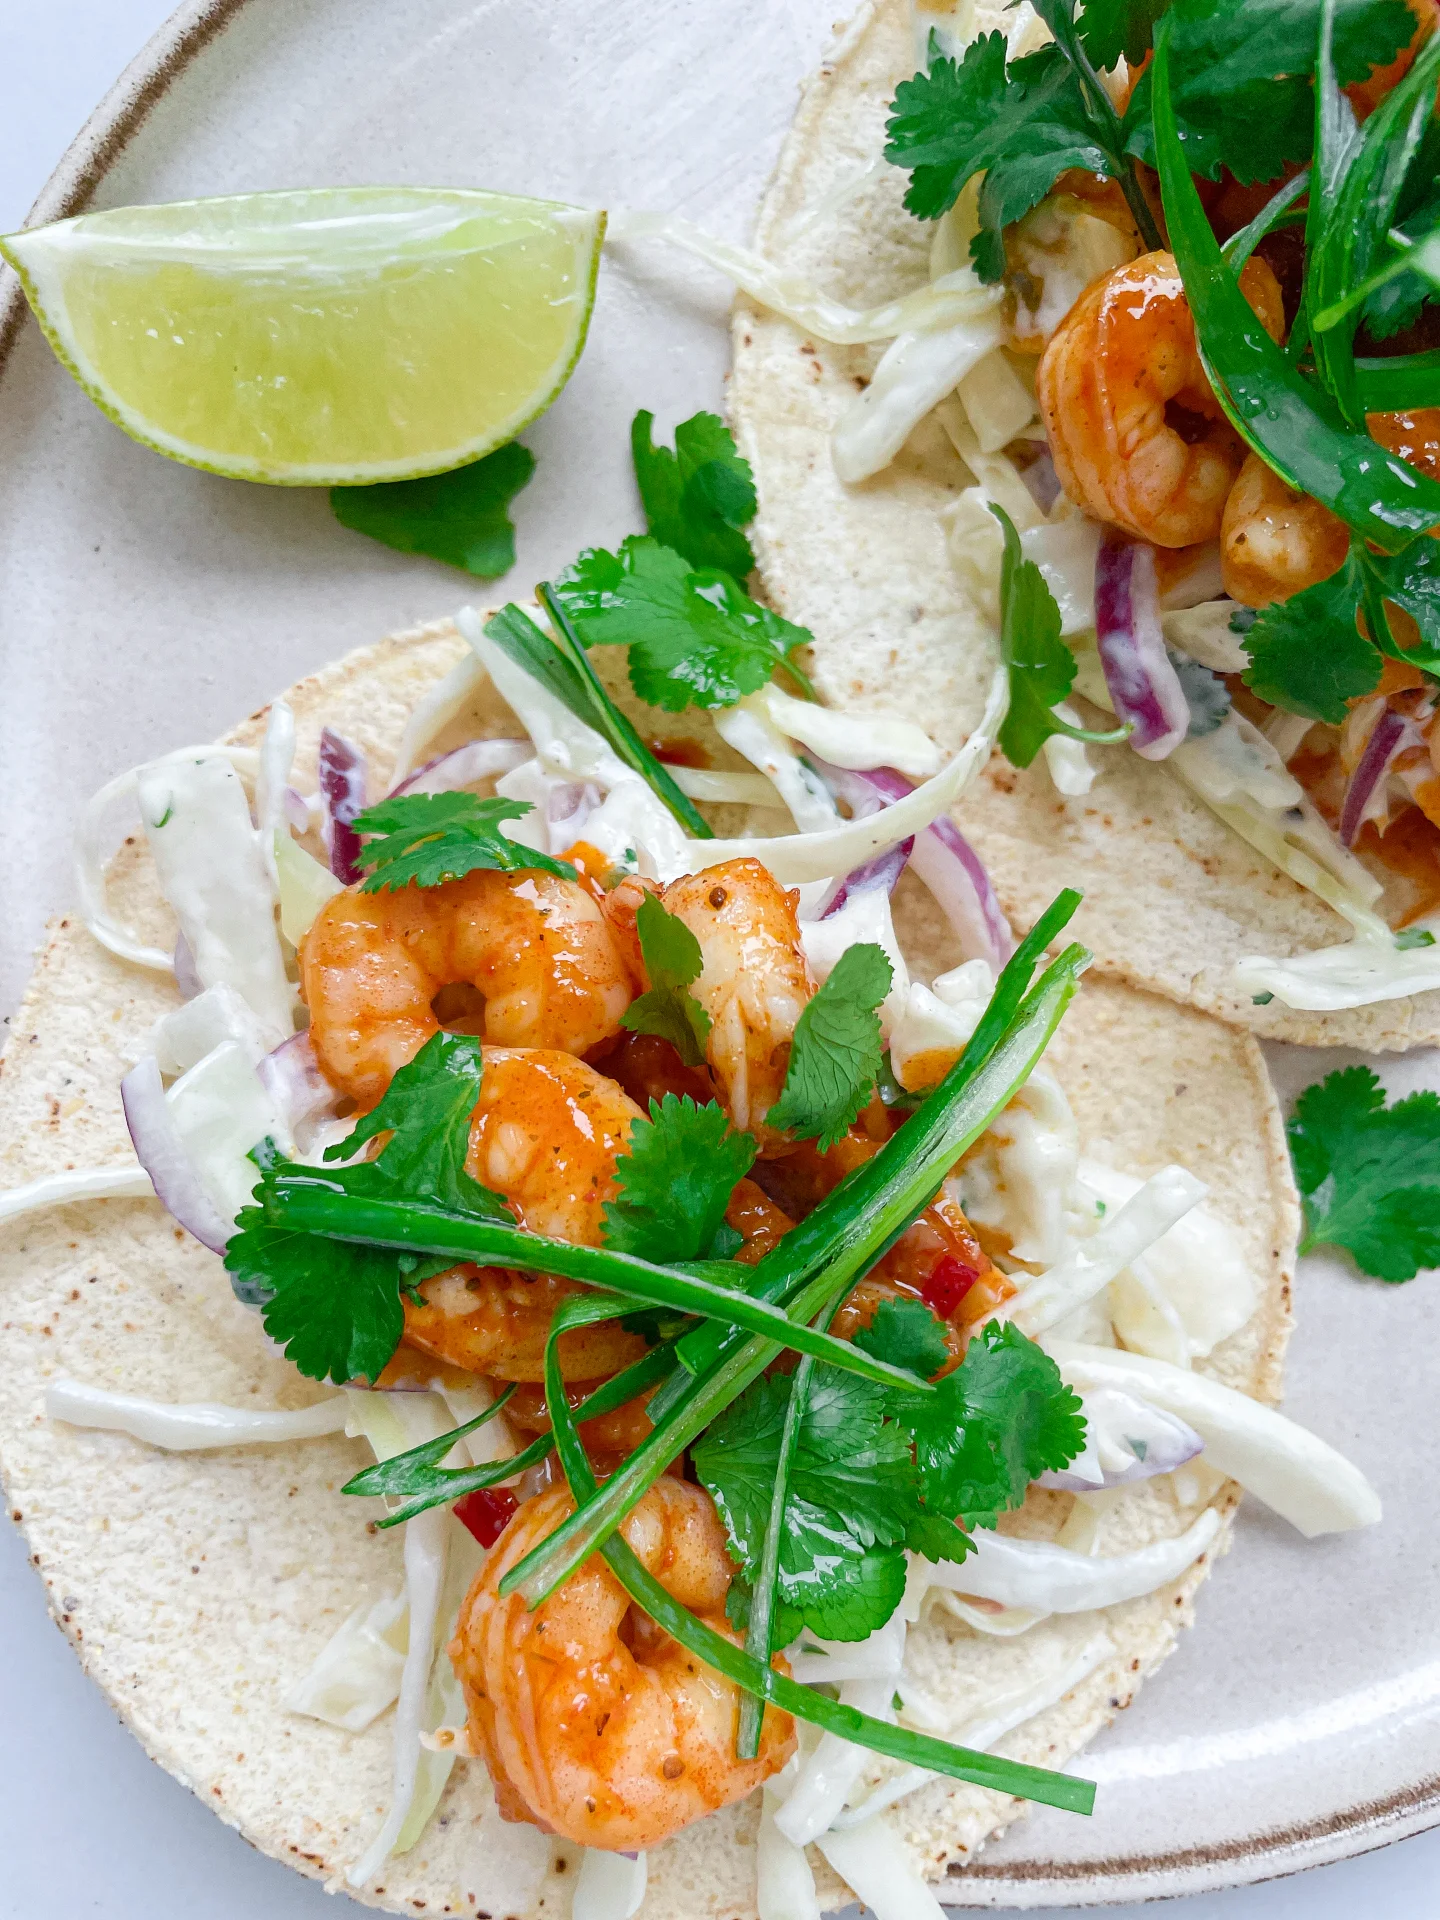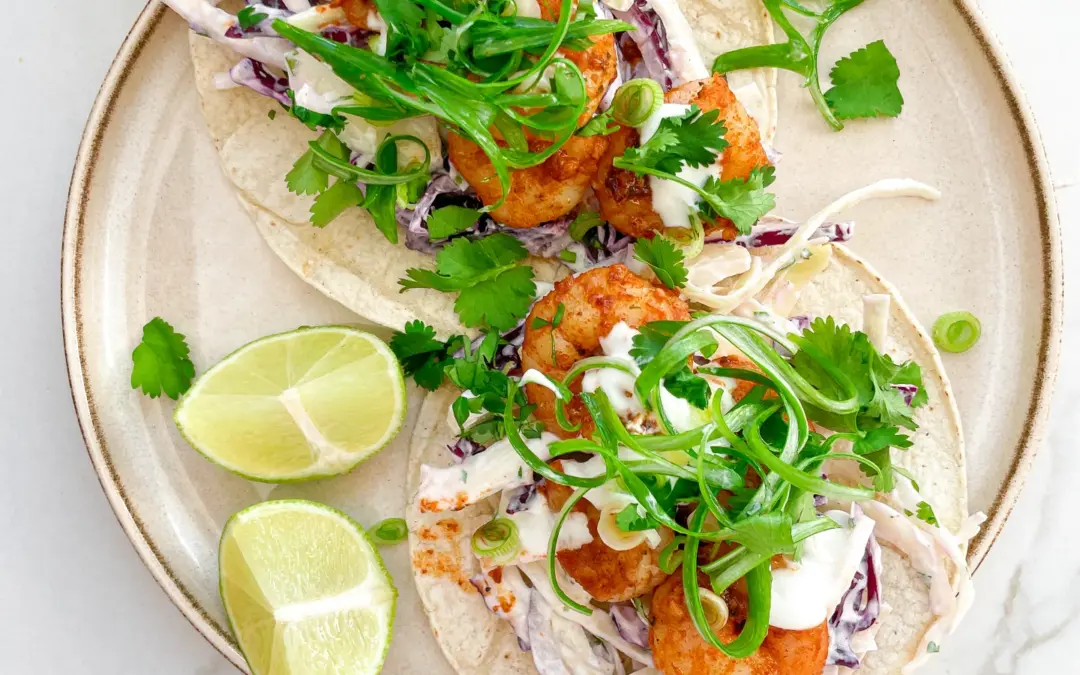
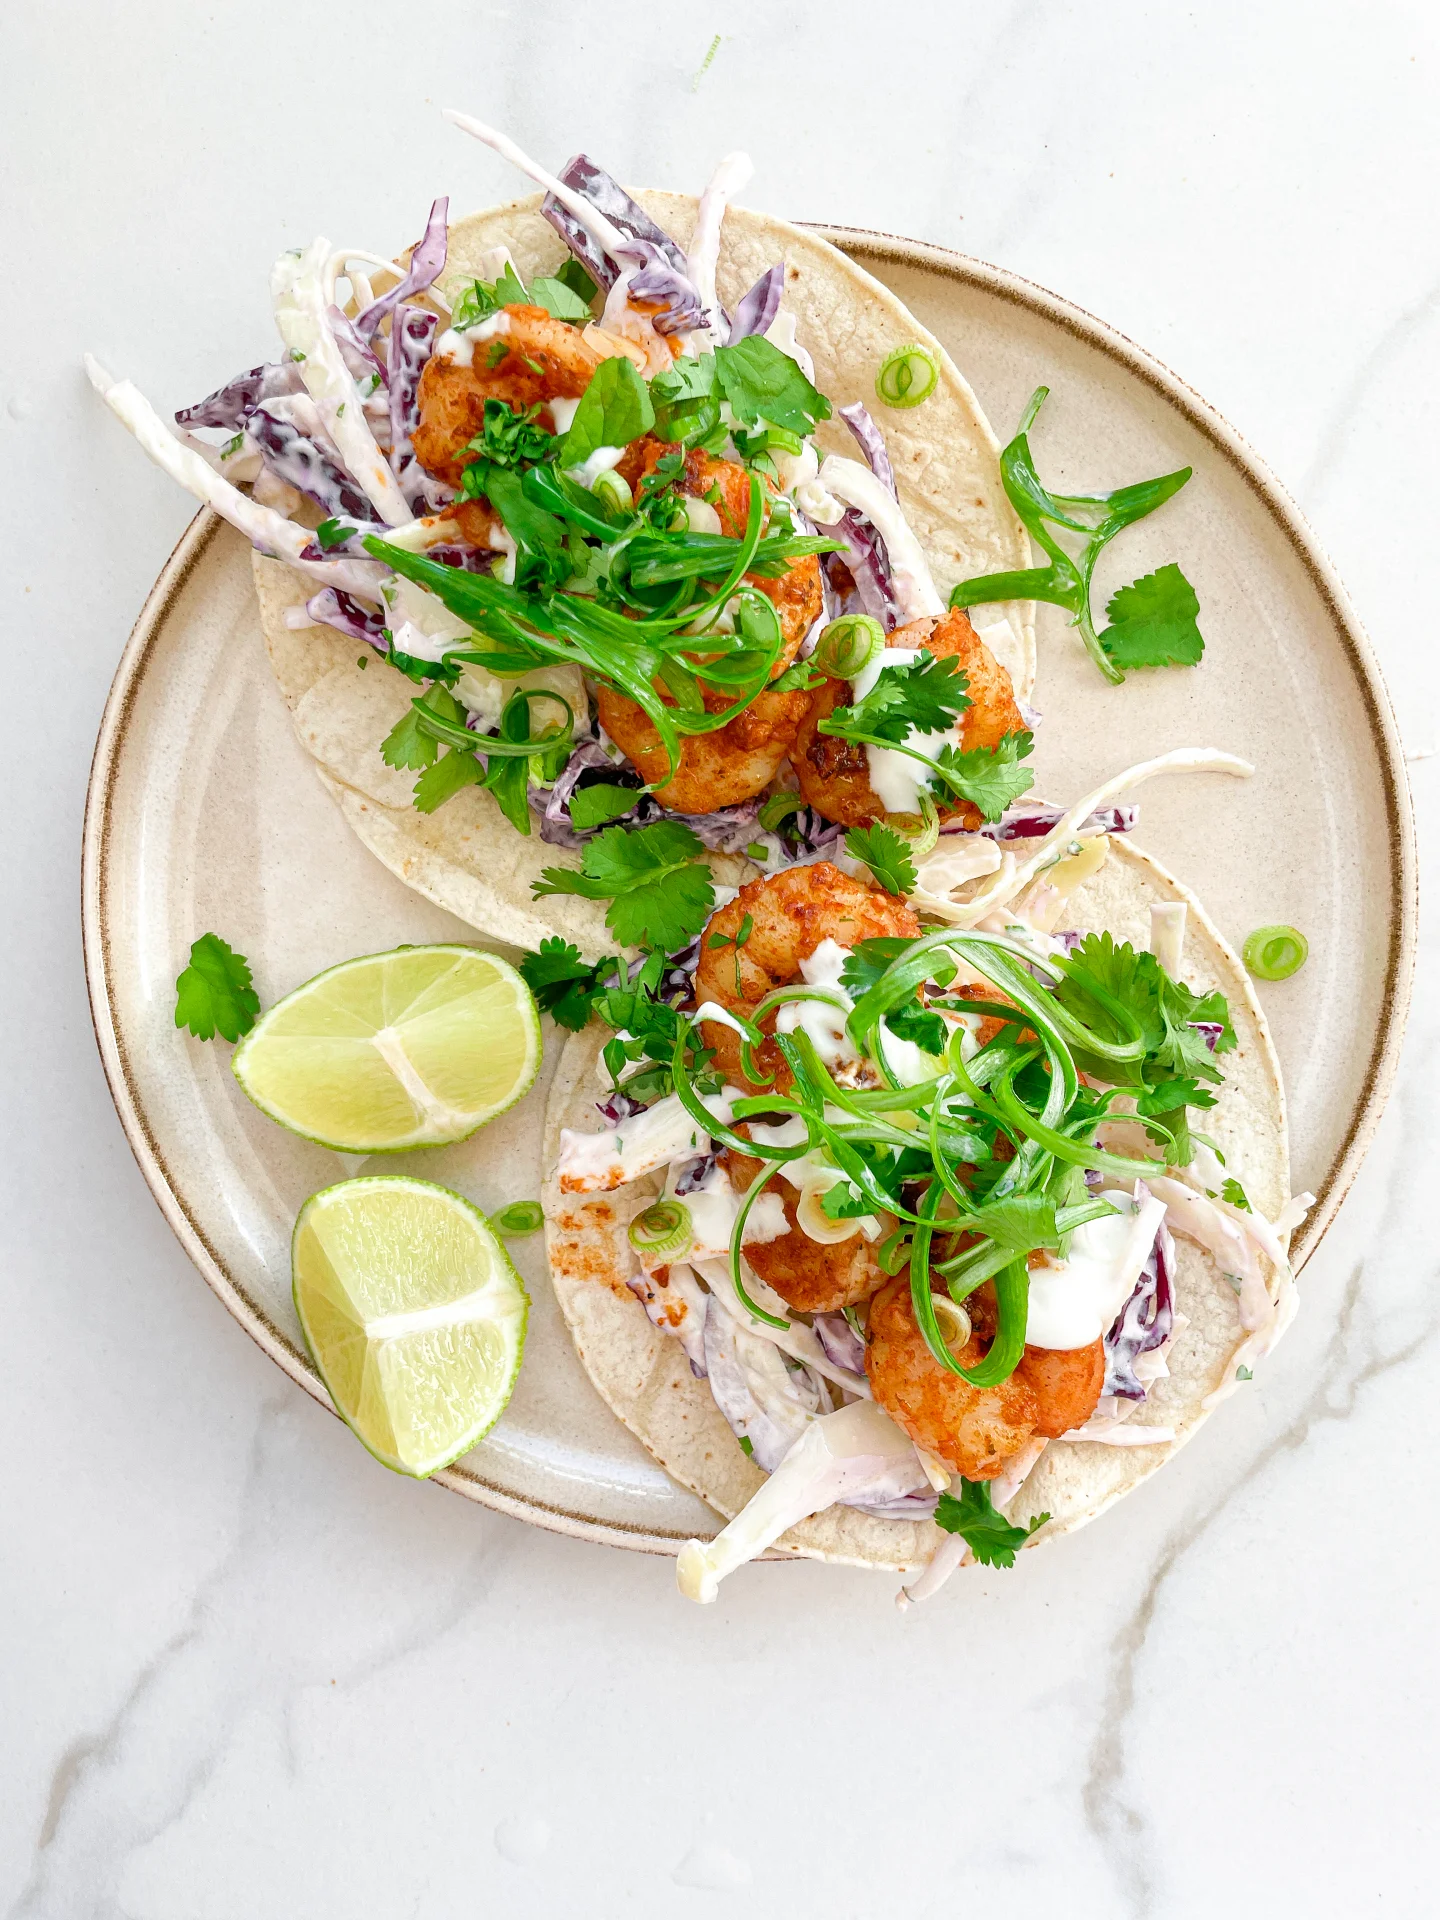


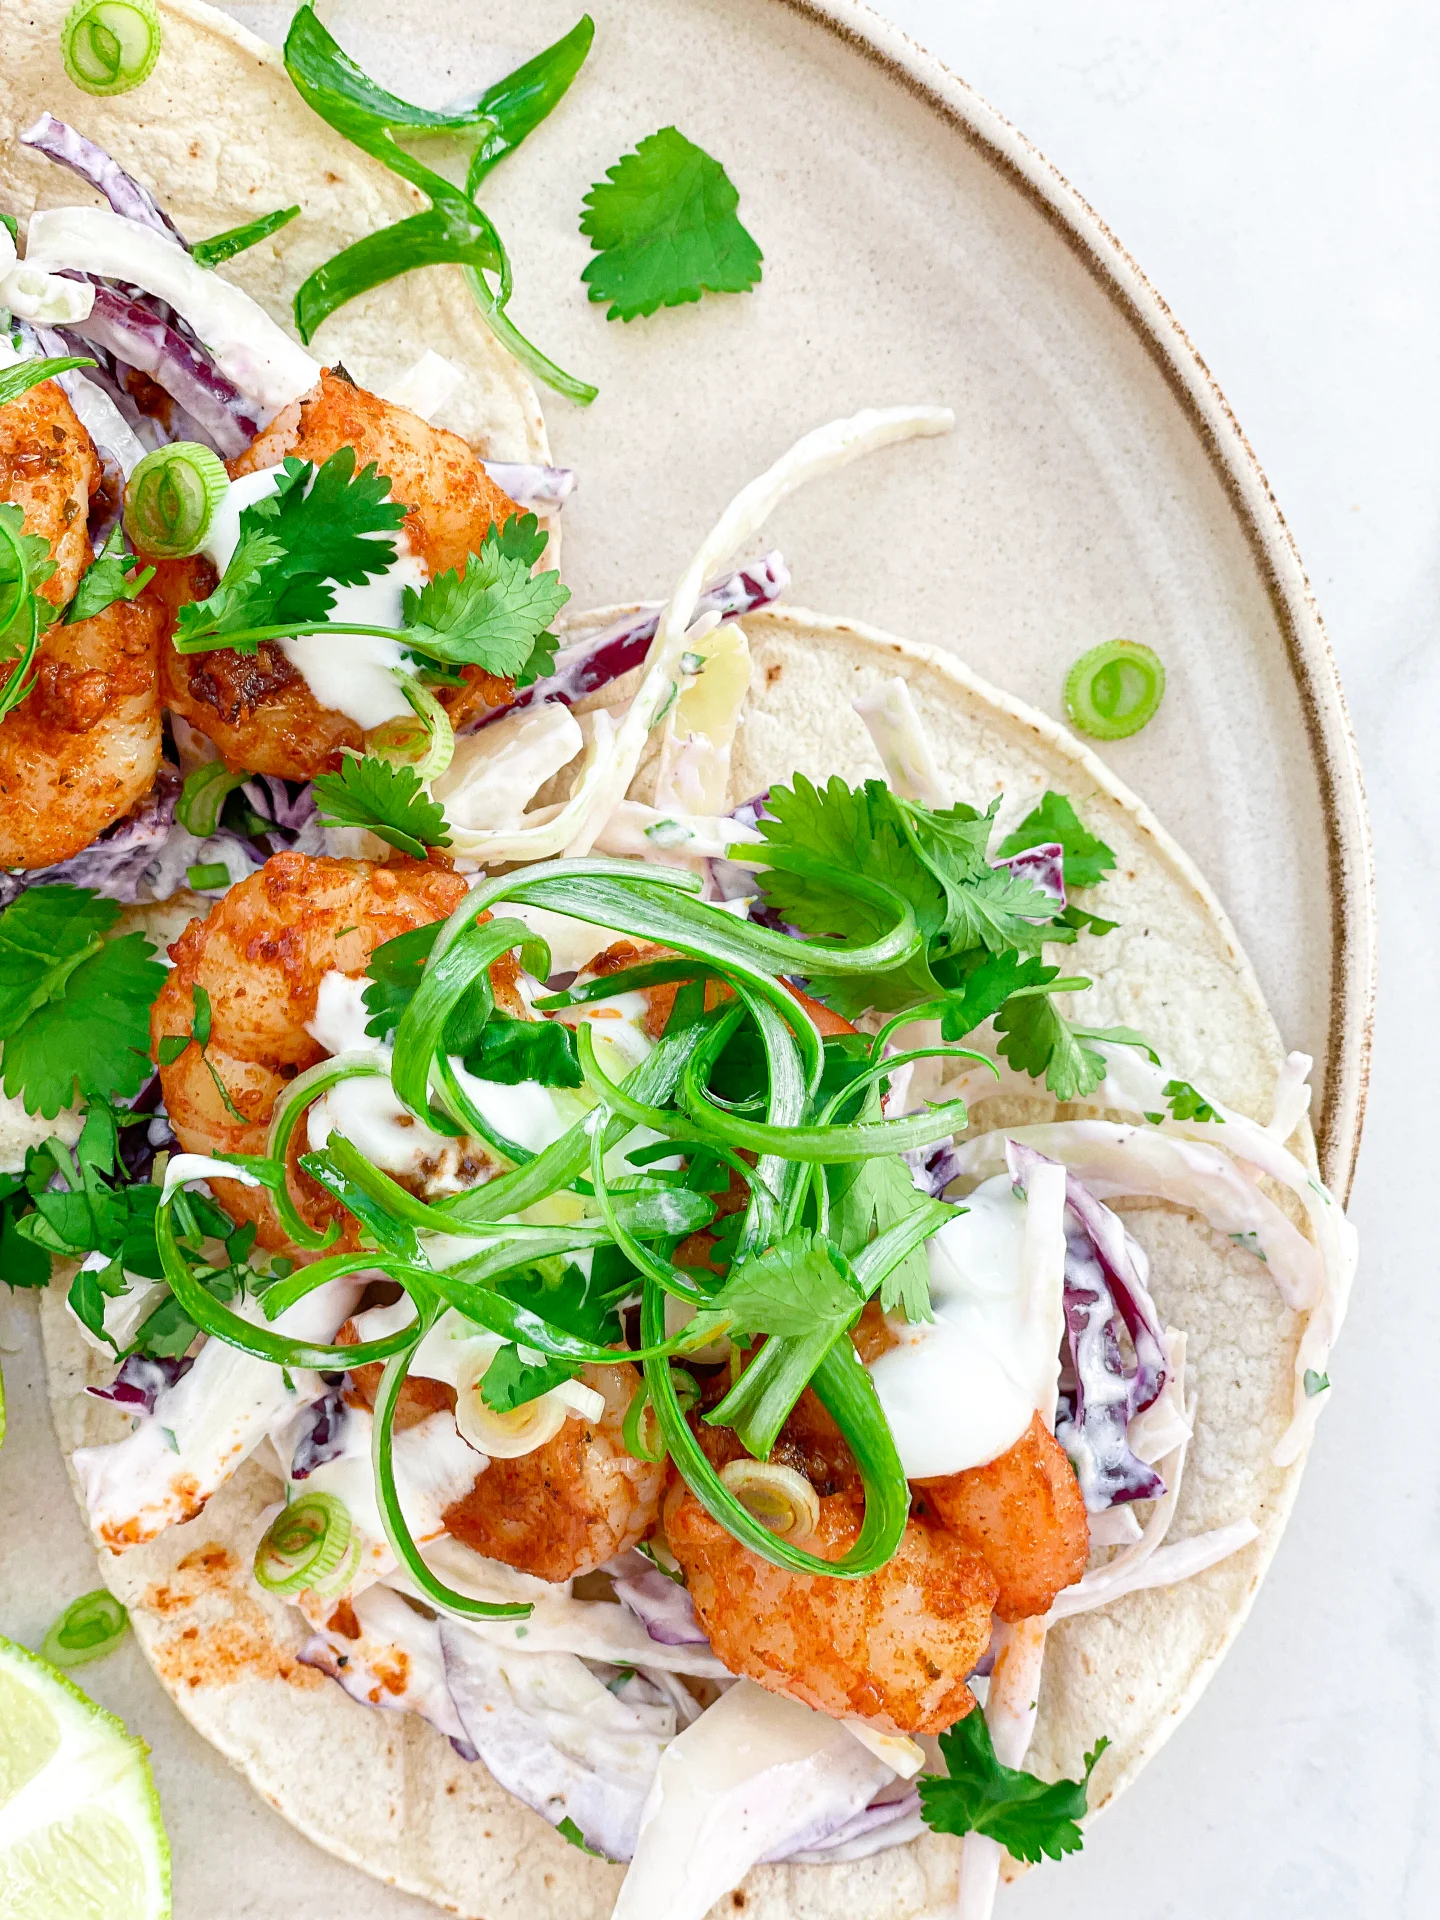

Fresh Shrimp Tacos & Coleslaw

Fresh Shrimp Tacos & Coleslaw

Fresh Prawn Tacos & Slaw

Fresh Shrimp Tacos & Coleslaw

April 9, 2024 by Kimberly

Discover the joy of Fresh Shrimp Tacos & Slaw – a zesty, mouth-watering feast that’s perfect for any day. Easy, delicious, and absolutely unforgettable!

This website uses affiliate links which may earn commission for purchases made at no additional cost to you.

TOTAL TIME

40 min

SERVES

12 tacos

DIET

omnivore

EVERY RECIPE DESERVES

A Little Love Letter

Dive into the delightful world of Fresh Shrimp Tacos & Slaw, your new go-to recipe for a quick, healthy, and utterly delicious meal. This dish combines the juicy, succulent flavors of fresh shrimps with the crisp, refreshing taste of homemade slaw, all wrapped up in a soft taco shell. It’s the perfect balance of textures and tastes, sure to tantalize your taste buds!

Serve these tacos fresh off the skillet for the best experience. Pair them with a side of lime wedges & extra slaw. Don’t forget a cold, refreshing drink to wash down the flavors. These shrimp tacos are not just food – they’re a vibrant, interactive dining experience that everyone can get excited about.

Leftover shrimp fillings and slaw can be stored separately in airtight containers in the fridge. They’ll keep well for up to two days, making for an easy, delicious lunch or dinner option whenever you’re short on time.

Hi, I'm Kimberly!

Hi, I'm Kimberly.

A hopeless romantic when it comes to food. Every recipe I share is a love letter to food itself. I’m so glad you’re here. Make yourself at home and stay a while.

Love,
Kimberly

Kimberly the Zett Signature

If you want to get to know me better,
click here!


Fresh Prawn Tacos & Slaw

LET’S MAKE A PIECE OF HAPPINESS

Print
clock clock iconcutlery cutlery iconflag flag iconfolder folder iconinstagram instagram iconpinterest pinterest iconfacebook facebook iconprint print iconsquares squares iconheart heart iconheart solid heart solid icon
Fresh Prawn Tacos & Slaw

Fresh Shrimp Tacos & Coleslaw


5 Stars 4 Stars 3 Stars 2 Stars 1 Star

No reviews

  • Author: Kimberly
  • Total Time: 35 min
  • Yield: 12 1x

Description

GOOD TO HAVE ON HAND

  • sharp knife
  • cutting board
  • two medium-sized bowls
  • small pan
  • large pan


Ingredients

Units Scale
SLAW
  • 250 grams white cabbage
  • 250 grams red cabbage
  • 1 cup cilantro
  • 1 red onion
  • 200 grams low fat yogurt
  • salt & pepper to taste
SHRIMPS
  • 550 grams black tiger shrimps (26/30 p. lb. frozen count)
  • 2 tbsp olive oil for marinade
  • 2 tbsp olive oil for frying
  • 3 garlic cloves
  • 1 tsp cumin
  • 1 tsp smoked paprik
  • 1/2 tsp oregano
  • 1/2 tsp onion powder
  • 1/2 tsp garlic powder
  • 1/2 tsp salt
  • 1/4 tsp chili flakes
TOPPINGS & TACOS
  • 12 corn tortillas
  • 2 limes
  • 3 tbsp yogurt
  • 2 spring onions
  • cilantro

Instructions

  1. If you’re using frozen shrimp, let them thaw in a strainer with a drip tray in the fridge a day before you need them. Then wash them thoroughly and pat them dry before further use.
  2. Rinse fresh shrimp with cold water and pat dry.
  3. Cut the green part of the spring onions into fine strips lengthwise.
  4. Quarter the limes.
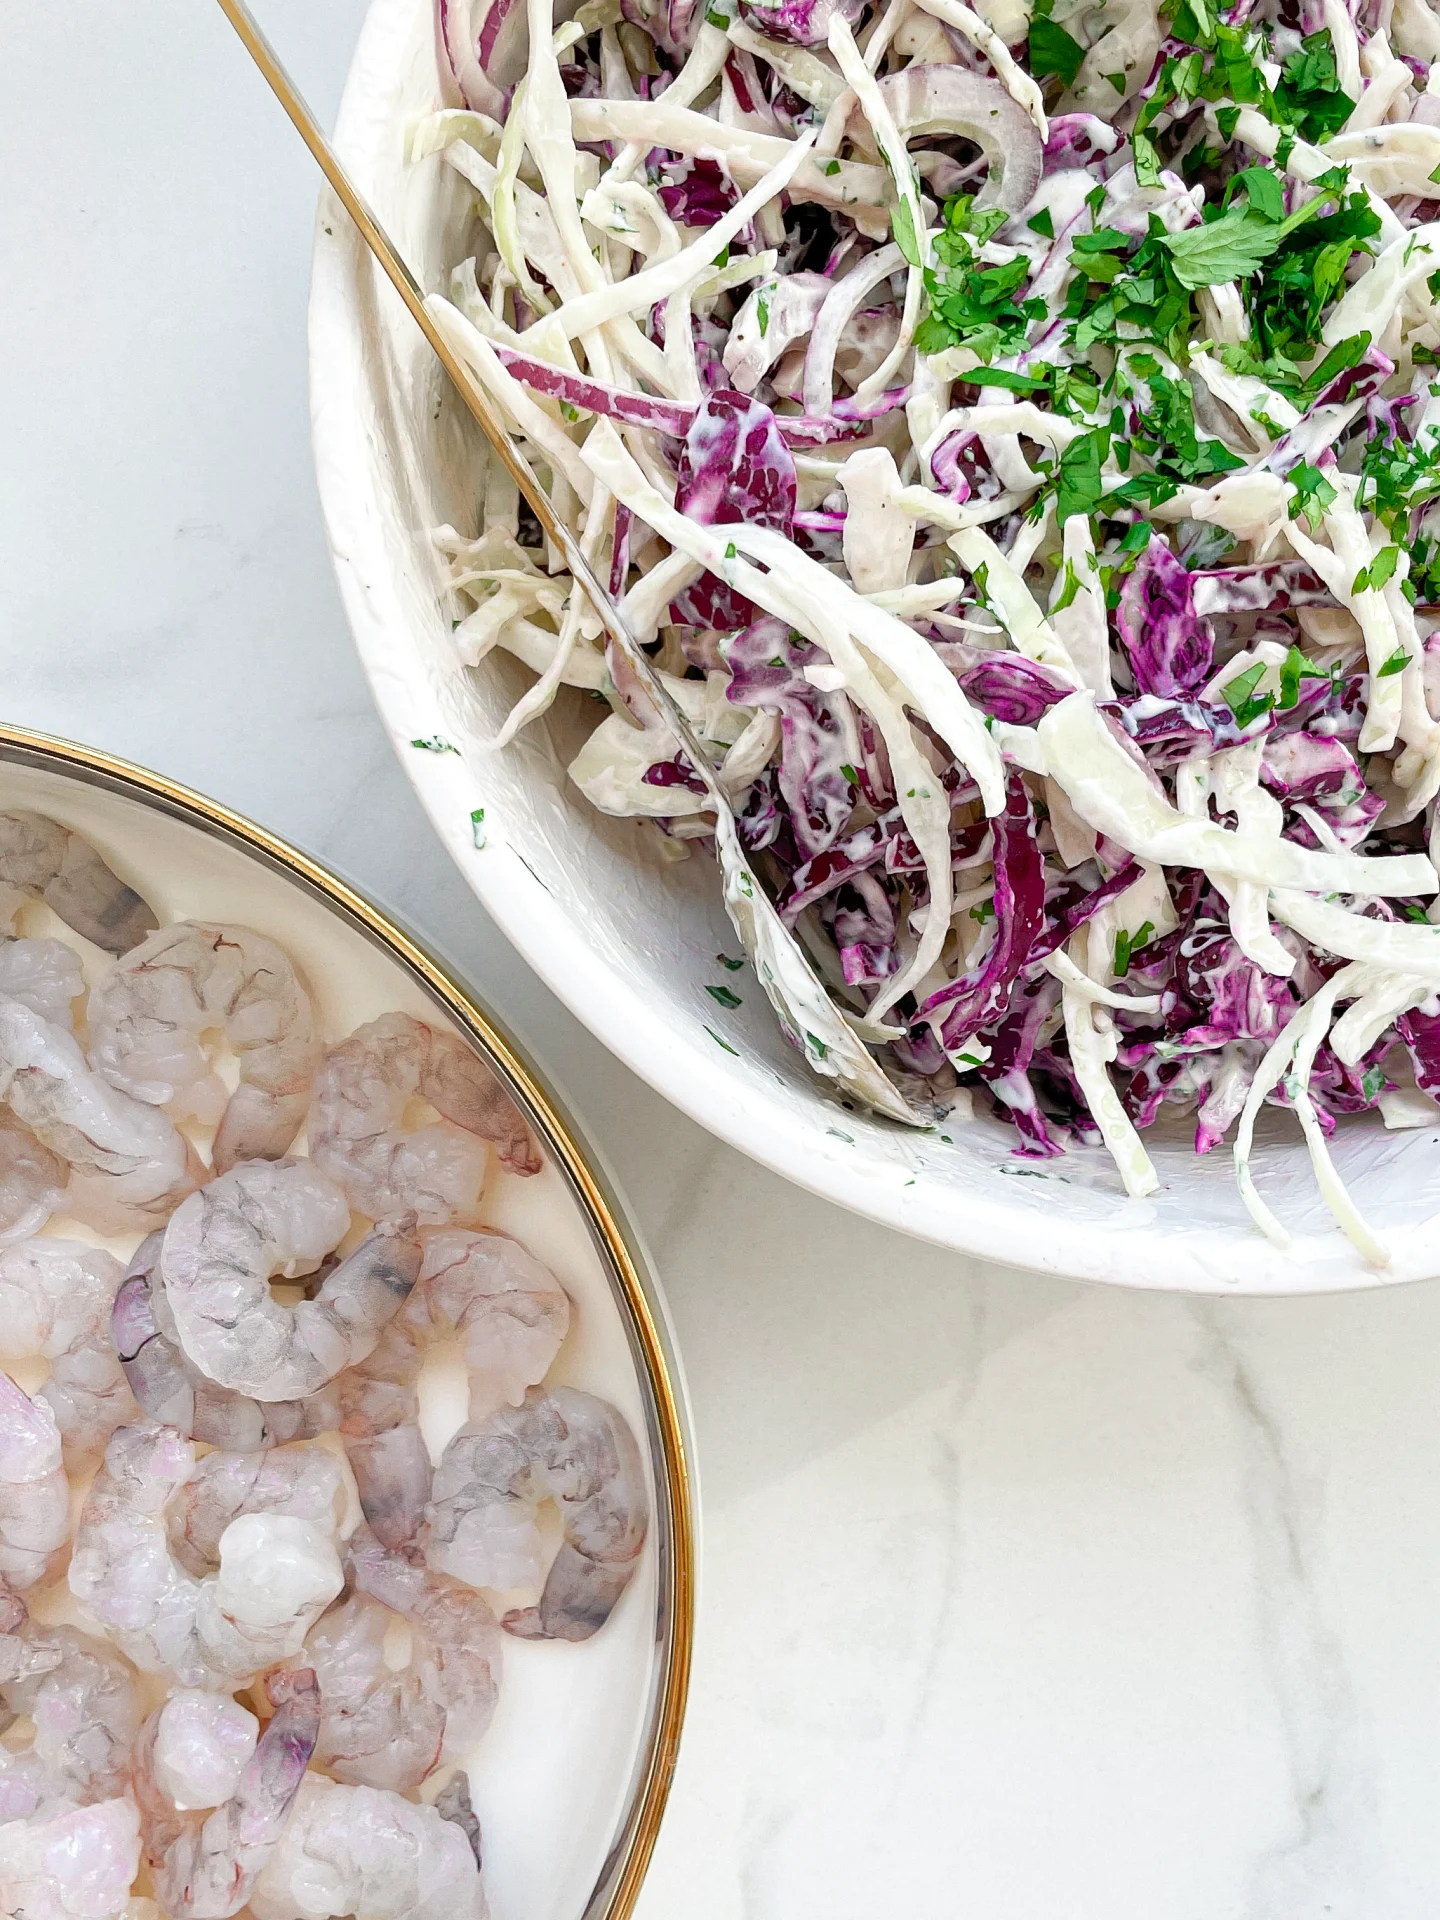
  5. Slice the red cabbage, white cabbage, and red onion into thin strips and put them in a medium-sized bowl. Pluck the coriander leaves from the stems, roughly chop them, and add to the bowl with the cabbage. Add yogurt, salt, and pepper as well, and stir everything well. Set aside.
  6. Next, peel and finely chop or press the garlic cloves and mix them with olive oil, chili, cumin, salt, garlic powder, onion powder, smoked paprika, and oregano to create a paste. Coat the shrimp in the paste, ensuring they’re evenly covered. Let marinate for 15 minutes.
  7. Meanwhile, in a small pan, lightly toast the corn tortillas on both sides without adding fat, so they’re warm but still bendable. Alternatively, you can warm them in the oven for a few minutes.
  8. Heat 1-2 tablespoons of olive oil in a large pan and fry the shrimp on each side for about 1-2 minutes until they’re no longer transparent and have curled up.
  9. Spread the tortillas on plates, top with the slaw, distribute 4 shrimps on each, and garnish with yogurt, coriander, spring onion, and lime juice.
  • Cook Time: 35 min
CRAVING MORE?

Follow along here & don’t forget to subscribe to my substack!

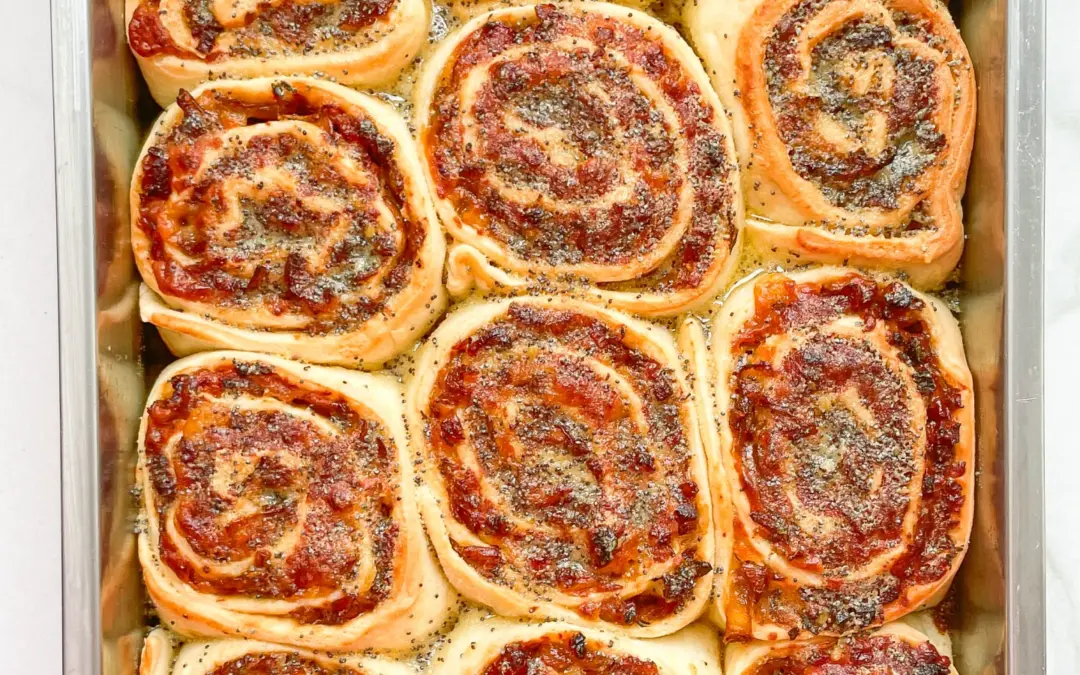
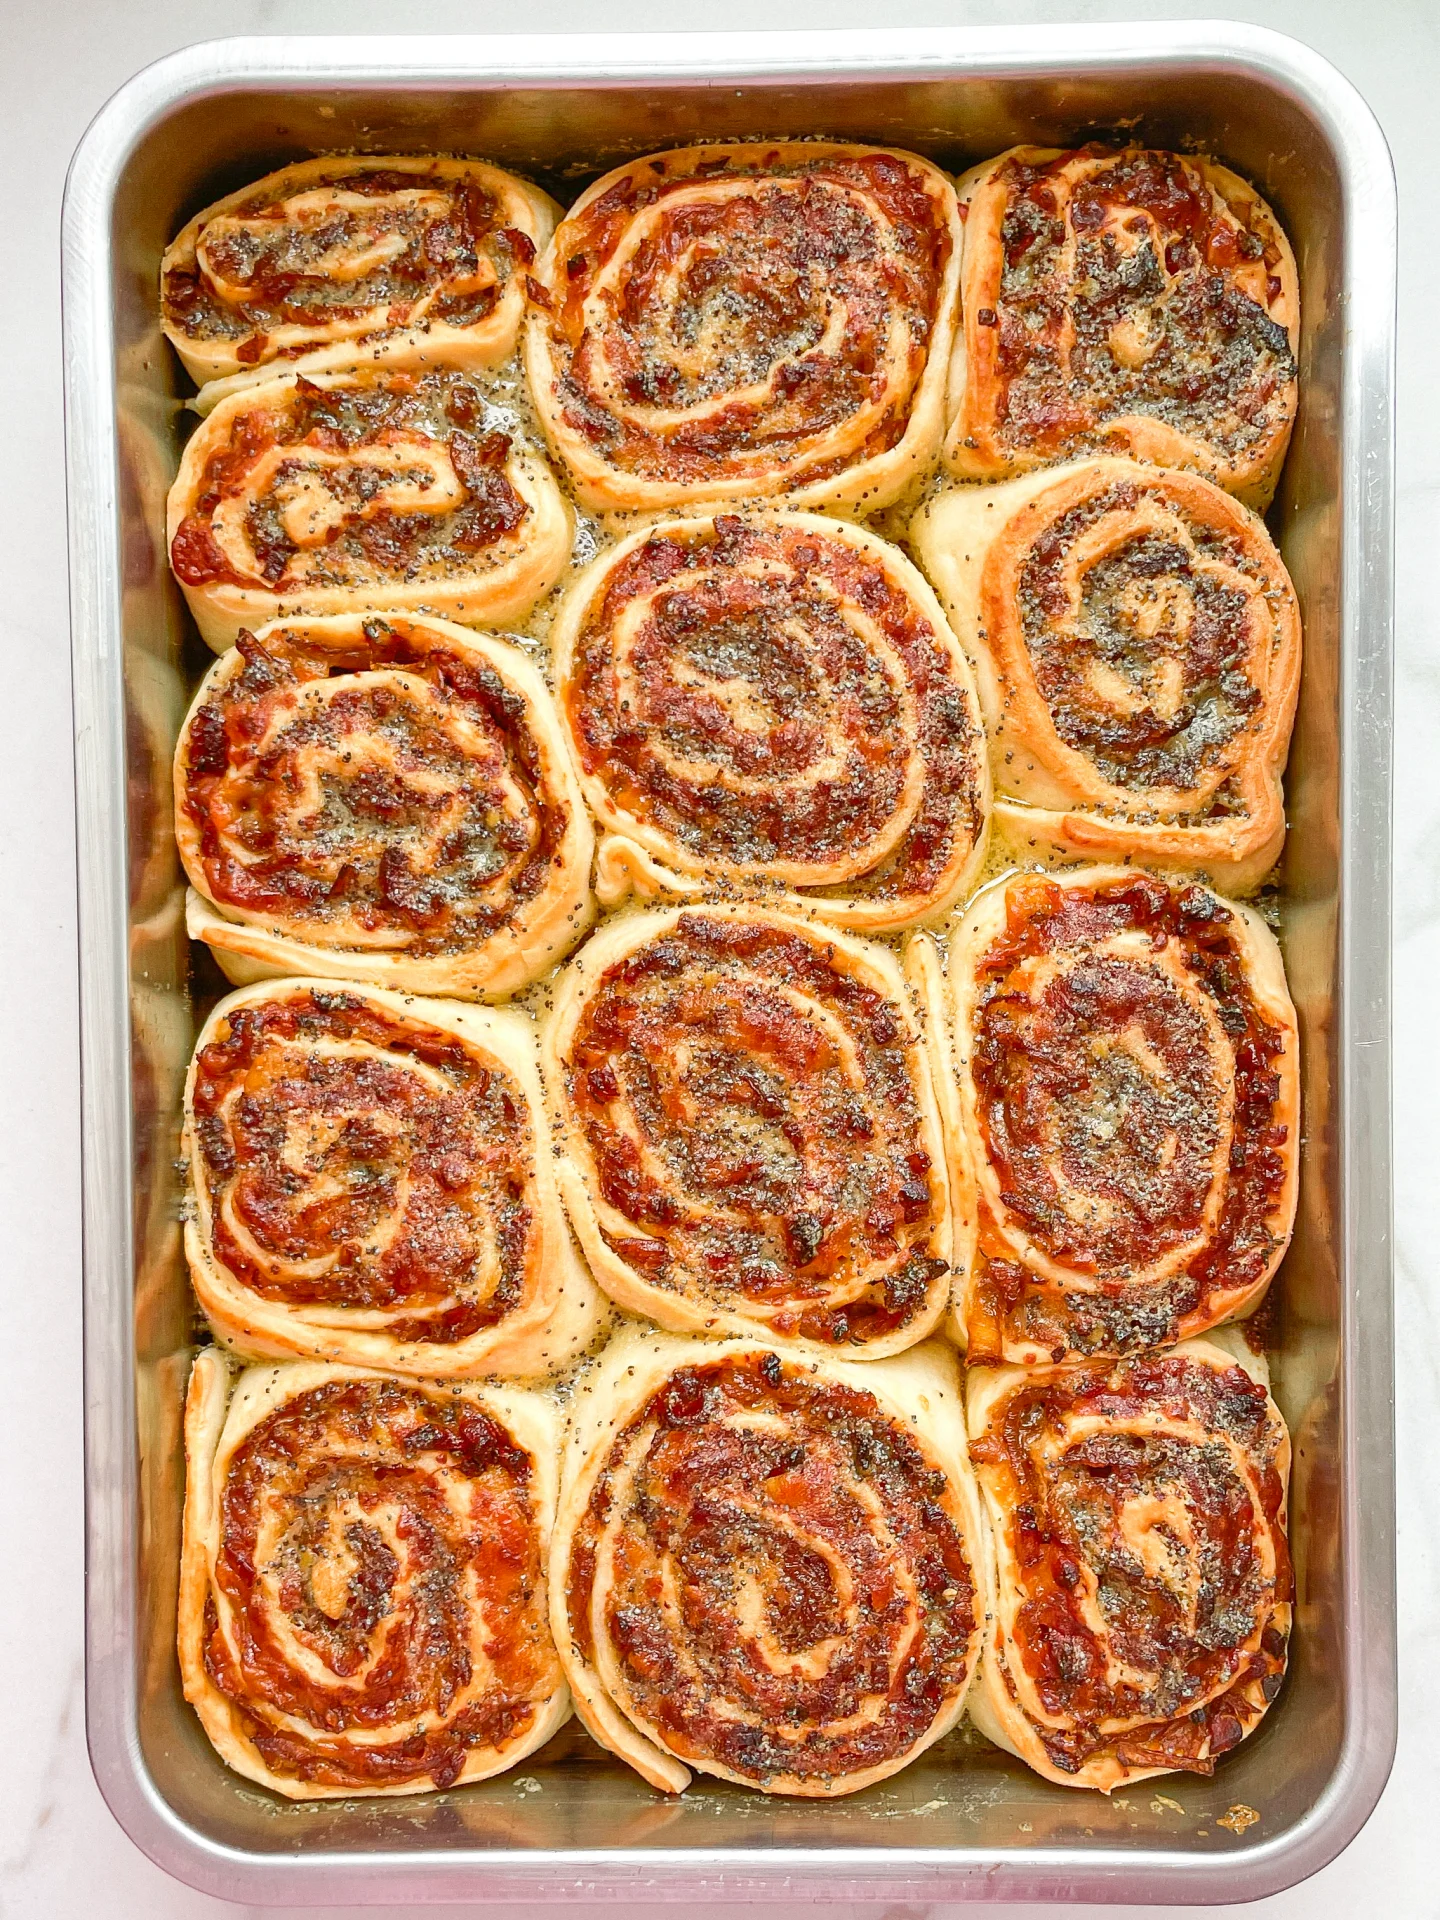
Bacon Onion Cheese Rolls & Poppy Seed Glaze

Bacon Onion Cheese Rolls & Poppy Seed Glaze

Bacon Onion Cheese Rolls & Poppy Seed Glaze

Bacon Onion Cheese Rolls & Poppy Seed Glaze

March 28, 2024 by Kimberly

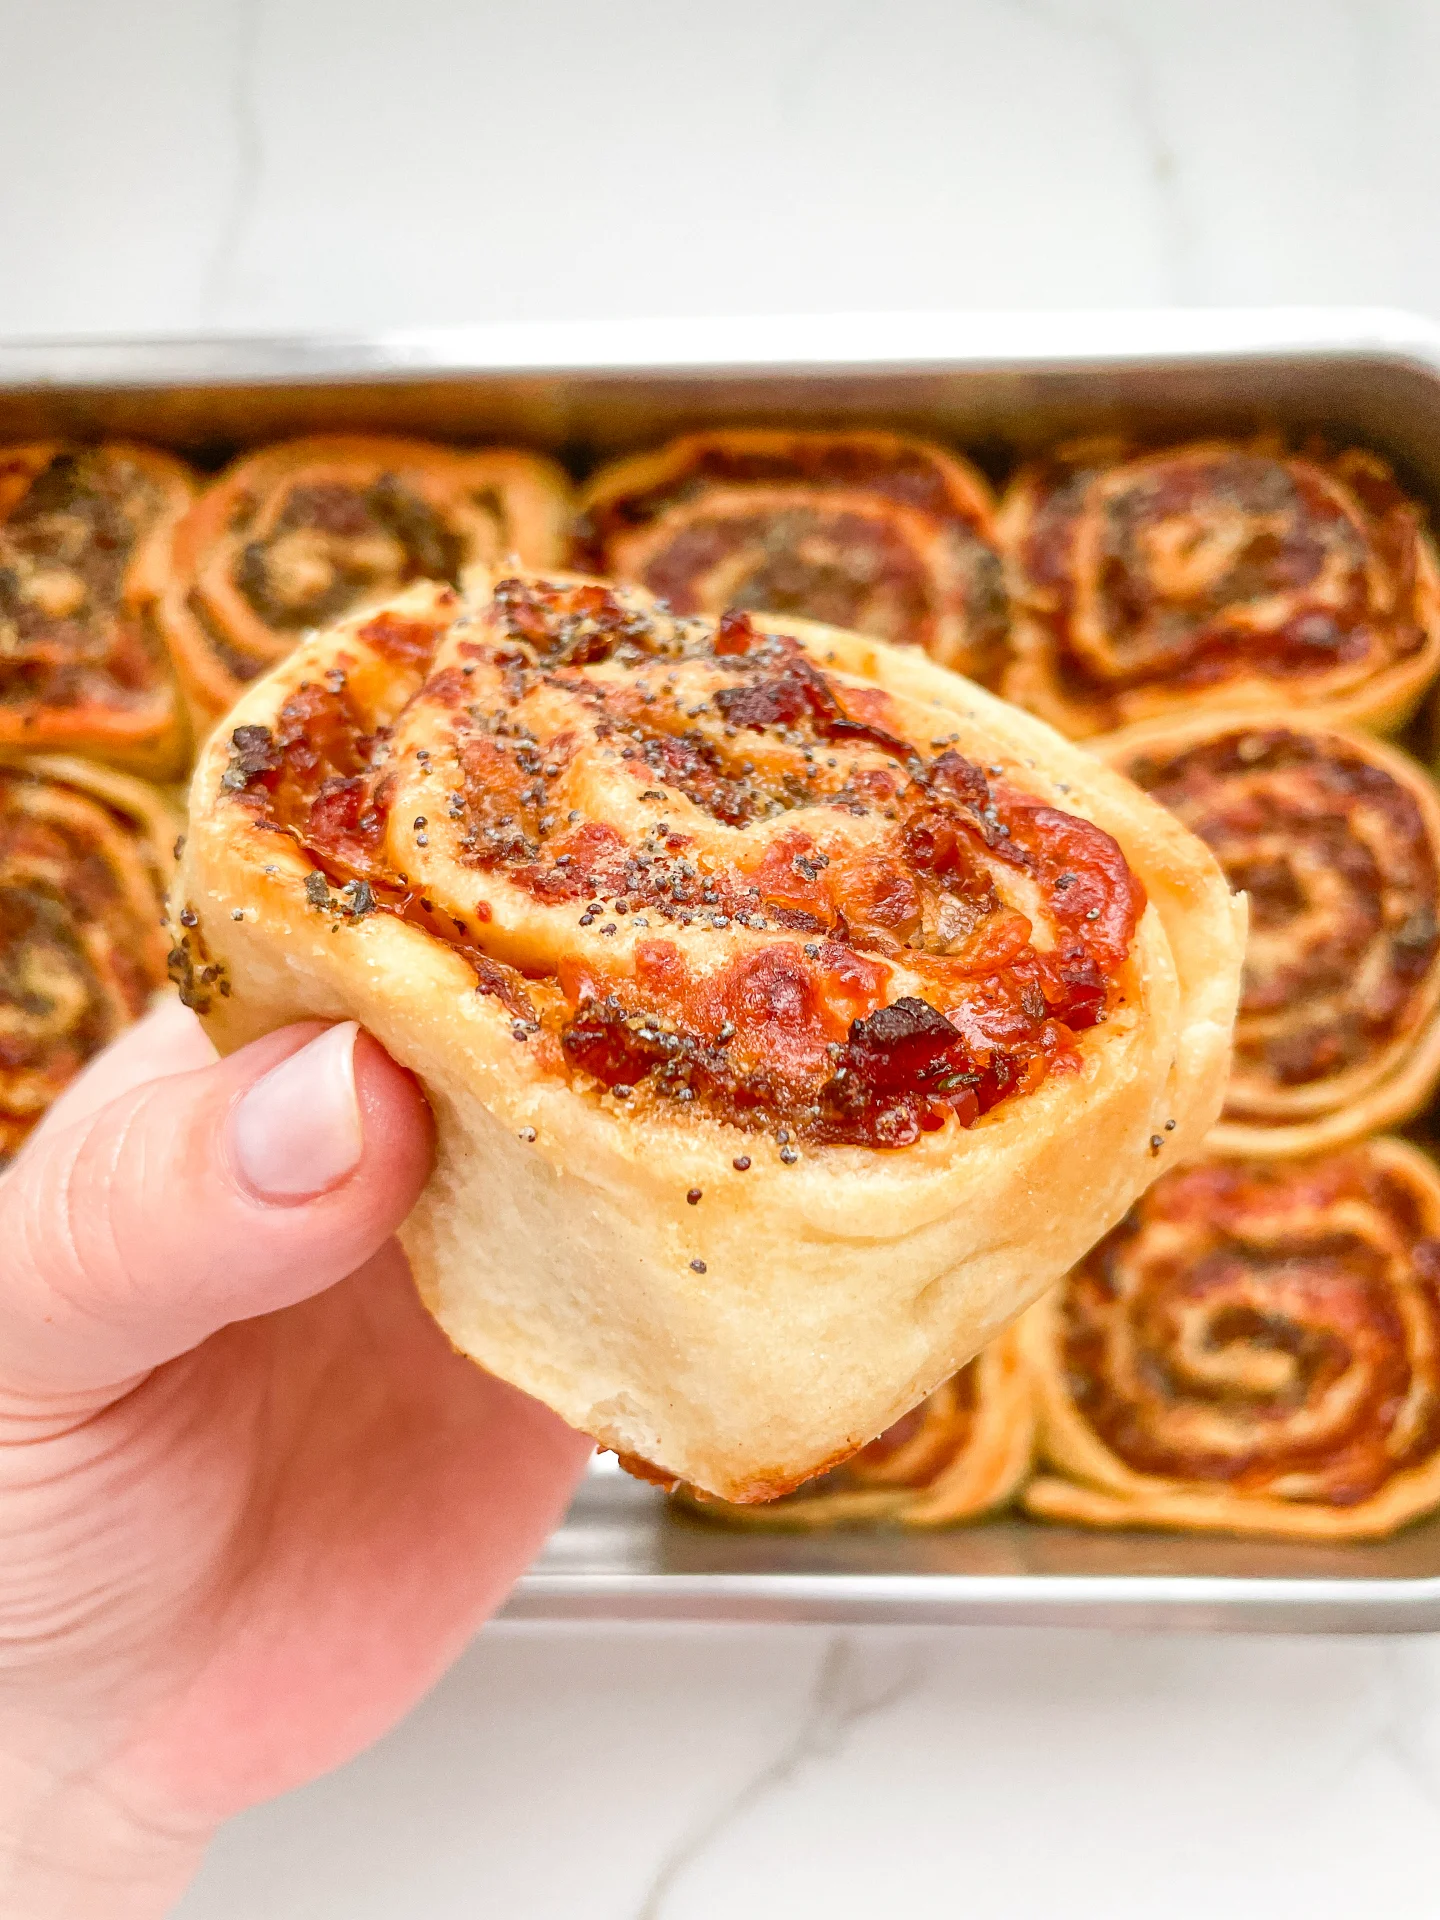
Imagine soft, buttery rolls stuffed with crispy bacon, sweet caramelized onions, and gooey cheese, topped with a rich poppy seed glaze. It’s savory, satisfying, and pure comfort with every bite.

This website uses affiliate links which may earn commission for purchases made at no additional cost to you.

TOTAL TIME

2 hrs

SERVES

12 rolls

DIET

omnivore

EVERY RECIPE DESERVES

A Little Love Letter

Say hello to your new favorite snack! These savory rolls are the perfect combination of crispy bacon, caramelized onions, and melty cheese, all wrapped up in soft, buttery dough. Topped with a golden poppy seed glaze, they’re everything you didn’t know you needed for brunch, game day, or a cozy evening snack. Think warm, indulgent bites that feel like a little celebration in your kitchen. Simple to make and impossible to resist.

Serve these rolls fresh from the oven with a side of garlic herb butter or a tangy mustard dip for extra flavor. They’re perfect for brunch spreads, cozy dinner starters, or even as a party appetizer that everyone will rave about. Pair with a crisp salad or creamy soup for a balanced meal, or just enjoy them warm with your favorite drink for the ultimate comfort.

Keep any leftover rolls in an airtight container at room temperature for up to two days or refrigerate for up to four days. Reheat in the oven for 5-7 minutes at 180°C (350°F) to bring back their fresh, buttery goodness.

Hi, I'm Kimberly!

Hi, I'm Kimberly.

A hopeless romantic when it comes to food. Every recipe I share is a love letter to food itself. I’m so glad you’re here. Make yourself at home and stay a while.

Love,
Kimberly

Kimberly the Zett Signature

If you want to get to know me better,
click here!


Bacon Onion Cheese Rolls & Poppy Seed Glaze

LET’S MAKE A PIECE OF HAPPINESS

Print
clock clock iconcutlery cutlery iconflag flag iconfolder folder iconinstagram instagram iconpinterest pinterest iconfacebook facebook iconprint print iconsquares squares iconheart heart iconheart solid heart solid icon
Bacon Onion Cheese Rolls & Poppy Seed Glaze

Bacon Onion Cheese Rolls & Poppy Seed Glaze


  • Author: Kimberly
  • Total Time: 2 hrs
  • Yield: 12 1x

Description

GOOD TO HAVE ON HAND

  • baking dish – my used measurements were 20x26cm (8×10 inch)
  • sharp knife
  • cutting board
  • medium-sized bowl
  • whisk
  • small bowl
  • pastry brush
  • spatula
  • large pan


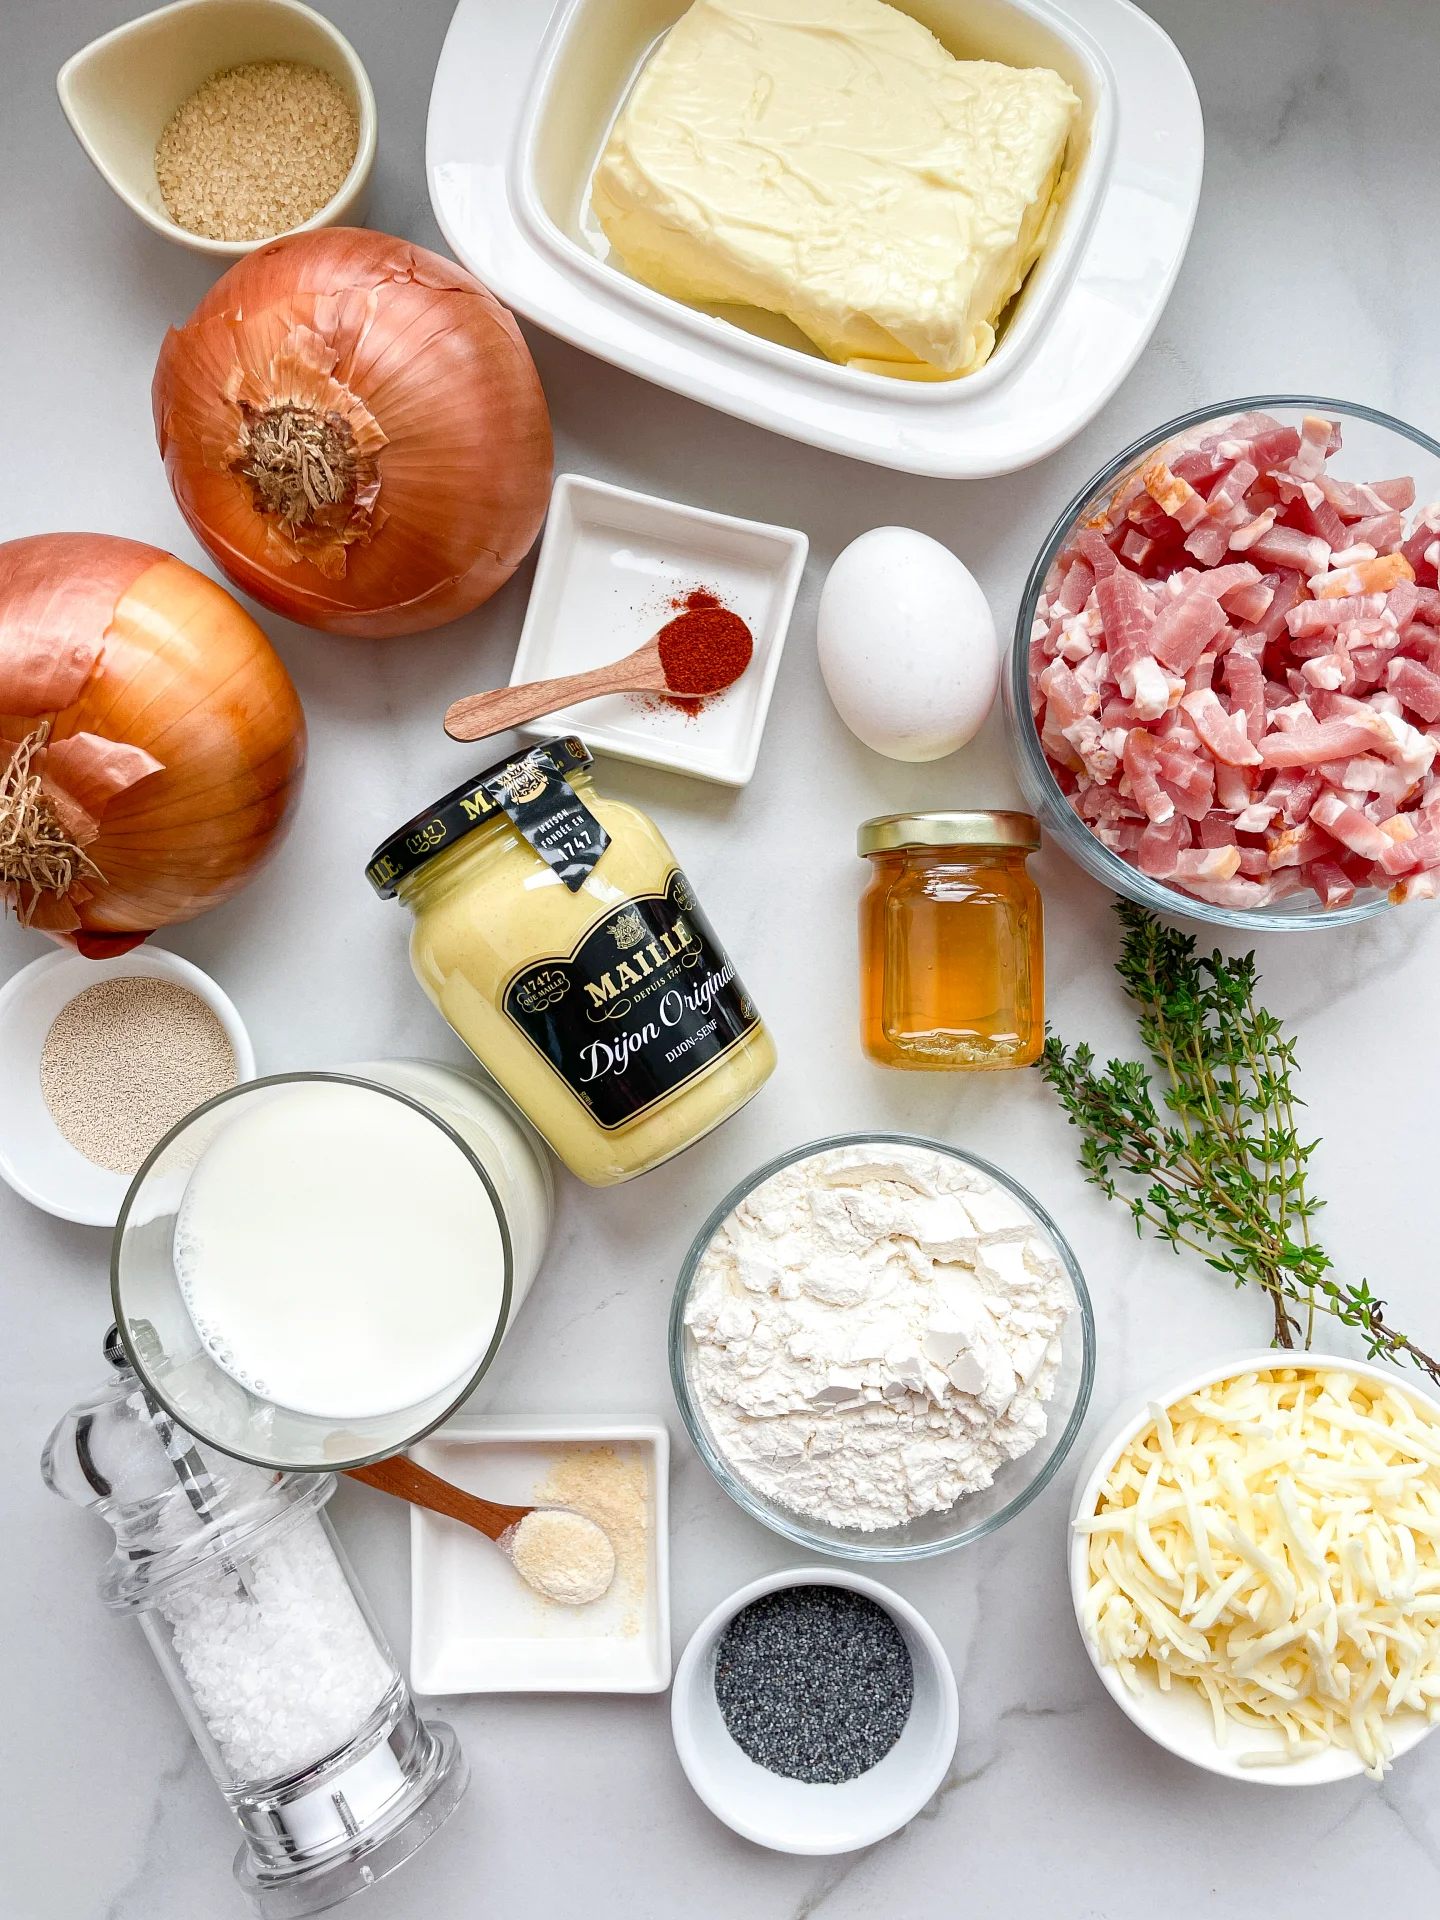
Ingredients

Units Scale
DOUGH
  • 450 grams all-purpose flour
  • 180 milliliters full-fat cow milk
  • 2 tsp dry active yeast
  • 1 tbsp honey
  • 1 egg
  • 3 tbsp butter, room-temperature
  • 1/2 tsp salt
  • 1 tbsp olive oil for greasing the bowl
BACON
  • 250 grams bacon
  • 2 tsp dried thyme
  • 1 tbsp honey
  • 1/4 tsp cayenne pepper
  • 60 milliliter white wine (or any kind of stock)
CARAMALIZED ONIONS
  • 600 grams yellow onions
  • 1 tbsp butter
  • 1 tsp salt
  • 60 milliliter white wine (or any kind of stock)
POPPY SEED GLAZE
  • 2 tbsp butter, melted
  • 1 tsp Dijon mustard
  • 2 tsp brown sugar
  • 1 tsp poppy seeds
  • 1/2 tsp garlic powder
OTHER INGREDIENTS
  • 250 grams cheddar cheese
  • 1 tsp butter for greasing the baking dish

Instructions

  1. To make the dough, warm the milk slightly to 35–40°C (95–104°F) and mix it with the dry active yeast and honey in a small container. Let it sit for about 5 minutes until bubbles form, indicating the yeast is active. Meanwhile, in a medium-sized bowl, combine the egg, butter, and salt. Stir in the milk-yeast mixture until well incorporated. Gradually add the flour in four additions, mixing thoroughly after each one. Once the dough is firm enough, transfer it to a clean work surface and knead with the remaining flour until it becomes smooth, elastic, and soft. This should take about 10 minutes. Lightly oil a large bowl and place the dough ball inside. Coat the dough lightly with a bit more olive oil, then cover the bowl with cling film and a clean towel. Let it rest in a warm place for one hour.
  2. To make the caramelized onions, peel the onions, cut them into thin half-circles, and cook them in a large pan with a tablespoon of butter and a pinch of salt over low to medium heat. Stir occasionally, allowing them to caramelize slowly. This takes about 30 minutes, depending on the desired color. Finish by deglazing with a splash of white wine and letting it reduce briefly. Alternatively, you can use stock instead of wine. Remove the onions from the pan and set aside in a bowl.
  3. For the bacon, use the same pan you caramelized the onions in (no need for additional fat). Fry the bacon until crispy, then add fresh or dried thyme, a pinch of cayenne pepper, and a drizzle of honey. Let everything caramelize over medium heat before deglazing with a splash of white wine or stock. Allow the liquid to evaporate, then set the bacon aside.
  4. Grease a baking dish with butter and set aside. Preheat the oven to 190°C / 375°F. Grate the cheddar cheese and set it aside. Dust a clean work surface with flour and place the dough ball on it. It should have doubled in size by now. Sprinkle the dough lightly with more flour and roll it out into a rectangle about 30×40 cm (12×16 inches). Spread half of the grated cheddar cheese evenly over the dough, followed by the caramelized onions and bacon. Top with the remaining cheese. Roll the dough tightly from the bottom upward, then cut it into 12 equal pieces. Place the rolls in the greased baking dish, cut side up. Cover the dish with cling film and a towel, and let it rest for another 30 minutes in a warm place.
  5. Bake the rolls in the preheated oven for about 30 minutes, or until golden brown. While the rolls bake, prepare the poppy seed glaze. In a small bowl, mix together melted butter, garlic powder, poppy seeds, brown sugar, and Dijon mustard.
  6. After 30 minutes of baking, remove the rolls from the oven and brush them evenly with the glaze. Return them to the oven and bake for another 5 minutes, being careful not to let them get too dark. Let the rolls cool for 15 minutes before serving. Enjoy!

  • Passive Time: 90 min
  • Cook Time: 30 min

CRAVING MORE?

Follow along here & don’t forget to subscribe to my substack!

Natural Easter Egg Dye

Natural Easter Egg Dye

Natural Easter Egg Dye

Natural Easter Egg Dye

March 27, 2024 by Kimberly

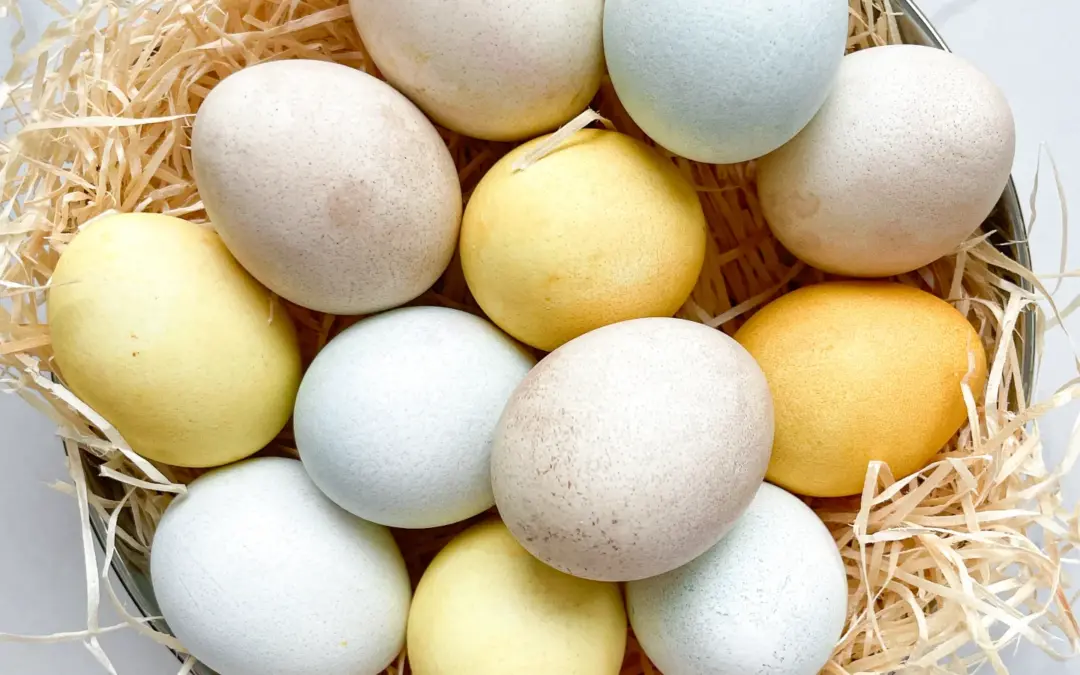
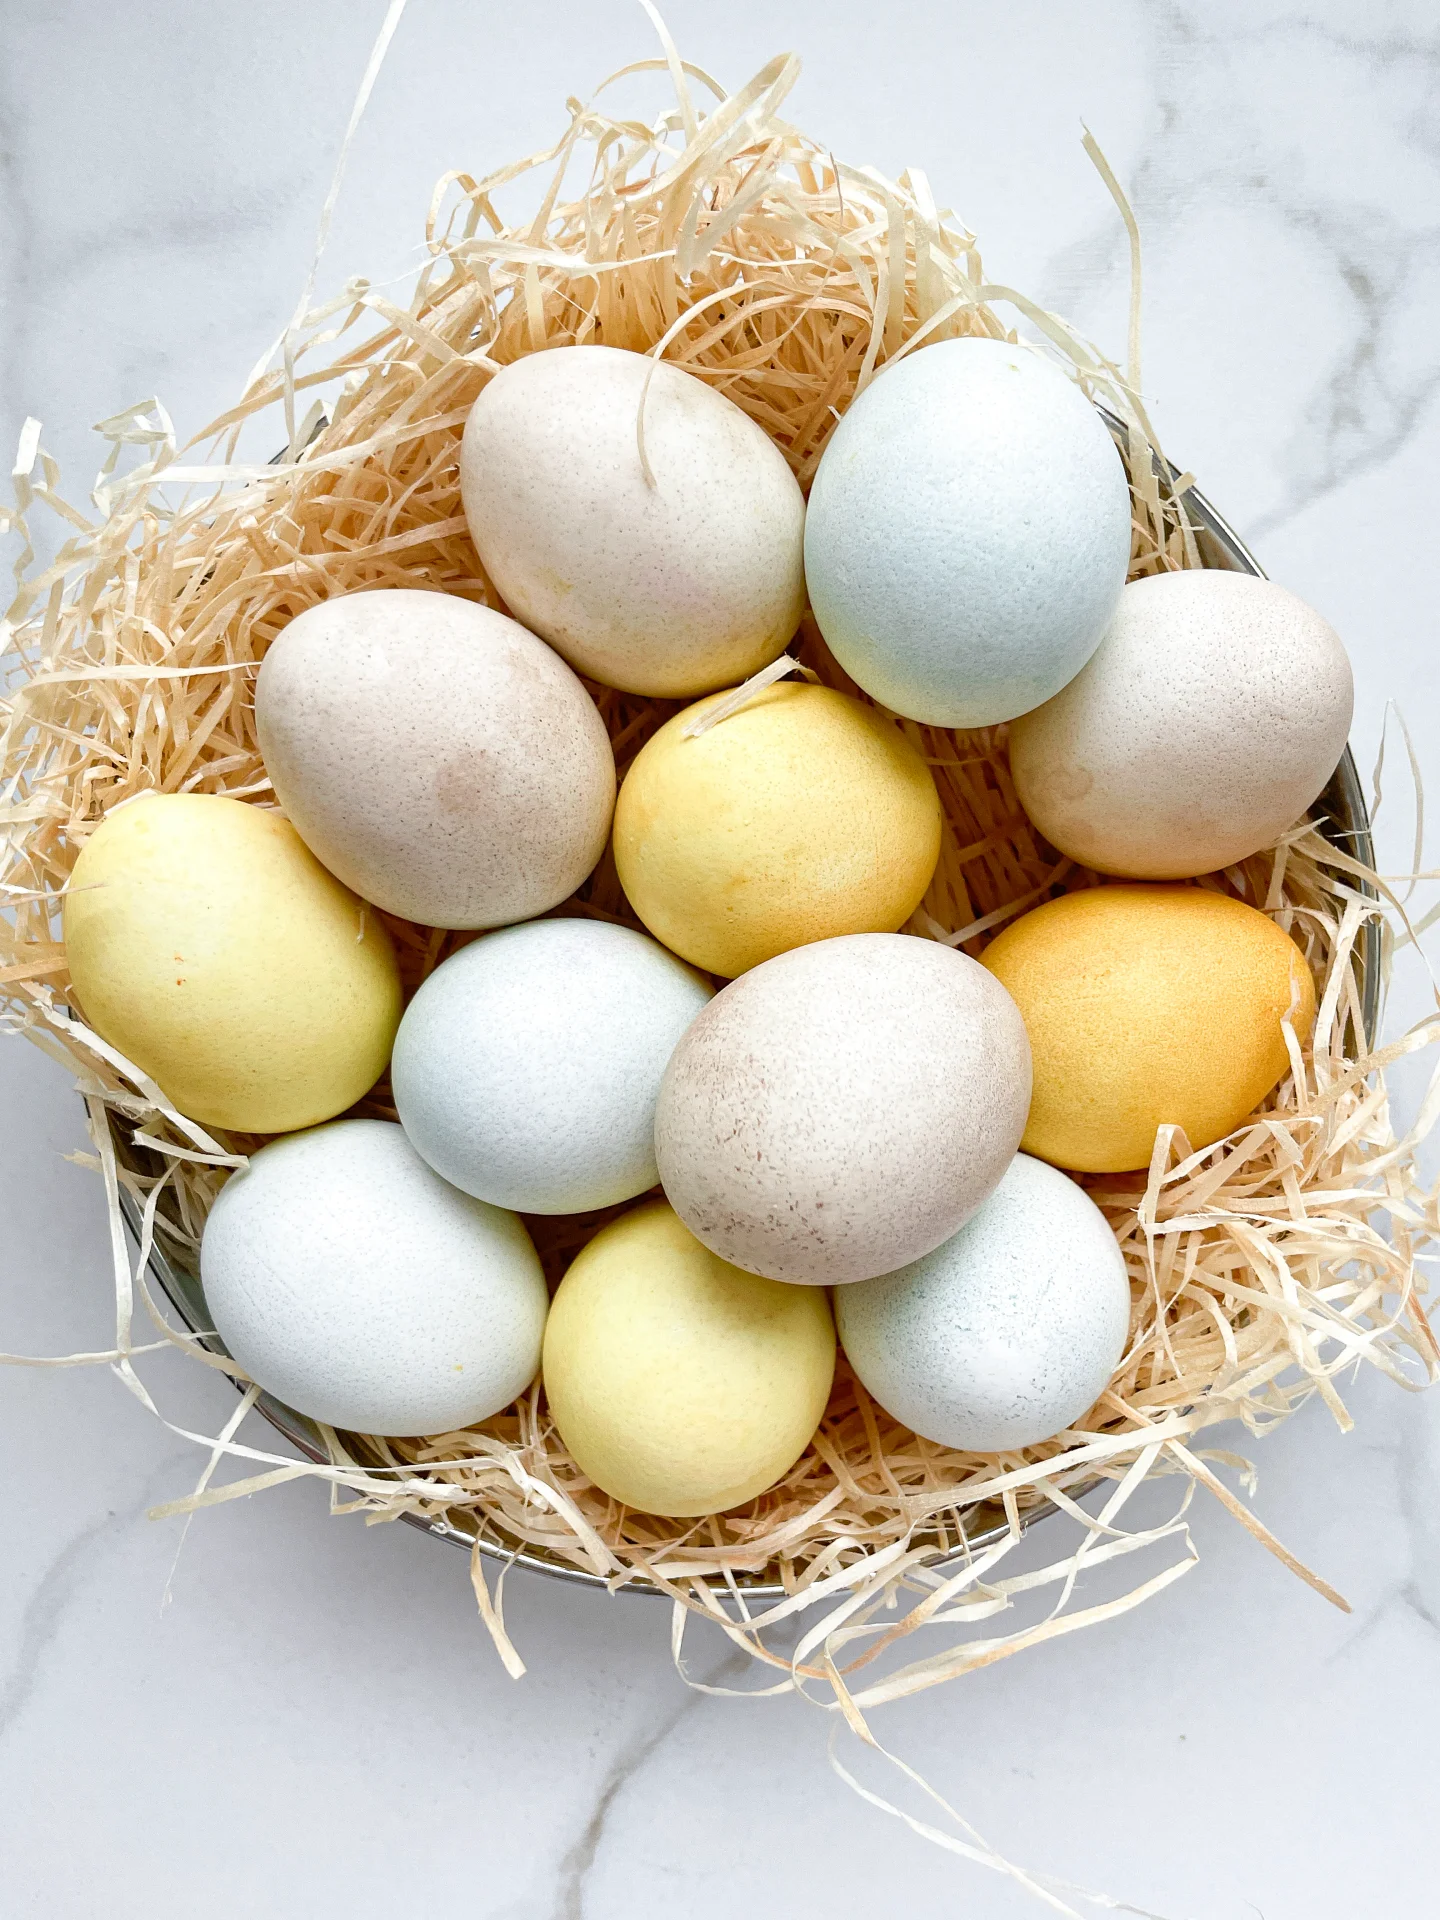
Embrace a colorful Easter tradition with natural dyes! Create stunning red, blue, and yellow eggs using just beetroot, red cabbage, and turmeric. A fun, family-friendly adventure awaits!

This website uses affiliate links which may earn commission for purchases made at no additional cost to you.

TOTAL TIME

4 hrs

SERVES

24 eggs

DIET

vegetarian

EVERY RECIPE DESERVES

A Little Love Letter

Embrace the magic of Easter with this natural Easter egg dye recipe! Using just red cabbage, beetroot, and turmeric, you can create a spectrum of vibrant, non-toxic colors. It’s a fun, eco-friendly activity that brings the beauty of nature into your Easter celebrations. Perfect for families looking to add a personal touch to their Easter eggs without the chemicals.

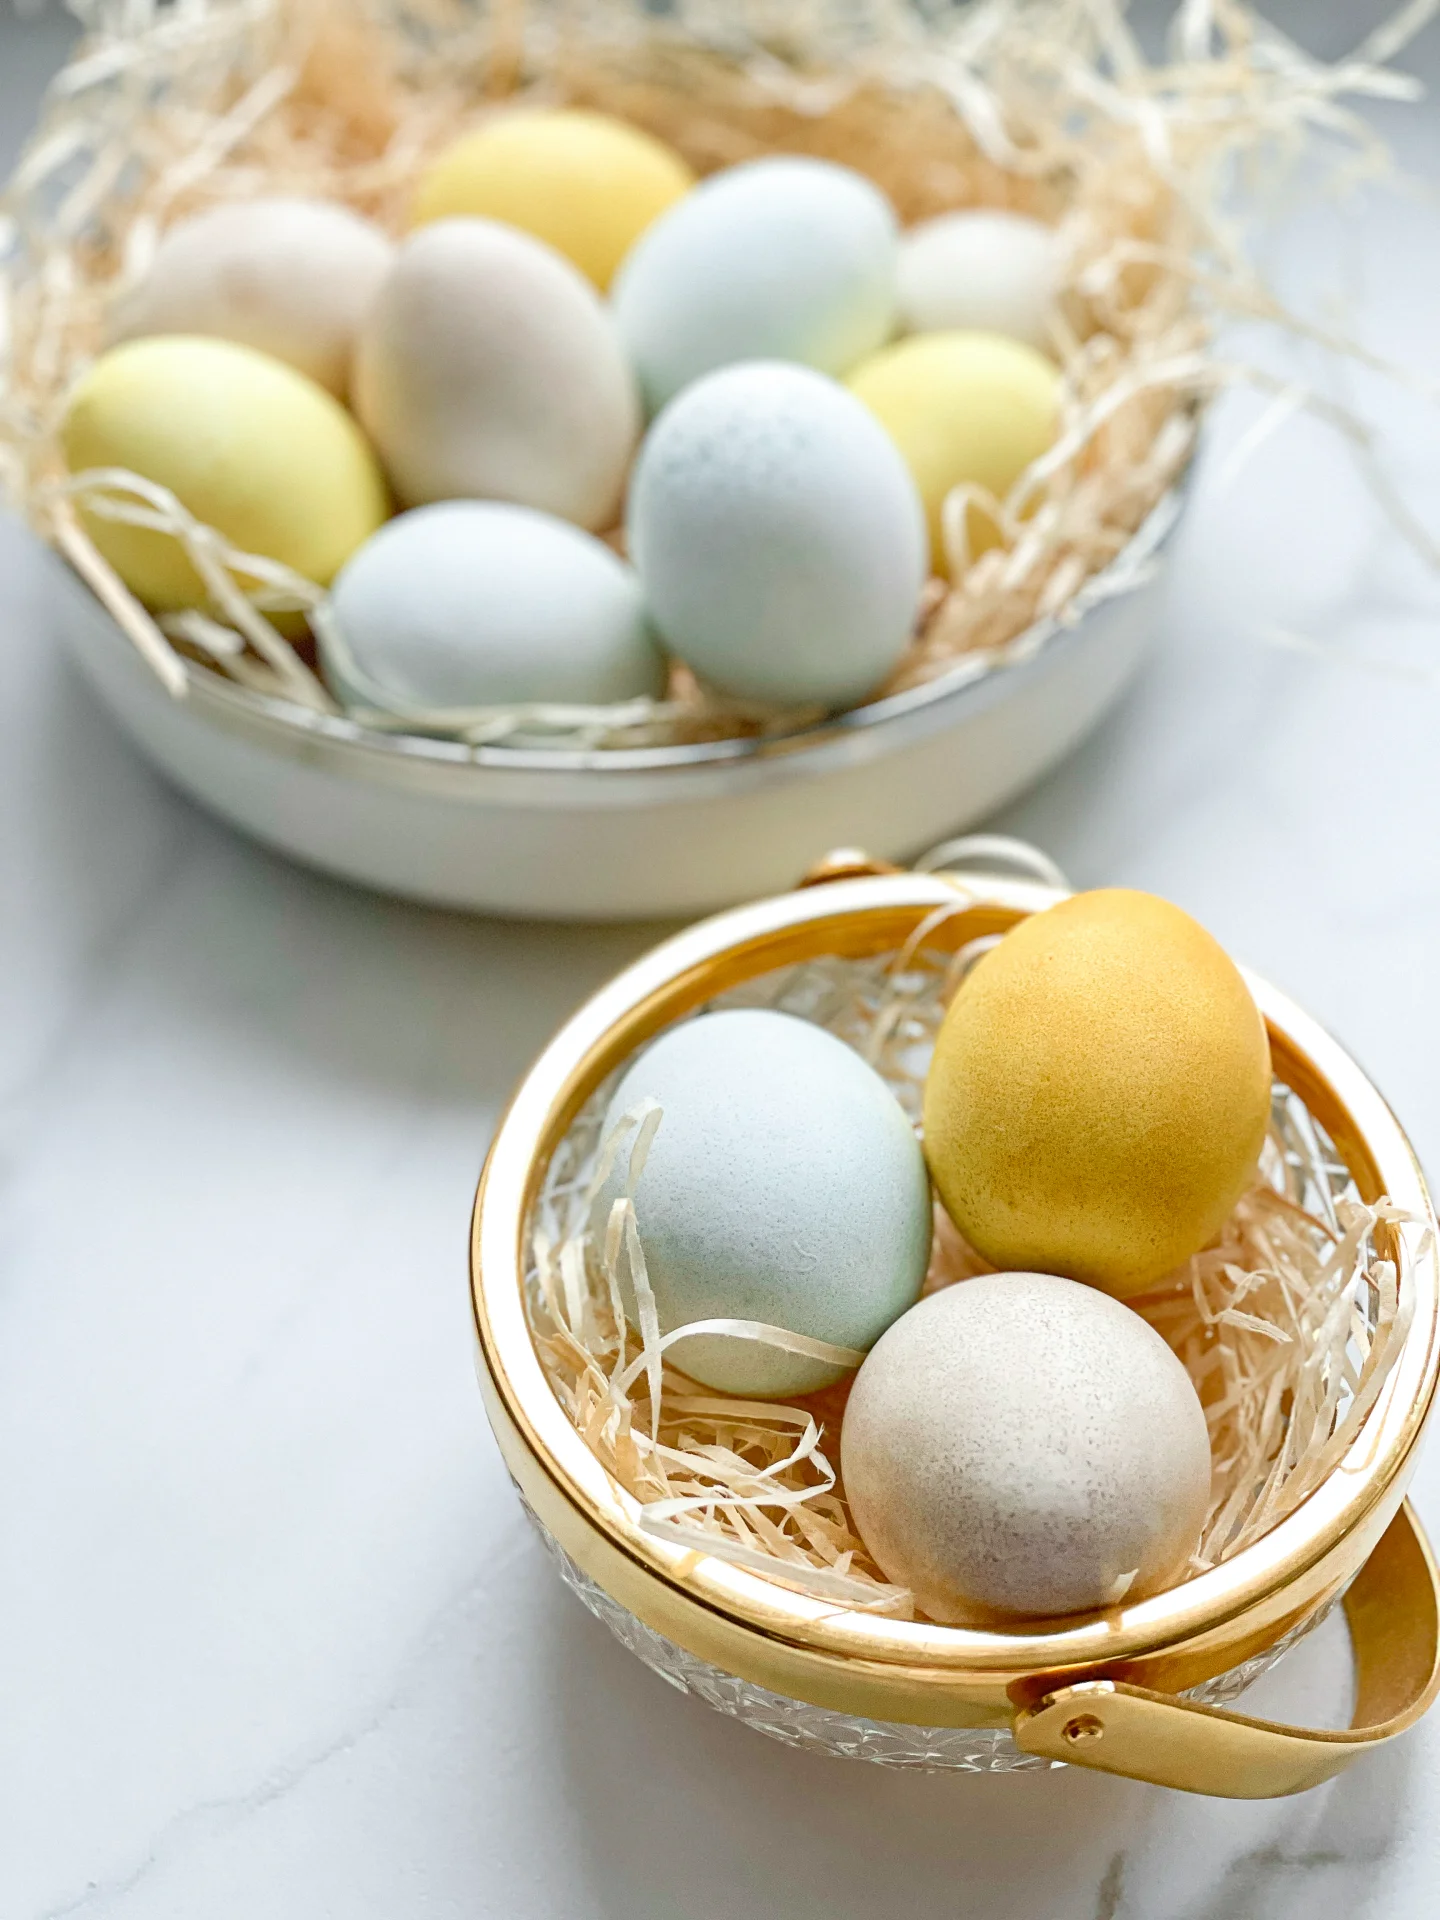
Display your naturally dyed Easter eggs as the centerpiece of your Easter table, nestled in a nest of fresh grass or delicately arranged in a rustic basket. They make for a stunning display that sparks conversations about the beauty of using natural ingredients. Incorporate them into your Easter egg hunt for a delightful surprise, or use them as personalized place settings, adding a touch of charm and warmth to your holiday gatherings.

To keep your naturally dyed Easter eggs fresh, store them on your countertop or dining table for up to 5 days or in the refrigerator for up to 2 weeks

Hi, I'm Kimberly!

Hi, I'm Kimberly.

A hopeless romantic when it comes to food. Every recipe I share is a love letter to food itself. I’m so glad you’re here. Make yourself at home and stay a while.

Love,
Kimberly

Kimberly the Zett Signature

If you want to get to know me better,
click here!


Natural Easter Egg Dye

LET’S MAKE A PIECE OF HAPPINESS

Print
clock clock iconcutlery cutlery iconflag flag iconfolder folder iconinstagram instagram iconpinterest pinterest iconfacebook facebook iconprint print iconsquares squares iconheart heart iconheart solid heart solid icon
Natural Easter Egg Dye

Natural Easter Egg Dye


  • Author: Kimberly
  • Total Time: 4 hrs
  • Yield: 24 1x

Description

GOOD TO HAVE ON HAND

  • sharp knife
  • cutting board
  • four medium-sized pots
  • three medium-sized bowls
  • sieve
  • kitchen paper
  • small bowl
  • disposable gloves to prevent the vegetables from staining your fingers


Ingredients

Units Scale
BROWN EGGS
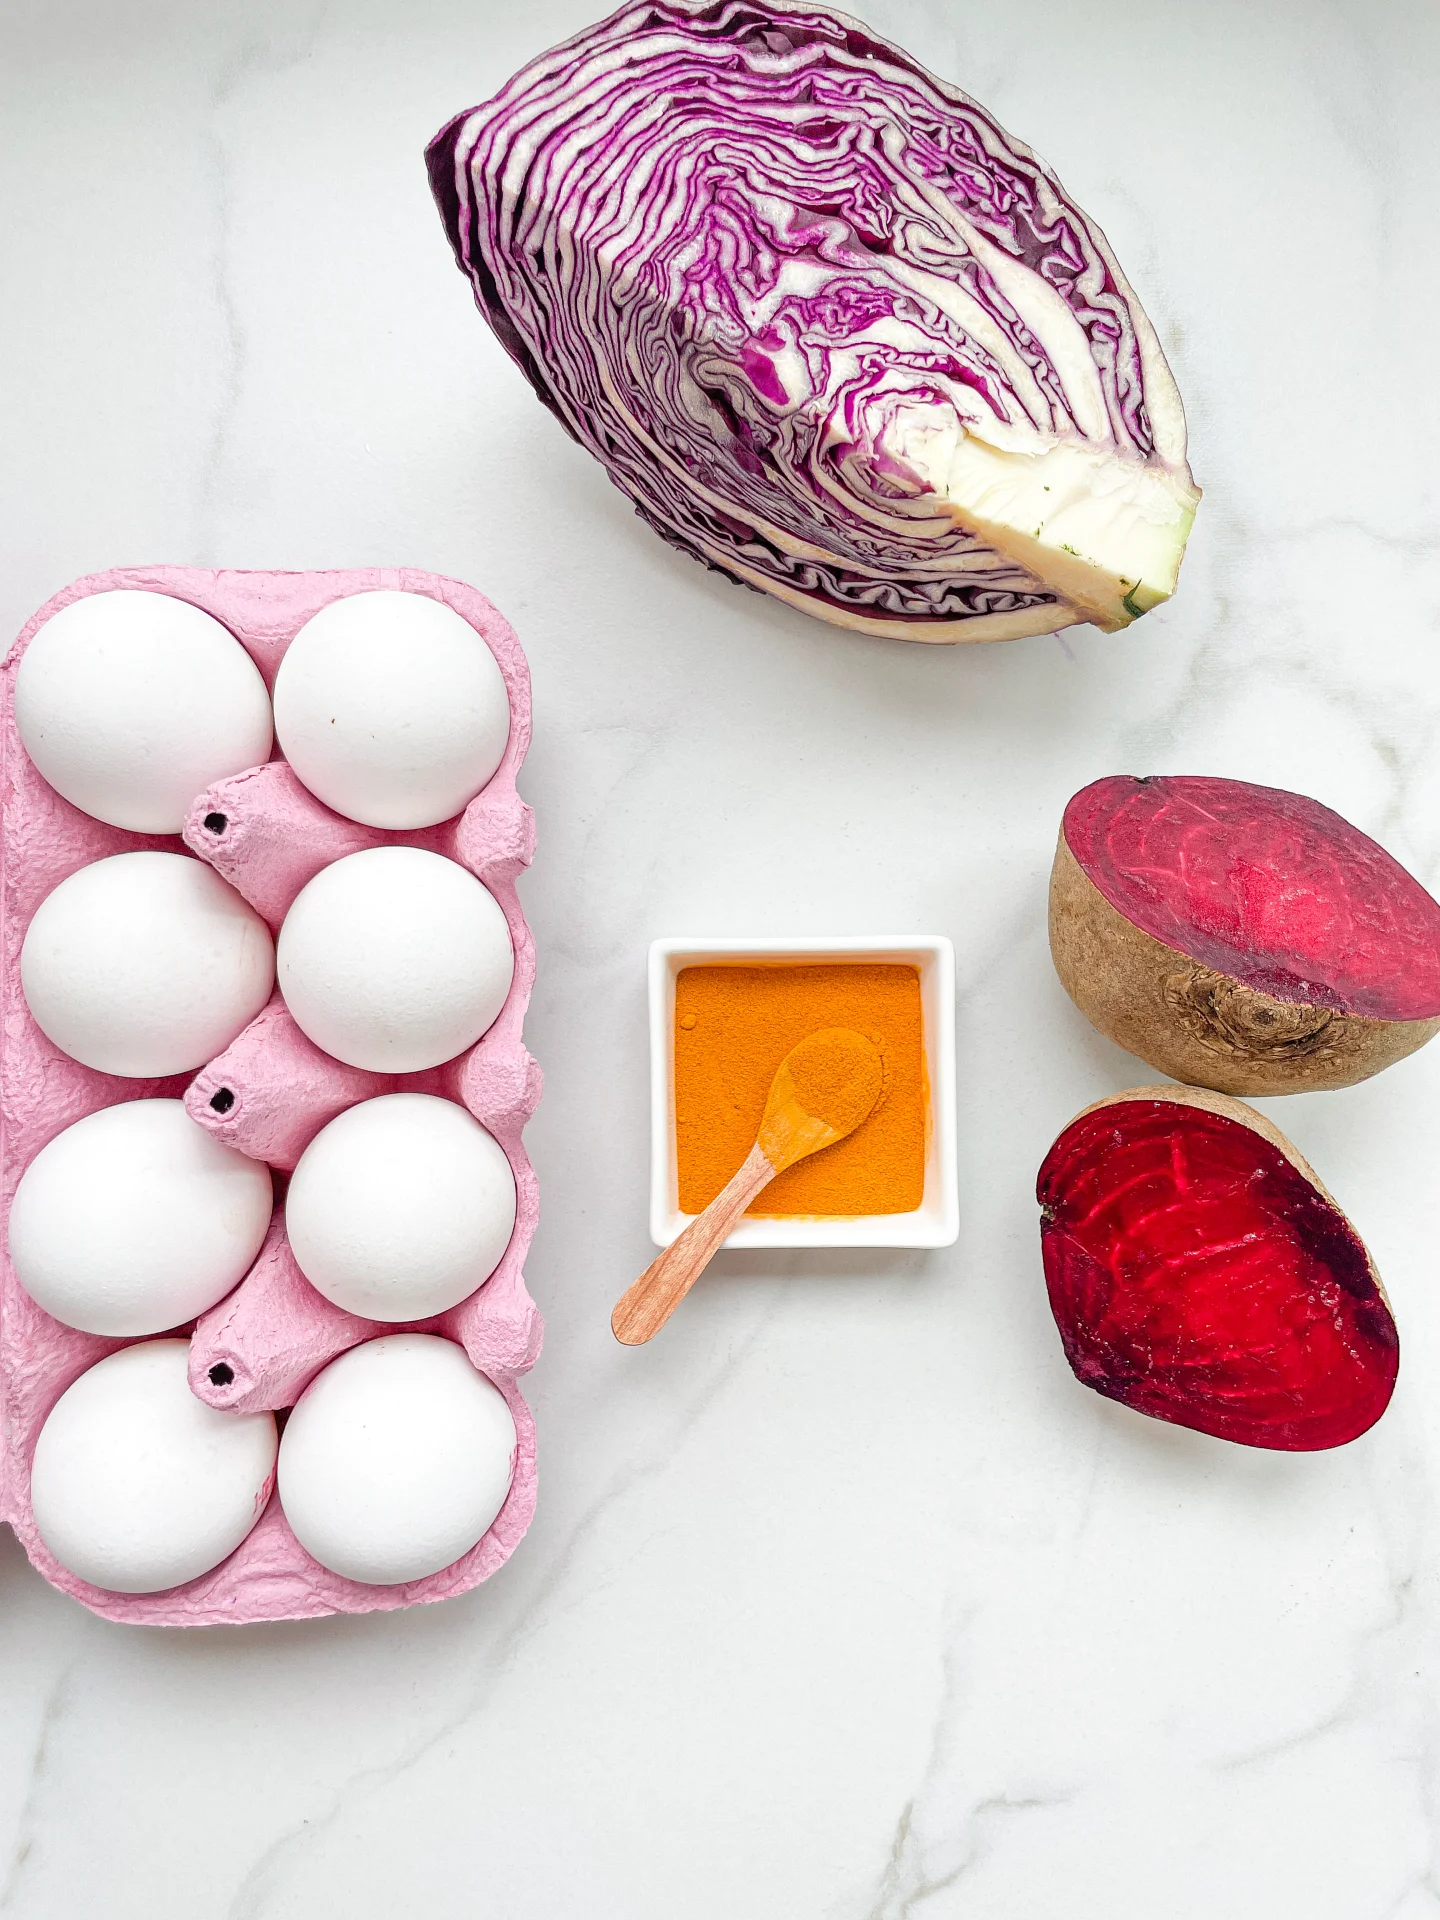
  • 300 grams beetroot
  • 1000 milliliters water
BLUE EGGS
  • 300 grams red cabagge
  • 1000 milliliters
YELLOW EGGS
  • 1.5 tsp turmeric
  • 1000 milliliters
OTHER INGREDIENTS
  • 24 eggs
  • 1 tbsp vinegar
  • 1 tbsp olive oil (optional)

Instructions

  1. to prevent the eggs from cracking, you should take them out of the fridge early enough so that they reach room temperature and are not cold when placed into the boiling water.
  2. Put the gloves on. Peel the beets and chop them into coarse pieces. Place the pieces in one of the pots. Set aside.
  3. Chop the red cabbage into coarse pieces and place them in another pot. Set aside.
  4. Add 1.5 teaspoons of turmeric powder to another pot.
  5. Fill all three pots with 1 liter of water each and place them on the stove.
  6. Bring the water to a simmer and prepare a broth in each pot. Let the beets simmer for 15 minutes, and the red cabbage and turmeric for 20 minutes. Then, remove the pots from the stove and strain the liquid from each pot into the medium-sized bowls. Let the liquid cool.
  7. Meanwhile, hard boil the eggs. Fill a pot with water enough to cover all the eggs. Bring the water to a boil, add the eggs, and cook for 8 minutes. Shock the eggs with cold water and set aside. Once the eggs are no longer hot, rub them with vinegar to help them better absorb the color later. For this, put 1 tablespoon of vinegar into a small bowl, dip kitchen paper into the vinegar, and then rub the eggs all around. Set aside.
  8. Once the eggs and the broths have cooled, you can now place the eggs in the broth. I left them in for 2 hours because I like the pastel tone best. For a more intense color, the eggs can be left in the broth longer.
  9. When you are happy with the color, remove the eggs from the broth and dry them with kitchen paper. The eggs are now ready. If you prefer them to be shiny rather than matte, you can now rub them with a little cooking oil.
  • Passive Time: 3.5 hrs
  • Cook Time: 20 min

CRAVING MORE?

Follow along here & don’t forget to subscribe to my substack!

Cured Egg Yolk

Cured Egg Yolk

Cured Egg Yolk

Cured Egg Yolk

March 22, 2024 by Kimberly

Discover the unique, umami-rich world of cured egg yolks! Elevate your dishes with this simple, gourmet addition. A culinary secret for a luxurious, savory flavor boost!

This website uses affiliate links which may earn commission for purchases made at no additional cost to you.

TOTAL TIME

80 min + 5 days

SERVES

6 yolks

DIET

vegetarian

EVERY RECIPE DESERVES

A Little Love Letter

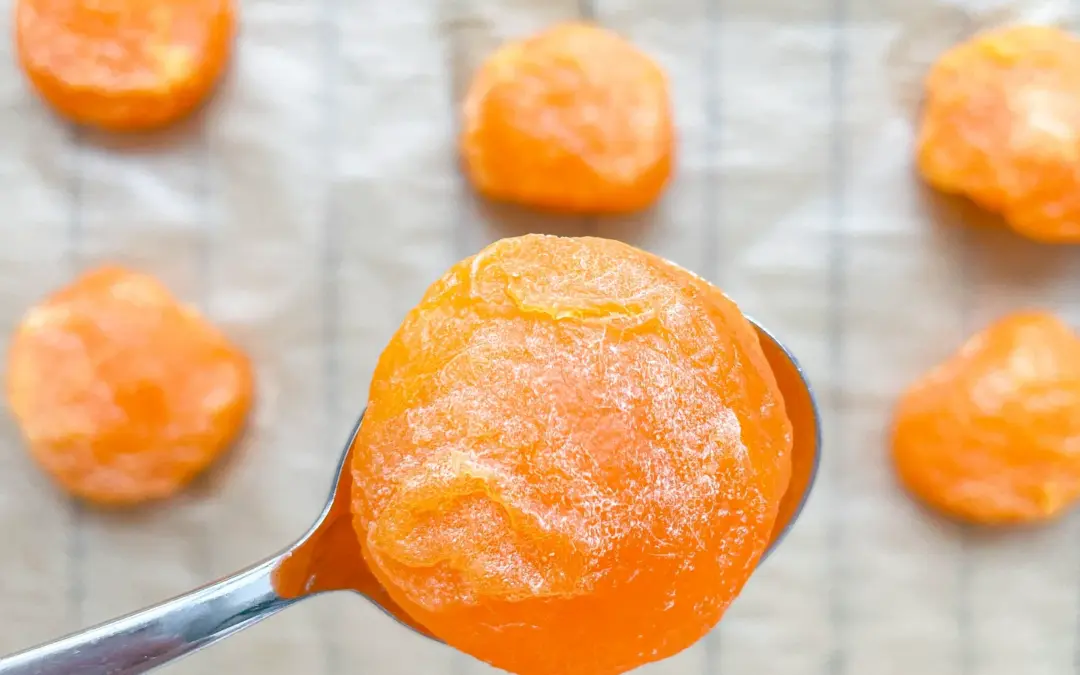
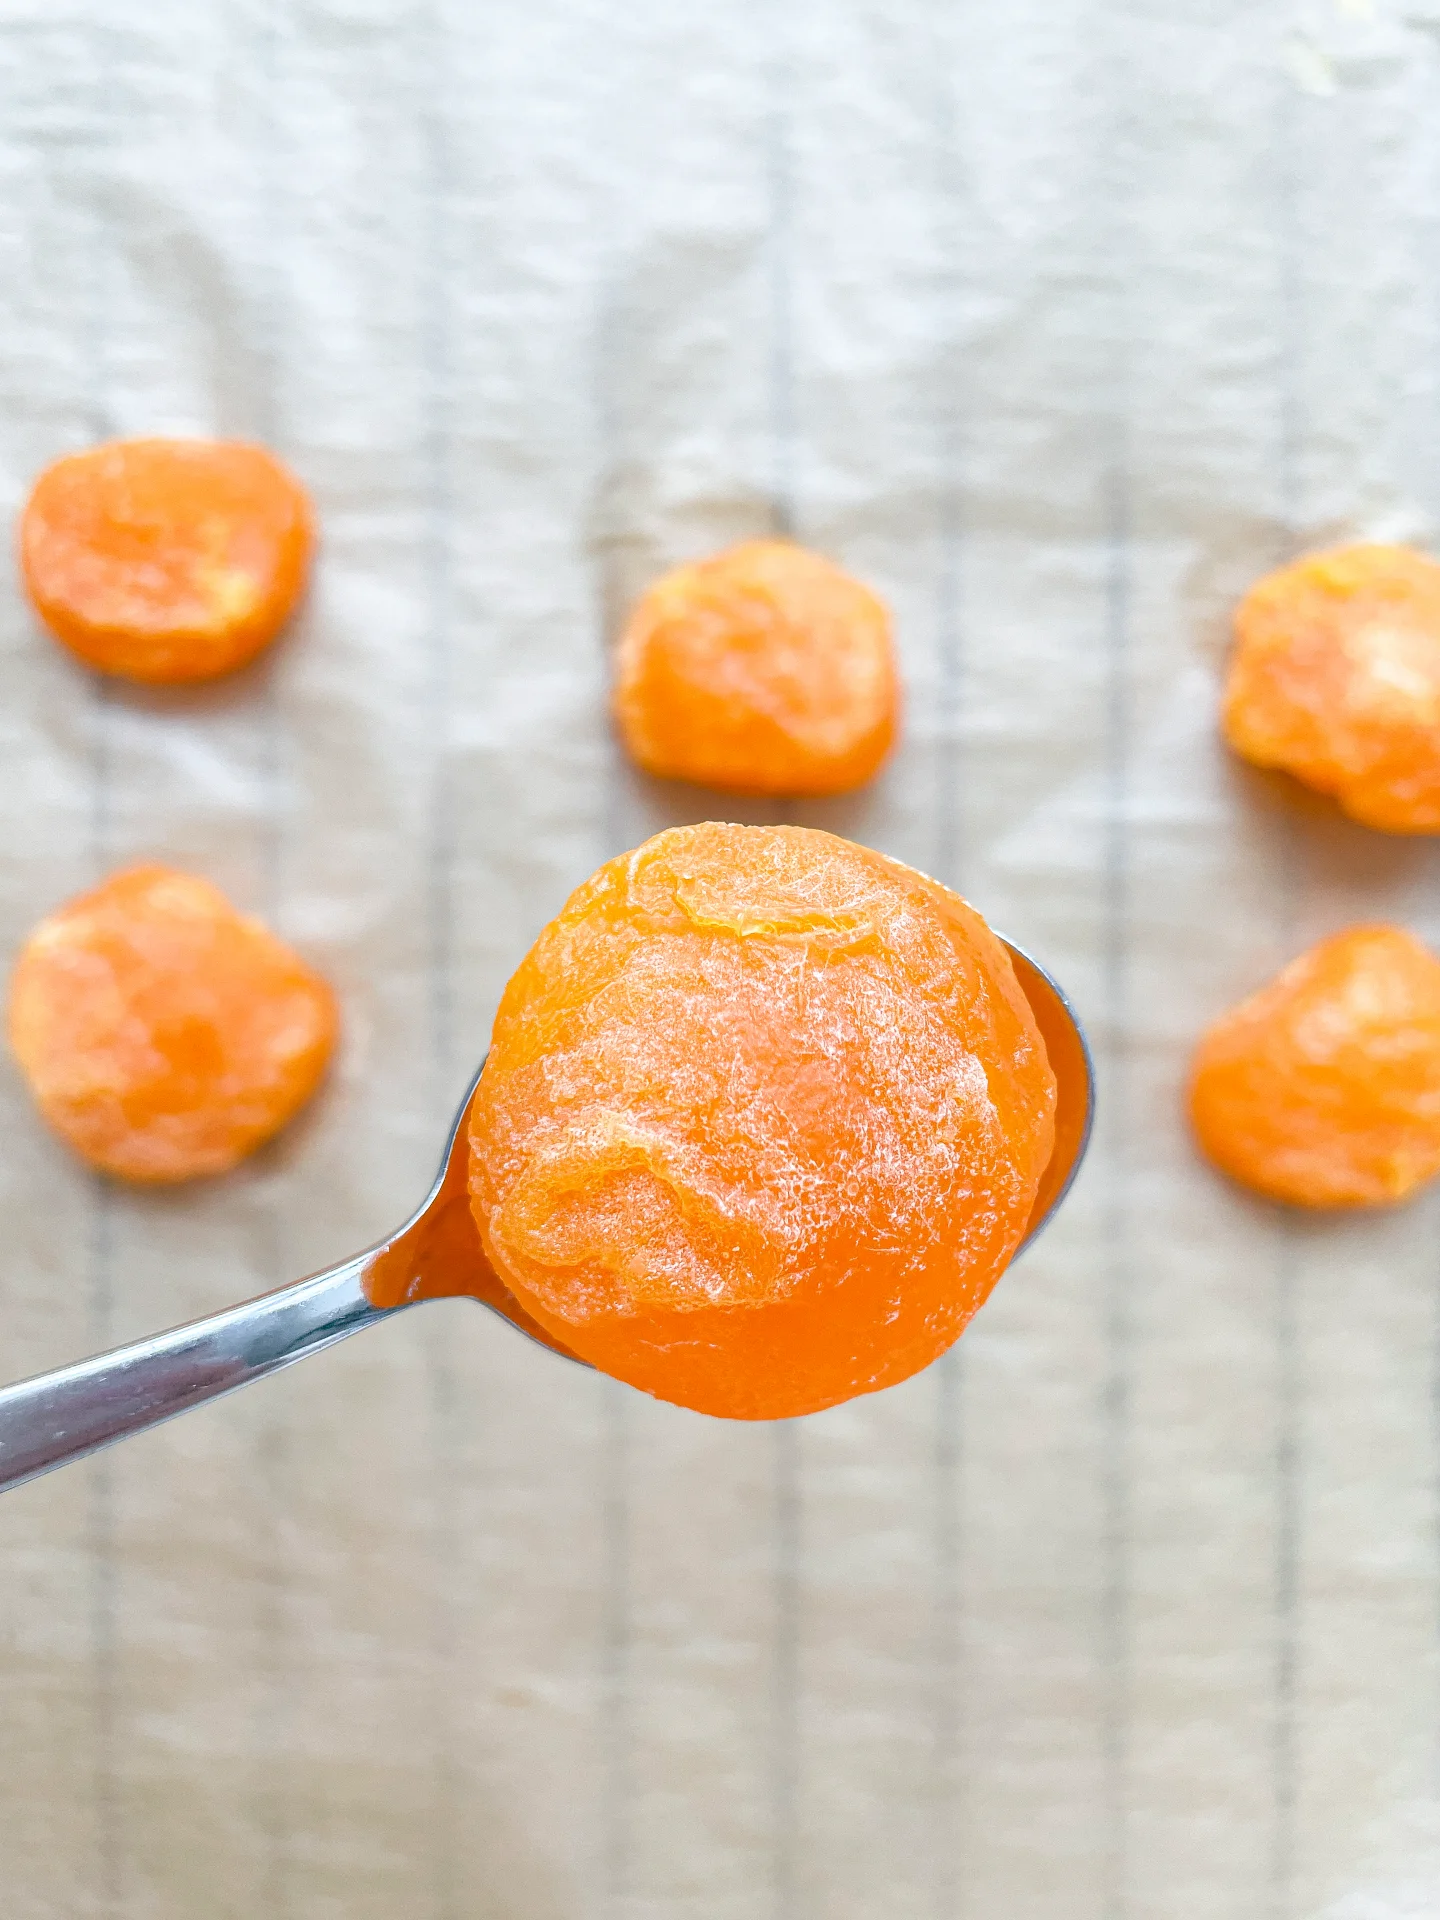
Embark on a culinary adventure with cured egg yolks, an artisanal delight that transforms ordinary meals into gourmet experiences. This luxurious ingredient, known for its rich umami flavor and silky texture, is surprisingly simple to make at home. Perfect for food enthusiasts looking to add a touch of elegance and depth to their dishes, cured egg yolks will become your new secret weapon in the kitchen.

Grate cured egg yolks over pasta, salads, pizza or soups to add a burst of savory flavor and a touch of sophistication. Use them to enhance the taste of roasted vegetables or to elevate your morning avocado toast. Their rich, salty taste complements a wide range of dishes, making them a versatile addition to your culinary repertoire.

Keep your cured egg yolks in an airtight container in the refrigerator. They can last for up to a month, retaining their flavor and texture. Ensure they are fully dried and cured before storage to maintain their quality.

Hi, I'm Kimberly!

Hi, I'm Kimberly.

A hopeless romantic when it comes to food. Every recipe I share is a love letter to food itself. I’m so glad you’re here. Make yourself at home and stay a while.

Love,
Kimberly

Kimberly the Zett Signature

If you want to get to know me better,
click here!


Cured Egg Yolk
Cured Egg Yolk

LET’S MAKE A PIECE OF HAPPINESS

Print
clock clock iconcutlery cutlery iconflag flag iconfolder folder iconinstagram instagram iconpinterest pinterest iconfacebook facebook iconprint print iconsquares squares iconheart heart iconheart solid heart solid icon
Cured Egg Yolk

Cured Egg Yolk


  • Author: Kimberly
  • Total Time: 5 days + 20 min
  • Yield: 6 1x

Description

GOOD TO HAVE ON HAND

  • shallow deep dish
  • oven


Ingredients

Units Scale
  • 6 fresh eggs
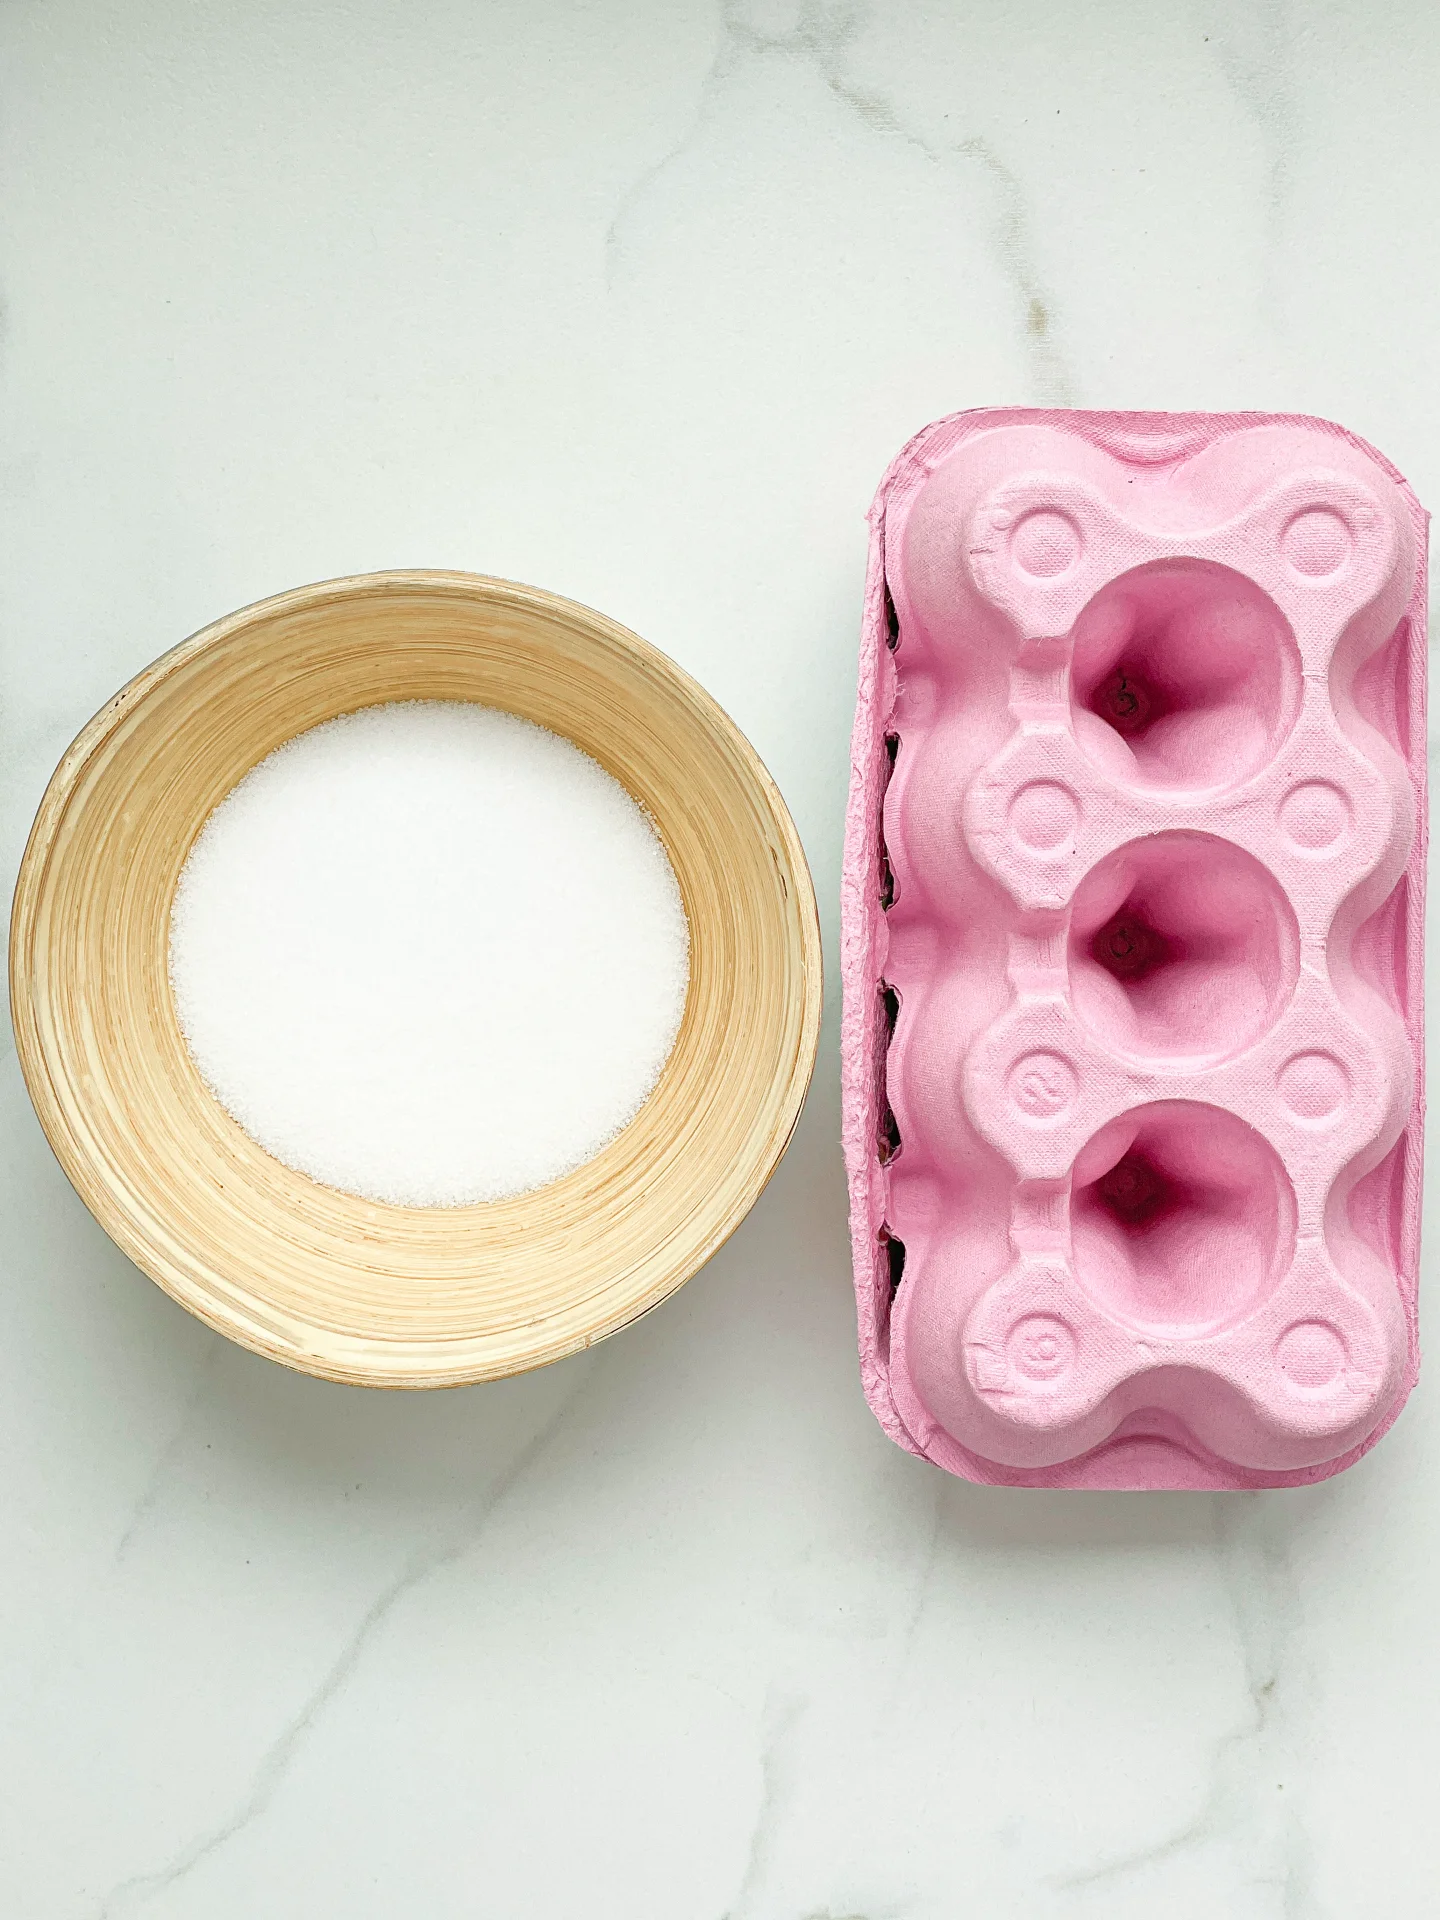
  • 500 grams to 1000 grams fine-grained salt (depending on the size of your container)

Instructions

  1. Distribute the half of your fine-grained salt evenly in the shallow deep container and form six wells for the egg yolks. You should not be able to see the bottom. The wells should be completely formed out of salt, ensuring that the egg yolks are completely surrounded by salt.
  2. Separate one egg at a time. Carefully let the yolks slide into the wells in the salt. Do not discard the egg whites – they can be used for making meringue or egg white omelet, for example.
  3. Once you have placed all the egg yolks into the wells, cover them with the other half of fine-grained salt and put them in the refrigerator for 5 days.
  4. After 5 days, take your container with the egg yolks out of the refrigerator and carefully remove the yolks from the salt. The yolk will now be very sticky and feel a bit like firmer hair gel. Rinse off the remaining salt from each yolk under cold water. Place the egg yolks on a baking rack lined with parchment paper and dry them in the oven at approximately 80°C (175°F) for one hour. Occasionally open the oven door for a few seconds to let all the moisture escape.
  5. Once the egg yolks are fully dried, remove them from the oven and let them cool completely.
  6. The egg yolks are now firm and ready to use. The cured egg yolks can be stored in a sealable glass jar in the refrigerator for 3-4 weeks. And I like to grate a bit of them over every savory dish 🙂
  • Passive Time: 5 days
  • Cook Time: 20 min

CRAVING MORE?

Follow along here & don’t forget to subscribe to my substack!

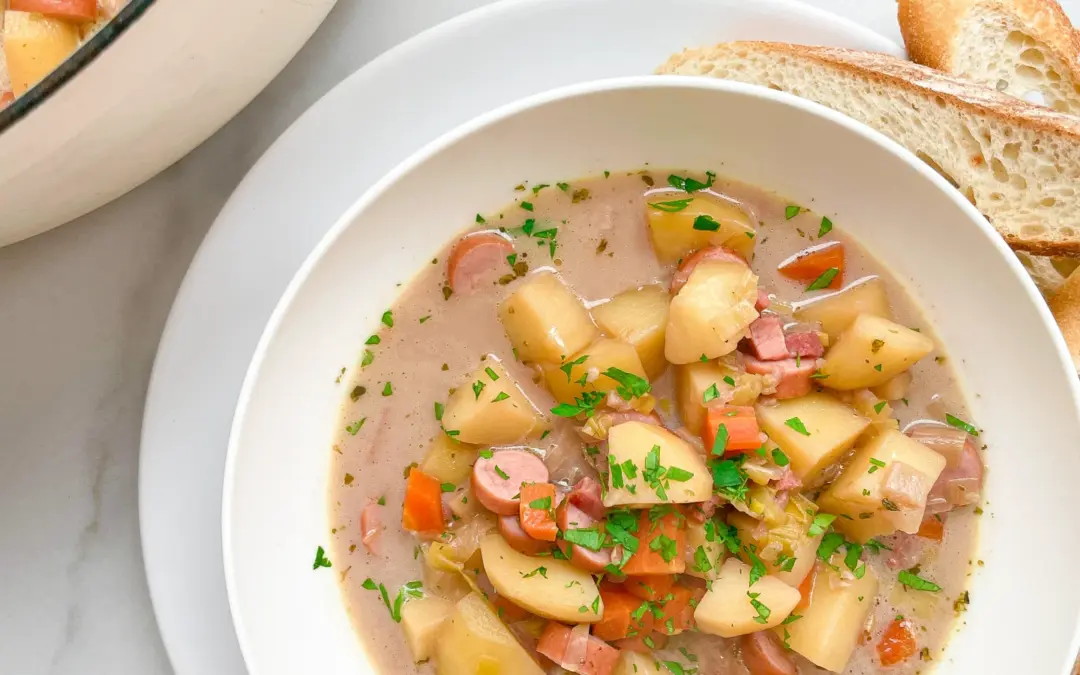
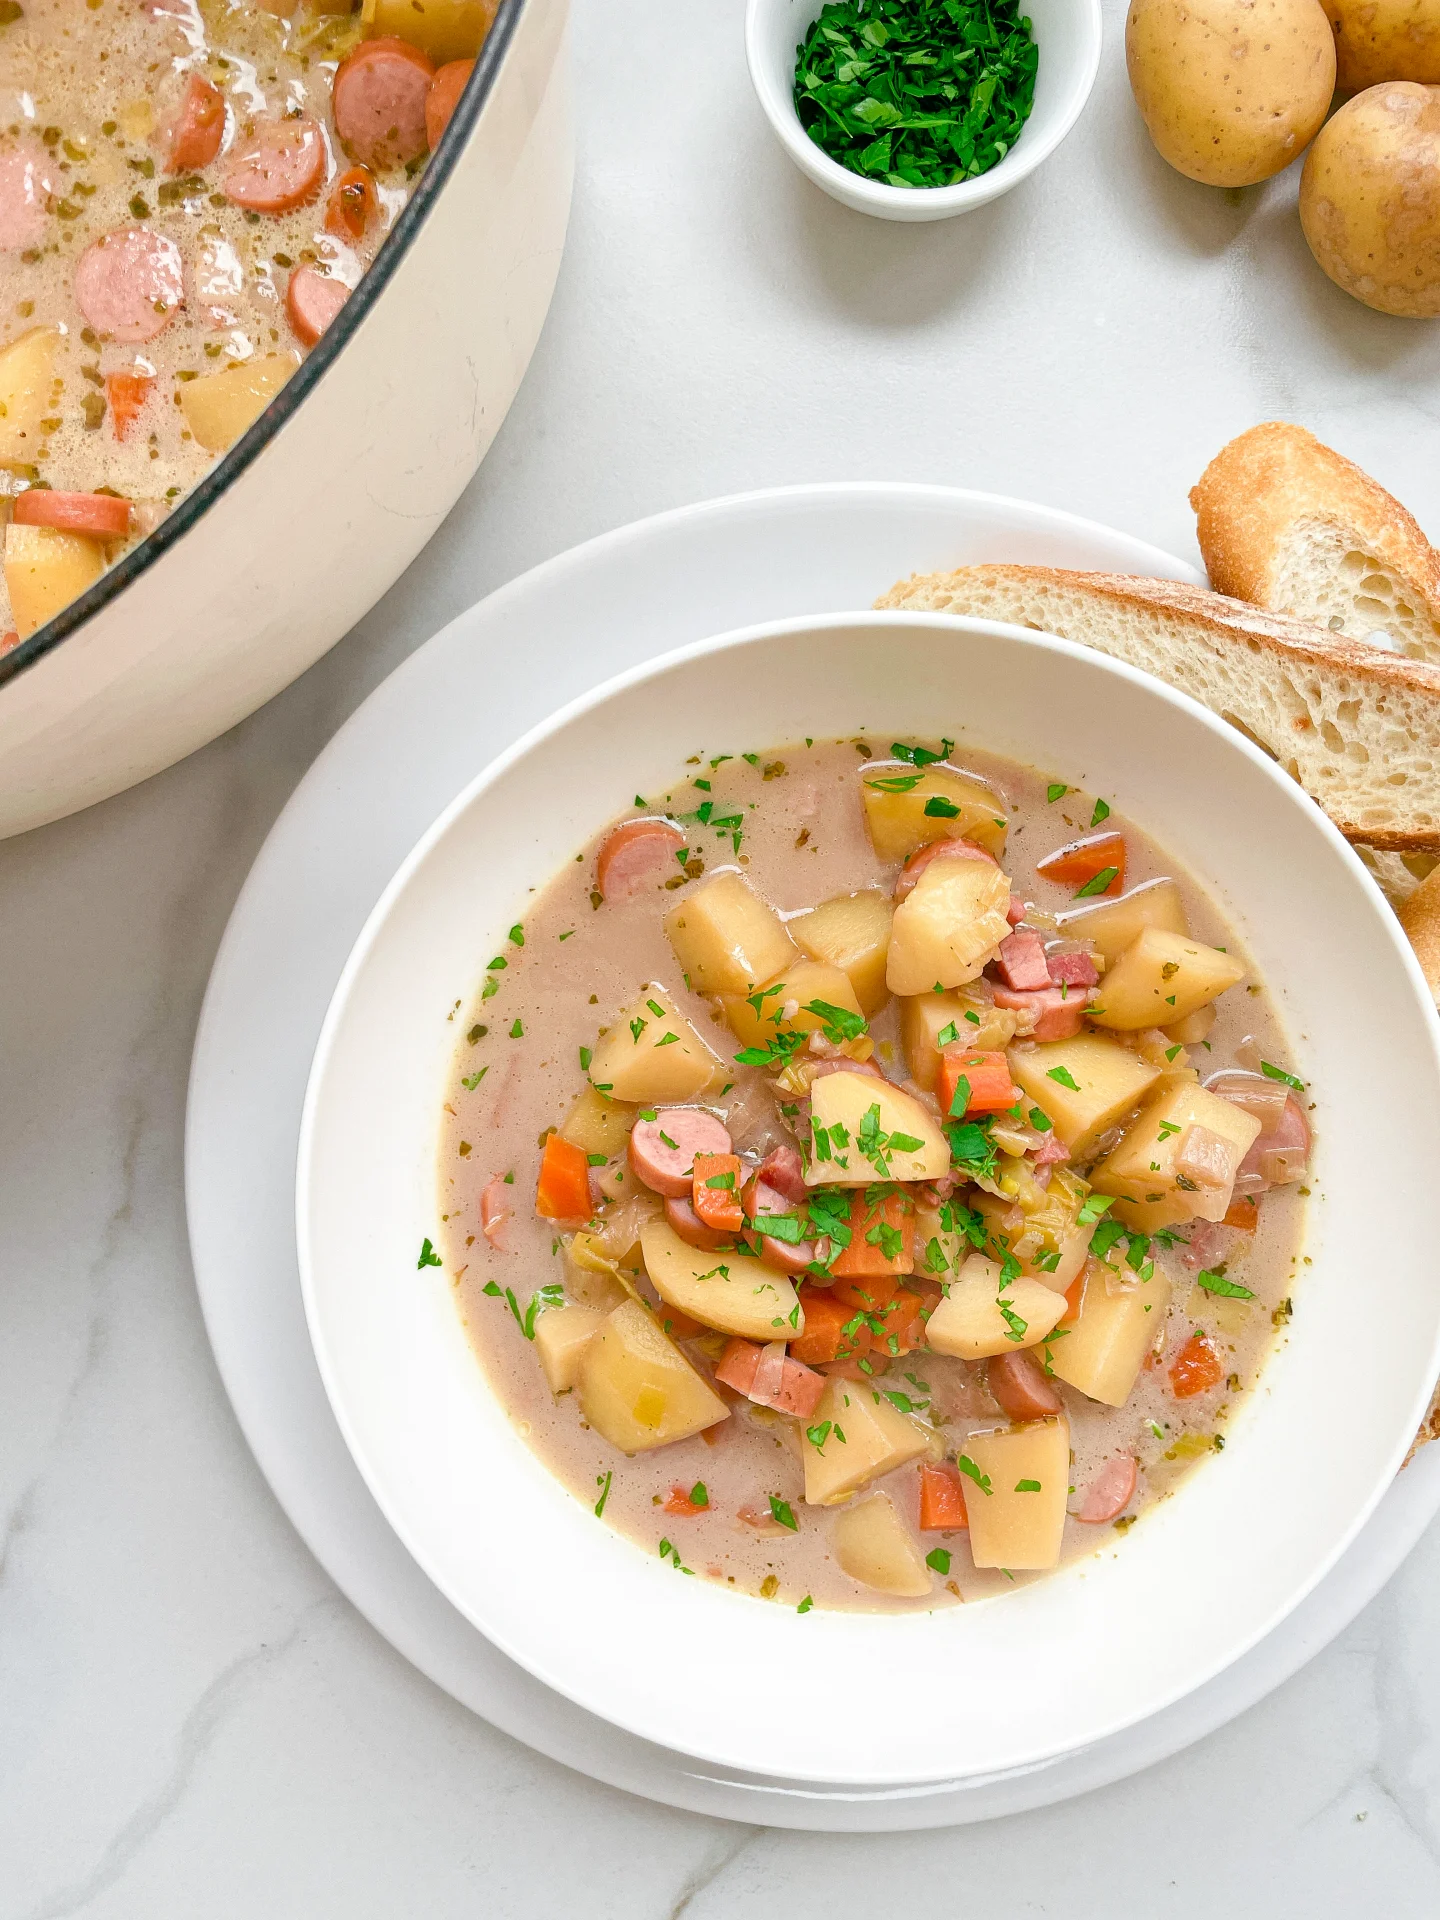
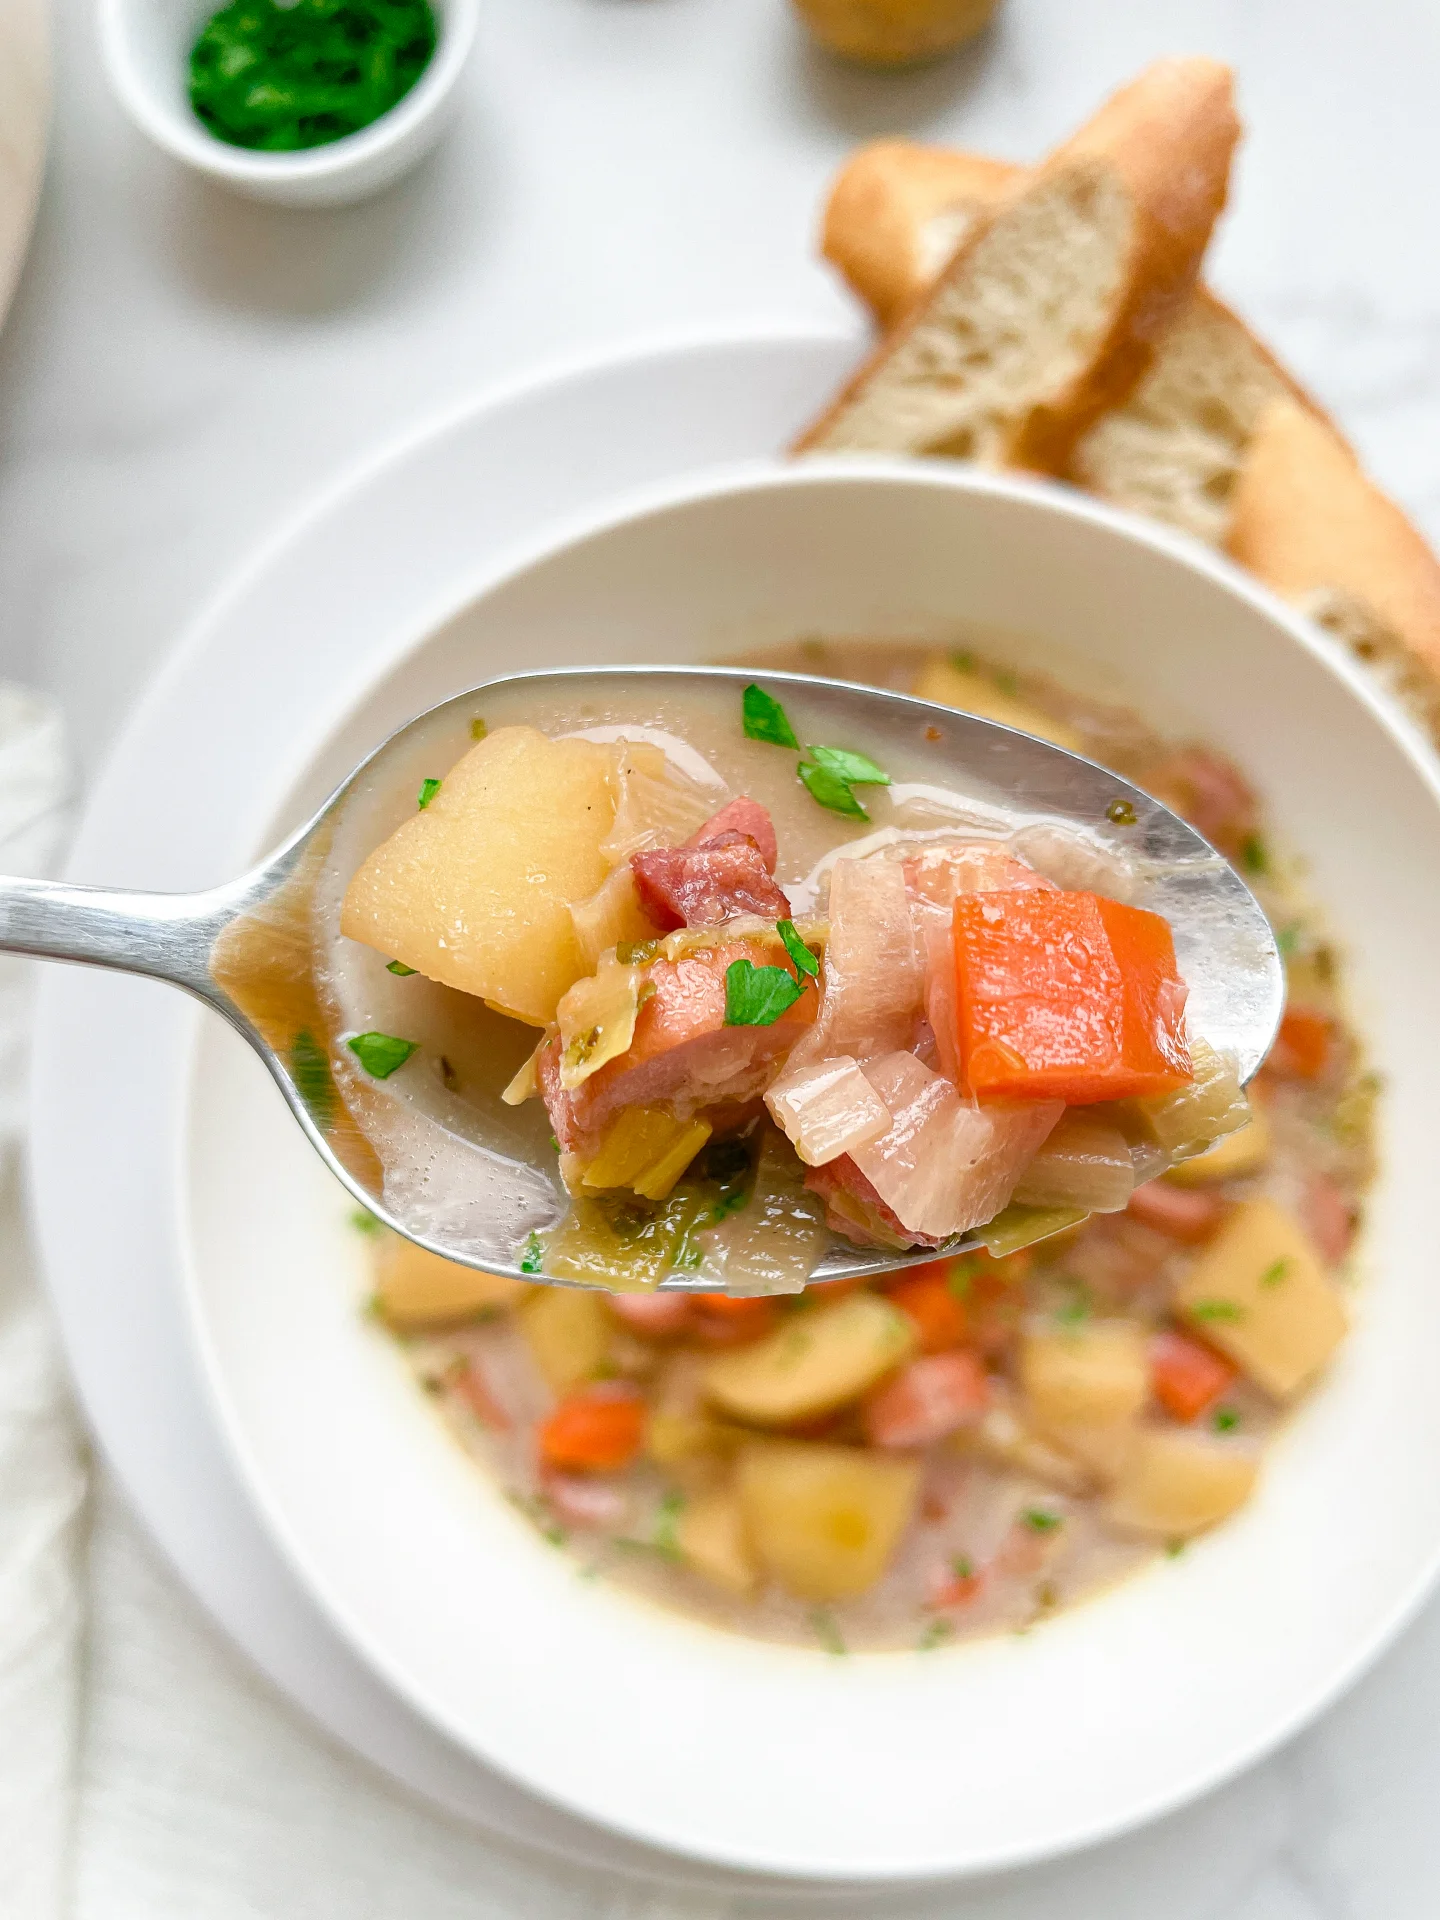
Potato Soup with Bacon & Sausage

Potato Soup with Bacon & Sausage

Potato Soup with Bacon & Sausage

Potato Soup with Bacon & Sausage

March 16, 2024 by Kimberly

Indulge in the ultimate comfort food: Potato Soup with Bacon & Sausage! This hearty, flavorful dish is perfect for cozy nights and brings everyone to the table.

This website uses affiliate links which may earn commission for purchases made at no additional cost to you.

TOTAL TIME

55 min
SERVES

3 portions

DIET

omnivore

EVERY RECIPE DESERVES

A Little Love Letter

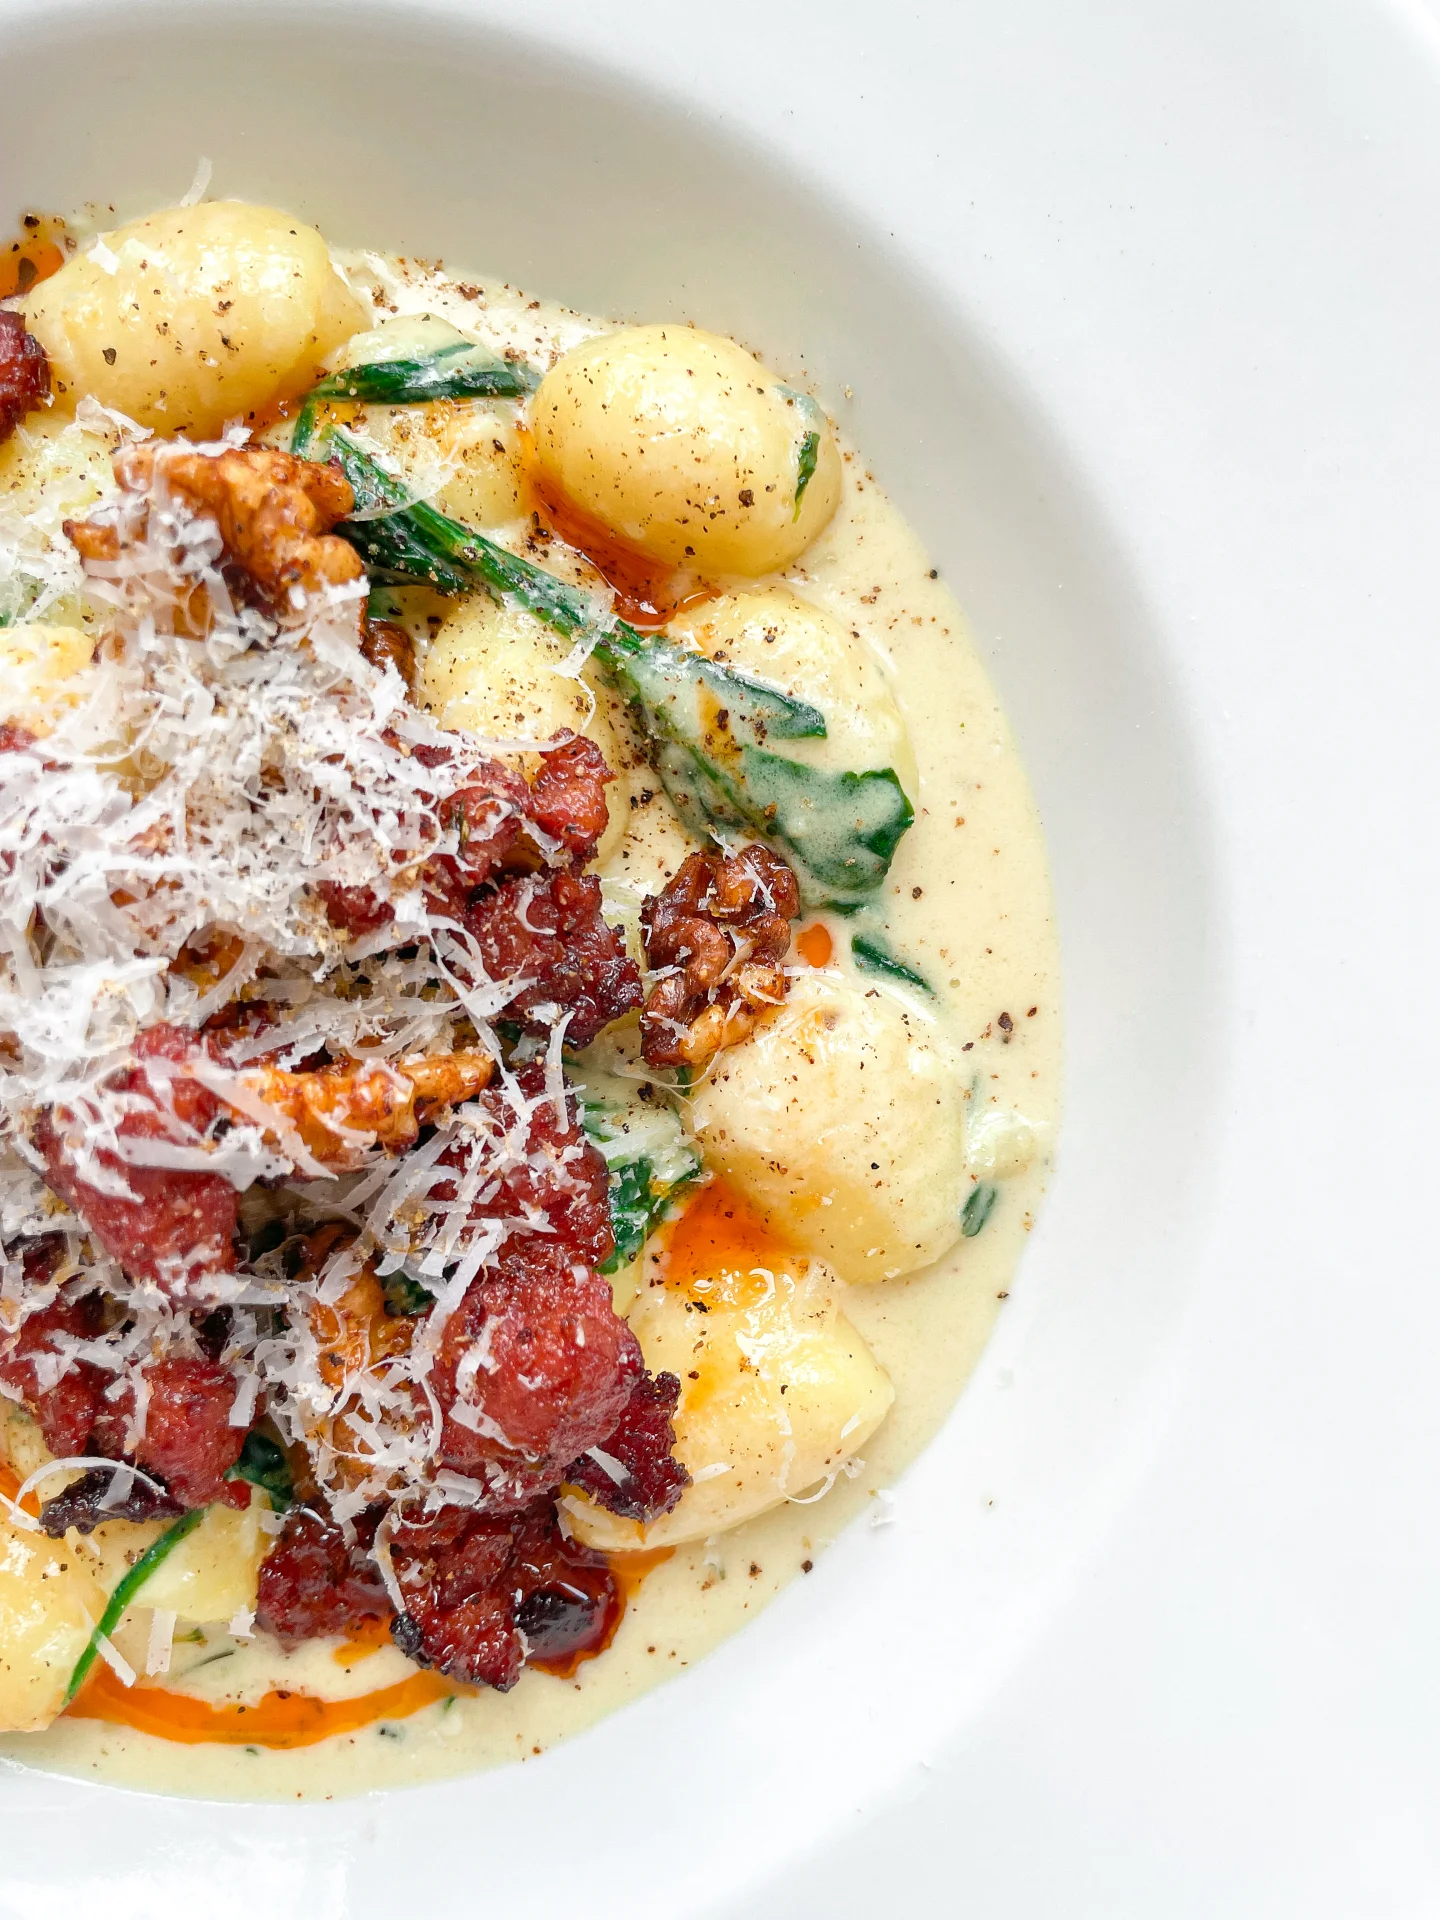
Get ready to cozy up with this delicious Potato Soup with Bacon & Sausage! Perfect for chilly evenings, this hearty soup brings the ultimate comfort food to your table. Easy to make and bursting with flavor, it’s sure to become a family favorite. Dive into a bowl of warmth and enjoy the rich, savory taste of home-cooked goodness.

Serve this mouthwatering soup hot, topped with shredded cheese, a dollop of sour cream, and extra bacon bits for an added crunch. It pairs wonderfully with a slice of crusty bread or a warm dinner roll to soak up all the flavorful broth. Perfect for a satisfying family dinner or a comforting weekend meal, this Potato Soup with Bacon & Sausage will fill your home with joy and your belly with warmth.

Leftovers? No problem! Store this savory soup in an airtight container in the refrigerator for up to three days. Reheat gently on the stove or in the microwave, stirring occasionally, until hot throughout.

Hi, I'm Kimberly!

Hi, I'm Kimberly.

A hopeless romantic when it comes to food. Every recipe I share is a love letter to food itself. I’m so glad you’re here. Make yourself at home and stay a while.

Love,
Kimberly

Kimberly the Zett Signature

If you want to get to know me better,
click here!


Potato Soup with Bacon & Sausage

LET’S MAKE A PIECE OF HAPPINESS

Print
clock clock iconcutlery cutlery iconflag flag iconfolder folder iconinstagram instagram iconpinterest pinterest iconfacebook facebook iconprint print iconsquares squares iconheart heart iconheart solid heart solid icon
Potato Soup with Bacon & Sausage

Potato Soup with Bacon & Sausage


  • Author: Kimberly
  • Total Time: 55 min
  • Yield: 3 1x

Description

GOOD TO HAVE ON HAND

  • sharp knife
  • cutting board
  • big pot with lid


Ingredients

Units Scale
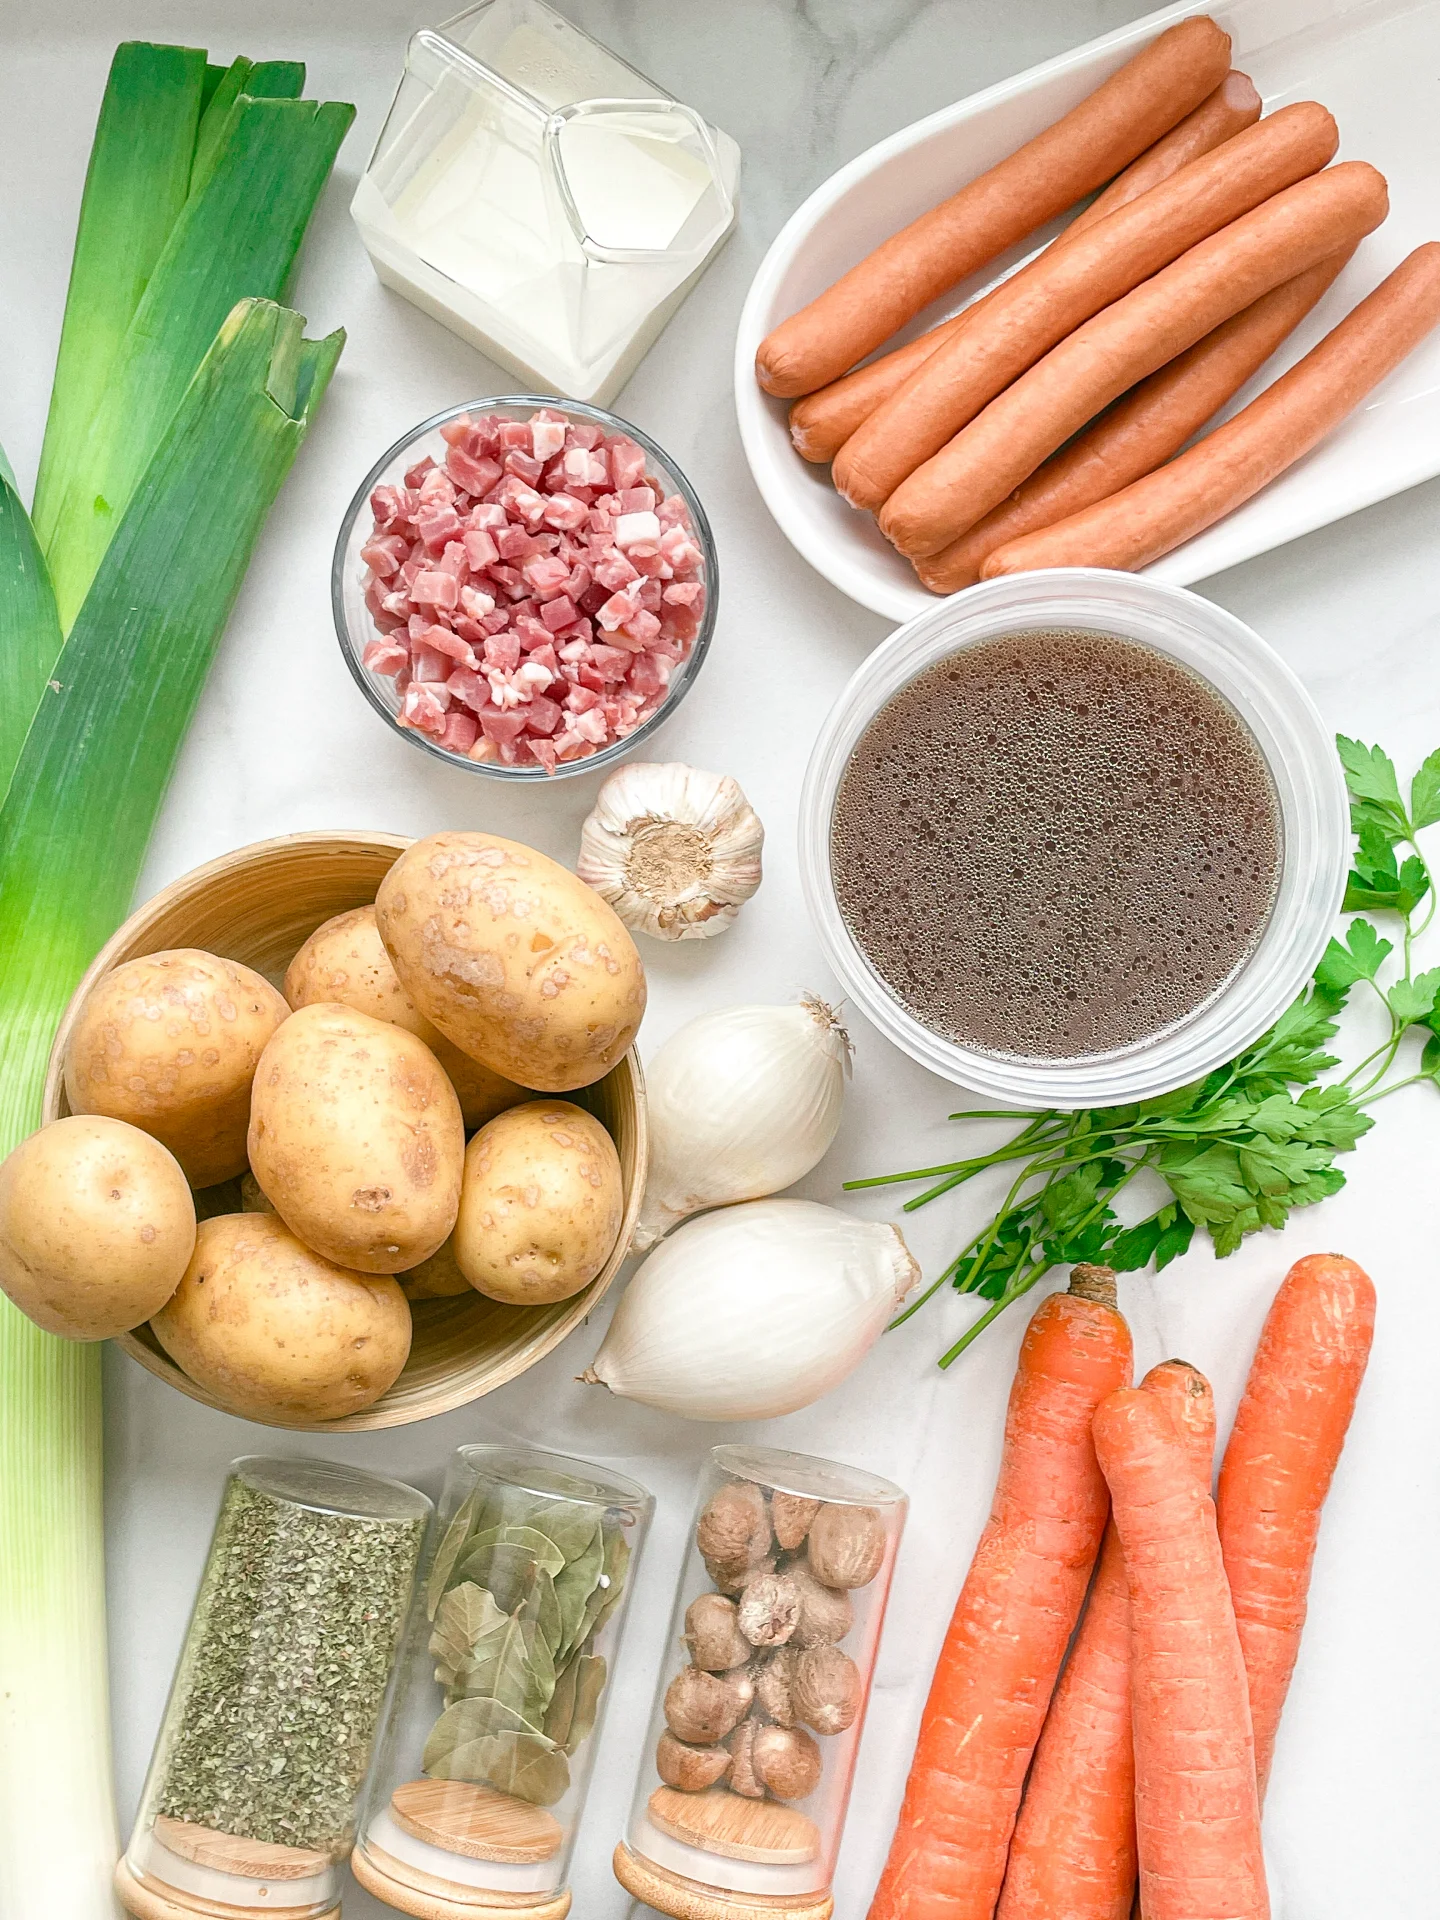
  • 1 kilograms potatoes
  • 125 grams bacon
  • 300 grams german wiener sausage
  • 4 carrots
  • 1 leek
  • 1 big onion
  • 4 garlic cloves
  • 1200 milliliter vegetable broth
  • 100 milliliter heavy cream
  • 1 tbsp butter
  • 1/2 tsp marjoram
  • 1 bay leaf
  • pinch of freshly grated nutmeg
  • salt & pepper to taste
  • parsley for topping

Instructions

  1. Peel the potatoes and carrots and chop them into bite-sized pieces. Set aside.
  2. Wash the leek and cut it into thin strips.
  3. Peel the onion and garlic cloves and dice them. Set aside.
  4. Finely chop the parsley.
  5. Slice the sausages. Set aside.
  6. Dice the bacon.
  7. Put the bacon in the cold pot and heat it over medium heat. This way, the bacon fat renders out nicely. Then remove the bacon and set it aside for later and leave the fat in the pot.
  8. Now add the onions, garlic and leeks to the pot and sauté for 2-3 minutes, then add the potato and carrot pieces. Sauté everything for about 5 minutes.
  9. Then add the vegetable broth and simmer with the lid on for 15 minutes. Now, add marjoram, bay leaf and nutmeg, season with salt and pepper, and simmer for another 15 minutes with the lid on.
  10. Now add the bacon, sausage slices, and cream to the soup and simmer for another 5 minutes without the lid, until the sausages are heated through. Finally, season with salt and pepper.
  11. Serve the soup in deep plates and garnish with a bit of freshly chopped parsley and optional baguette.
  • Passive Time: 30 min
  • Cook Time: 25 min
CRAVING MORE?

Follow along here & don’t forget to subscribe to my substack!

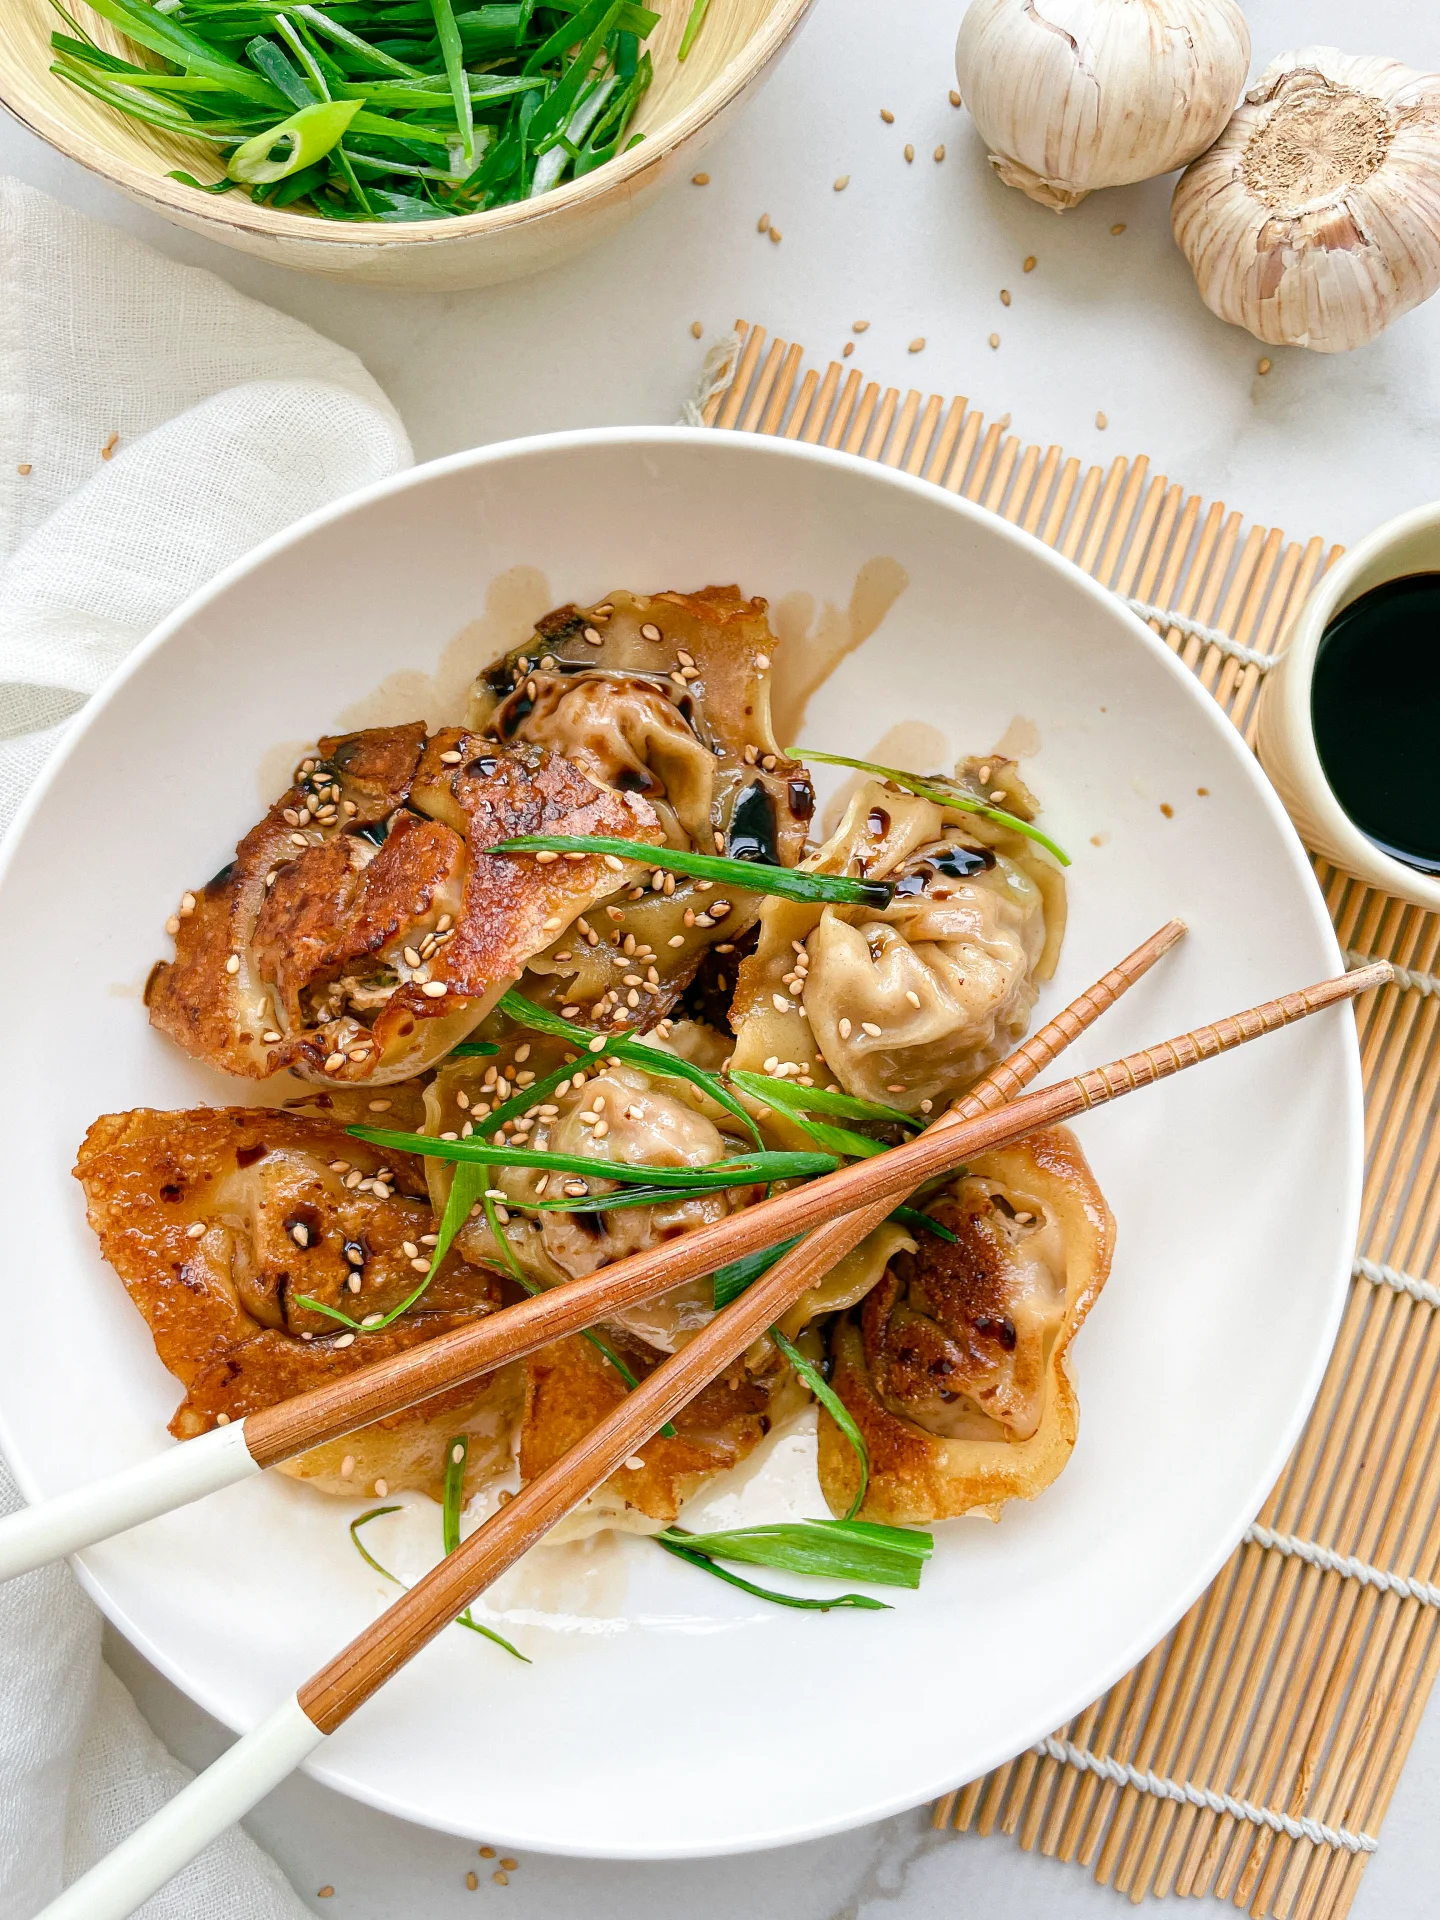
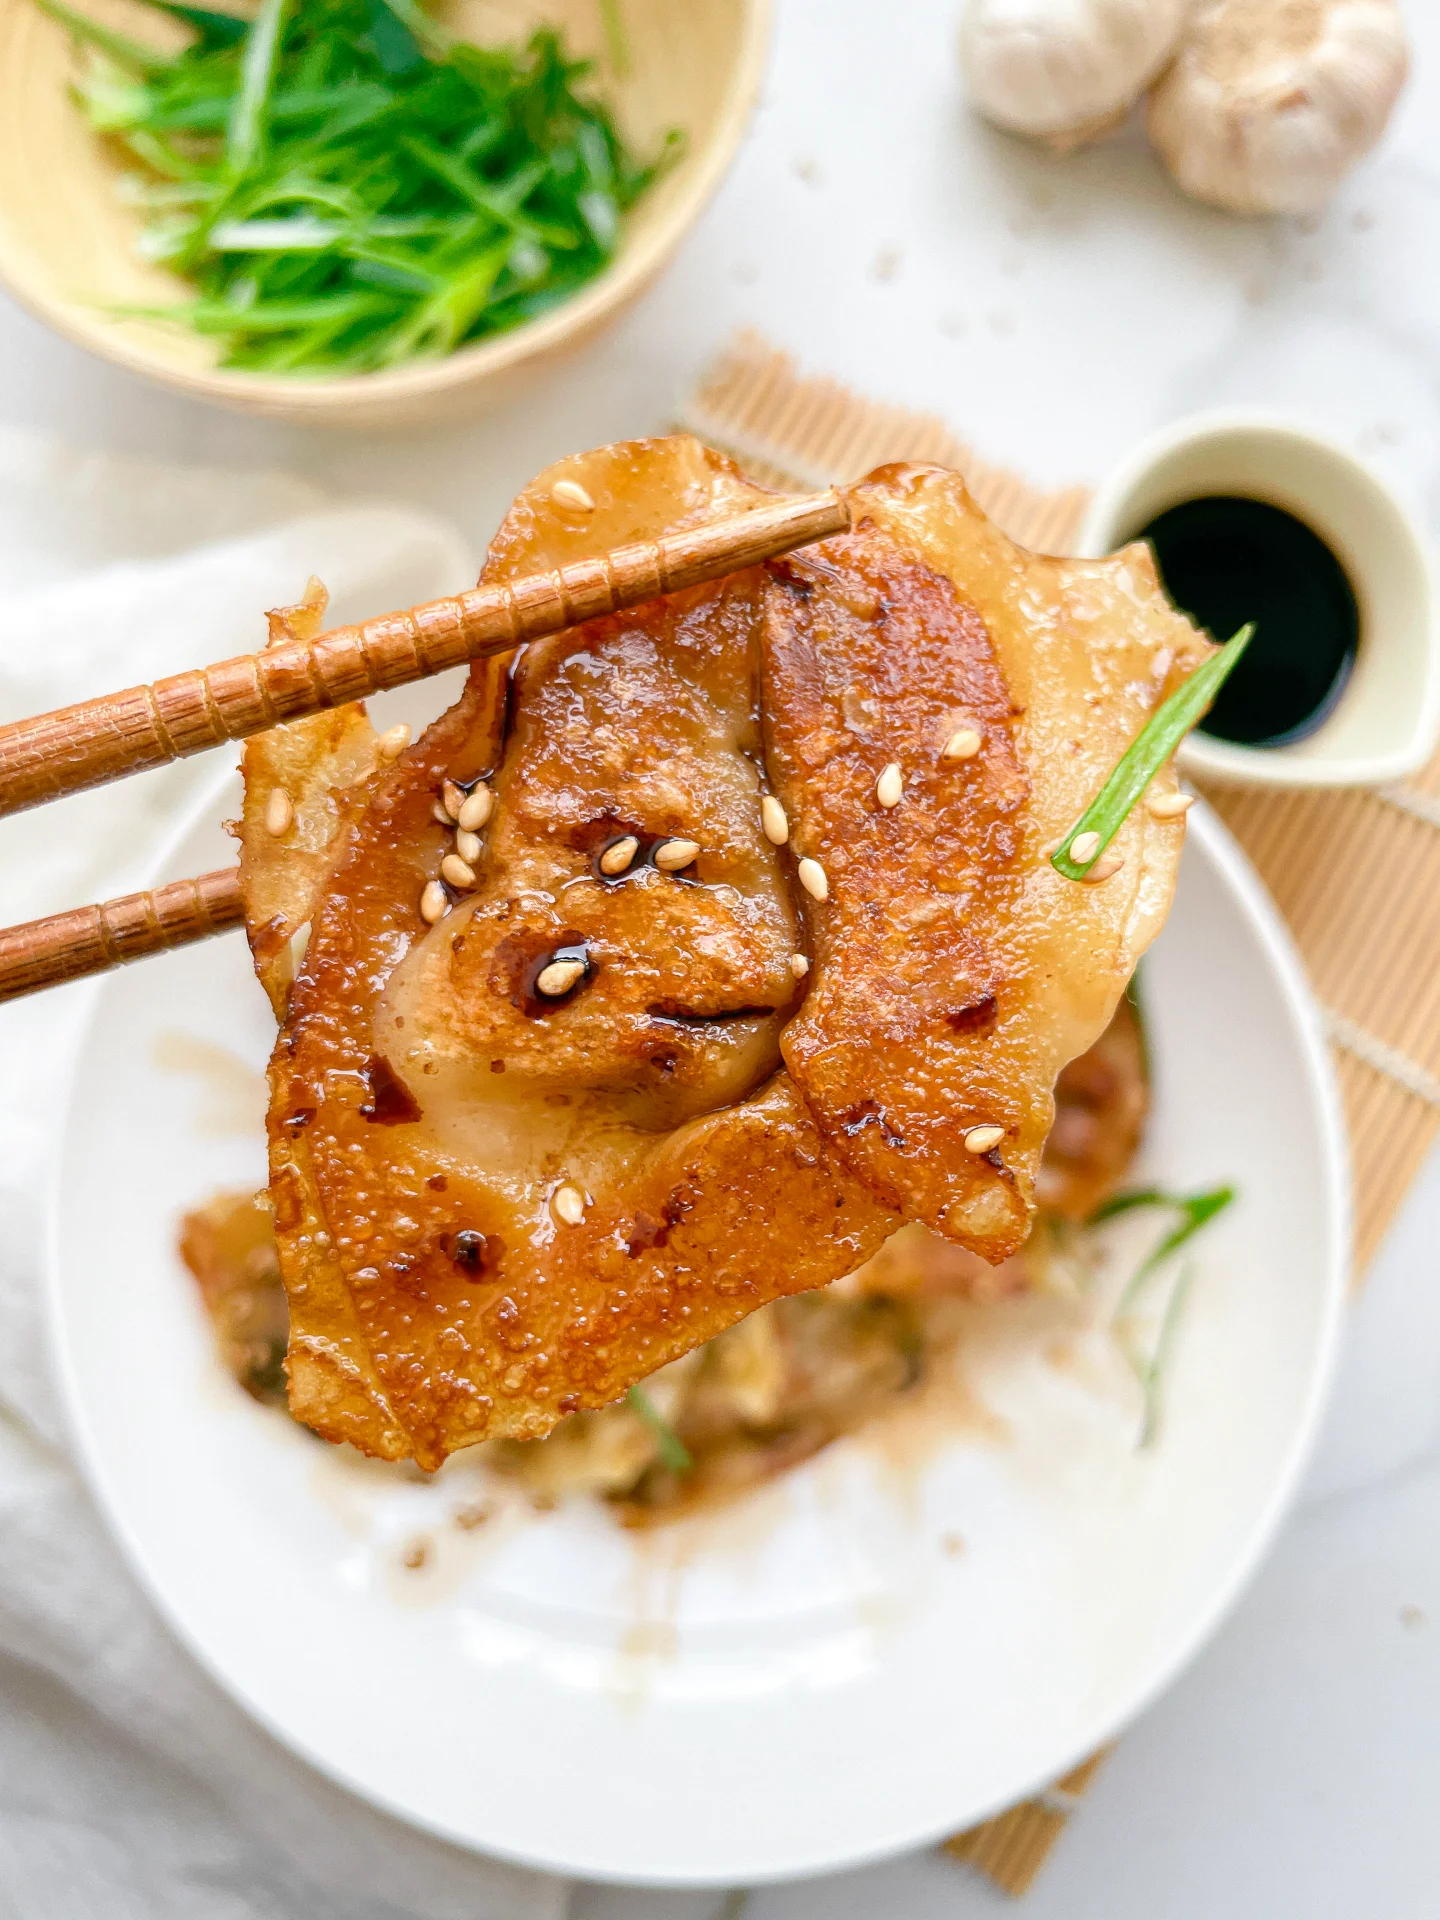
Juicy Pan-Fried Pork Dumplings

Juicy Pan-Fried Pork Dumplings

Juicy Pan-Fried Pork Dumplings

Juicy Pan-Fried Pork Dumplings

March 12, 2024 by Kimberly

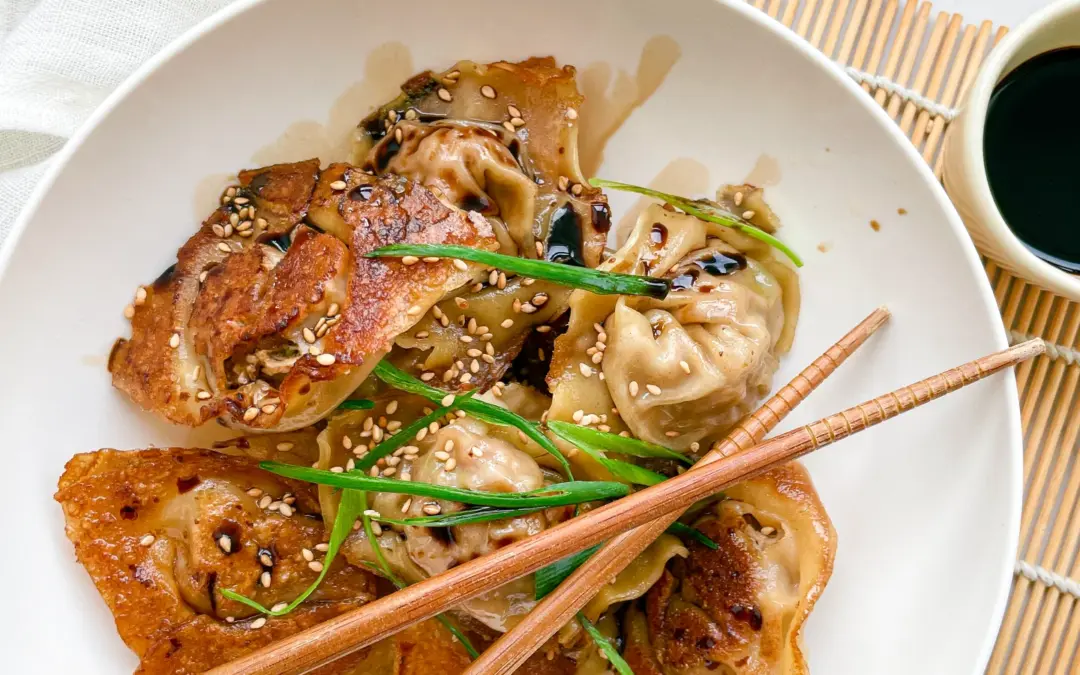
Dive into the world of flavors with these pan-fried pork Dumplings! Perfectly golden, irresistibly tasty, and just the right crunch to satisfy your cravings.

This website uses affiliate links which may earn commission for purchases made at no additional cost to you.
TOTAL TIME

1 hr + 15 min

SERVES

40 dumplings

DIET

omnivore

EVERY RECIPE DESERVES

A Little Love Letter

Discover the joy of making juicy pan-fried pork Dumplings at home! A staple in Asian cuisine, these dumplings are a perfect blend of juicy filling and crispy skin. Easy to make and incredibly delicious, they’re sure to become a family favorite. Whether you’re a dumpling enthusiast or a first-timer, follow this simple guide to bring a taste of tradition into your kitchen.

Serve these golden delights with a side of dumpling dipping sauce. These juicy pan-fried pork Dumplings are best enjoyed hot, allowing the flavors to truly shine. They make a fantastic appetizer, a satisfying main, or a delightful side dish. Pair with a fresh cucumber salad or a steaming bowl of soup to complete a mouthwatering meal that’s sure to impress.

Store leftover dumplings in an airtight container in the refrigerator for up to three days. Reheat in a pan to retain their crispiness or microwave if in a hurry. You can also freeze them immediately after filling, so you always have fresh dumplings on hand.

Hi, I'm Kimberly!

Hi, I'm Kimberly.

A hopeless romantic when it comes to food. Every recipe I share is a love letter to food itself. I’m so glad you’re here. Make yourself at home and stay a while.

Love,
Kimberly

Kimberly the Zett Signature

If you want to get to know me better,
click here!


Juicy Pan-Fried Pork Dumplings

LET’S MAKE A PIECE OF HAPPINESS

Print
clock clock iconcutlery cutlery iconflag flag iconfolder folder iconinstagram instagram iconpinterest pinterest iconfacebook facebook iconprint print iconsquares squares iconheart heart iconheart solid heart solid icon
Juicy Pan-Fried Pork Dumplings

Juicy Pan-Fried Pork Dumplings


  • Author: Kimberly
  • Total Time: 75 min
  • Yield: 40 1x

Description

GOOD TO HAVE ON HAND

  • sharp knife
  • cutting board
  • large bowl
  • small bowl
  • large pan with lid


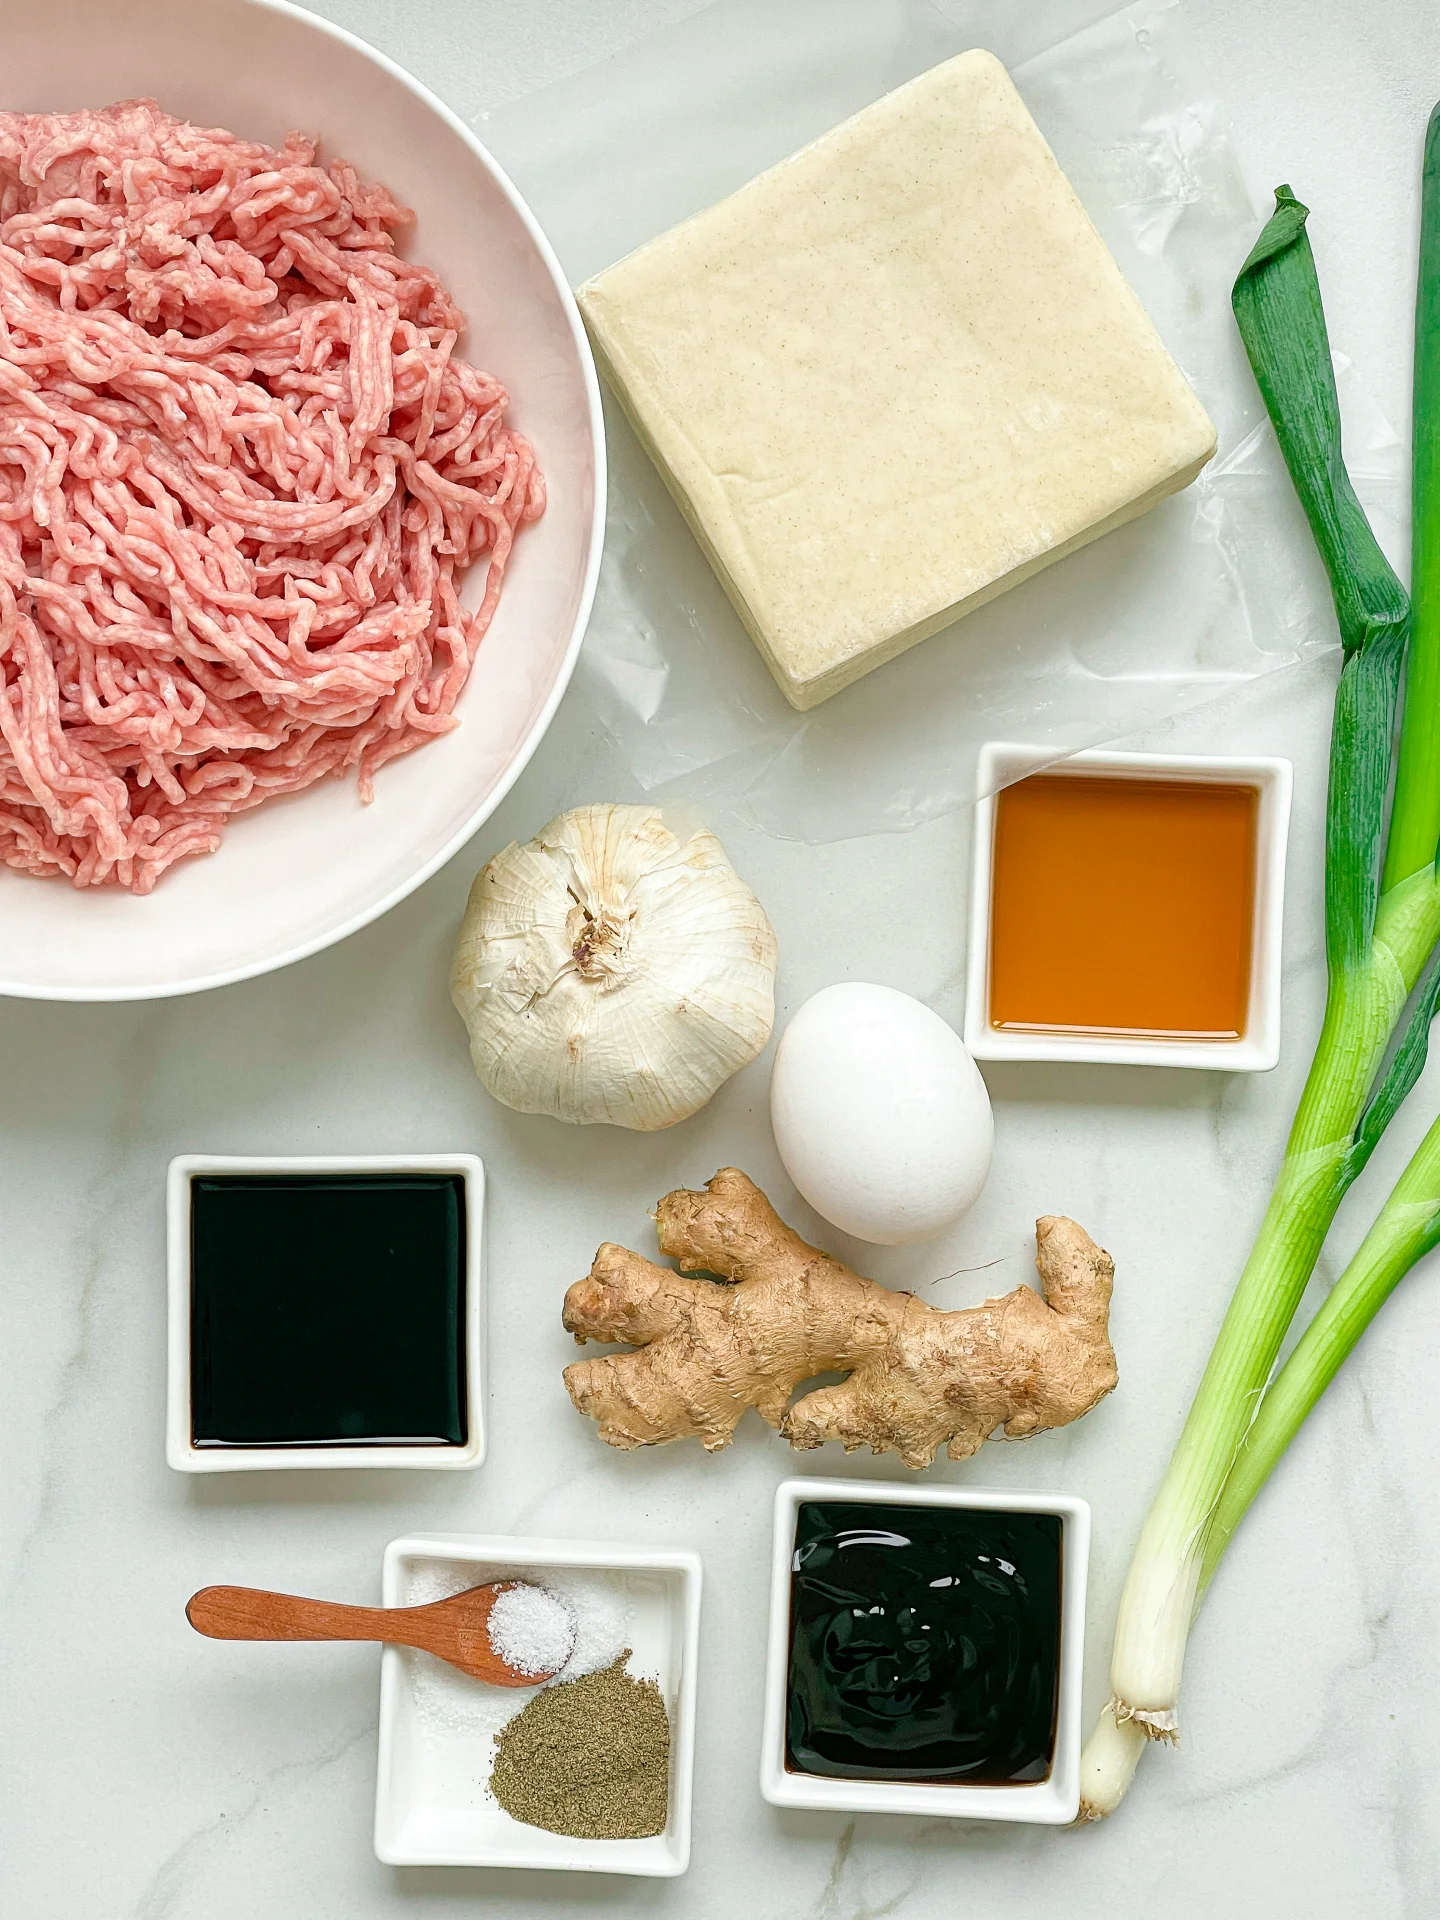
Ingredients

Units Scale
  • 40 dumpling wrappers
  • 400 grams minced pork
  • 1 tbsp minced ginger
  • 4 garlic cloves
  • 3 spring onions
  • 1 egg
  • 1 tbsp soy sauce
  • 1 tbsp oyster sauce
  • 1 tsp sesame oil
  • 1/4 tsp salt
  • 1/4 tsp ground pepper
  • all-purpose flour
  • neutral cooking oil

Instructions

  1. Defrost the dumpling wrappers if necessary.
  2. Peel the ginger, finely chop or grate and add to a large bowl.
  3. Peel and finely chop or crush the garlic cloves and add to the ginger in the large bowl.
  4. Separate the spring onions into whites and greens. Cut the white part into fine rings and add to the bowl with the ginger and garlic. Cut the green part into fine strips. Set aside.
  5. Also add the ground meat into the large bowl. Additionally, add: 1/4 tsp salt, 1/4 tsp ground pepper, one egg, 1 tbsp oyster sauce, 1 tbsp soy sauce, and 1 tsp sesame oil. Mix the entire mixture with two chopsticks and set aside.
  6. As preparation for your dumplings, sprinkle a work surface or serving plate with a little flour, so you can place your filled dumplings there before frying them. Without flour, the dough would stick to the surface after a while.
  7. Now, it’s time to fill the dumplings. For this, you will need the bowl with your filling, a small bowl with fresh, cold water, a teaspoon, and the dumpling wrappers.
  8. For the filling and folding feel free to watch my video on this (located at the bottom of this page) as visuals always help 😉 Fill each dumpling wrapper with about 1 tsp of filling. Place the filling in the center of the wrapper. Dab a bit of the cold water on one half of the edges of the wrapper along the edge with a finger. Fold the wrapper in half so that the filling is enclosed by the edges. Press the edges tightly together. Once you have enclosed the filling in the dough, take the two rear corners, moisten one corner from one side and fold the corners onto each other from behind. Press tightly and place the dumpling on the floured work surface. Continue this process until for the remaining dumpling wrappers. For 40 dumplings, this can take about 15 to 30 minutes, depending on your speed.
  9. If you want to freeze the dumplings, I recommend doing it now and not after the dumplings have been fried.
  10. Once you have finished all the dumplings, heat a large pan over medium heat. Add 1 tbsp of oil to the pan and place as many dumplings as you can fit on the flat side in the pan. Let them fry for a few minutes until the bottom has become crispy. Then reduce the heat to low and pour a little water into the pan. Immediately cover the pan with the lid. Be careful that the oil in the pan is not too hot, otherwise there is a risk of burning. The dumplings will now be steamed with the water in the pan. Keep the lid closed until the dumpling skins have become translucent. This can take about 10-15 minutes. If they are not yet translucent and there is no more water in the pan, simply add some more. Now you can remove the lid and turn the heat back up to medium. Let them fry for about 5 more minutes without the lid, so that the bottom of the dumplings can become crispy again. Remove the dumplings from the pan and process the next batch in the same way.
  11. When all the dumplings are done, serve them in a bowl with this dumpling dipping sauce and the green parts of the spring onion. You can also top them with roasted sesame seeds if you like.
  • Passive Time: 30 min
  • Cook Time: 45 min

CRAVING MORE?

Follow along here & don’t forget to subscribe to my substack!