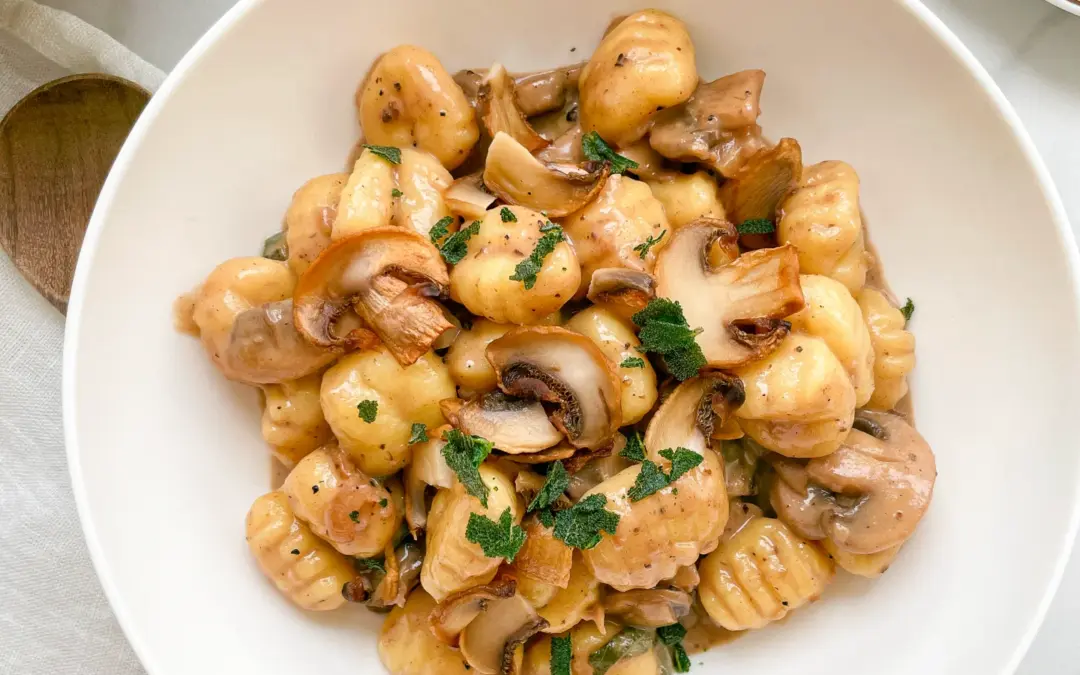


Description
GOOD TO HAVE ON HAND
- sharp knife
- cutting board
- medium-sized bowl
- large frying pan
- medium-sized pot
Ingredients
Units Scale
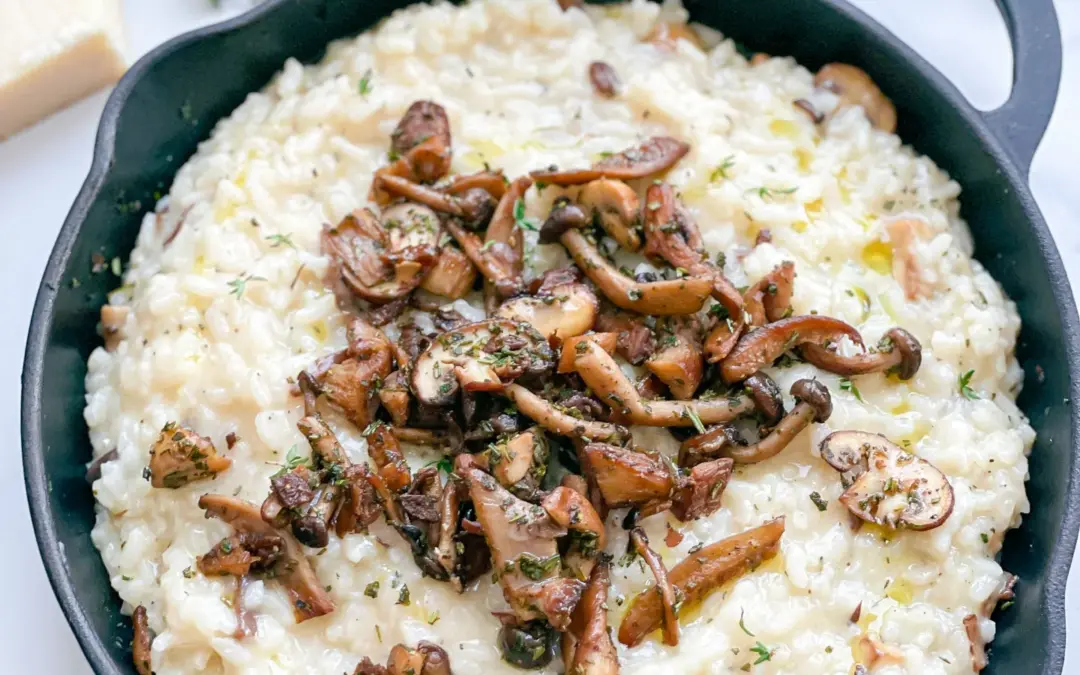
GNOCCHI
- 600 grams fresh gnocchi
- 1 tbsp salt
- 400 grams button mushrooms
- 15 grams dried porcini mushrooms
- 400 milliliters vegetable stock
- 100 milliliters heavy cream
- 100 milliliters dry white wine
- 2 tbsp neutral cooking oil
- 16 sage leaves
- 4 garlic cloves
- 1 shallot
- 1 tbsp all-purpose flour
- 1 tsp minced truffle in oil
- salt & pepper to taste
- 3 sage leaves
- 3 tbsp parmesan
- cured egg yolk (optional)
Instructions
- Soak dried porcini mushrooms in warm water for about 30 minutes.
- Clean the button mushrooms by brushing or peeling. Cut half of them into coarse pieces and slice the other half.
- Pluck sage leaves from their stems, leave 3-4 whole, and slice the rest into strips.
- Chop the shallot into fine pieces.
- Peel and press or finely chop the garlic cloves.
- Grate the Parmesan cheese.
- Fill a medium-sized pot with water to cook the gnocchi later.
- Heat 2 tablespoons of neutral oil in the pan and fry the whole sage leaves in it. Remove and place on a paper towel.
- Then add the sliced sage leaves to the pan along with the chopped shallot and the pressed garlic cloves. Fry for a few minutes on medium heat until the onions have become translucent.
- Meanwhile, drain the porcini mushrooms and cut them into coarse pieces.
- Now add the button mushrooms to the pan and allow them to brown without adding more fat or salt. A nice crust should form at the bottom of the pan. Once the mushrooms have turned golden brown, sprinkle 1 tablespoon of flour over them and stir until no more flour is visible. Deglaze with white wine and let it reduce briefly until the mushroom mixture has become creamy.
- Then add the vegetable broth and the dried porcini mushrooms. Let everything simmer for about 15-20 minutes until the sauce has thickened nicely.
- In the meantime, bring the water for the gnocchi to a boil and cook the gnocchi according to the package instructions.
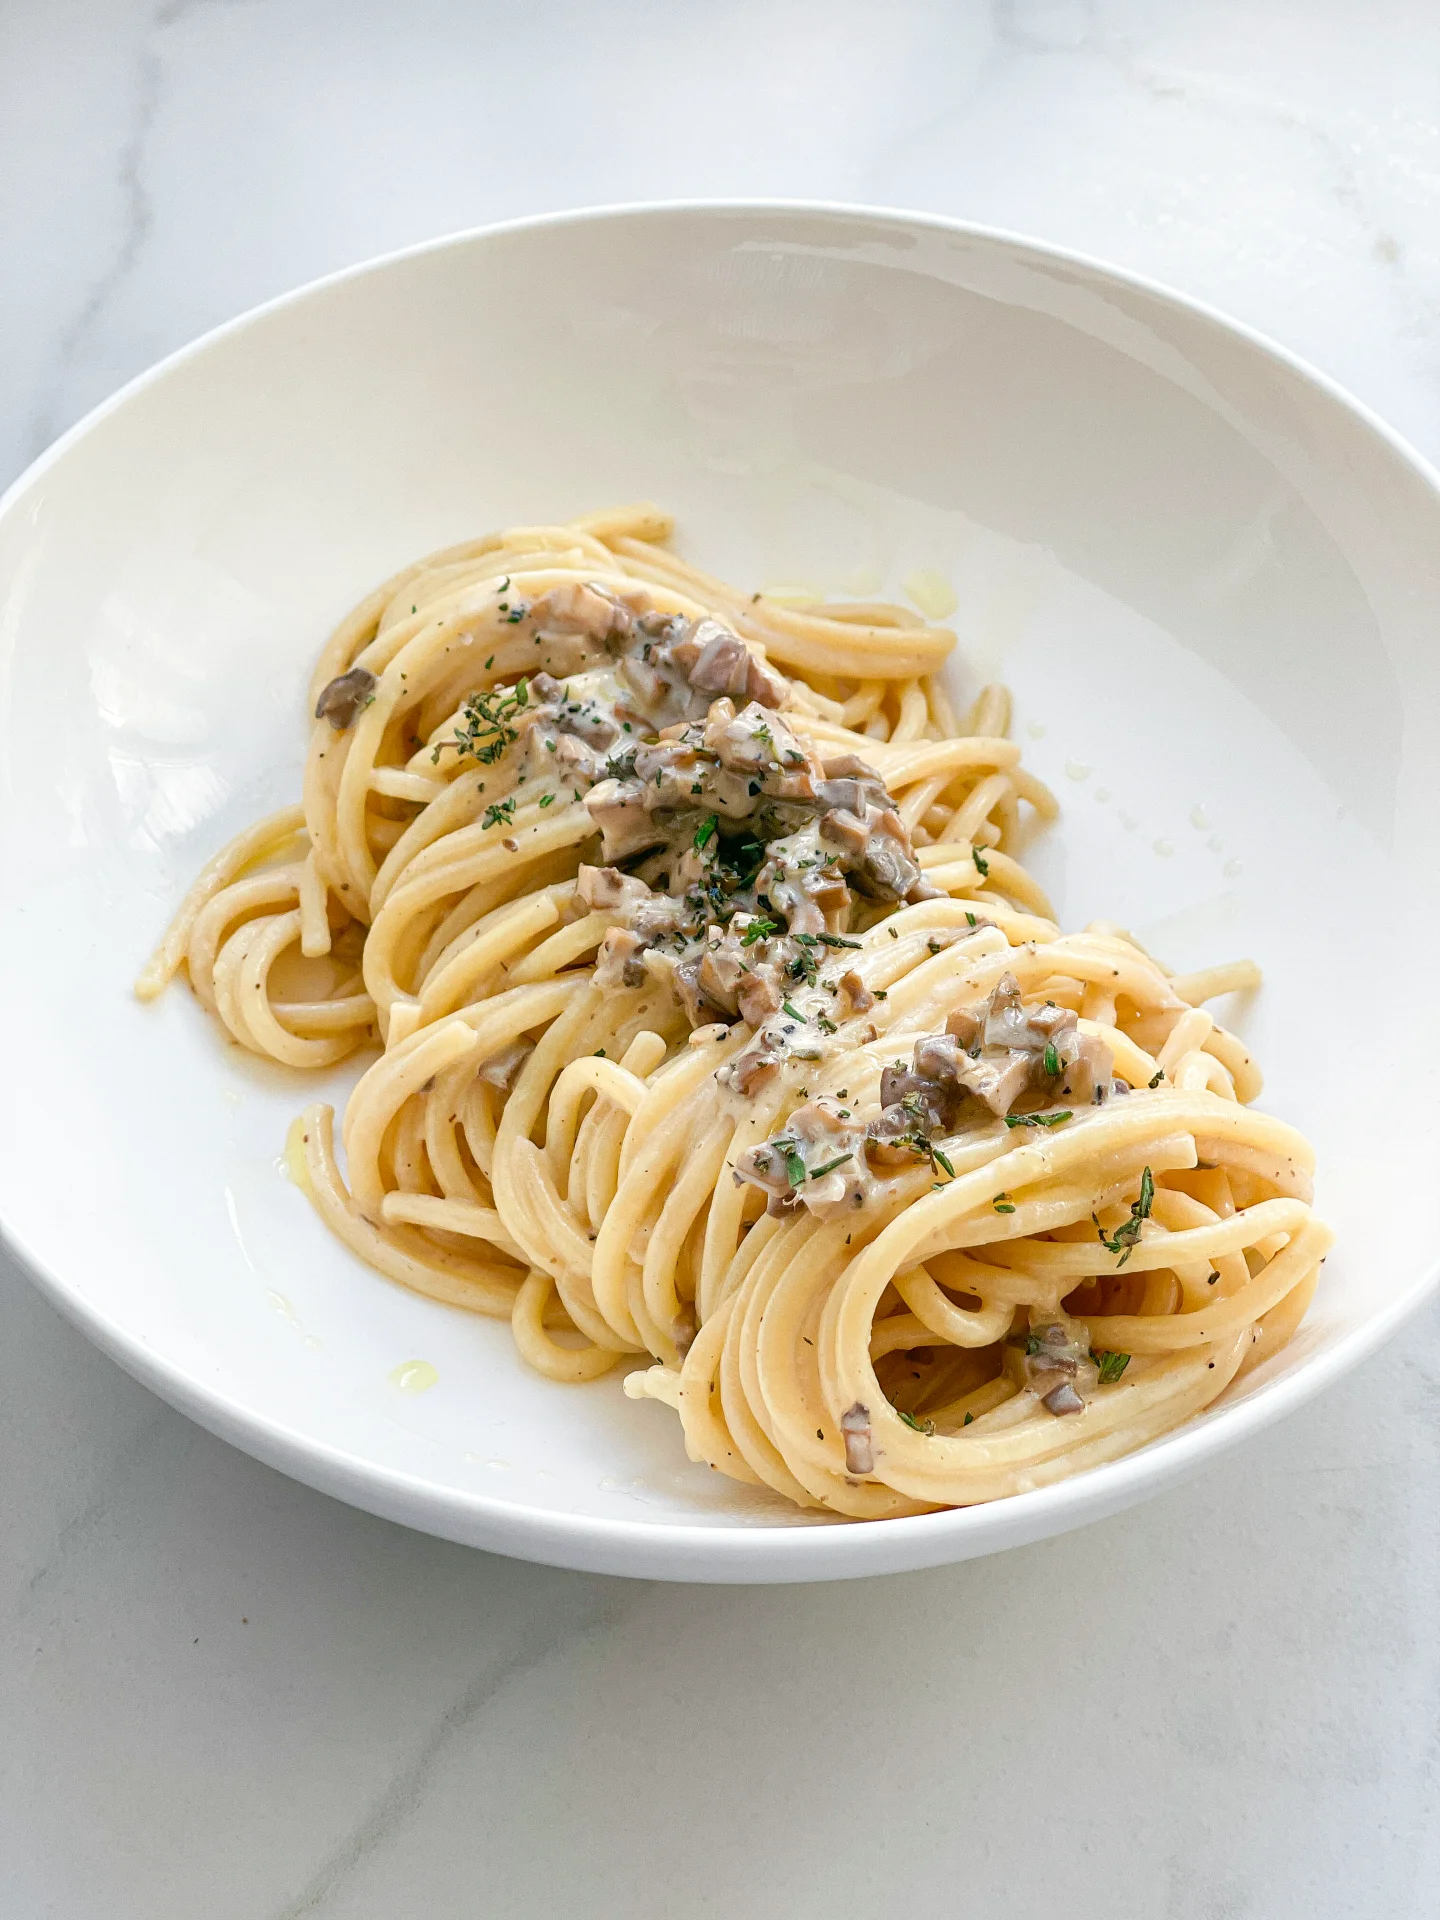
- Now add the cream and 1 teaspoon of chopped truffle to the mushroom sauce and mix well. Season with salt and pepper. Transfer the gnocchi directly from the pot to the pan with and stir well so that all gnocchi are covered with sauce.
- Serve the gnocchi on three deep plates, sprinkle the fried sage and Parmesan over it. If desired, top with cured egg yolk.
- Passive Time: 15 min
- Cook Time: 45 min