


Description
GOOD TO HAVE ON HAND
- sharp knife
- cutting board
- large salad bowl
- medium-sized bowl
- small bowl
- measuring spoons
Ingredients
Units Scale
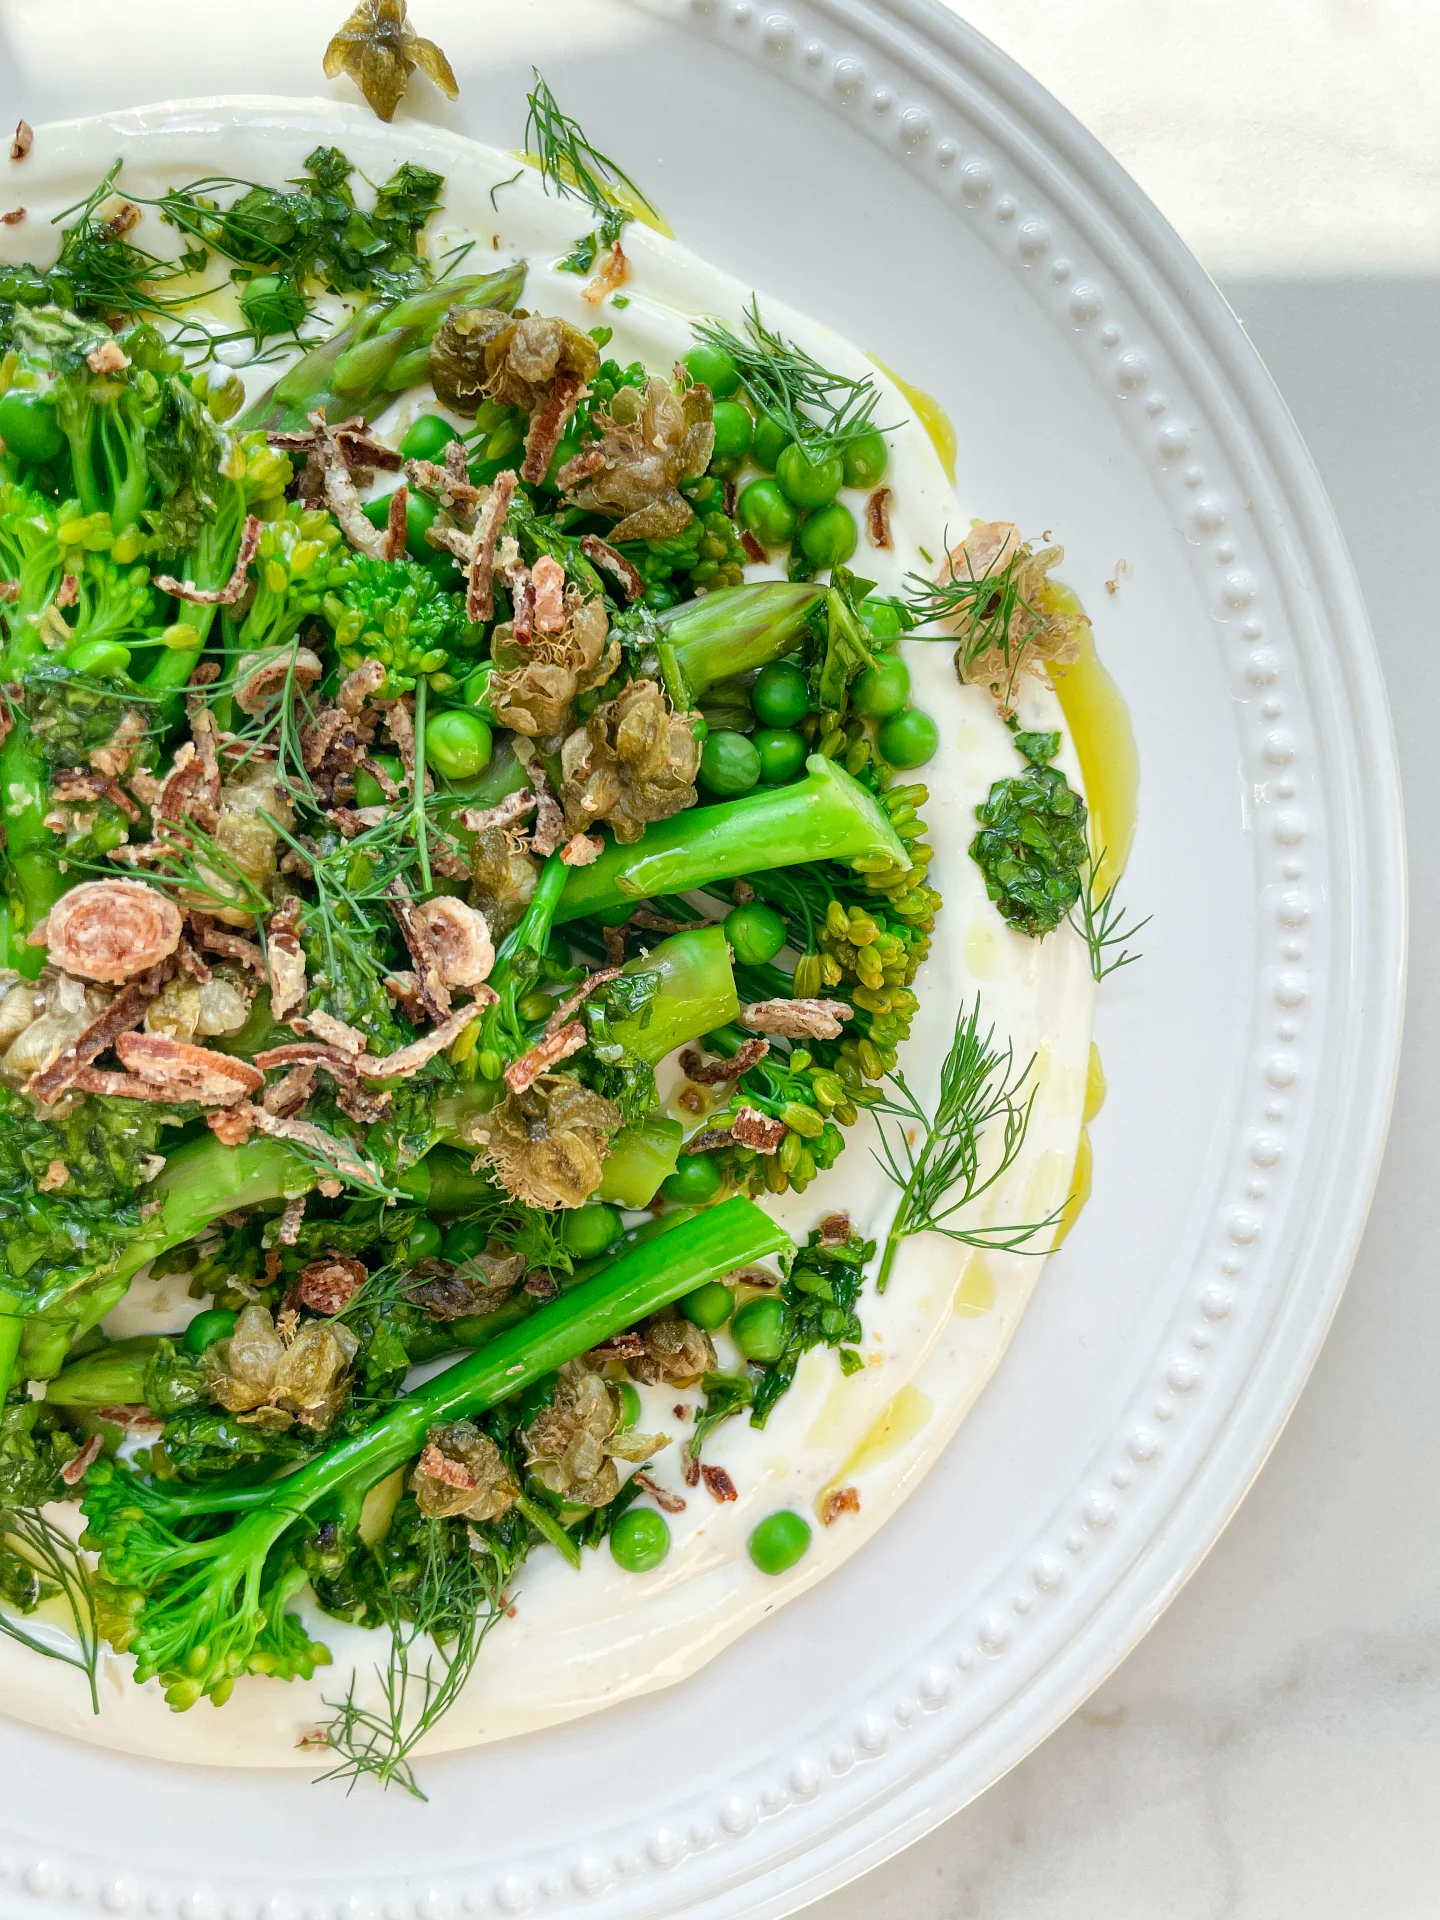
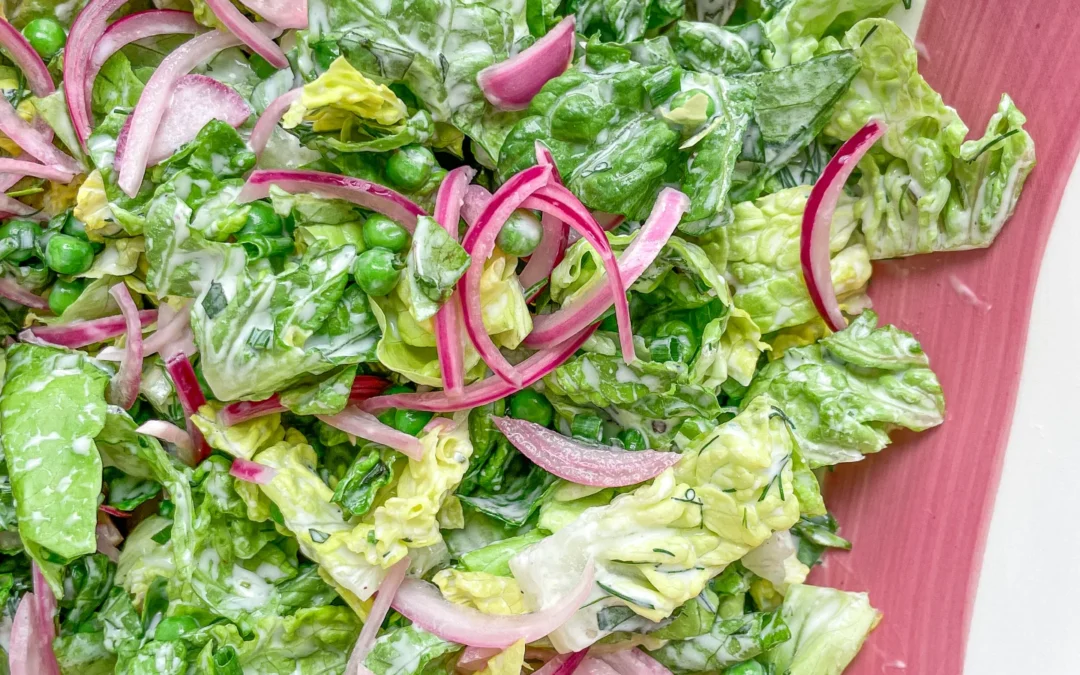
SALAD
- 1 butter lettuce
- 1 romaine lettuce
- 100 grams frozen peas
- 1 red onion
- 1.5 tbsp fresh dill
- 1.5 tbsp fresh chives
- 1.5 tbsp fresh tarragon
- 150 grams yogurt
- 2 tbsp lemon juice
- 2 garlic cloves
- 1/2 tsp dijon mustard
- salt & pepper to taste
Instructions
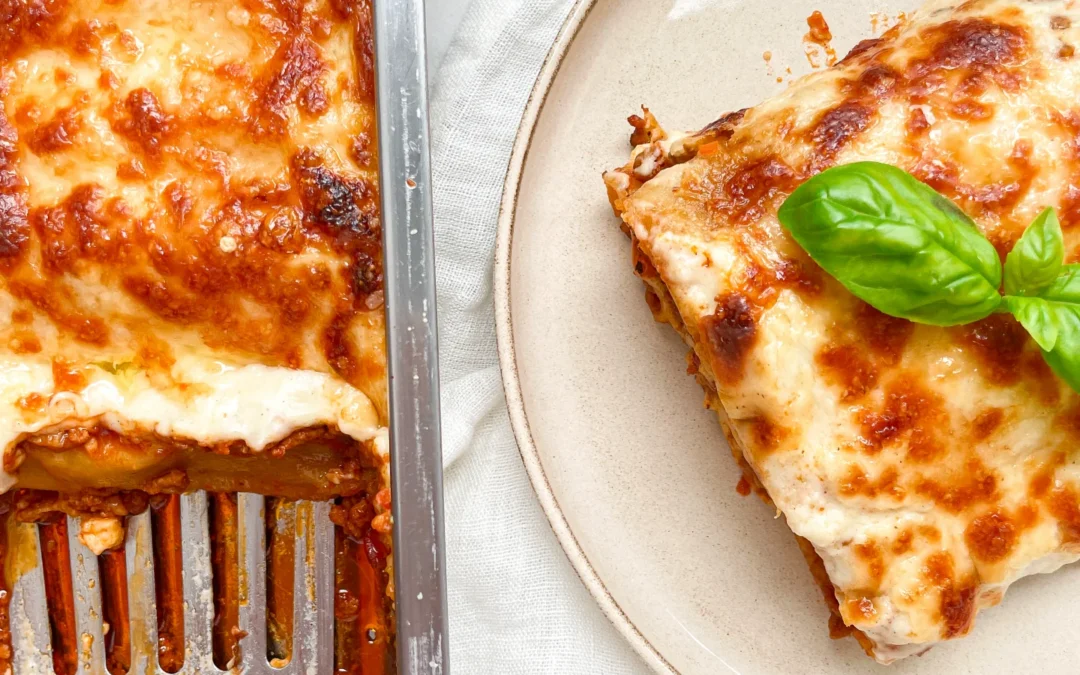
- Cut romaine and butter lettuce into bite-sized pieces, wash thoroughly, and spin dry. Place in a large salad bowl.
- Also wash chives, dill, and tarragon, dry, and finely chop. Add to the salad in the bowl.
- Fill a small bowl with frozen peas and pour hot water over them to cover and then set aside.
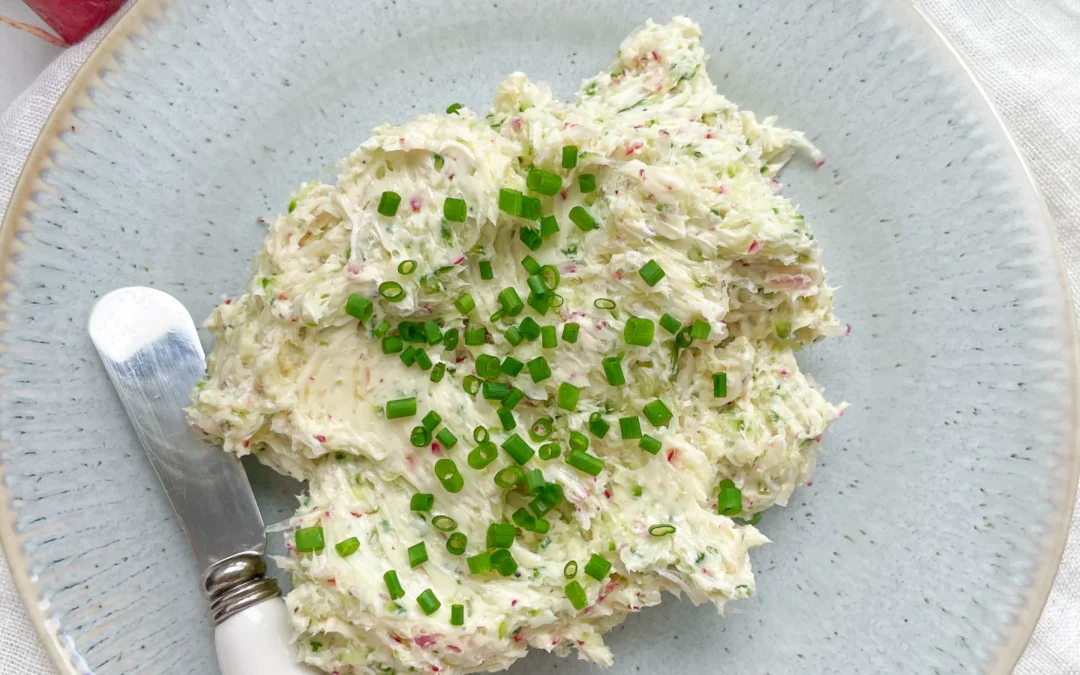
- In the meantime, in a separate bowl, prepare the dressing. Mix yogurt, lemon juice, peeled and pressed garlic cloves, and Dijon mustard together. Season with salt and pepper to taste.
- Drain the peas in a sieve and rinse with cold water. Let them drain and then add them to the salad bowl. Peel the red onion and slice it into very fine strips.
- Pour the dressing over the salad and top with the sliced red onions. Enjoy the salad immediately.
Notes
The calorie information may vary depending on the product used, country and region.
- Cook Time: 20 min