Description
RECOMMENDED EQUIPMENT
- sharp knife
- cutting board
- medium-sized pot
- measuring cup
- grater
Ingredients
Units Scale
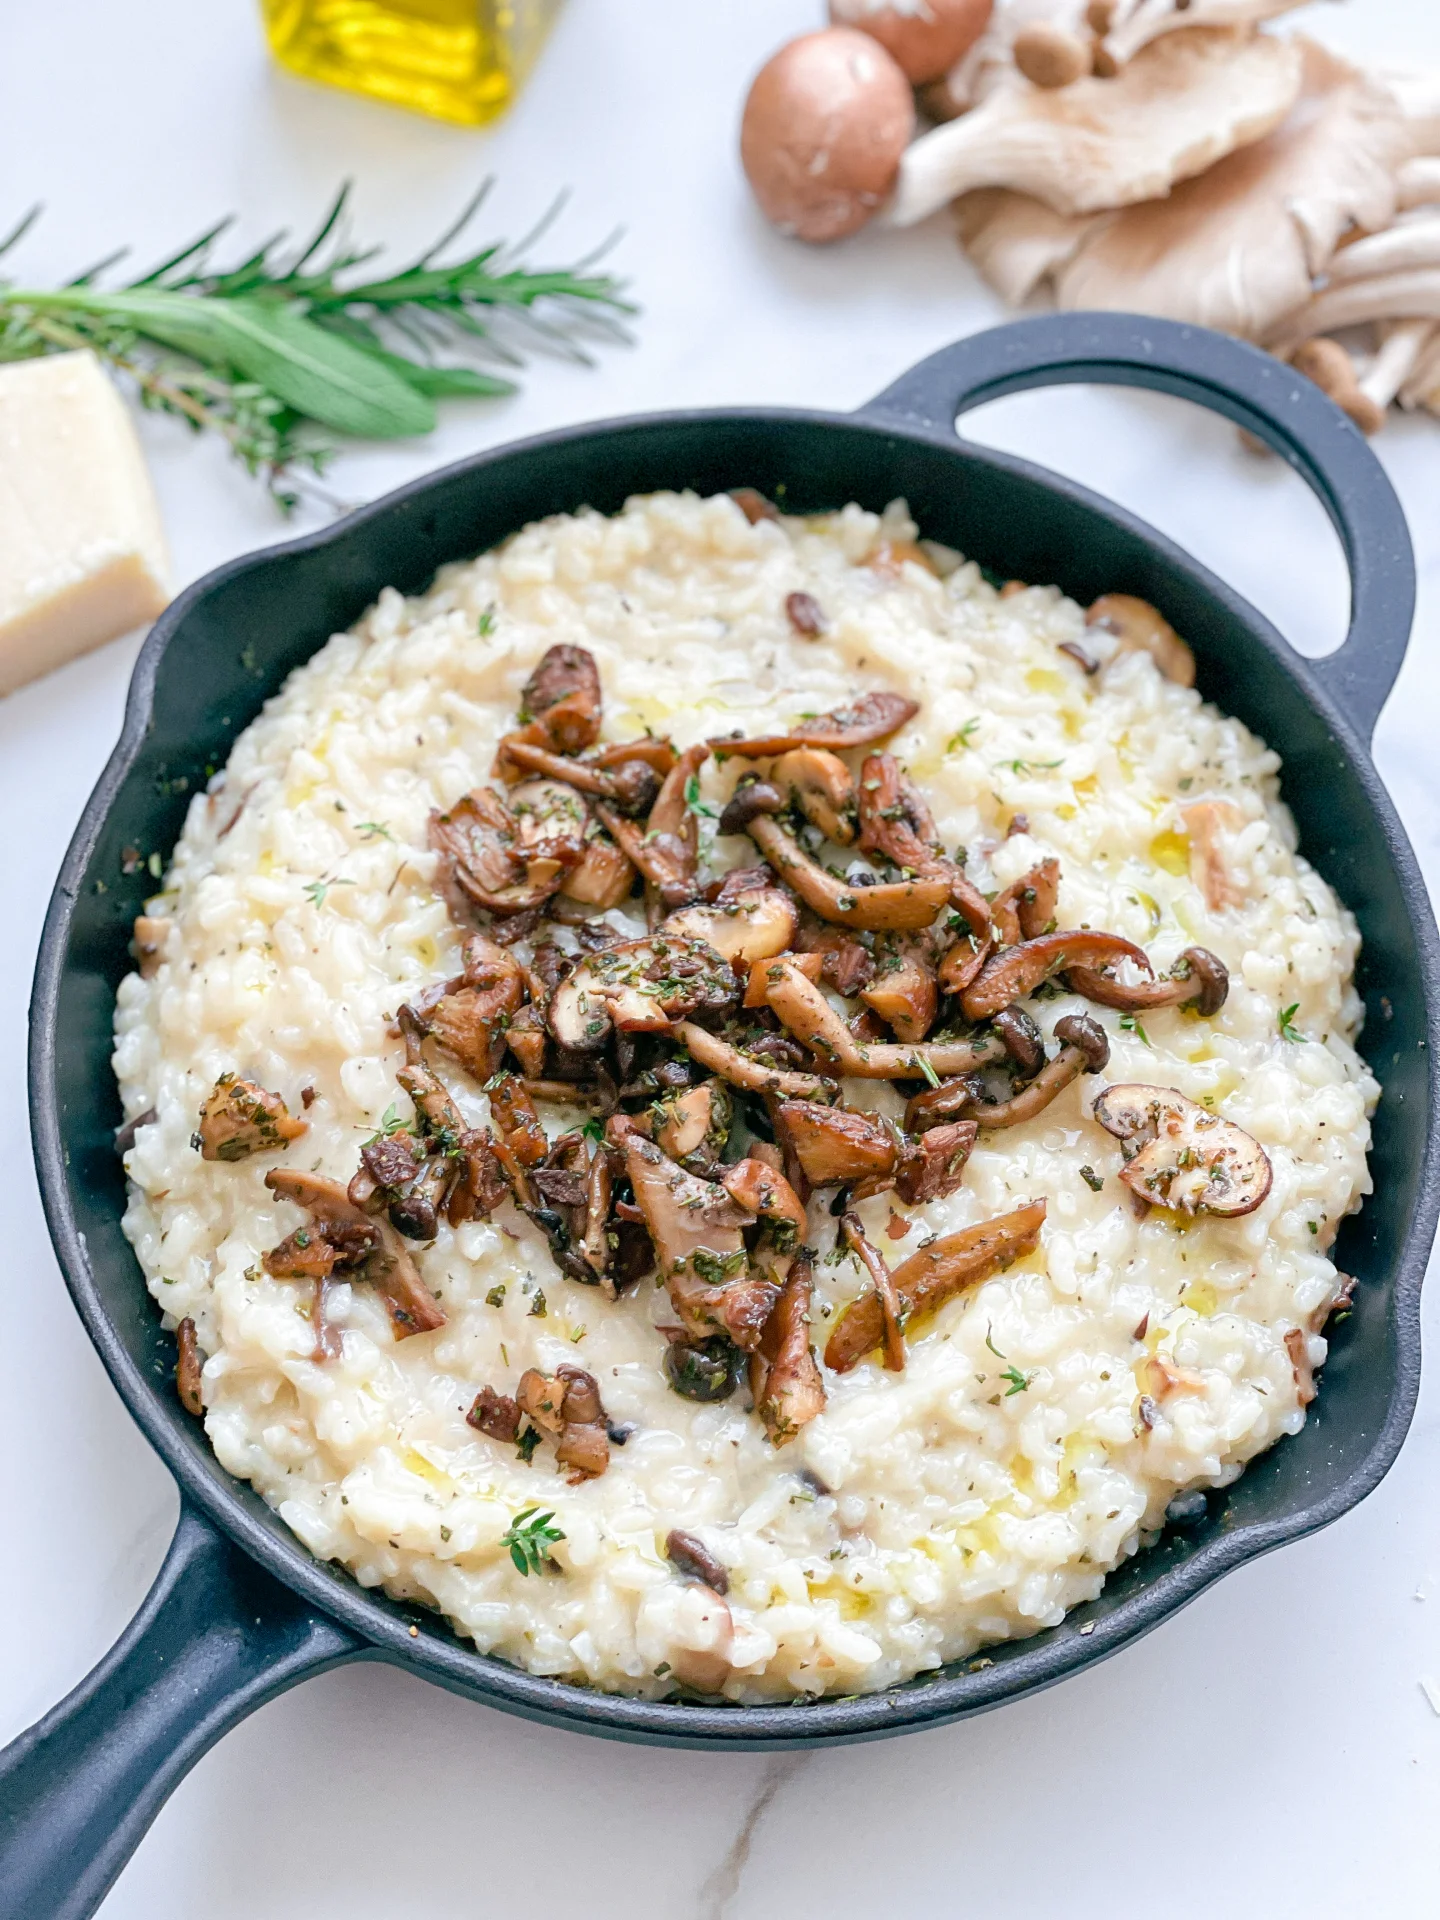
- 200 grams risotto rice
- 400 milliliter vegetable broth
- 200 milliliter dry white wine
- 300 milliliter water
- 100 grams parmesan
- 1 shallot
- 1 tbsp olive oil
- 1 tsp butter
- salt & pepper to taste
- parsley for garnish
Instructions
PREPARATIONS
- Finely grate the Parmesan.
- Cut the shallot into small pieces.
INSTRUCTIONS
- Heat 1 tbsp of olive oil in a pot over medium heat. Sauté the shallot until translucent. Add the butter and risotto rice, stirring everything well, and sauté for 1-2 minutes.
- Deglaze with the first 100ml (1/2 cup) of white wine, letting it reduce over medium heat until no liquid remains in the pot.
- Next, add 100ml (1/2 cup) of stock and let it simmer, stirring occasionally, until the liquid has mostly evaporated. Continue adding stock 100ml (1/2 cup) at a time, letting it simmer and be absorbed by the rice before each addition, until the remaining 200ml (1 cup) of stock has been used.
- Afterward, add 150ml (1/2 cup) of water, allowing the rice to absorb it as it cooks. Follow with another 100ml (1/2 cup) of white wine, then add the final 150ml (1/2 cup) of water, stirring as it cooks. The whole process should take around 40 minutes.
- Remove the pot from the heat and stir in the Parmesan until it melts. Season with salt and white pepper to taste.
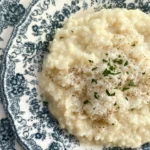
- Divide the risotto between plates and top with additional grated Parmesan, freshly ground pepper, and parsley.
- Prep Time: 5 min
- Cook Time: 40 min